Prerequisite:
If you haven't already, register an account to post a project.
Register an Account with PlanHub
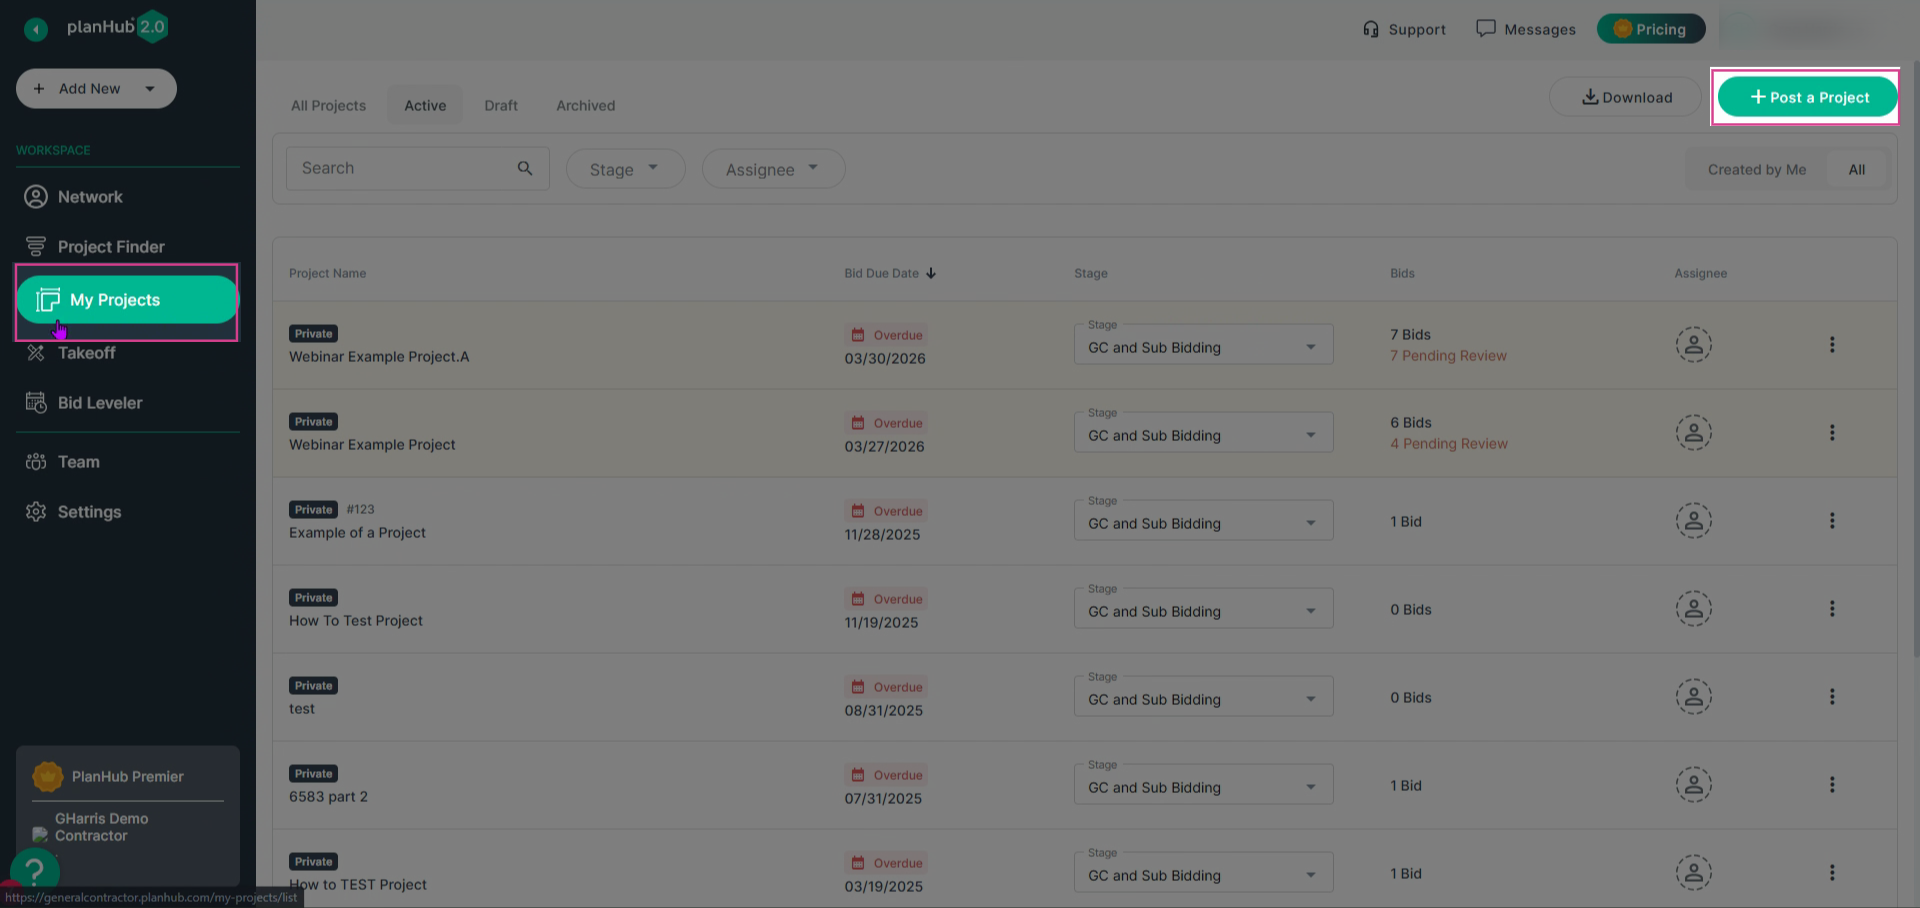
Step 1: Go to the My Projects tab in the left navigation bar, then click Post a Project in the upper right corner of your window.
Step 2: Enter your Project Name.
Step 3: (For Premier or Pro subscribers) Choose whether to post in a Private or Public plan room.
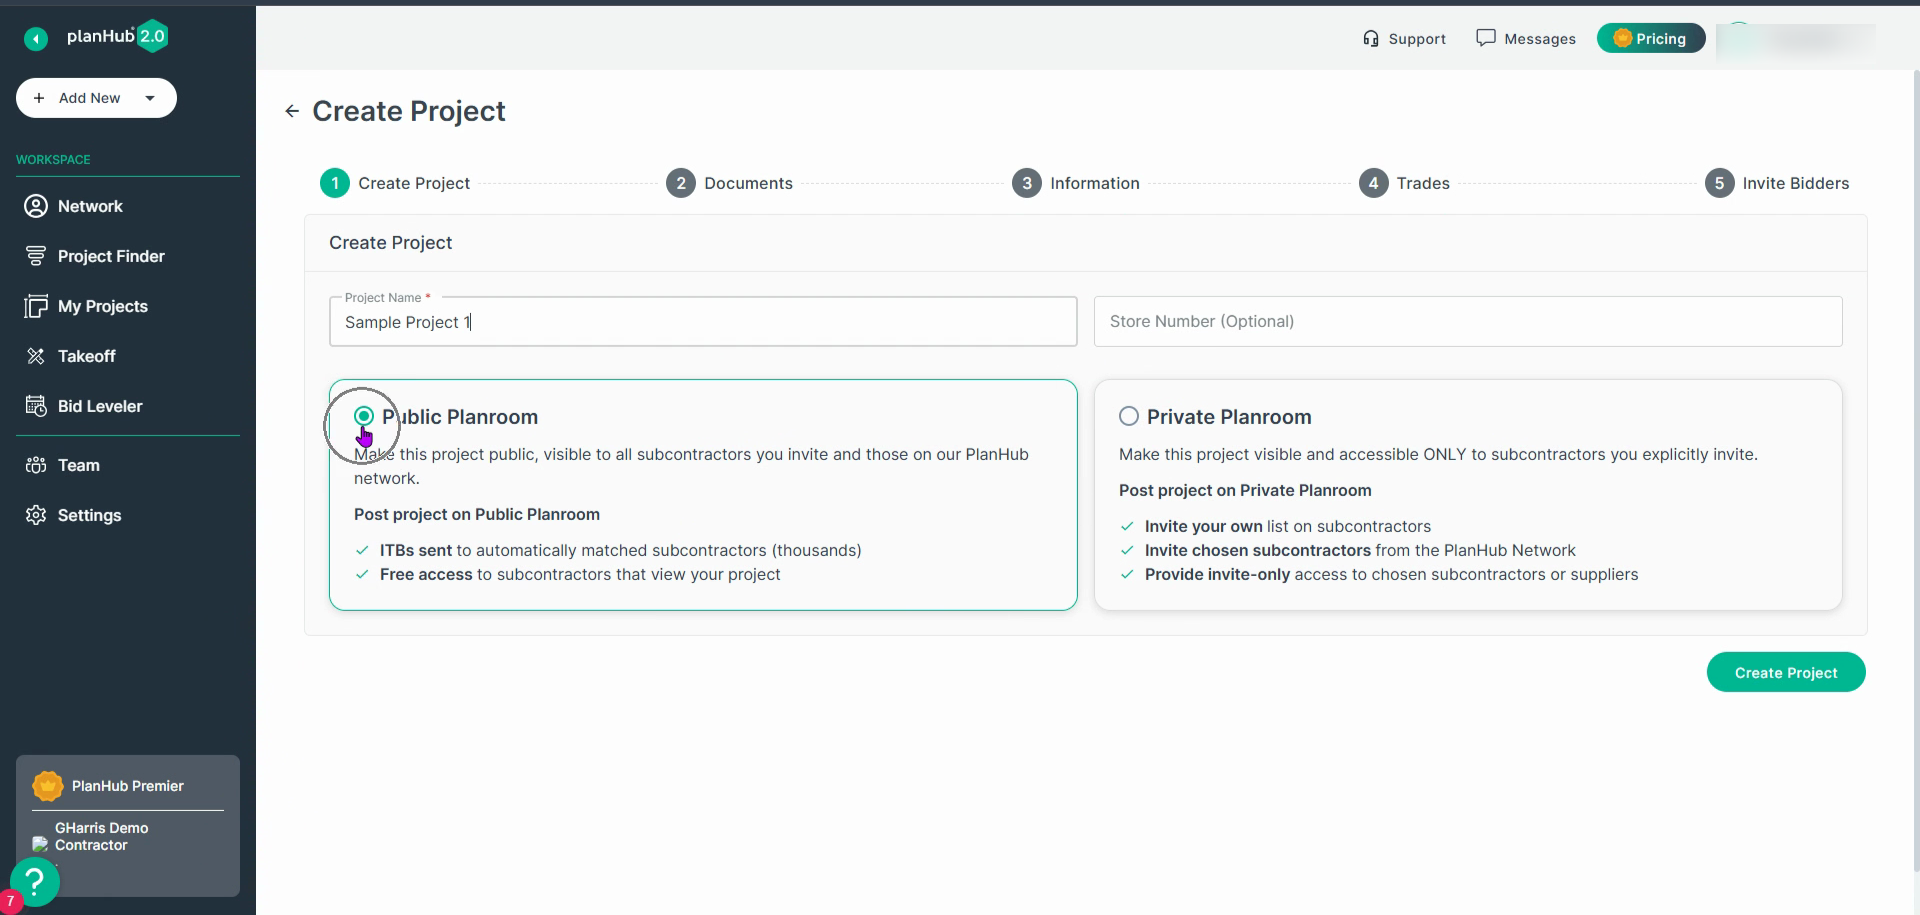
- Public plan rooms give your project the widest reach on PlanHub, including your network and the full subcontractor base.
- Private plan rooms restrict access to only those subs and suppliers you directly invite.
- (Essentials Plan users) Projects post as Public only, guaranteeing fast and free visibility to the largest number of subcontractors.
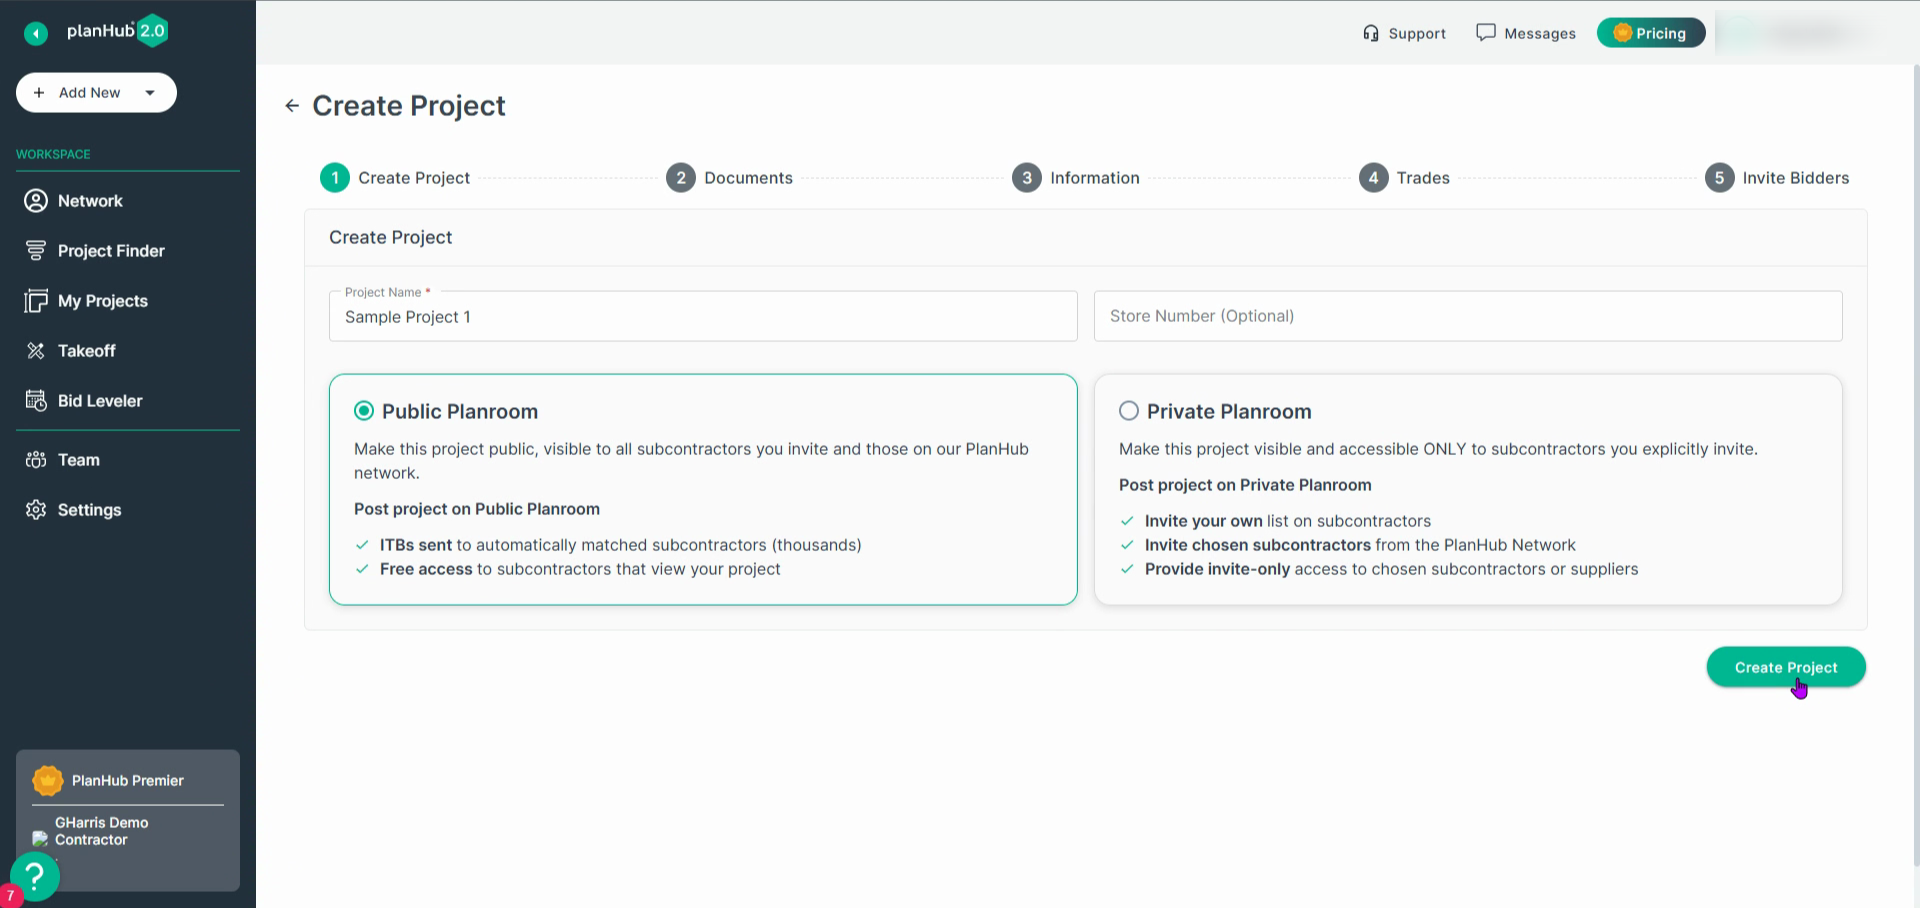
Step 4: Click Create Project to start your post.
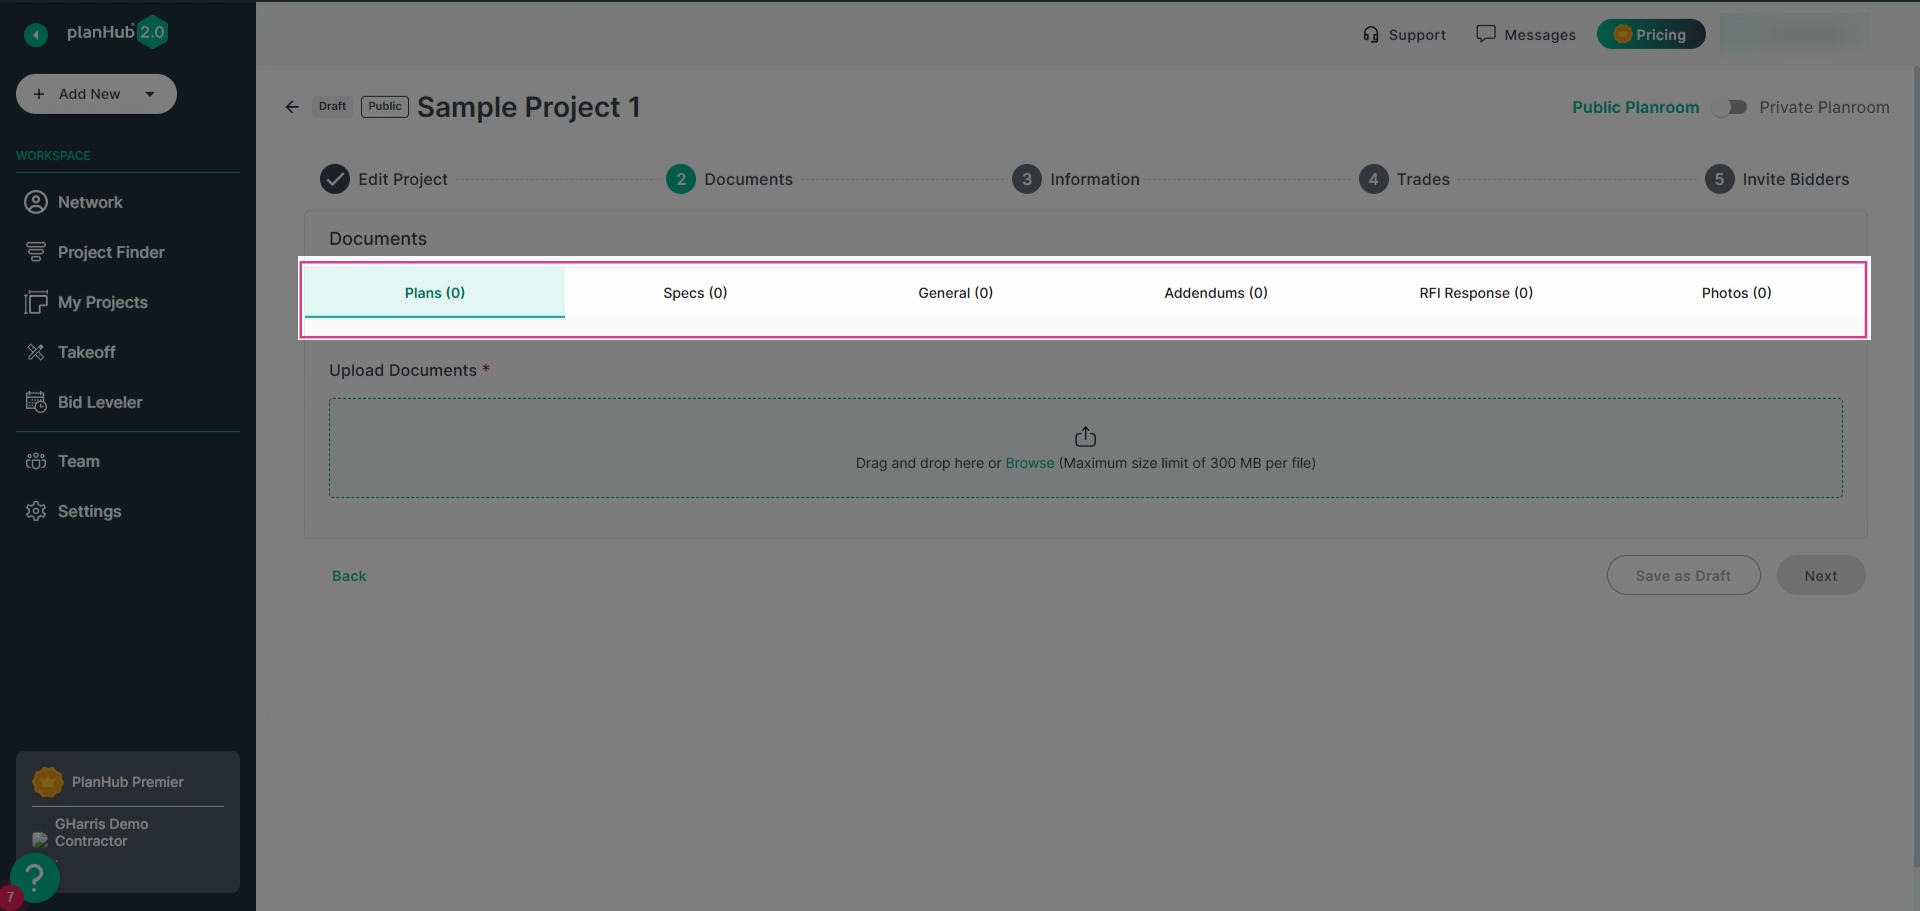
Step 5: On the next screen, start adding your project documents.
- Projects must include files for subs to review.
- Upload all relevant plans, specs, addenda, bid forms, or manuals—anything bidders need to prepare.
- Properly classify your documents by clicking to select a document type tab before uploading. NOTE: Correct classification makes it easier for subs to find what they need and increases your project’s bid quality.
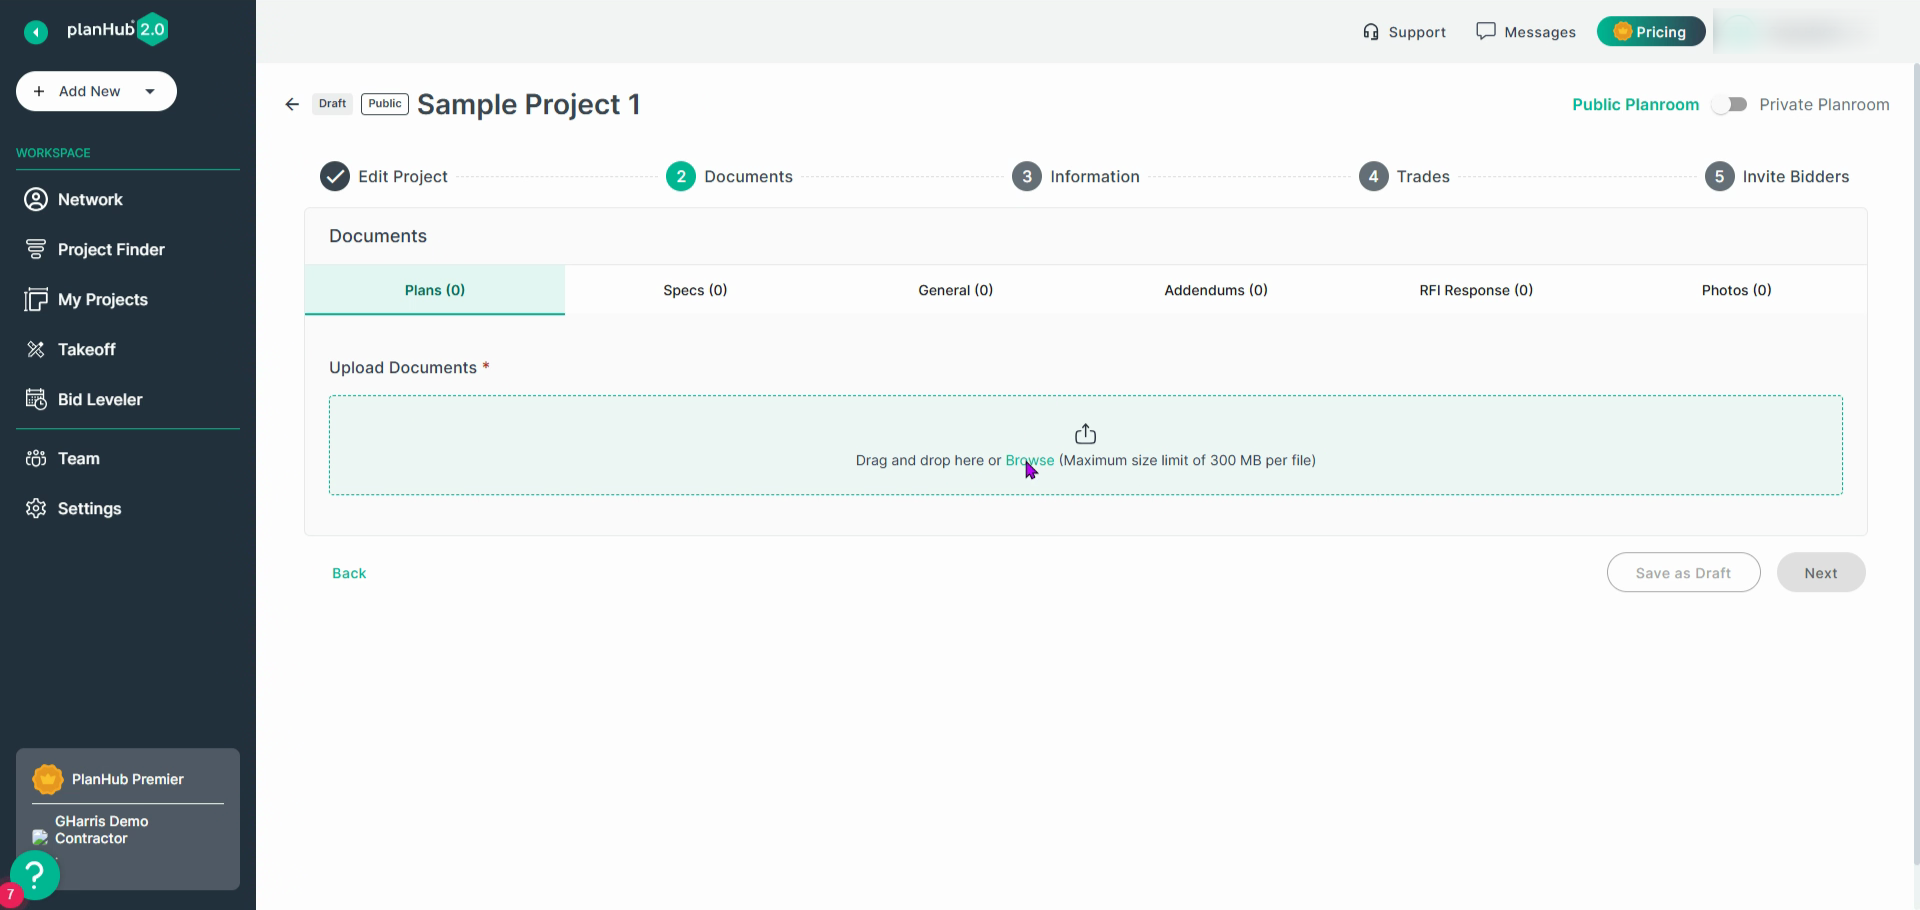
Step 6: After selecting the correct tab for your document type Drag and Drop files into the highlighted upload area, or click Browse to locate files on your device.
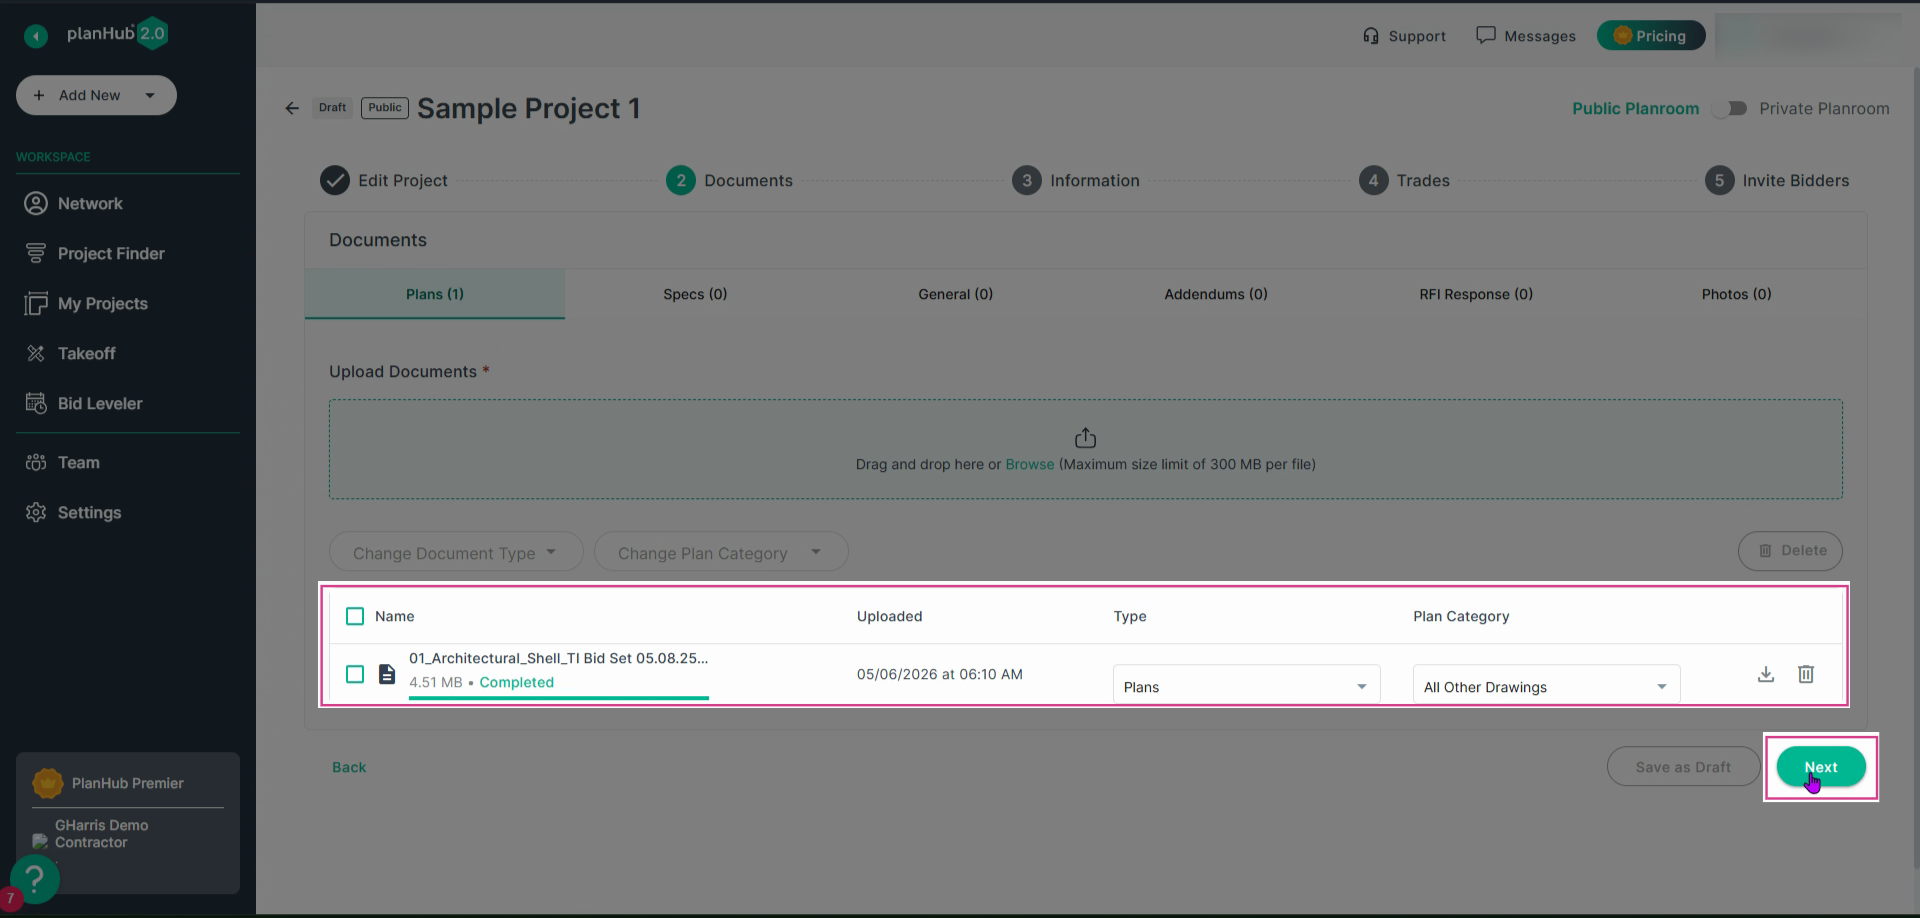
Step 7: After uploading documents, click Next to continue.
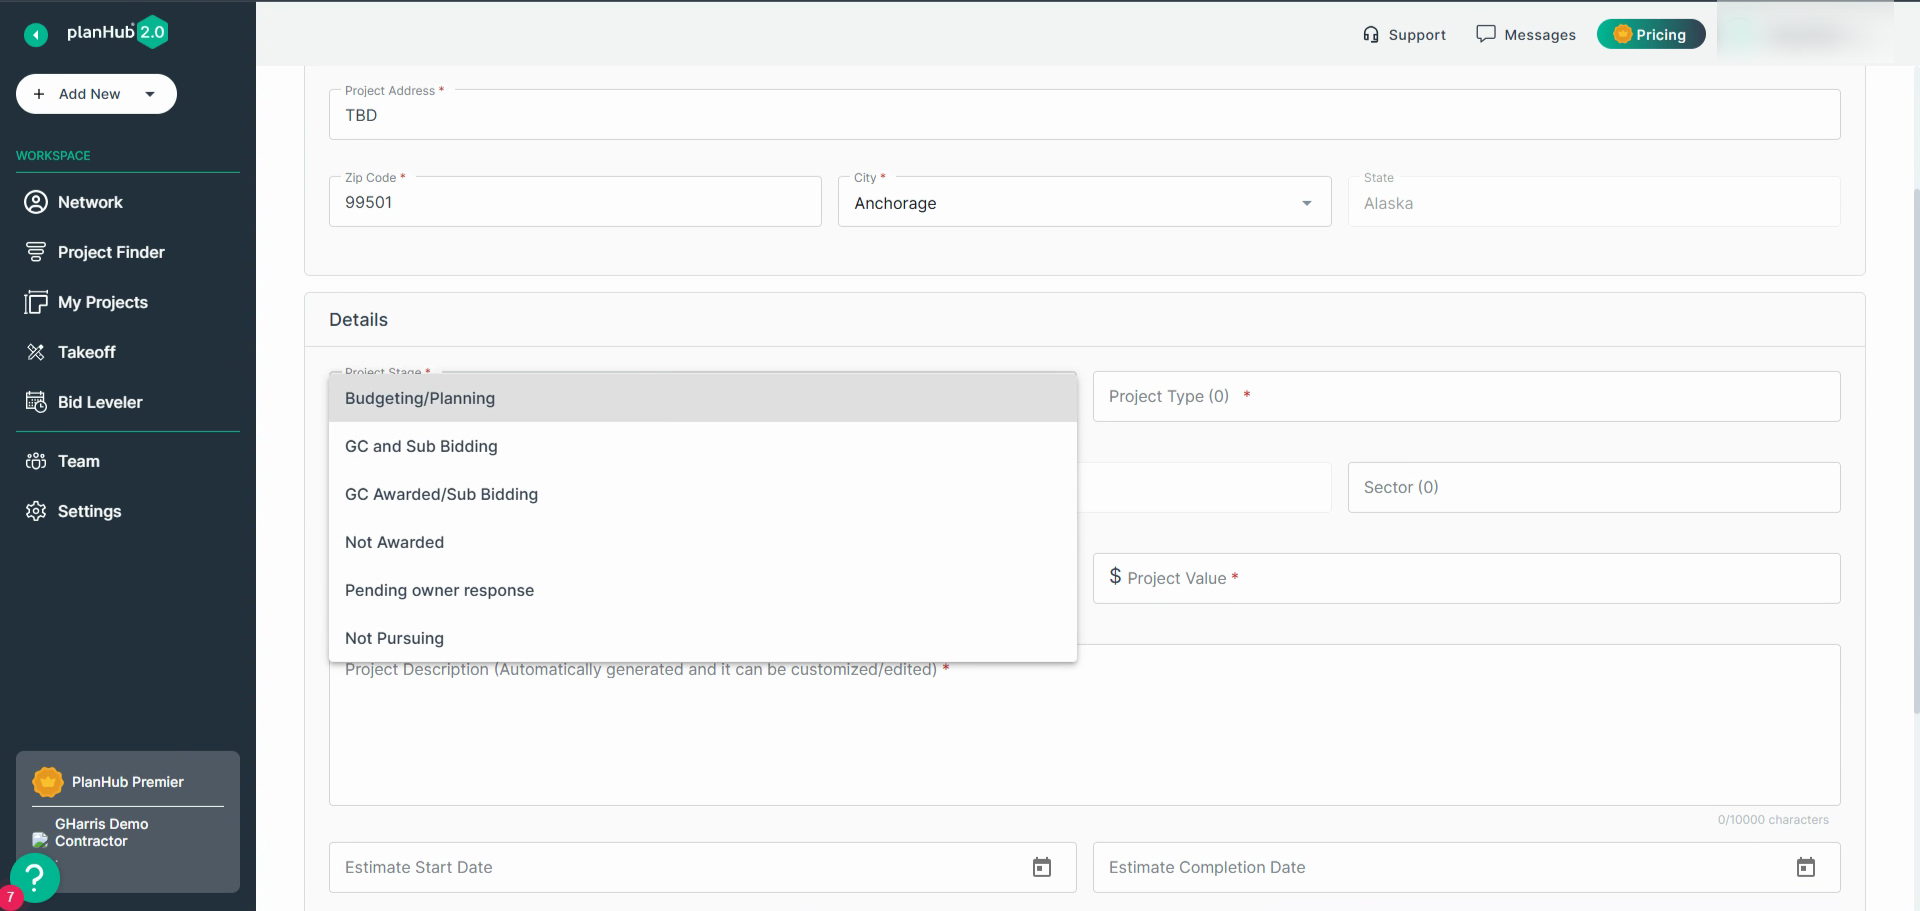
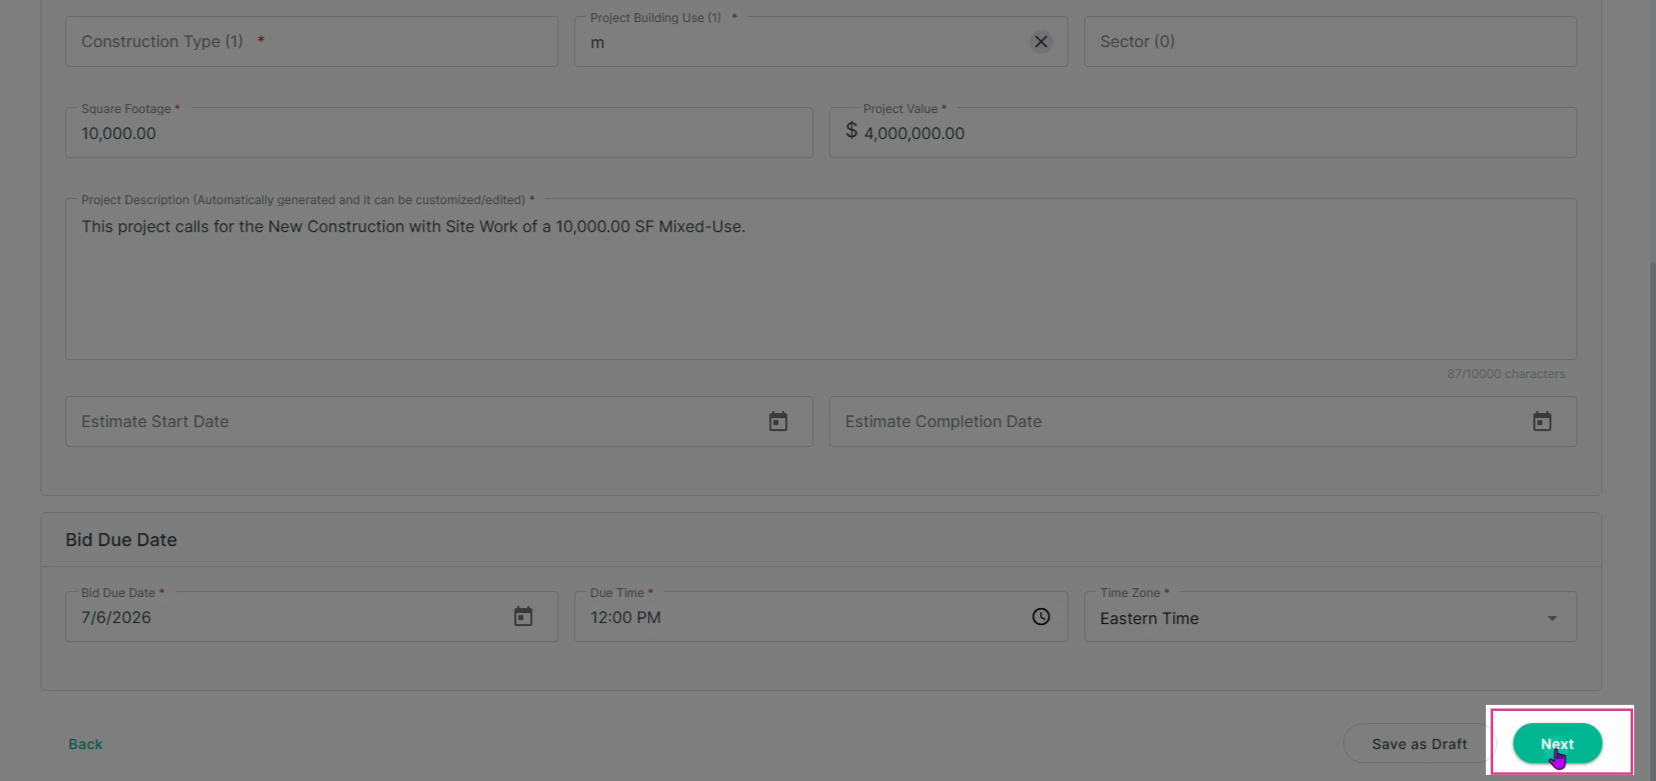
Step 8: Begin entering project information.
- First enter a Location. If you don’t know the full address yet, enter “TBD” with a valid zip code.
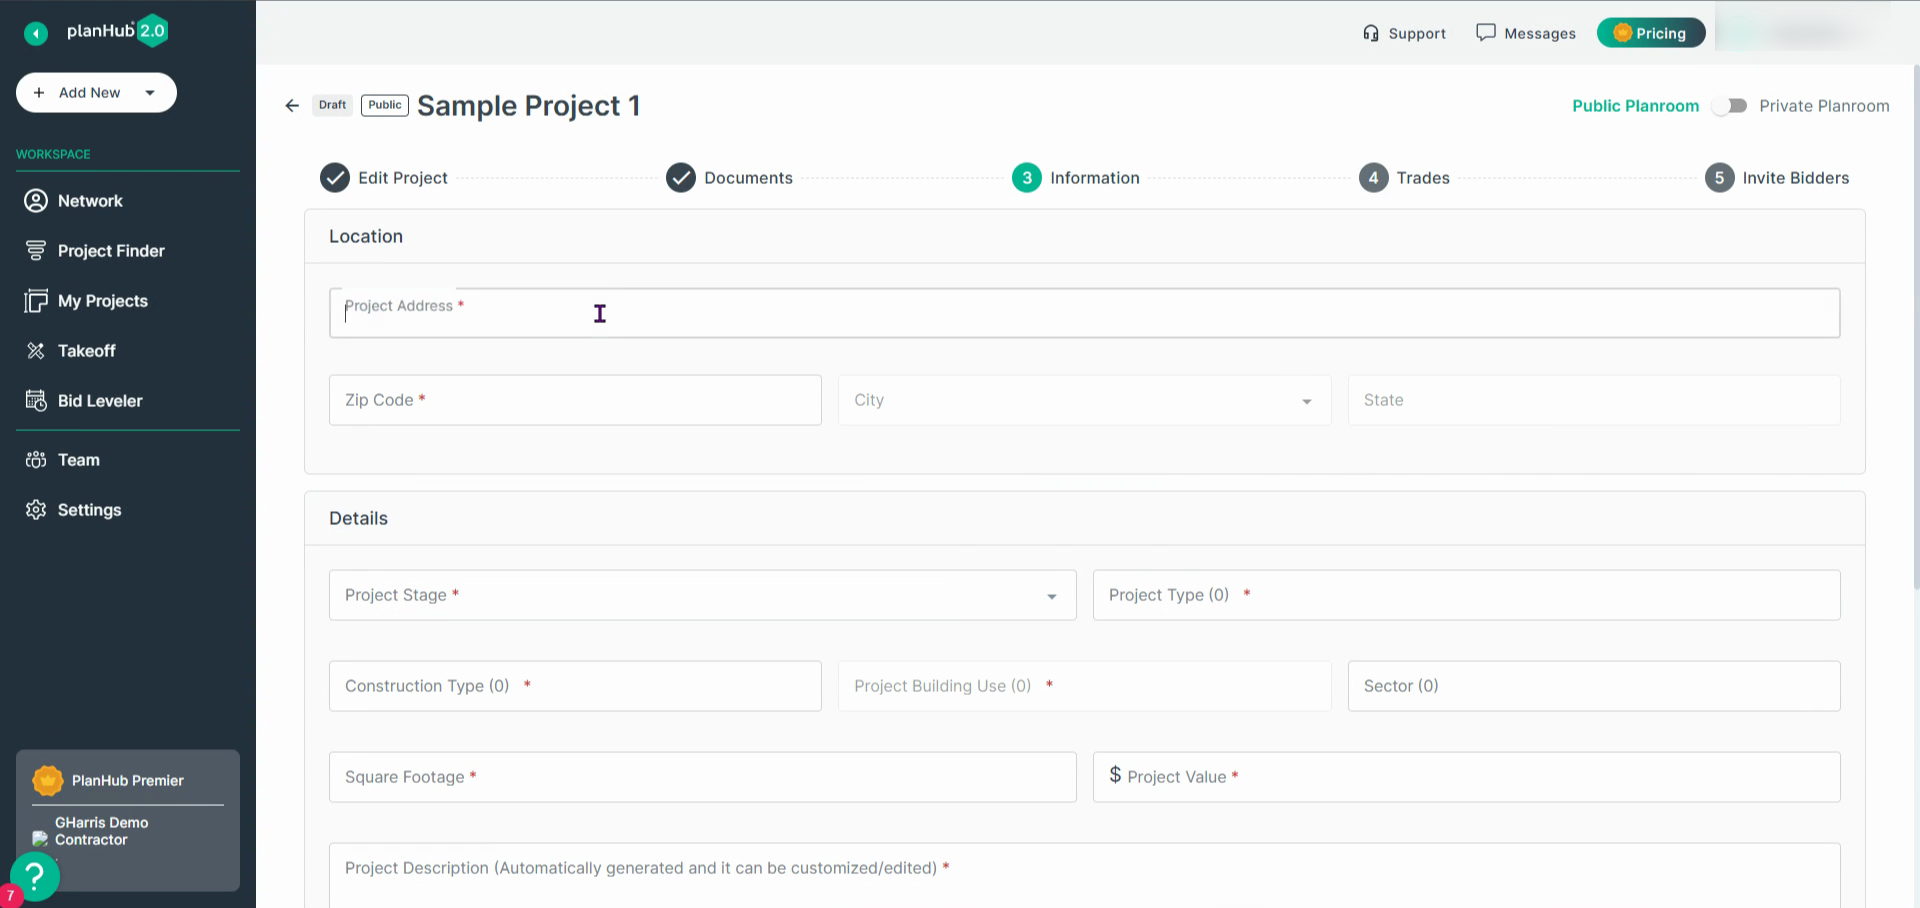
- Set the Project Type and Stage using the provided dropdowns.
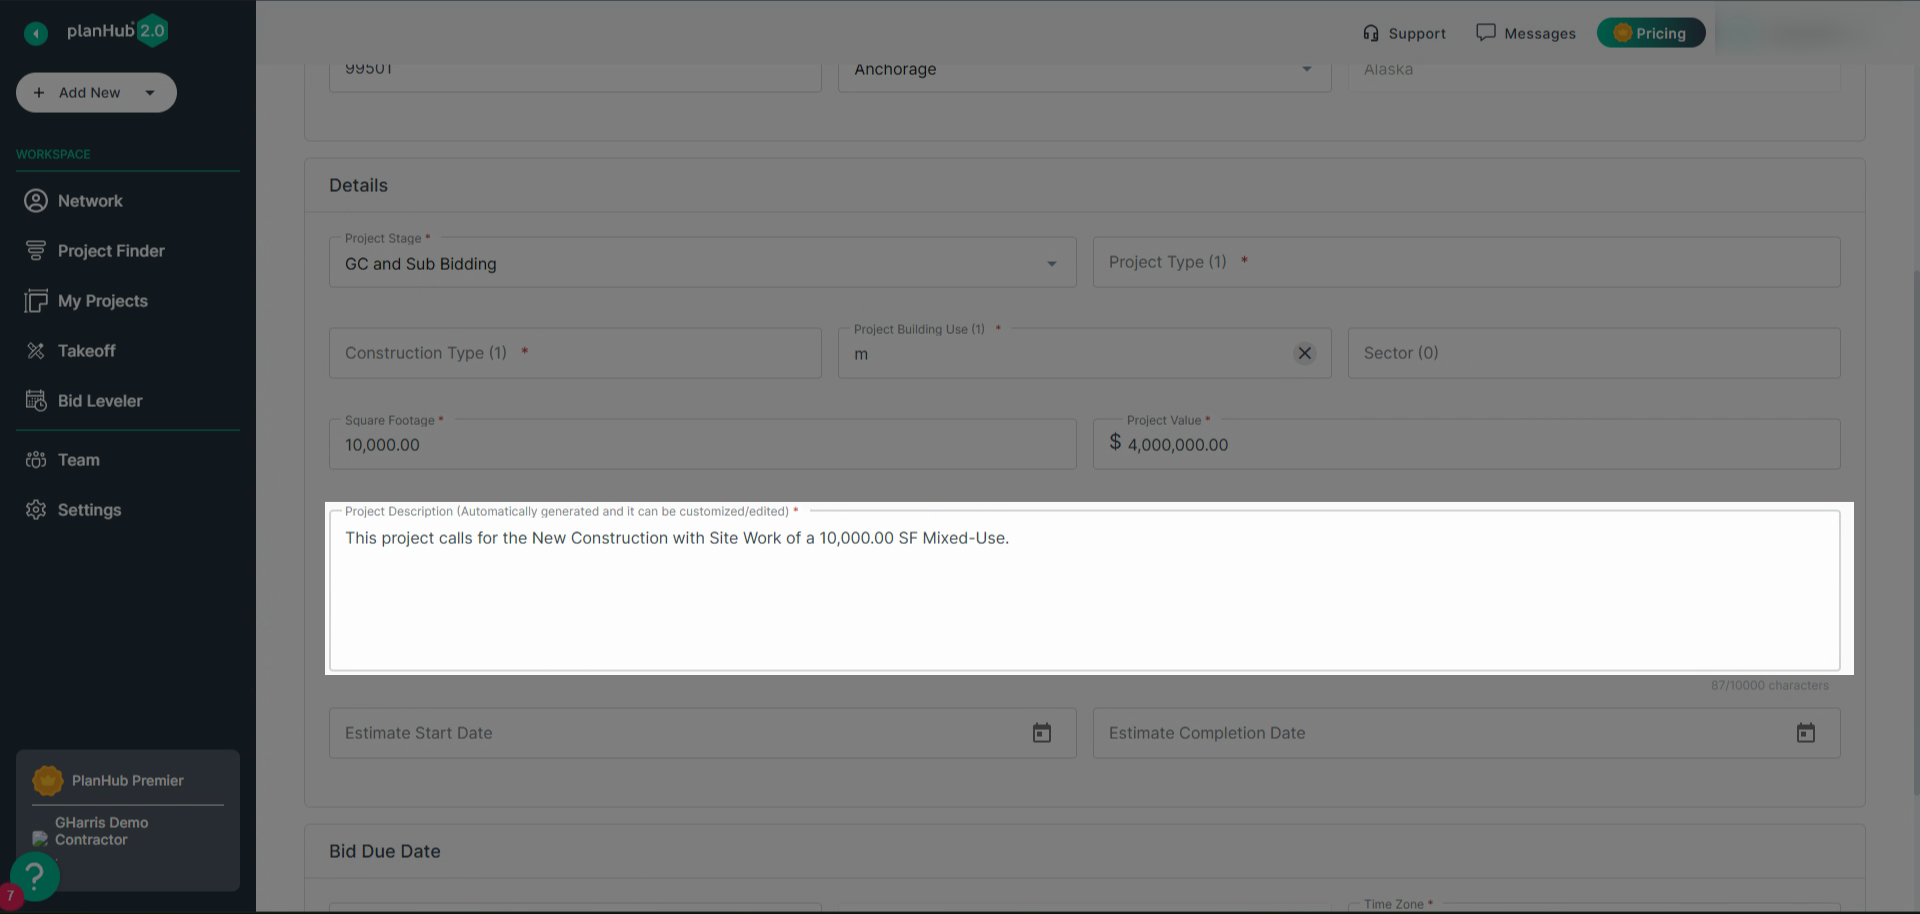
- Use checkboxes to specify Construction Type and Building Use.
- Enter accurate Square Footage and Estimated Value for your project.
- Review the Project Description
Note: PlanHub will prefill details based on your previous selections, but you can add additional information to help bidders.
- Select a Bid Due Date for your project.
- Save your progress by choosing Save as Draft or click Next to proceed if all required fields are complete.
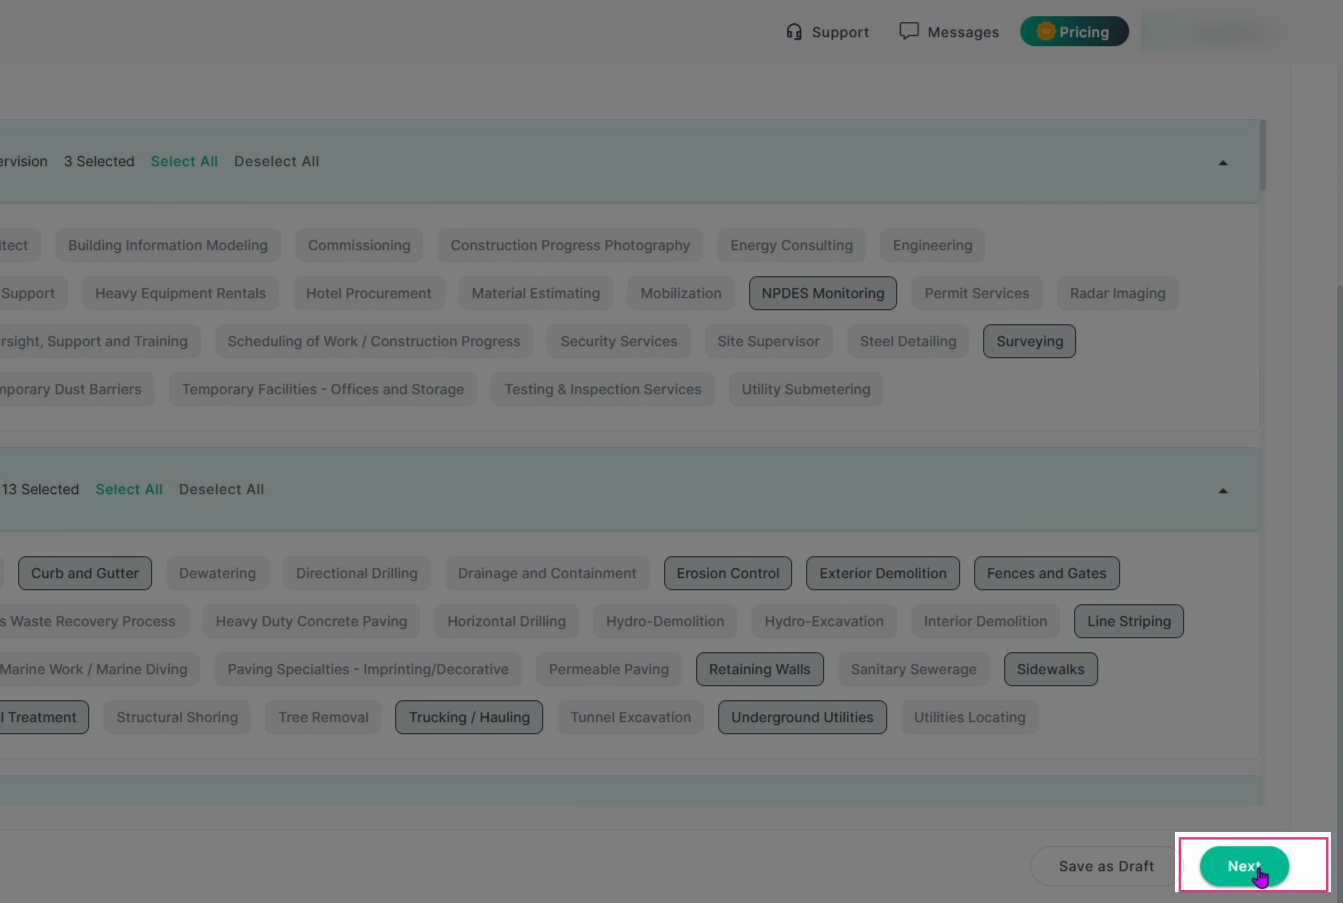
Step 9: Select the relevant Trades and Sub-Trades for the work required. Choose all that apply to your project or use quick select options for common project types.
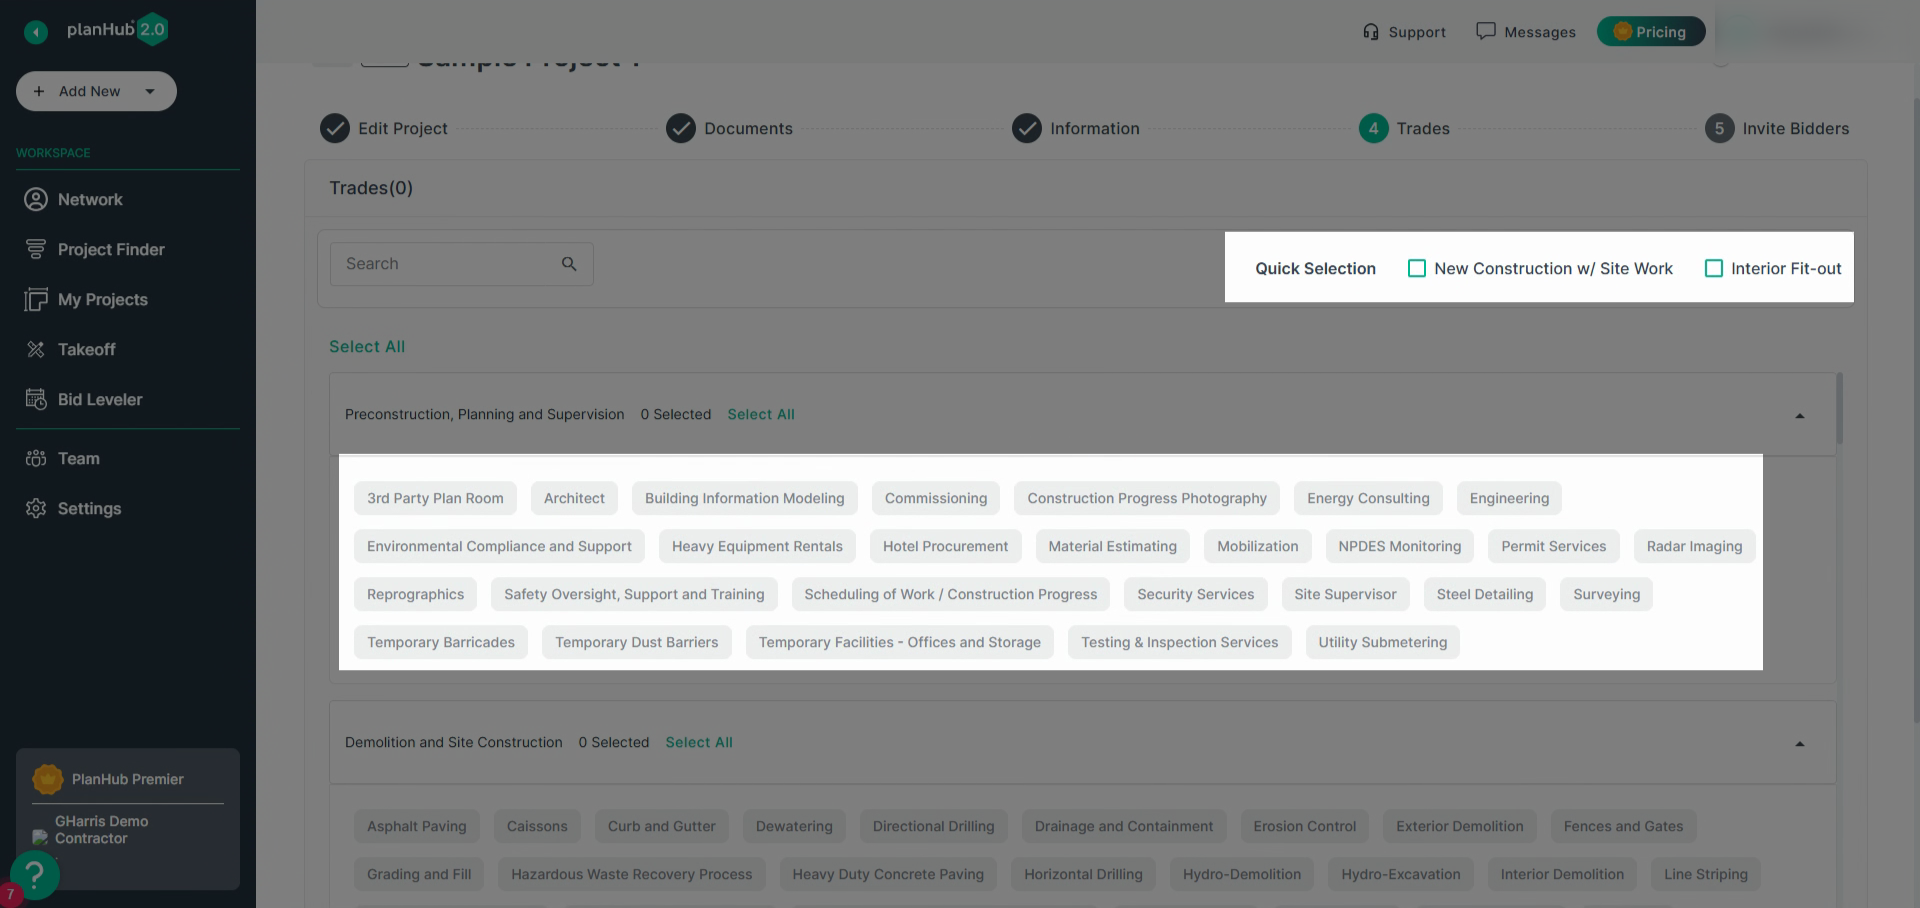
Note: Click a trade to add or remove it from Quick Selection as needed to target the right bidders and avoid irrelevant ITBs.
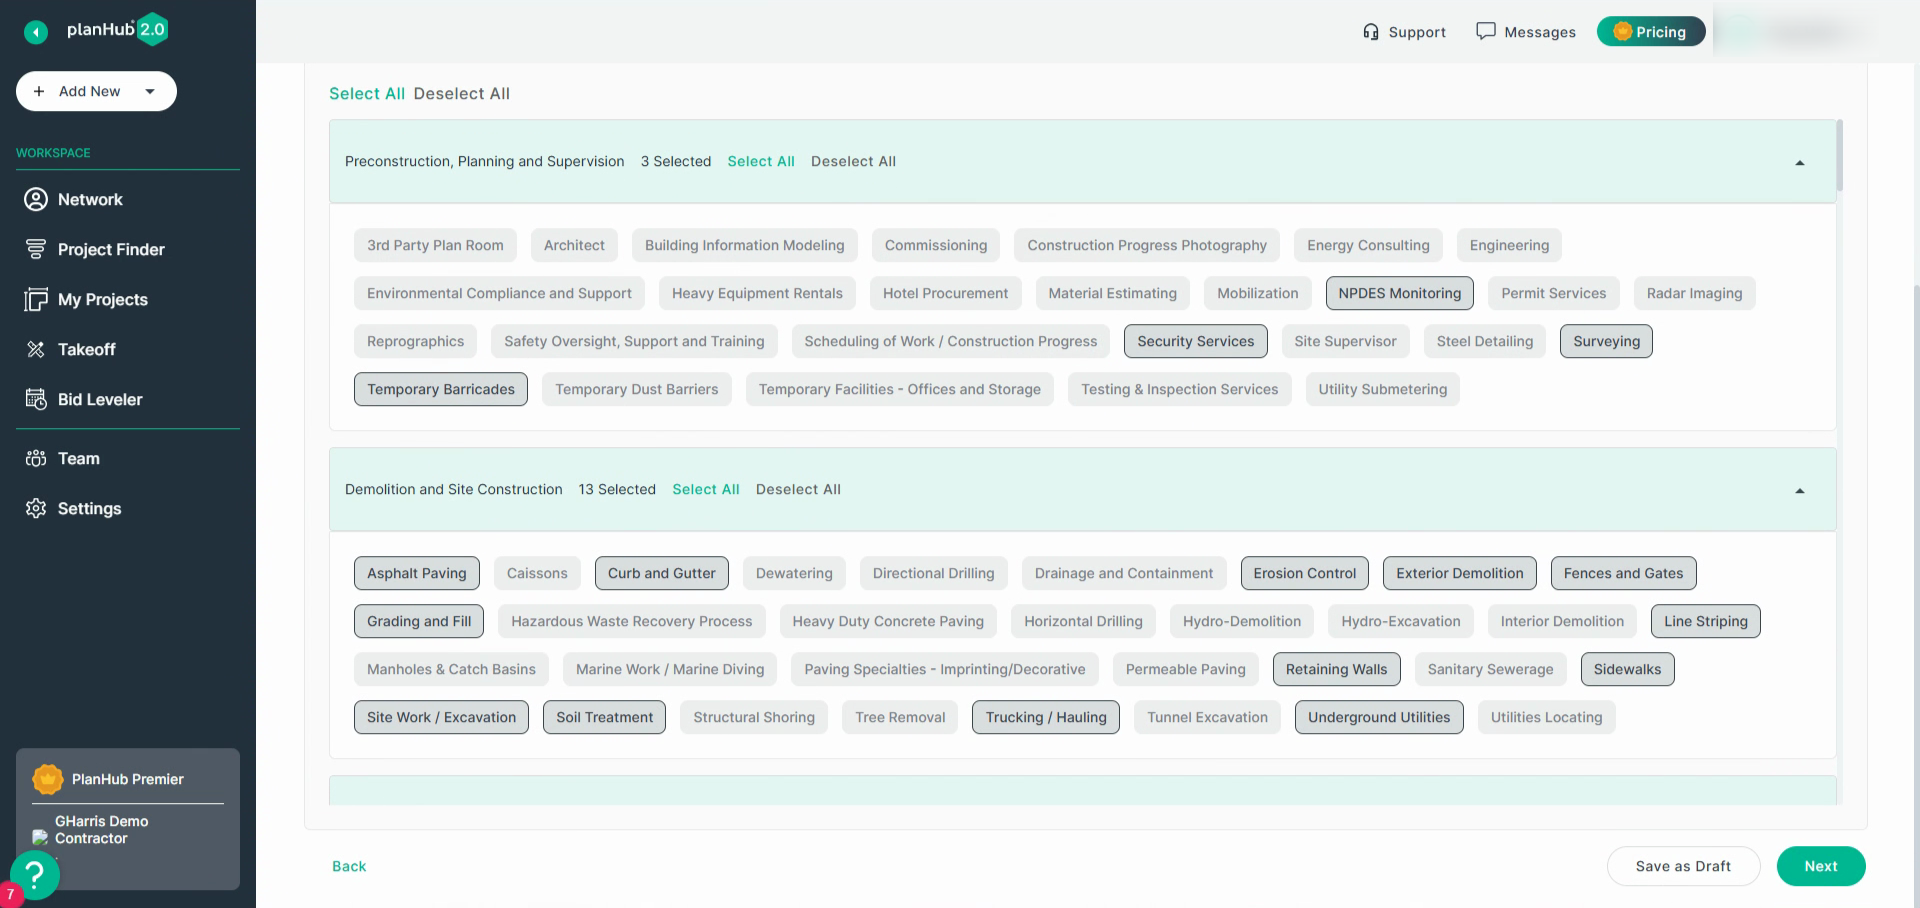
Step 10: Once trades are selected, click Next.
Step 11: Now, invite bidders to your project.
- For public postings, PlanHub automatically sends invitations to qualified contractors and suppliers by trade and location, increasing your bid volume.
- Premier and Pro users posting privately can build a unique invite list or upload recipient emails.
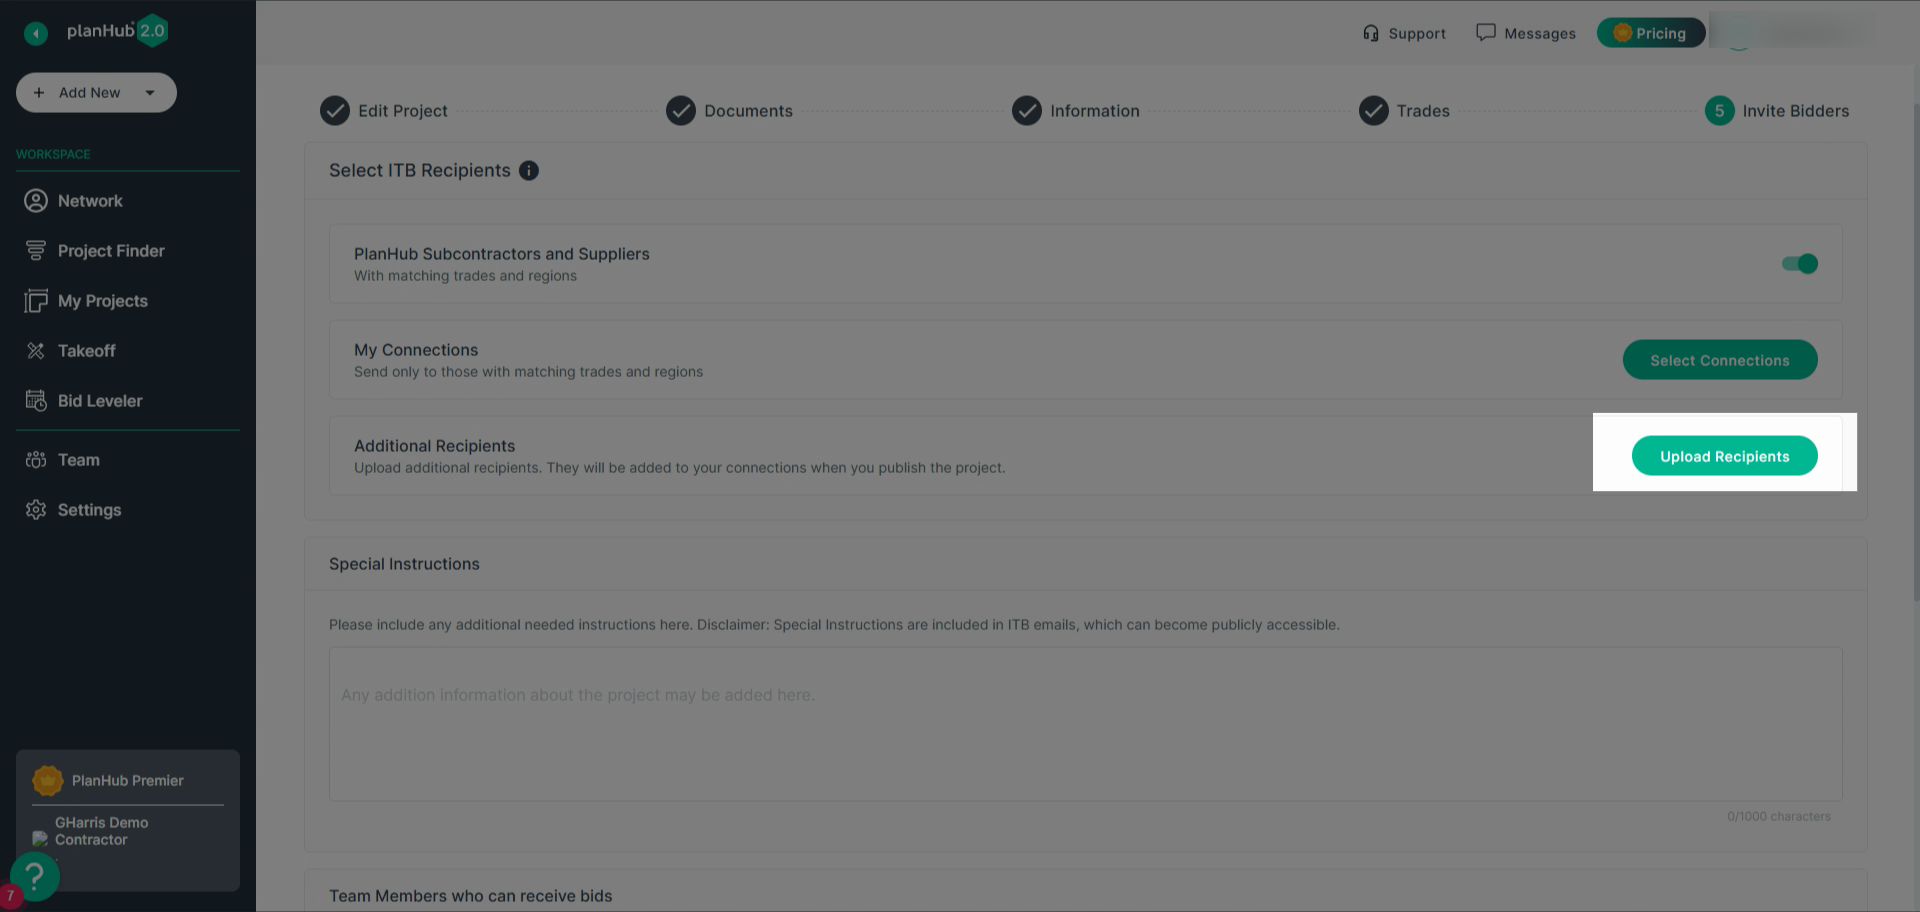
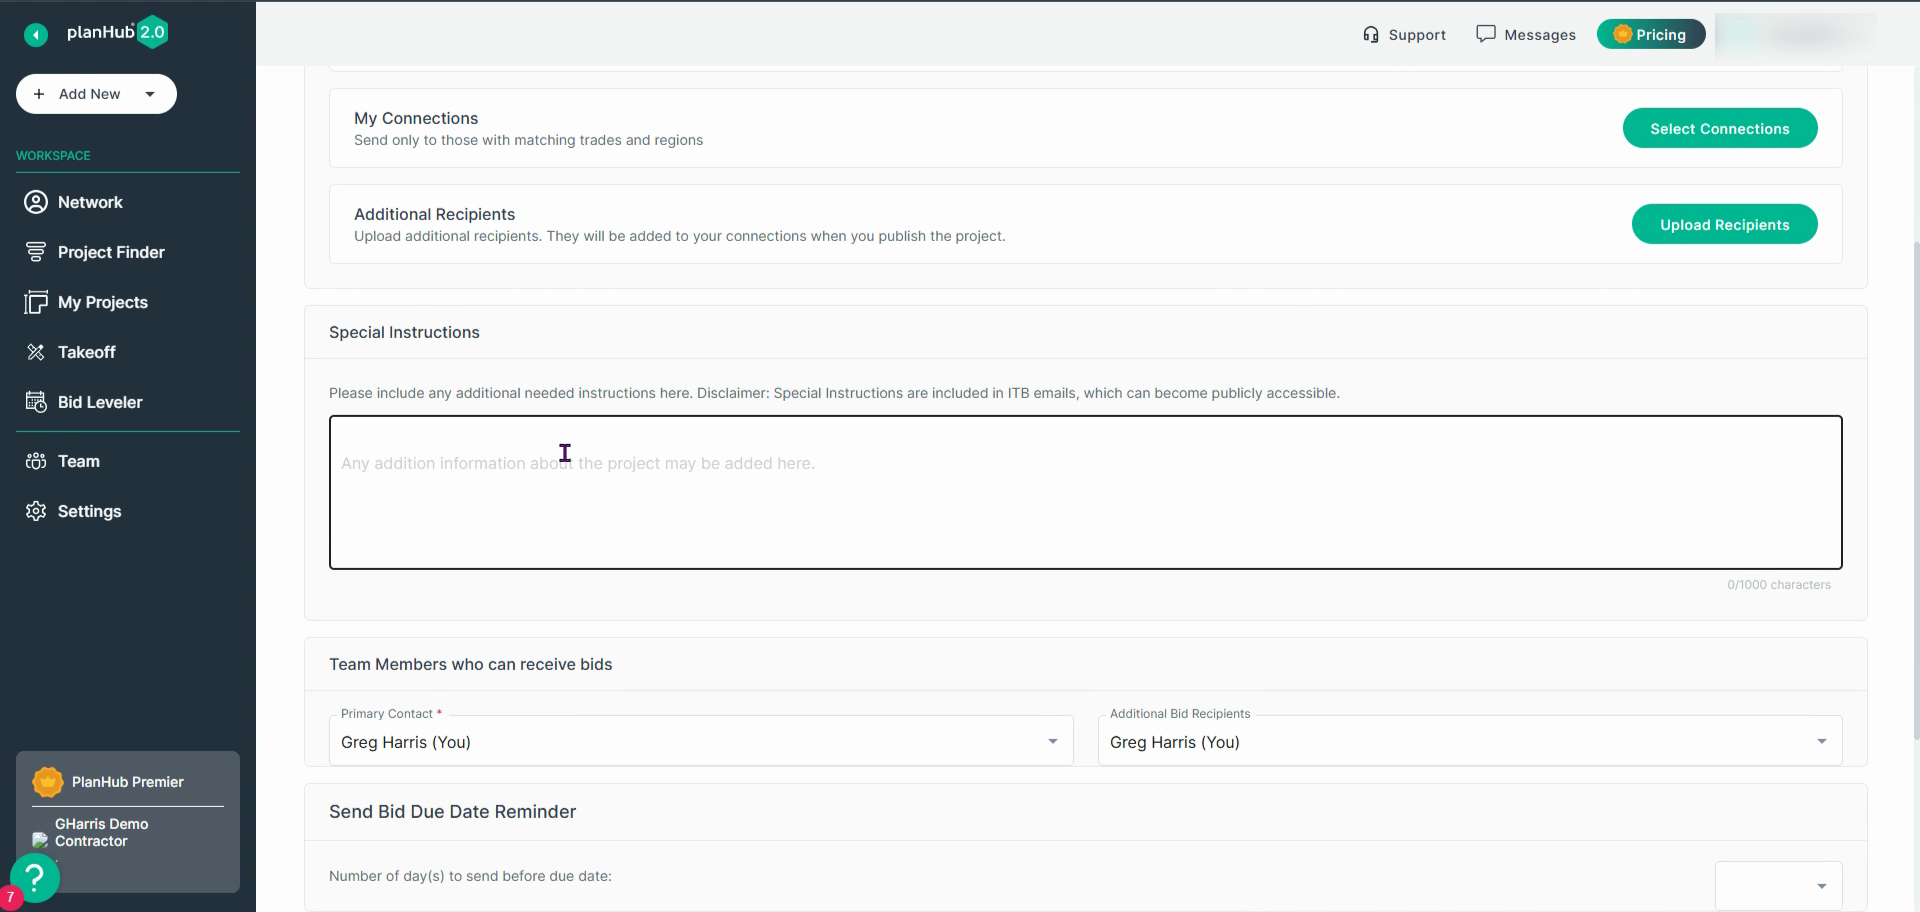
- Add special instructions for your ITB emails—these notes help clarify project details for subs.
Step 12: Click Customize Pre-qualification Form to select or deselect sections as needed by toggling required fields for this post.
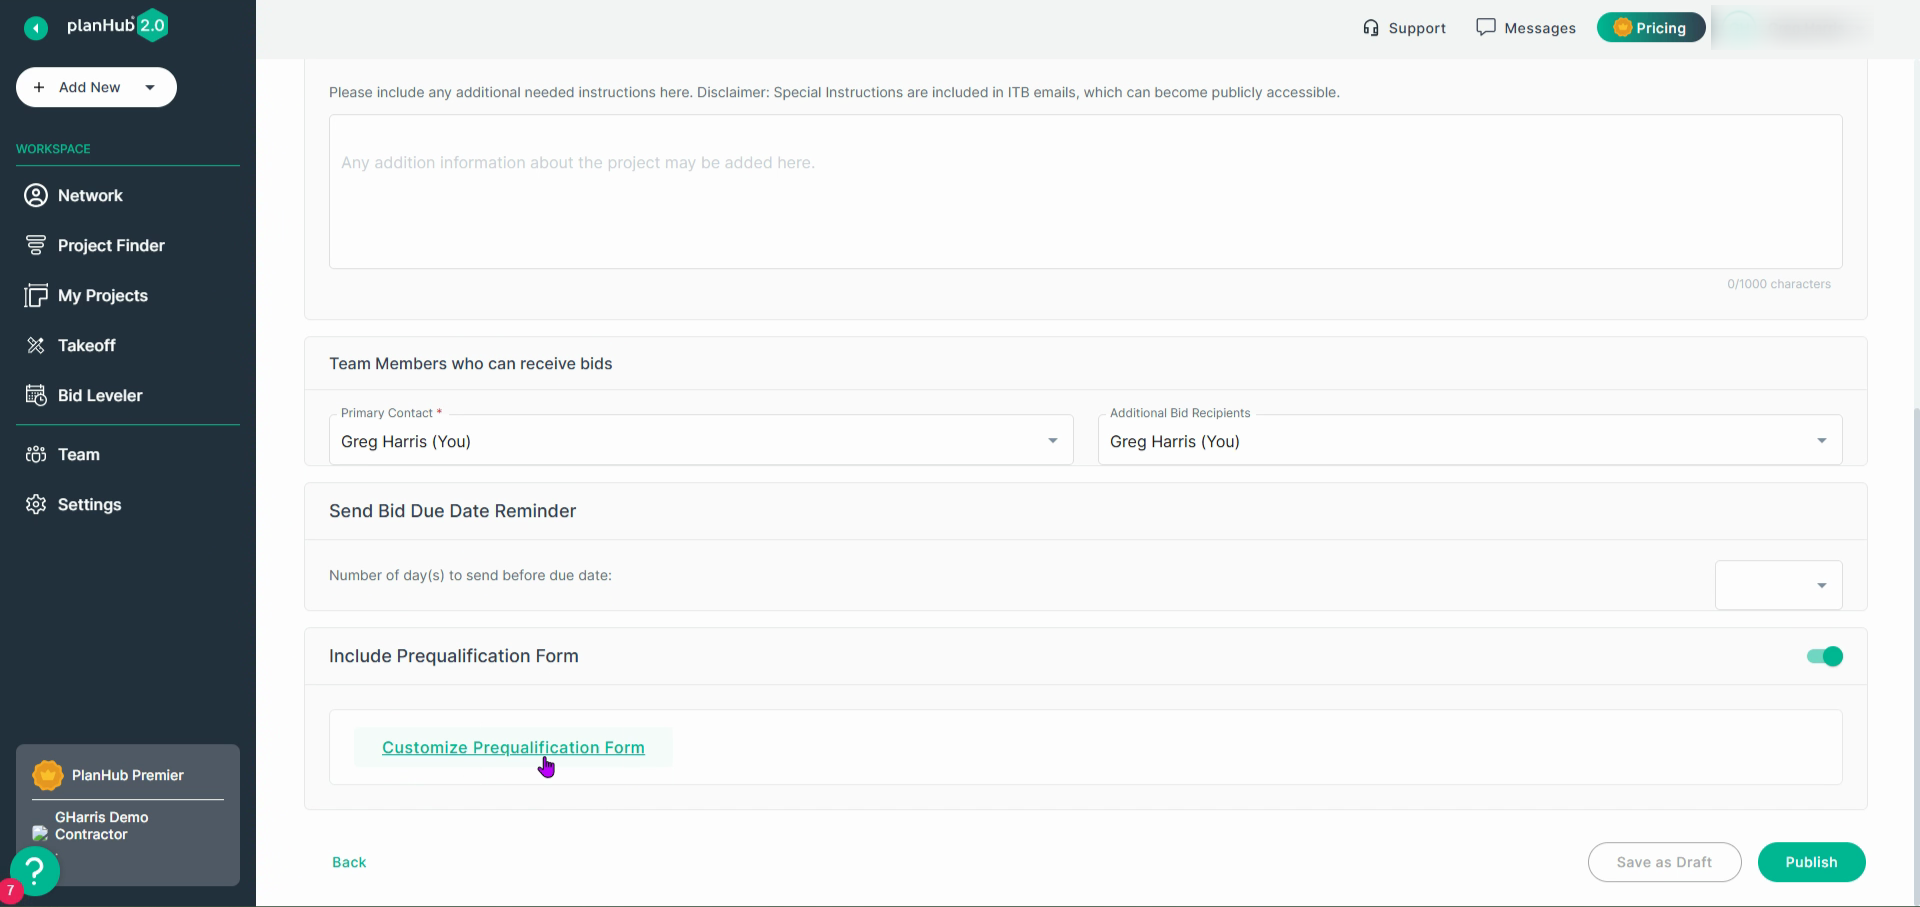
Step 13: When everything’s set, click Publish & Send to submit your project for review.
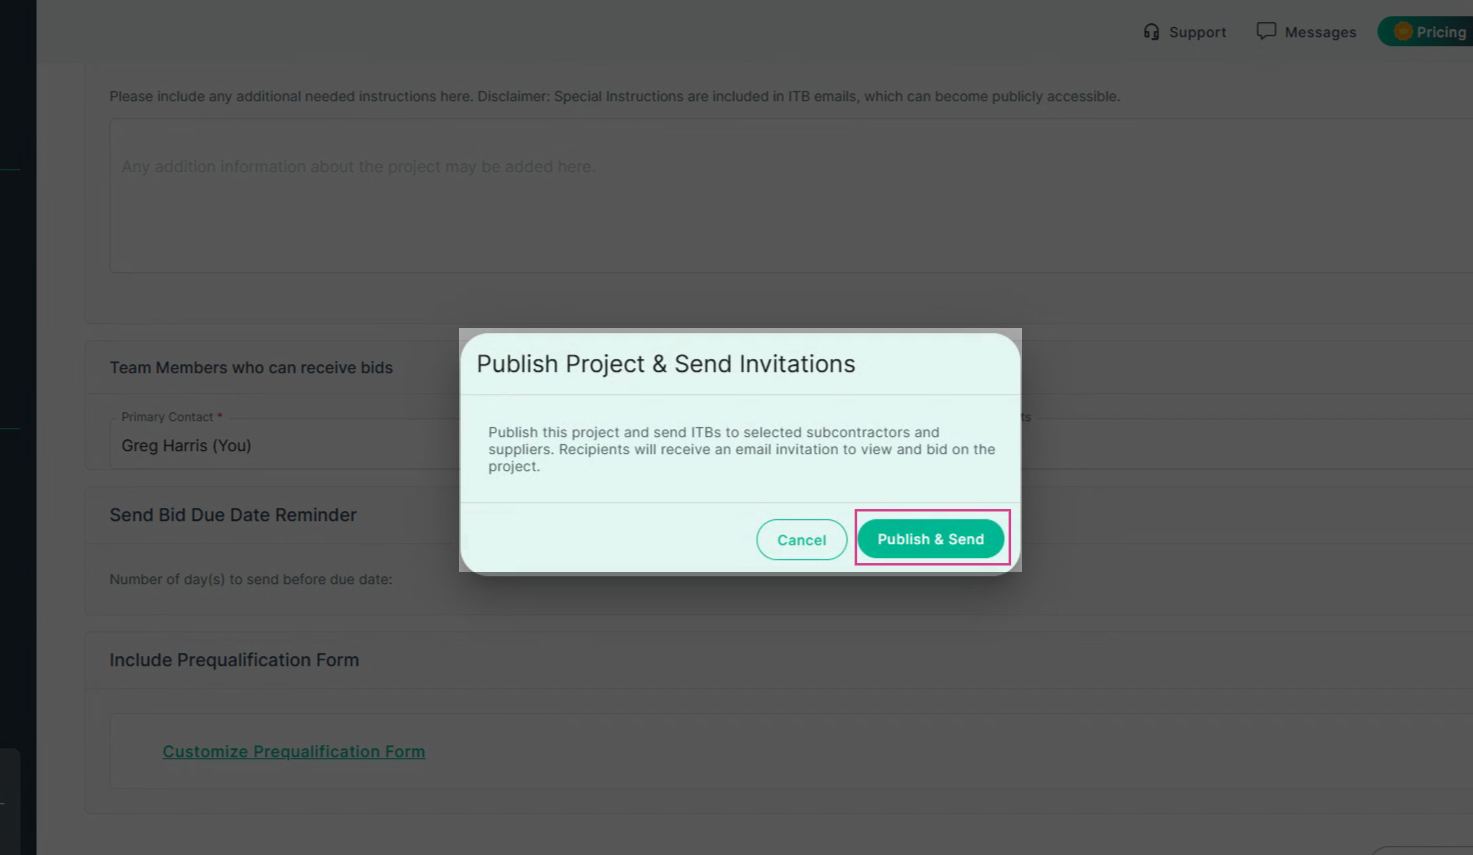
Congratulations! Your project is now live on PlanHub, visible in My Projects, and invitations will be distributed to qualified subcontractors for bidding after review.
Using PlanHub’s project posting tools helps you attract more bids from qualified subcontractors and streamlines the construction bidding process