Centralize Your Project Tracking in PlanHub
Keep all your bidding projects organized by importing external jobs directly to your PlanHub Bid Board. Manage deadlines, files, and progress securely in one place, and quickly run takeoffs when needed.
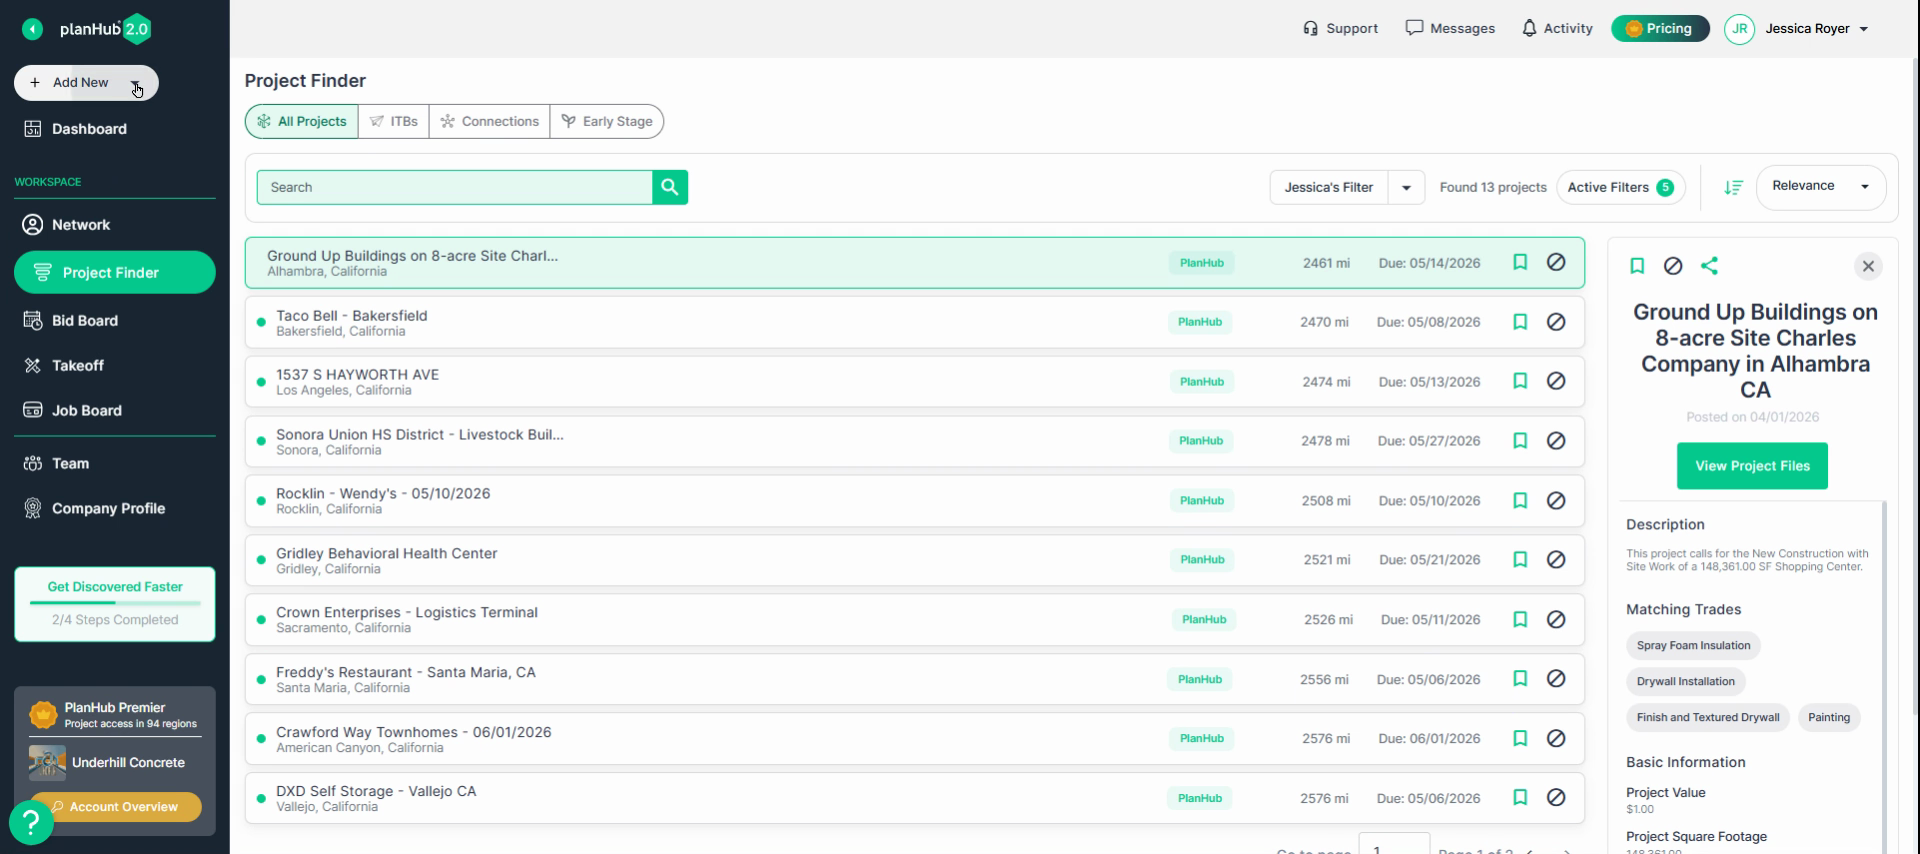
Step 1: Click the Add New button in the left navigation bar.
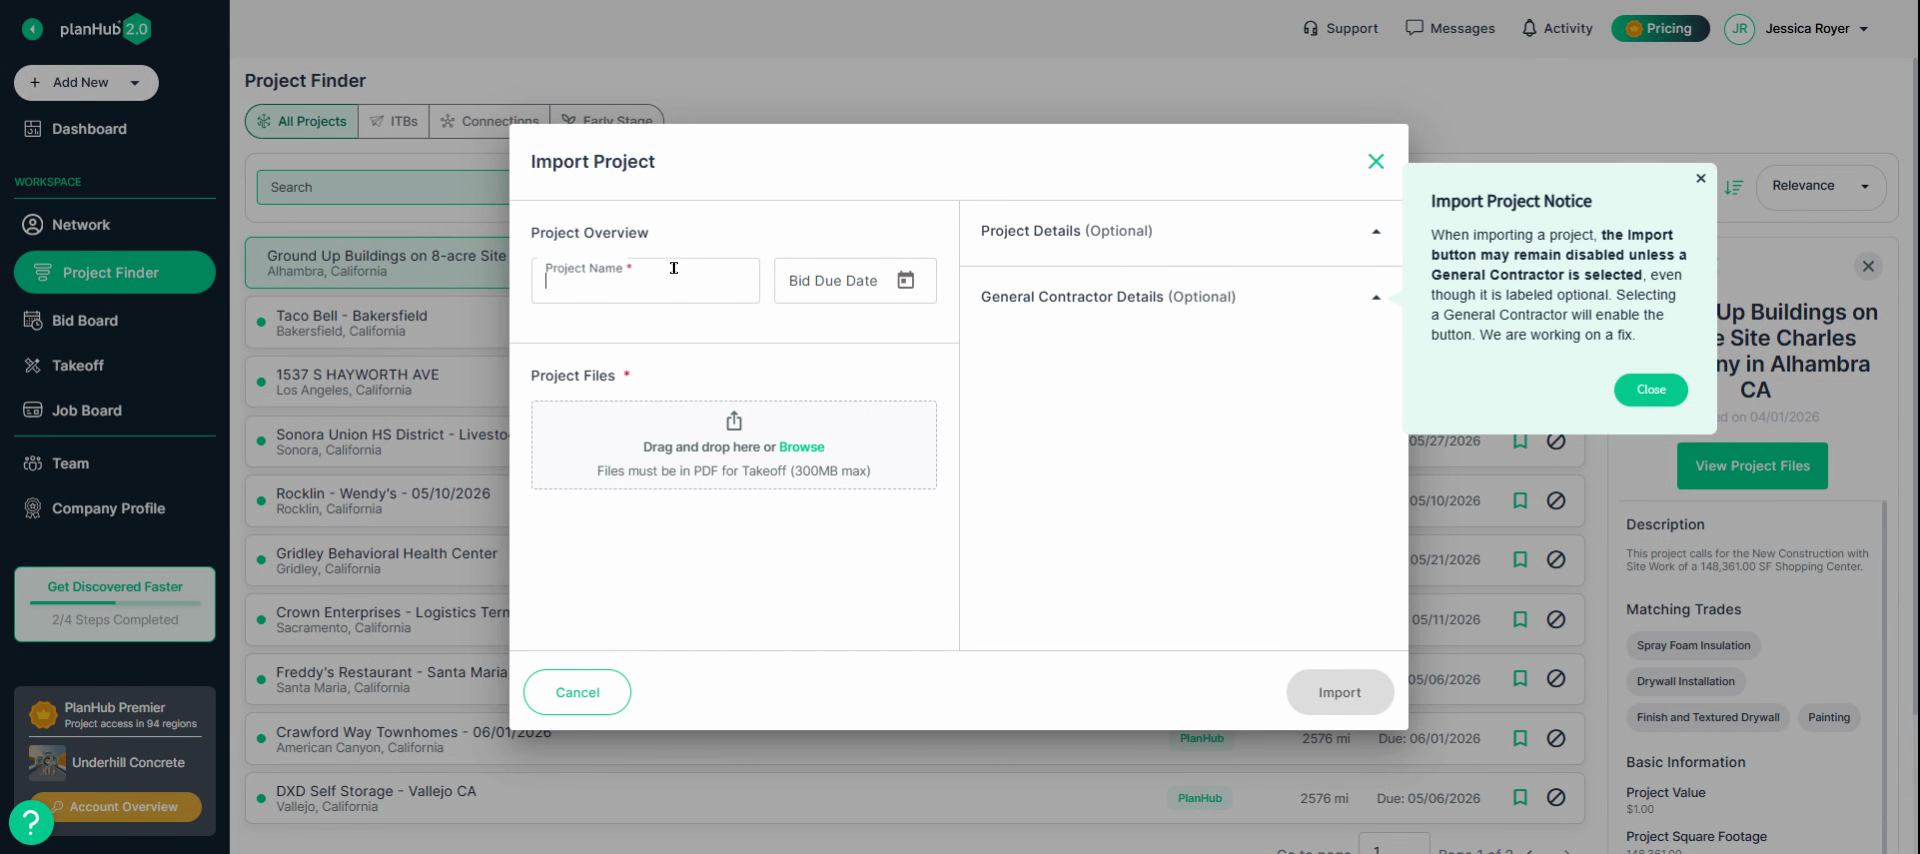
Step 2: From the drop-down menu, select Add a Project.

Step 3: Enter your project name.
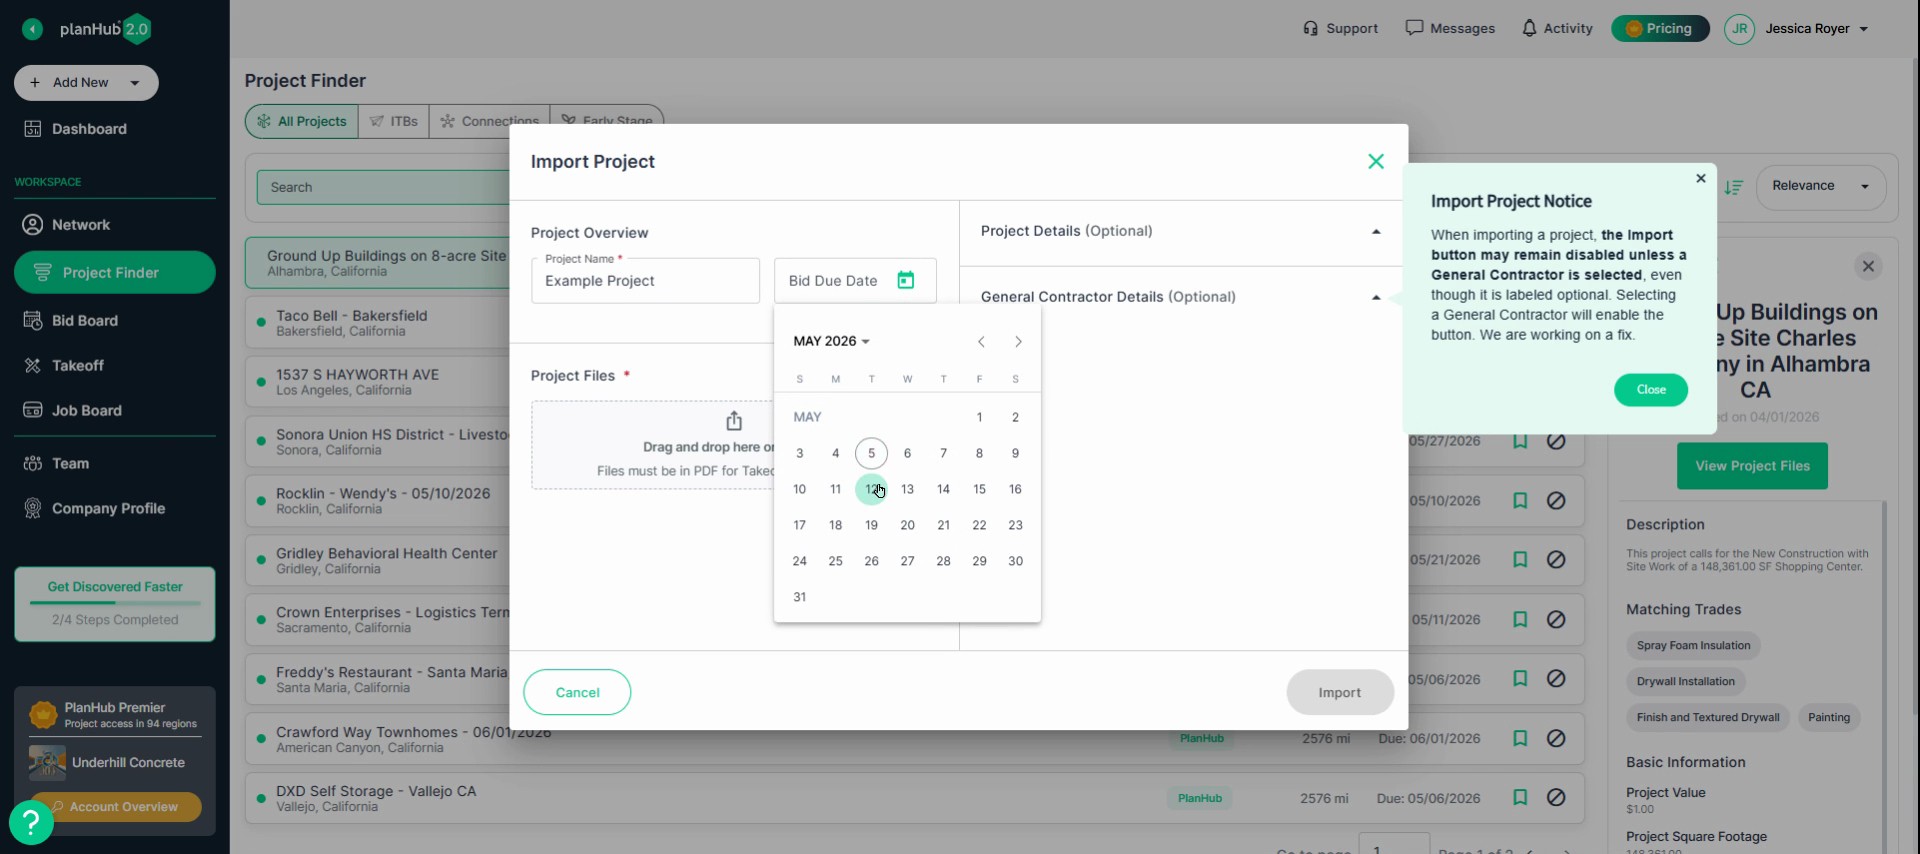
Step 4: Select the bid due date.

Step 5: Upload all relevant project files.
Step 6: Click Import to add the project to your Bid Board.

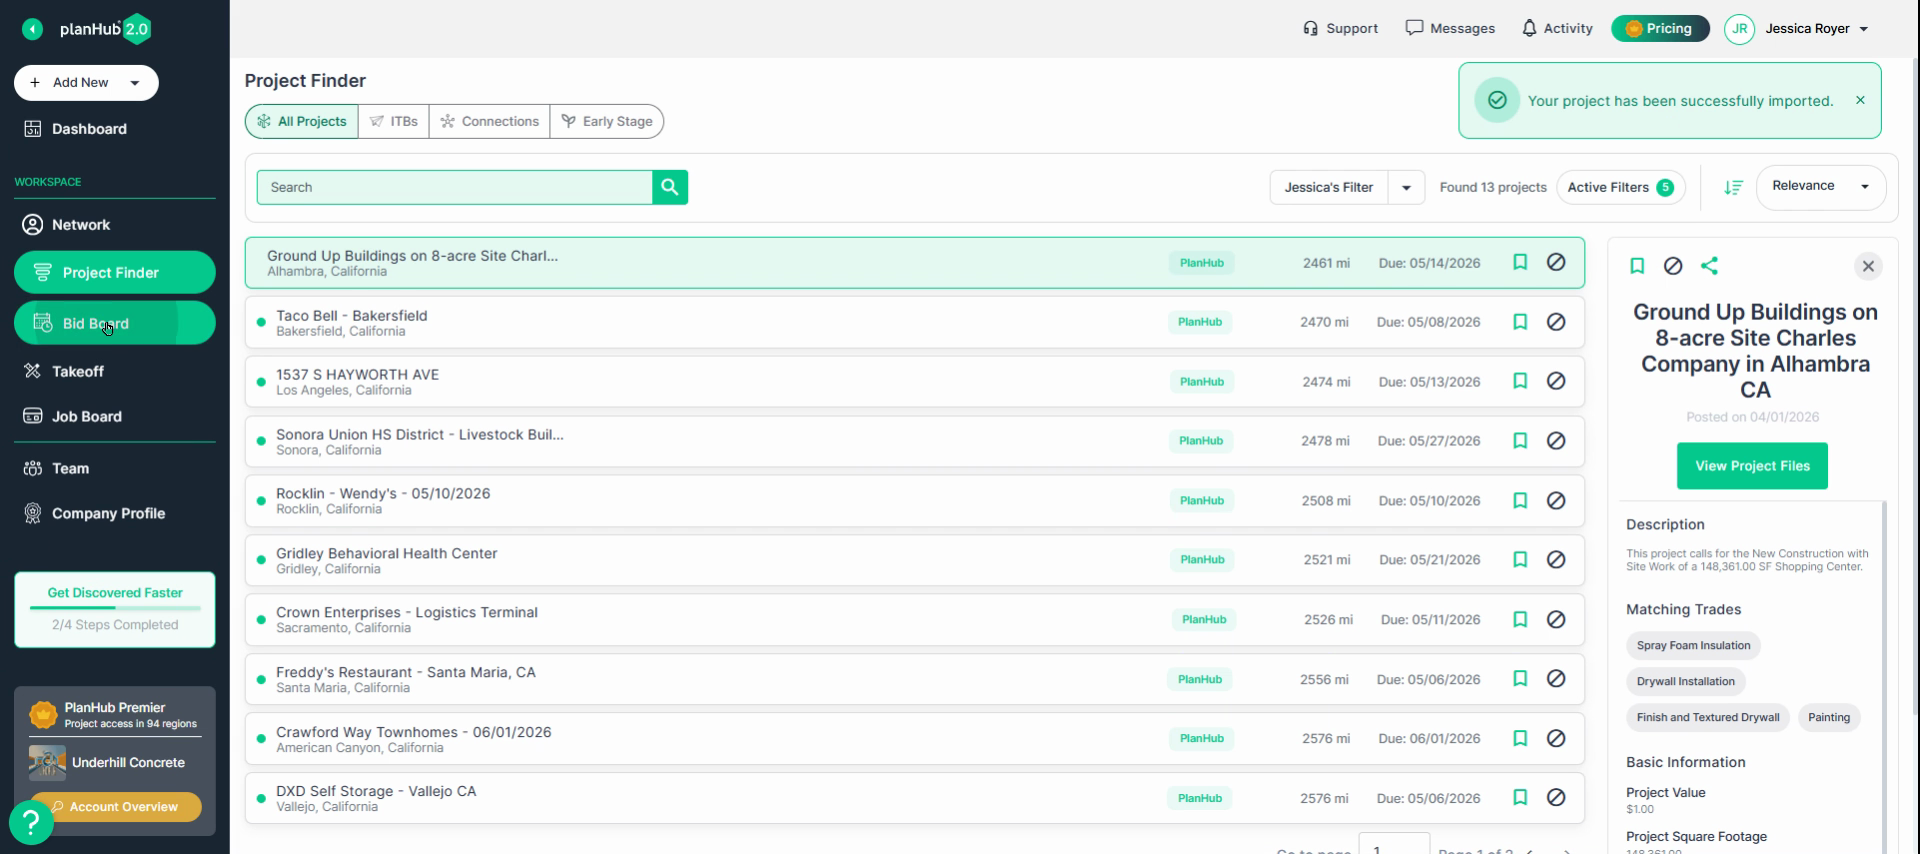
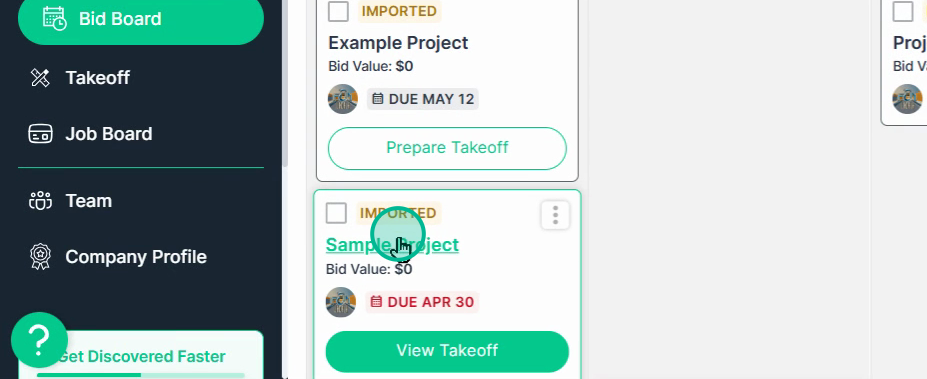
Step 7: Once the project imports successfully, access it directly from your Bid Board.
Send Imported Project Files into Takeoff
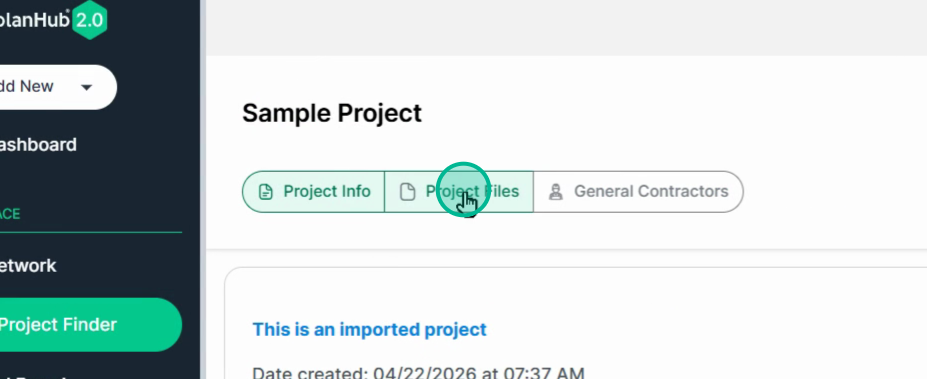
Step 1: Enter your imported project by clicking on its name.
Step 2: Go to the Project Files tab.
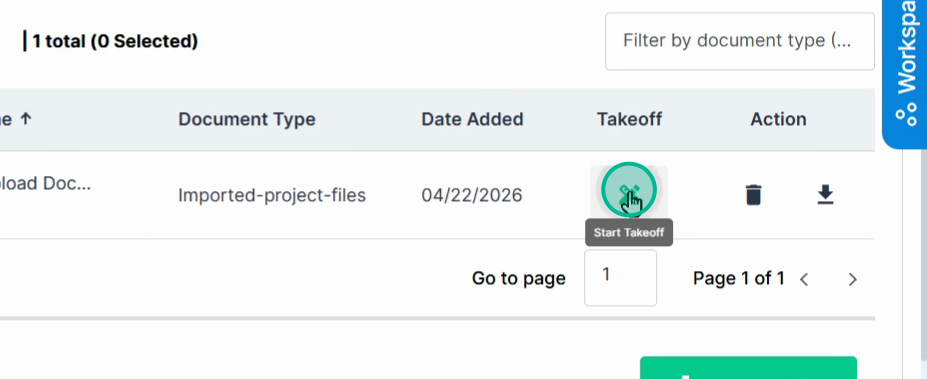
Step 3: Find the file you need, click the Start Takeoff icon.
Importing projects into PlanHub makes it easy to keep everything on track, collaborate with your team, and run takeoffs without leaving the platform. Streamline your bidding workflow and stay ahead on every opportunity.
Troubleshooting
Contact us if you need assistance or to report an issue:
- PlanHub Contact Page: https://planhub.com/contact/
- Customer Facing Support Ticket Link: https://knowledgebase.planhub.com/knowledge/kb-tickets/new
- Customer Success Team: CustomerSuccess@planhub.com