How to Manage Project Files as a General Contractor
Master adding, editing, and removing project files for your posted project with this step-by-step guide. You'll learn how to organize project documents, adjust notifications, and maintain your files for efficient project management.
Step 1: Select Your Project
Start by choosing the project where you'll manage files. Selecting the right project ensures all your edits apply in the correct place.
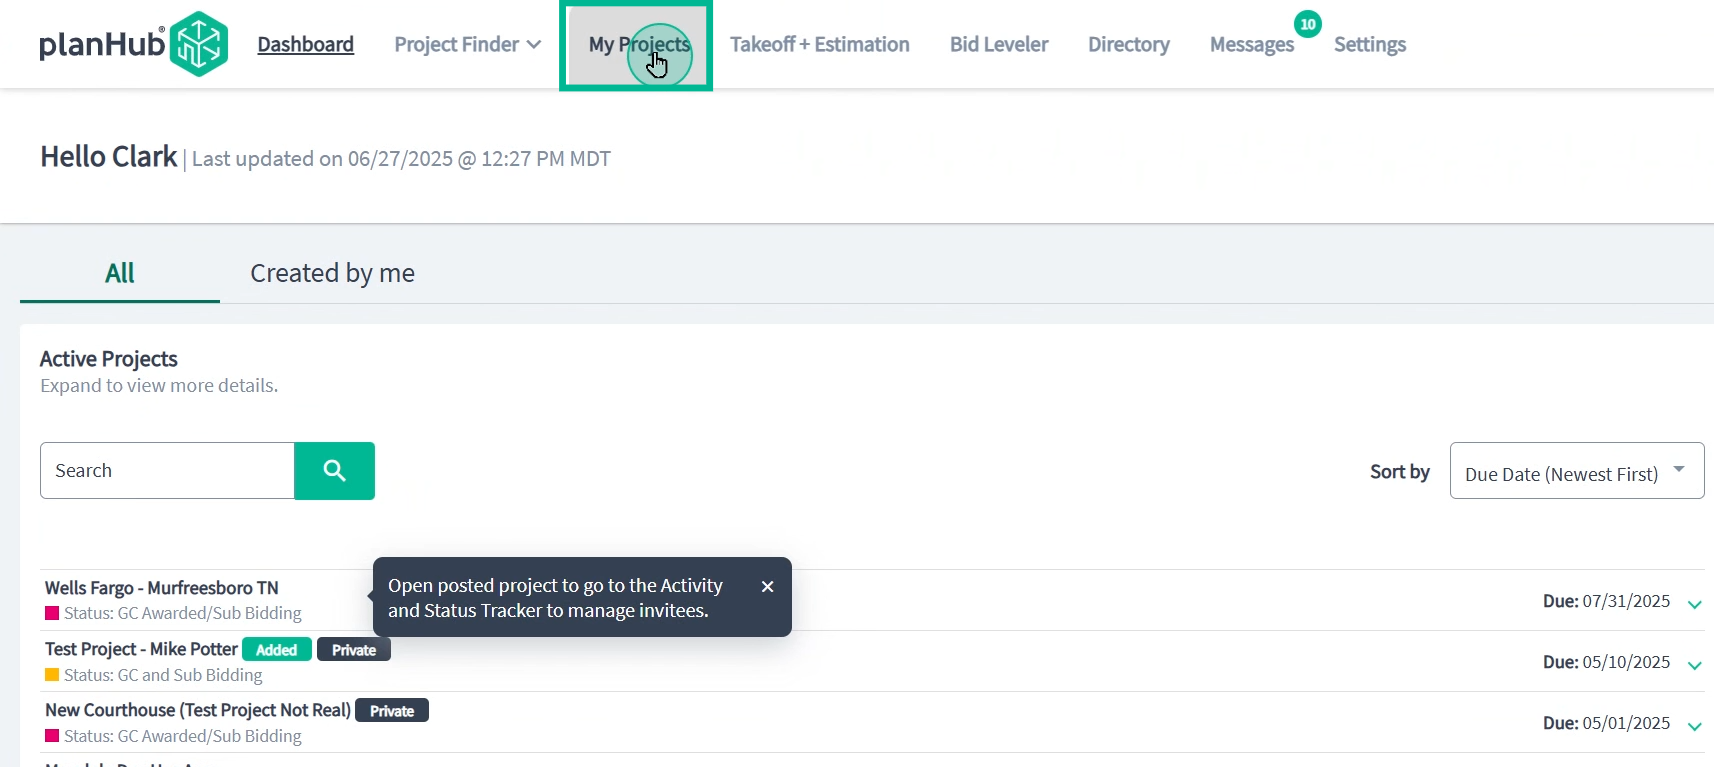
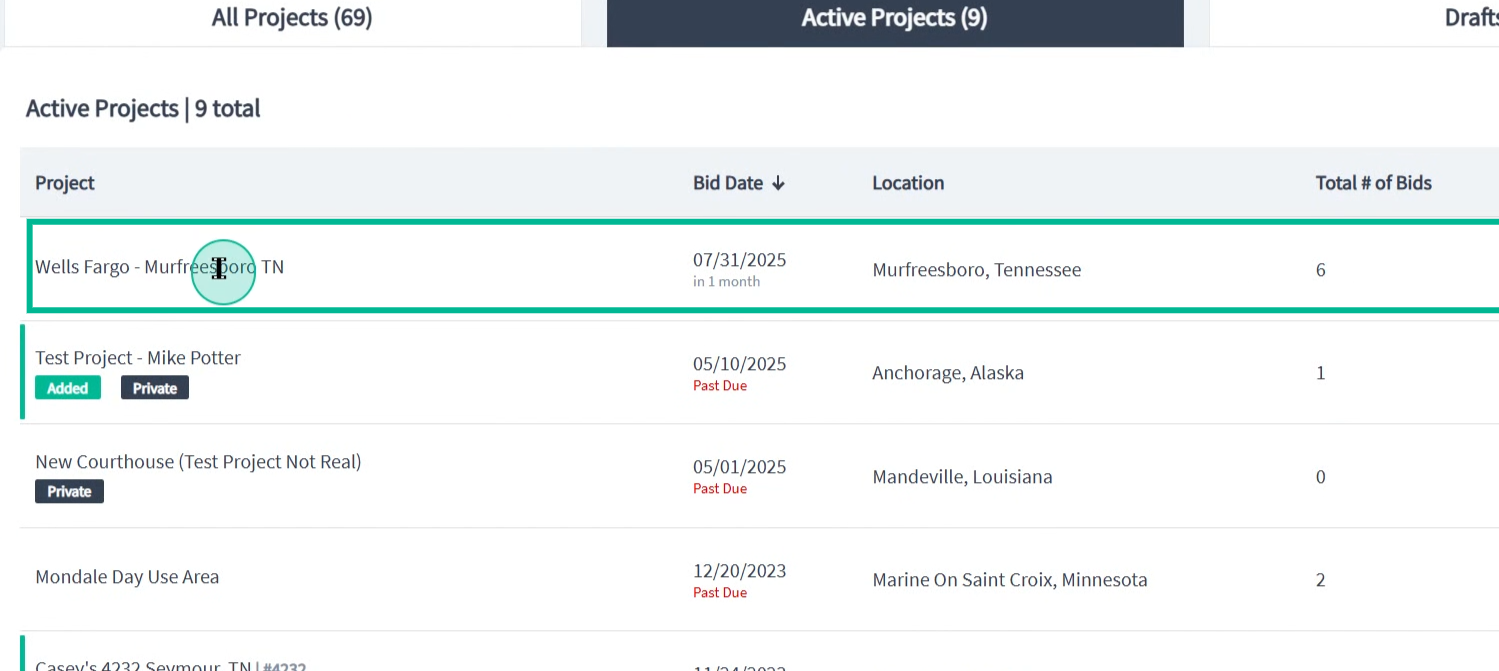
In your Projects page, click on the project you wish to edit the documents for.
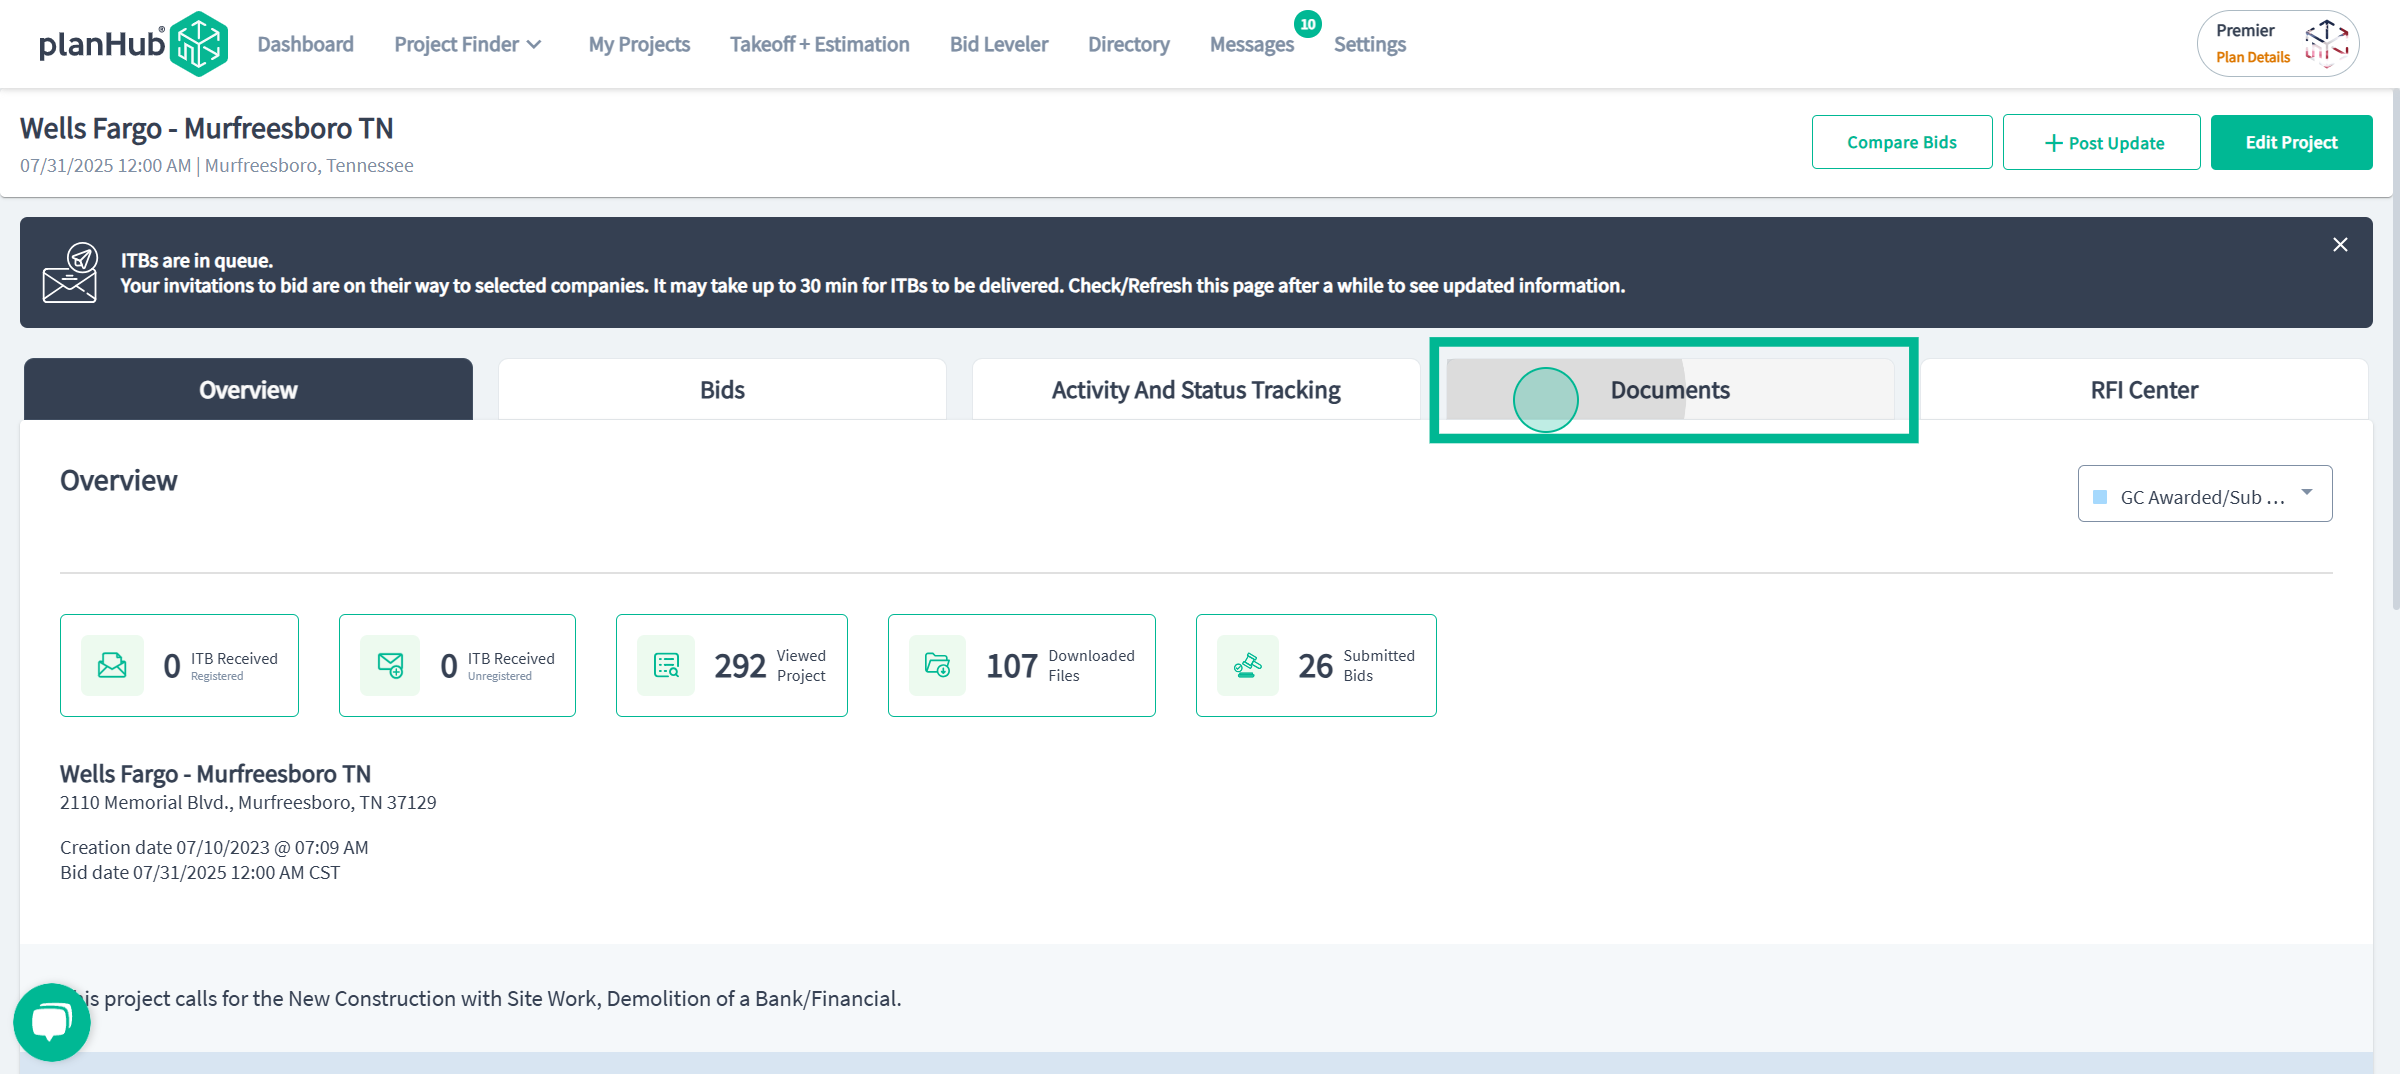
Step 2: Access the Documents Tab
To work with project files, head to the Documents section where all attachments reside. This area allows you to view, manage, and prepare documents for further actions.
Step 3: Download Project Files
If you need to keep local copies or review multiple documents, download them from the Documents tab. Select one or more items and use the download features provided.
 *This animated GIF demonstrates how to select multiple files in real time, showing you click or multi-select for batch actions.*
To download a specific document, use the respective download icon.
 *The animated GIF here shows the precise location of the Download File icon and the action of starting a download.*
Step 4: Use the Takeoff Tool
If you have access to Takeoff, you can streamline your workflows by sending documents directly to the Takeoff tool for further estimating or markup. Just click on the Takeoff icon for a PDF file.
 *Watch this GIF to see how to recognize the Takeoff symbol and send documents into the tool—follow the cursor for each step.*
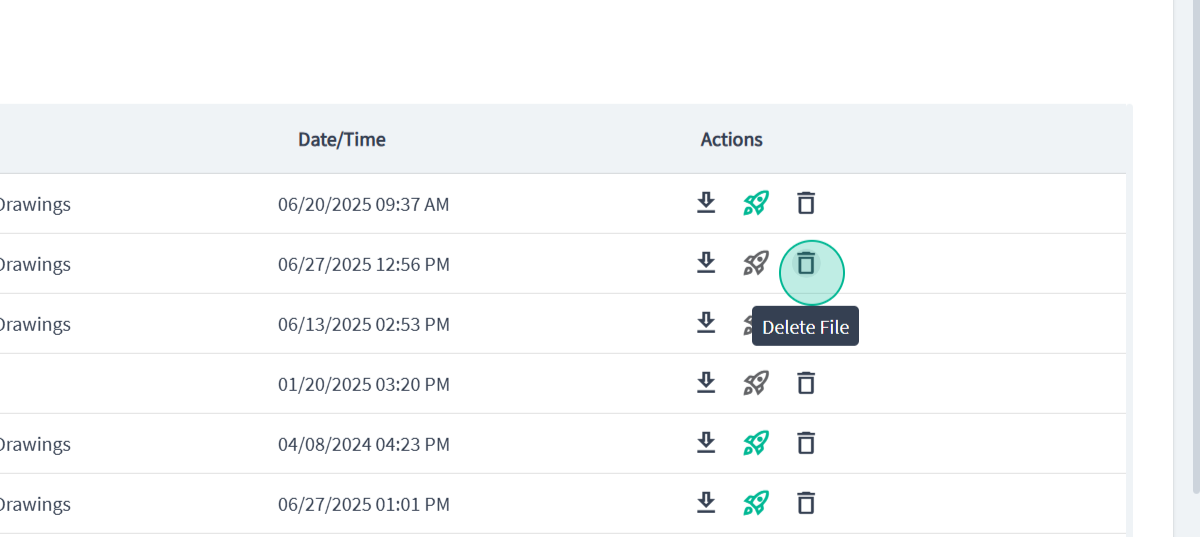
Step 5: Remove Project Files
Maintain an organized workspace by deleting outdated or unnecessary documents. Use the Trash can icon to remove files safely.
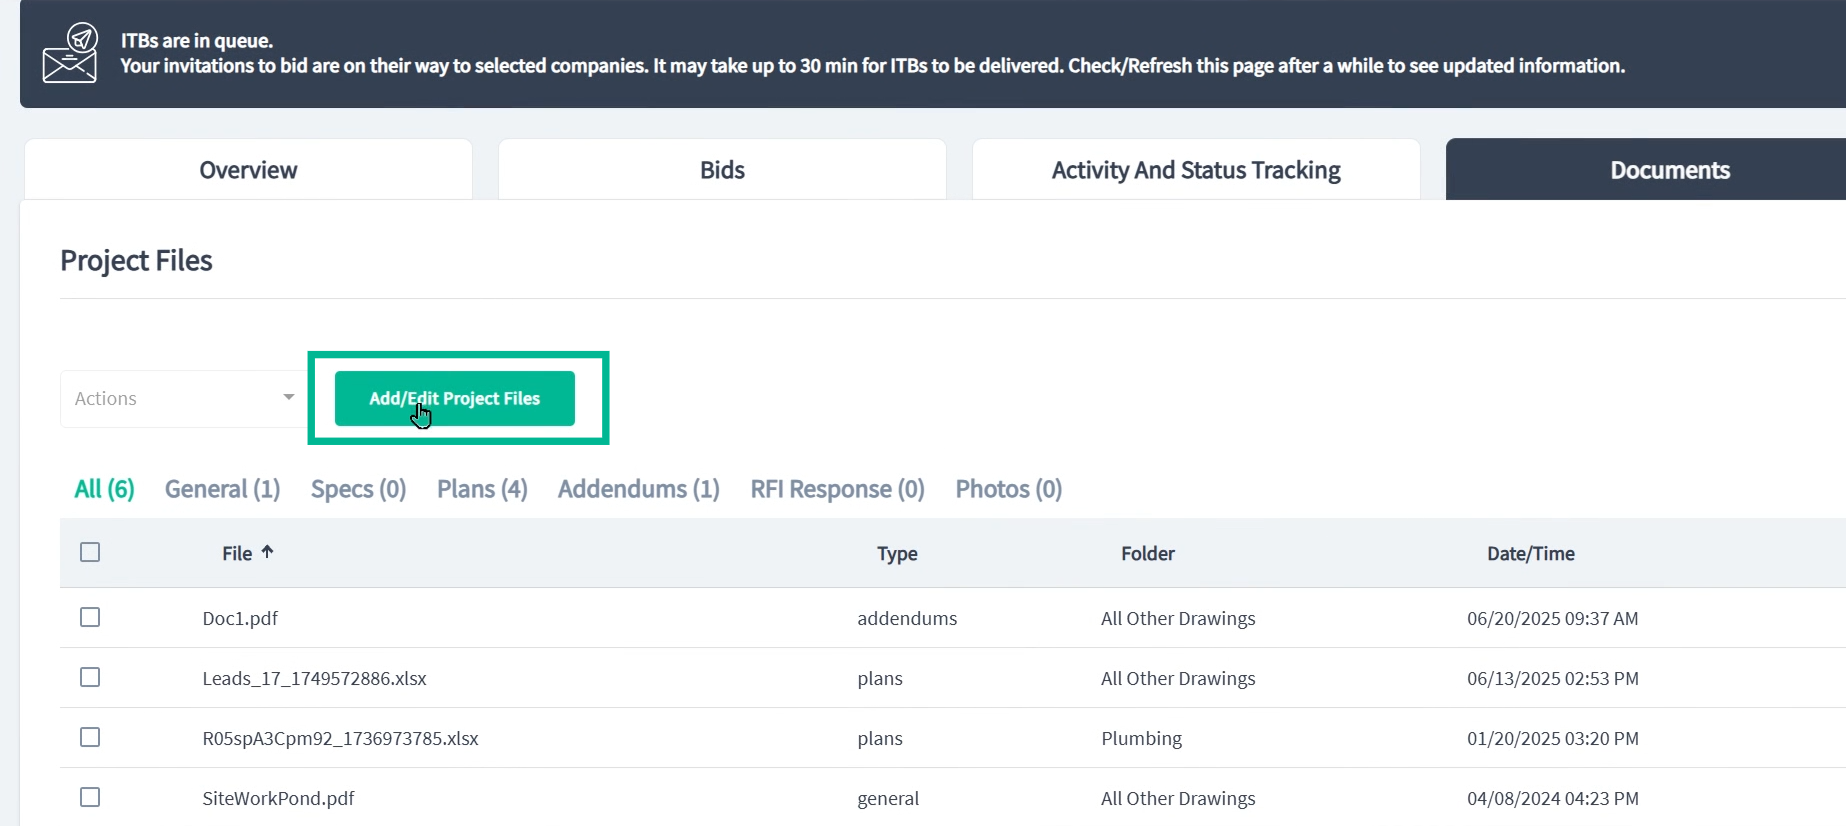
Step 6: Add Project Files
When you have new documentation to upload, use the Add/Edit Project Files button to upload them into your project. This is essential for keeping stakeholders informed and your project up to date.
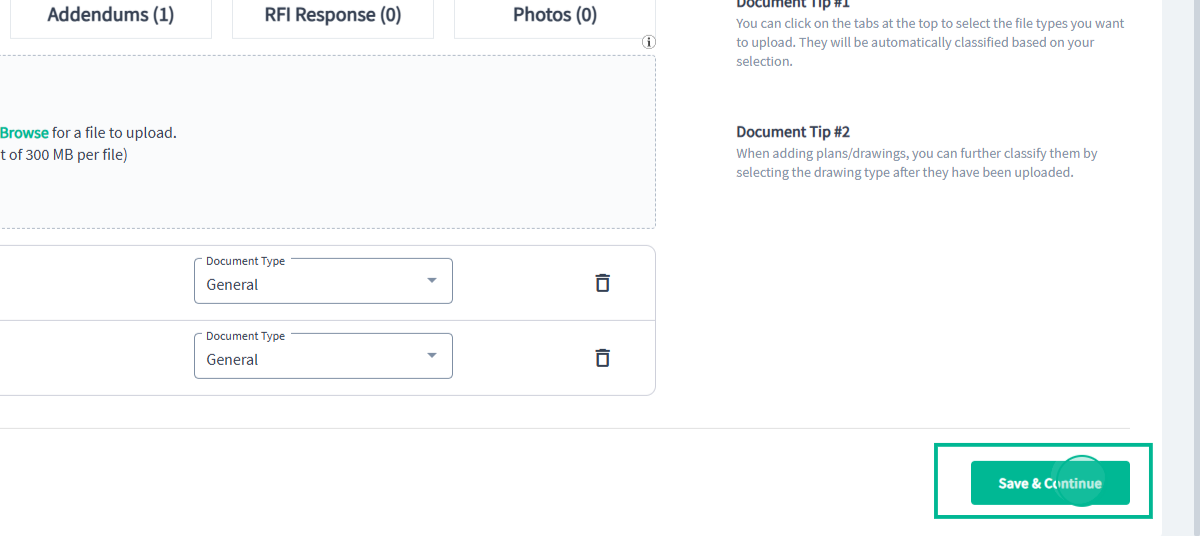
In the edit interface, organize new or existing files by adjusting document type or plan titles.
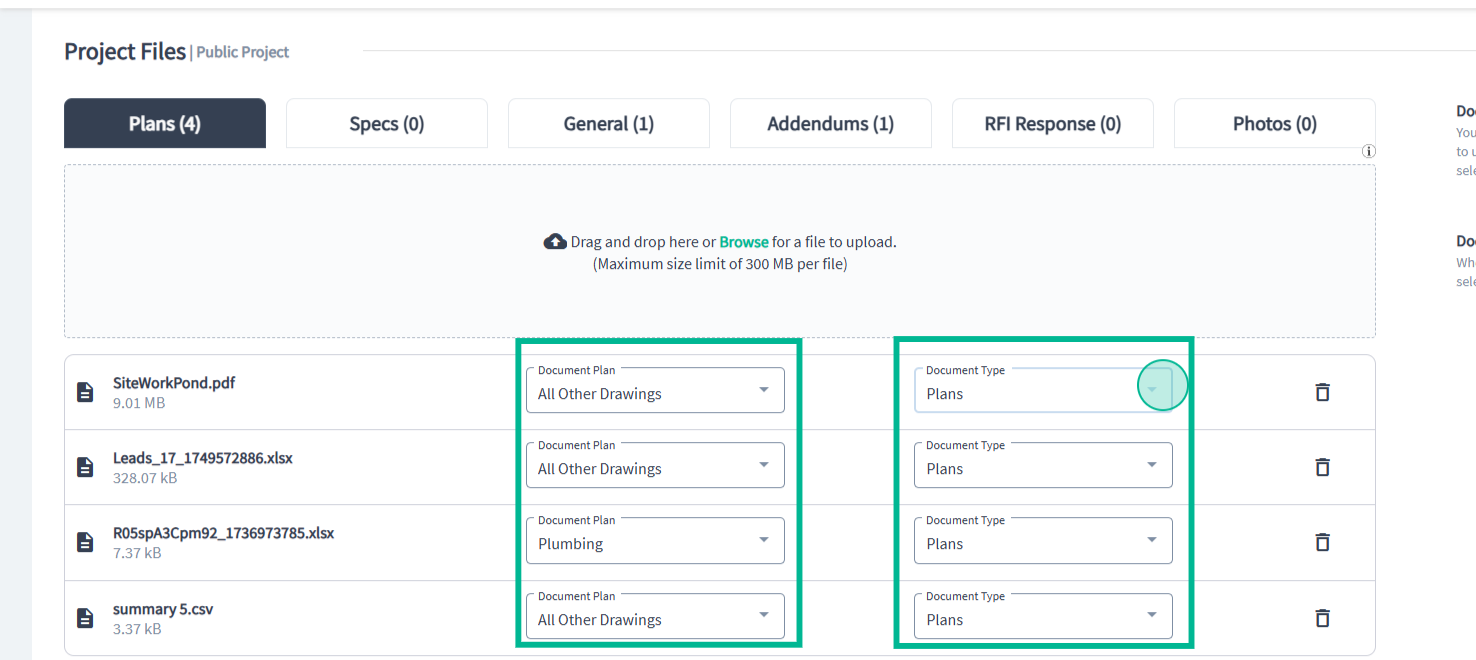
Choose the correct folder for new uploads to ensure everything's stored in the right place.
 *This GIF demonstrates folder selection and helps you accurately organize uploads.*
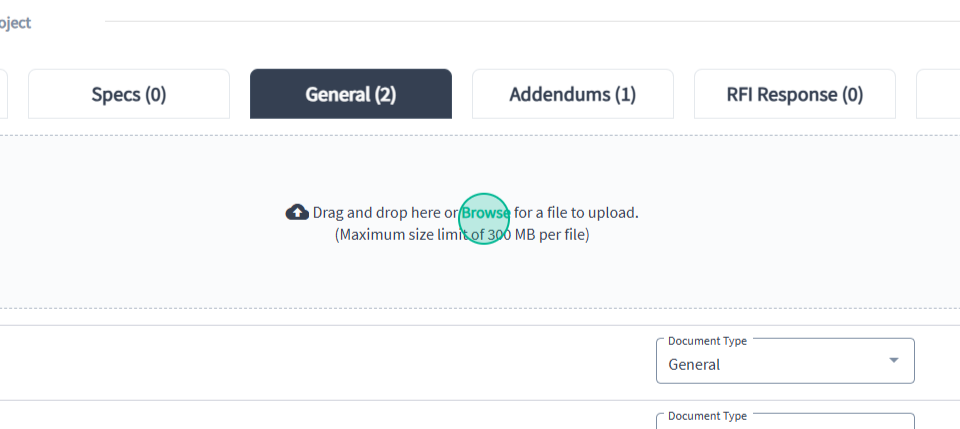
Add files by dragging and dropping, or using the "Browse" button.
Click Save and Continue when done.
Step 7: Notify Project Participants
After updating documents, decide whom to notify. This step ensures everyone stays informed about important changes and additions to your project.
- A pop-up box will appear and ask if you want to automatically send email notifications for the changes. Select "Notify" or "Don't Notify."
- You will be returned to the Project Overview Screen.
- Your changes will be saved and reflected in the Documents section of the project.
 *The animated GIF illustrates how to select notification preferences and send (or skip) alerts to project participants.*
Summary
Following these steps lets you effectively add, edit, download, and remove project files as a general contractor. Use each animated GIF as a visual reference for what you should see at each stage, making file management straightforward and efficient.
Troubleshooting
Contact us if you need assistance or to report an issue:
- PlanHub Contact Page: https://planhub.com/contact/
- Customer Facing Support Ticket Link: https://knowledgebase.planhub.com/knowledge/kb-tickets/new
- Customer Success Team: CustomerSuccess@planhub.com