Take control of your project notifications in PlanHub by adjusting your notification settings. This step-by-step guide walks you through accessing your notification preferences, customizing email alerts, and using filters to stay on top of relevant projects.
Step 1: Log in to your PlanHub account.
Step 2: Click your name or initials in the upper right corner to open the account menu.
Step 3: Select My Account from the dropdown menu.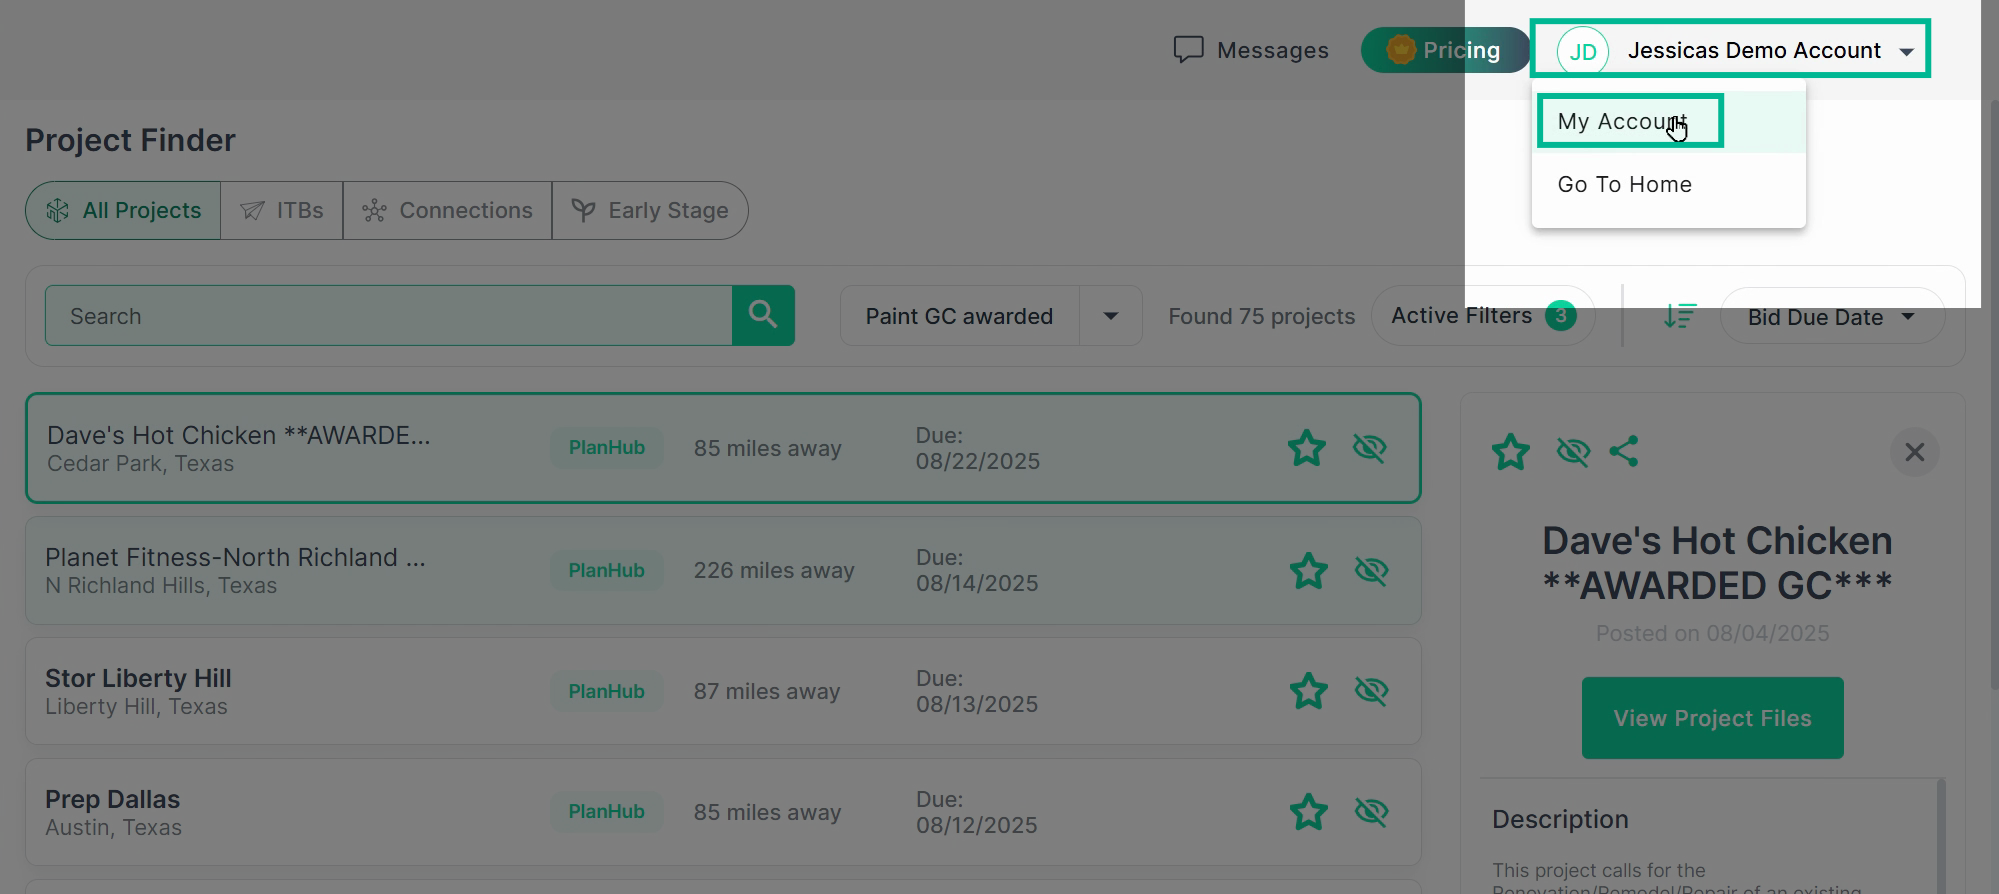
Step 4: In your personal account area, you can update your user information. 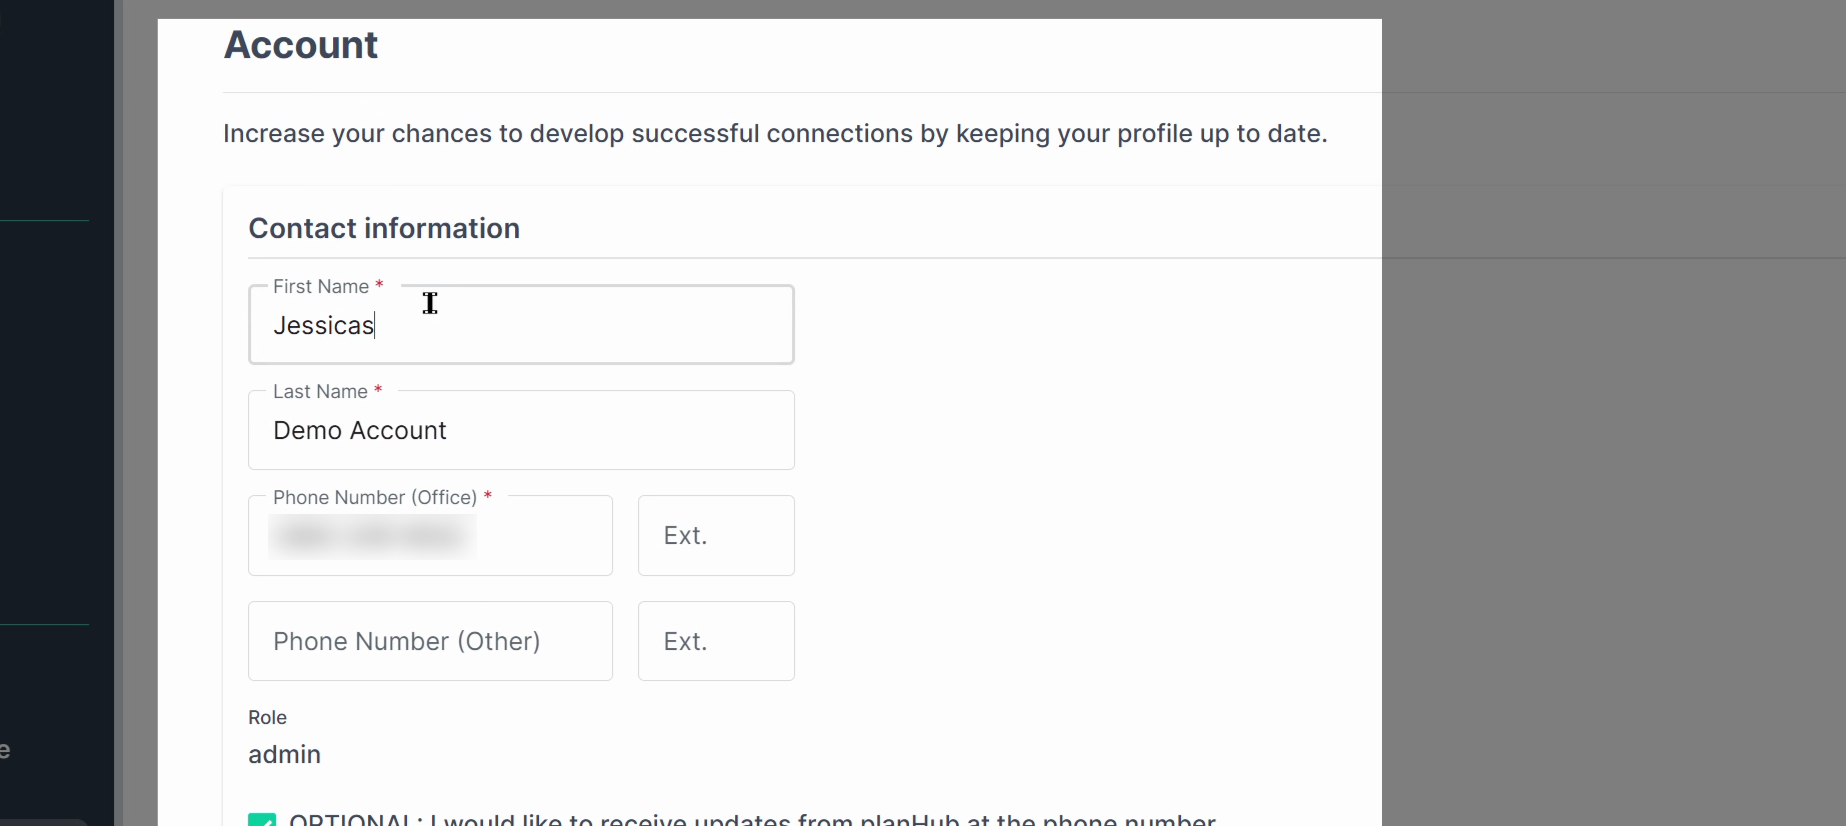
Step 5: Click the Notification tab to access your notification settings.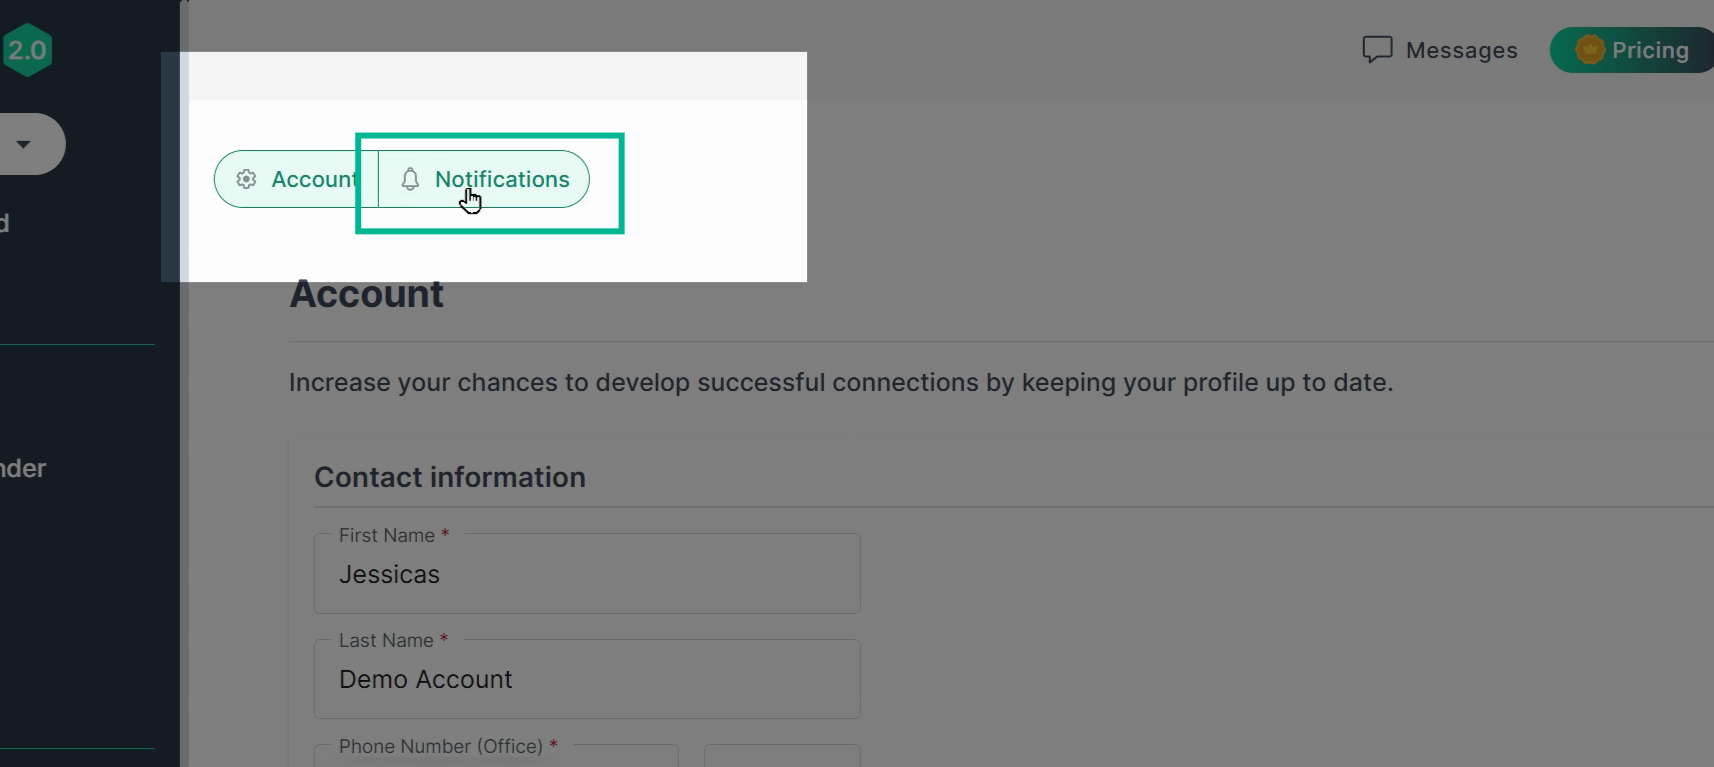
Step 6: In the General Communication section, update your email preferences by toggling the envelope icons on or off.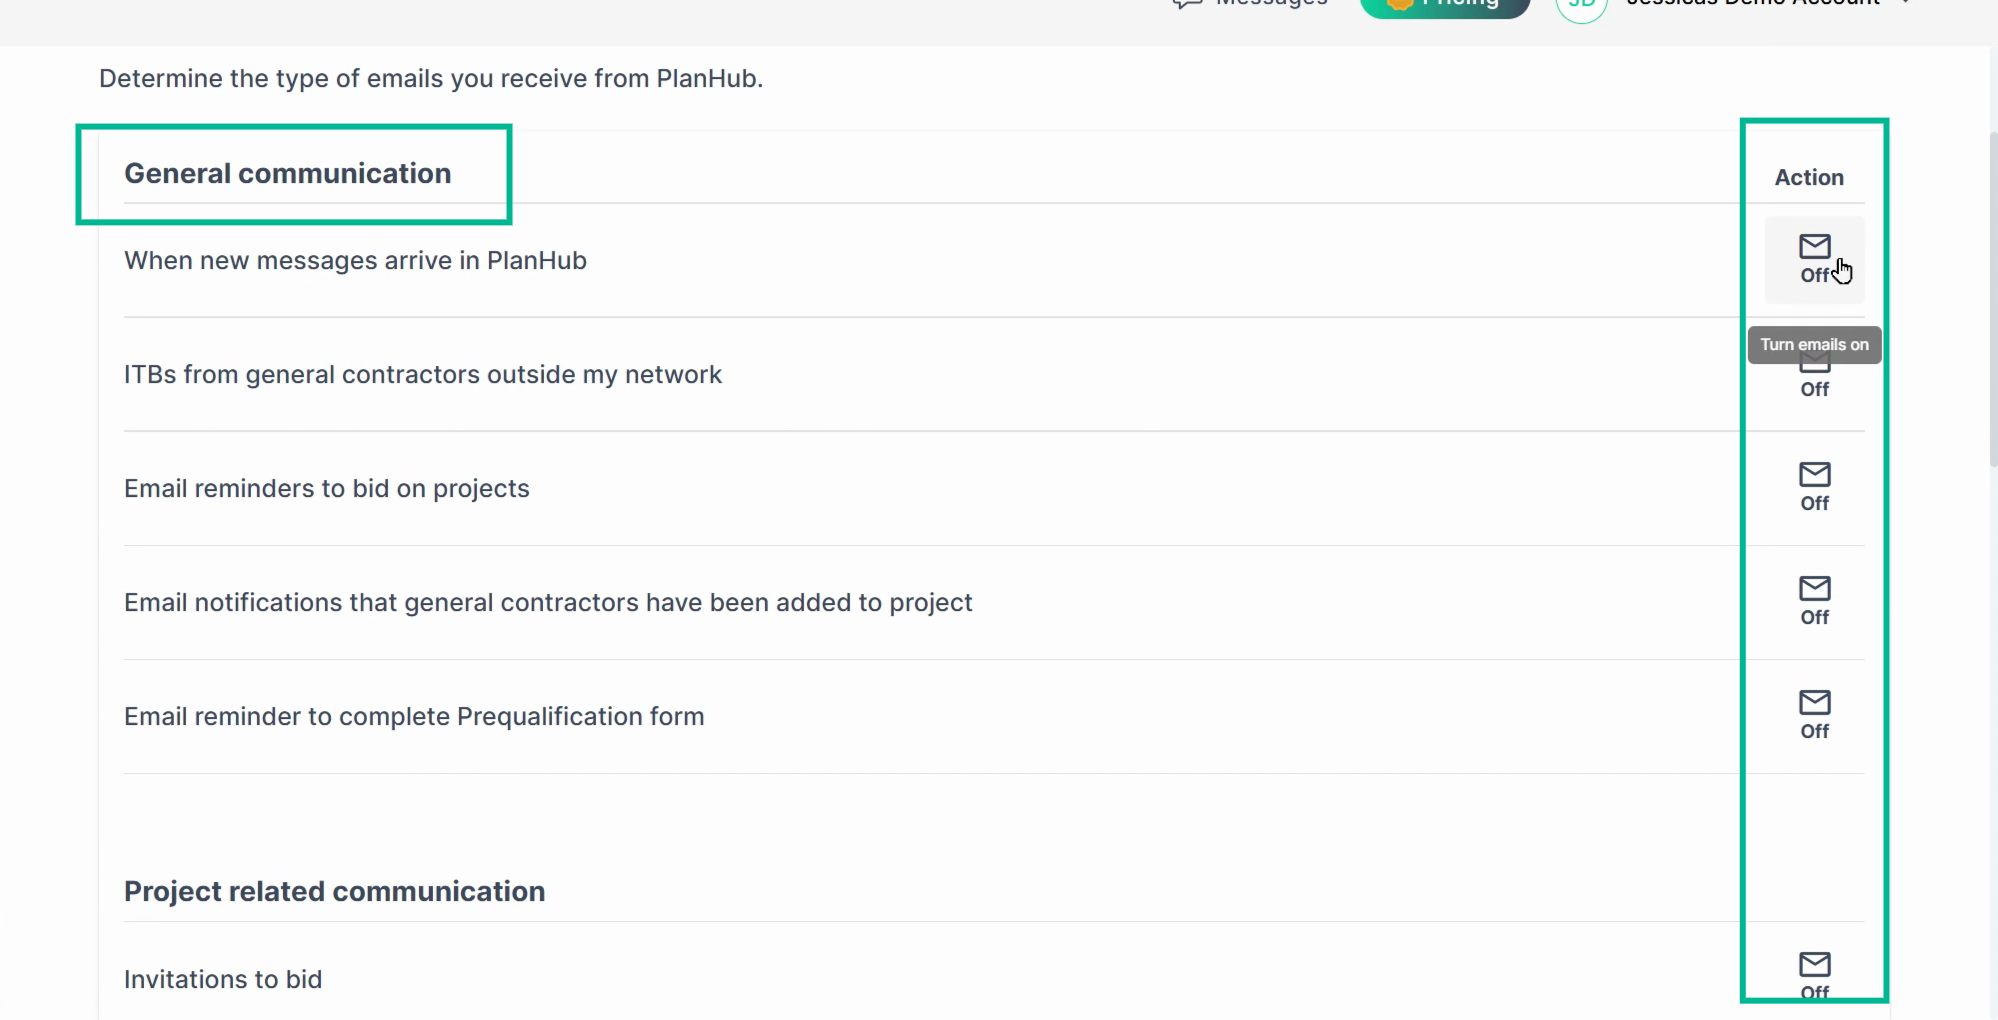
Step 7: Go to the Project-related Communications section for your ITB (Invitation to Bid) email settings.
Step 8: Use filters and frequency settings to decide which project invitation emails you receive and whether you want individual invites or daily summary notifications. Adjust filters to refine your invitations; change frequency for notifications as needed.
Step 9: Remember, if ITB emails are turned off, you won't get any bid invitations, no matter the frequency.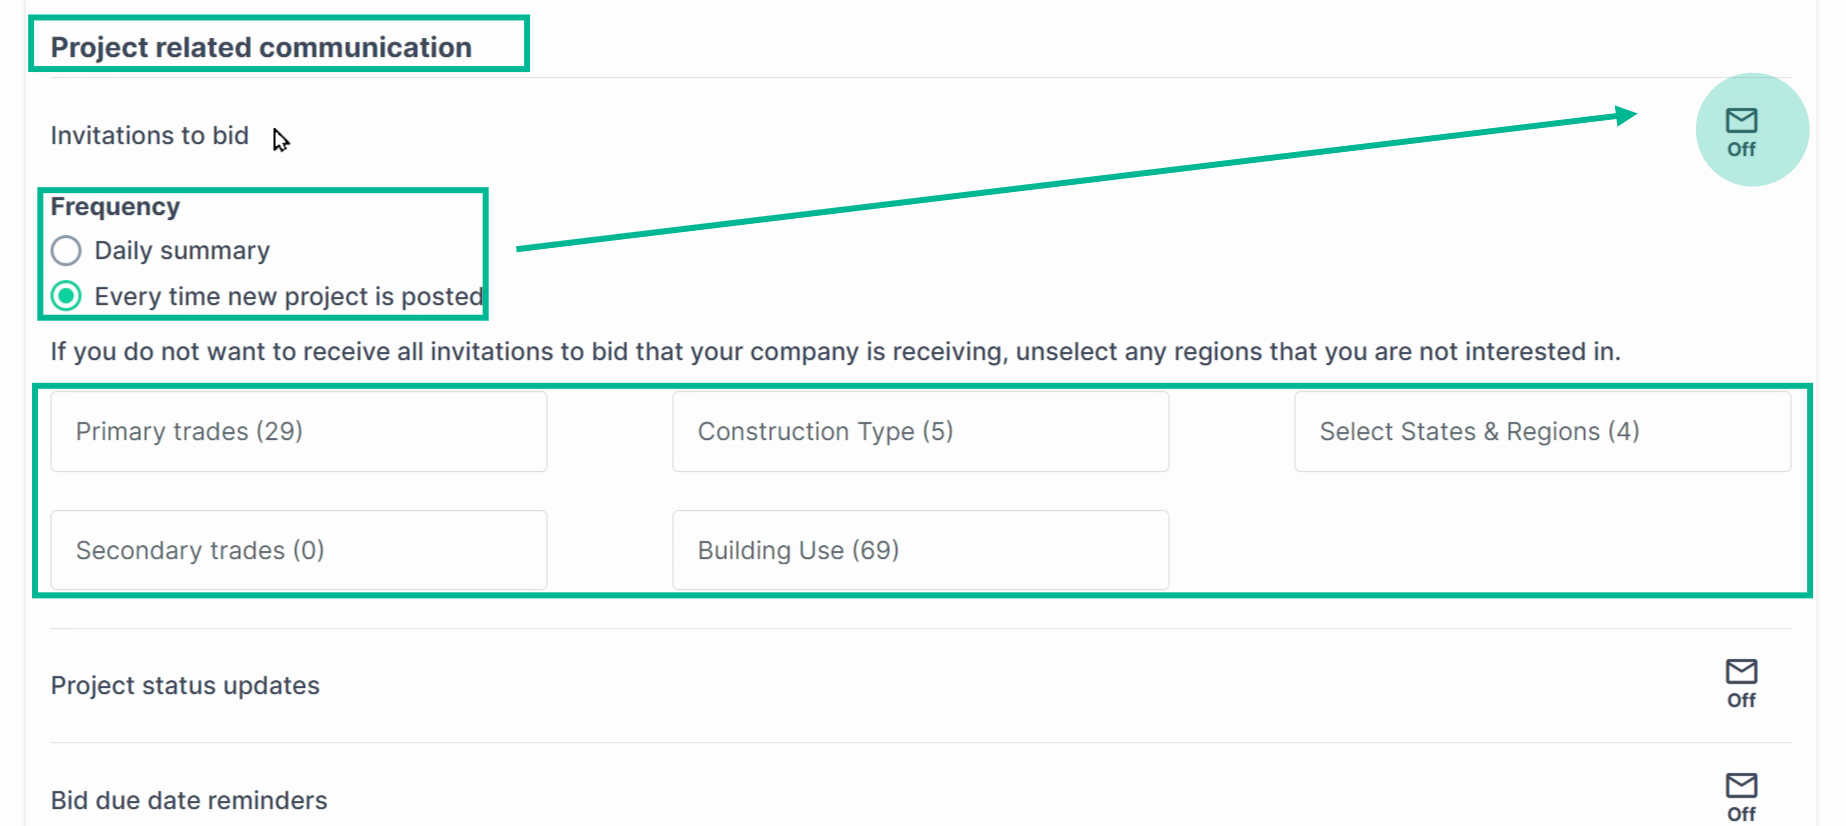
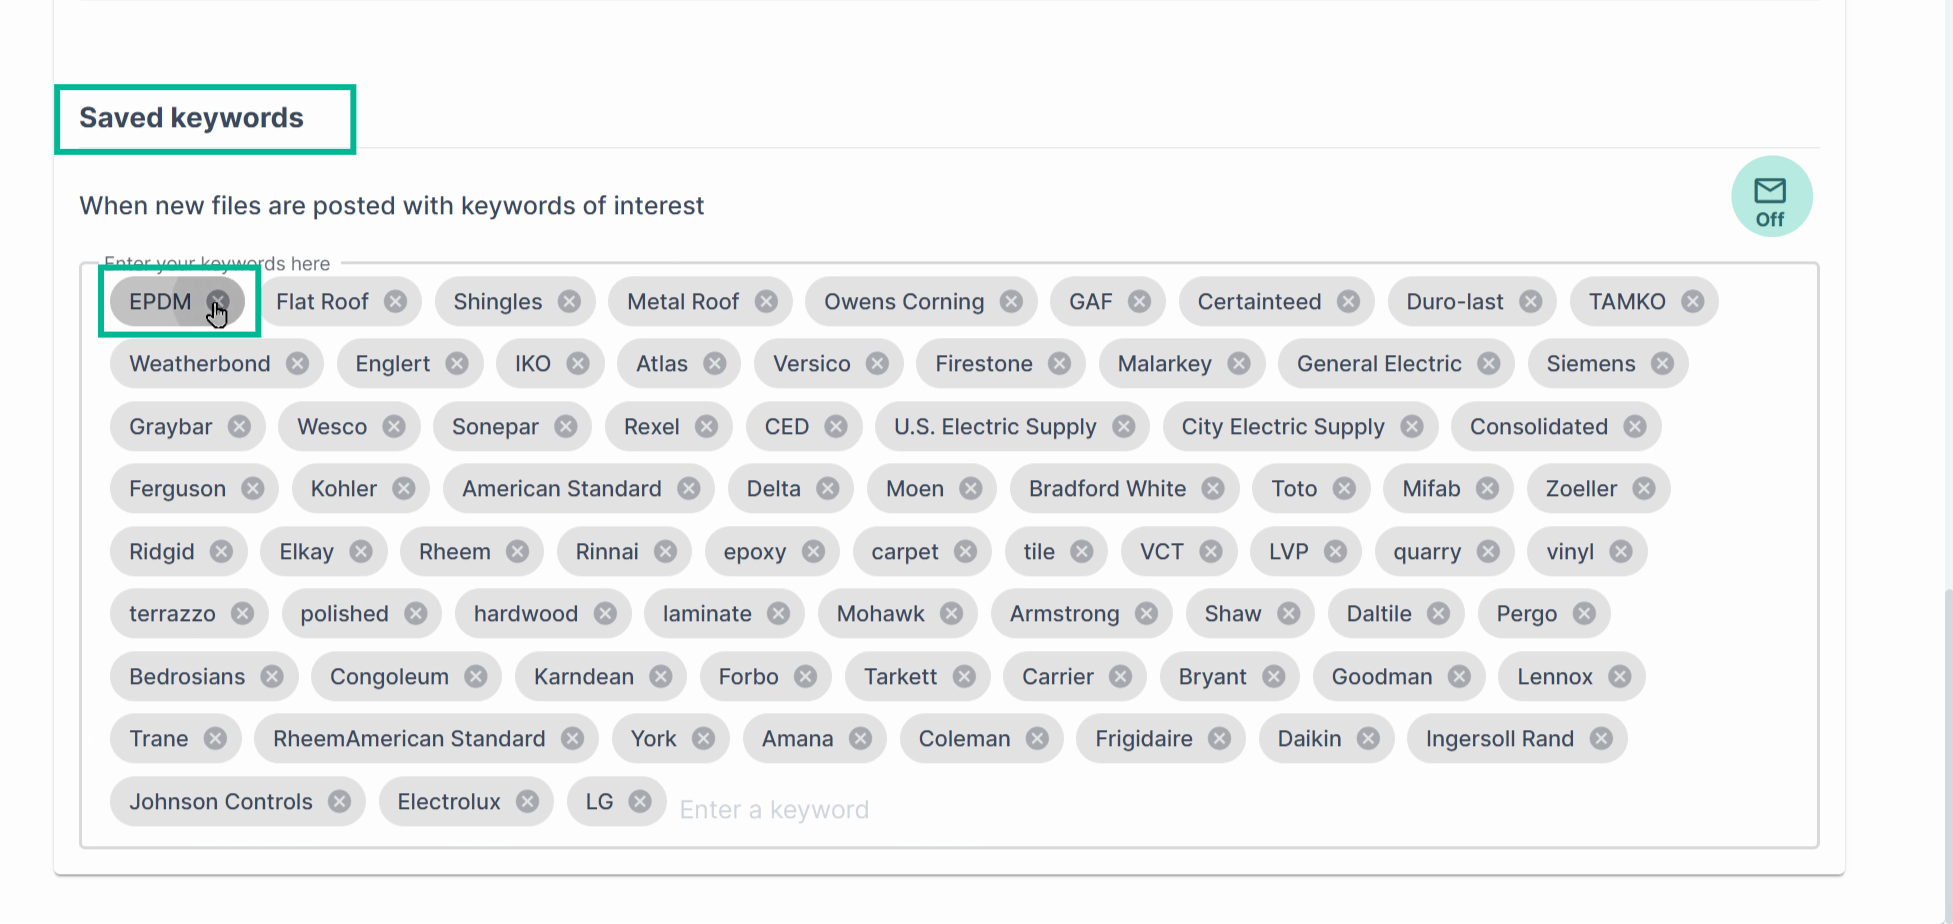
Step 10: In the Saved Keywords section, add specific words to monitor in project files. PlanHub will notify you when these terms appear.
To remove a keyword click on the "X"
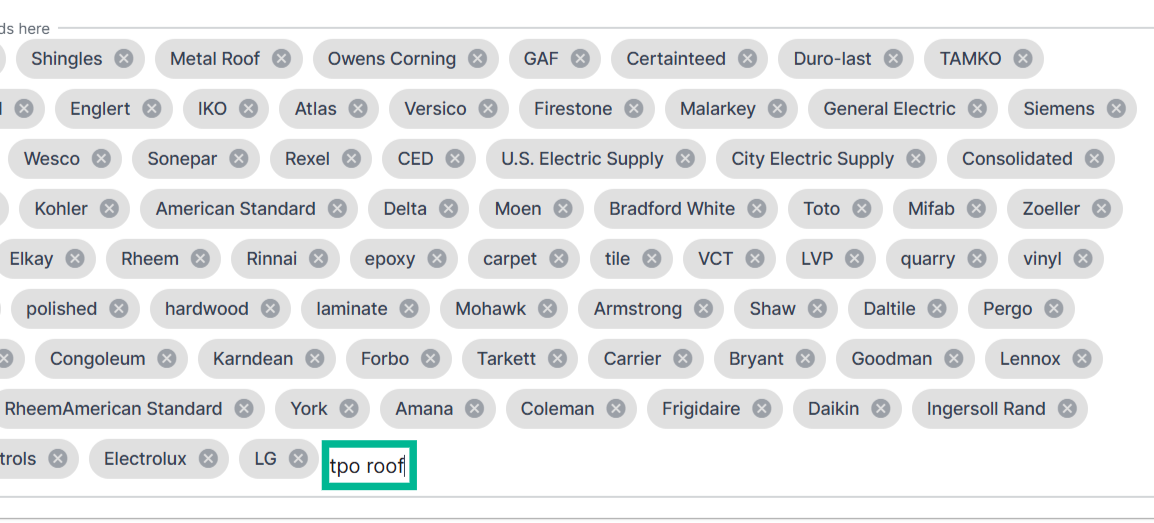
Add keywords by typing them at the end of the list and pressing 'Enter.'
Log in to PlanHub and use these settings to get project leads that match your needs.