Upload Assemblies via XLS in the Estimation System
Easily upload custom assemblies using an XLS template right from the estimation system. Follow these streamlined steps to make your workflow faster and more organized.
Prerequisite: You have to have a subscription that includes Takeoff & Estimation to add assemblies.
Step 1: Go to the Takeoff page.
- Click the project name from your Takeoff list to open it in order to access the Assembly area.
- Once the project loads, select the Assembly tab.
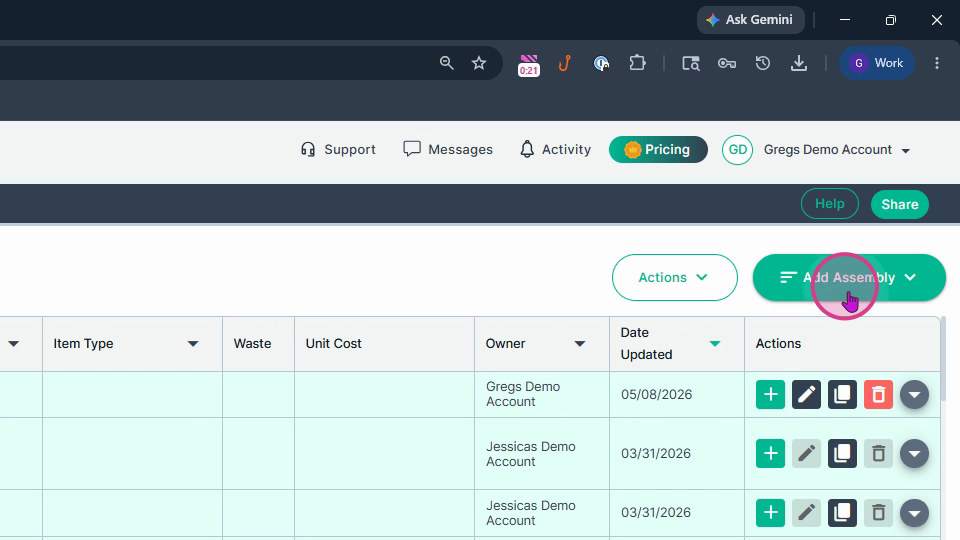
Step 2: In the upper right, click Add Assembly.
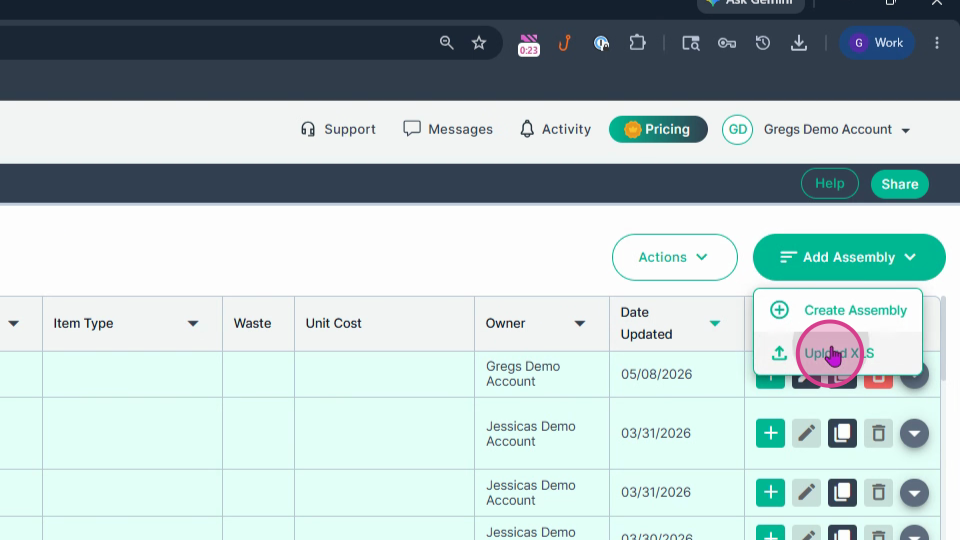
Step 5: Choose Upload XLS.
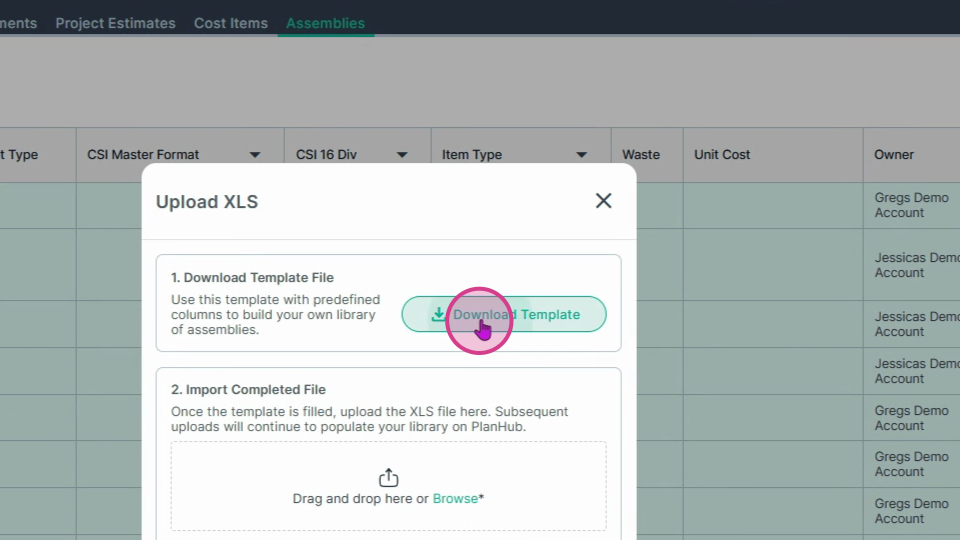
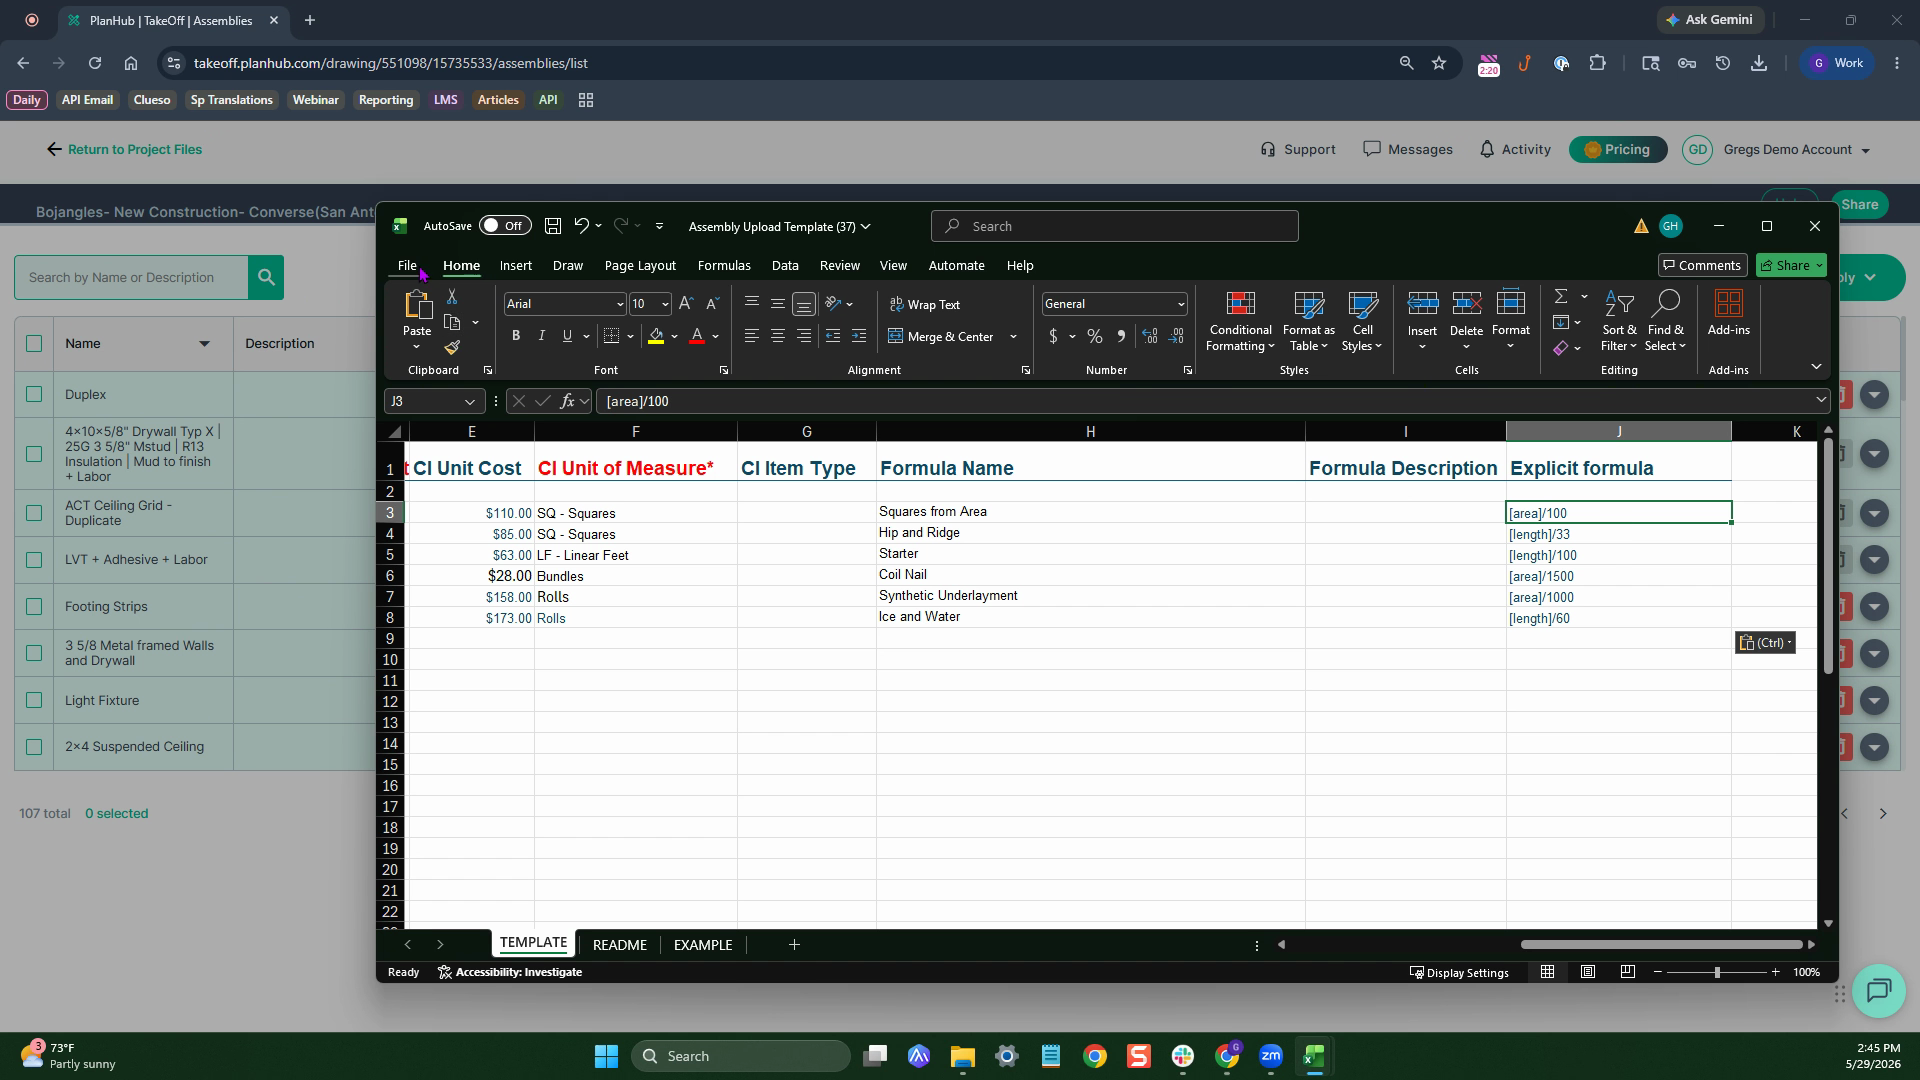
Step 6: Download the provided template to get started.
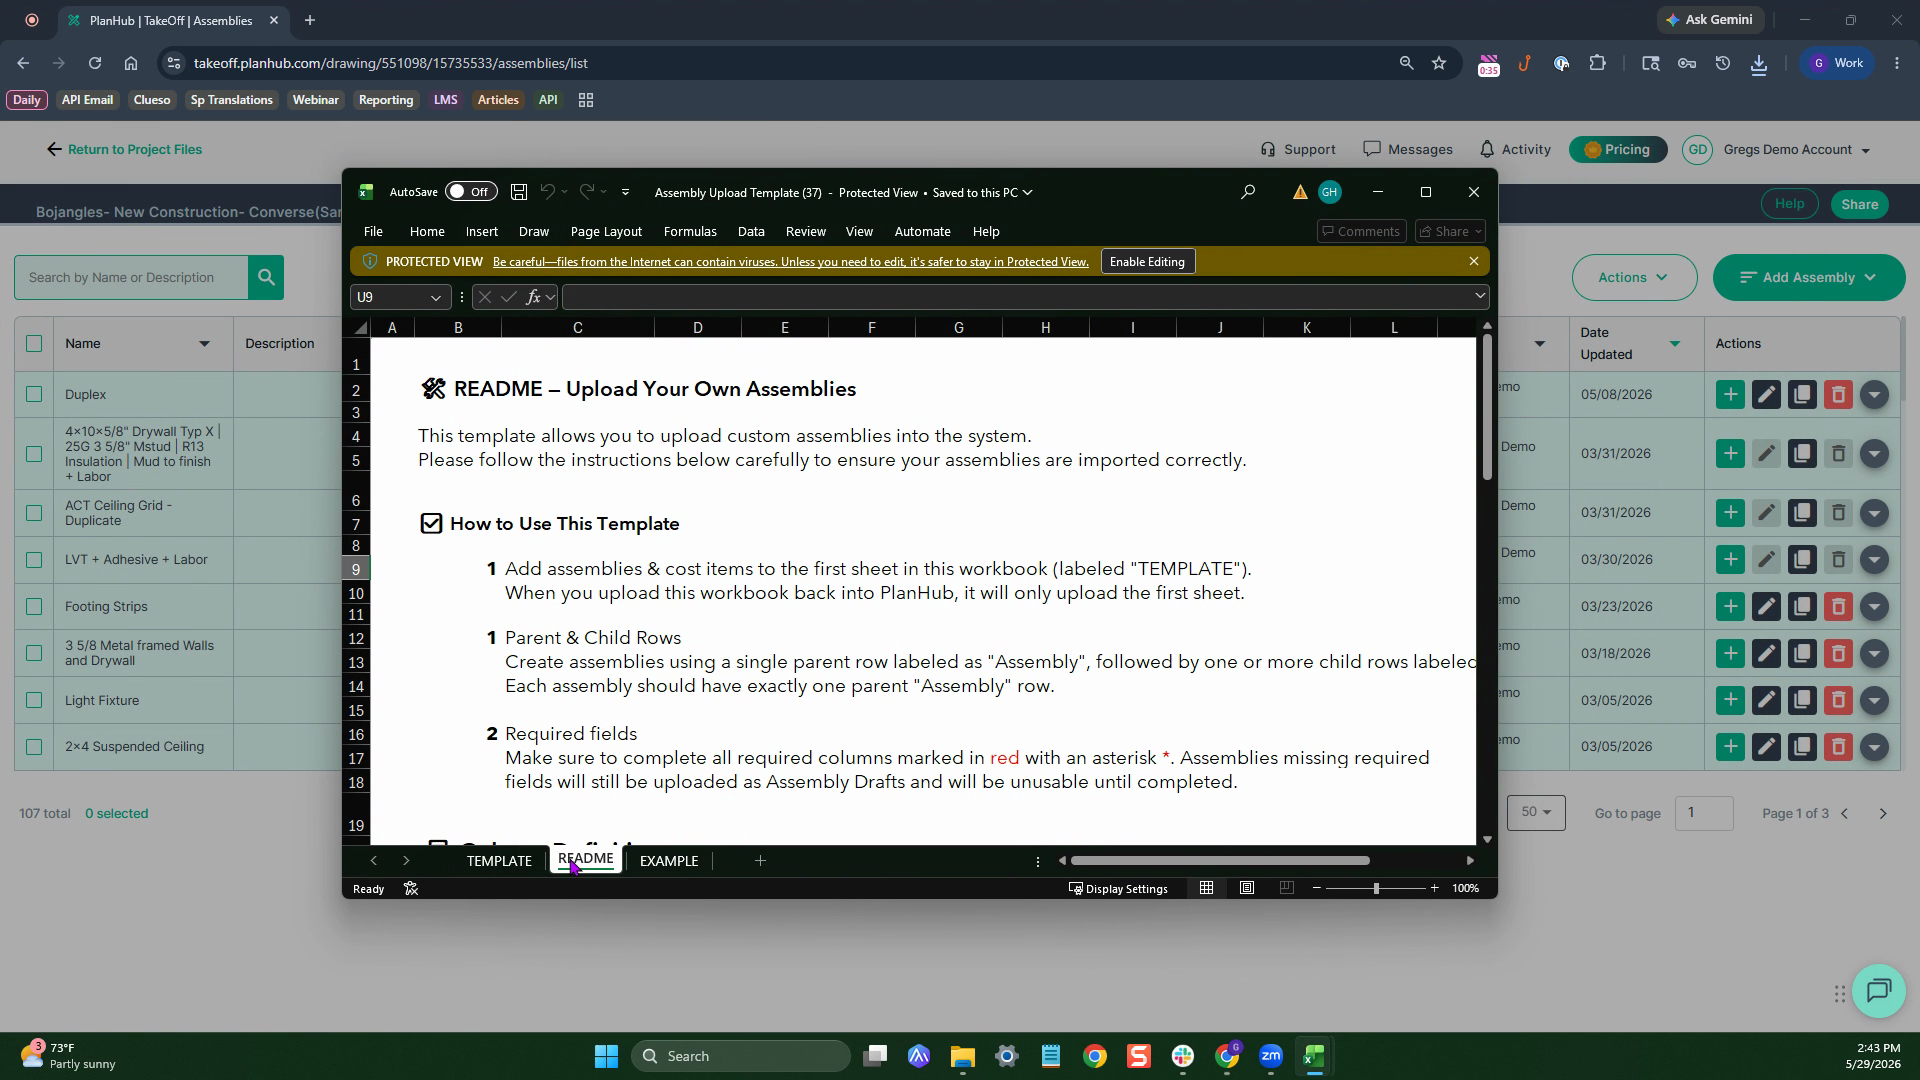
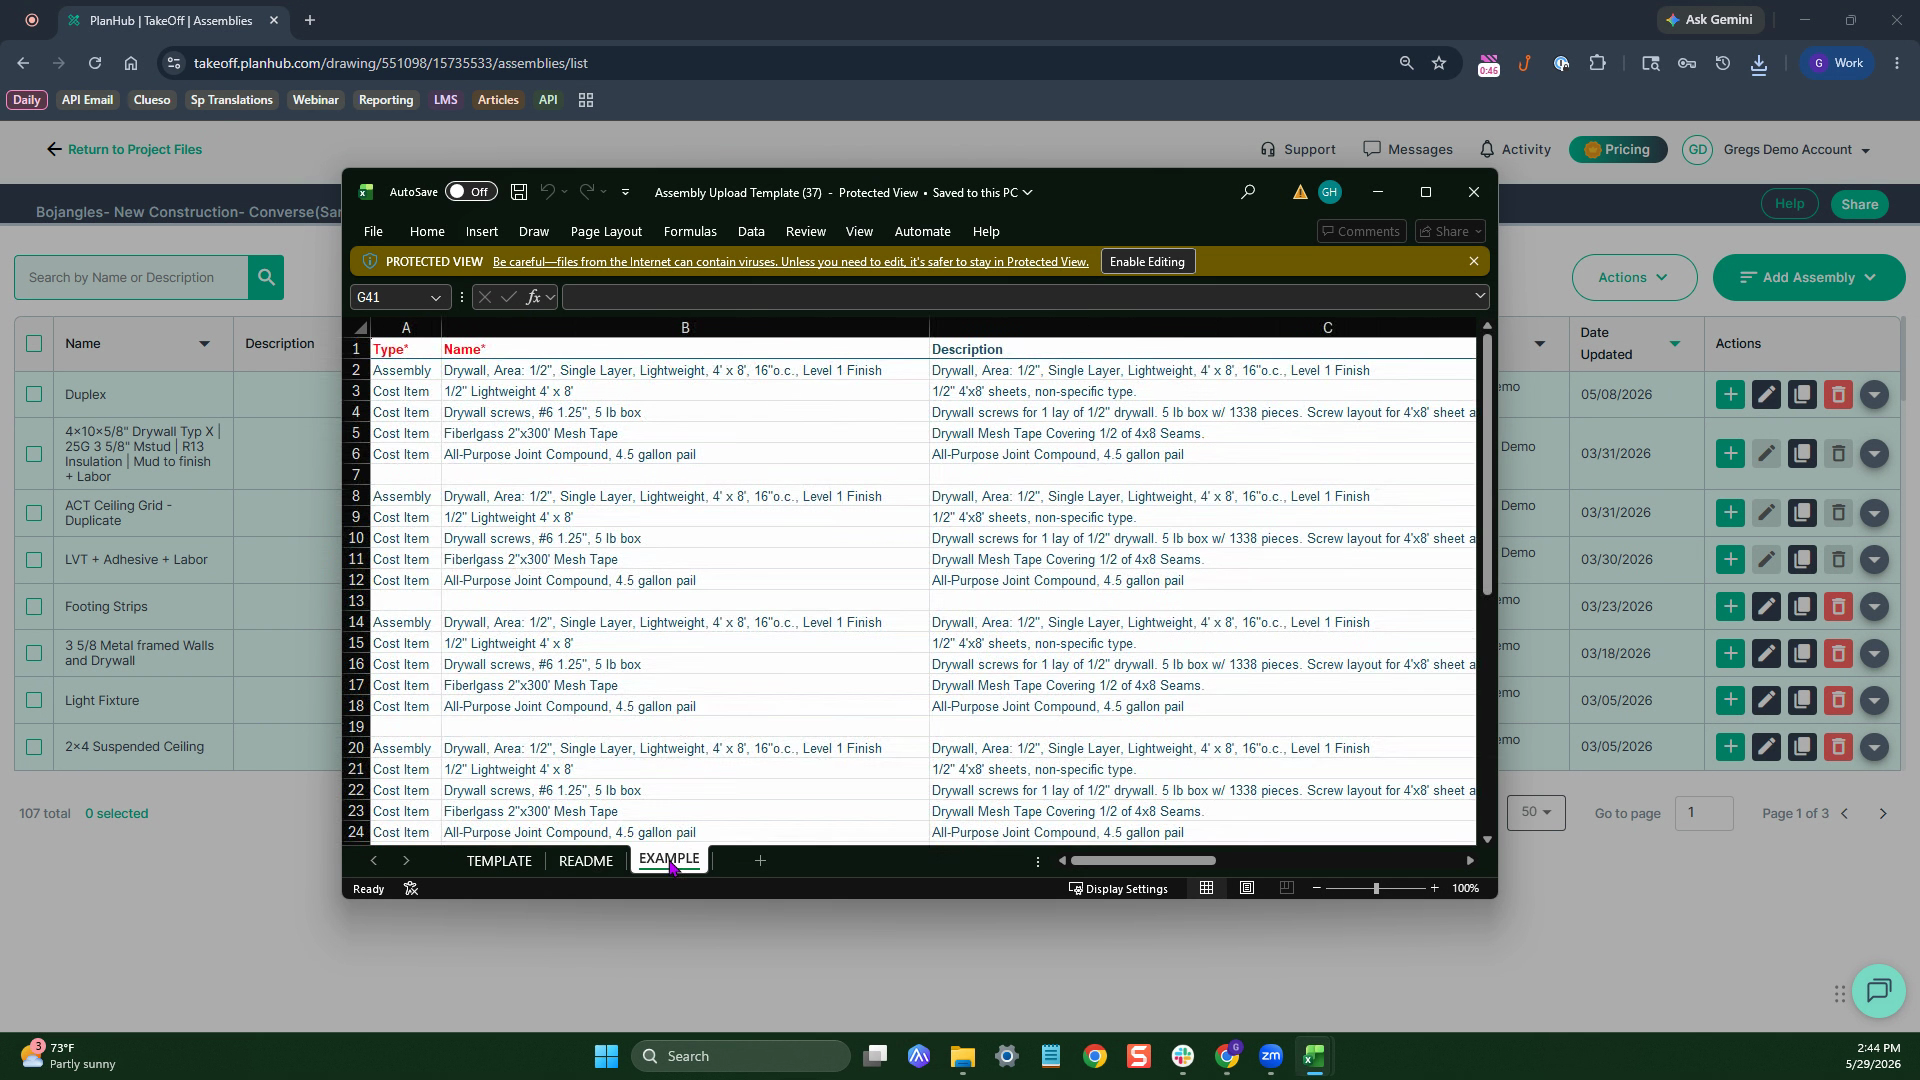
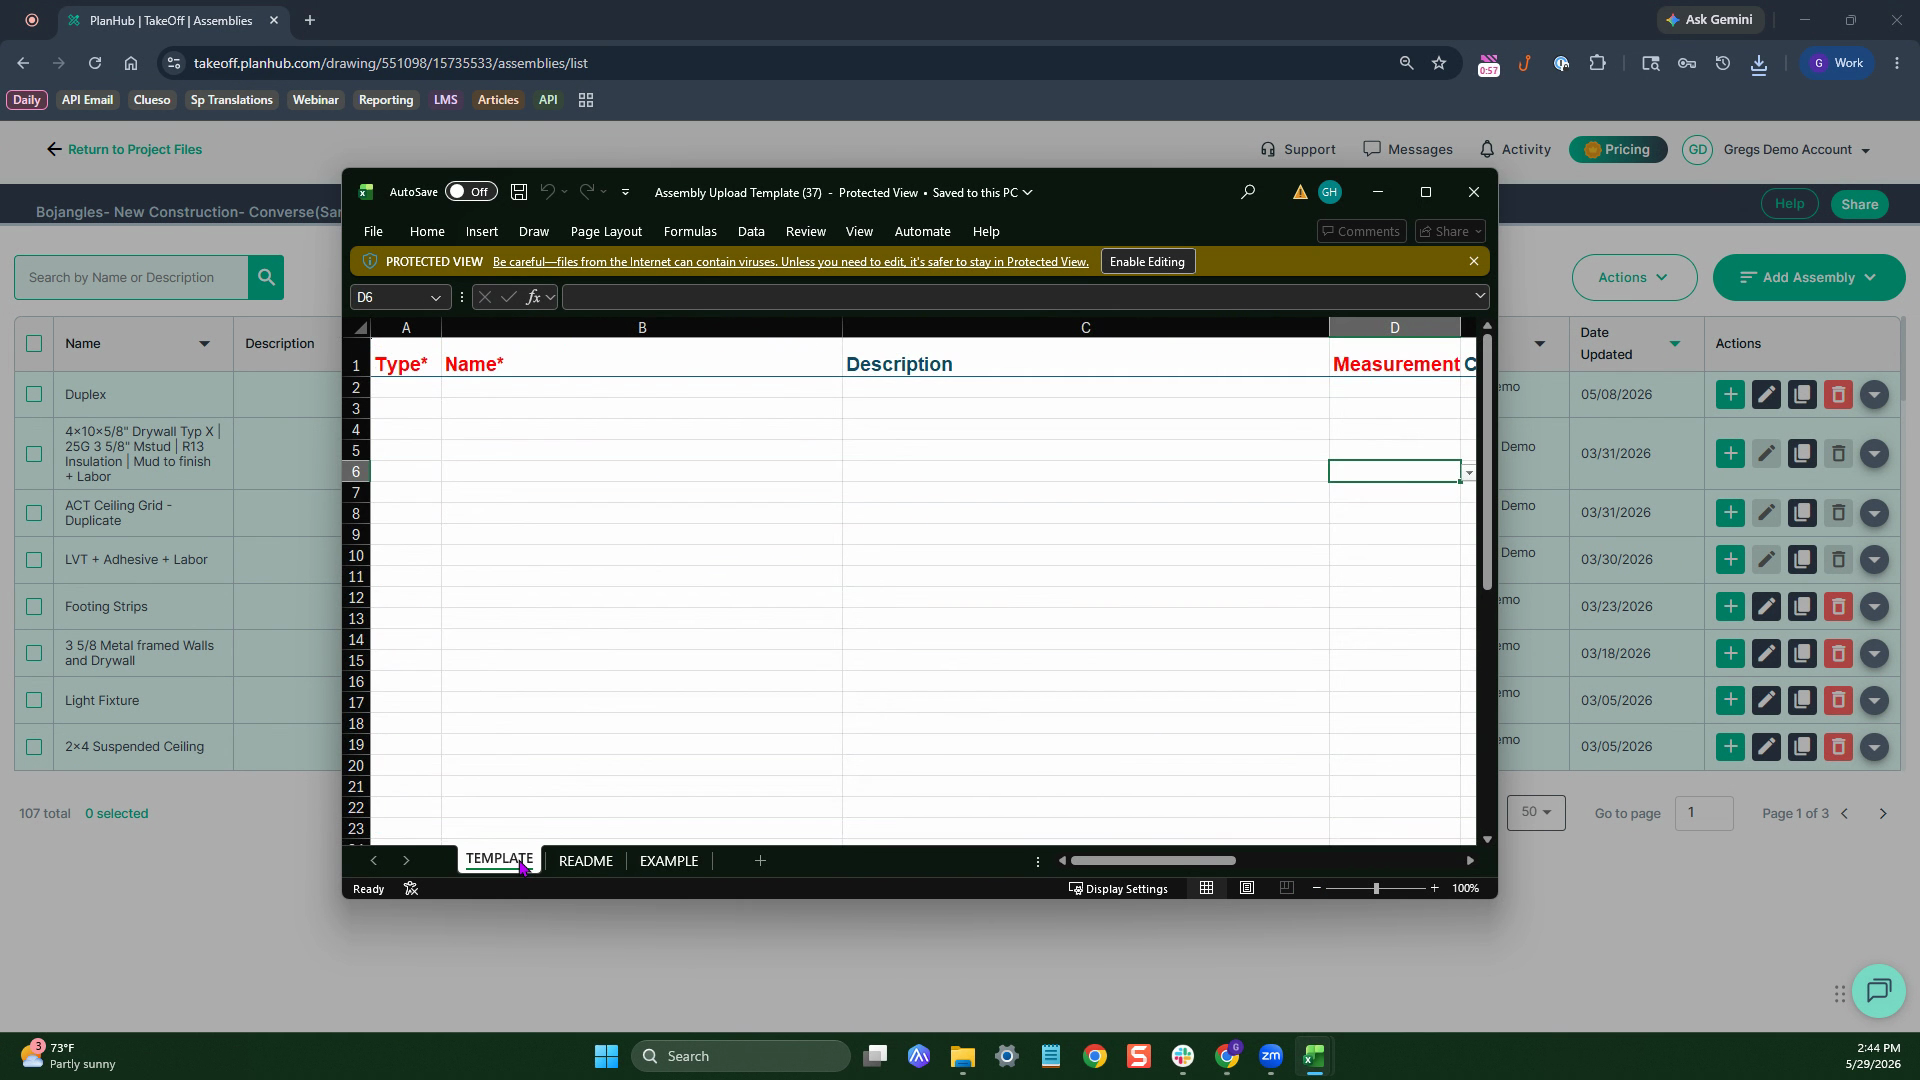
The template has three tabs:
- Read Me: Step-by-step instructions for completing the file.
- Example: Sample filled-out templates for reference.
- Template: The sheet you’ll populate with your data.
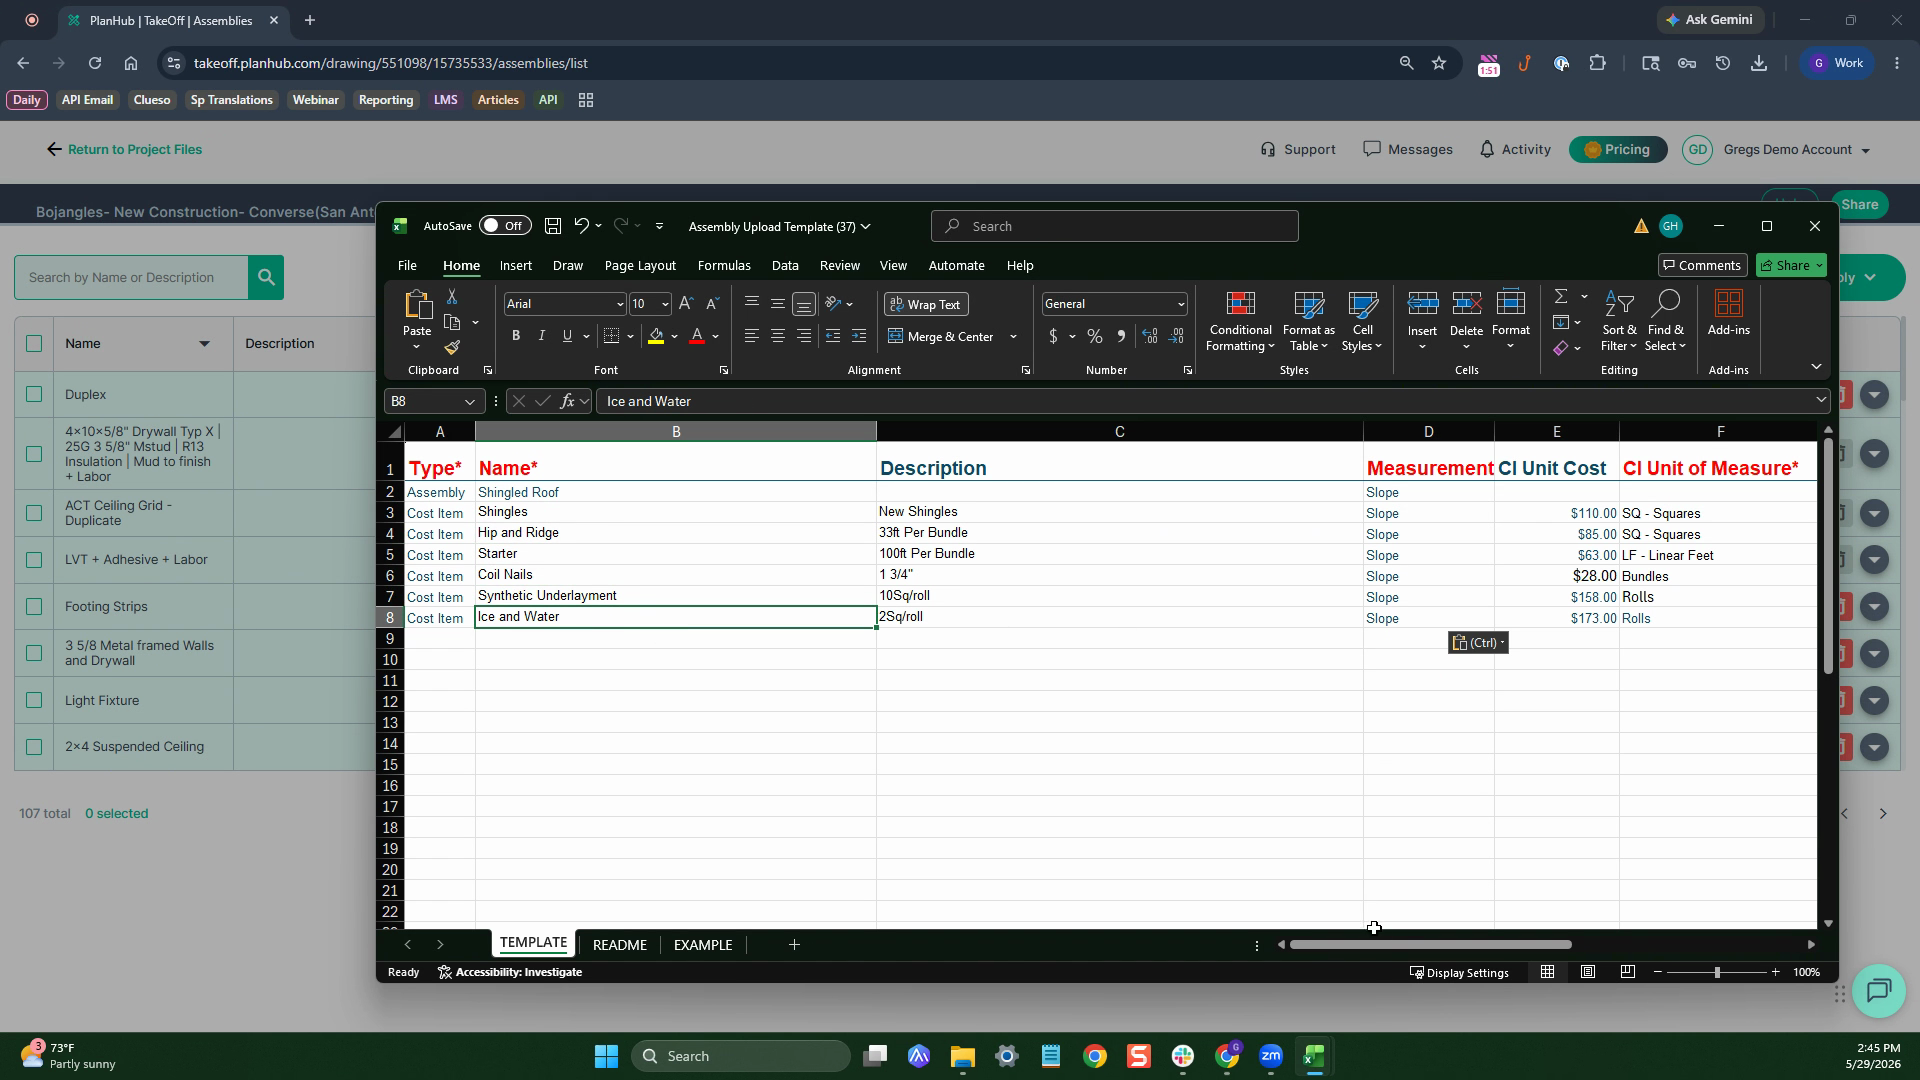
Step 7: Enter your assembly details—name it on the assembly line (like "Shingled Roof"), and measurement type.
Step 8: Add all cost items (shingles, underlayment, nails, etc.). Make sure to fill out the required fields—look for red columns or asterisks at the top.
Step 9: Enter the necessary formulas. If you forget a formula or required field, you’ll see an exclamation point in a red circle after upload, signaling you need to complete something before the assembly can be used.

Step 10: Save your filled-out XLS file on your computer.
Step 11: Back in the estimation system, click Add Assembly again, then Upload XLS.
Step 12: Browse to your saved file, select it, and click Open, followed by Upload.
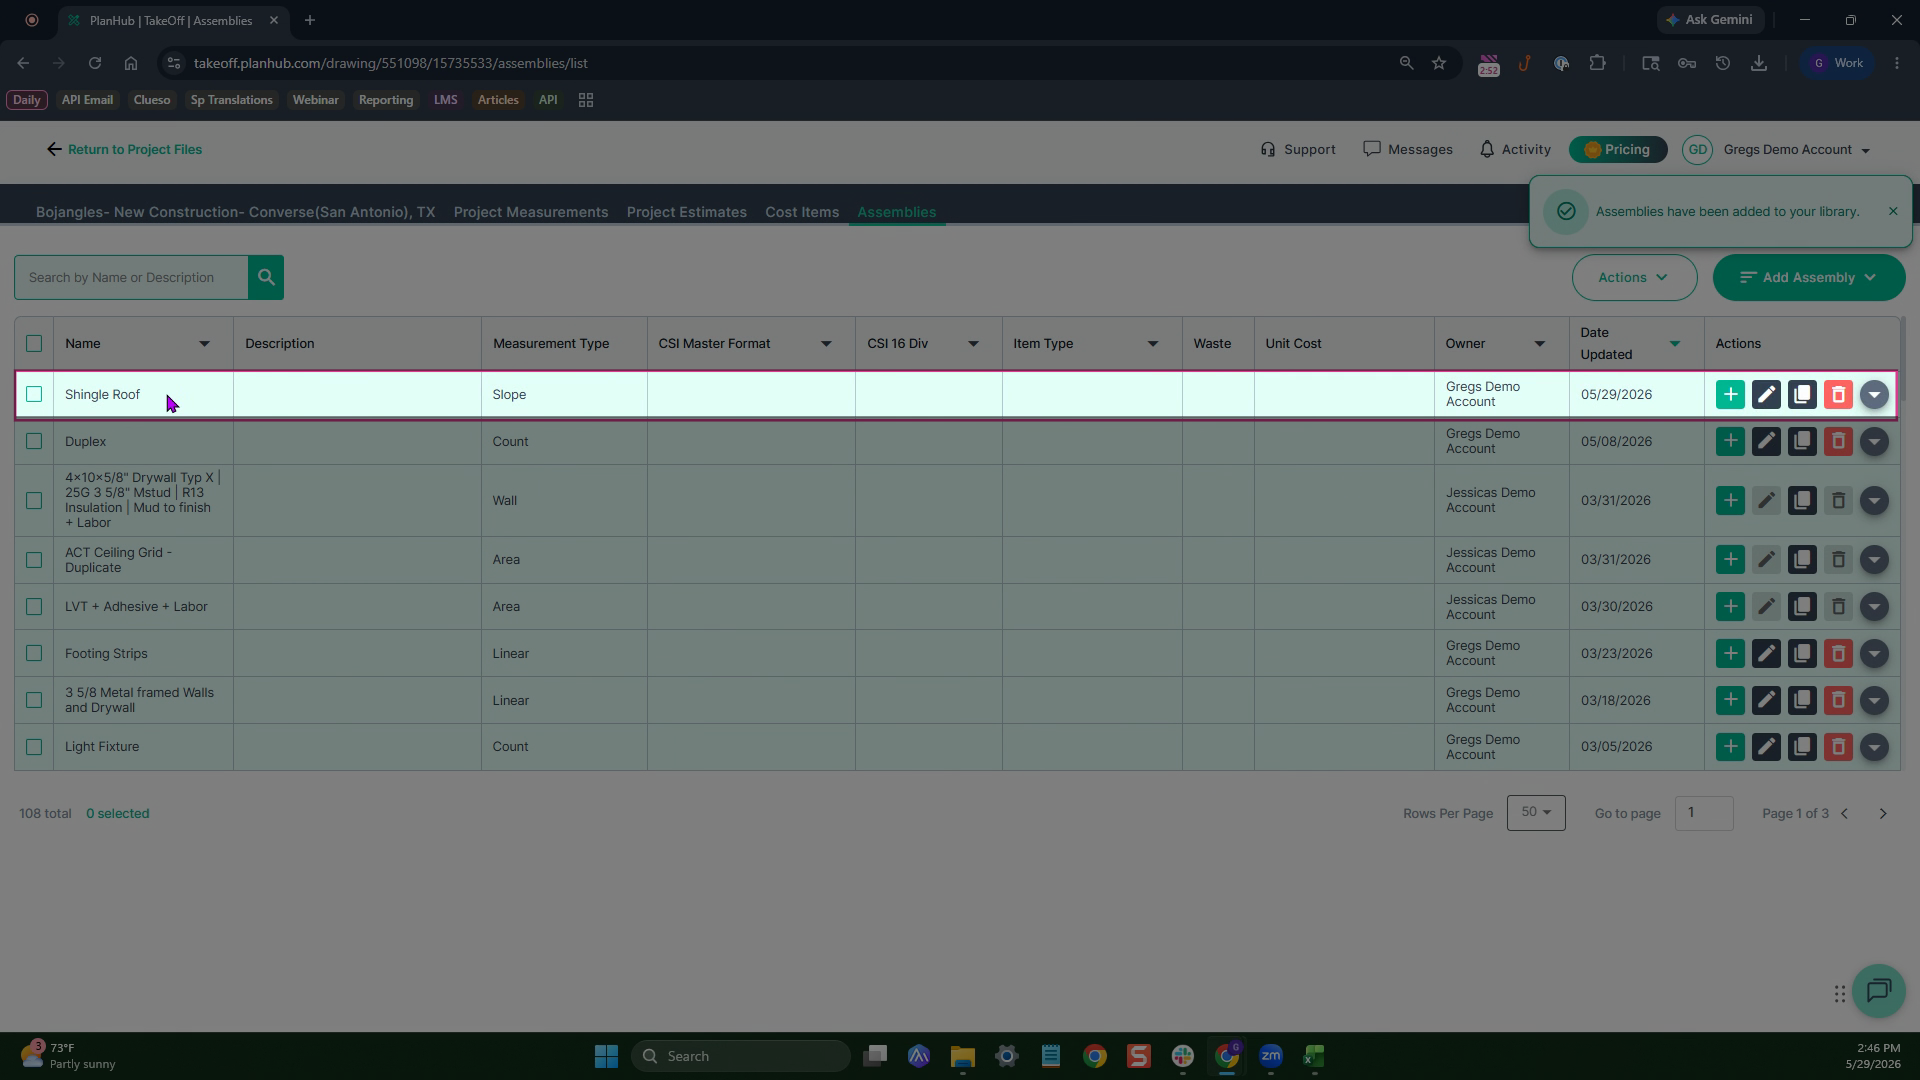
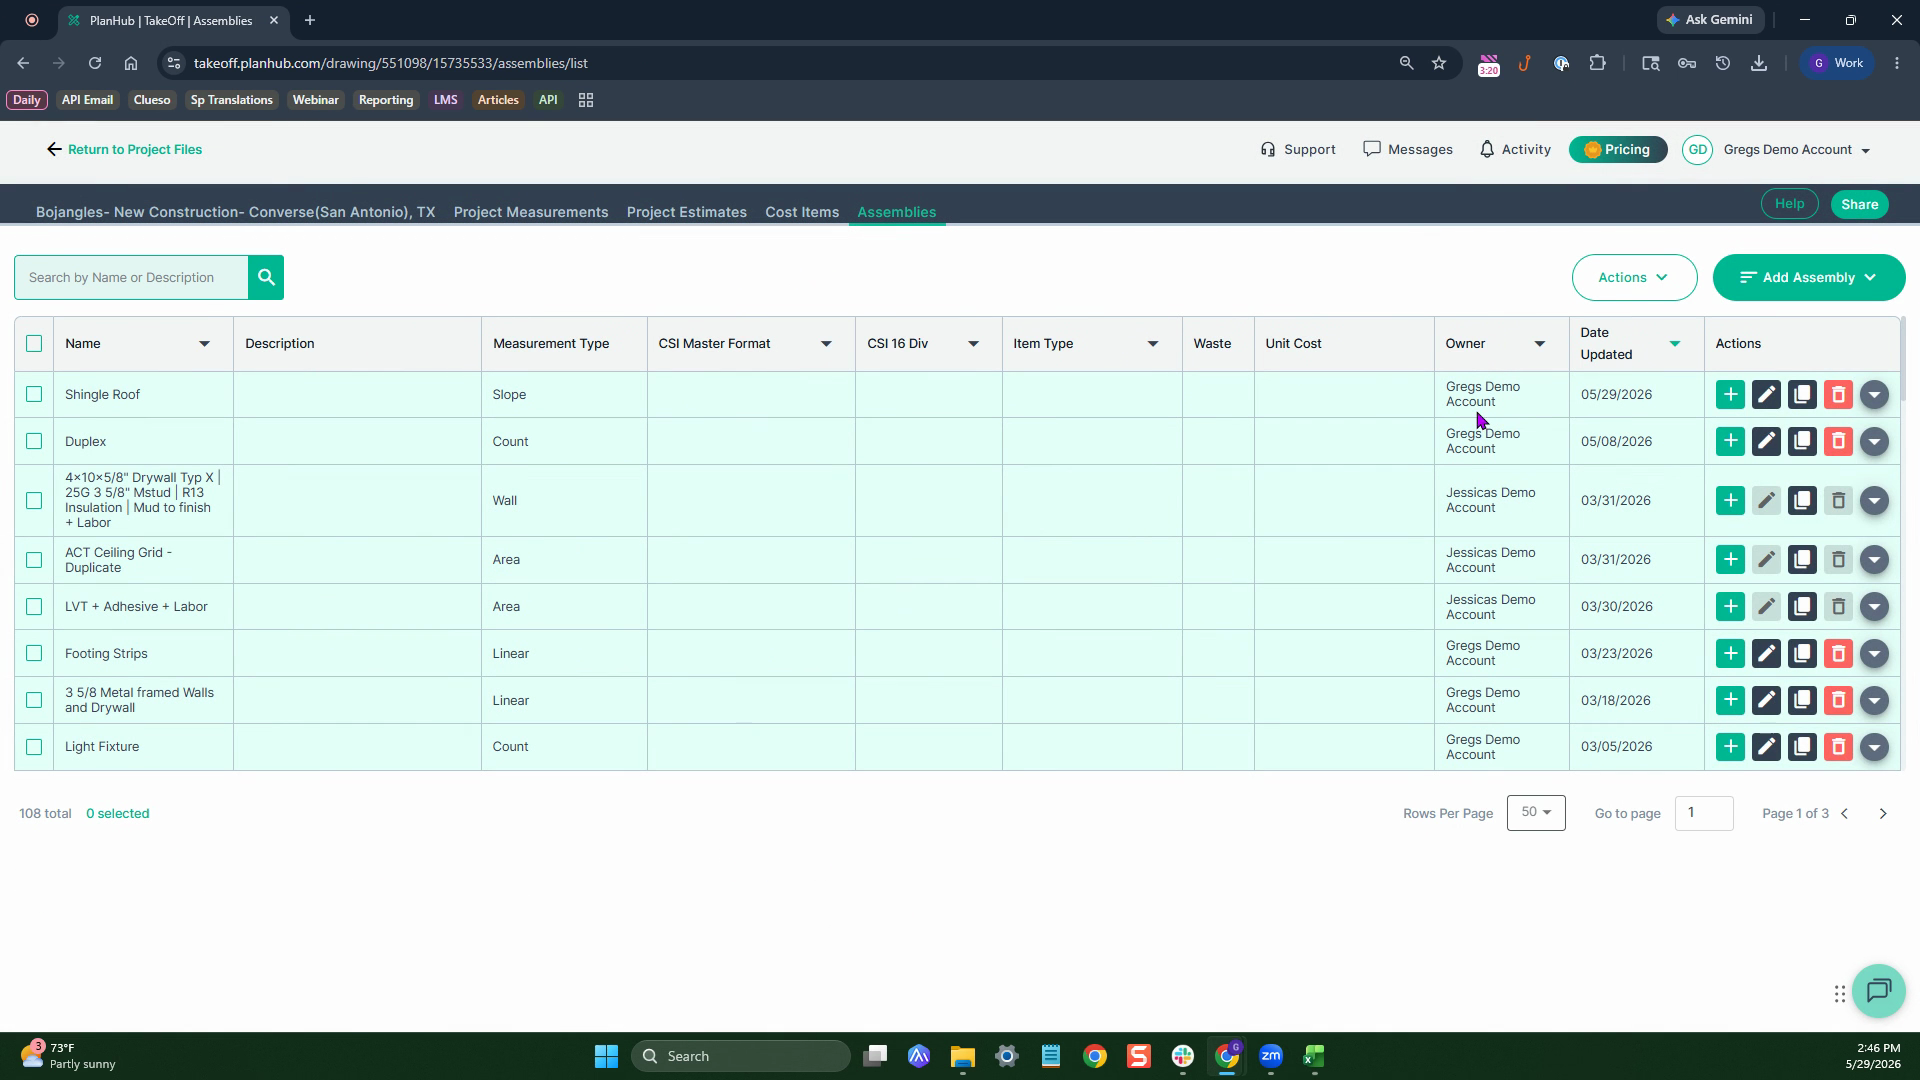
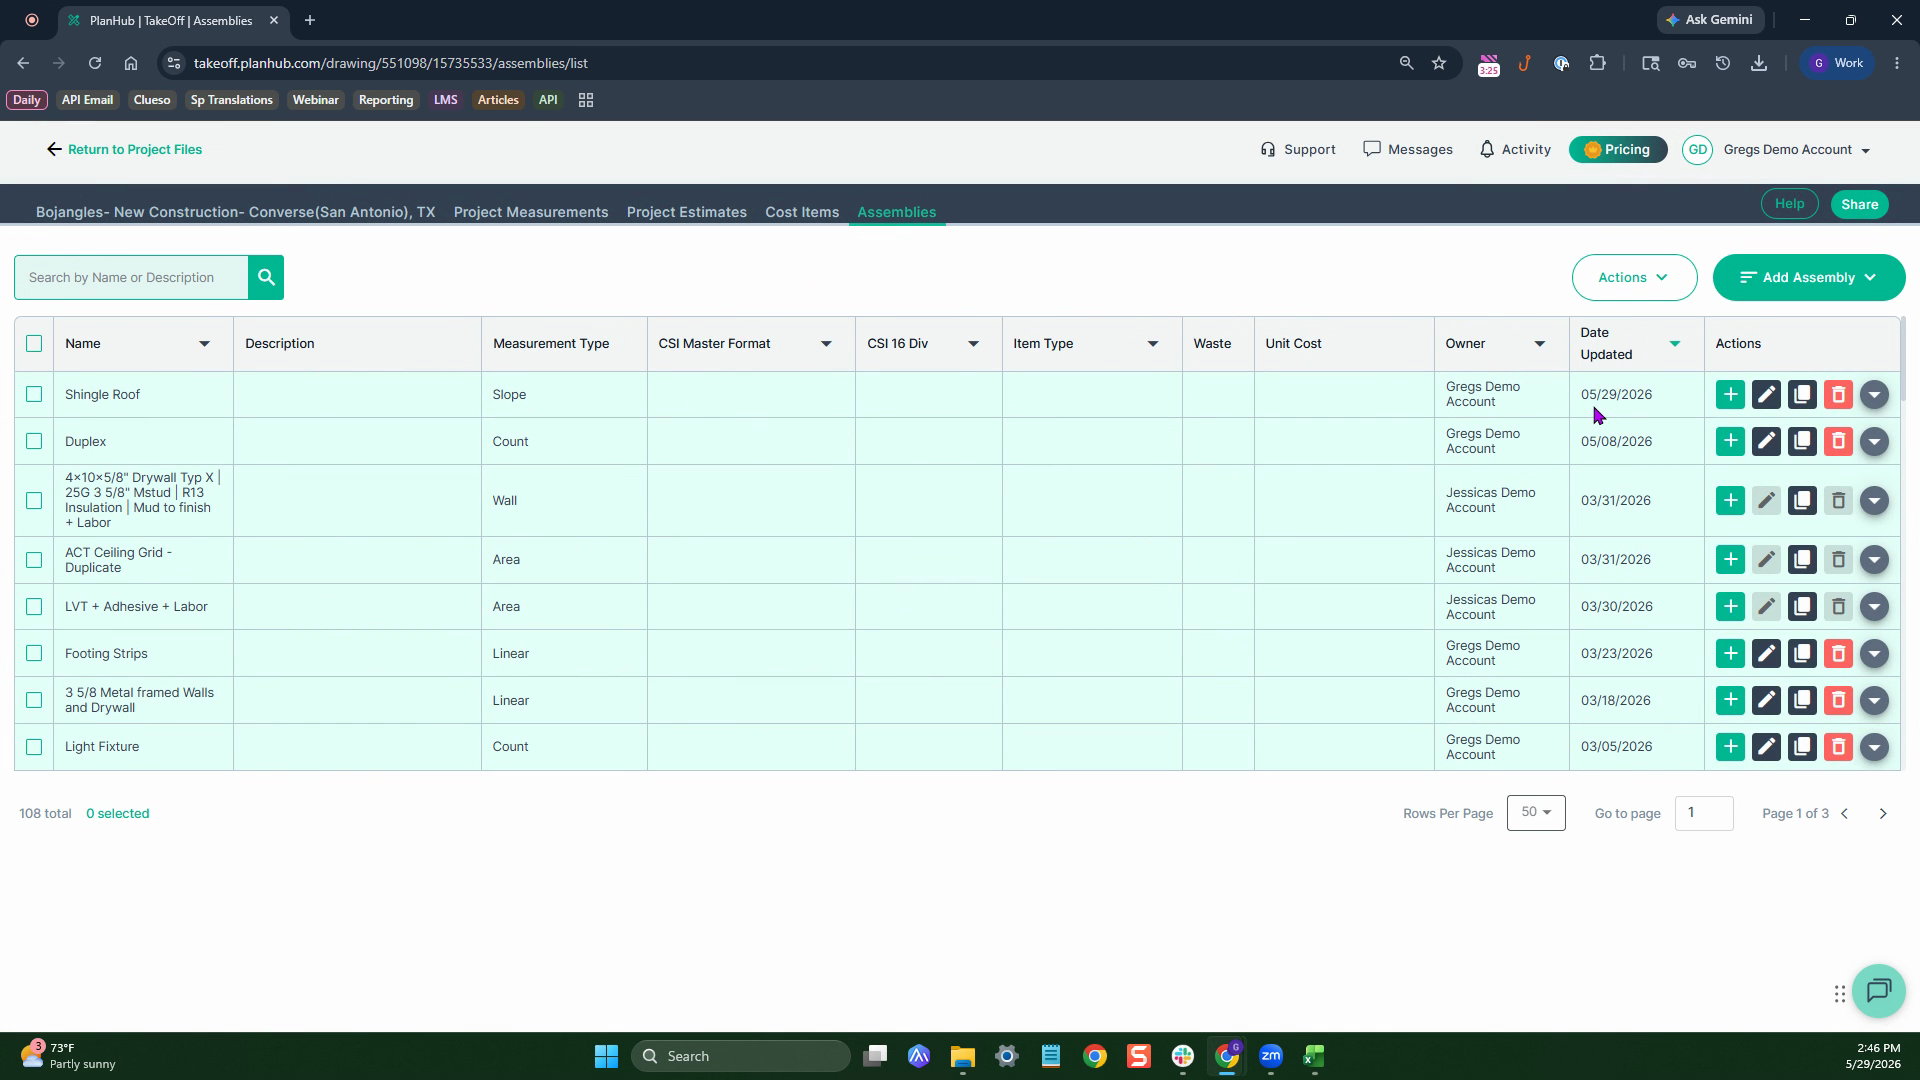
Step 13: Check that your new assembly appears at the top of the list, named as you set it (e.g., "Shingle Roof").
Step 14: To inspect your assembly's details, click the pencil icon to enter edit mode.
Step 15: Review the included items and formulas by clicking the FX button. Adjust or test formulas as needed.
Your uploaded assembly is now ready to use. It appears in your takeoff list and can be paired with any measurements you make using the slope tool.
Upload assemblies via XLS for more efficient project setups and consistent, error-free estimating.