This guide provides step-by-step instructions on how to navigate the Network CRM page on PlanHub. This guide is essential for anyone using PlanHub to connect with and manage their network of contacts efficiently.
1. Navigate to https://subcontractor.planhub.com/ and click on the "Network CRM" page in the menu to the left.
You can access PlanHub's Directory of contacts and manage your own contacts on the Directory and Connections sections of this page.
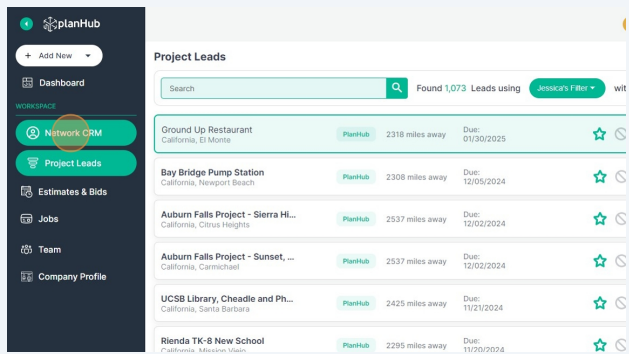
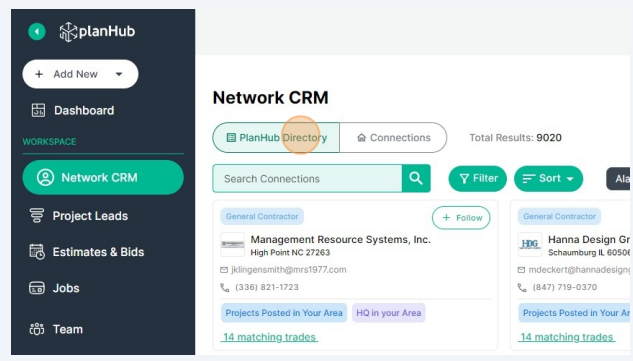
2. You will default to the PlanHub Directory of companies.
The system will default to show you the companies that are located within or have posted a project within your purchased area.
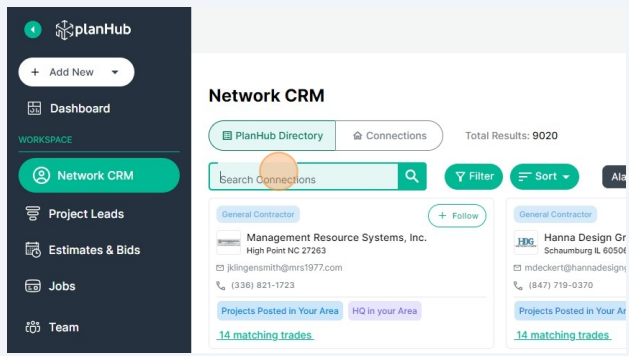
3. To search for a company or contact enter the company name, email, or contact name in the "Search Connections" field.
4. You can find a list of companies that align with location and trade by using the filters. To apply a filter click the "Filter" button.
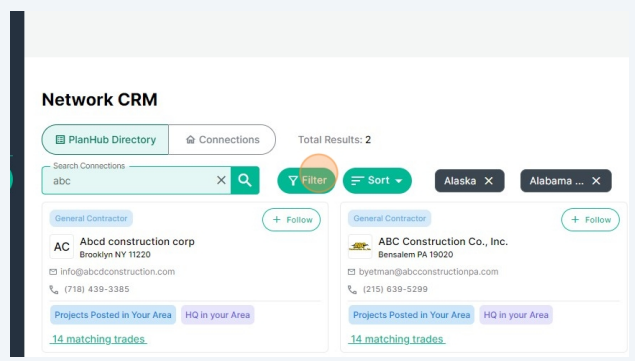
5. The filters will appear to the right. You can filter the location by region selection or by mileage radius. For region, click into the States and Regions dropdown box and select the regions you wish to filter by.
For a radius search click on Miles then enter the desired center point and
distance you wish to search within.
Apply any filters and click "Submit" to see the results.
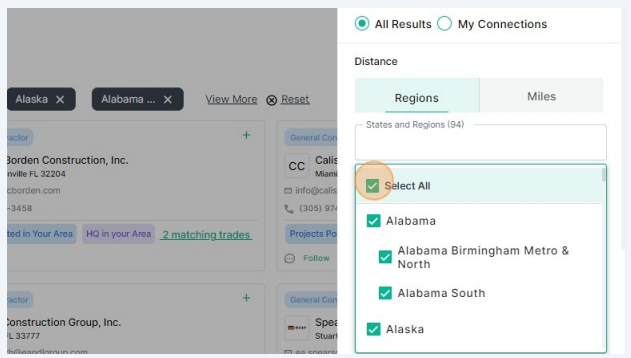
6. We default the sorting order to sort by "Most Active" first. You can adjust the sort order to align with your preferences. Click "Sort" to change the sort order then in the dropdown menu click on the sort order you prefer.
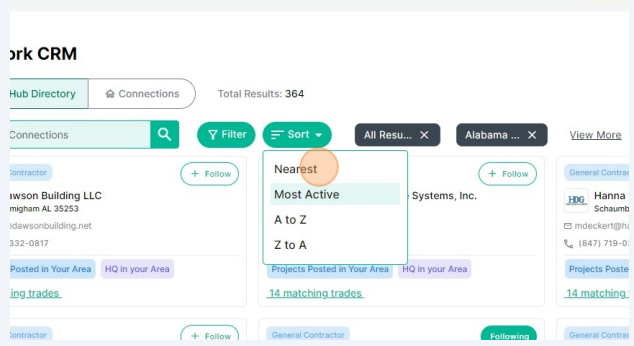
7. Note the applied filters show up to the right of the Filter button.
Note: "All Results", means that you are looking at all PlanHub registered companies and any you added manually.
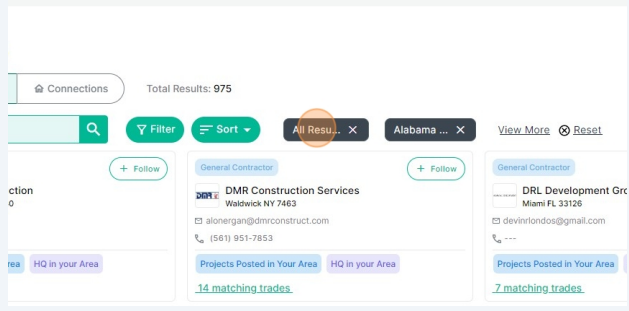
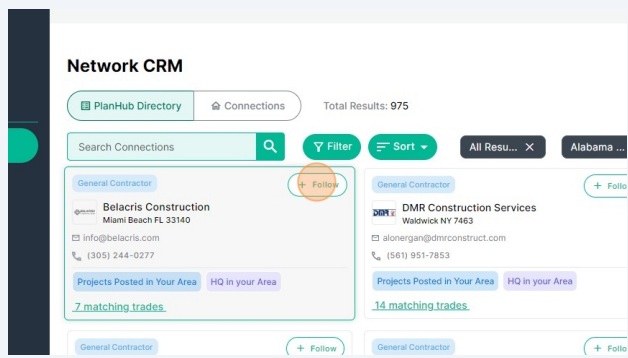
8. The resulting list of companies is presented in a card format. The Company Card includes the company type (ie. General Contractor), company name, main contact email, phone number, activity tags, the option to add to your network and follow the company, and tags indicating why they are on the list.
To open a Company's profile click on the company name.
To add a company to your Connections and follow their project postings on the Project Leads page click the "+ Follow" button on the company card.
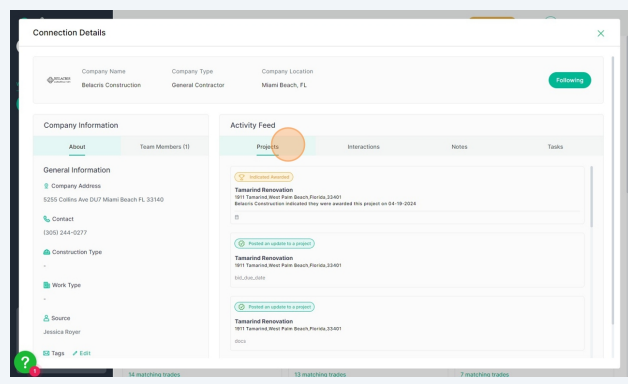
9. When viewing a PlanHub registered GC profile you can view their company profile in the About section, the company's users and contact details in the Team Member(s) section, and a list of projects they have posted in the Projects section.
*Please note: if they are a PlanHub registered company you are not able to make edits to their company card or profile.
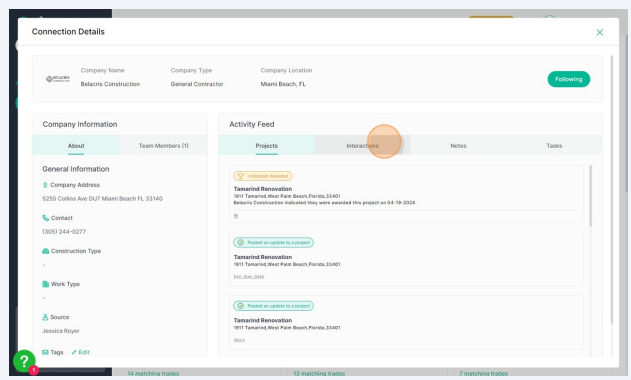
10. To view a list of interactions between your account and theirs click on "Interactions"
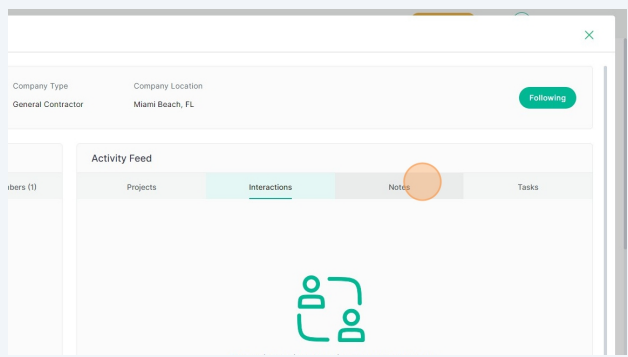
11. To add a note or view any historic notes (only visible to your account's users) click on "Notes".
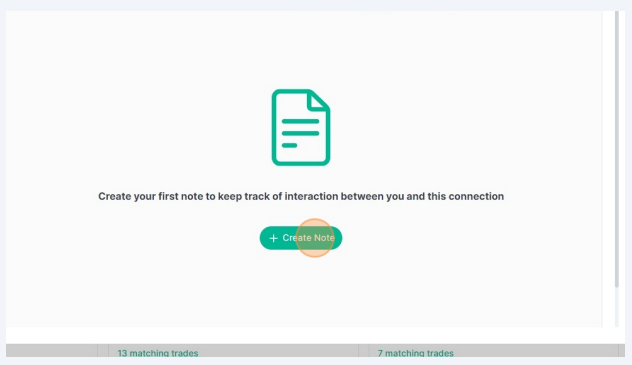
12. To create a new note click "Create Note".
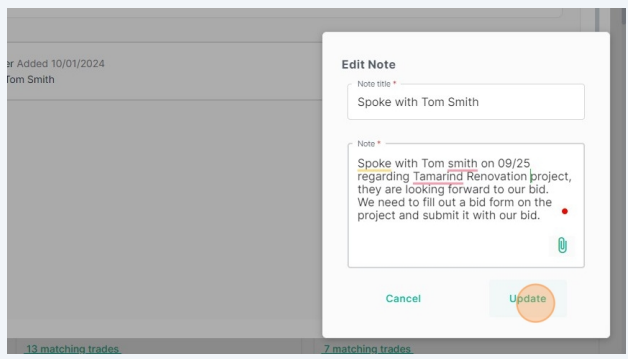
13. Fill in all required fields and click "Save" or "Update".
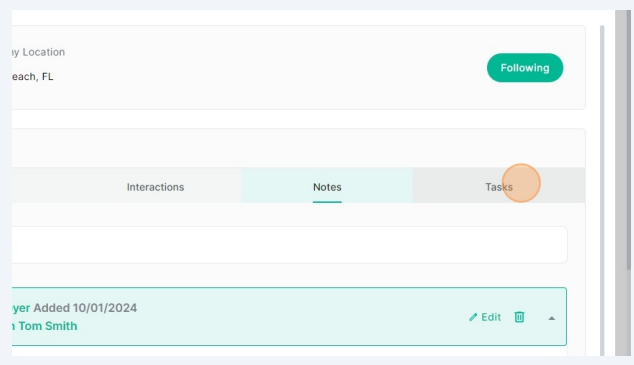
14. To view or add a task to a company for yourself or one of your users click on "Tasks"
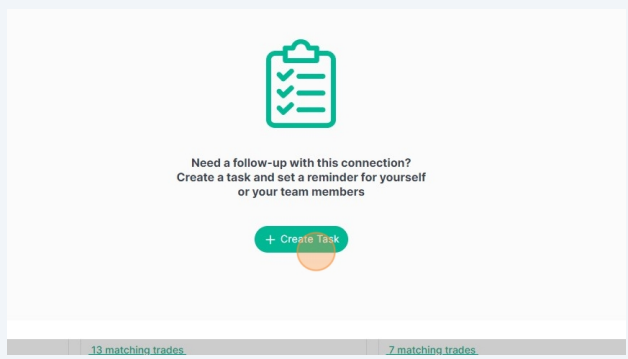
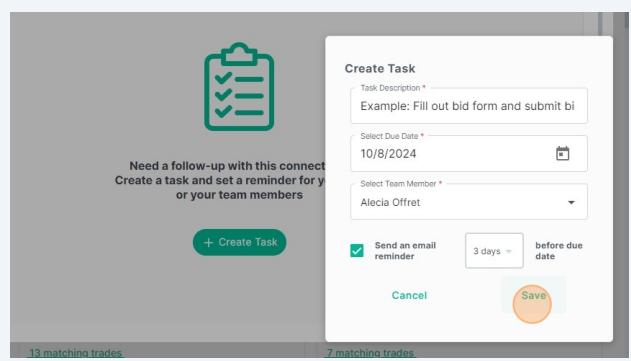
15. To create a new task click create "Task".
16. Fill in all required fields and select if you wish for an email reminder to be sent, then click "Save".
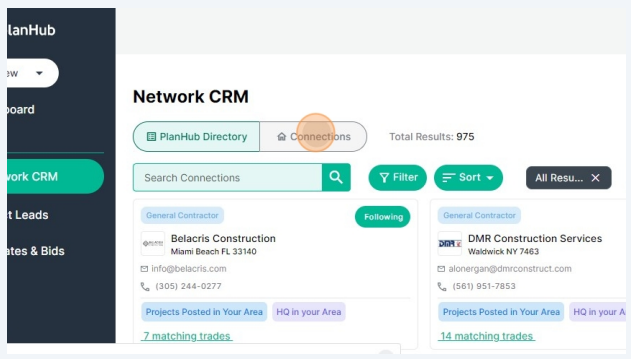
17. You can add your own contacts and and manage your contacts in the Connections section.
To view or manage your contacts click on "Connections".
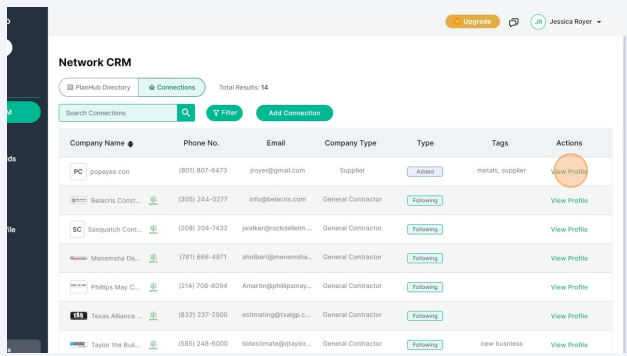
18.To view, edit, and manage a Contact's profile click "View Profile" for that contact.
The layout for contacts you created vs. PlanHub registered contacts is the same (see 8-16). However, for contacts you created you can edit more of the profile and team member information since you created the contact.
19. To create a new connection profile click on "Add Connection".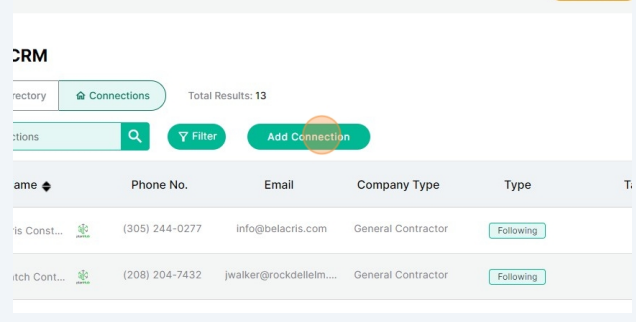
20. Enter the email address to check if they have already registered an account in PlanHub.
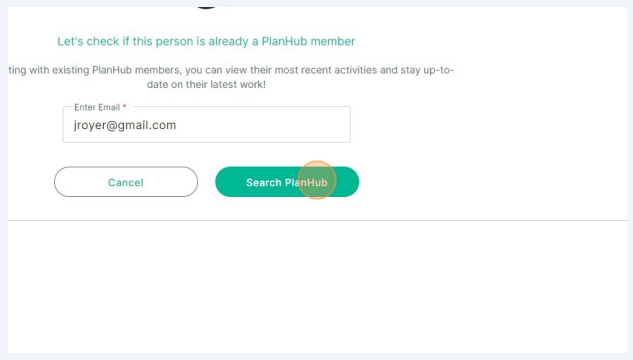
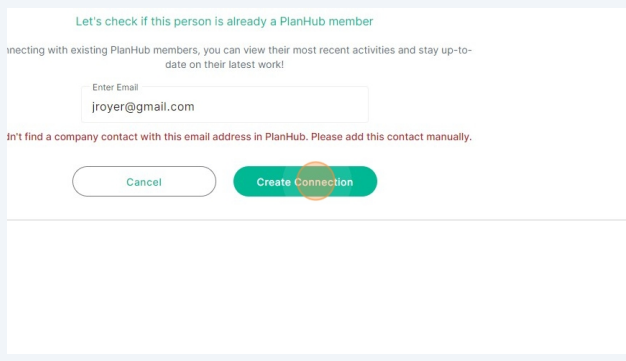
21. If they have not you can then create a new connection profile, click "Create Connection".
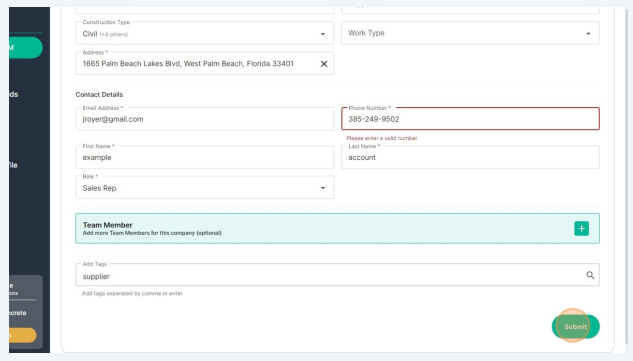
22. Fill in all required fields. 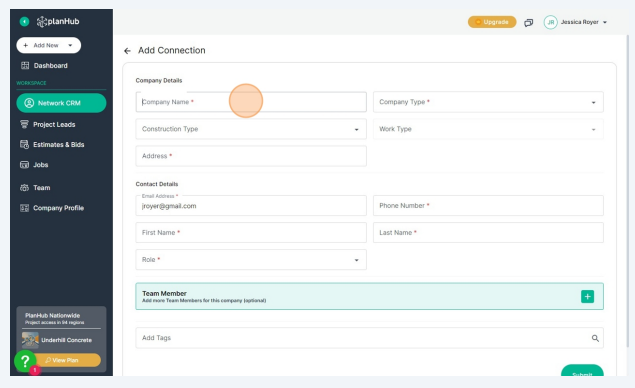
23. Click "Submit"
