Elevation Plans | Area
Step 1: Engage the Area tool when looking at the surface. (elevation plans, reflected ceiling plans)
-
Click the Area tool in the toolbar.
-
Choose Multi Point to outline irregular shapes, or Two Point for quick rectangles and squares.
-
Name your measurement for easy tracking—for example, use the paint code like P6.
-
Click Set to confirm
Step 2: Map the surface for paint using the Area tool.
-
Left-click once on your starting point to begin measuring.
-
Left-click at each corner along the perimeter to change direction as you trace the area.
-
Double left click to finish your shape.
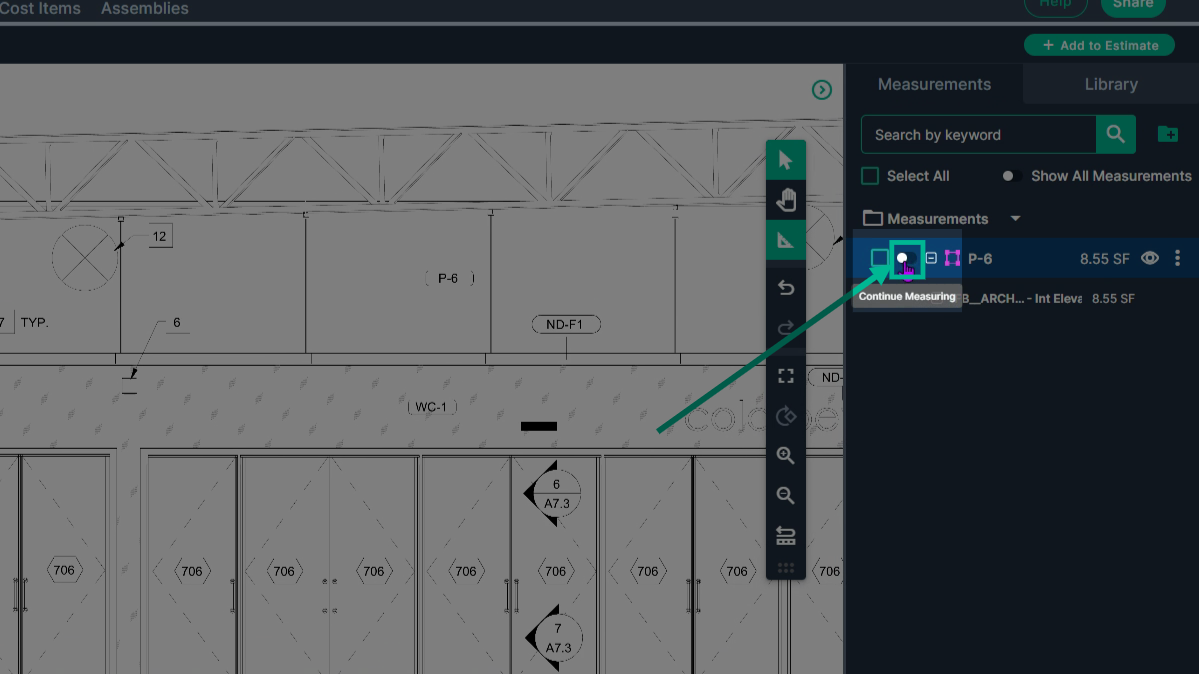
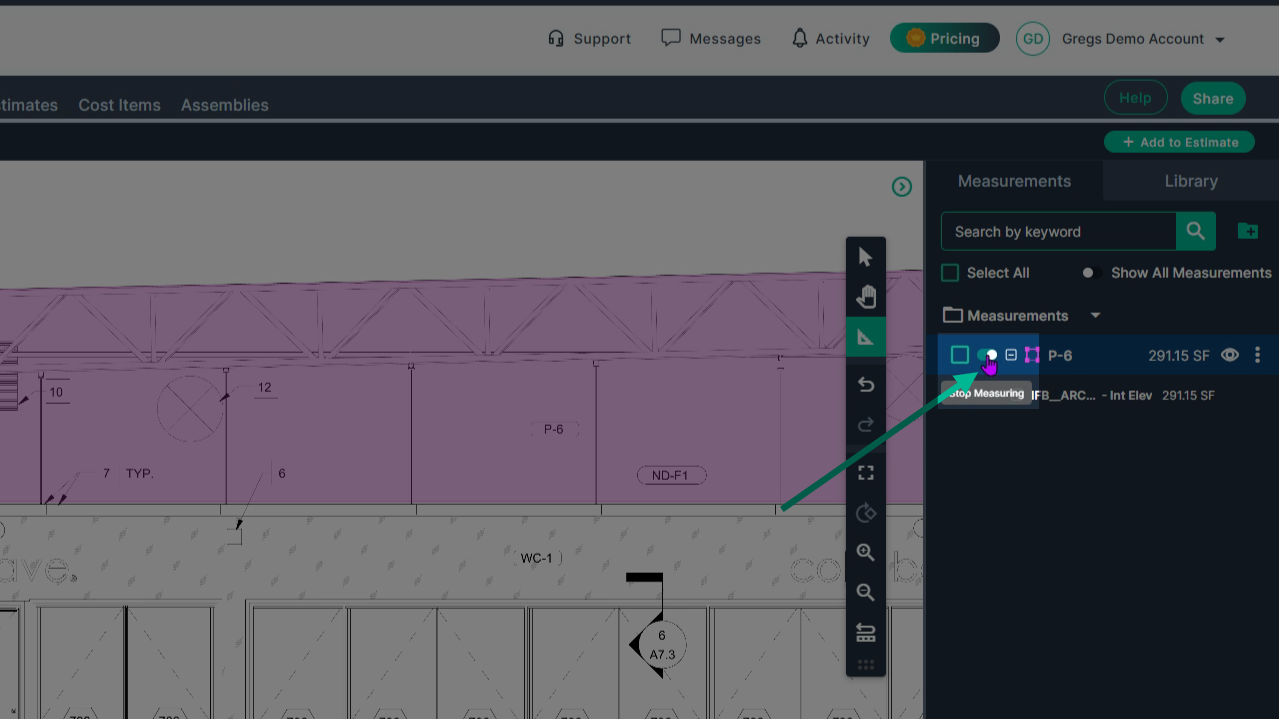
Step 3: Continue the Measurement
-
If the same paint color covers more than one section, toggle the Continue Measuring switch for the measurement in the panel on the right.
-
Start adding additional territory with a click, tracing each new area as before.
Step 4: Map the next segment of the measurement
-
Left-click to begin the new section.
-
Pan the page with a right-click and drag, and click the next corner.
-
For angles that don’t match the Snap-to-Angle increments, hold down the spacebar while measuring.
-
Double-click on the final point.
Step 5: Turn off continue mode with the same switch used to turn on continue.
Step 6: Subtract areas within your measurement that do not receive paint
-
Click the Subtract tool in the toolbar
-
Then select the Area option to start a subtraction.
-
Left click to start and again on each corner, outlining the object to remove.
-
Double-click to complete the subtraction.
-
Continue the subtracted area using the continue switch if needed for all areas to exclude.
-
When finished, the total measured area for your selected paint/finish and the amount you subtracted are listed in the measurements panel on the right side of the page.
Tip: You can use the same tool in Reflected Ceiling Plans or Finish plans to measure for ceiling paint
Finish Plans | Wall Area
For Finish Plans, use the Wall Area tool to quickly calculate the surface area for any wall section based on wall height.
Step 1: Engage the Wall Area tool
-
Click the Wall Area tool in the toolbar
-
Label your measurement (for example, with the paint code like P4)
-
Set the finished wall height (such as 10 feet)
-
Then click Set.
Step 2: Map the pathway of the wall you are applying paint to
-
Begin tracing the length of each wall with a left-click.
-
Left-click once at each corner, following the perimeter until you reach the end.
-
Double-click at the end to complete.
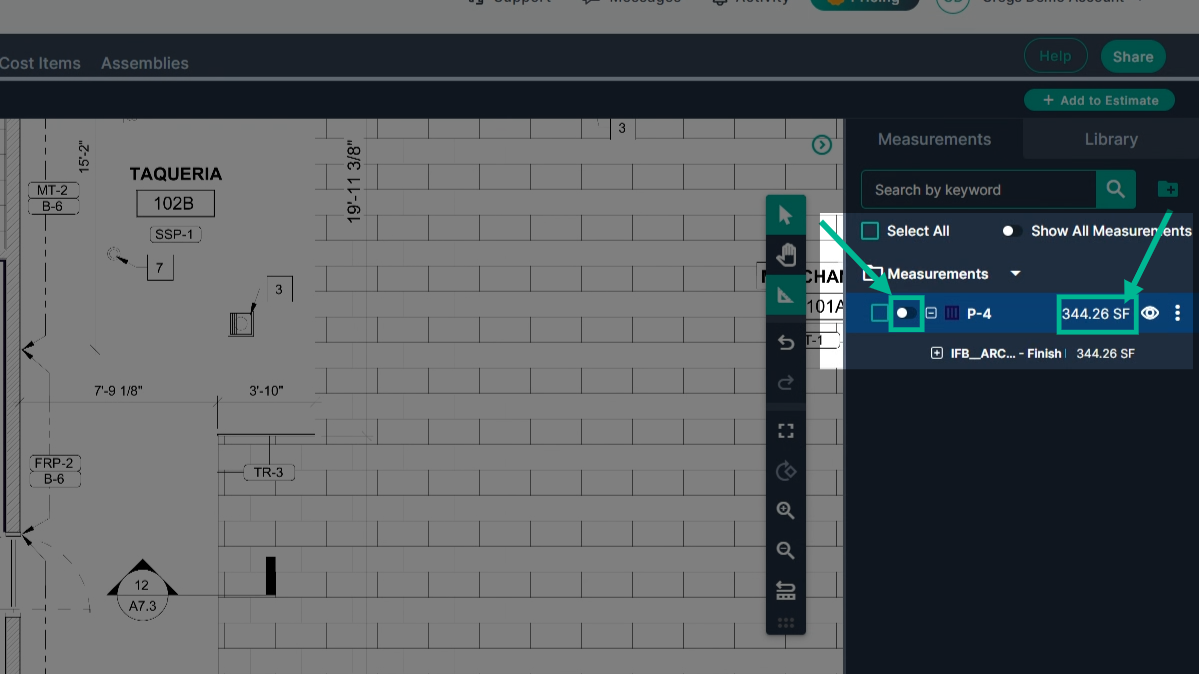
Step 3: Review results and continue the measurement as needed
-
The area measured appears on the right side of your PlanHub page.
-
Continue adding to the measurement as needed using the continue Measurement toggle.
With these tools, accurately visualize and calculate your painting or wall covering needs—no matter the complexity of your plan.
Next Steps
Once you have completed taking all your measurements, you can:
-
Download the measurements in a table from the Project Measurements page
-
Add a legend and download the PNG of your takeoff page
-
If you have purchased the Estimation add-on tool, send measurements into the Project Estimate page or push them into an Assembly you have built.
-
Share your Takeoff with anyone using the Share button in the upper right-hand corner.
Troubleshooting
Contact us if you need assistance or to report an issue:
-
PlanHub Contact Page: https://planhub.com/contact/
-
Customer Facing Support Ticket Link: https://knowledgebase.planhub.com/knowledge/kb-tickets/new
-
Schedule a Free 1-on-1 Takeoff Training: https://meetings.hubspot.com/zac-low/takeoff-and-estimation