Prerequisites: You need a subscription or trial that includes Takeoff to measure plans, export a plan into TakeOff, and set the scale. Then you can begin measuring.
How to Begin a Takeoff In PlanHub
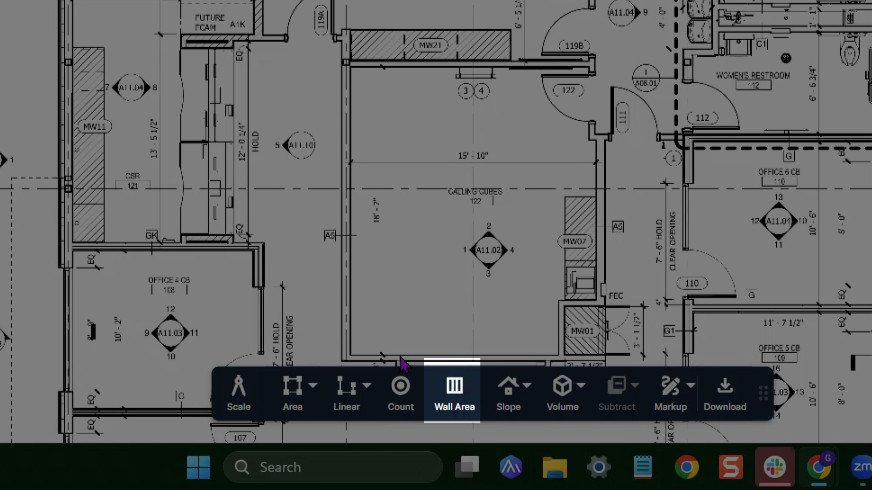
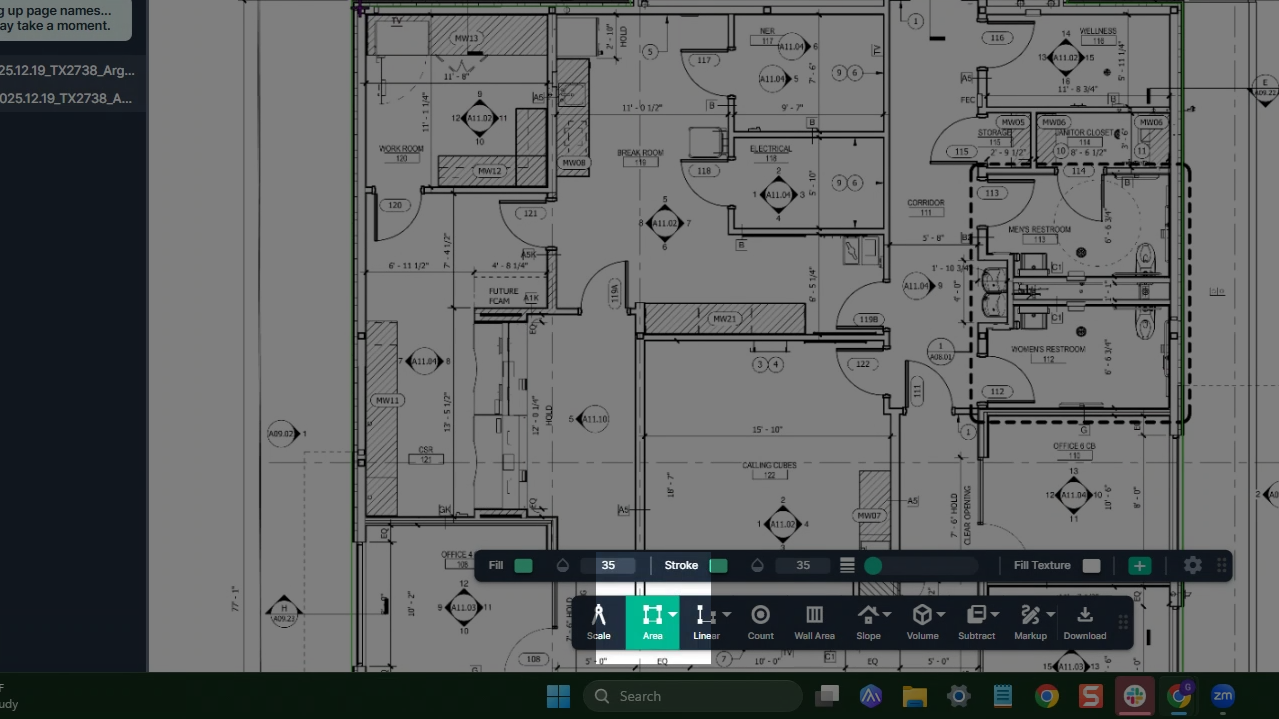
Step 1: Click the Wall Area tool from the toolbar.
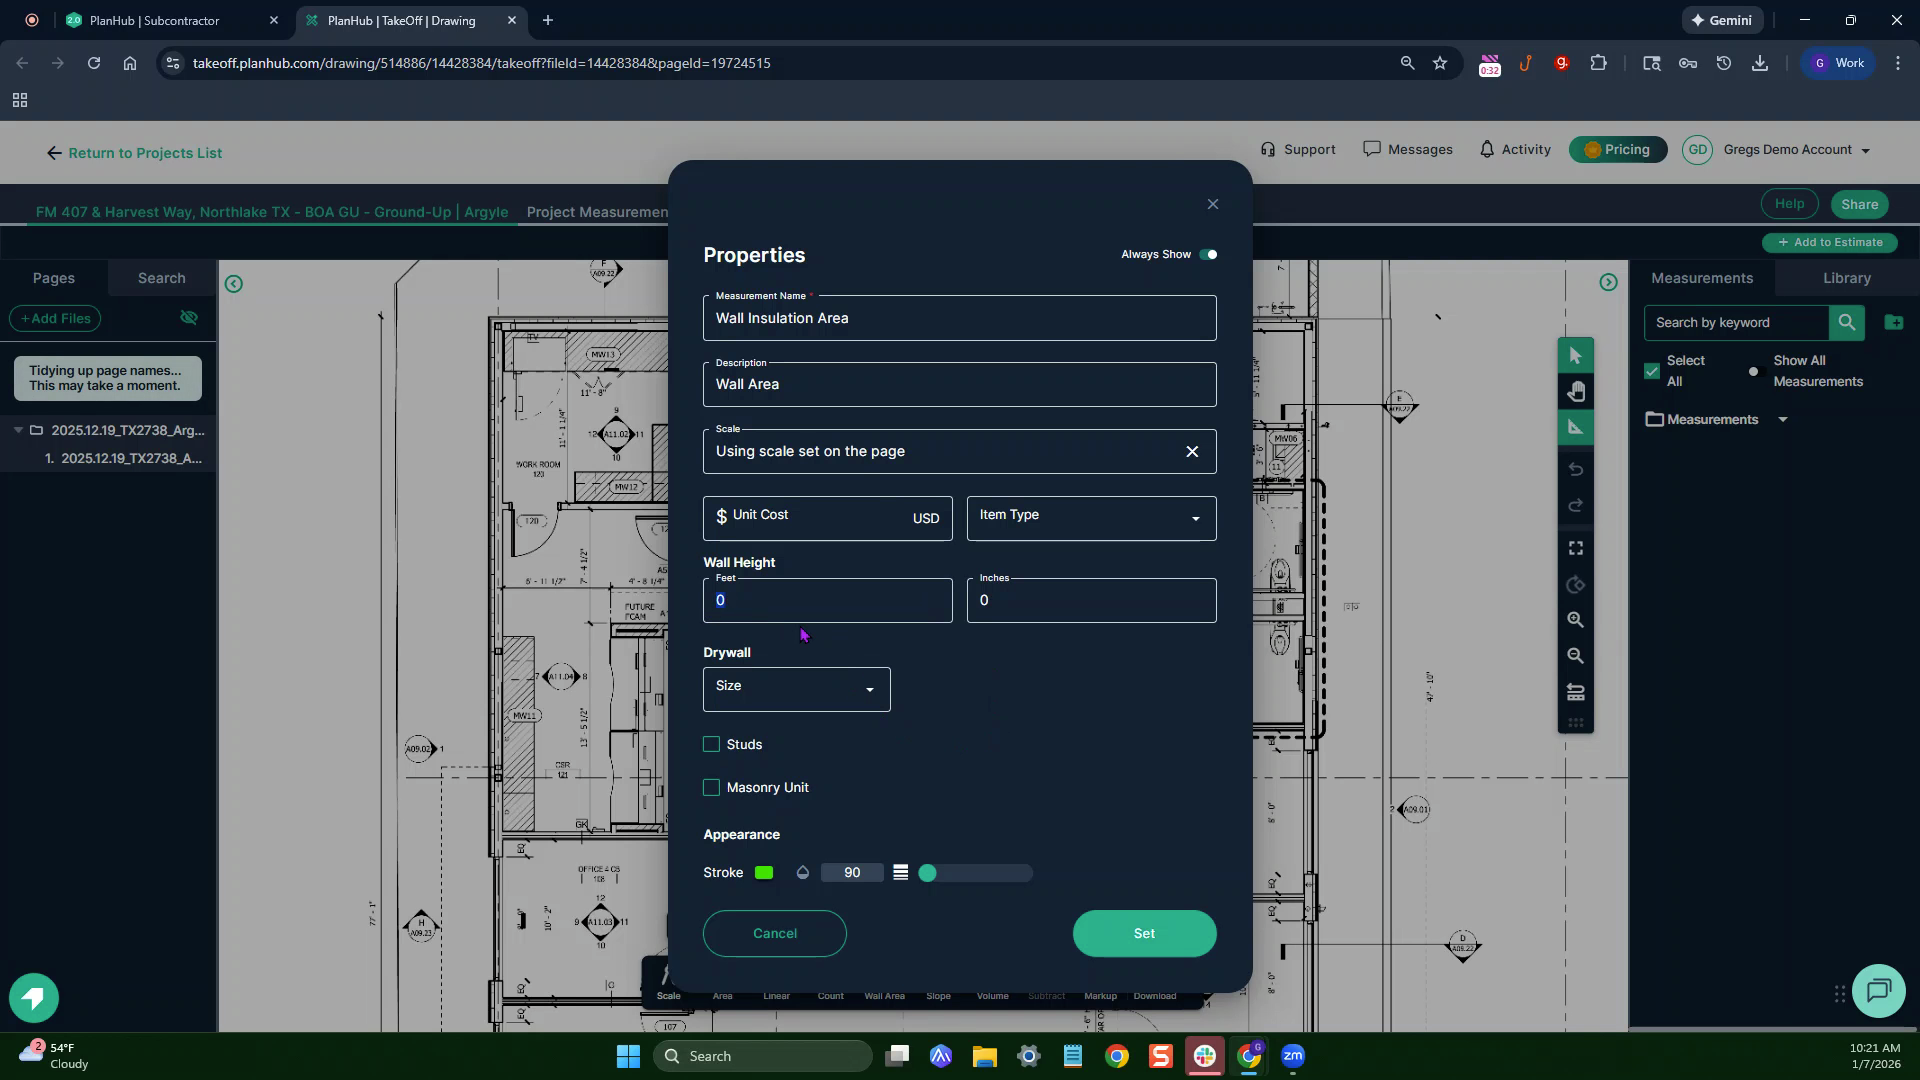
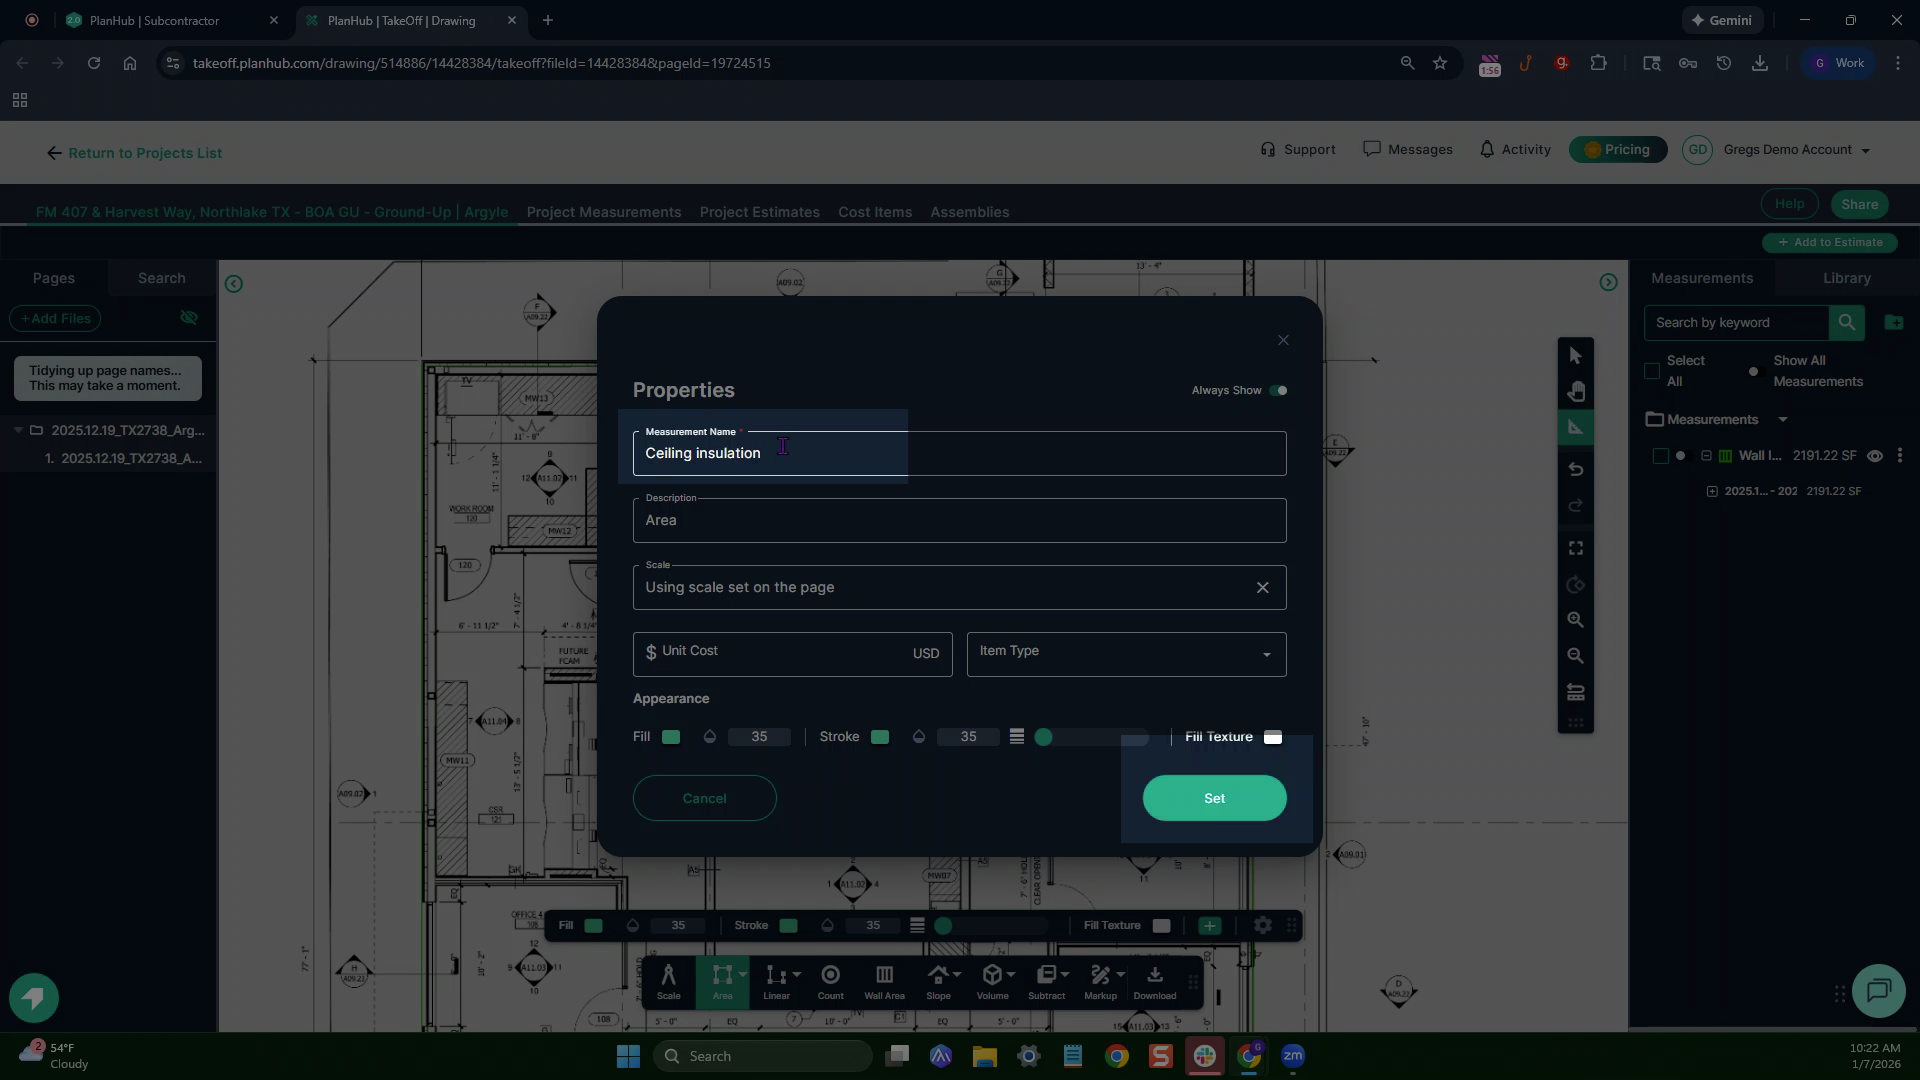
Step 2: Name your measurement. Enter the Wall Height so the system can calculate square footage based on measured distances. For this plan, set the wall height to 10 feet.
Step 3: Click Set.
Step 4: Align your crosshair to the measurement’s starting point and click once to begin. As you move along each wall, the line follows your cursor. Click and drag with the right mouse button to pan the page when needed.
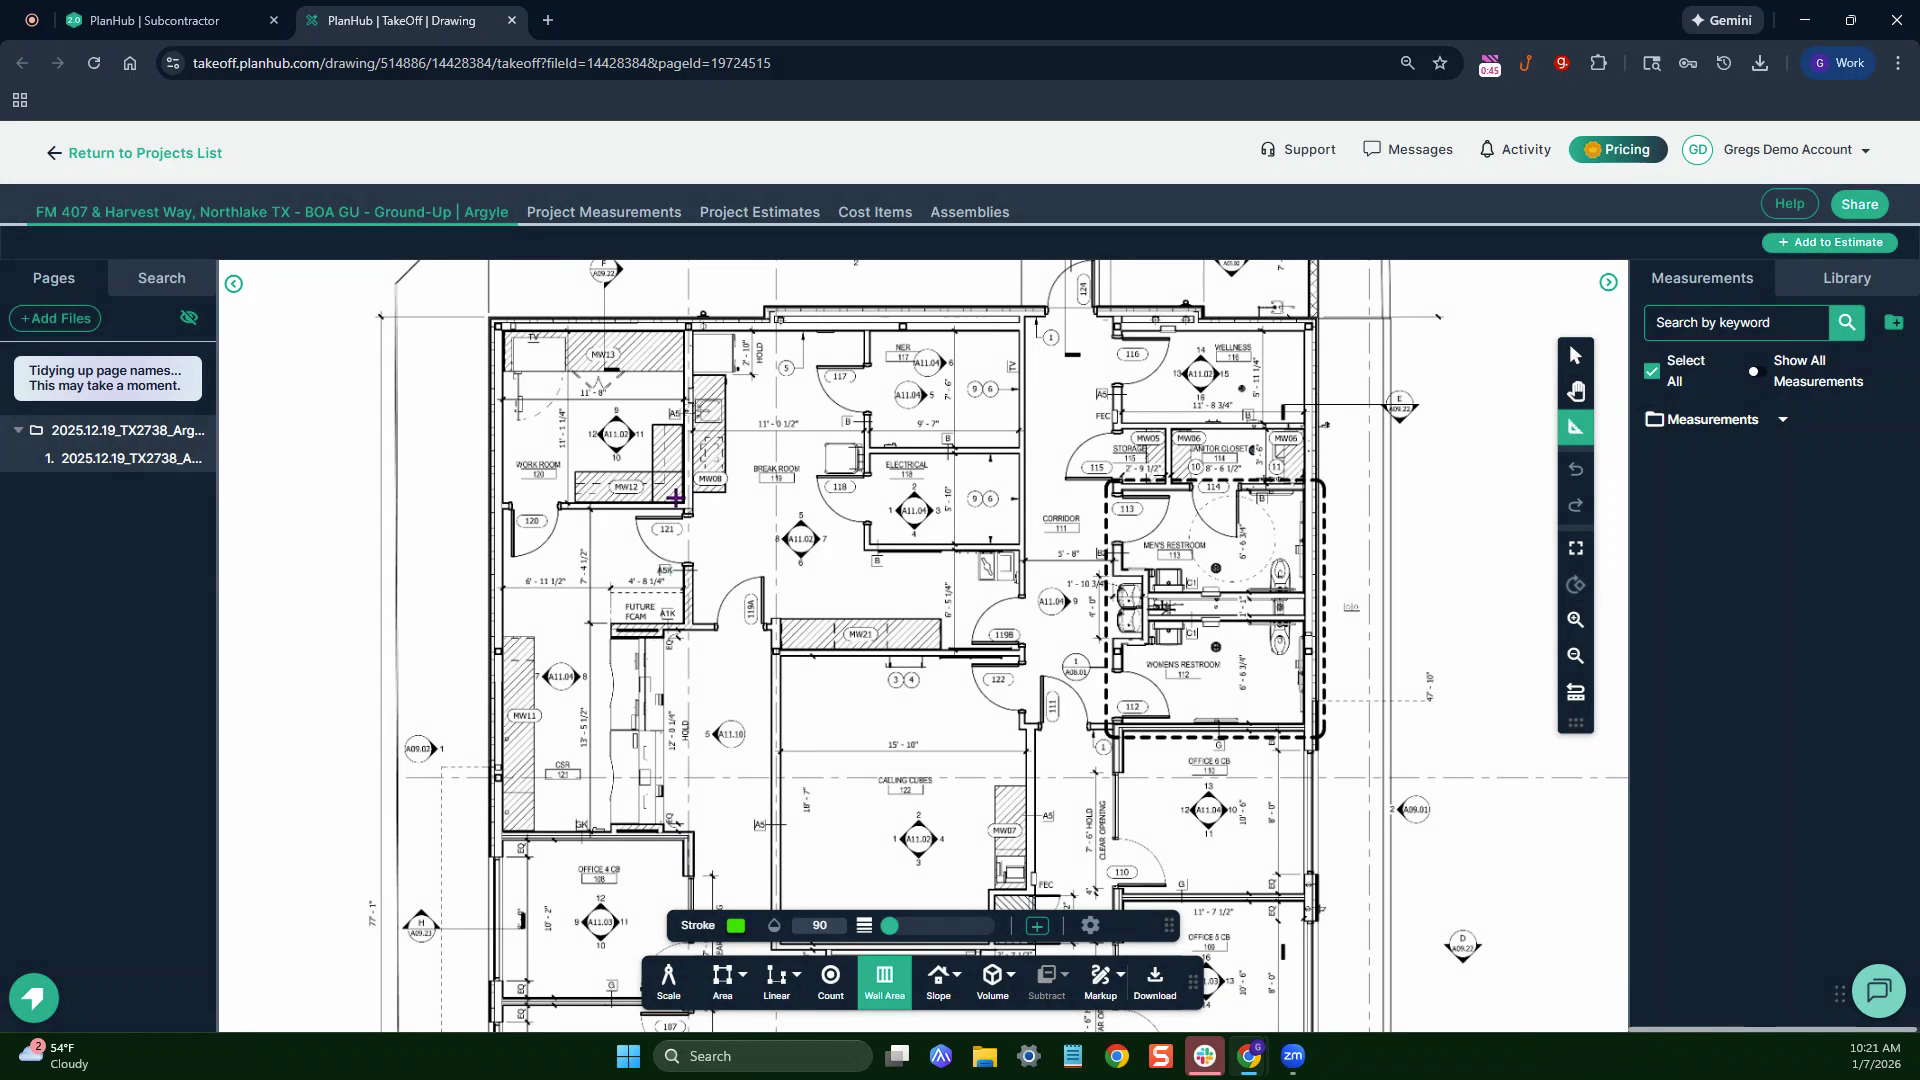
Step 5: Click the left mouse button at every corner to change direction. When you finish outlining a section, double-click to end the measurement.
Step 6: If you need to skip spaces (like over a glass storefront) and keep measuring on the next wall, use the Continue switch.
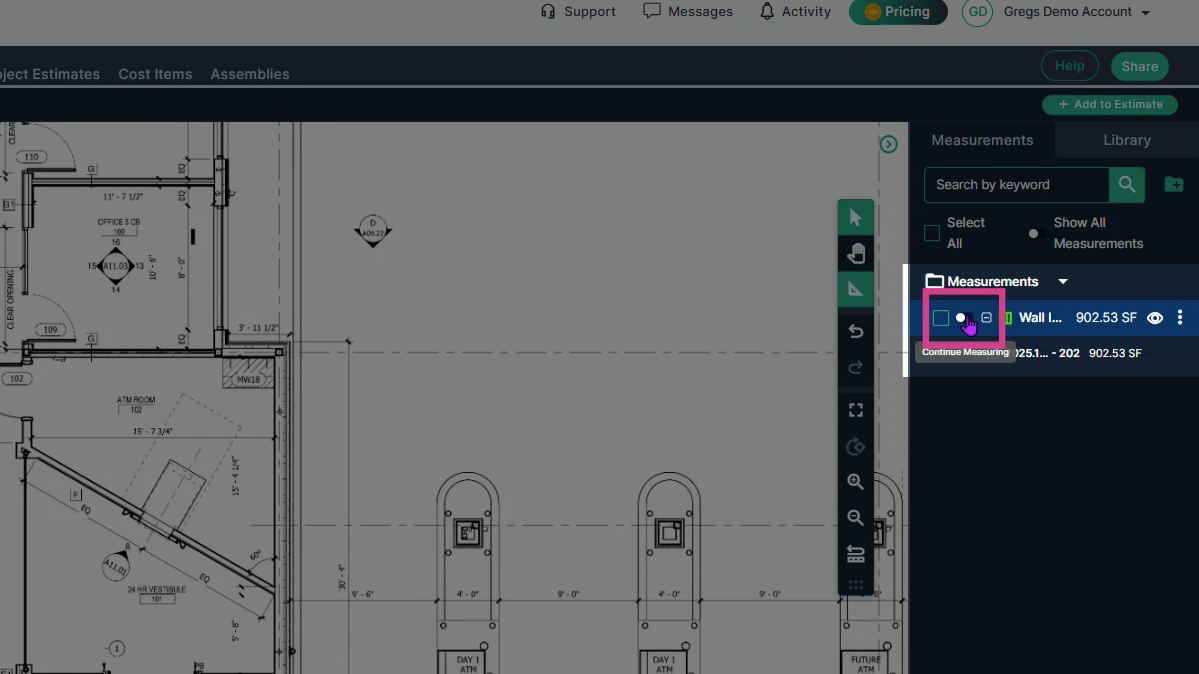
Then left-click to begin a new line, clicking at each corner again. Double-click to finish.
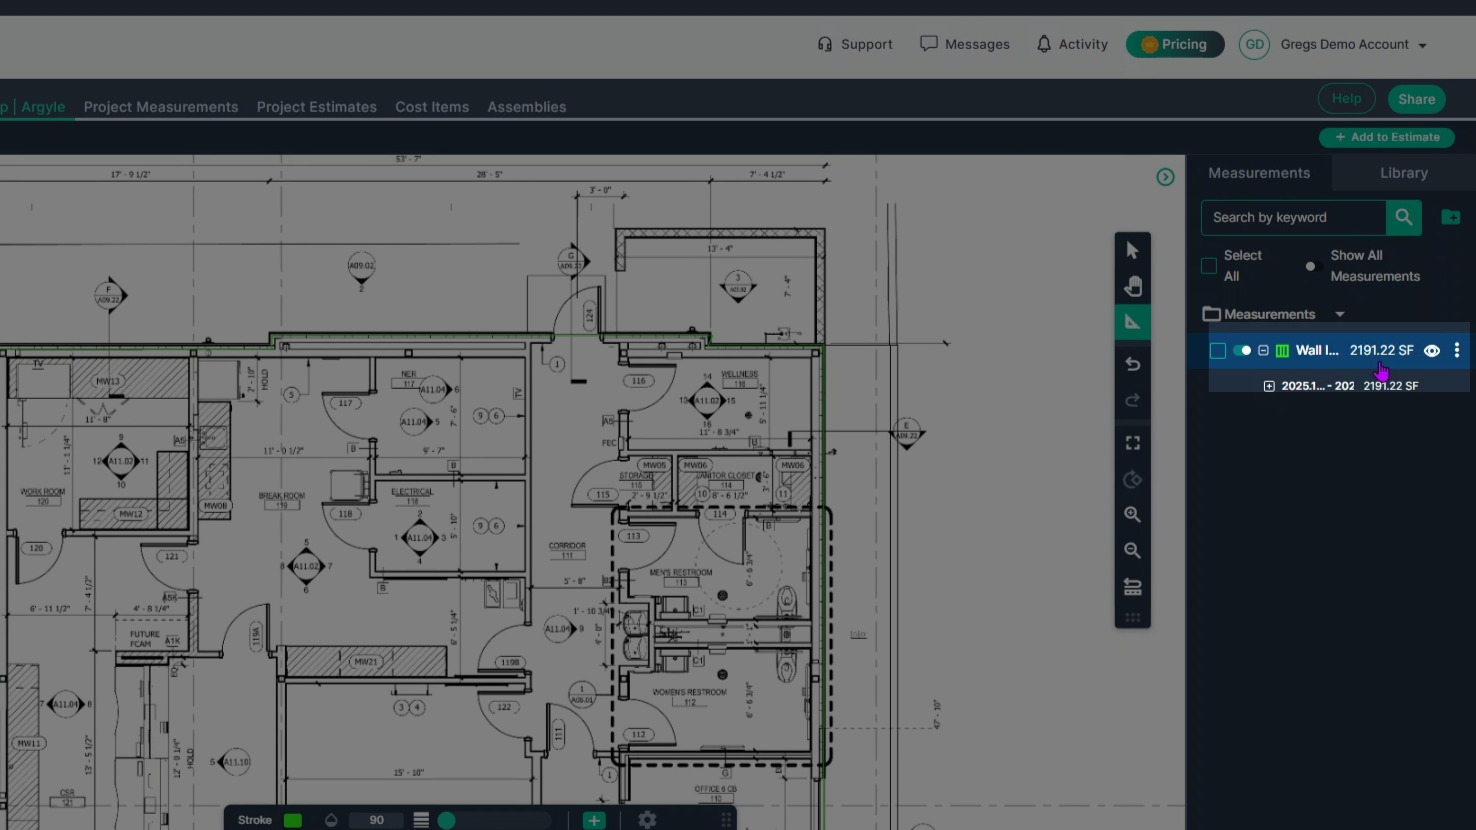
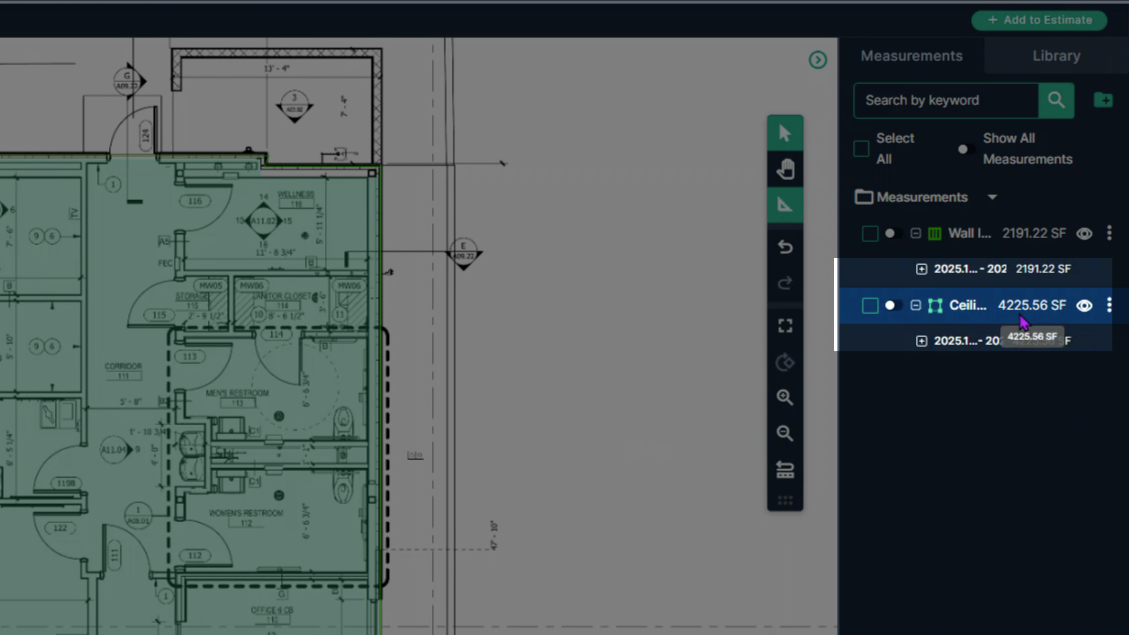
Step 7: Check your results on the right side of the window. The area for wall insulation appears in square feet—here, it’s 2,091.22 square feet.
Step 1: Select the Area tool for ceilings.
Step 2: Choose Area, then Multi Point to outline the space you want to measure.
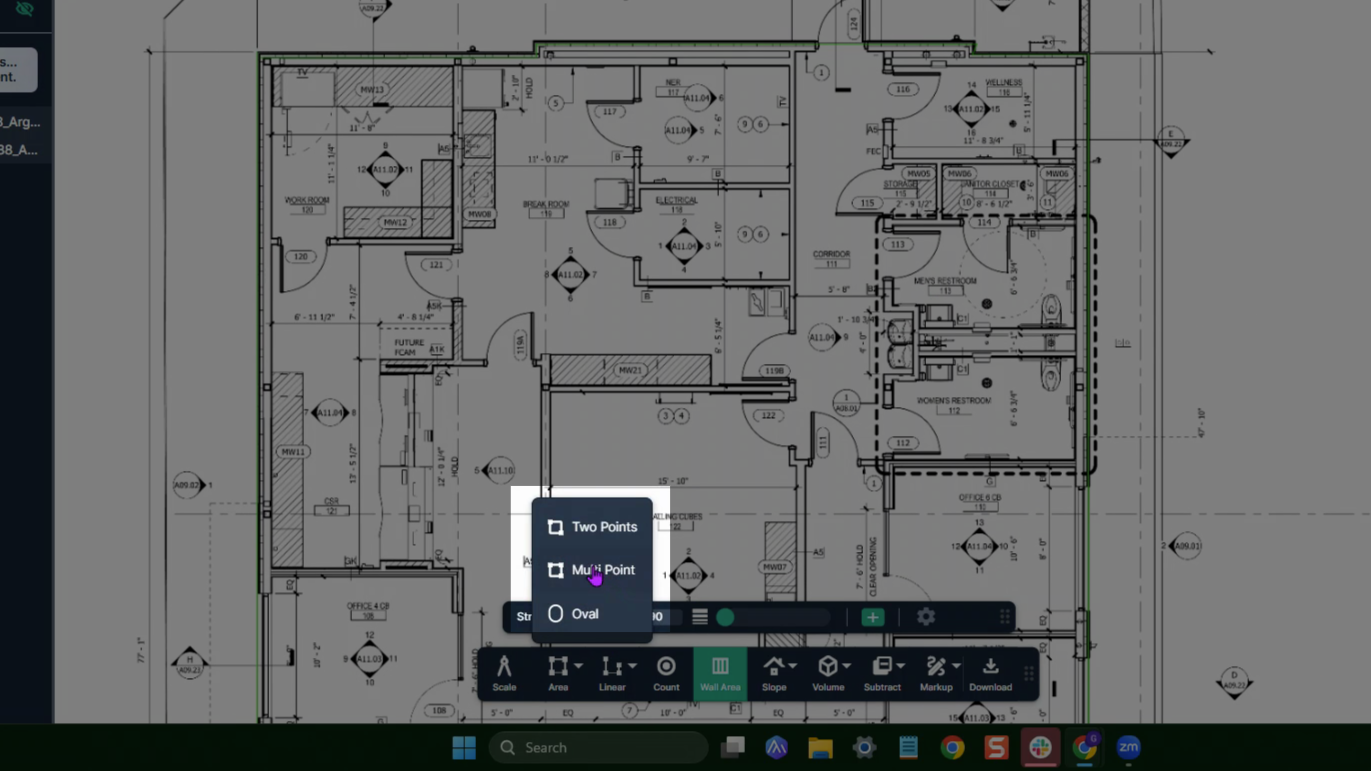
Name this measurement, then click Set to begin.
Step 3: Start your outline with a left click. As with walls, click at each corner to change direction.
Step 4: When finished, double-click to complete the outline.

Step 5: View the measured ceiling area on the right—here, it's 4,225.86 square feet.
Next Steps
Once you have completed taking all your measurements, you can:
-
Download the measurements in a table from the Project Measurements page
-
Add a legend and download the PNG of your takeoff page
-
If you have purchased the Estimation add-on tool, send measurements into the Project Estimate page or push them into an Assembly you have built.
-
Share your Takeoff with anyone using the Share button in the upper right-hand corner.
Troubleshooting
Contact us if you need assistance or to report an issue:
-
PlanHub Contact Page: https://planhub.com/contact/
-
Customer Facing Support Ticket Link: https://knowledgebase.planhub.com/knowledge/kb-tickets/new
-
Schedule a Free 1-on-1 Takeoff Training: https://meetings.hubspot.com/zac-low/takeoff-and-estimation