Introduction
Planhub’s takeoff tool lets you visually count electrical components and track wiring runs for fast, accurate bidding. Let’s walk through the steps so you can tackle your next plan confidently.
Step 1: Set the scale for your plan. Once that's set, you can jump into measuring.
To learn how to set a scale visit this article: How to Set the Scale in PlanHub Takeoff
Step 2: Select the count tool.
Click on the Count tool to start marking electrical fixtures.
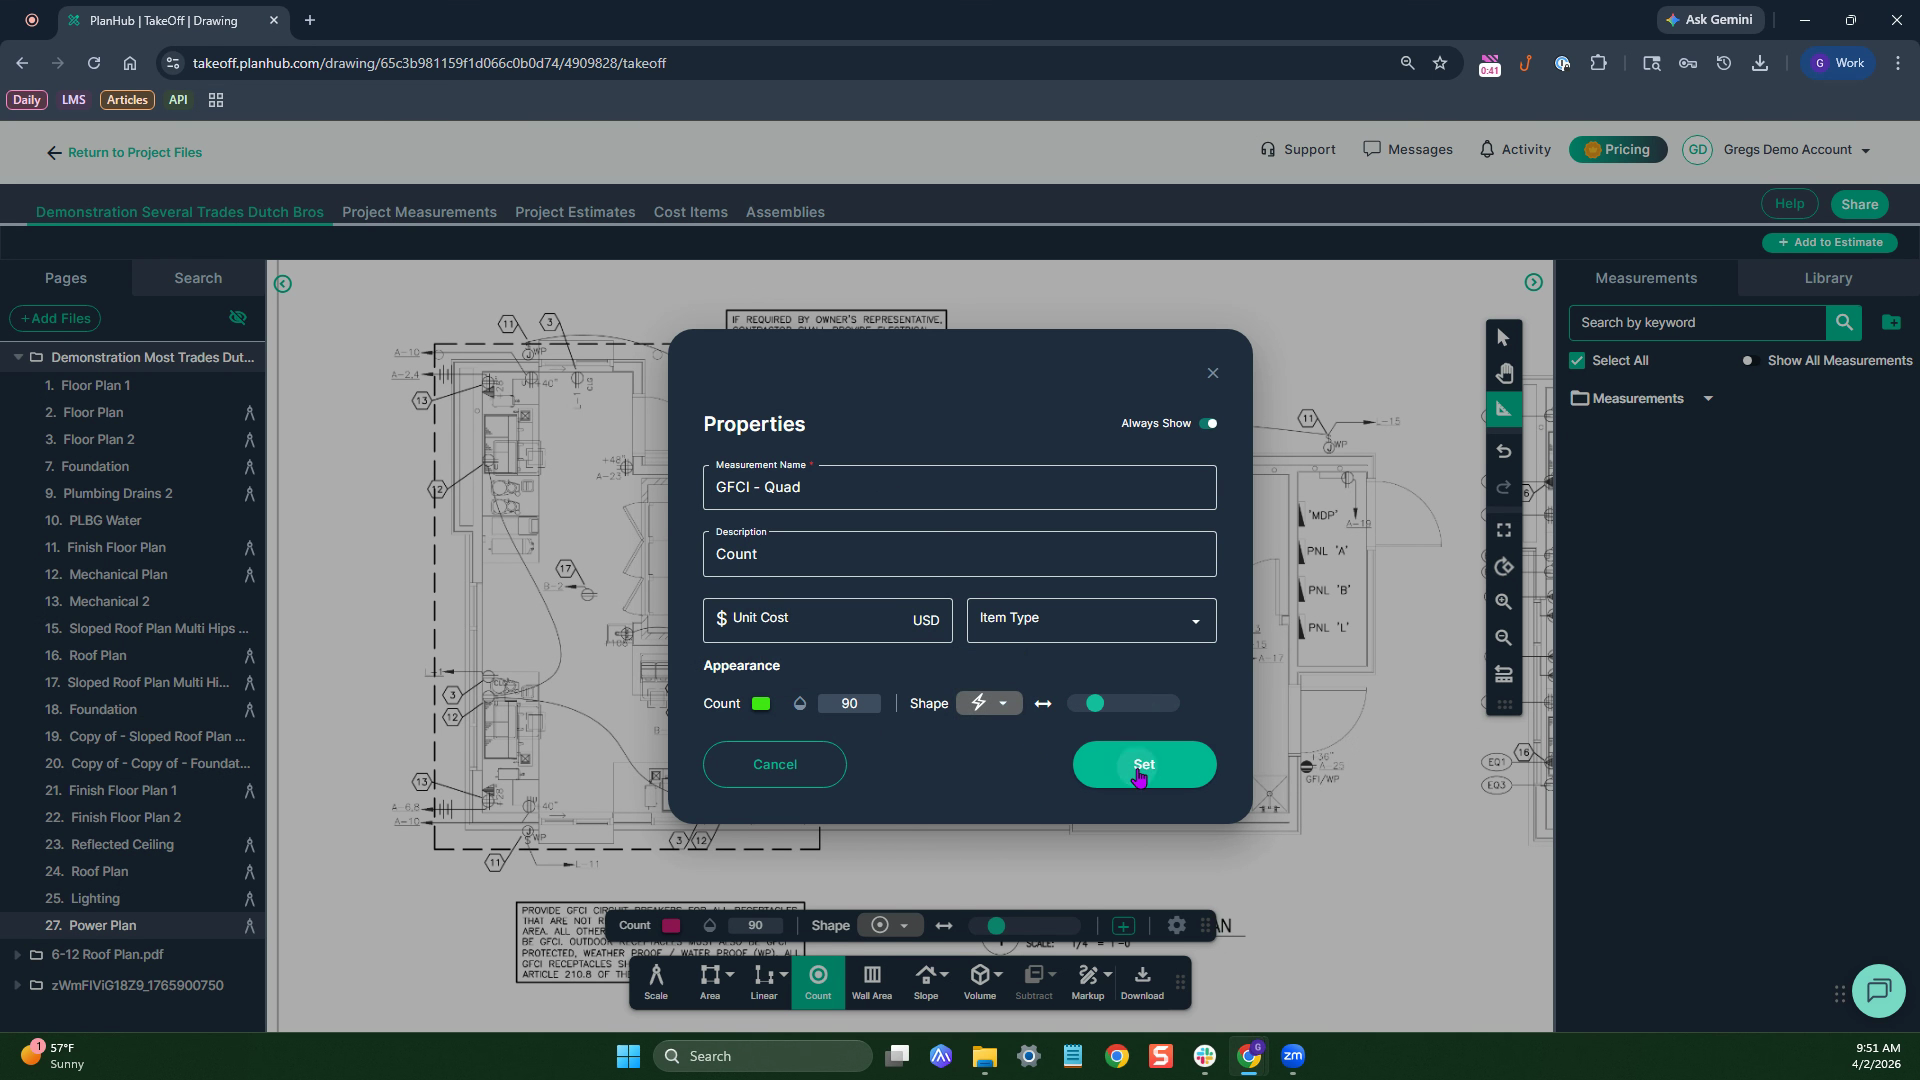
Step 3: Name your measurement.
Type in a descriptive name for the item you’re counting—like "GFCI, quad"—to keep things organized.
Step 4: Choose a color and symbol.
Pick a color and symbol so your counts stand out visually on the plan. This way, you know what’s been tallied at a glance.
Step 5: Confirm by clicking Set.
Lock in your settings so you're ready to count.
Step 6: Click each fixture on the plan to count.
As you spot each matching fixture, click it on the page. Each click adds to your total.
Step 7: Add a different fixture type (such as Duplex GFCI).
When you need to count another type (like duplex GFCIs), turn off the current measuring tool. Click Count again and repeat the naming and setup process.
Step 8: Click to tally each new fixture.
Count the new fixture type by clicking on the plan wherever they appear. If you find a missed item from the first type, you can use the continue switch to toggle between count tools.
Repeat for all needed fixture types, lighting, fans, etc.
Step 1: Choose the linear measurement tool.
Click Linear on the toolbar. Pick the line option for straight lines that can turn corners with a single left click.
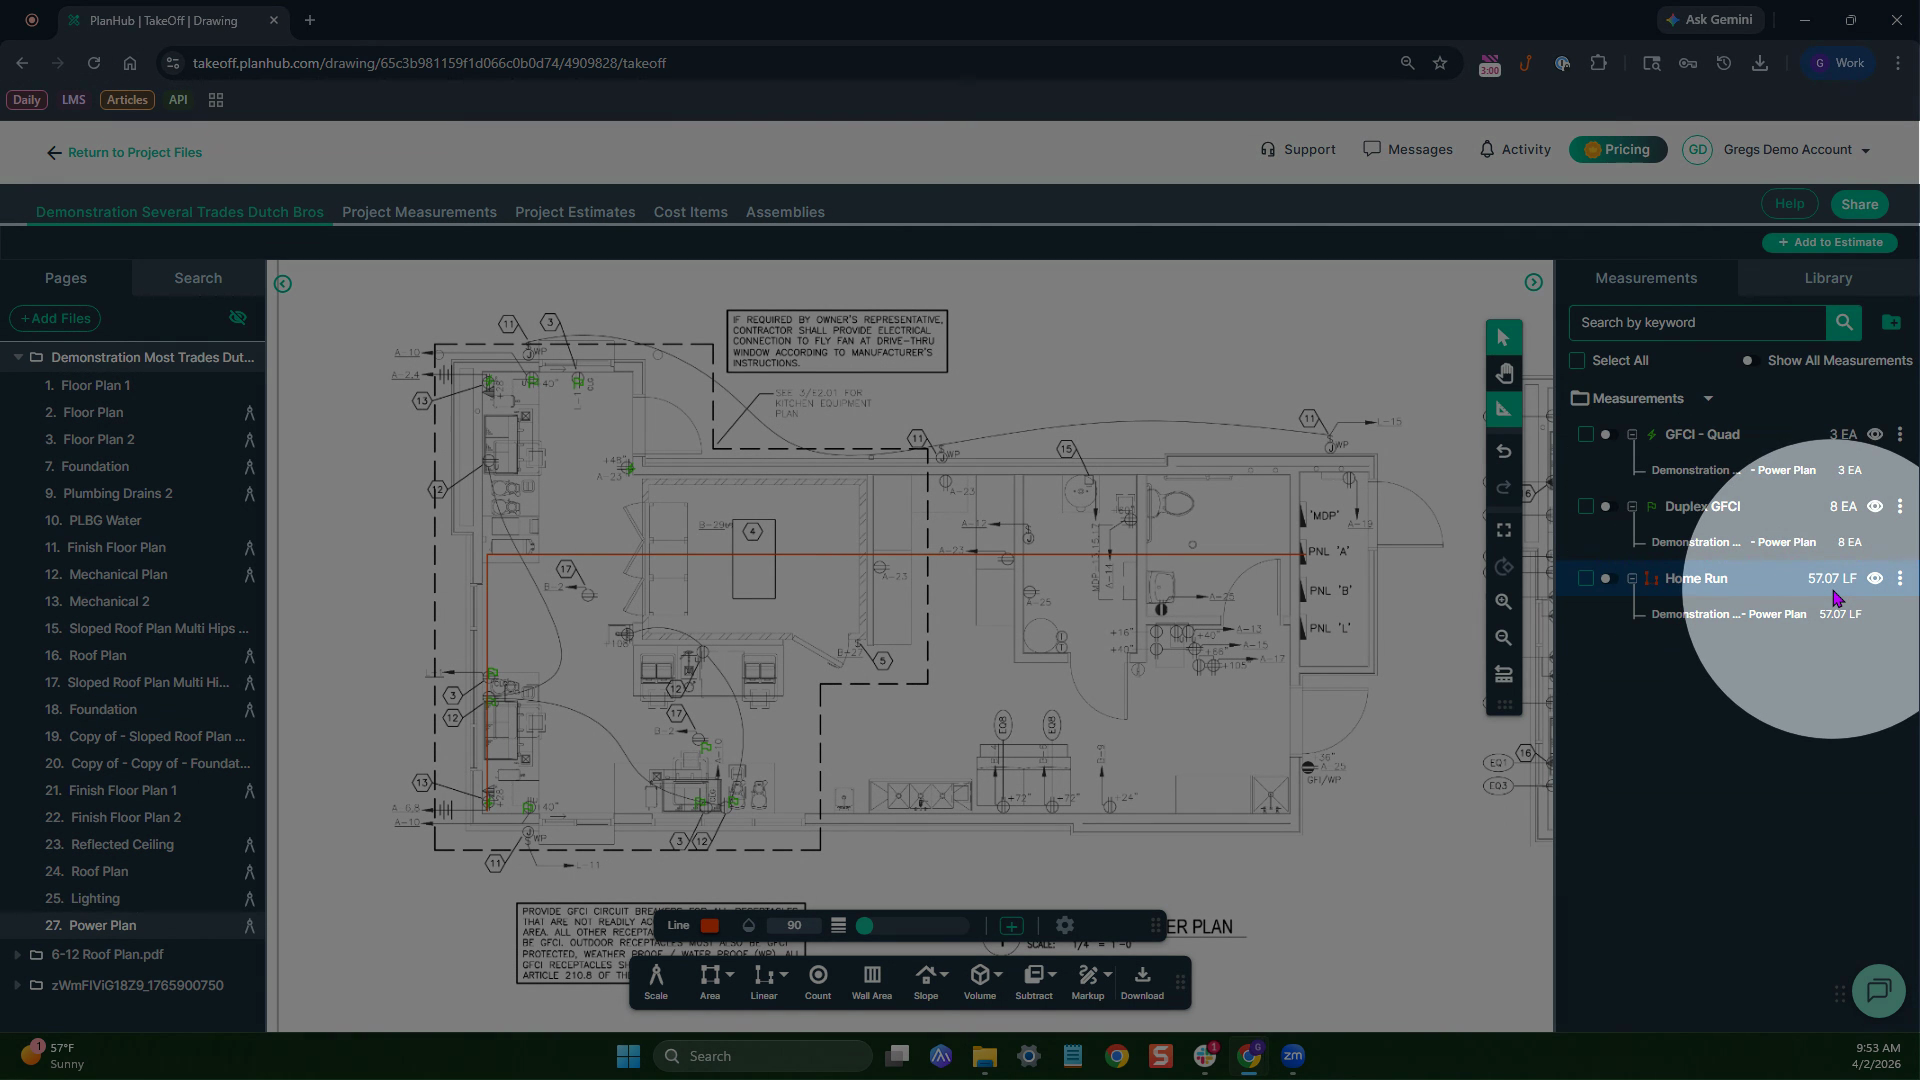
Step 3: Name your measurement (e.g., Home Run), Select a color, then click Set.
Step 4: Start measuring
Click once where you want to begin. Guide the measurement by clicking your path. Left-click to change direction and double-click to finish at your endpoint.
Step 5: See your measurement totals.
When done, your total length—in feet—shows on the right of the page.
Next Steps
Once you have completed taking all your measurements, you can:
-
Download the measurements in a table from the Project Measurements page
-
Add a legend and download the PNG of your takeoff page
-
If you have purchased the Estimation add-on tool, send measurements into the Project Estimate page or push them into an Assembly you have built.
-
Share your Takeoff with anyone using the Share button in the upper right-hand corner.
Troubleshooting
Contact us if you need assistance or to report an issue:
-
PlanHub Contact Page: https://planhub.com/contact/
-
Customer Facing Support Ticket Link: https://knowledgebase.planhub.com/knowledge/kb-tickets/new
-
Schedule a Free 1-on-1 Takeoff Training: https://meetings.hubspot.com/zac-low/takeoff-and-estimation