Prerequisites: You need a subscription or trial that includes Takeoff to measure plans, export a plan into TakeOff, and set the scale. Then you can begin measuring.
Measuring Concrete Area
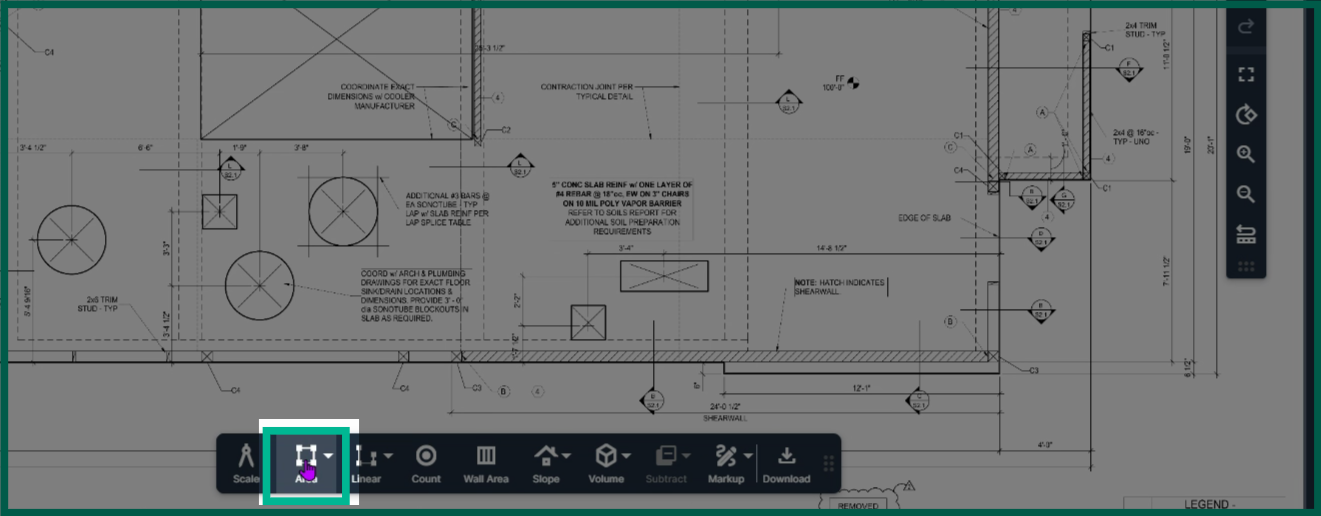
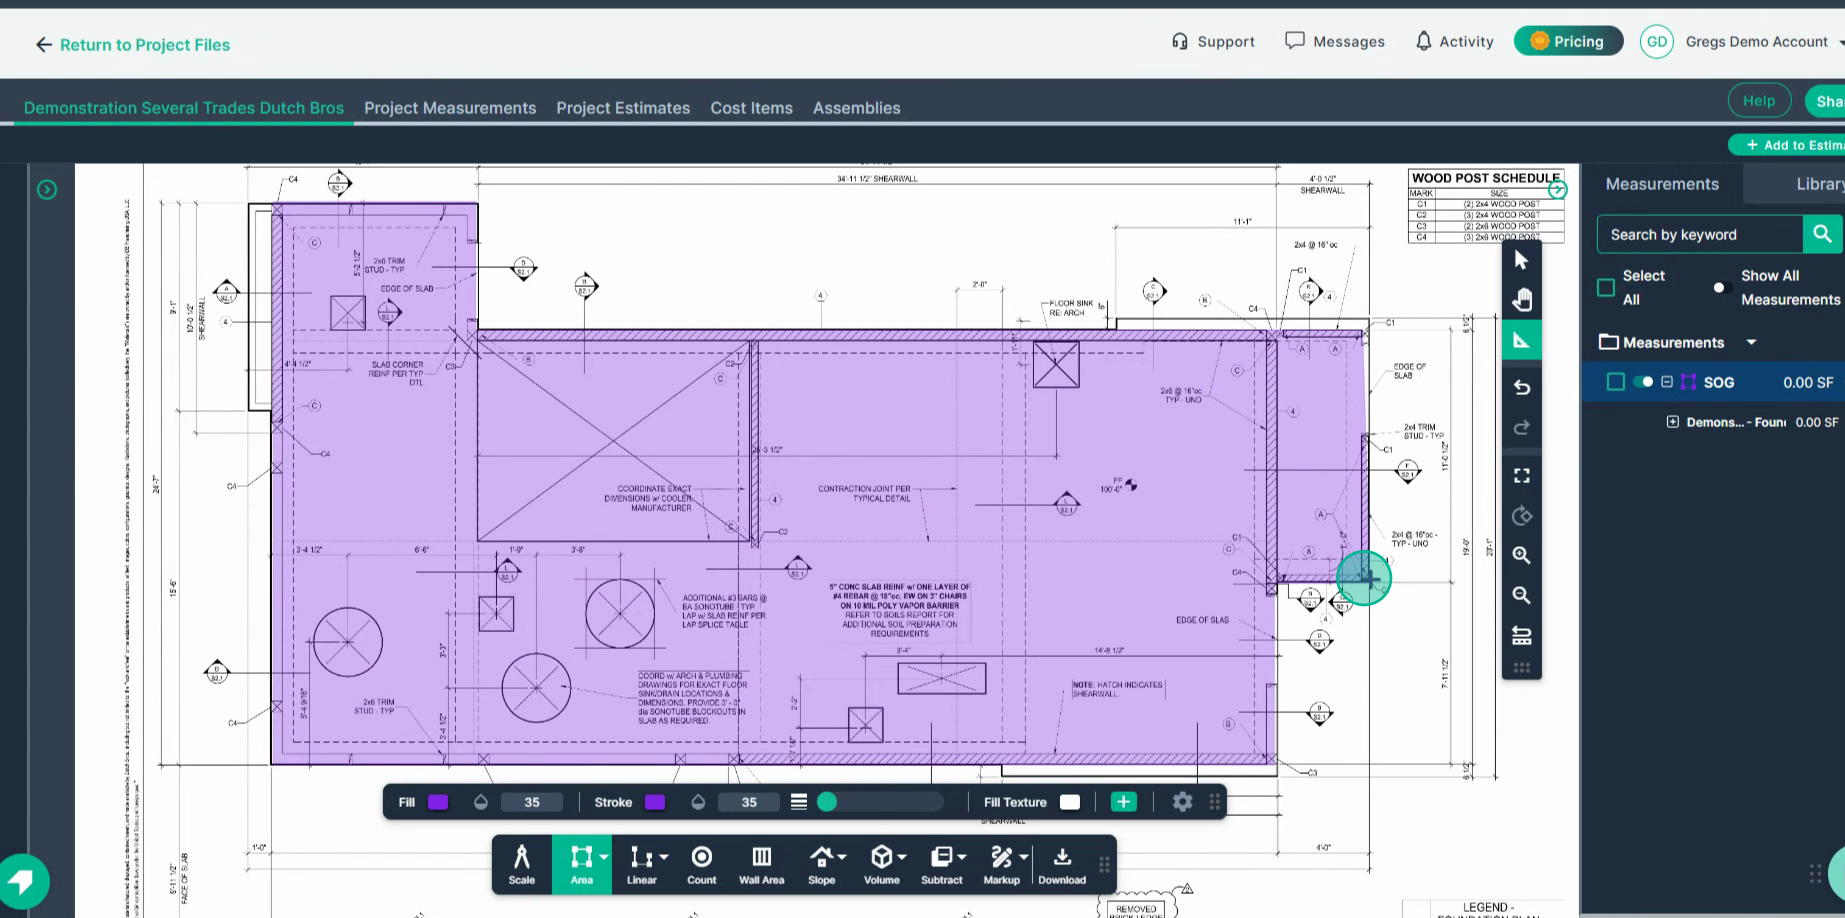
Step 1: To begin measuring an area for concrete, click Area in the toolbar to measure the square footage needed for concrete.
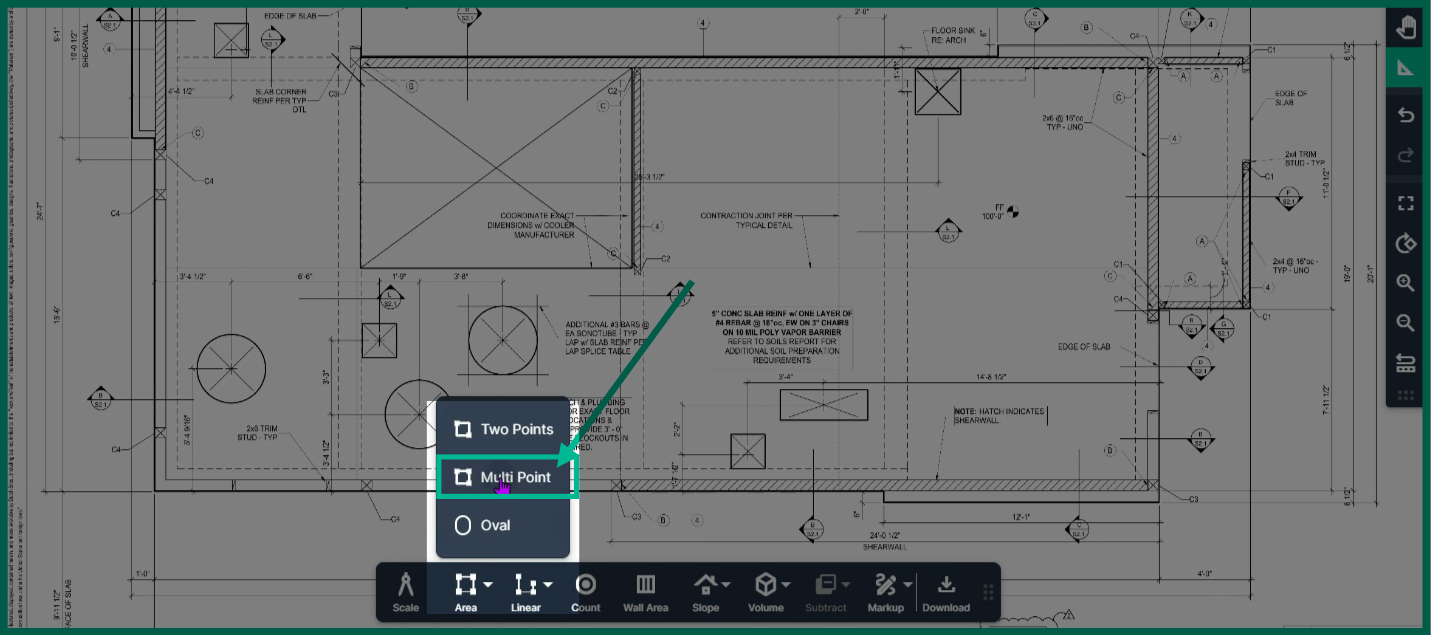
Step 2: Click Multipoint to start measuring any shape.
-
For rectangular slabs, use the two-point tool. For circular or oval shapes, switch to the Oval tool. For irregular shapes, use the Multipoint tool.
Step 3: Name the measurement to reflect what you are measuring, for example: "S O G" or "Slab on Grade", then click Set.
Step 4: Left-click at your starting point on the slab, then left-click at every corner to outline the area.
Step 5: Double-click to complete the outline.
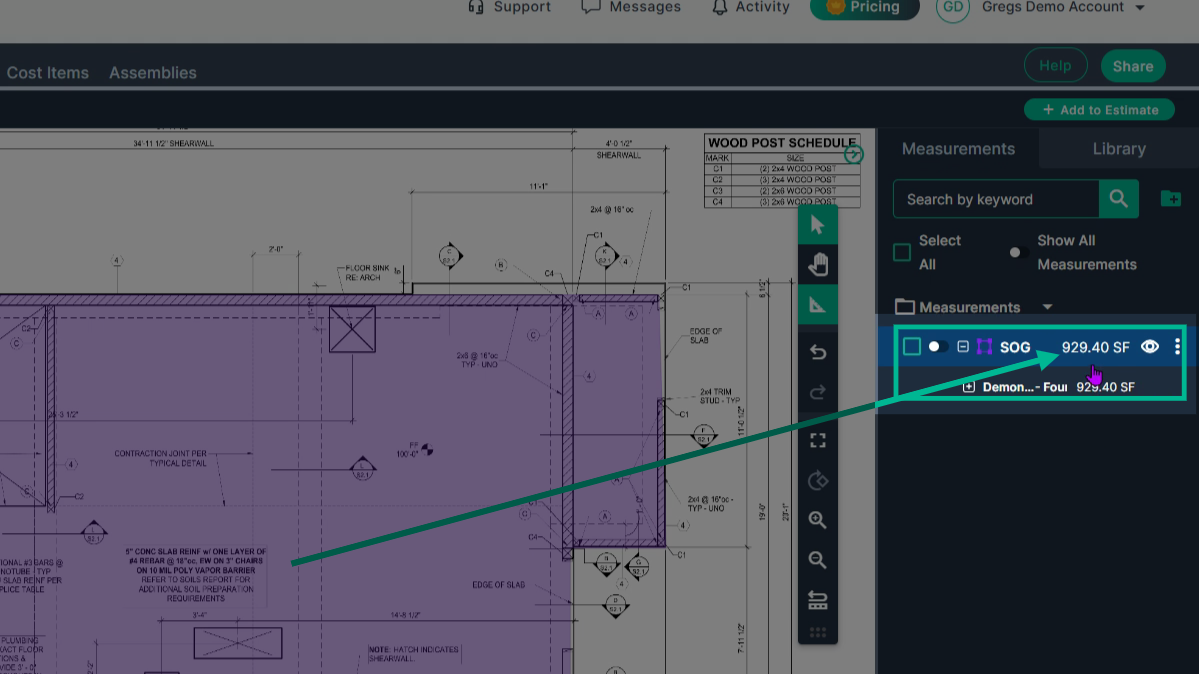
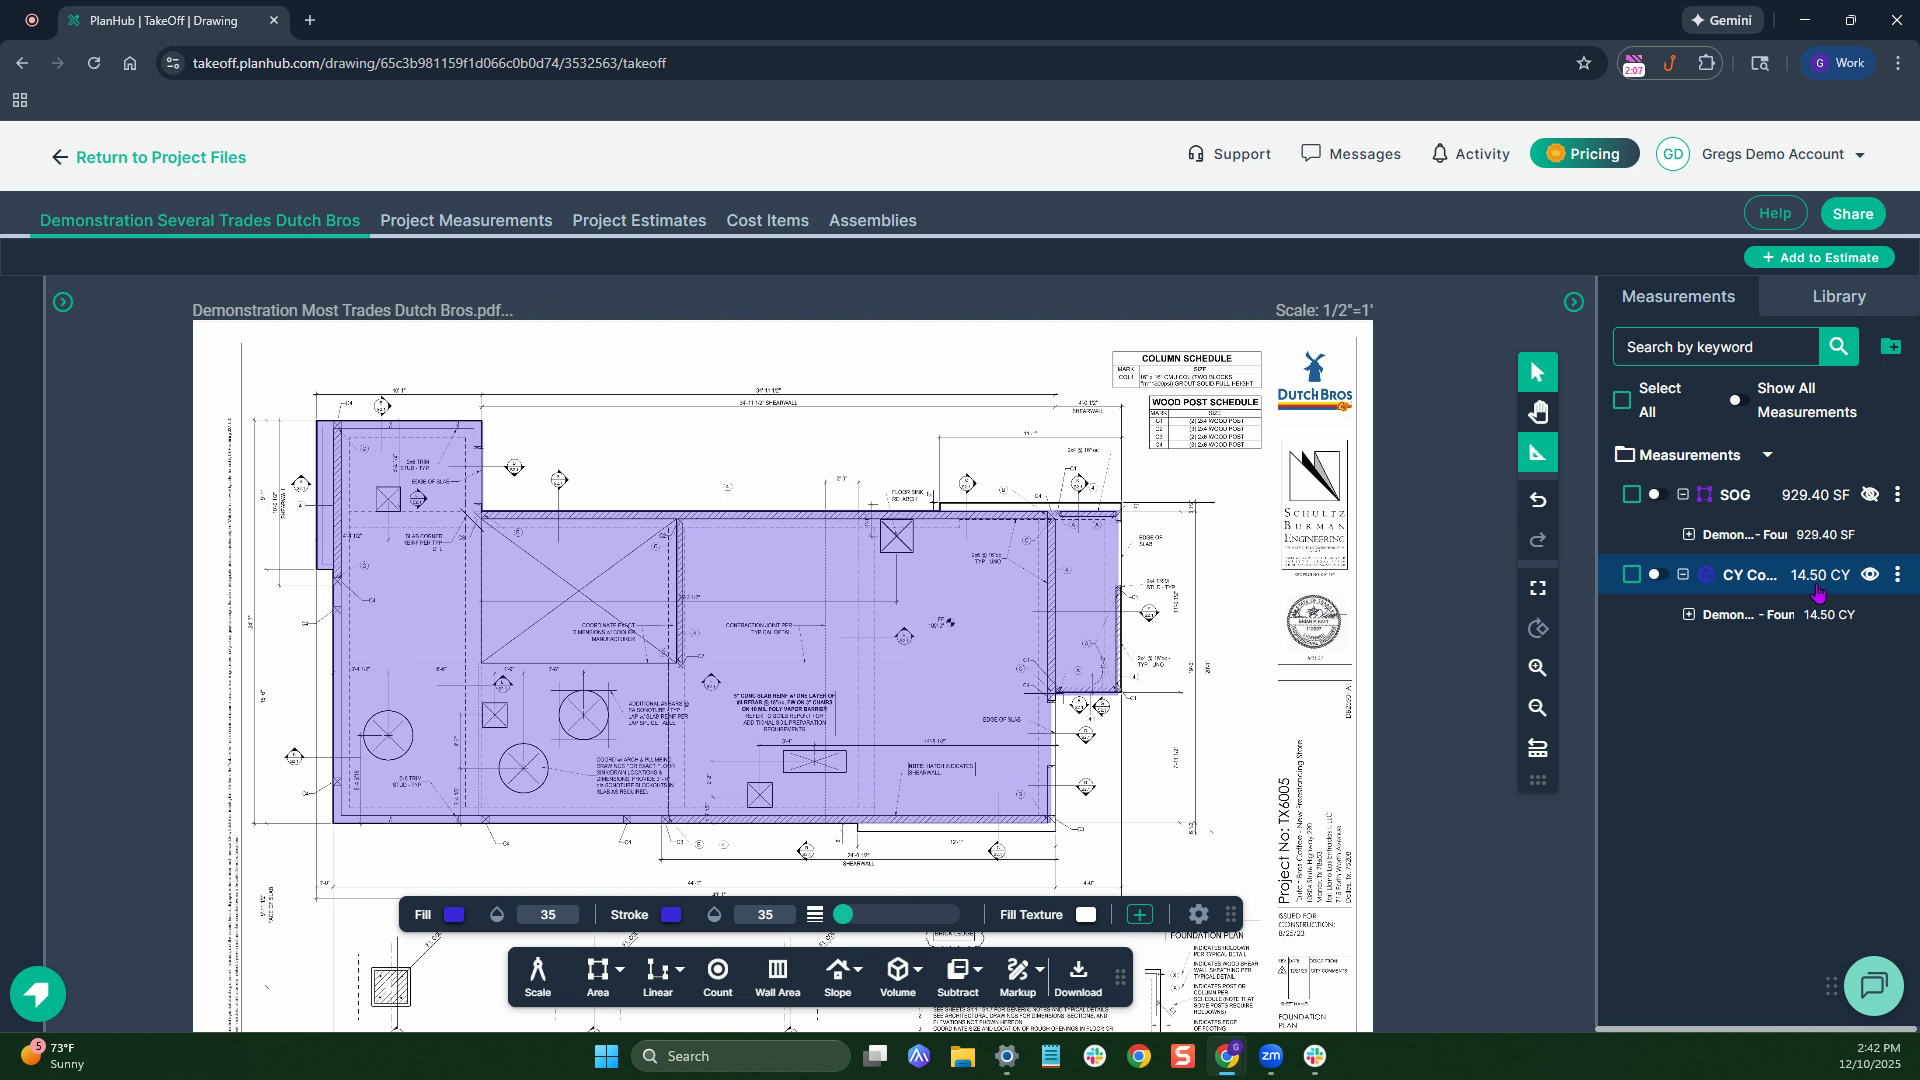
Step 6: View the result in square feet listed on the right side of the screen.
Measuring Concrete Volume
Step 1: Engage the Volume tool
-
To find how much concrete you need by Cubic Yard, click Volume in the toolbar.
-
Choose Multipoint.
-
Name your measurement.
-
Enter the slab depth in inches as required by your plan (for example, 5 inches).
-
Click Set.
Step 2: Map the area you need to know the volume of.
-
Left-click at your starting point,
-
Then, left-click at each corner to outline the area.
-
Double-click to finish.
Step 3: Check the cubic yards needed on the right, based on your entered depth.
Measuring Continuous Footers
Step 1: Engage the Volume Line tool
-
Select the Volume tool, then click Line for continuous footers.
-
Name your footer measurement.
-
Enter footer depth and width in inches.
-
Click Set to begin measuring.
Step 2: Map the Continuous Footers
-
Left-click to start measuring the length of your continuous footer.
-
Move to the next corner and left-click again at each corner to change direction.
-
Double-click at the end of a section.
Step 3: Continue footer measurement for all other like-sized footers
-
Use the Continue switch to measure more footers of the same size as needed. Results show on the panel on the right.
-
Click the Continue switch again to turn a measurement off
Measuring Slab dimensions for Rebar
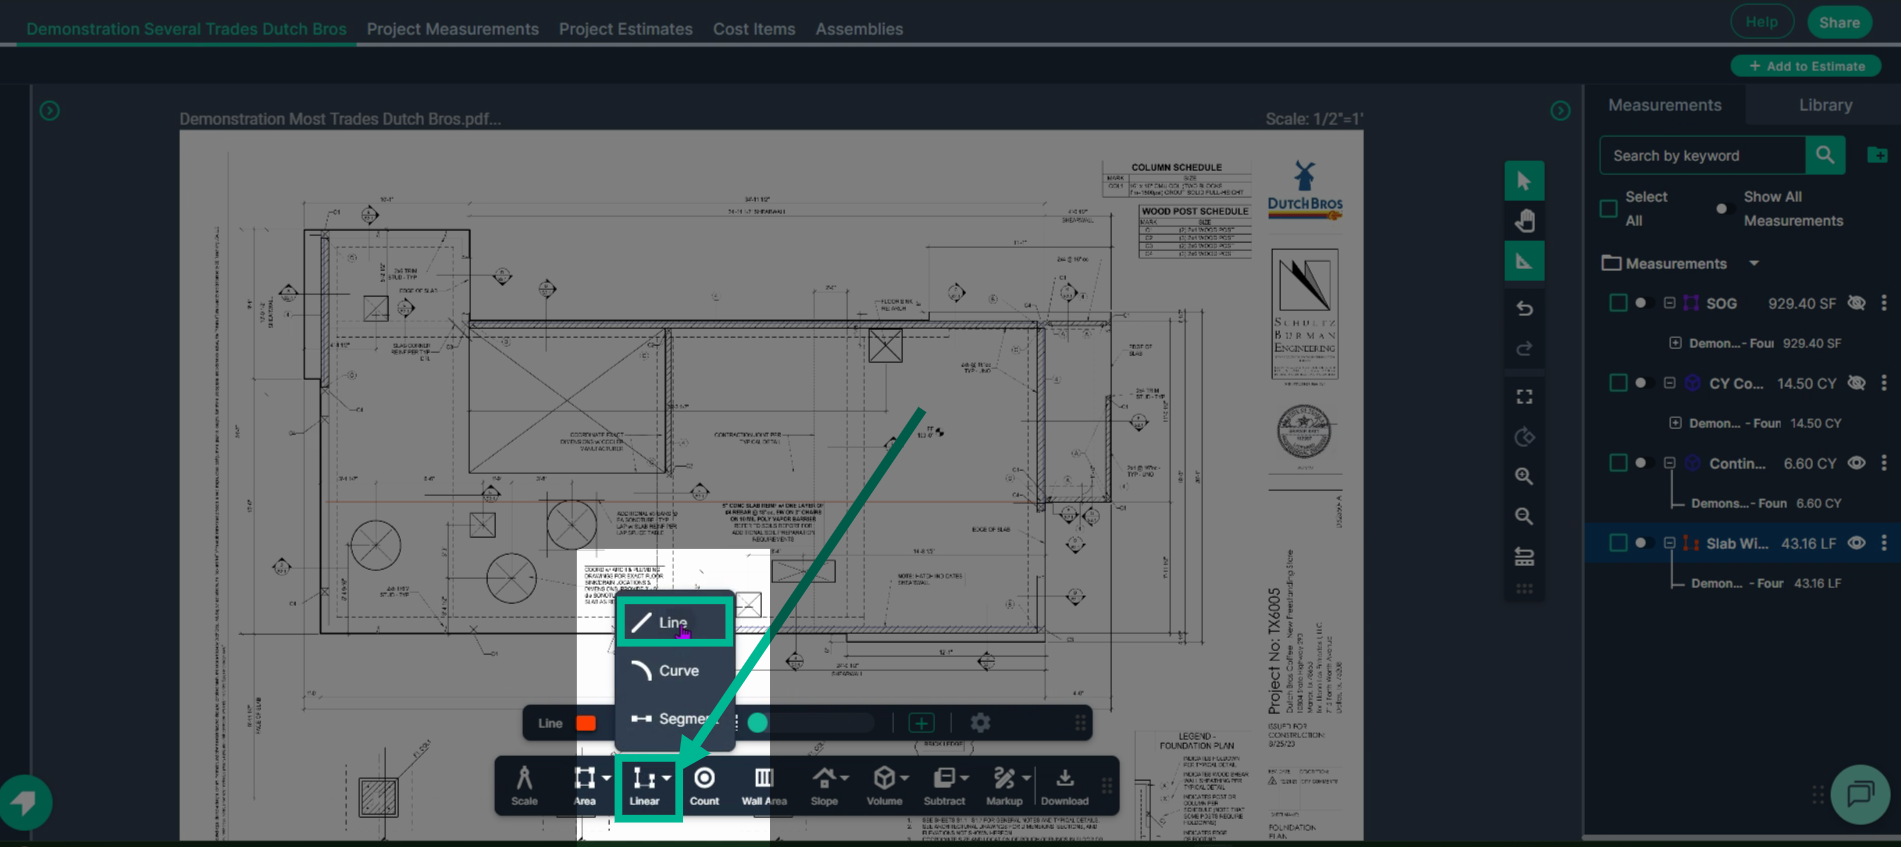
Step 1: Engage the Linear Line tool
-
Select the Linear Line Tool to measure rebar across a slab.
-
Name the measurement: Example: Slab Width or Slab Length
-
Select a color you can easily see in the appearance section.
-
Click Set.
Step 2: Measure the slab's width or length
Align your cursor with one side of the slab and left-click to start.
Move to the opposite side of the slab and double-click to finish.
Check the measurement shown at right.
Step 3: Repeat steps 1 and 2 with a new linear line tool for the slab’s other measurement(s) (Length/Width).
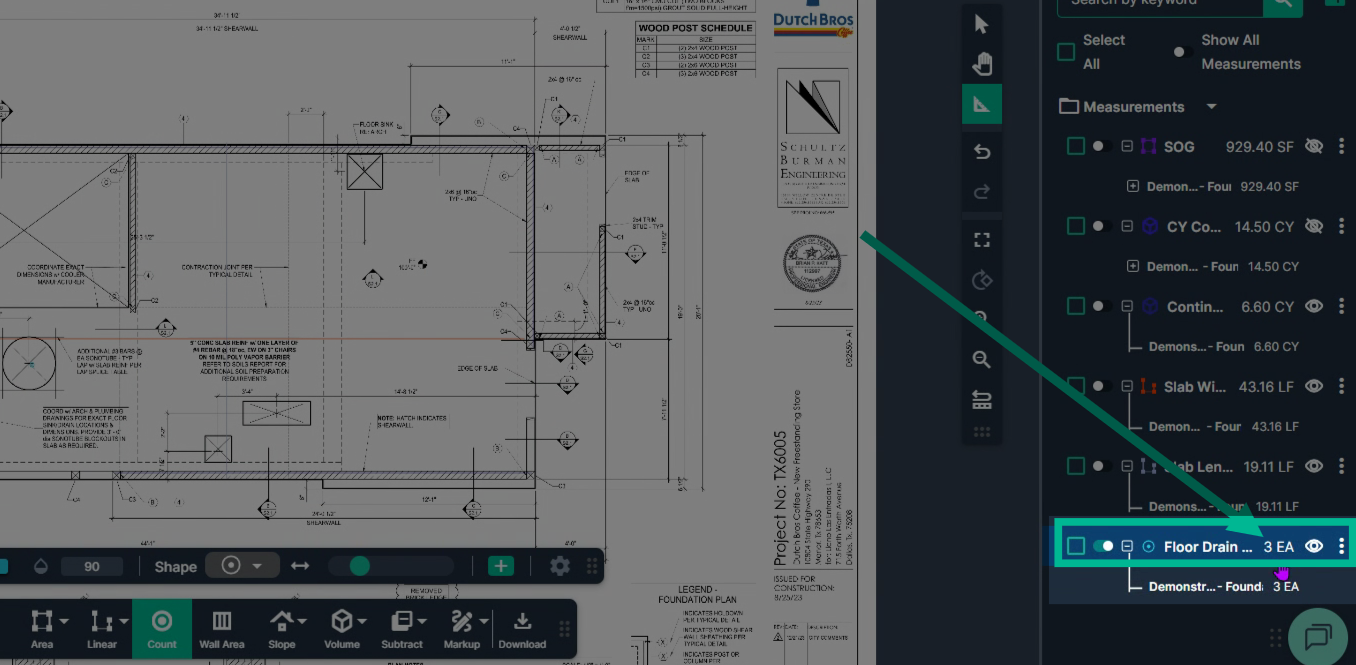
Counting Items (e.g., Rebar for Drains)
Step 1: Engage the Count tool
-
Click Count in the toolbar
-
Name your count tool
-
Make any adjustments you would like to the appearance as needed
-
Click the Set button
Step 2: Left-click on each item to include it in your count, like extra rebar near drains.
Step 3: See your total count in the Measurements panel at right.
Planhub’s measurement tools make takeoff measurements fast and accurate for concrete work.
Next Steps
Once you have completed taking all your measurements, you can:
-
Download the measurements in a table from the Project Measurements page
-
Add a legend and download the PNG of your takeoff page
-
If you have purchased the Estimation add-on tool, send measurements into the Project Estimate page or push them into an Assembly you have built.
-
Share your Takeoff with anyone using the Share button in the upper right-hand corner.
Troubleshooting
Contact us if you need assistance or to report an issue:
-
PlanHub Contact Page: https://planhub.com/contact/
-
Customer Facing Support Ticket Link: https://knowledgebase.planhub.com/knowledge/kb-tickets/new
-
Schedule a Free 1-on-1 Takeoff Training: https://meetings.hubspot.com/zac-low/takeoff-and-estimation