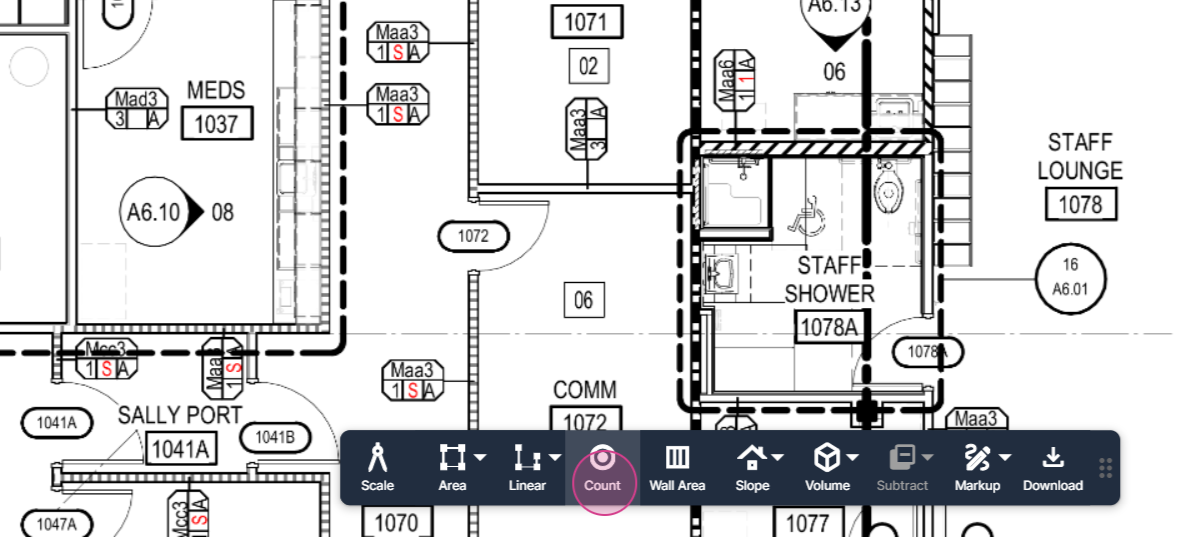
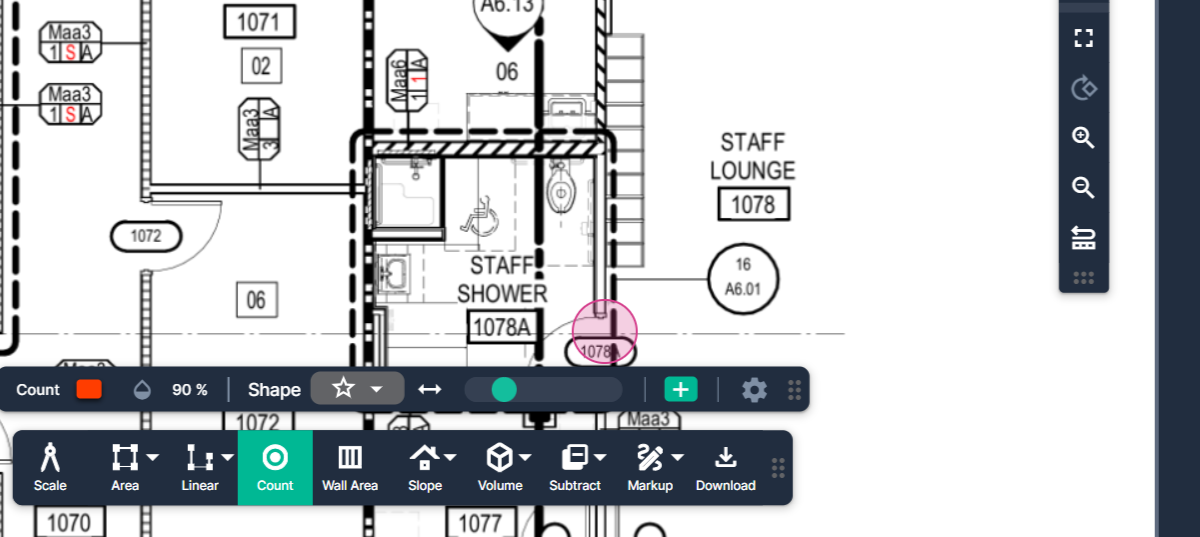
Step 1: Start by clicking Count on the toolbar.
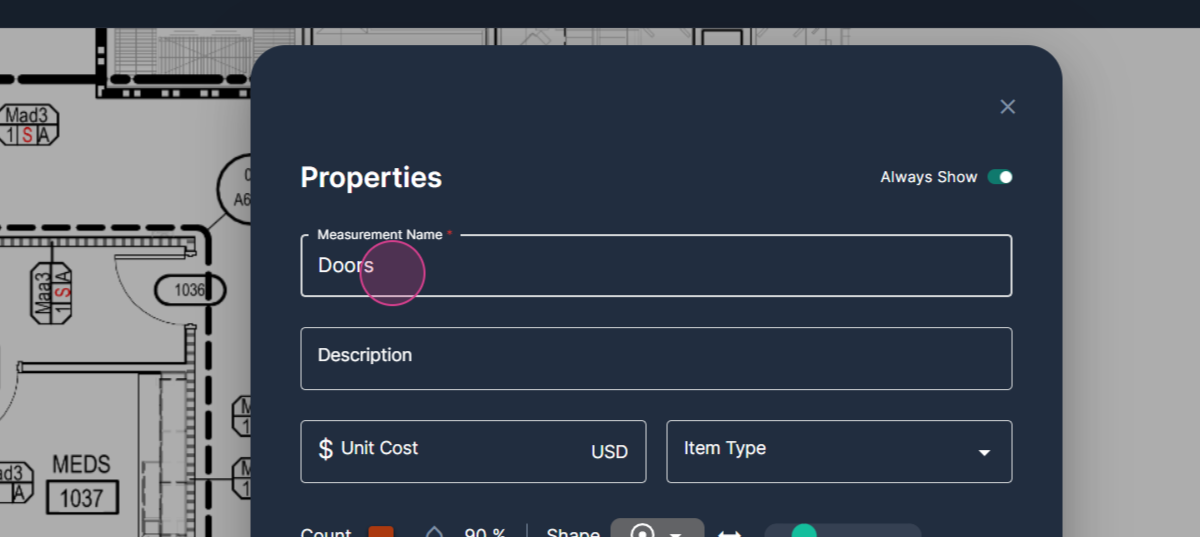
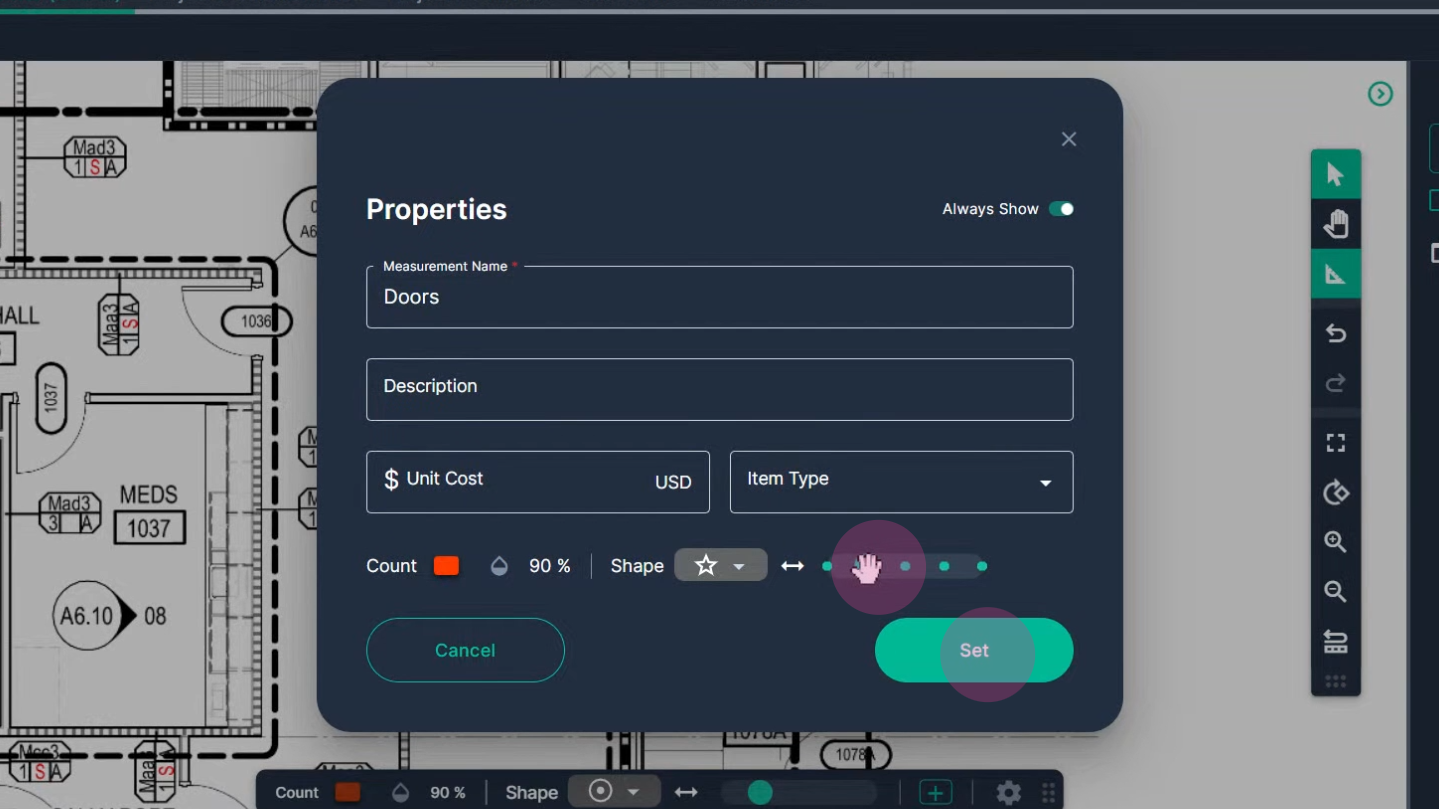
Step 2: Give the tool a name that represents the objects you're tallying. In this case, we're naming it "Doors".
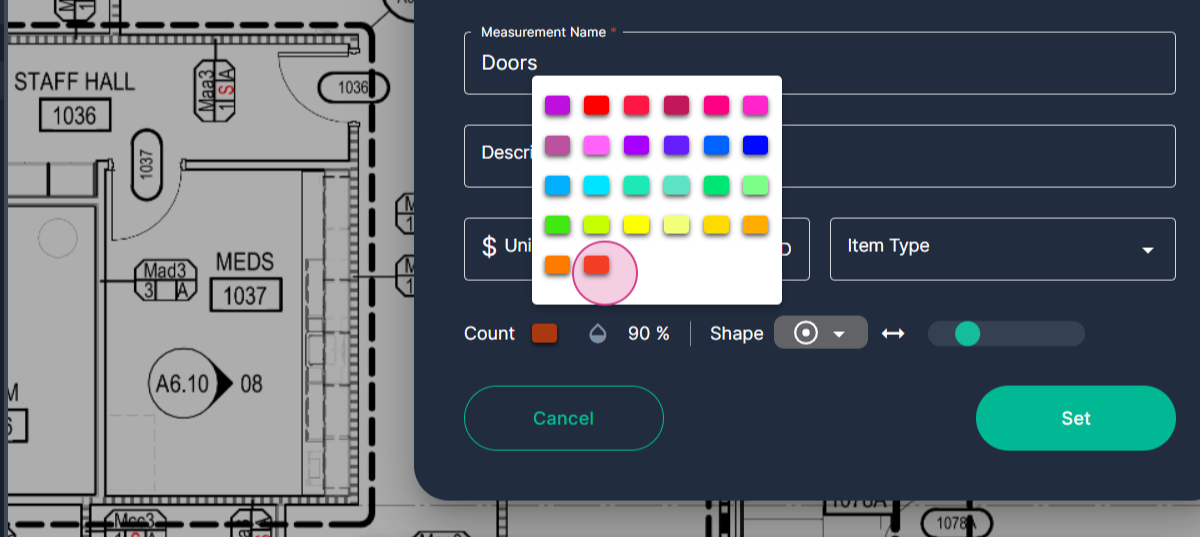
Step 3: Choose a color that stands out on the page. We're selecting a bright red for this example.
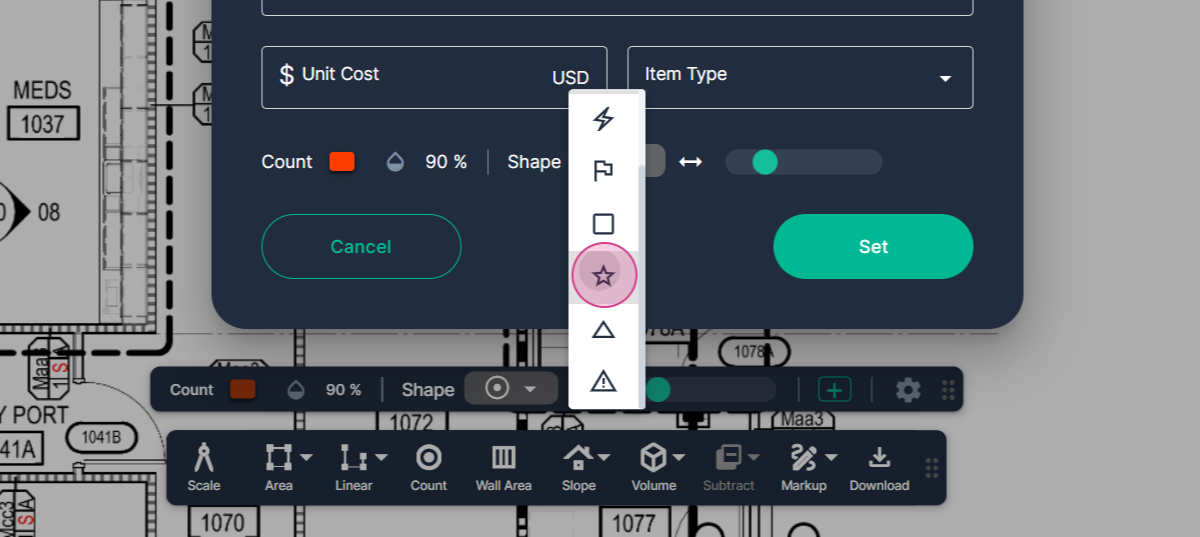
Step 4: Open the Shape menu by clicking it.
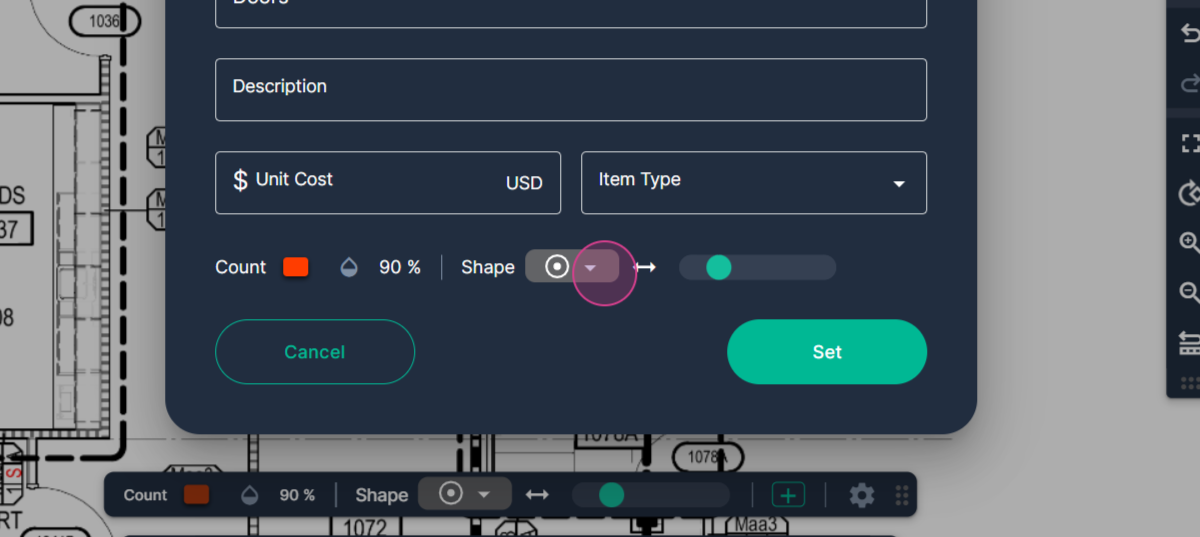
Step 5: Select the specific shape you want to stamp onto the page. We're using a red star for every door in this example.
Step 6: Adjust the size of the stamp by moving the slider to the right or left. Once you're ready, click Set.
Step 7: Your cursor will change to a crosshair. Hover over the object you're counting and click to place a stamp.
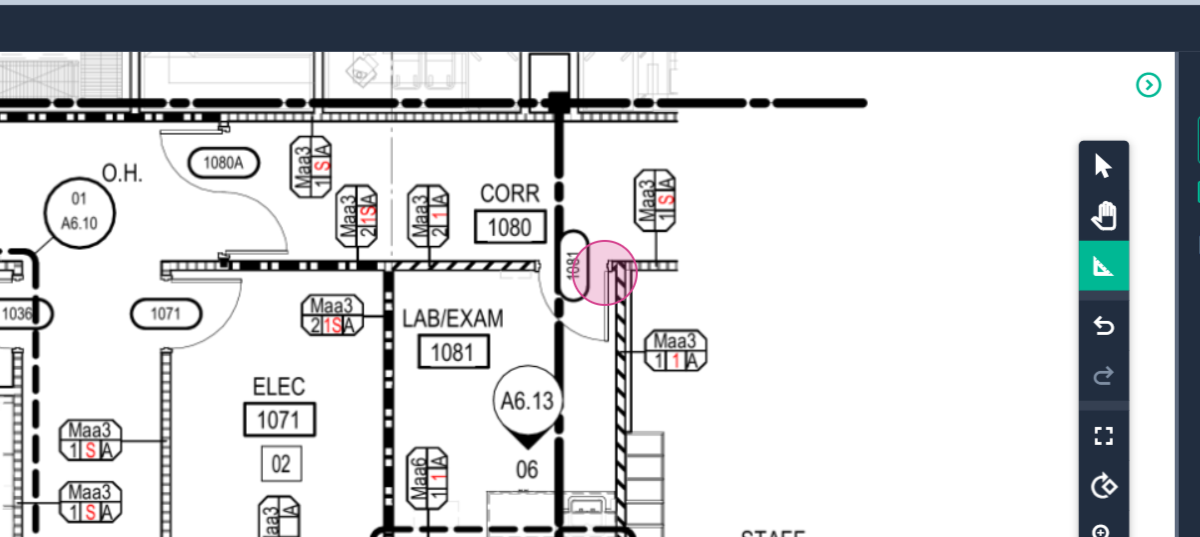
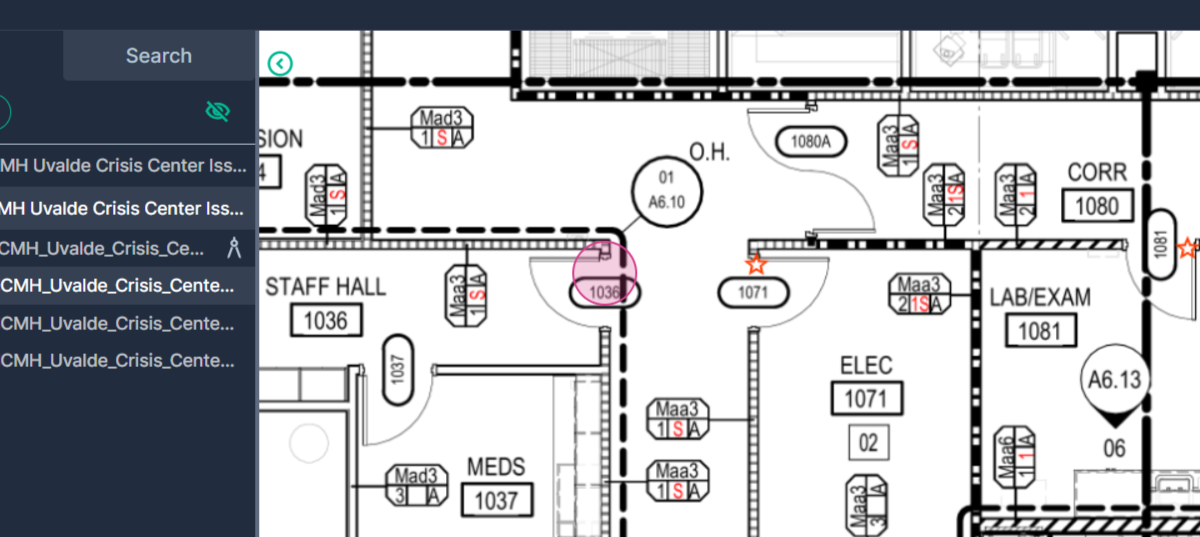
Step 8: Each click places a stamp and adds to the running tally on the right side of the page.
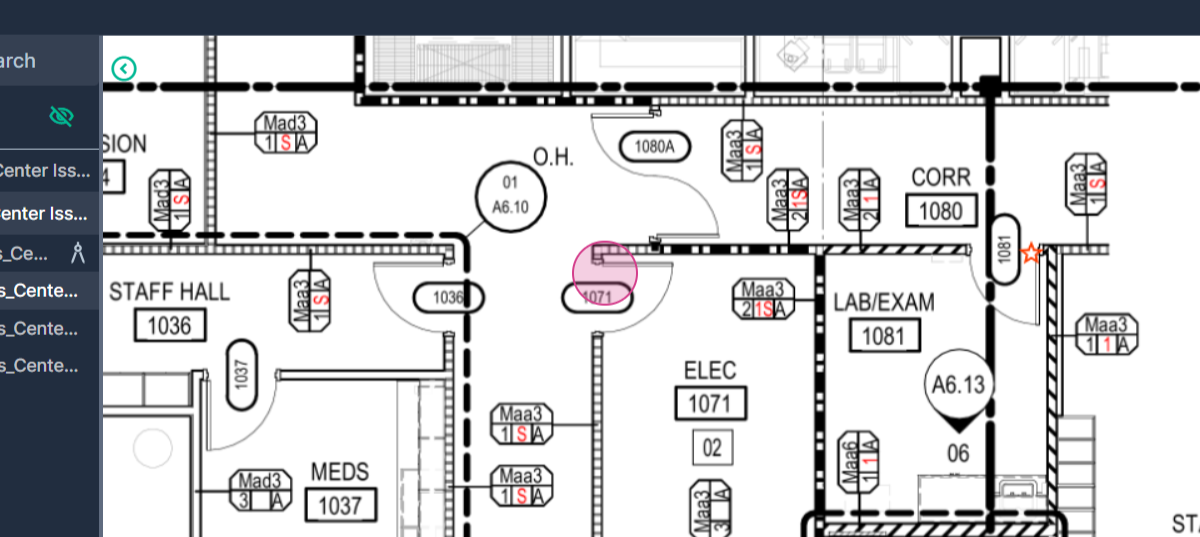
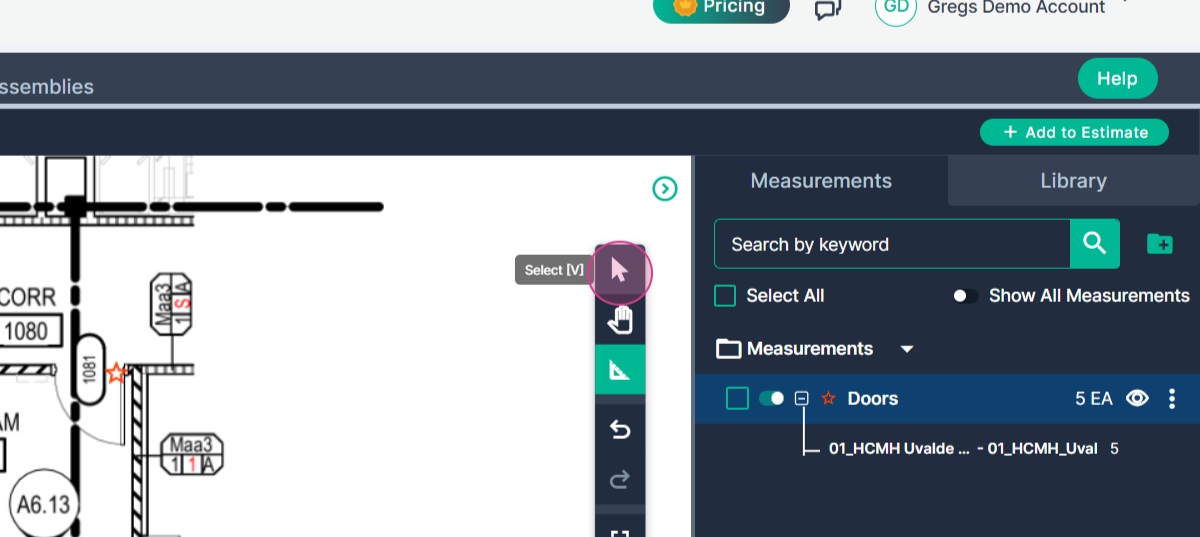
Step 9: To edit your measurements, click the Select Arrow at the top of the command bar.
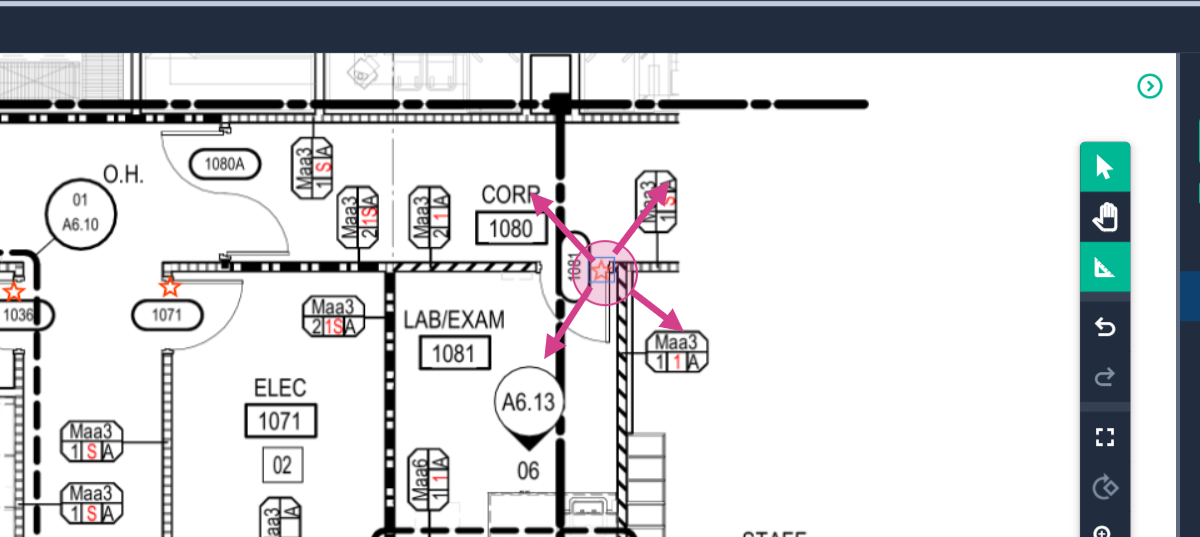
Step 10: Click to select a shape. You can drag it to a new position by holding down the left mouse button.
Step 11: To delete a stamp, select it with a click then press Delete on your keyboard. Note that deleting a stamp reduces your tally.
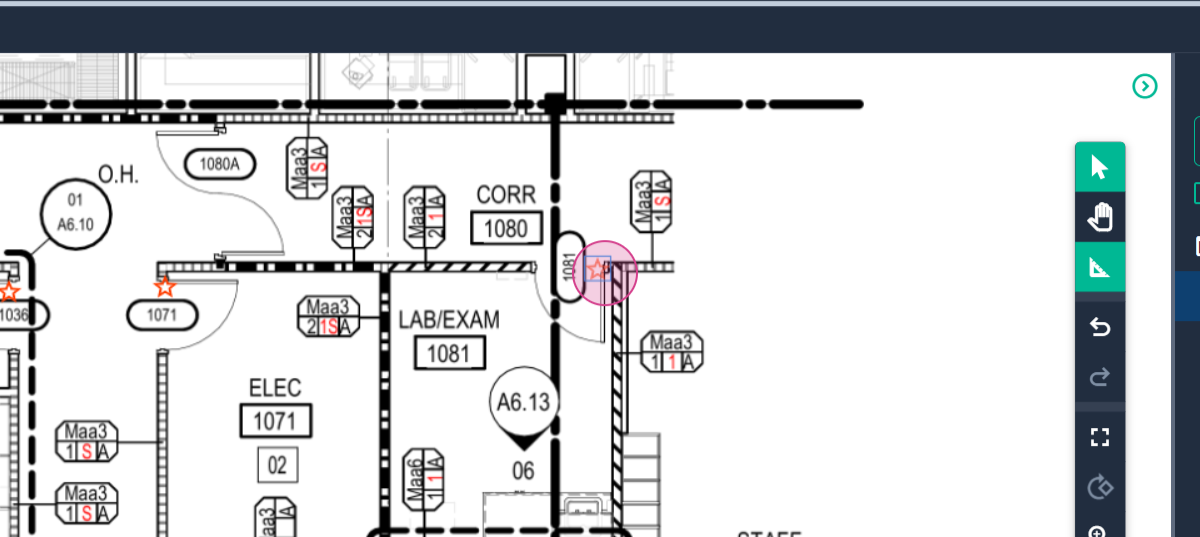
Step 12: If you need to restore a deleted stamp, use the Undo button on the command bar.

By following these steps, you'll be able to effectively use PlanHub's Count tool to tally objects on your plan page.