Prerequisites:
-
A subscription or trial that includes Takeoff is required to measure plans, export a plan into TakeOff, and set the scale. Then you can begin measuring.
Here’s how to pan, zoom, and work with measurements so your takeoff process stays smooth.
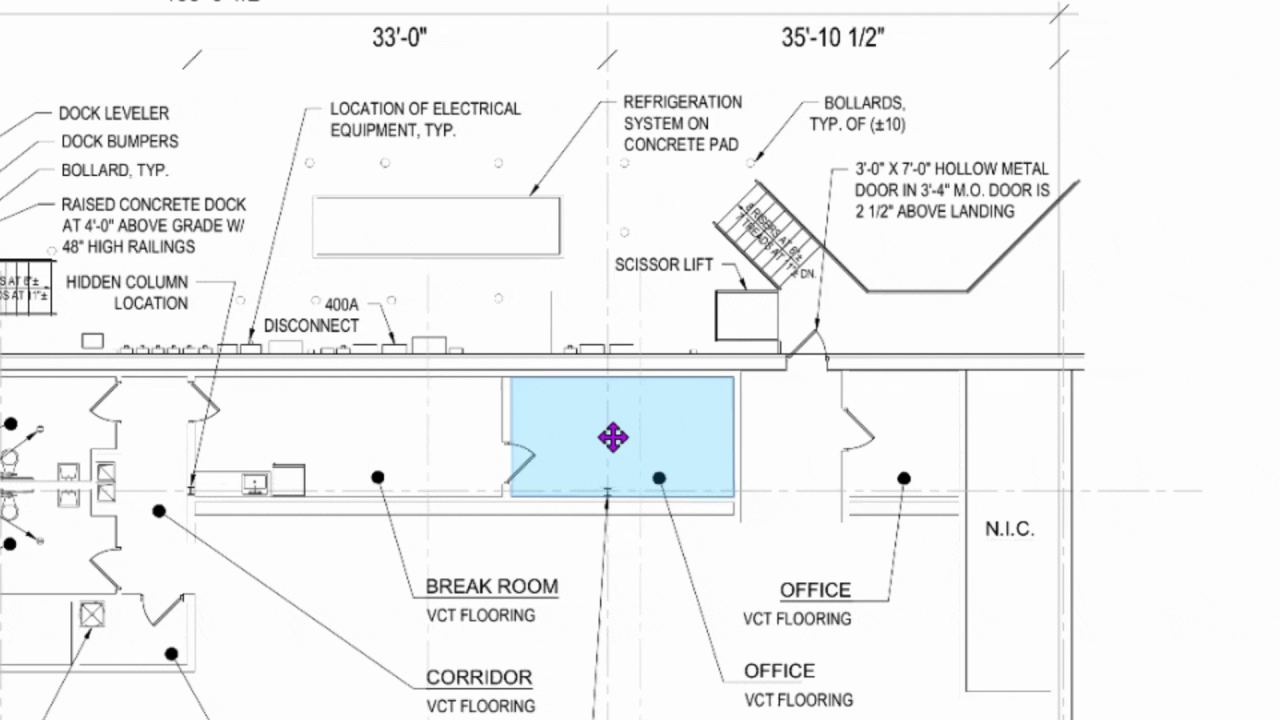
Step 1: Right-click and hold the right mouse button, then move your mouse to pan the drawing page. The page follows your mouse movement.

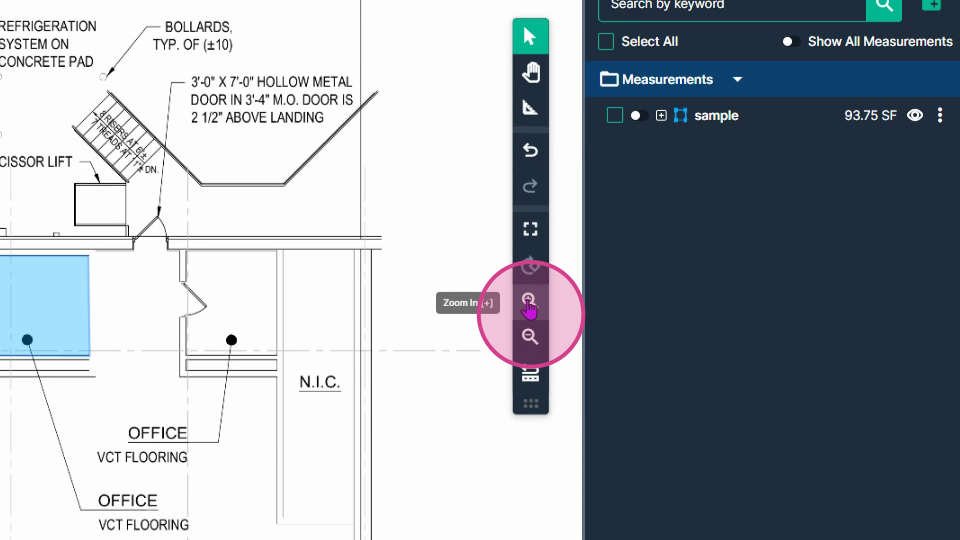
Step 2: Roll your mouse wheel forward to zoom in, or roll it backward to zoom out for a wider view.
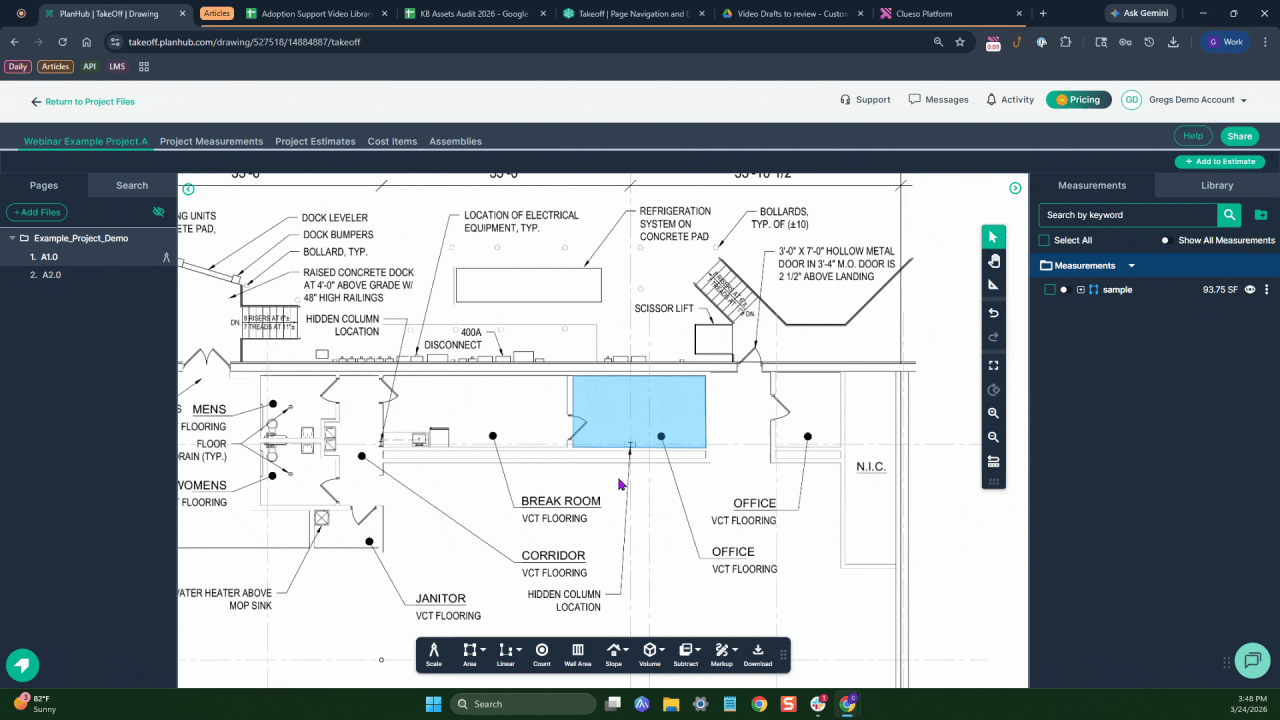
Step 3: Use the magnify (+) and demagnify (–) buttons for additional zoom control.
Continuing a Measurement
Sometimes a measurement needs to extend into a new area. PlanHub's Takeoff offers several simple ways to continue your measurements.
Step 1: Right-click the existing measurement, then select Continue.
Step 2: Use the Continue switch on the measurement result by clicking the switch.
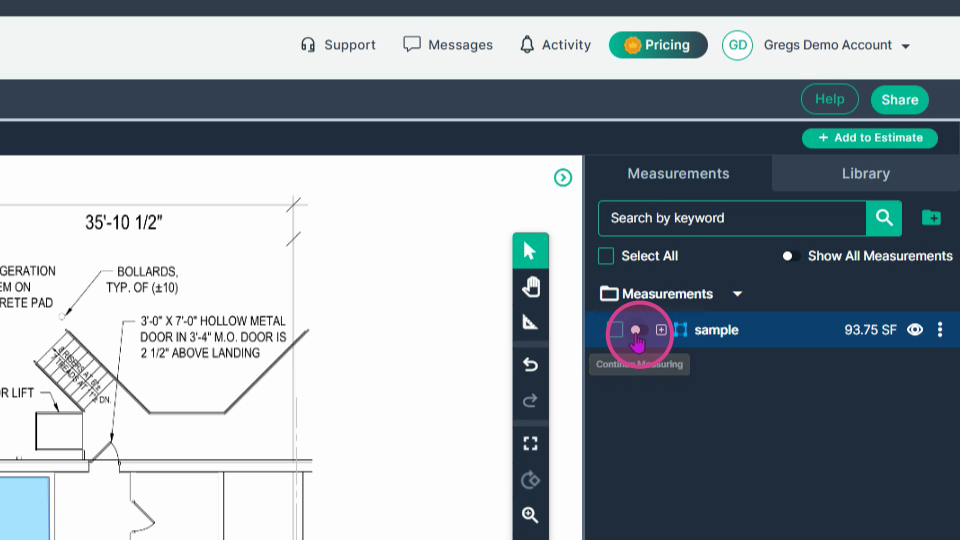
Step 3: You can also select the measurement and choose the plus (+) symbol on the appearance bar.

This lets you measure new areas using the same tool, maintaining consistency throughout your project.
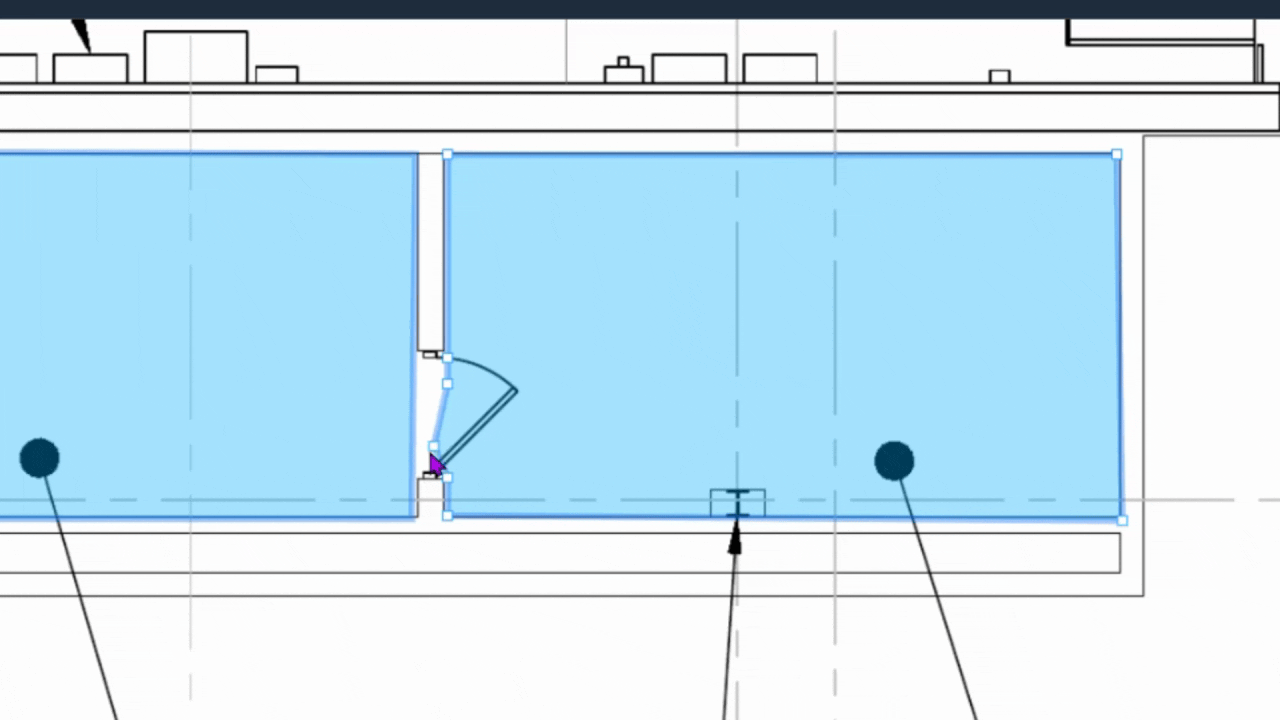
Editing Measurements
Adjusting your measurements is straightforward with the editing tools.
Step 1: Click the select arrow at the top of the command bar — it turns green when active, then you may select measurements with a click to begin editing.
Step 2: Click the measurement you want to edit, the edit points will become visible.
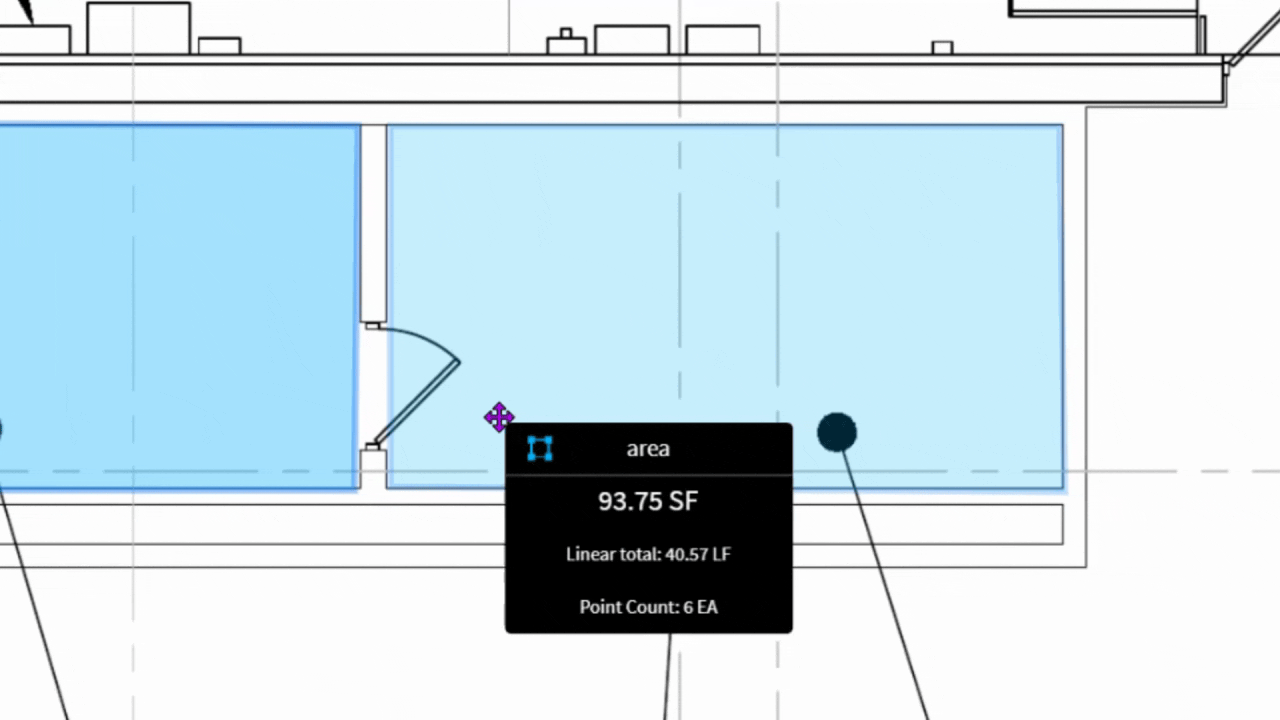
Step 3: Double-click where you want to add a new edit point.
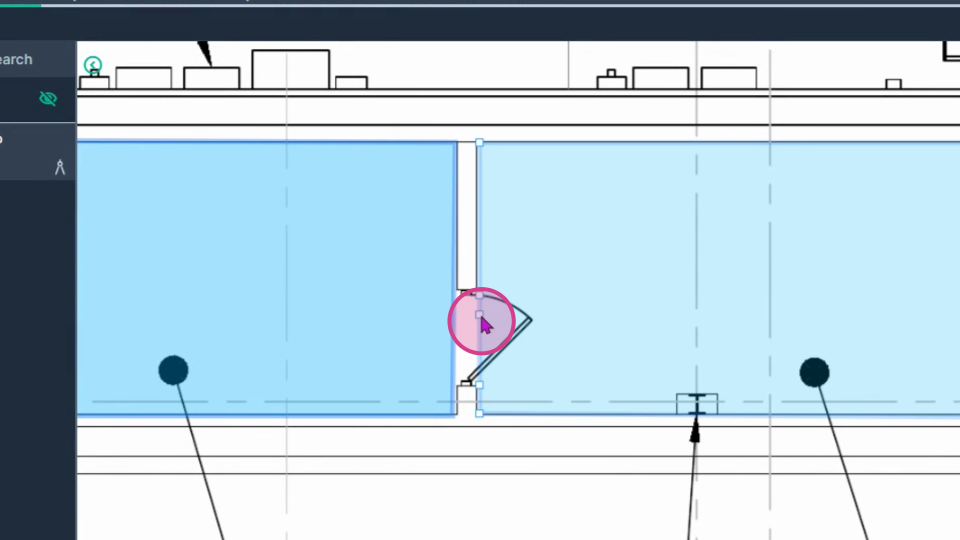
Step 4: Click and drag the new point to your desired location, allows fine adjustments such as expanding a measurement to include a doorway threshold.
Fixing Mistakes
Made an error? Don’t worry — you can undo points as you measure.
Step 1: Use the Undo button on the command bar to remove points one by one.
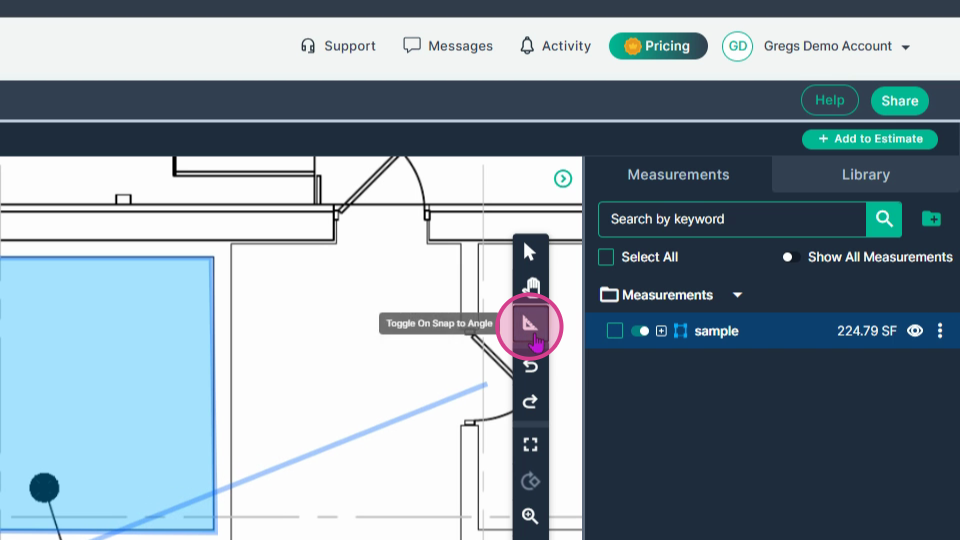
Using Snap to Angle
By default, lines snap to 22.5 degrees for clean, precise angles. For more flexibility:
Step 1: Hold the space bar to temporarily disable the snap, allowing you to draw lines at any angle.
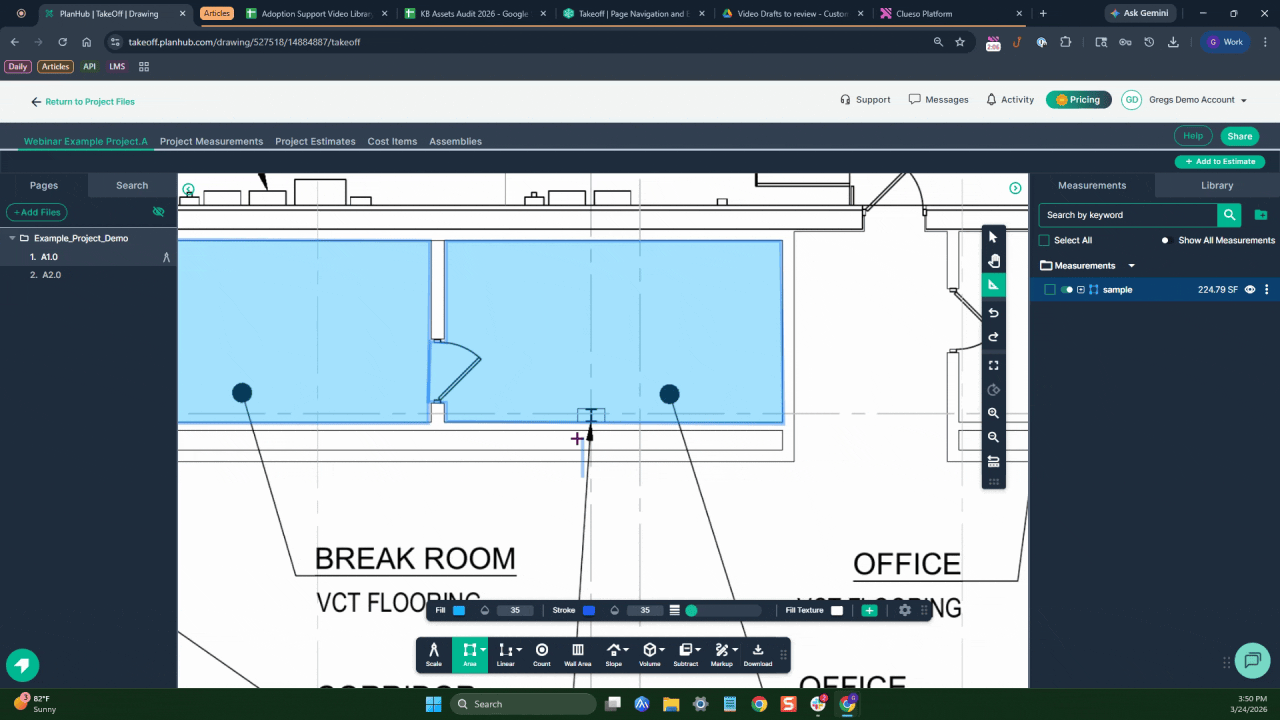
Step 2: Click the snap-to-angle switch to turn the feature back on as needed.
Take full control of your drawing and measurement process with these powerful navigation and editing features in Plan Ups Takeoff. Explore each tool for accuracy and speed during your next takeoff session!
Next Steps
Once you have completed taking all your measurements, you can:
- Download the measurements in a table from the Project Measurements page
- How To Download Project Measurements From Takeoff
Add a legend and download the PNG of your takeoff page - Using Legend Markup in Takeoff
If you have purchased the Estimation add-on tool, send measurements into the Project Estimate page or push them into an Assembly you have built. - Estimation - Exporting a Measurement from TakeOff to Estimation
- Estimation | How to Create an Assembly
- Share your Takeoff with anyone using the Share button in the upper right-hand corner.
Troubleshooting
Contact us if you need assistance or to report an issue:
- PlanHub Contact Page: https://planhub.com/contact/
- Customer Facing Support Ticket Link: https://knowledgebase.planhub.com/knowledge/kb-tickets/new
- Schedule a Free 1-on-1 Takeoff Training: https://meetings.hubspot.com/zac-low/takeoff-and-estimation