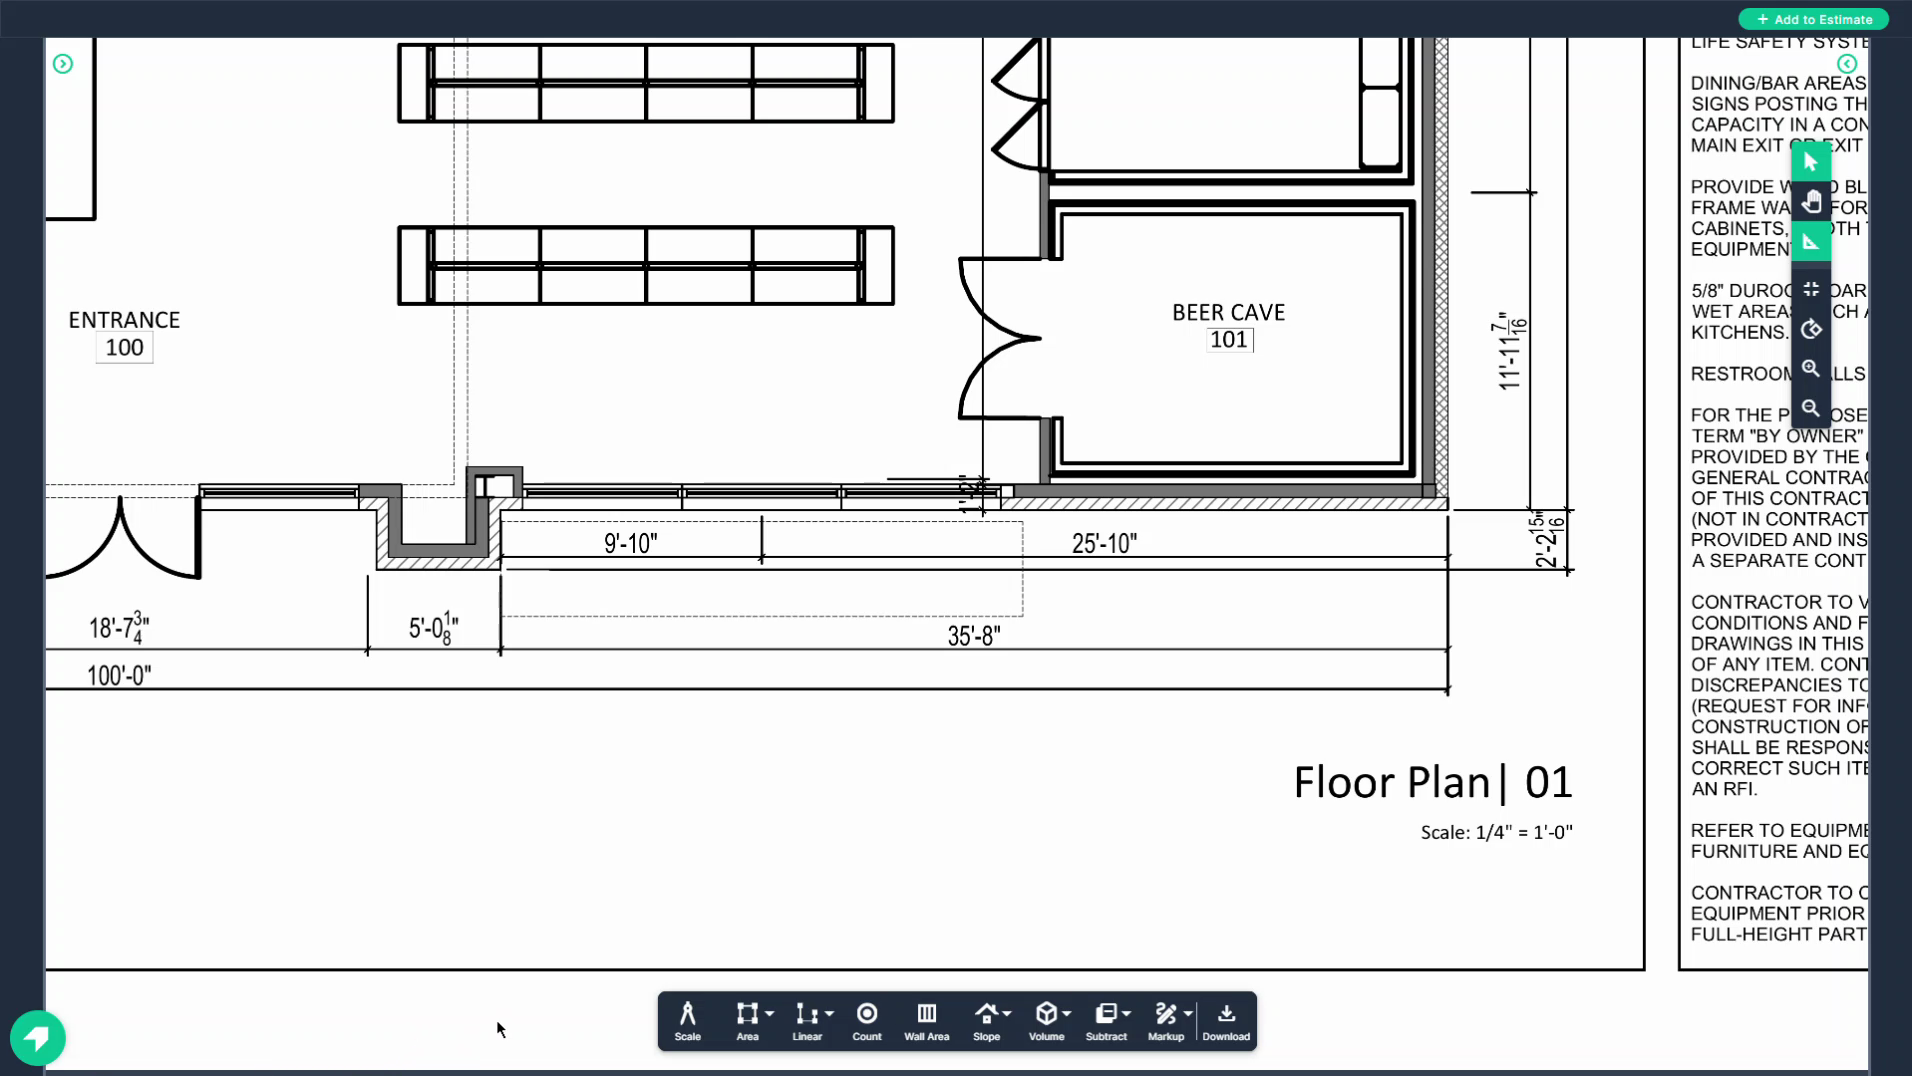
In this article, you'll learn how to use PlanHub's takeoff markup tools for measurements and communication.
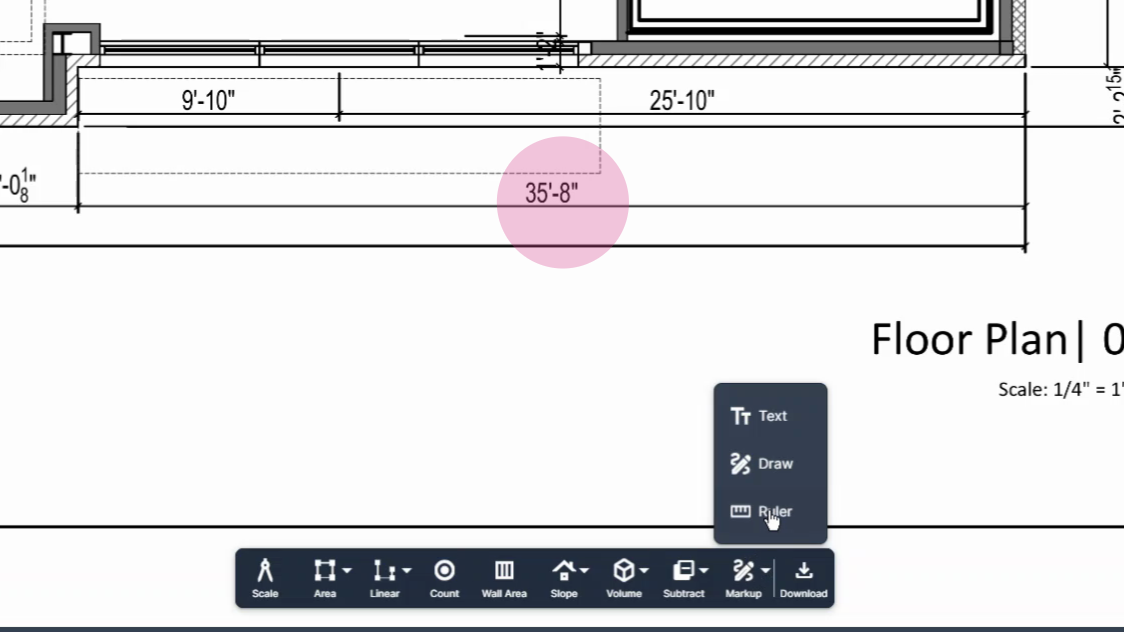
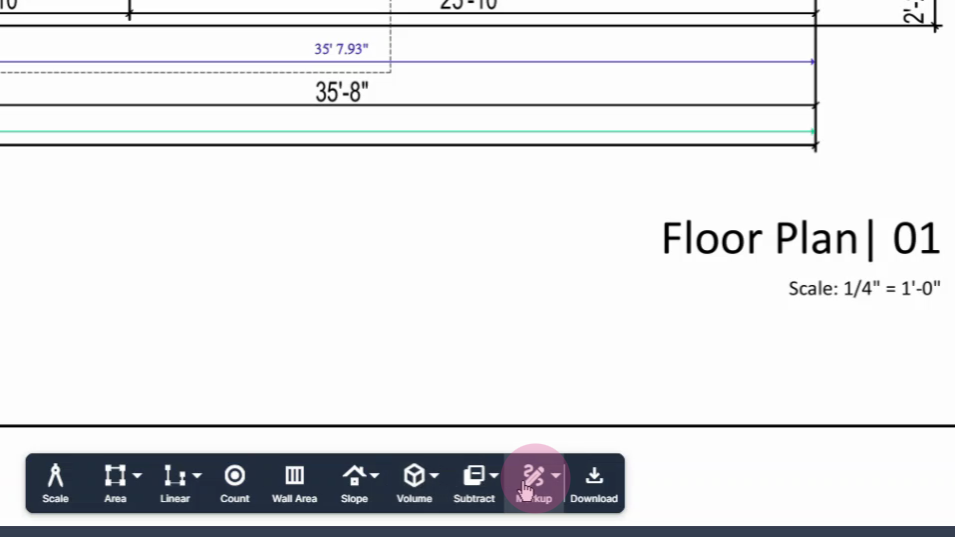
Step 1: Start by clicking the markup button on the toolbar. This reveals a set of tools including a ruler, a drawing pencil, and a text box feature.
Step 2: After setting the scale on the page, use the ruler to draw a dimension line that matches a known measurement.
In this example, we're using a 35 foot 8 inch measurement to check the accuracy of the set scale.
Step 3: Click the markup button, then click ruler.
Step 4: Click at the beginning point of your measurement.
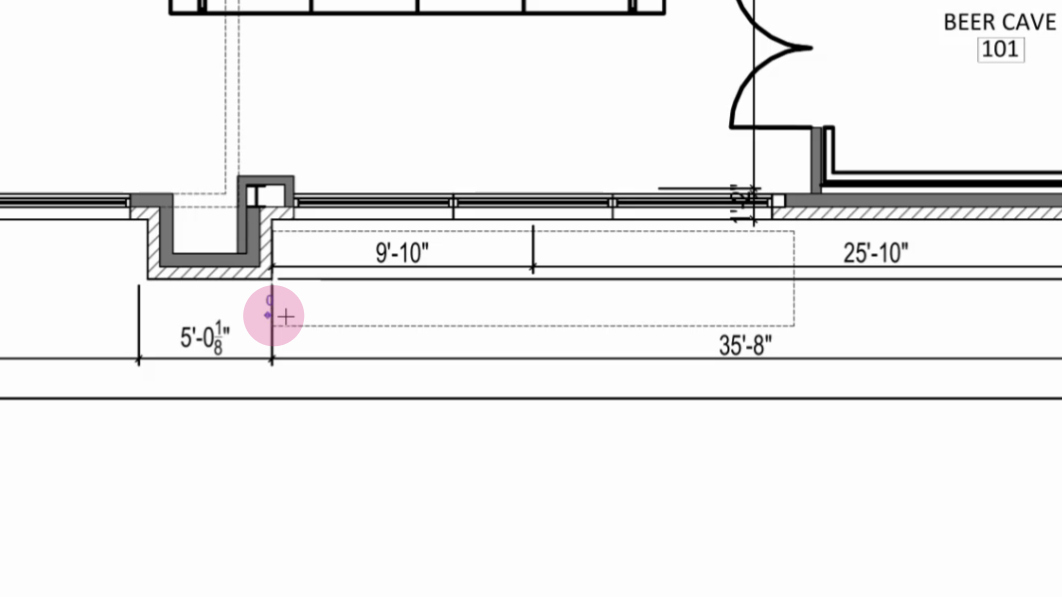
Move your mouse to the end point and click again.
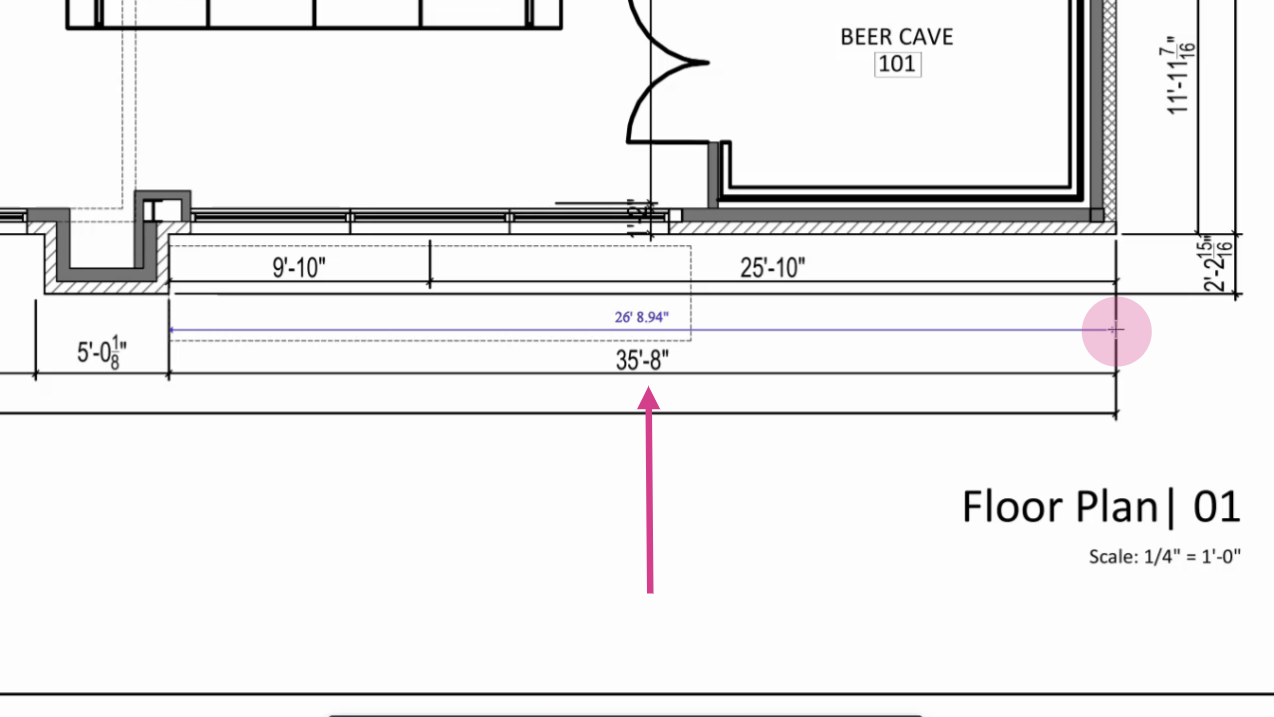
Step 5: Check the printed scale on the page. If it's not accurate compared to the known dimensions, calibrate the scale to make it accurate.
Step 6: Communicate the calibrated scale to future users. The ruler measurement should be close to your known dimension, indicating an accurate scale.
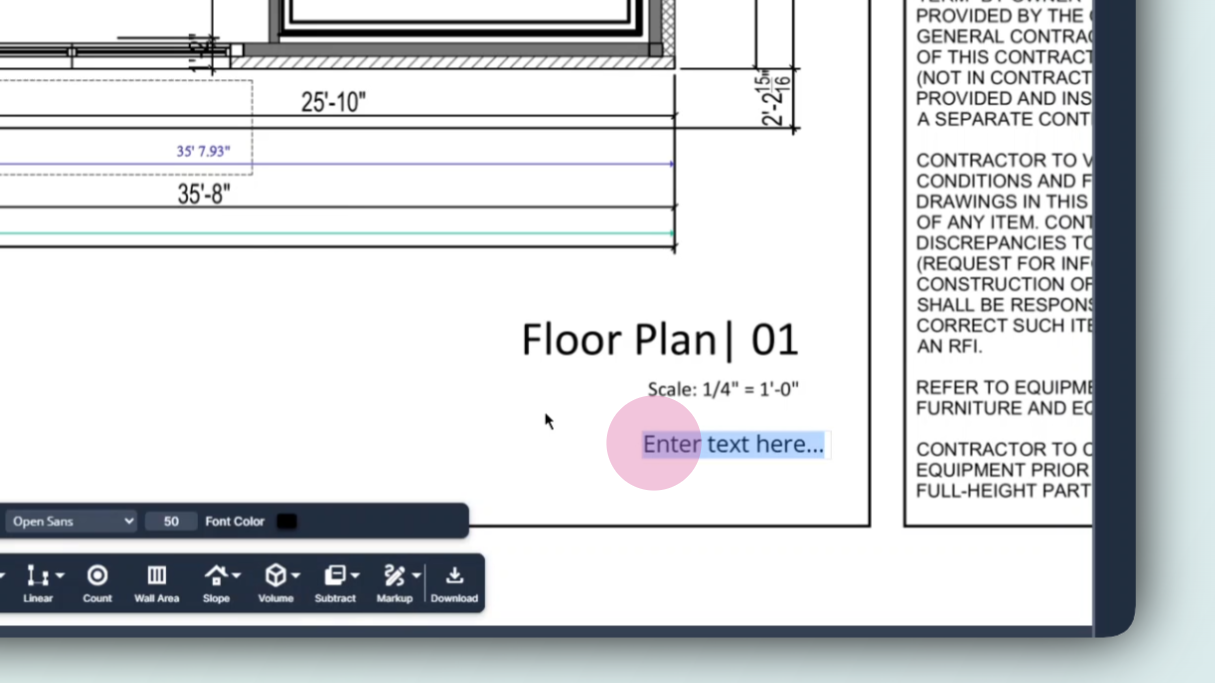
Step 7: Click the markup button again.
Step 8: Click text box to leave a note for future users. Click the spot you want to place this note, then type your message.
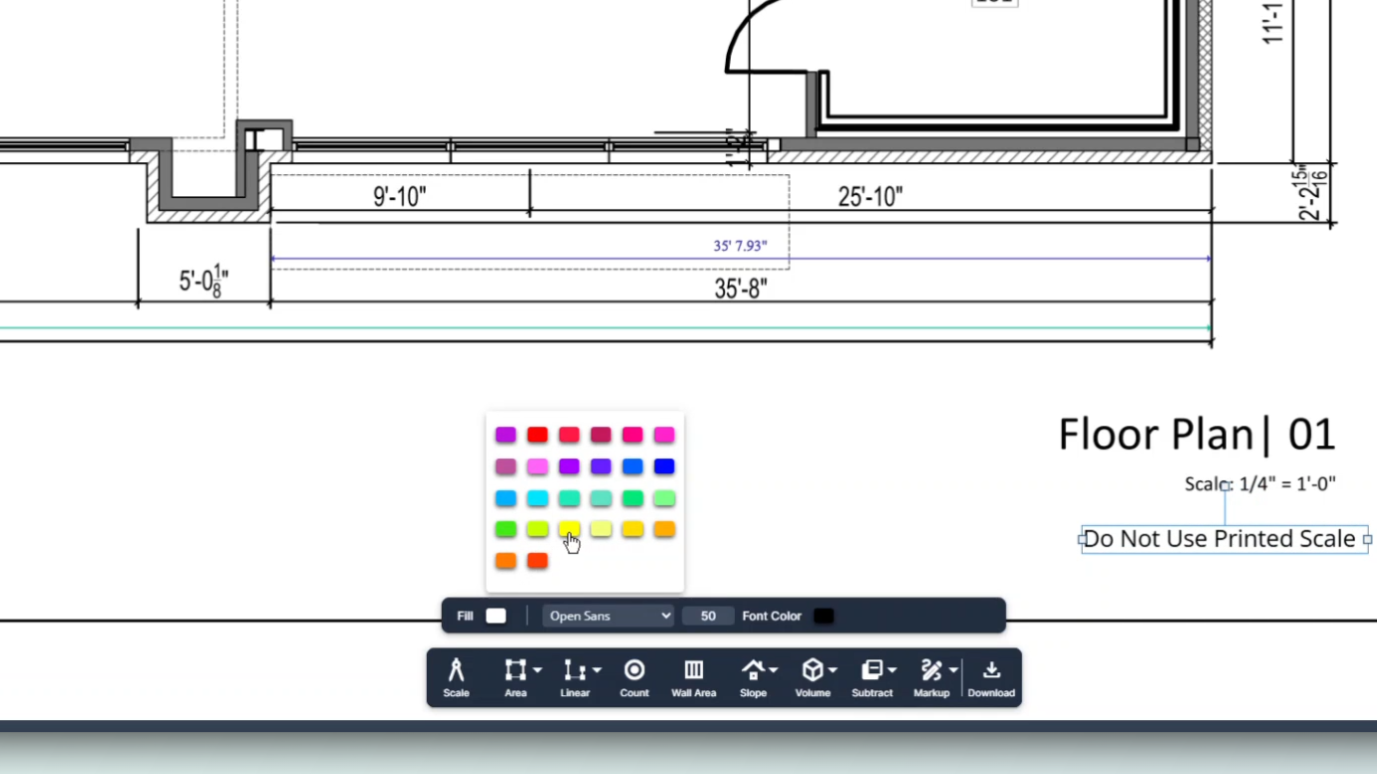
Step 9: Give the box a background color that's easy to see and identify on the page.
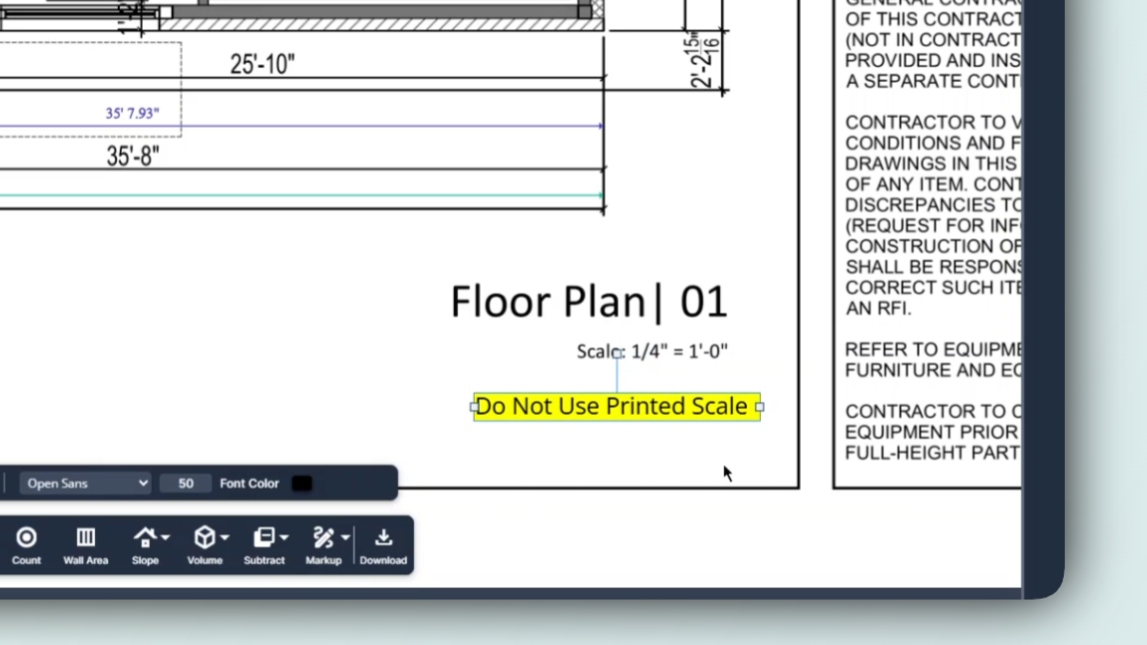
Step 10: Use the markup pencil to draw attention to specific features, such as the location of the printed scale.