Step 1: Go to the Network Page
Start by navigating to the Network page. Here, you'll see both the PlanHub Directory of General Contractors and the Connections tab.
Step 2: Find the Company or Contractor Profile
Locate and select the company you want to tag, either from the Directory or from Connections.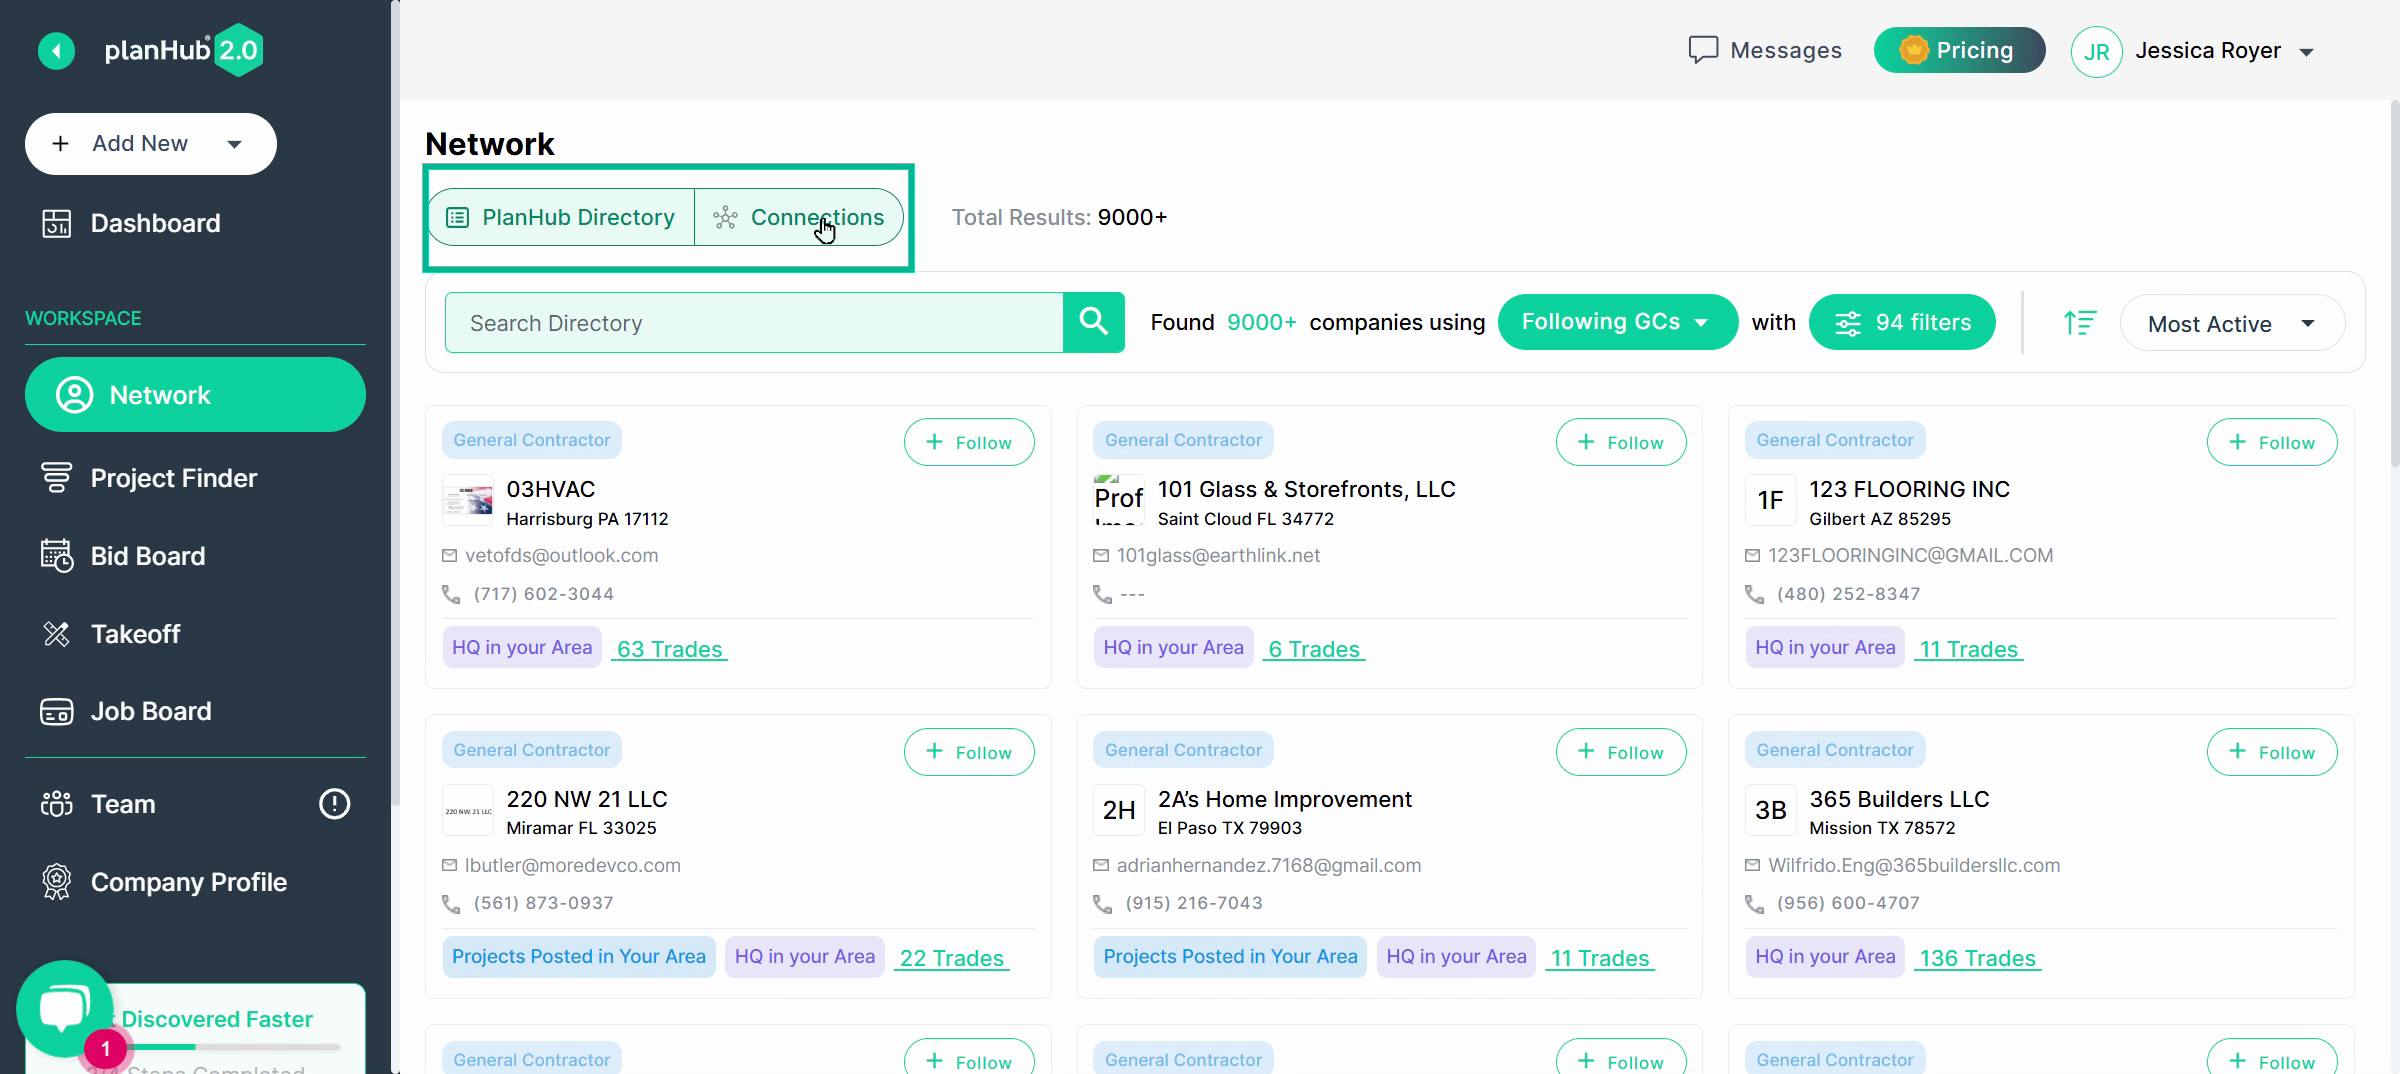
Step 3: Edit Tags
In the company profile, scroll to the Tags section and click Edit to begin adding or changing tags.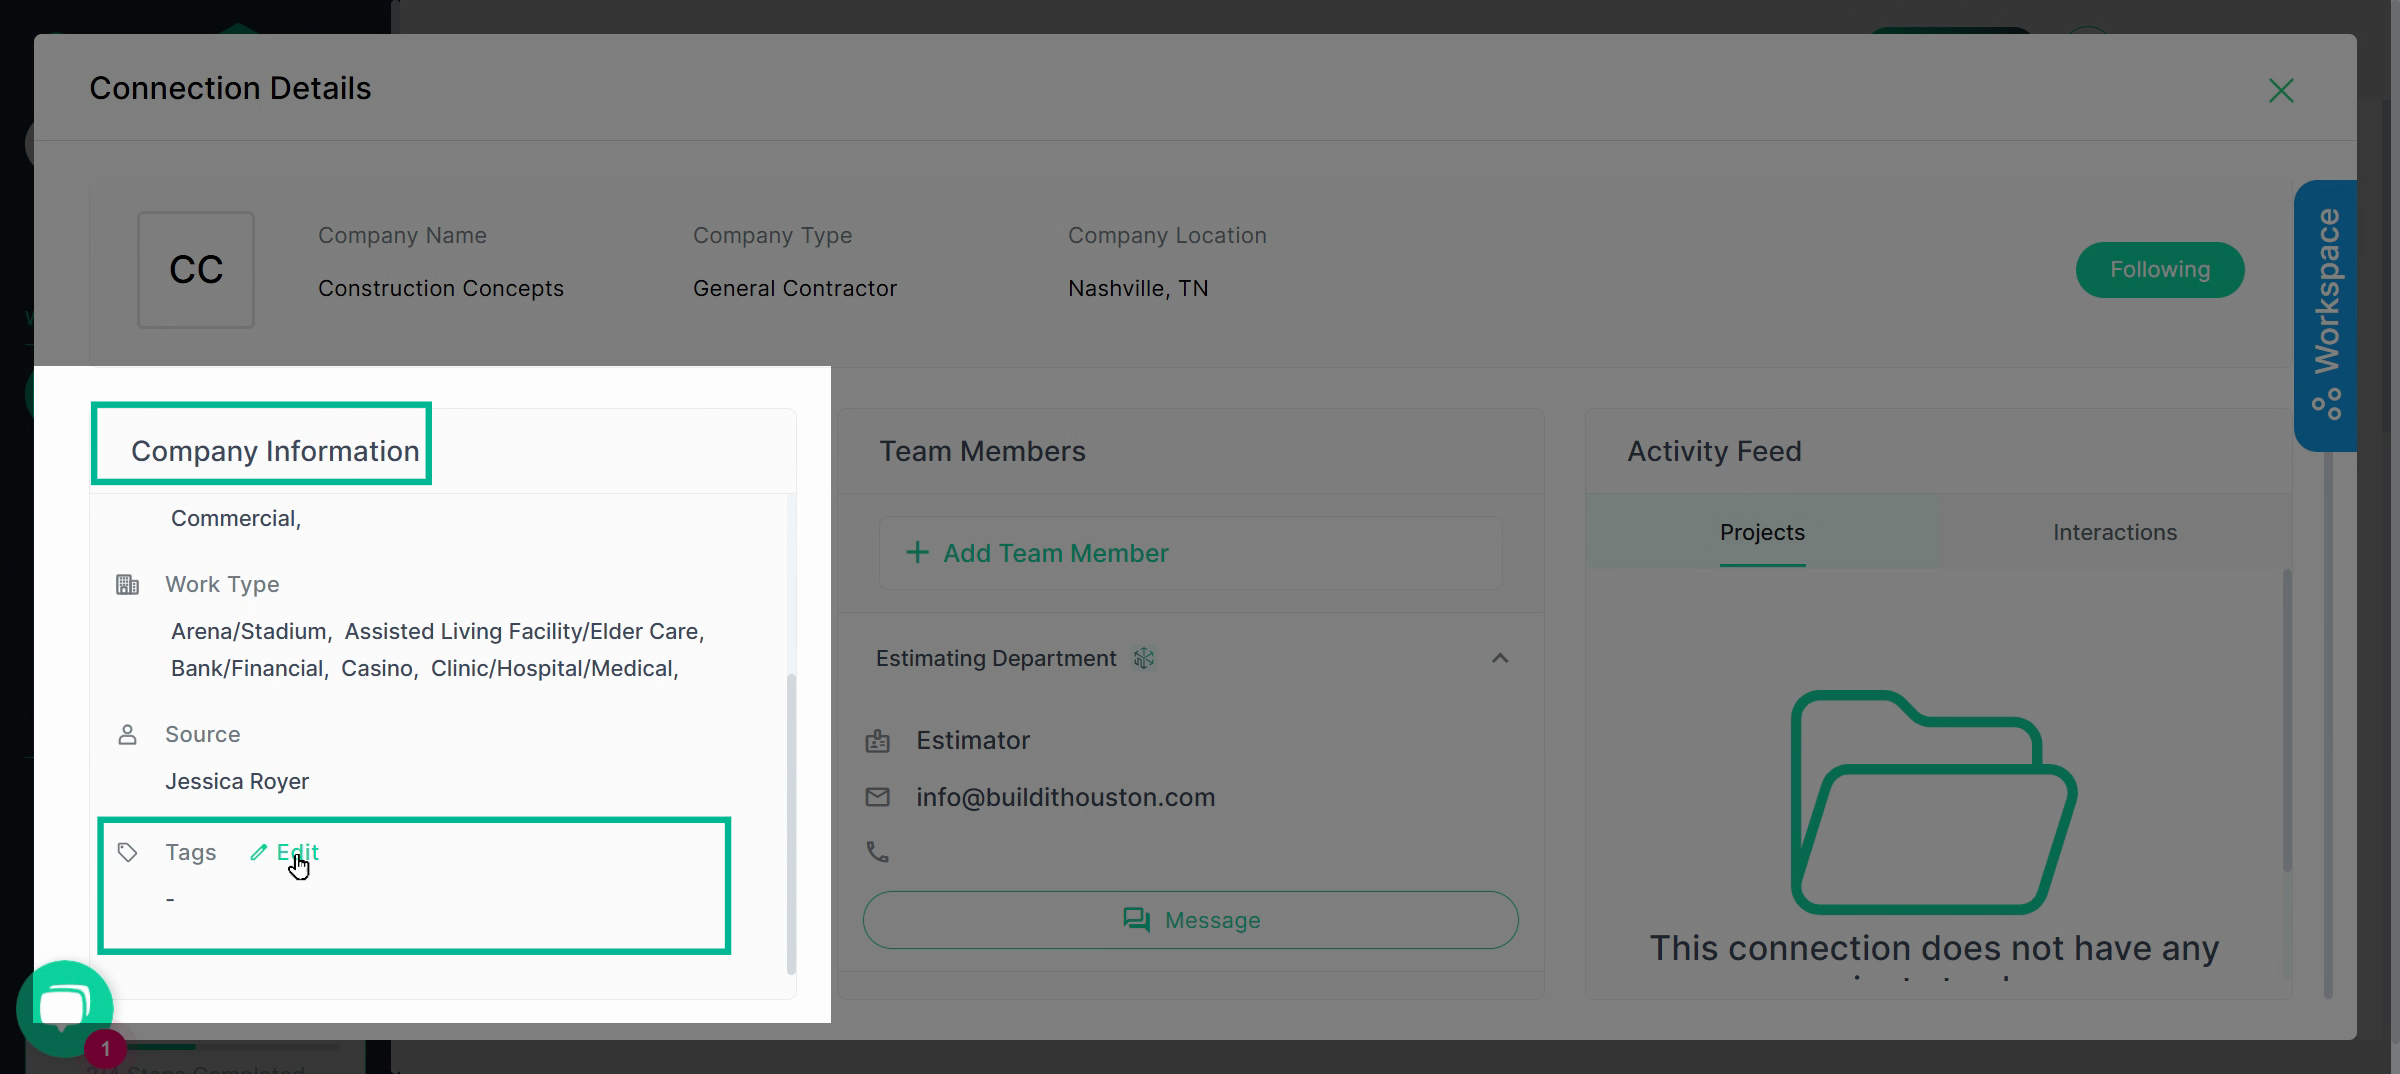
Step 4: Add Existing or Create New Tags
Select from existing tags or type a new label to create a custom tag. For example, apply tags based on project types, relationship status, billing preferences, or company importance.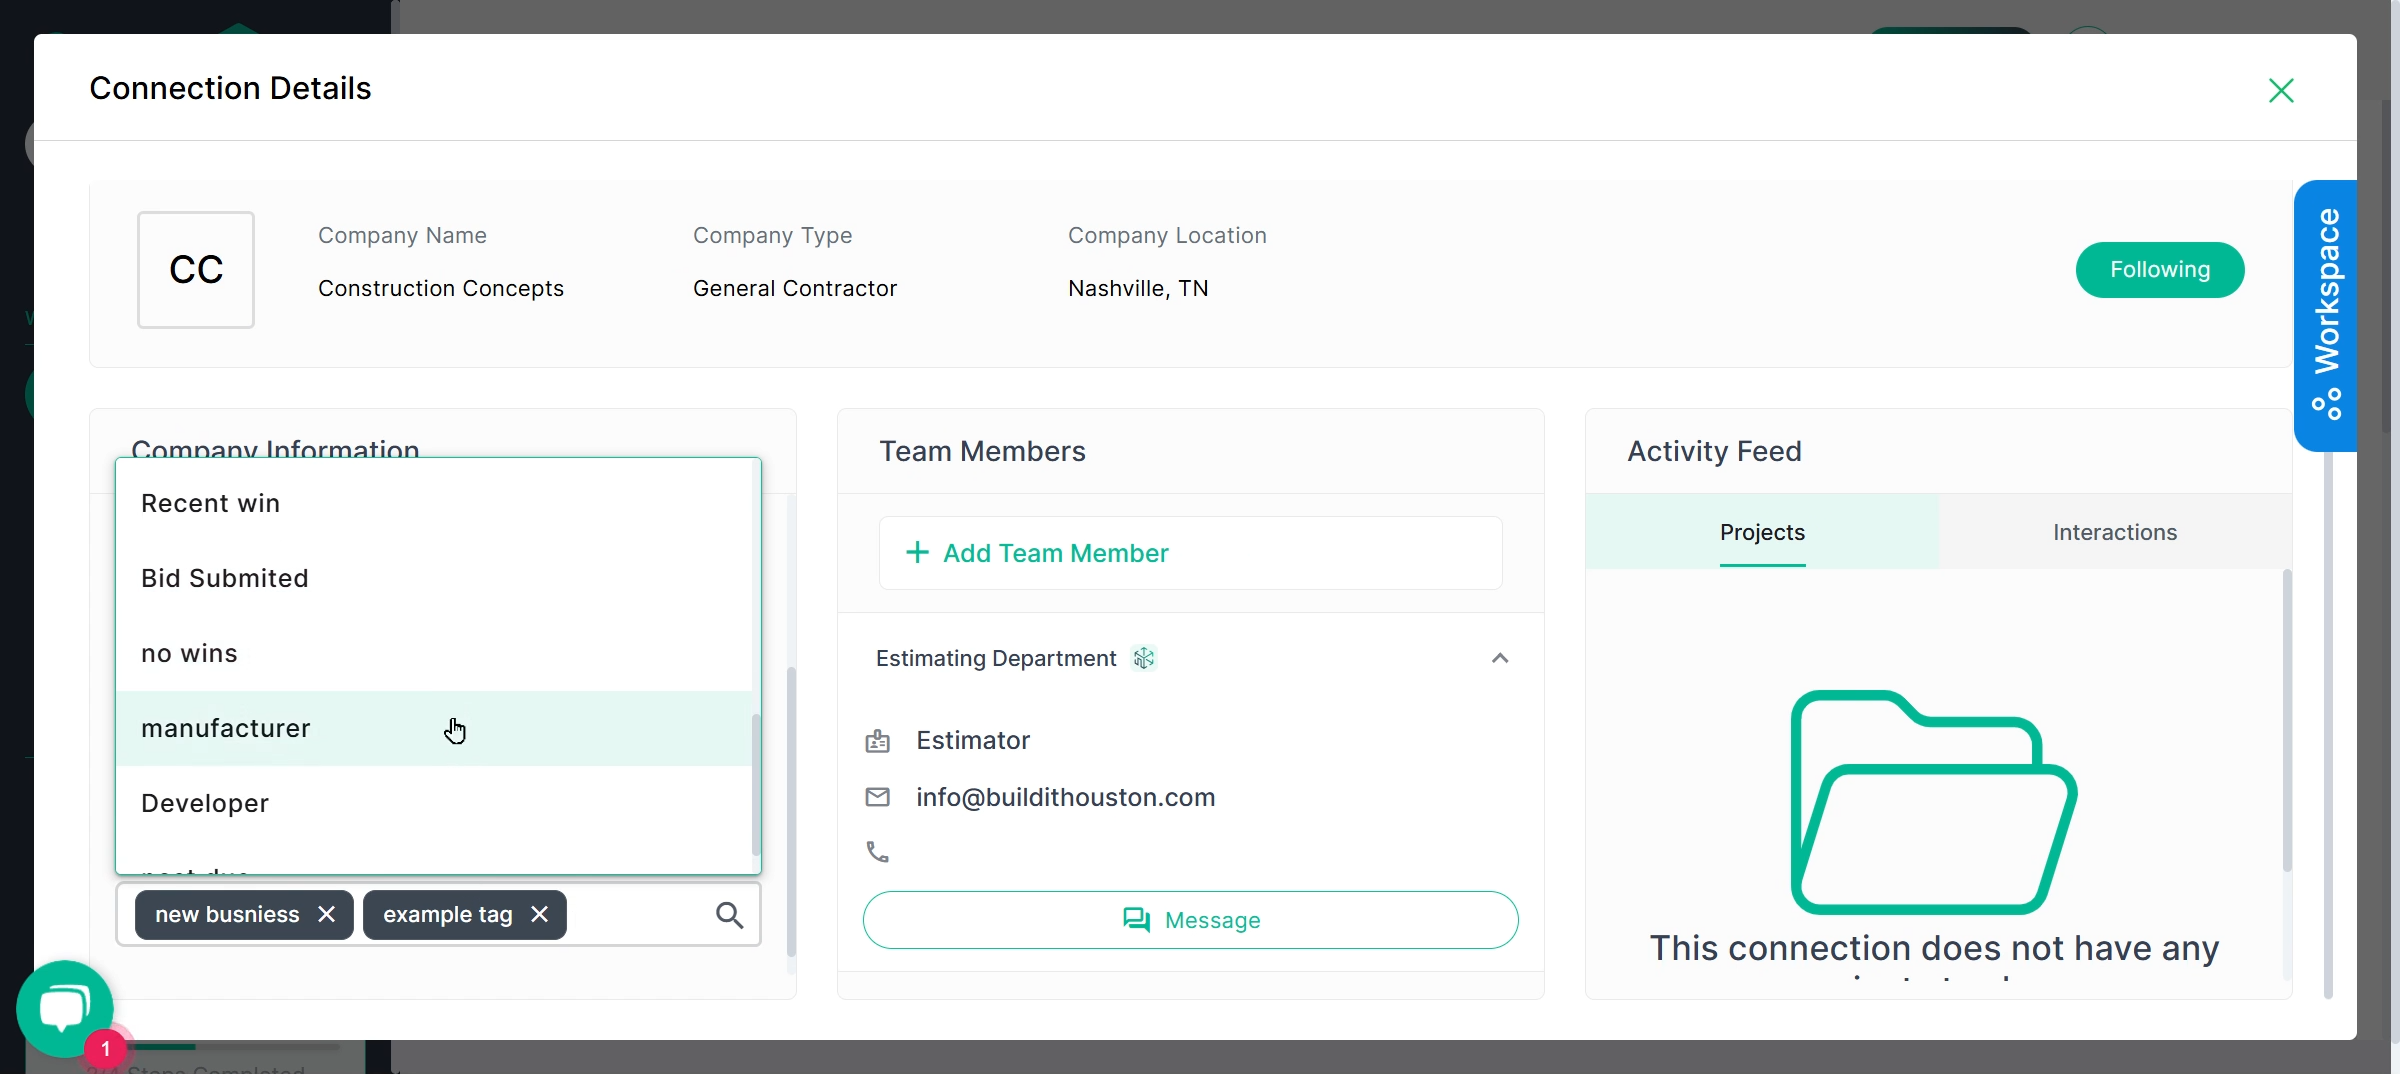
Step 5: Save Tags
After making your selections or adding a new tag, click Save to confirm. If you entered a new tag name, you will need to click Save one more time to finalize updates and ensure your tags are added ot the tag list.
Tip: Apply your tags to as many Directory or Connection profiles as needed. They’re accessible for future organization and quick reference.
Step 6: Filter by Tags in Connections
Filters in the Connections tab help you search and group companies by their assigned tags, making it easy to locate contacts by the categories you've established.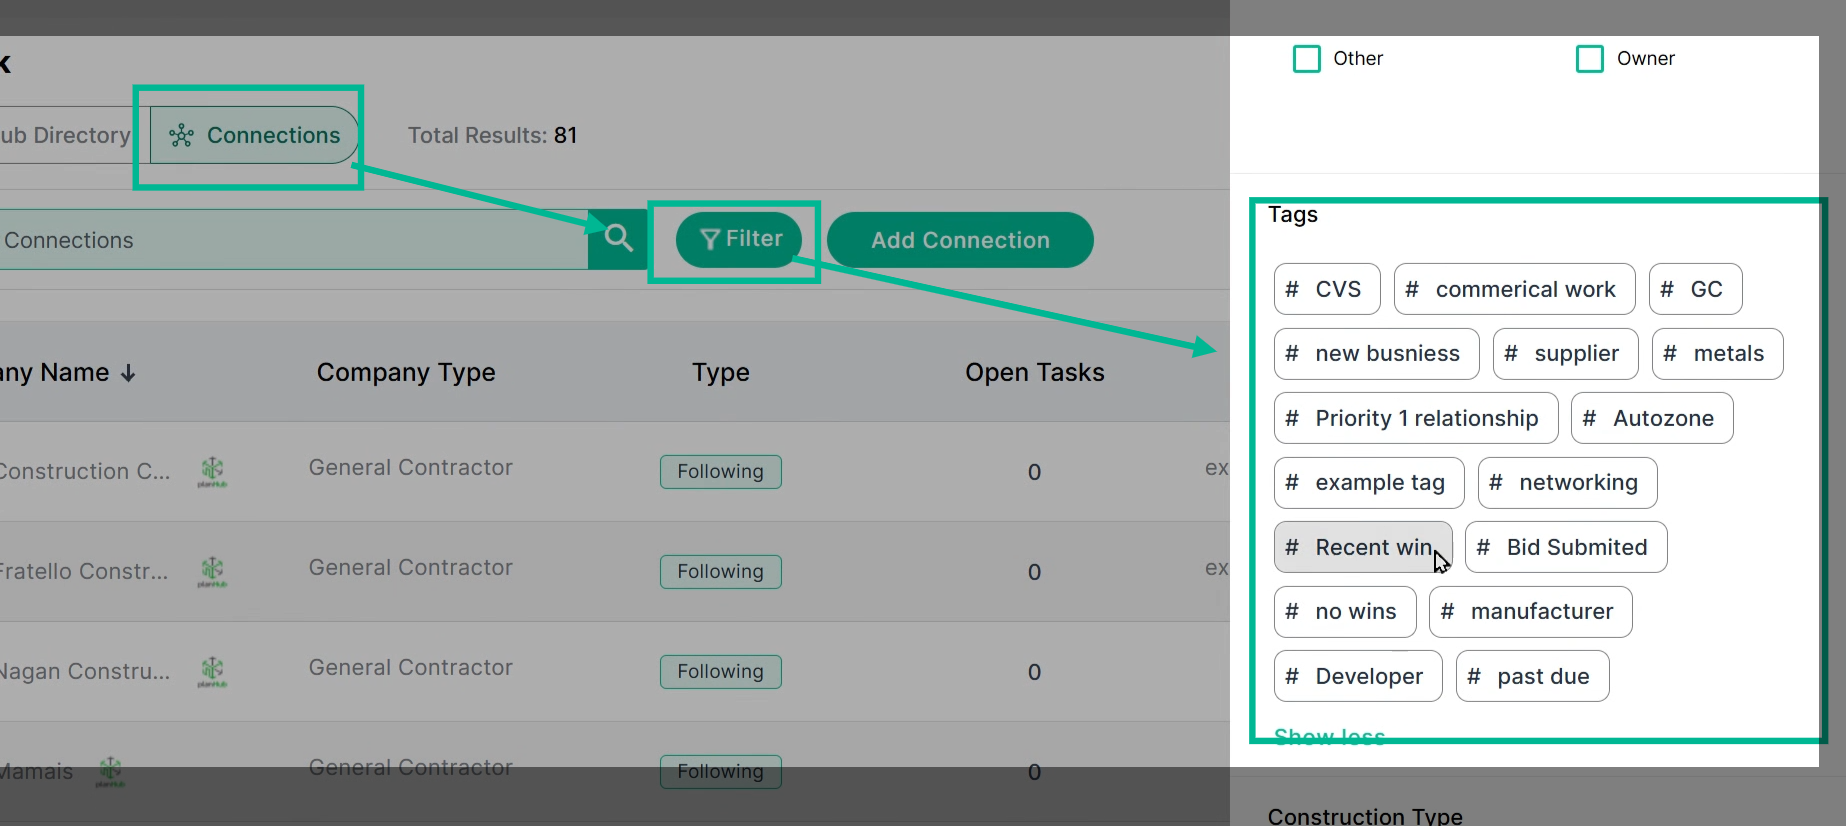
With custom tagging, categorize your contacts the way that works best for your workflow—no limits, all within the Network page.