Step 1: Access the Dashboard
Click Dashboard in the main panel on the left side of your screen. The dashboard is your central hub for tracking company activity. Here, monitor your team’s invitations to bid, saved projects, companies you’re following, and general contractors (GCs) who added you to their network.

Step 2: Explore the Network Directory (Add-On Feature)
Select Network in the main panel. If you have purchased the network directory, you can manage your company’s contacts and connections.
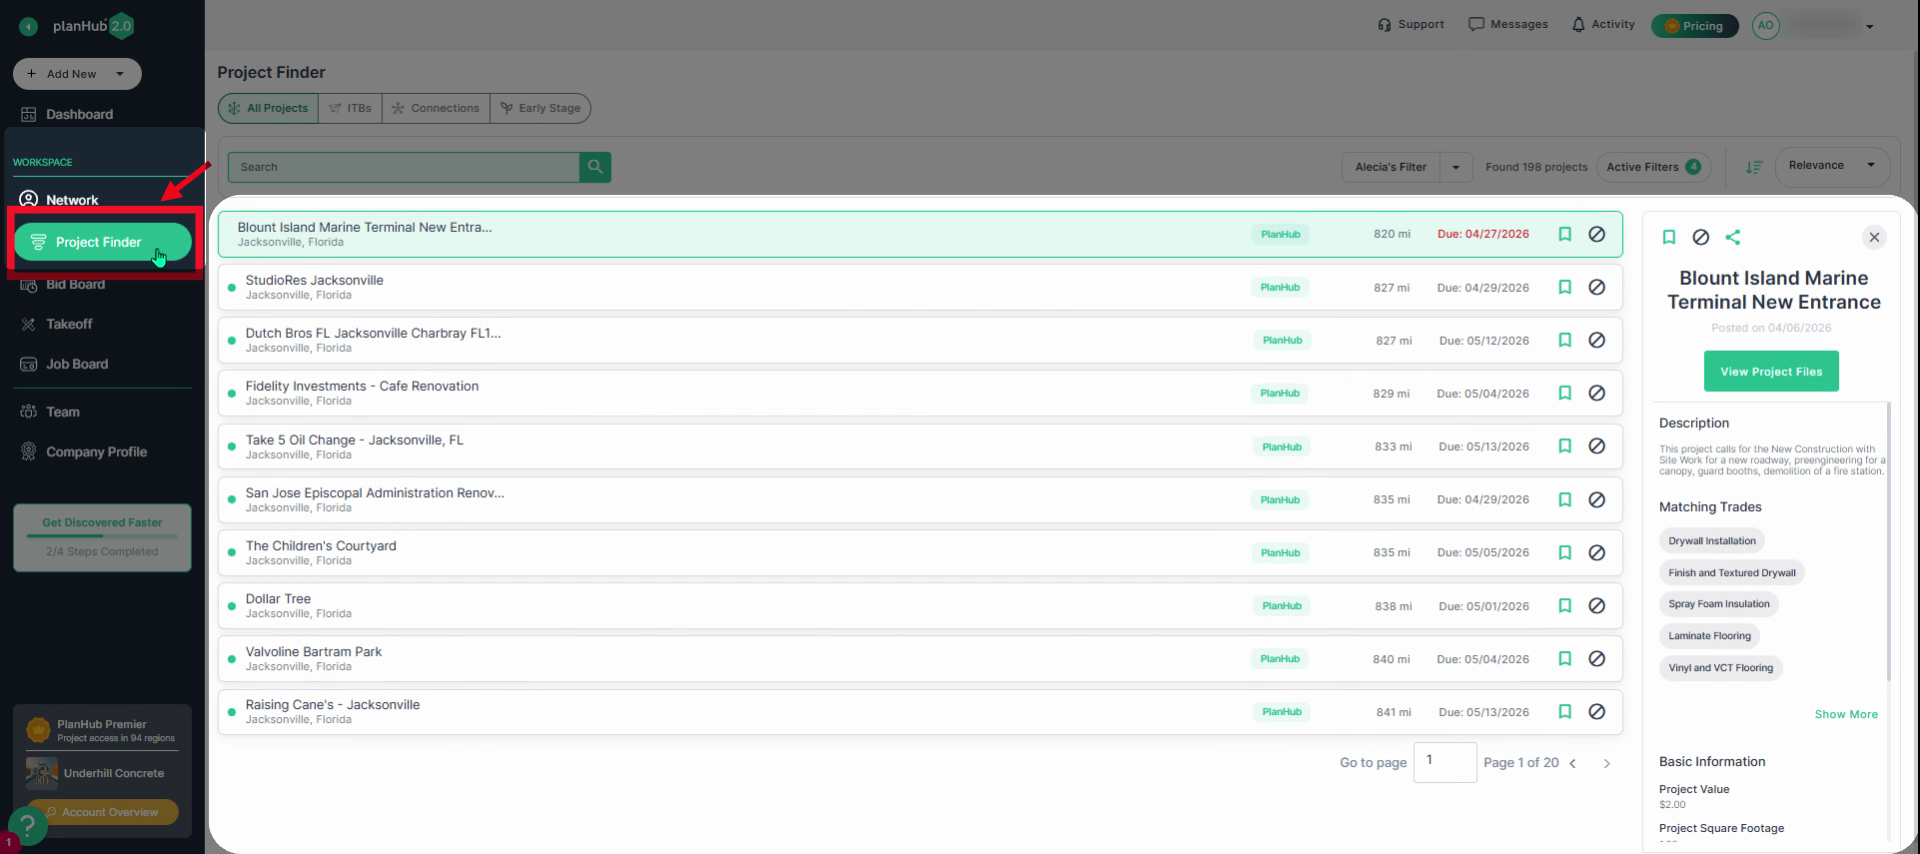
Step 3: Discover Projects with Project Finder
Choose Project Finder in the main panel. Browse and search for new project opportunities posted by GCs that match your trades and bidding criteria. You’ll see a list of available projects within your coverage area. Select a project to view key details on the right.
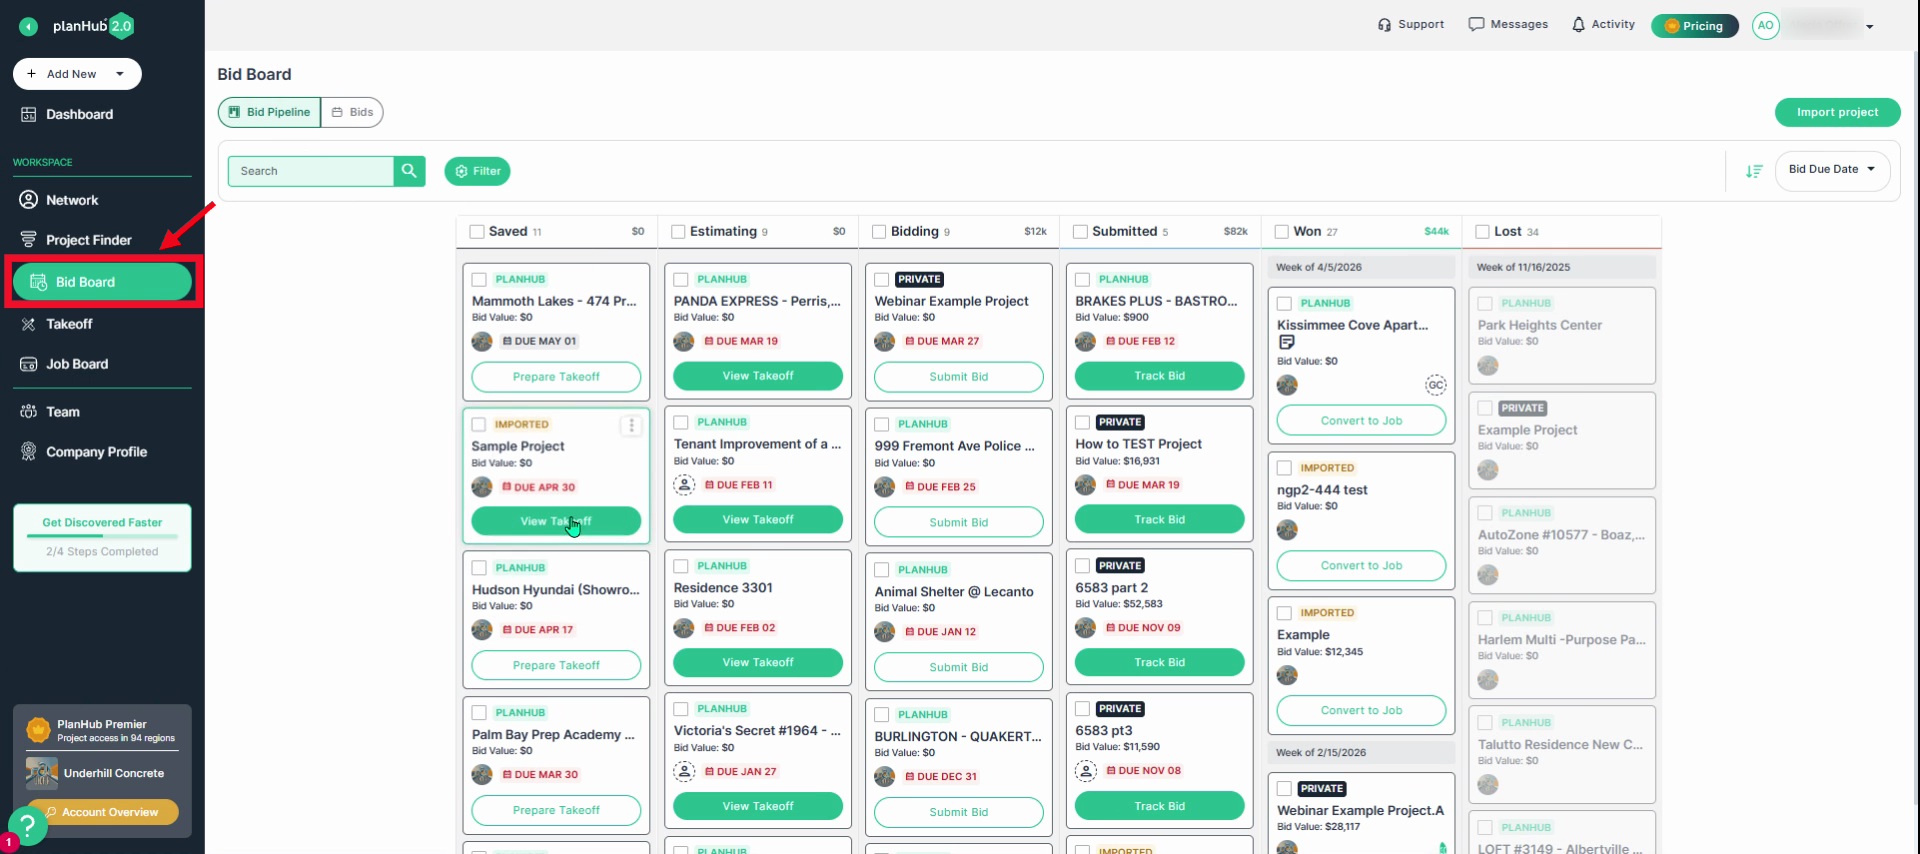
Step 4: Organize Projects on the Bid Board
Click Bid Board in the main panel. The bid board tracks and organizes your company’s bid pipeline, including planHub posted projects or imported projects. Click on the Bids tab to view the list of bids submitted by your team.
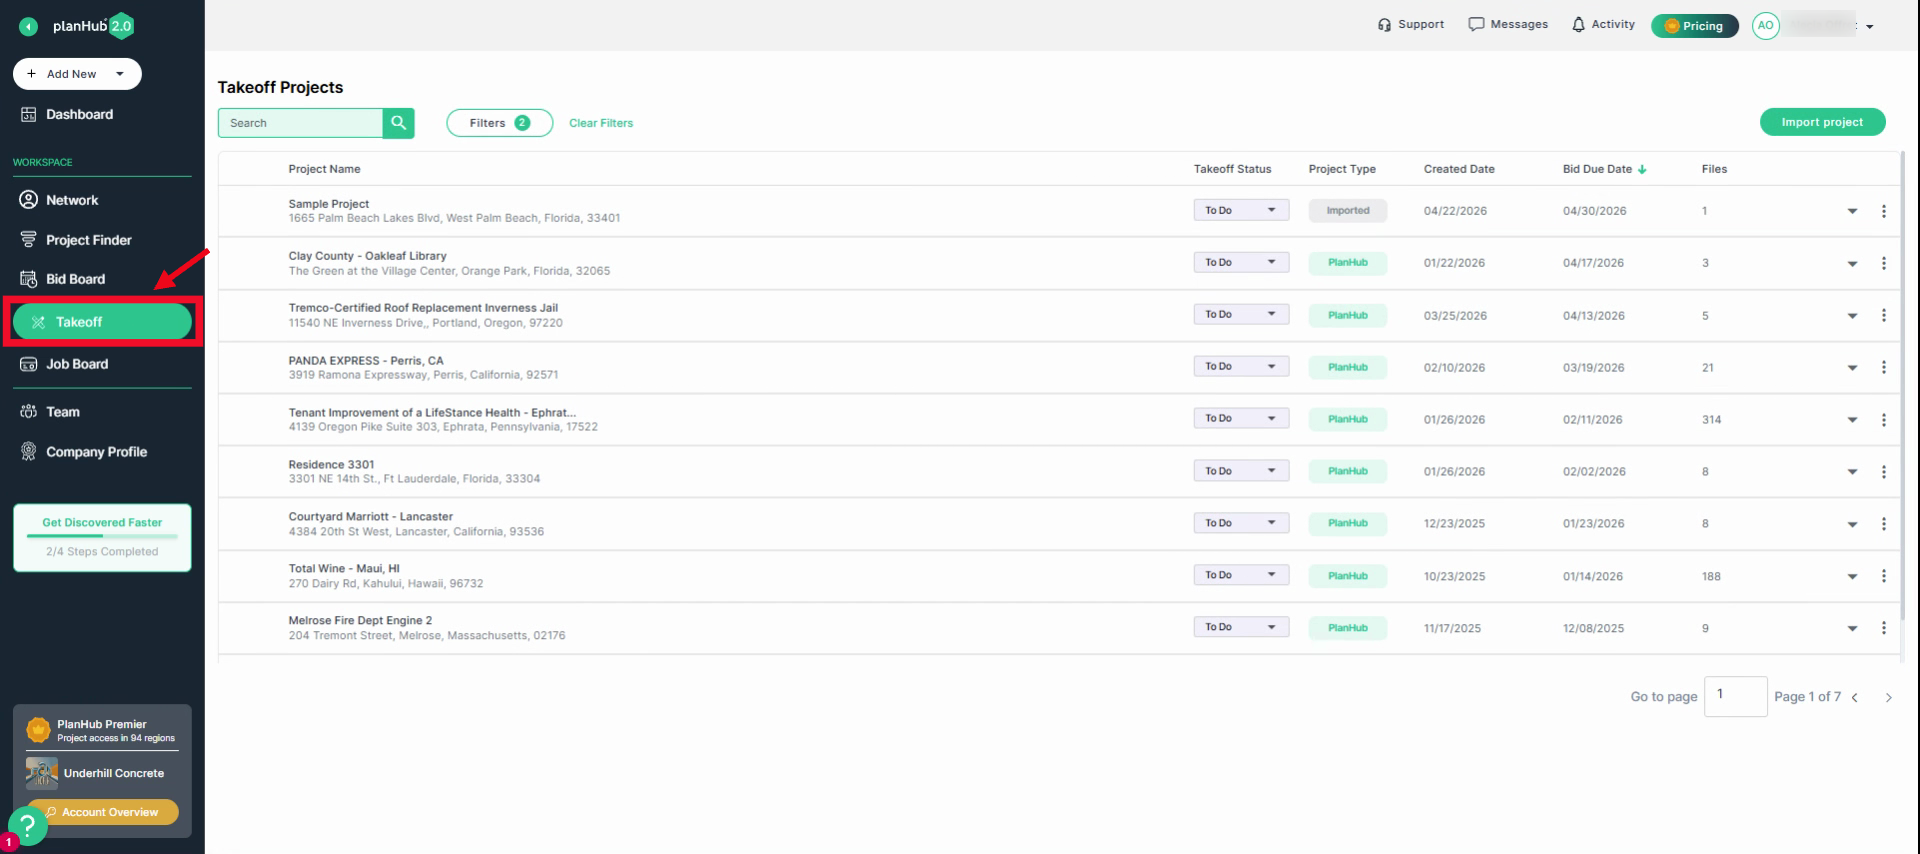
Step 5: Takeoff and Estimation (Add-On Features)
Navigate to Takeoff in the main panel. In Takeoff, if you’ve purchased the Takeoff and Estimation Add-On features, you’ll have access to both tools, where you can manage your takeoffs and create estimates for your bids.
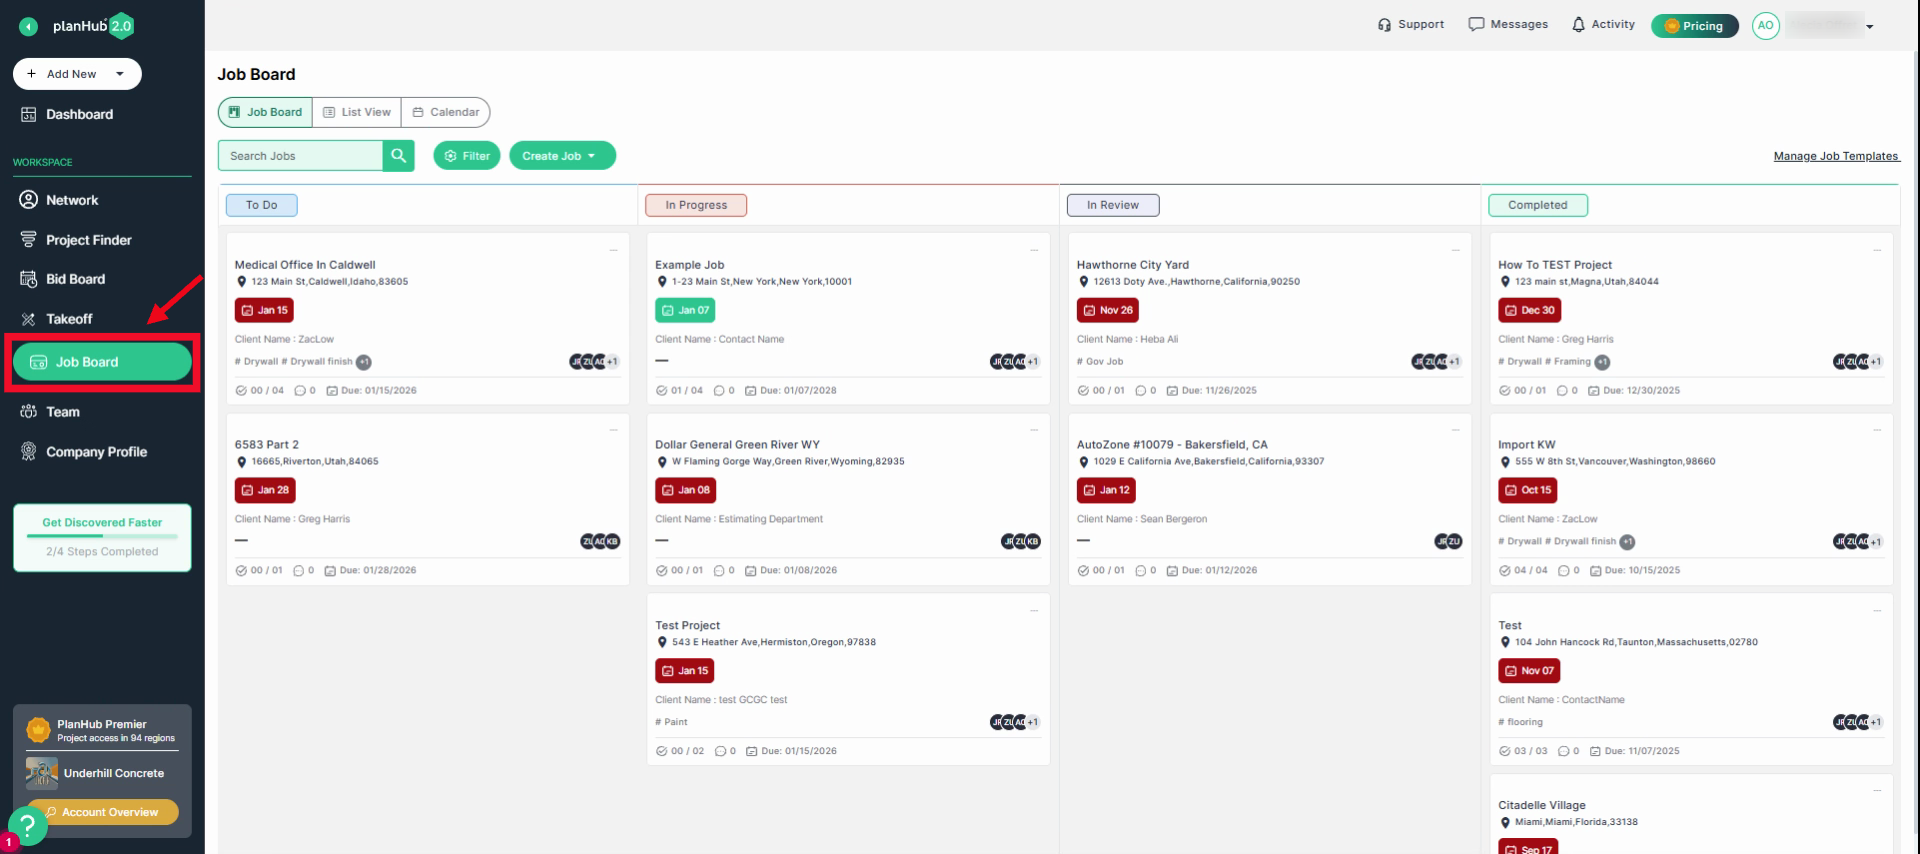
Step 6: Use the Job Board for Field Project Management (Add-On Feature)
Click on the Job Board in the main panel to track project progress in the field, create milestones, assign tasks, upload/access documents, and communicate directly within each job.
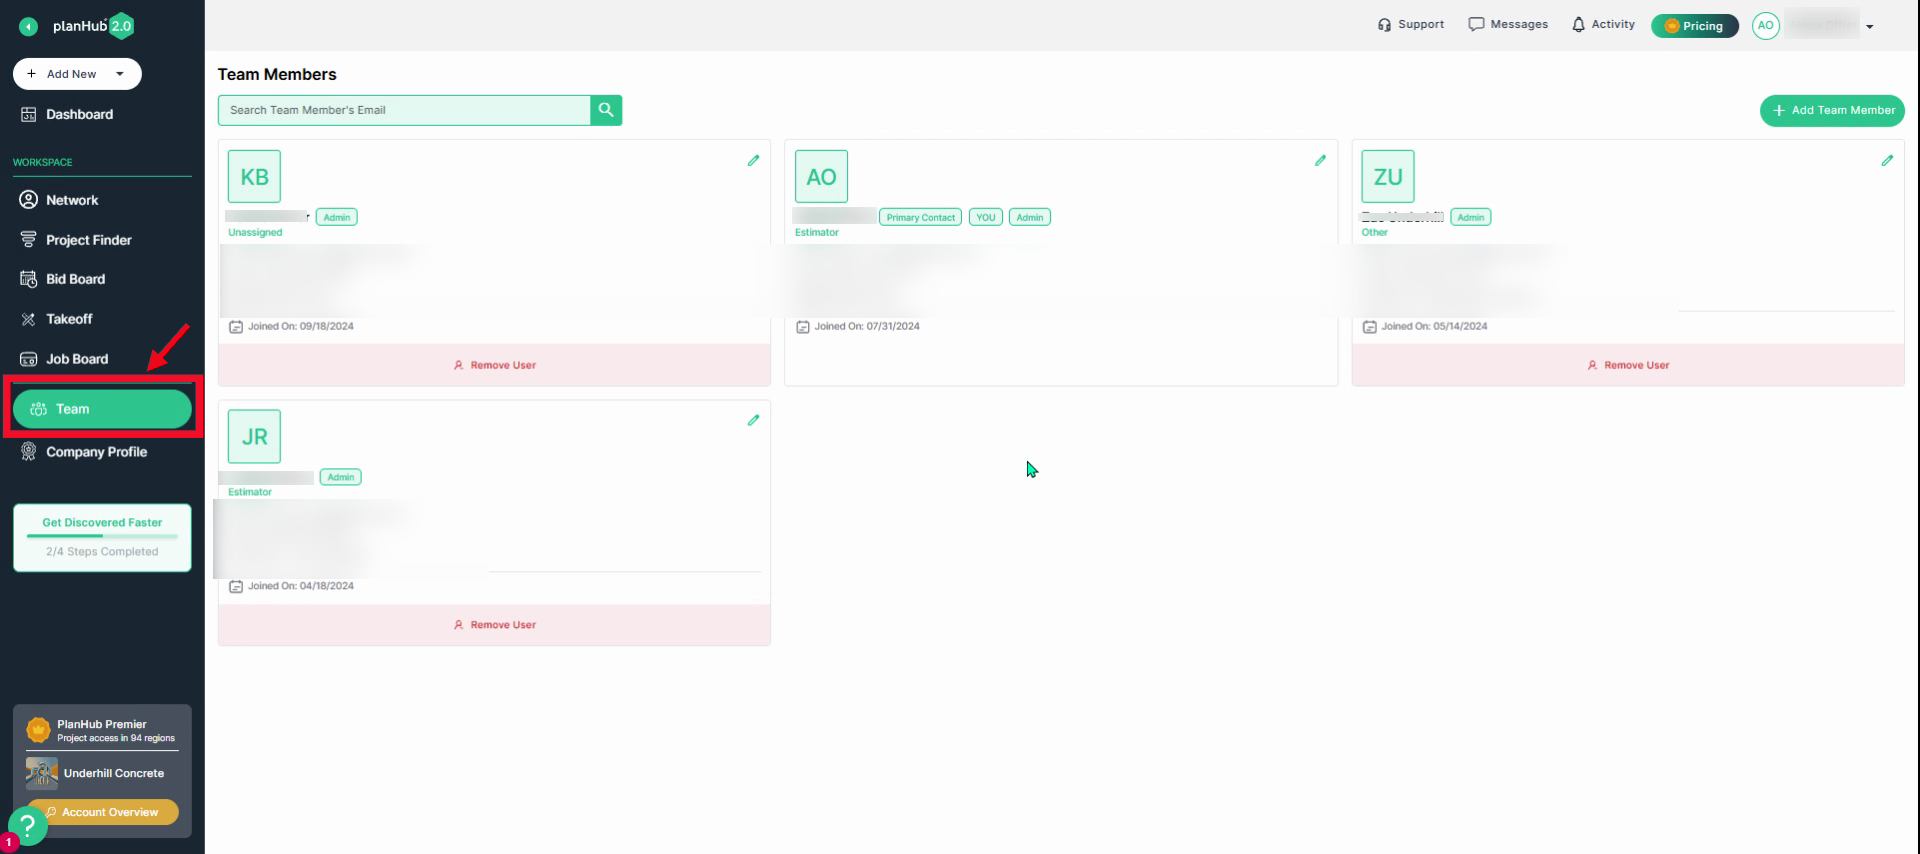
Step 7: Manage Your Team
Click on Team in the main panel. The admin on the account will be able to manage the team members in this section.
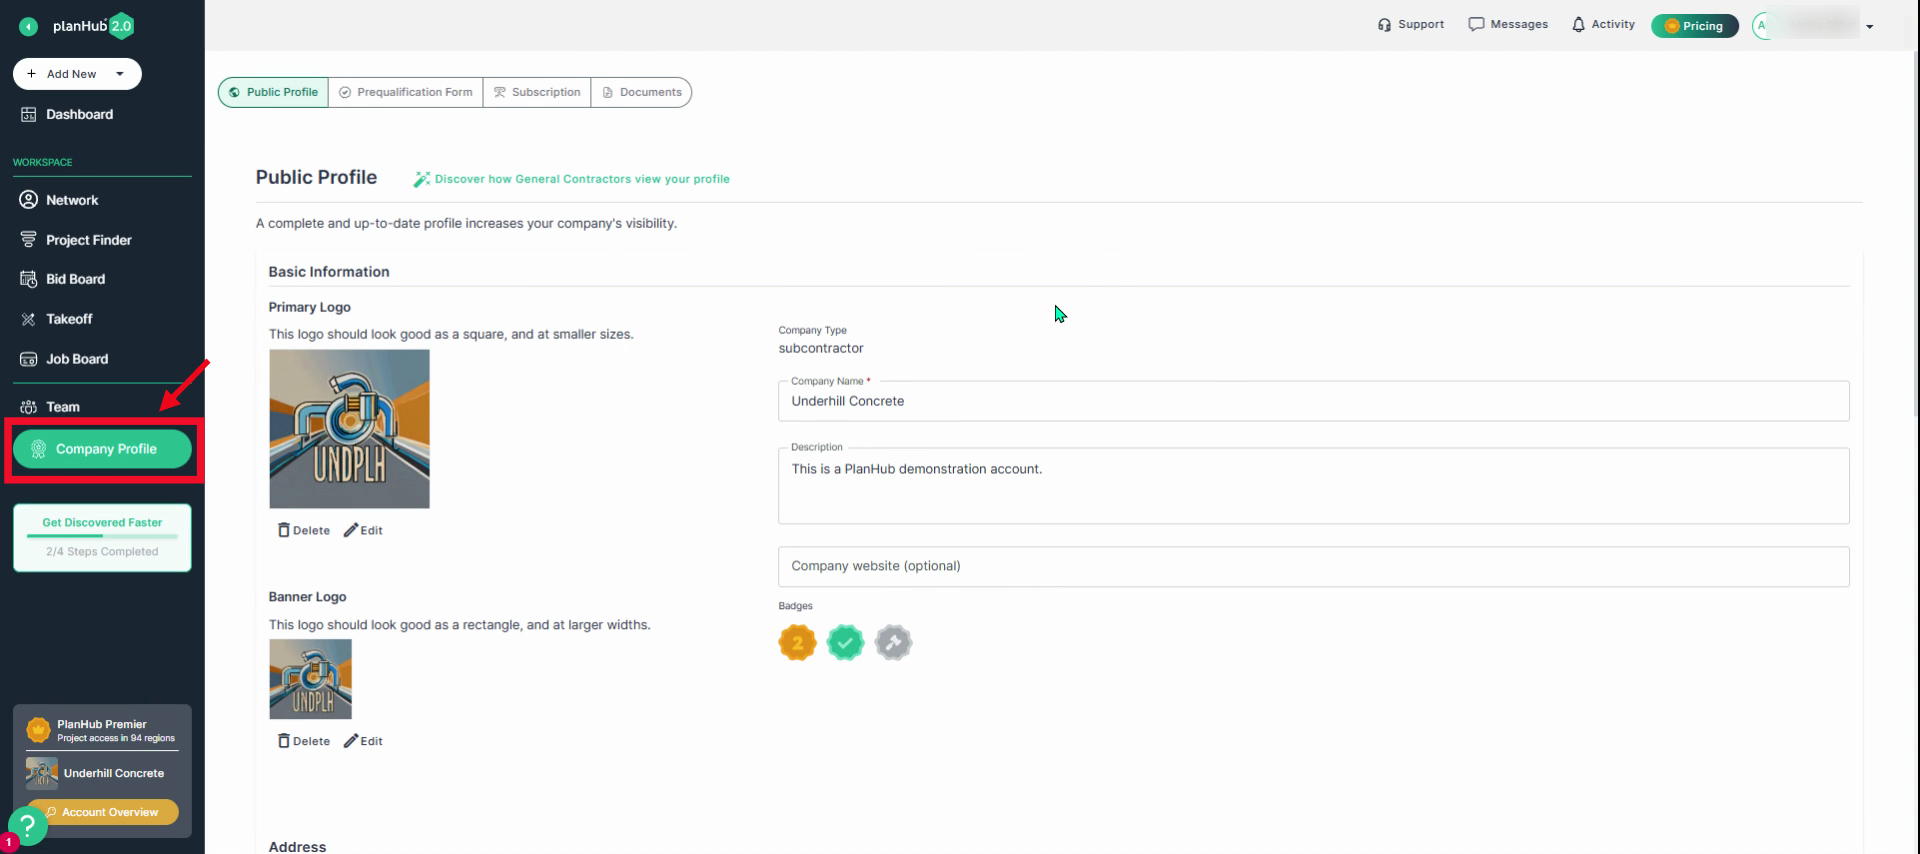
Step 8: Update Your Company Profile
Click on the Company Profile tab to maintain company information and documentation. Here, you can update your profile, prequalification details, manage your subscription, and store/access company documents.
Additional Settings:
Step 1: Use planHub Drive
Store and share documents with your team using your planHub Drive. Access it from the Company Profile, then click on the Documents tab.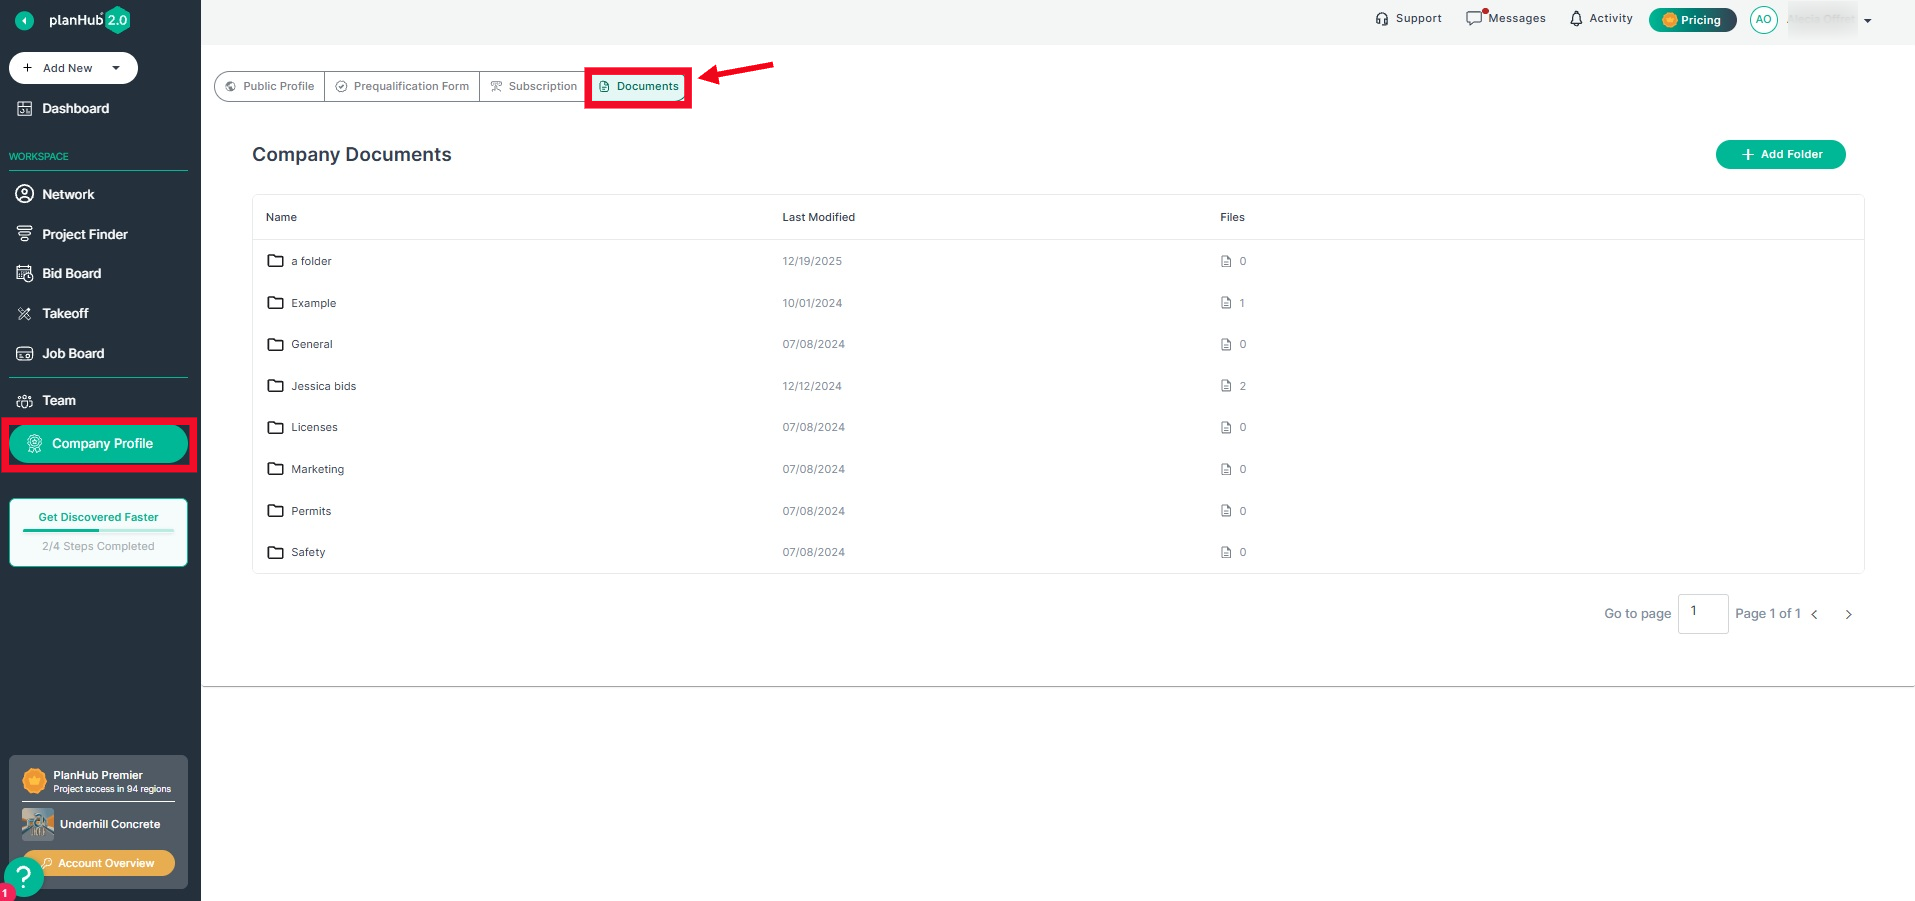
Step 2: Manage Your User Account and Notifications
Click the dropdown menu in the top right corner and select My Account. Then, update your personal user profile and notification preferences.
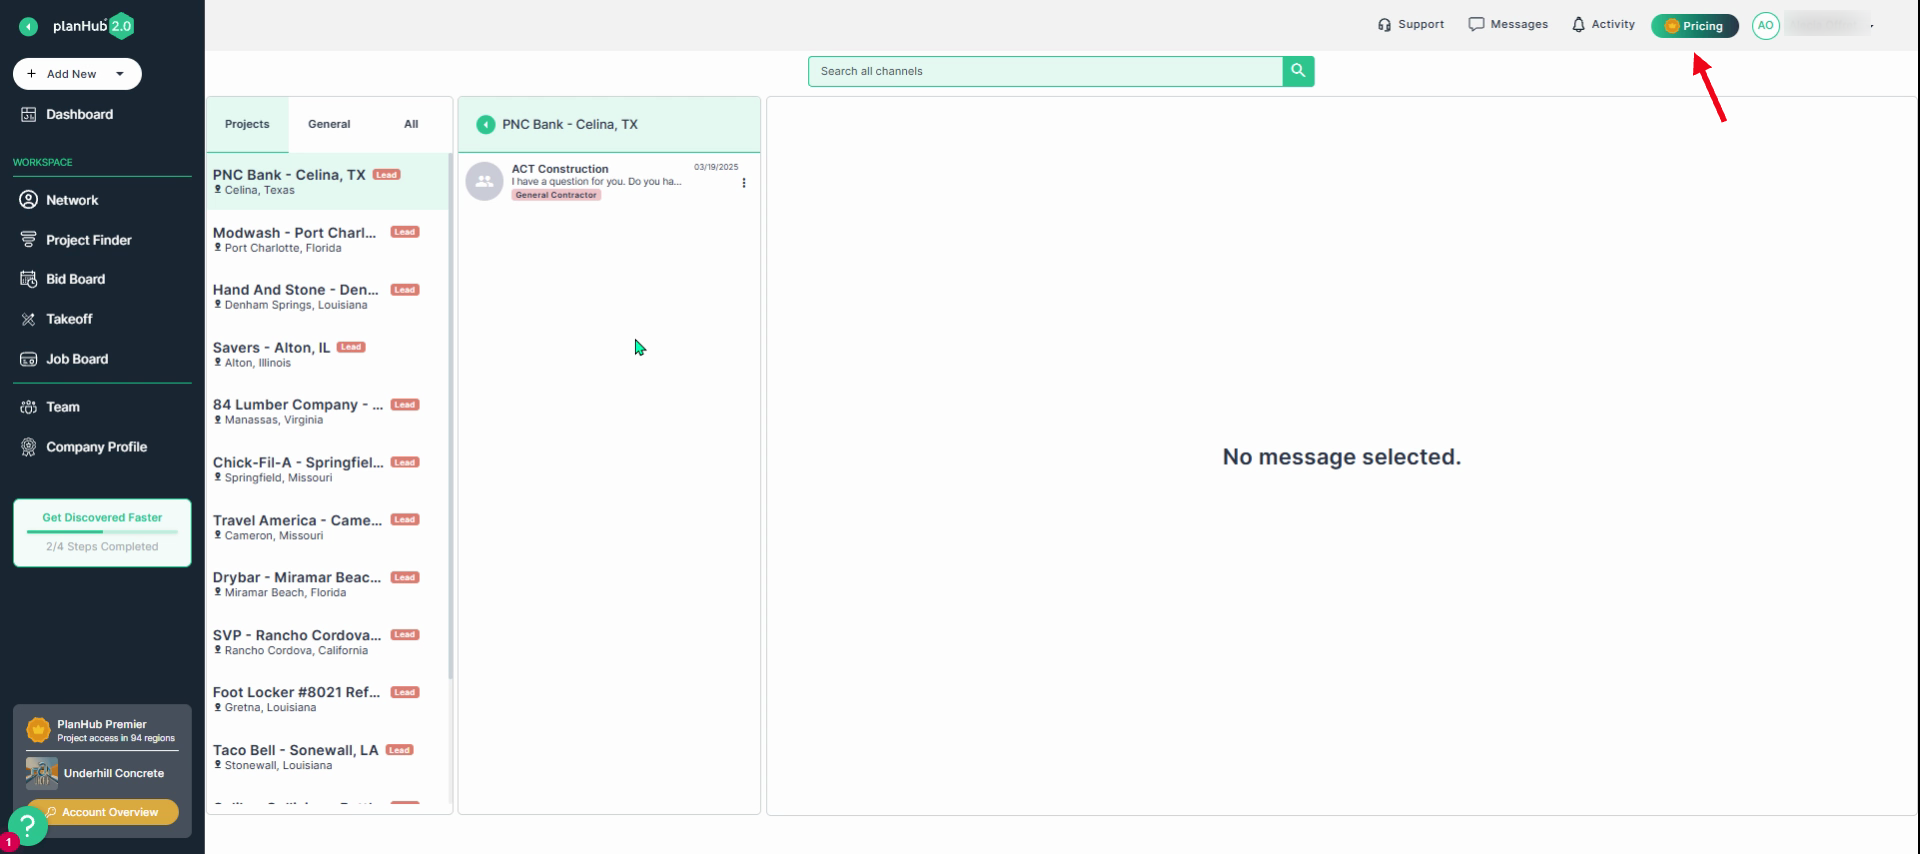
Step 3: Pricing (Subscriptions and Add-On Features)
Select the Pricing tab in the top right corner to view current plans, upgrade, or add-on tools. Only admins can make subscription changes. Please contact your planHub Account Manager or Customer Support for assistance. View our Knowledge Base article: How to Contact PlanHub Customer Support
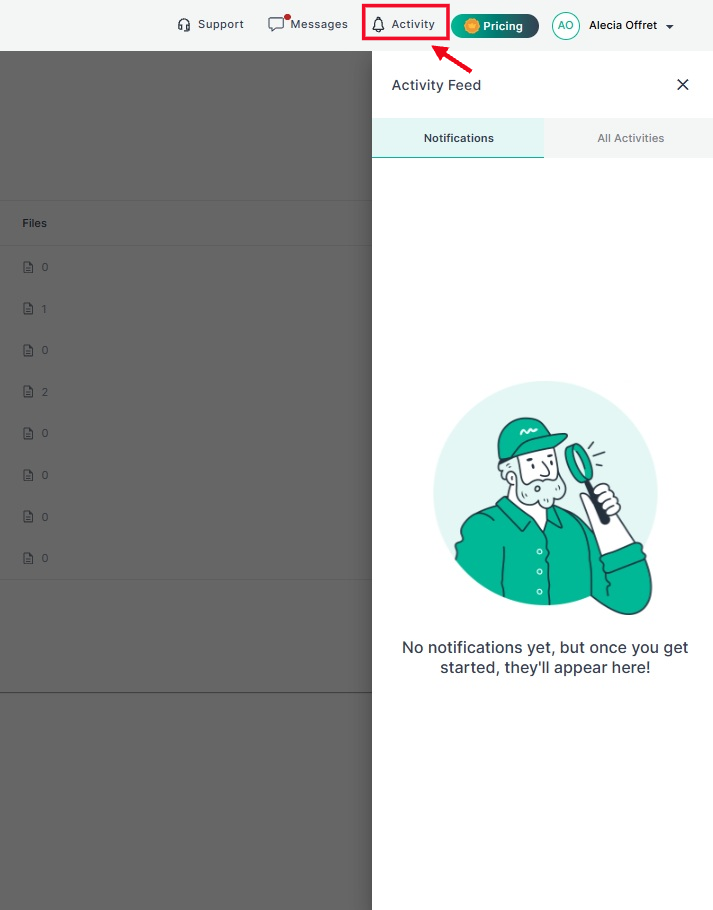
Step 4: Account Activity and Notifications
Click Activity in the top right corner to see notifications and all activity on your account.
Step 5: Access Messages
Click on the Messages tab at the top right corner to review project-specific, general or all message communications with your team or contacts for your personal user profile.
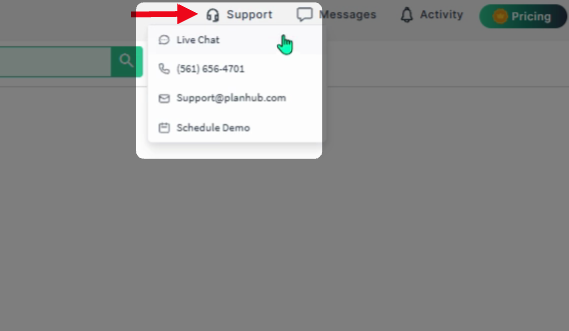
Step 6: Request Support
If you need help, click the Support option. Options include live chat, phone support, email, or scheduling a demo with the planHub team. View our Knowledge Base article: How to Contact PlanHub Customer Support
By becoming familiar with these sections on your subcontractor planHub account, you will be able to navigate your account more efficiently and stay organized throughout your bidding and project management process.