Prerequisites
-
Have a project posting in progress in PlanHub.
-
Know which information you need from subcontractors before they bid.
Step-by-Step Instructions
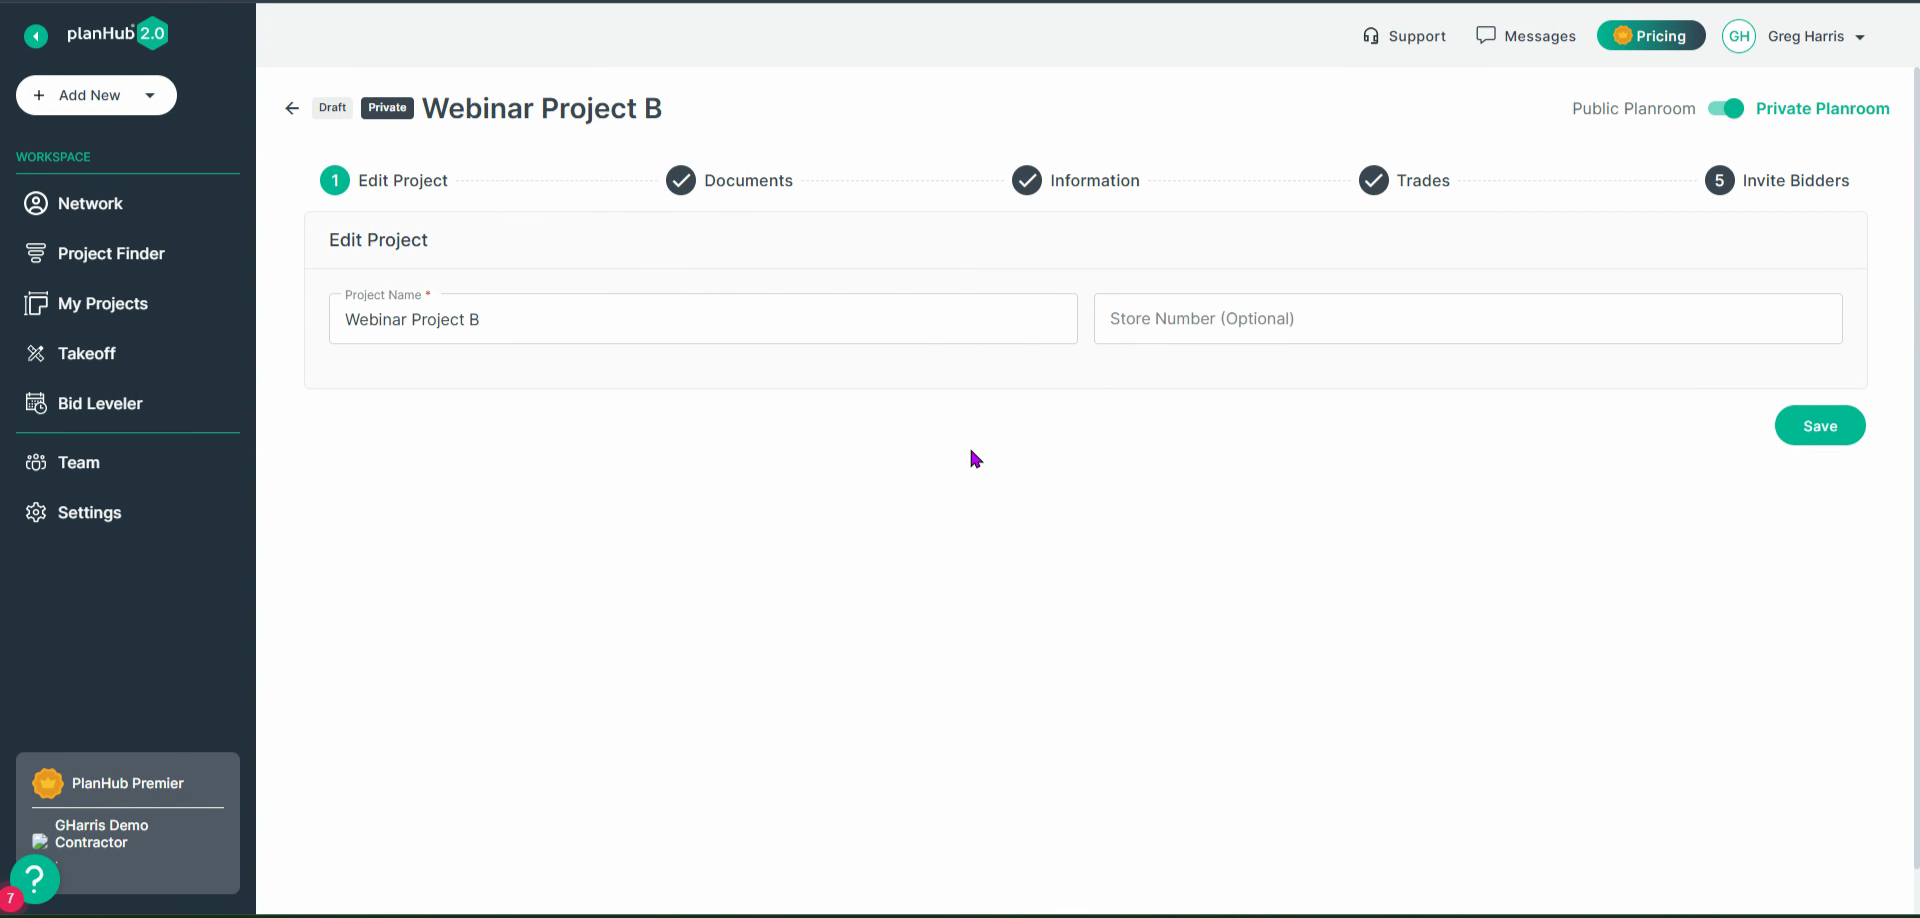
Step 1: Open the project you are posting.
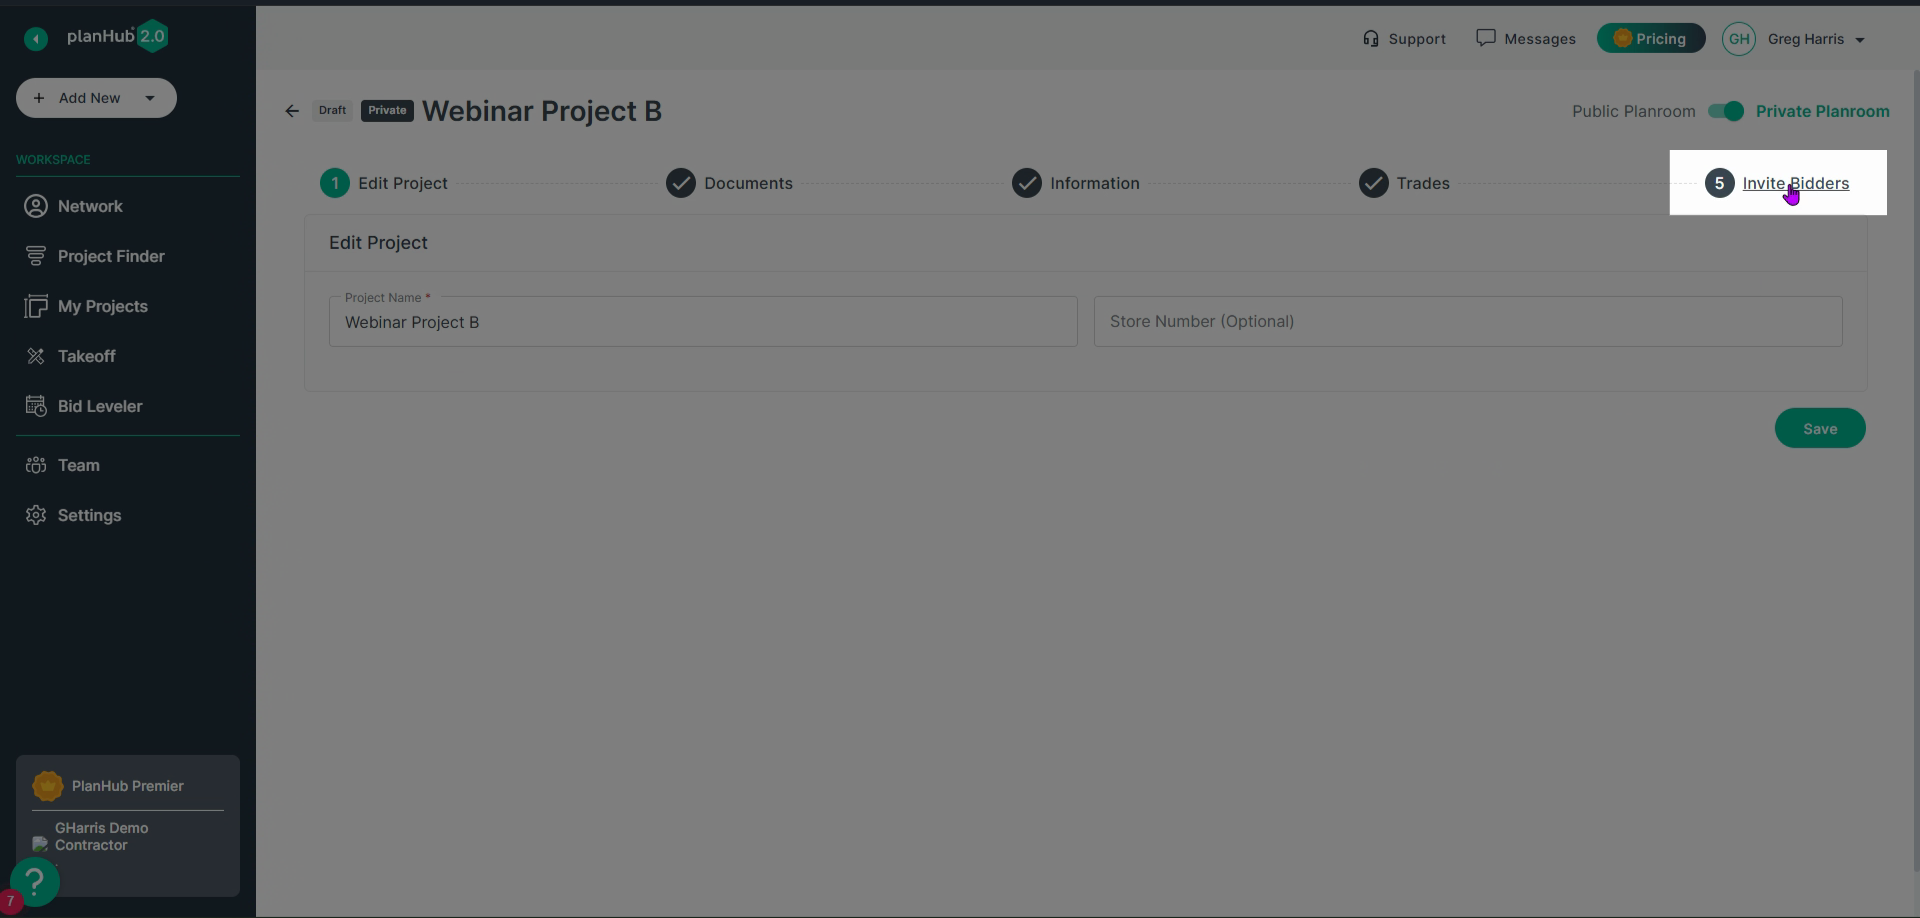
Step 2: Click Invite Bidders.
Step 3: Scroll to the bottom of the page and locate the Include Pre-Qualification Form switch.
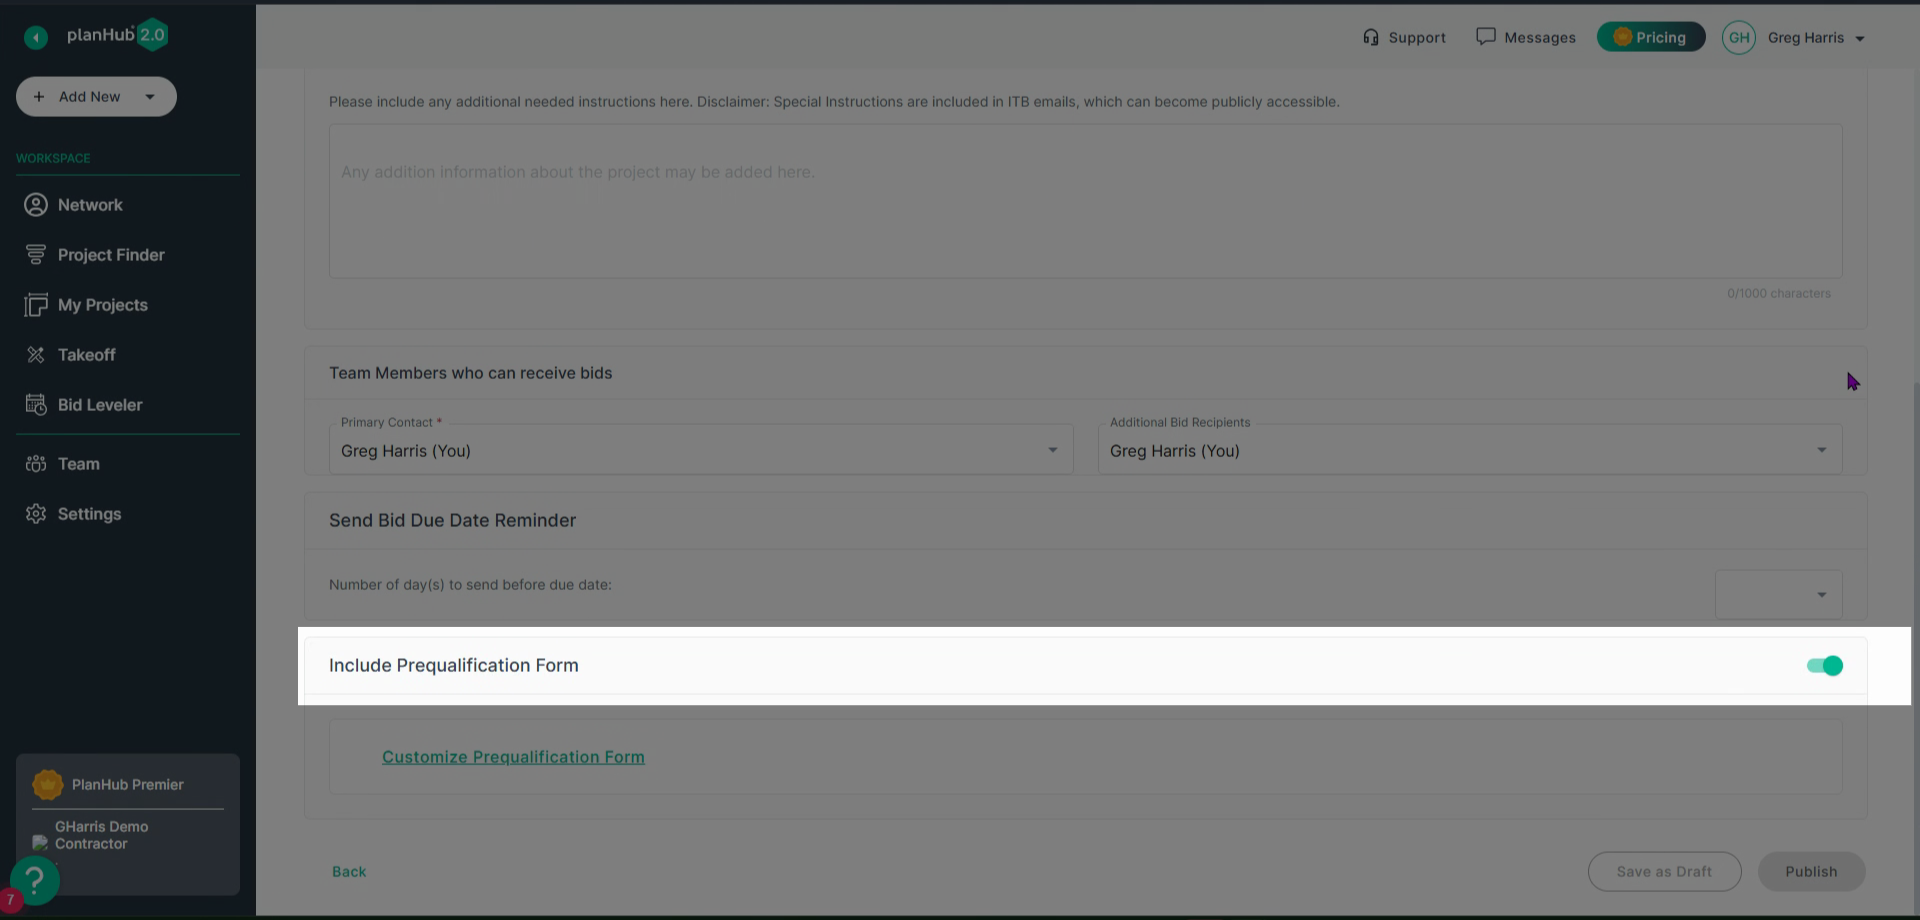
Step 4: If the switch isn’t green, click it to turn it on. This enables the pre-qualification form for your project.
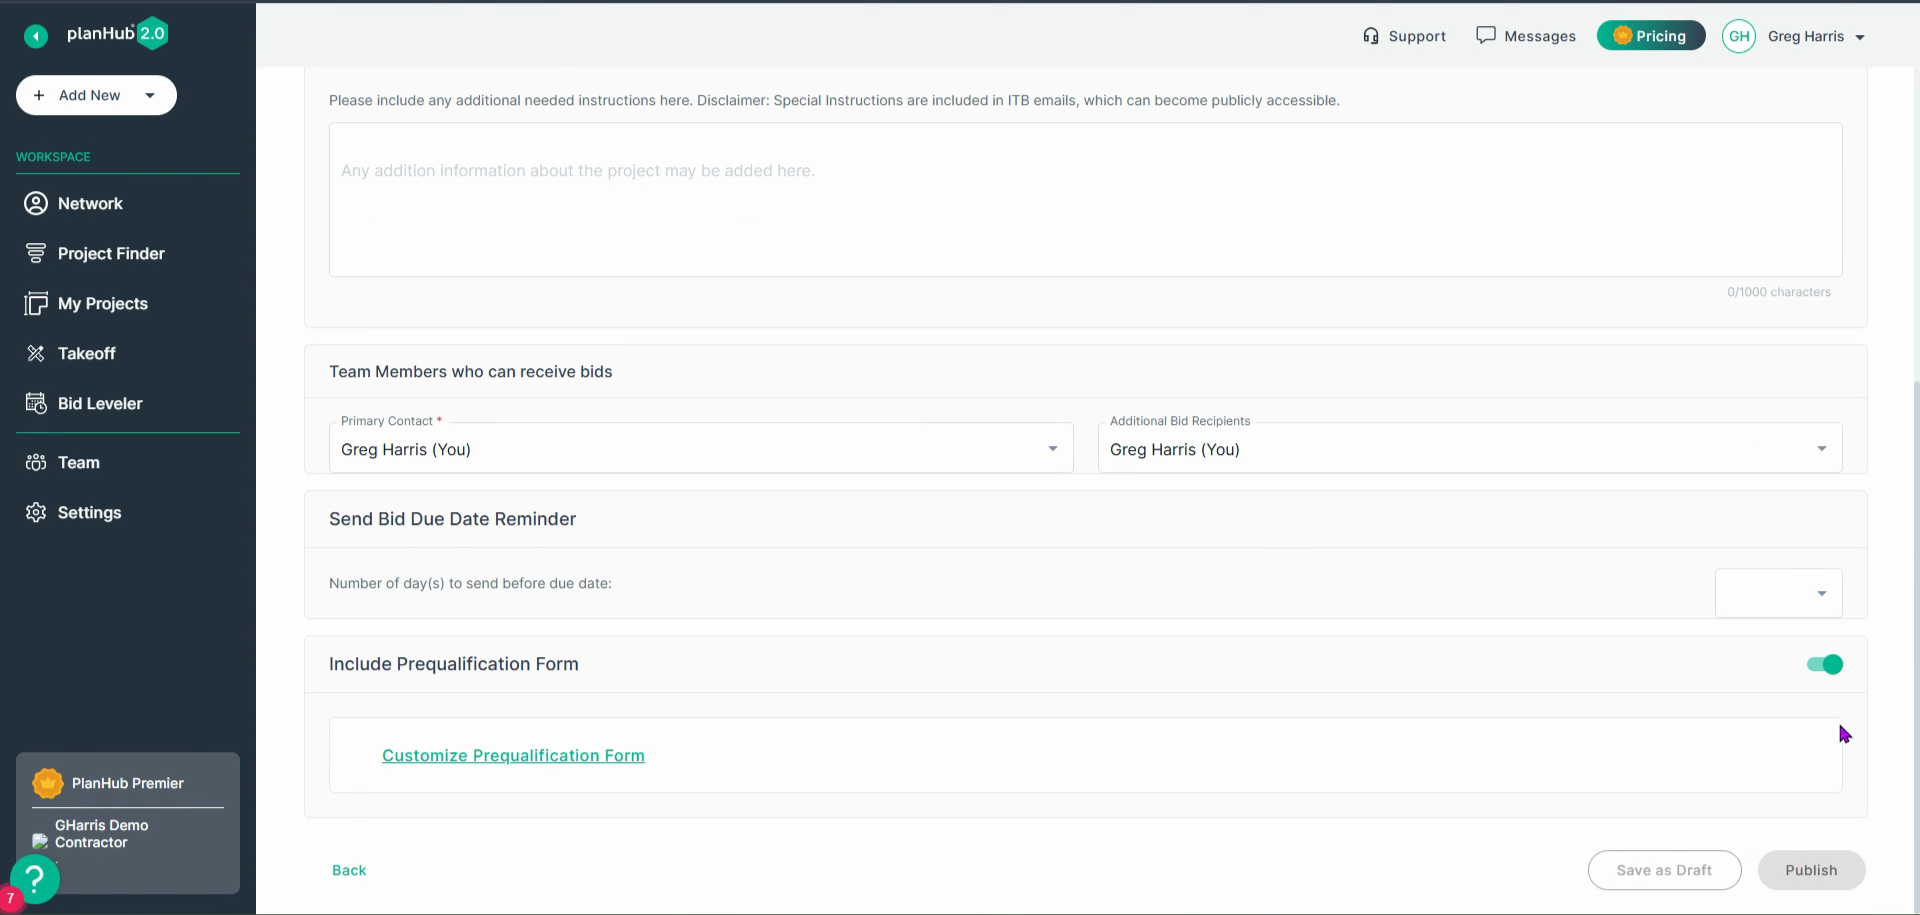
Step 5: Click Customize Prequalification Form to tailor the form to your needs. The customization panel appears on the right side of the page.

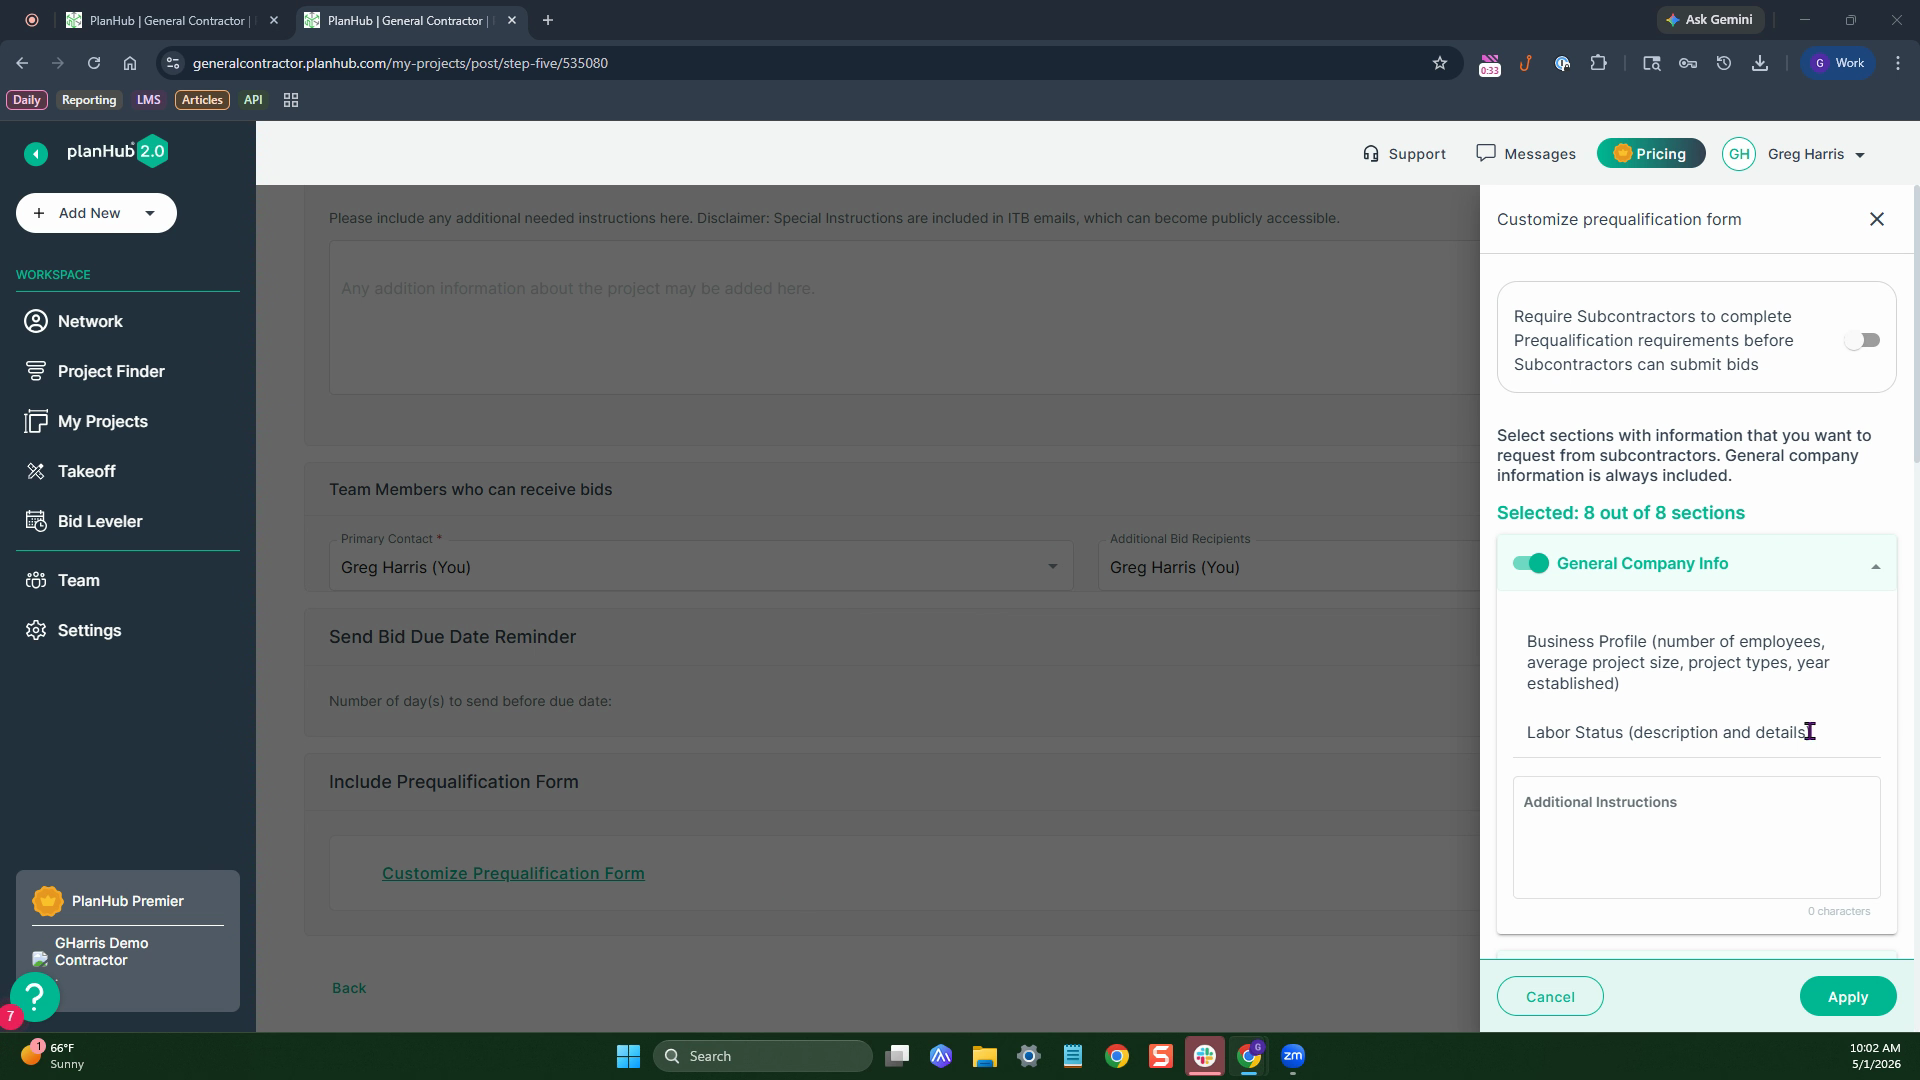
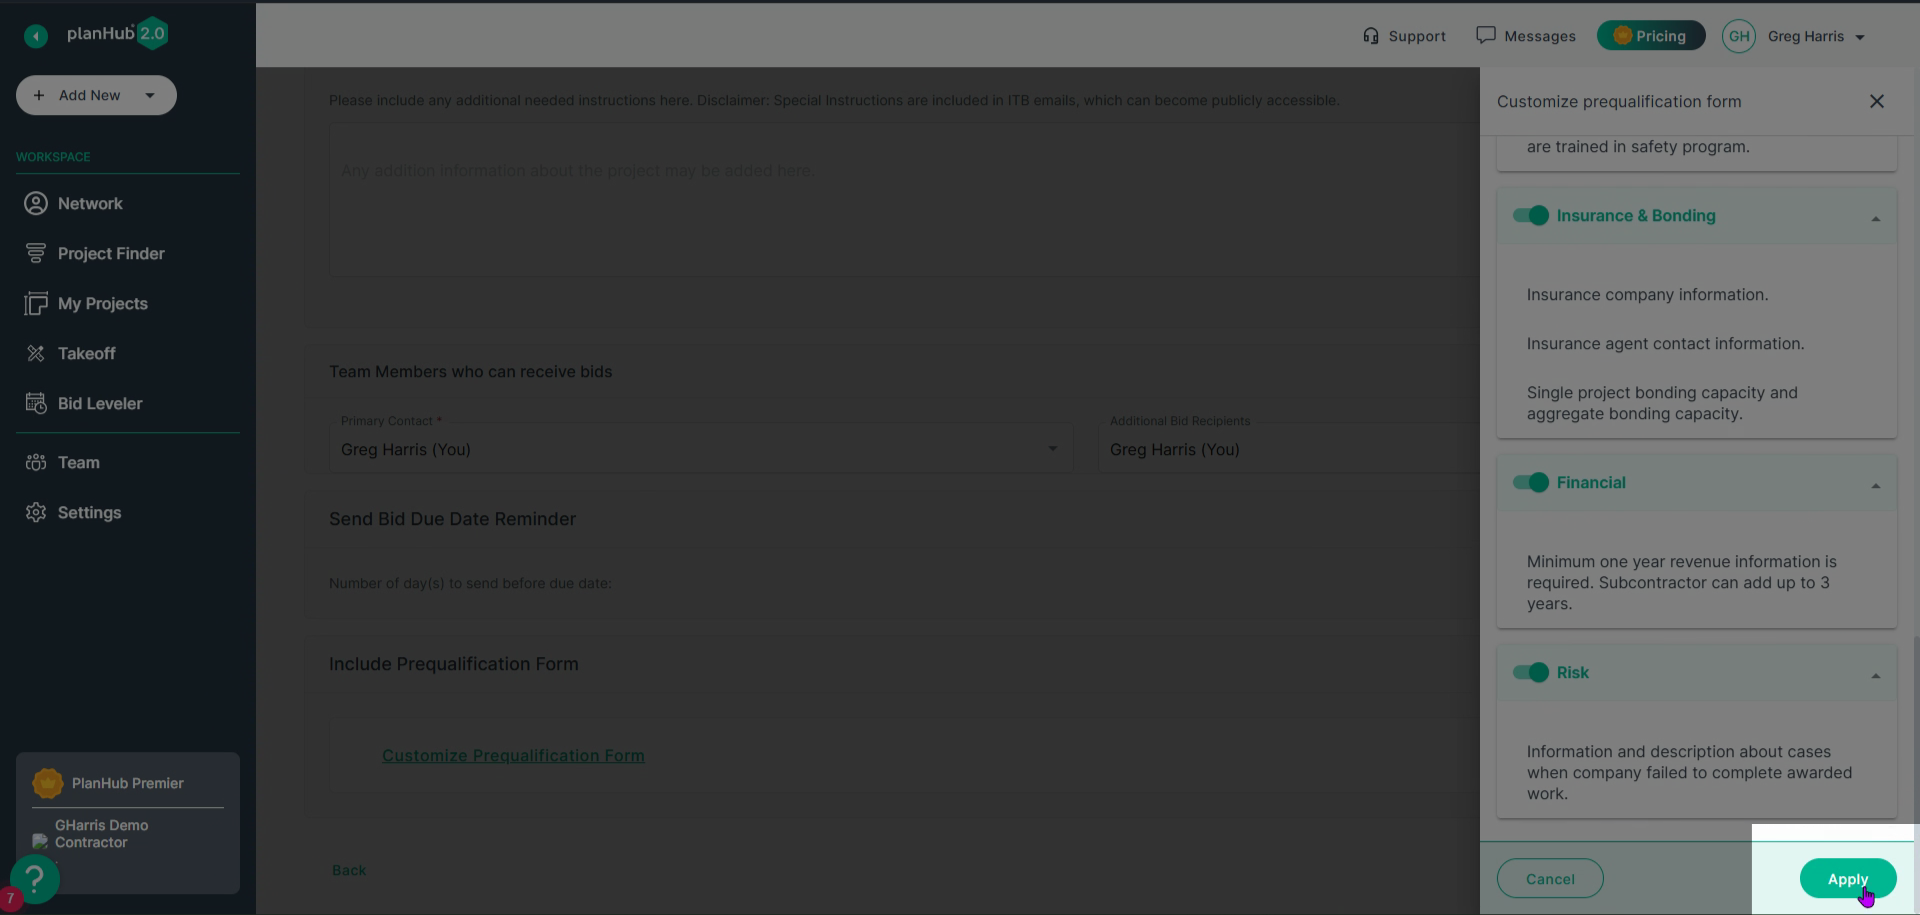
Customization Options
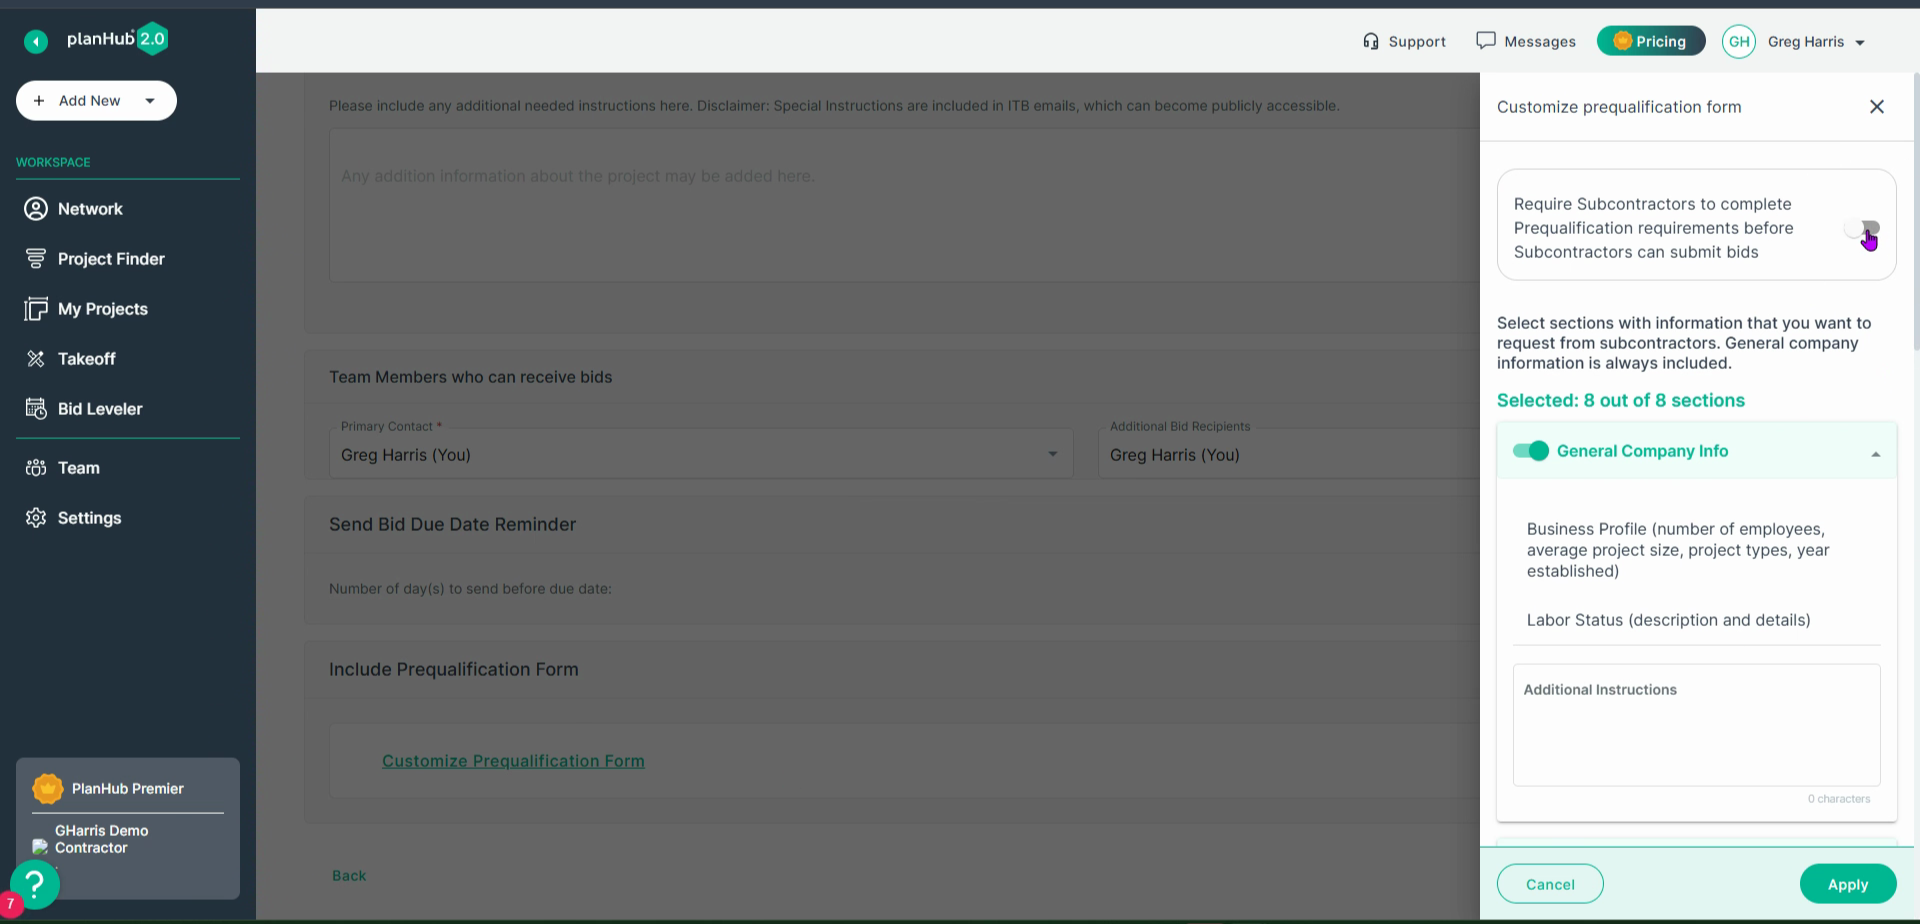
Step 1: To enable the option requiring subcontractors to submit a completed pre-qualification form before bidding flip the switch.
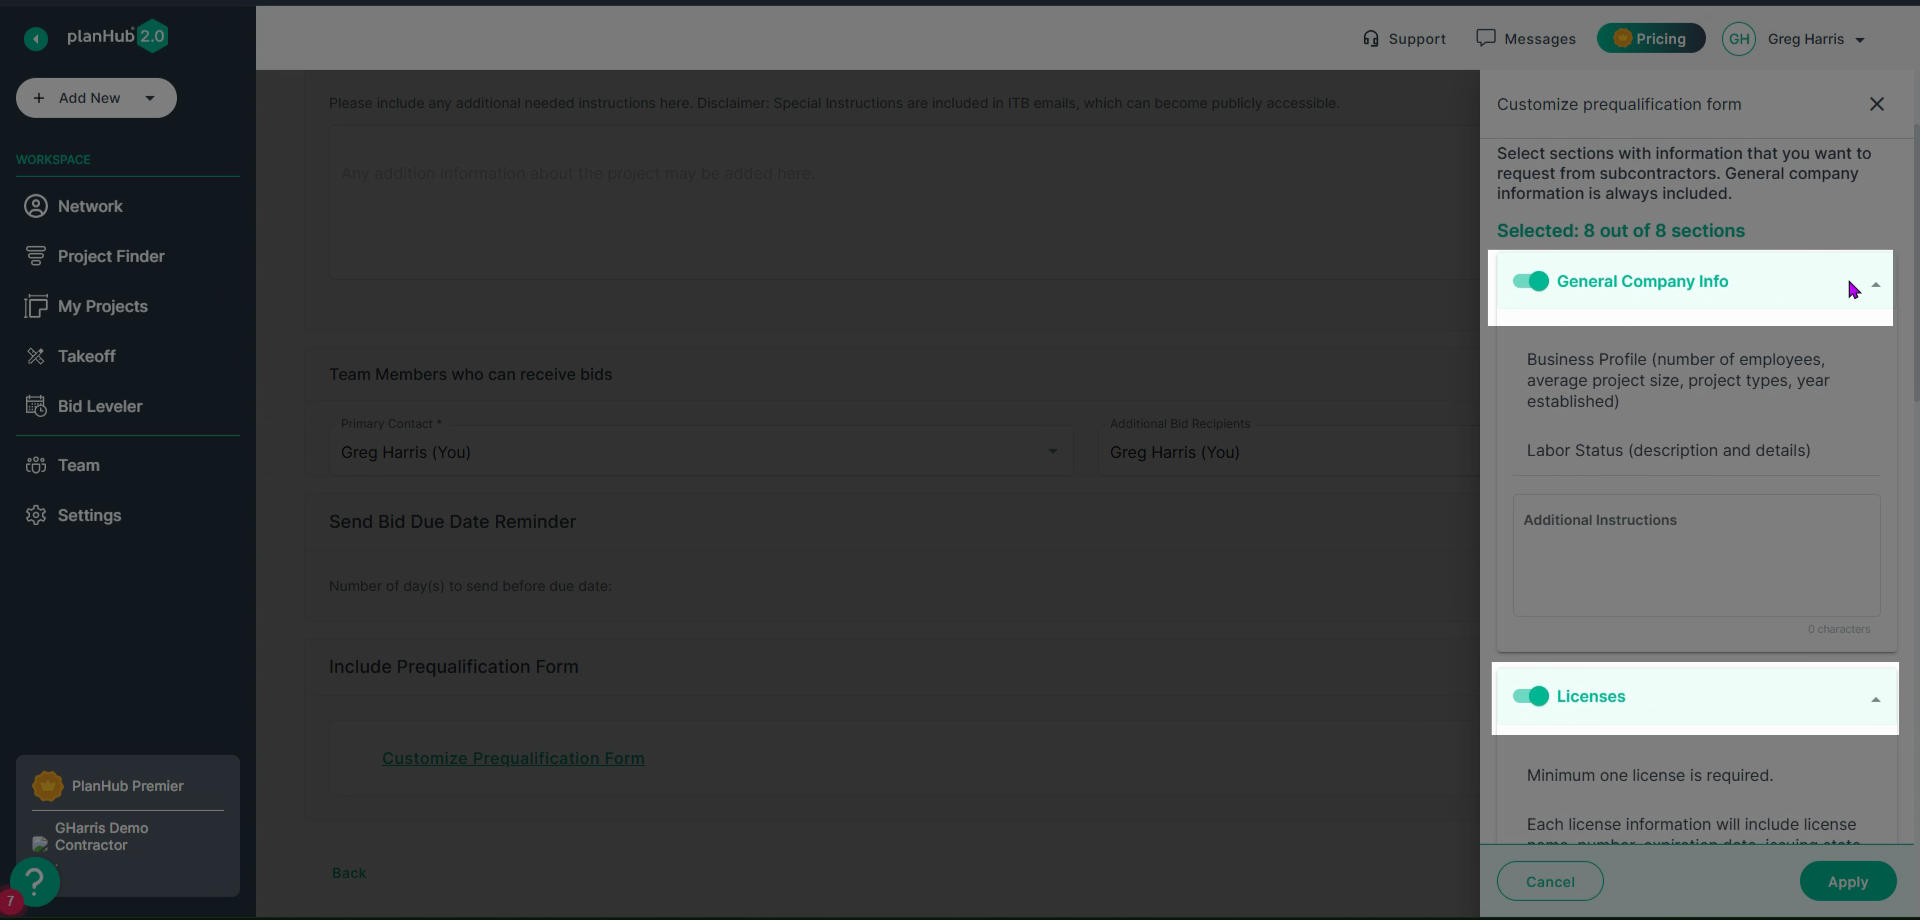
Step 2: Scroll through the list of available sections. Select or deselect any of the eight included sections to match your project’s needs.
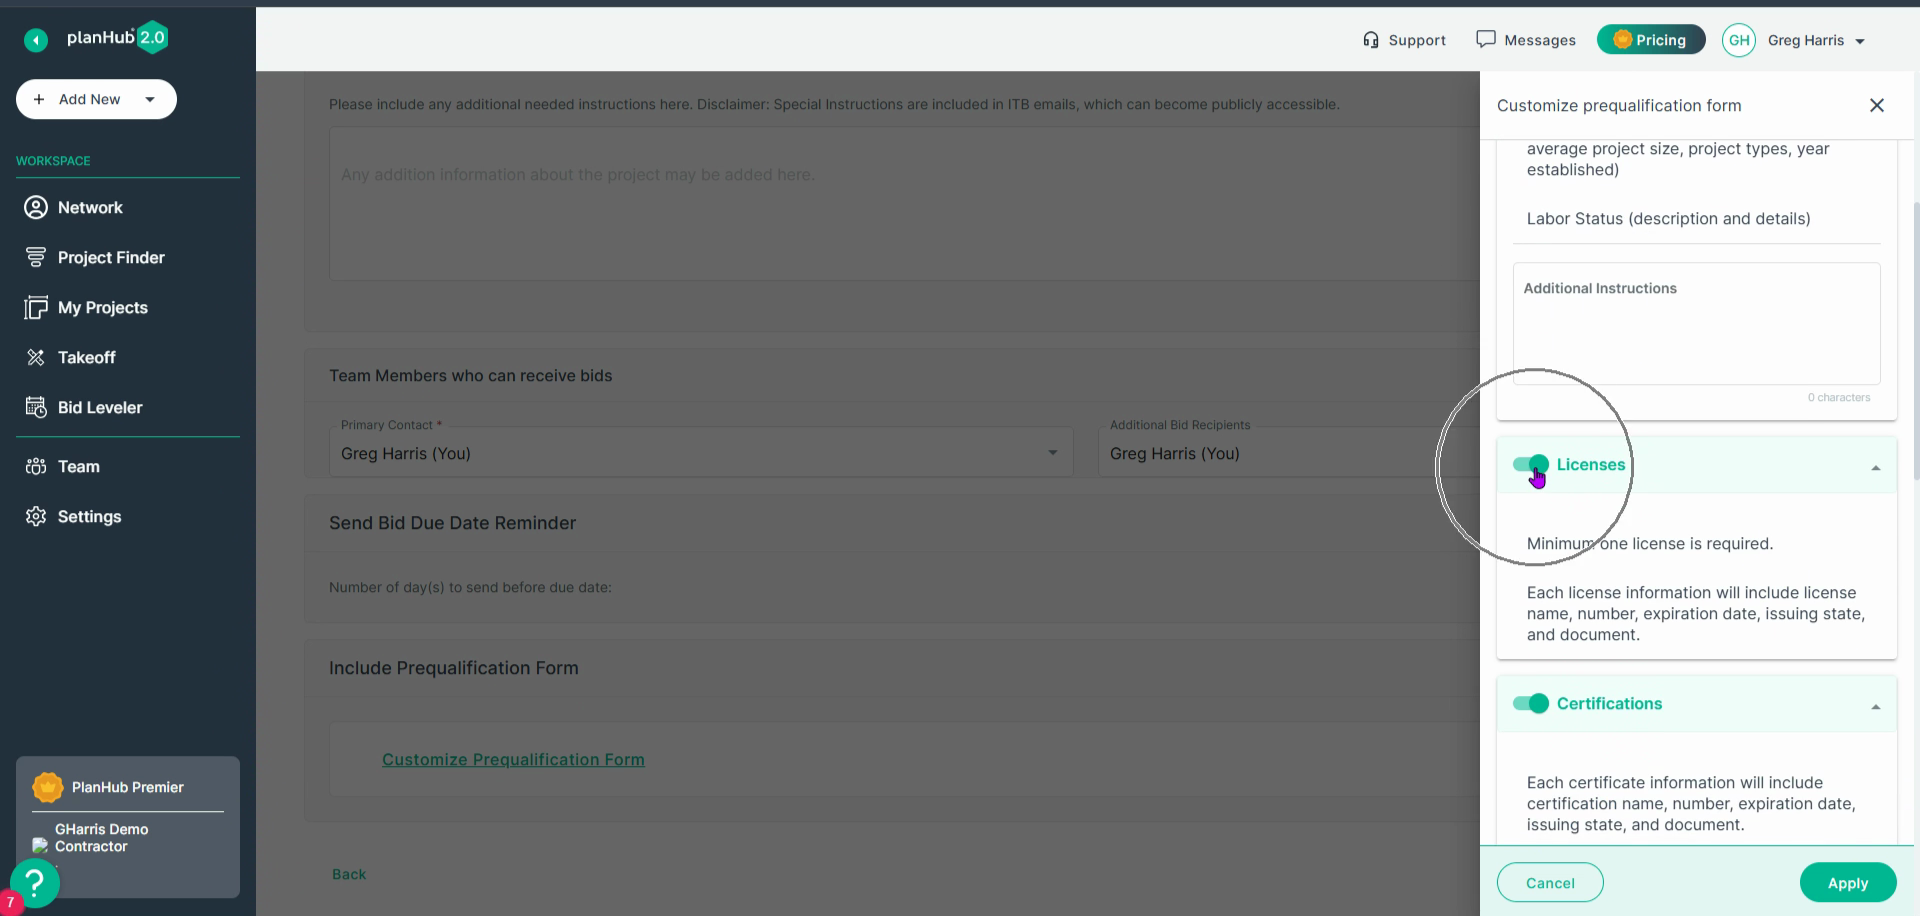
Step 3: Once you’ve made your selections, click Apply to save your customized form.
Step 4: Next select Publish if your post is complete, or click Save as Draft f there's still work to be done.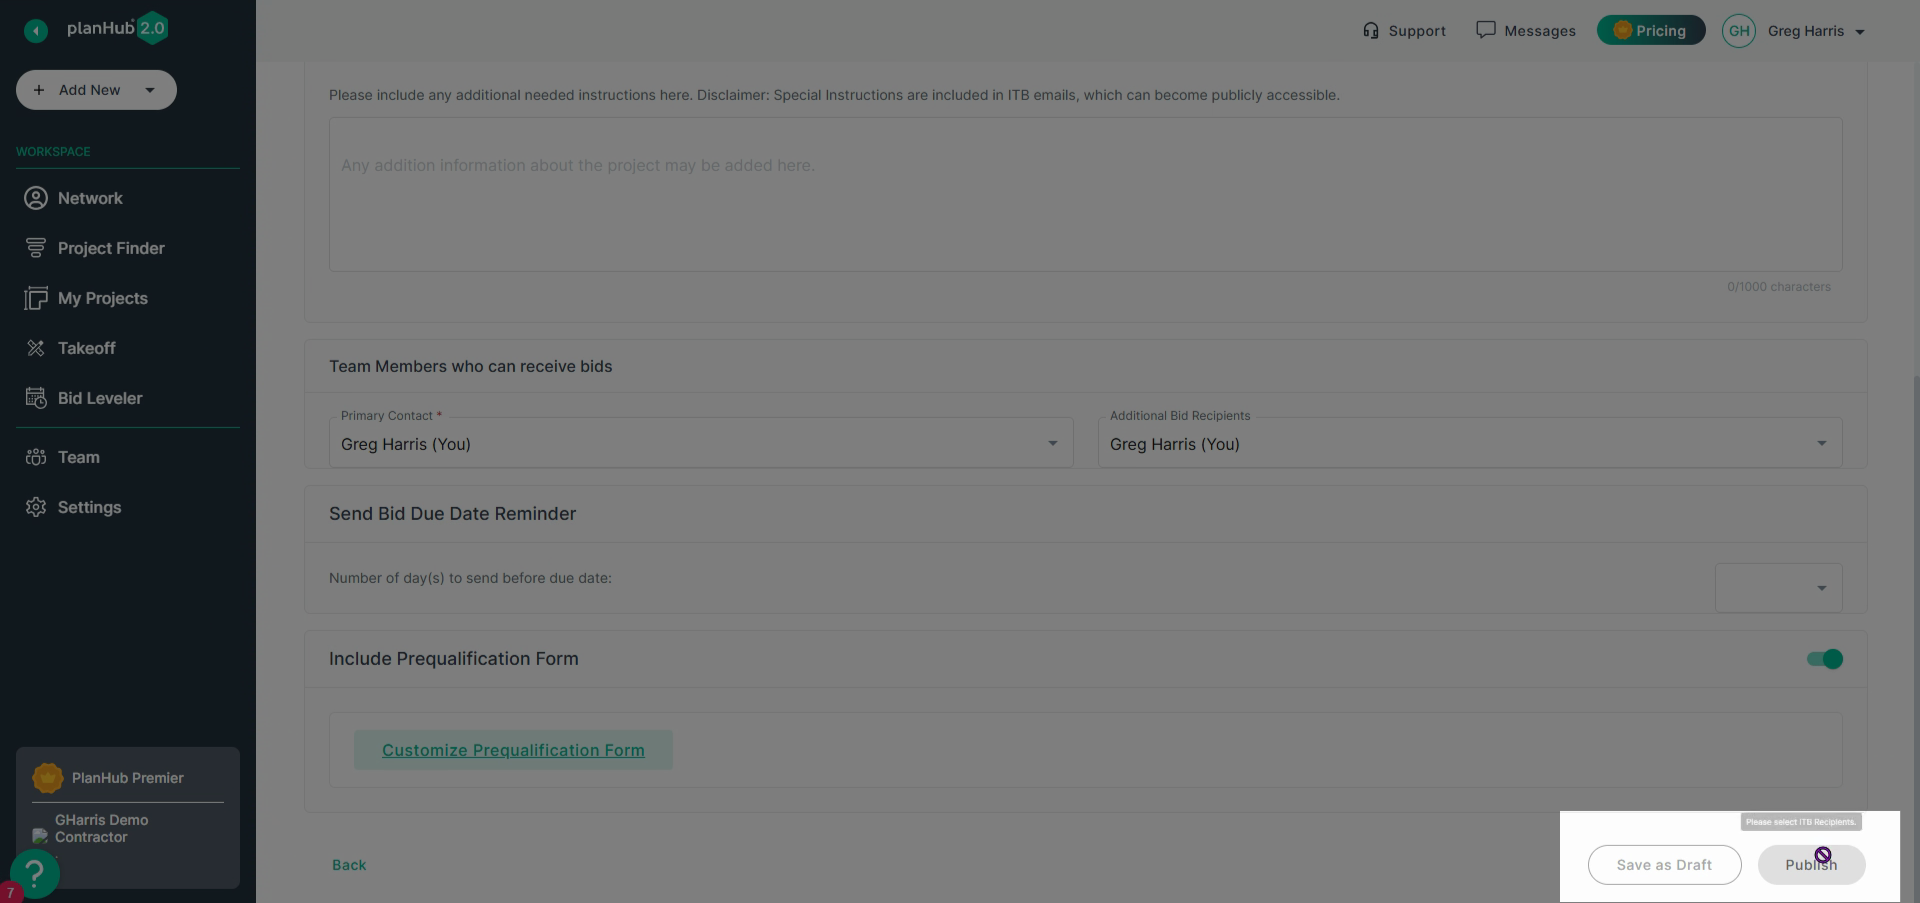
Conclusion
Custom pre-qualification forms give you control over which subs can bid while helping foster trust and clarity from the start. Require qualifications to ensure you’re partnering with reliable teams. Using these forms strengthens your working relationships and improves project outcomes.