![NEW_PlanHub_Logo_Navy.png]](https://knowledgebase.planhub.com/hs-fs/hubfs/Design/PH%20Logos/NEW%202024%20PH%20Logos/NEW_PlanHub_Logo_Navy.png?height=40&name=NEW_PlanHub_Logo_Navy.png)
Step 1: Set Up Your Company Profile
Select Settings then, select Company Profile.
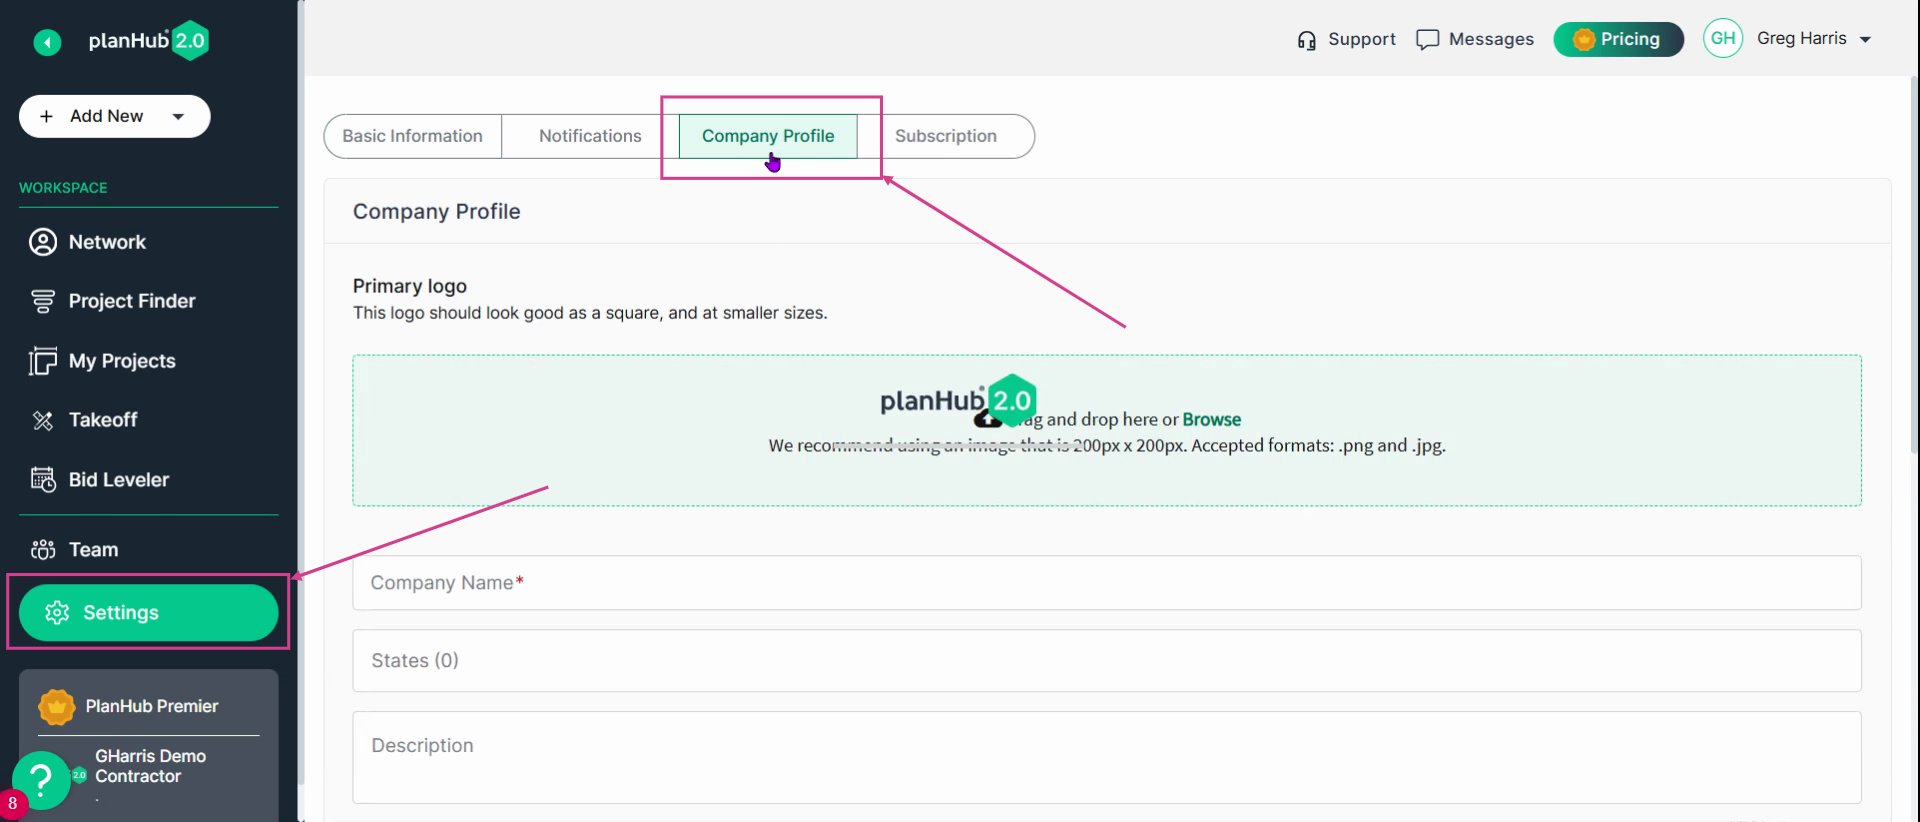
Complete your company information, upload your logo, and share the types of projects you build and the locations you serve. A complete profile builds trust and helps attract more subcontractors and suppliers to your projects.
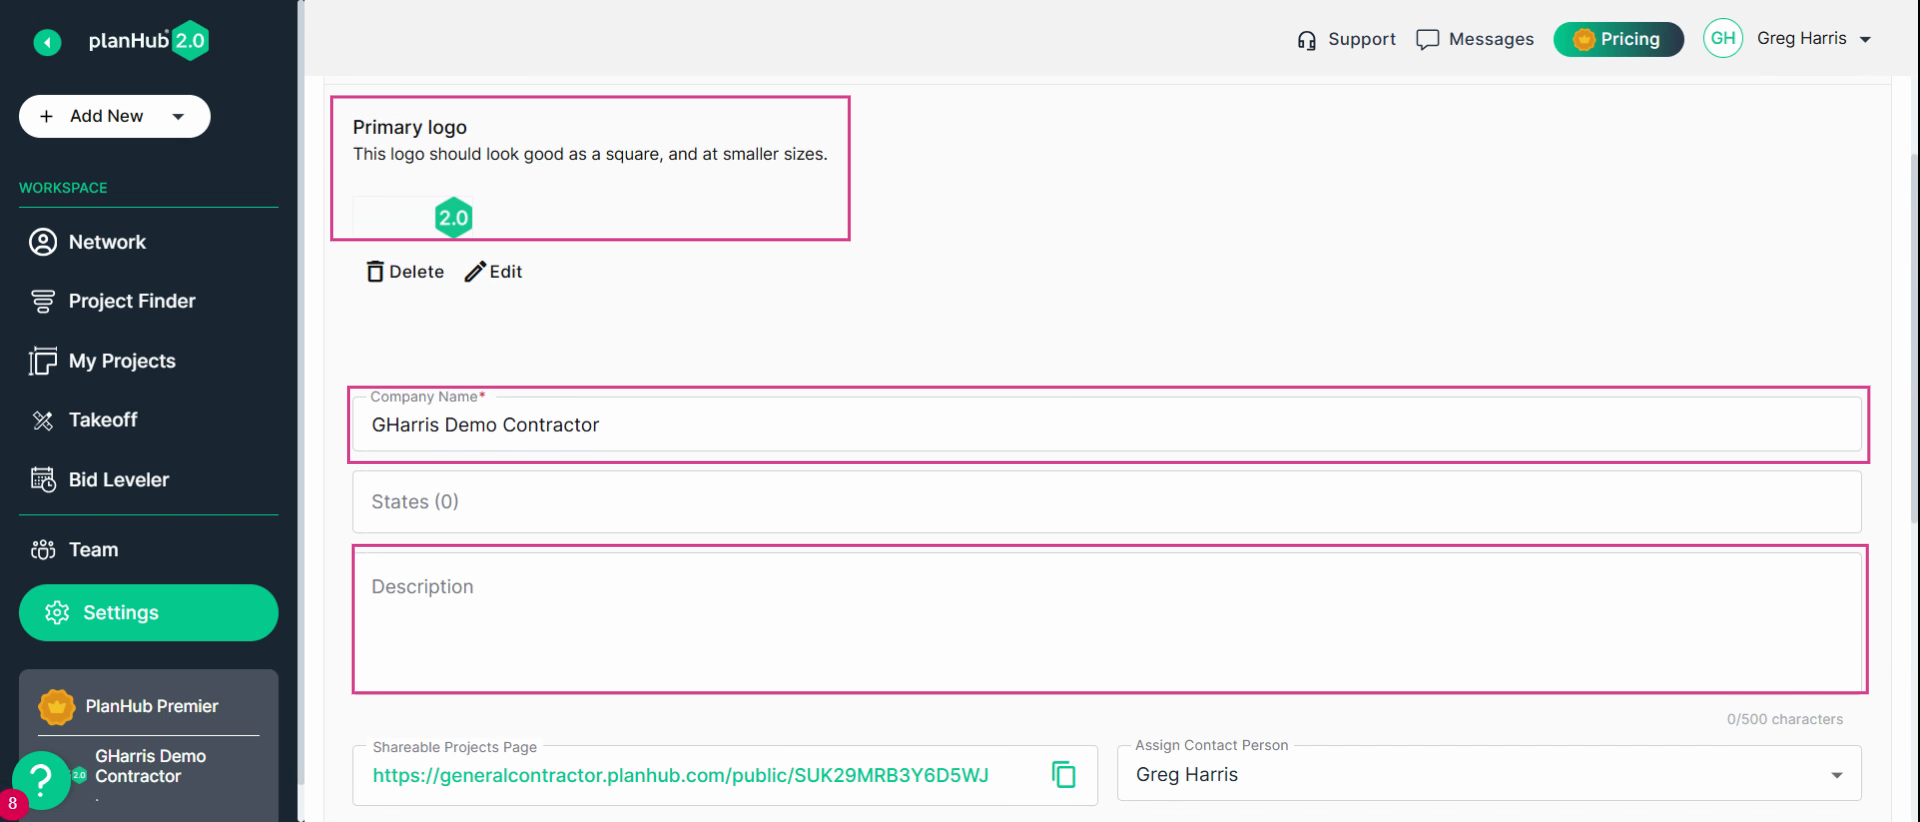
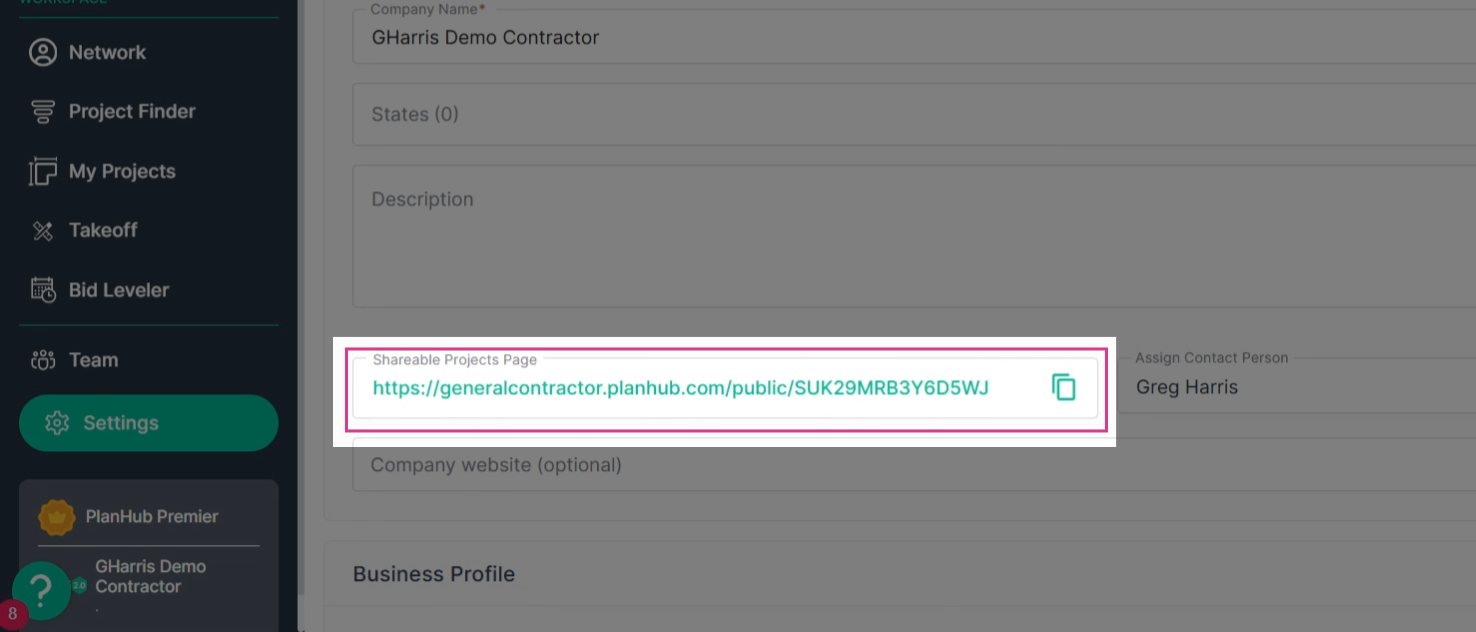
You’ll also get a free, shareable Projects page link to add to your website or to send out by email.
Step 2: Import and Invite Your Subcontractors
Go to the Network tab. Here, invite your preferred subcontractors so they can access your projects and plan files.
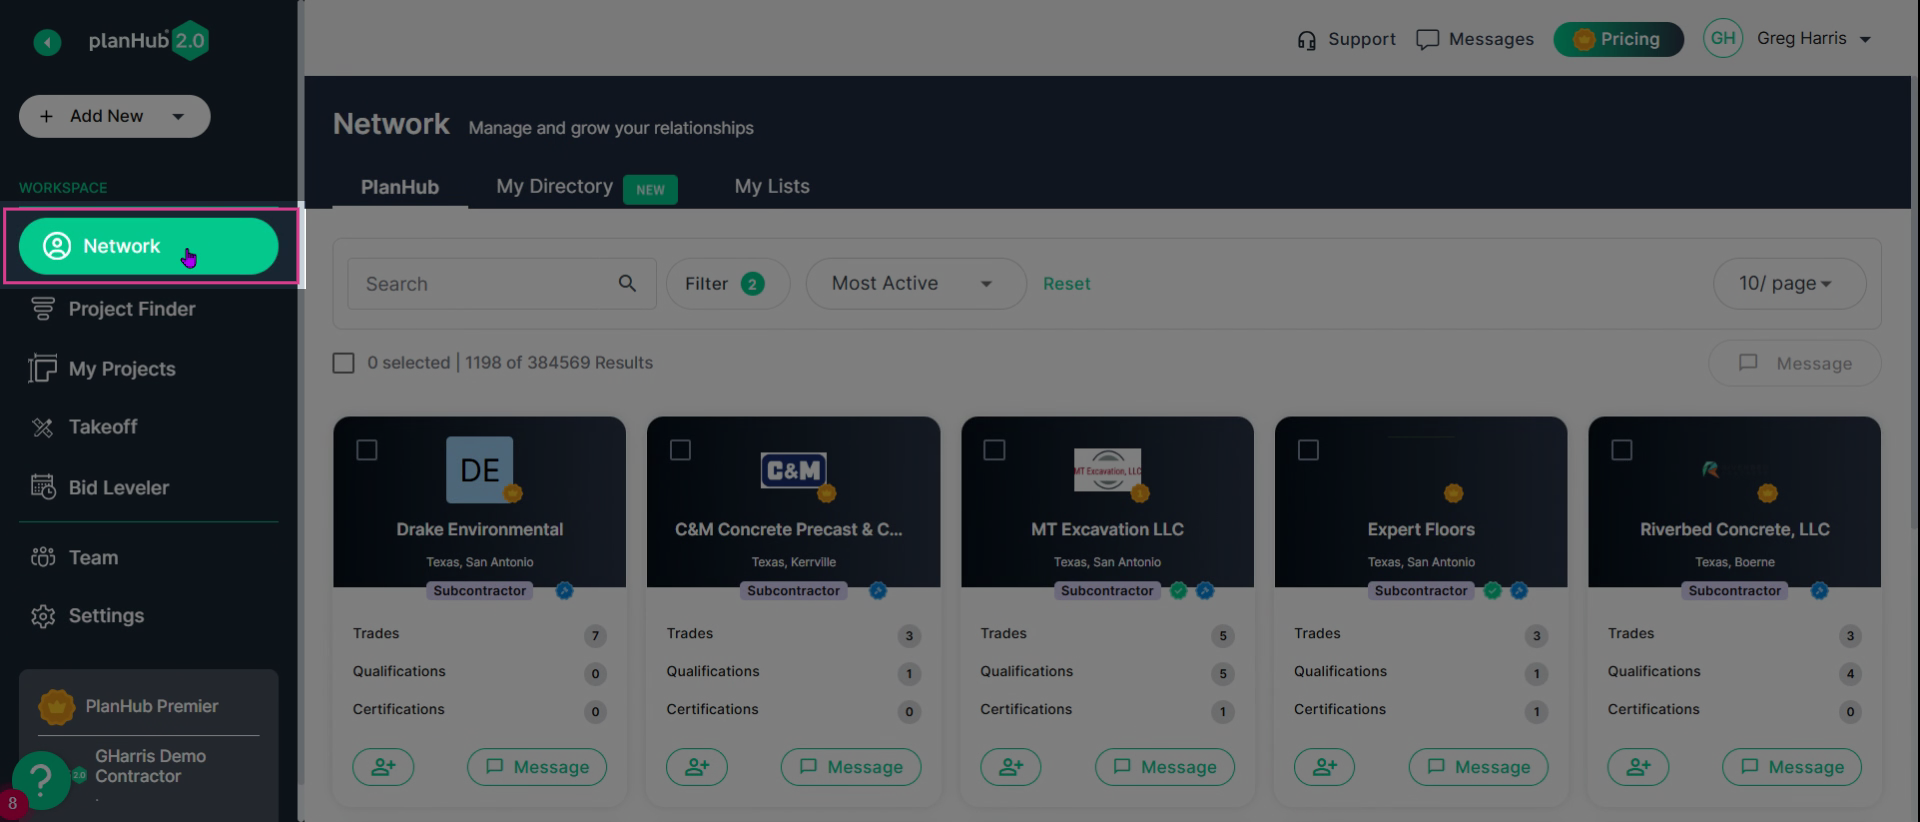
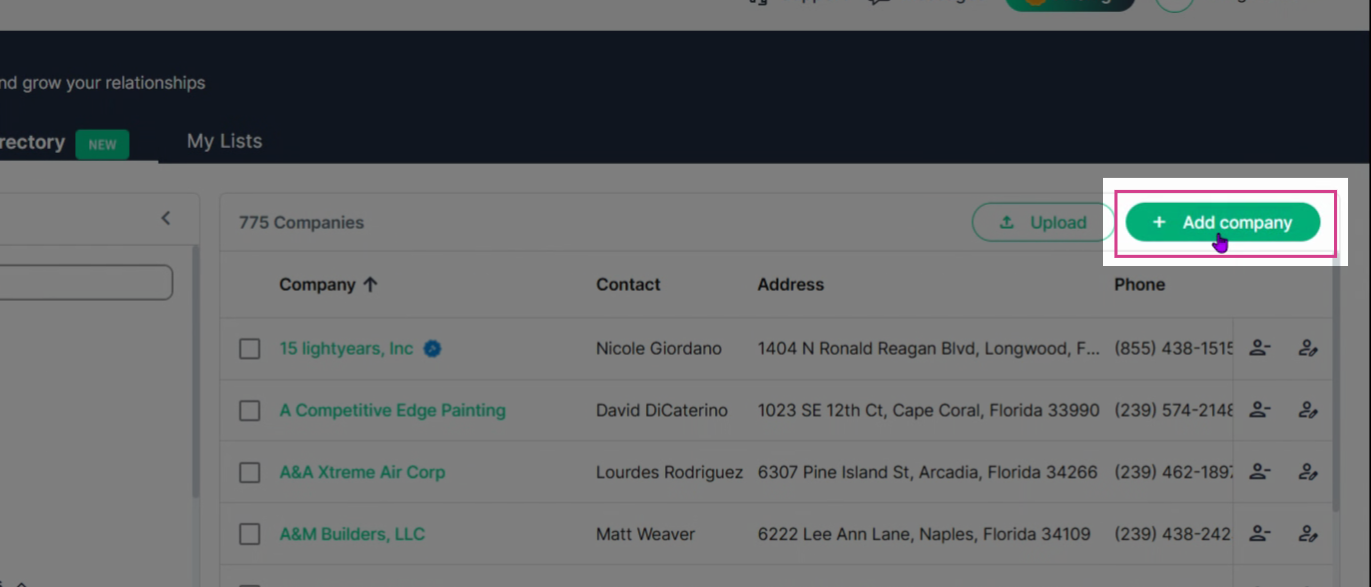
Add your trusted subcontractors and suppliers to build your network and receive bids from the teams you know best. Add companies one at a time from the My Directory tab using Add Company. To learn more about uploading your contacts, view the Knowledge Base article: General Contractor | How To Add, Upload & Remove Subcontractors and Suppliers in your My Directory page
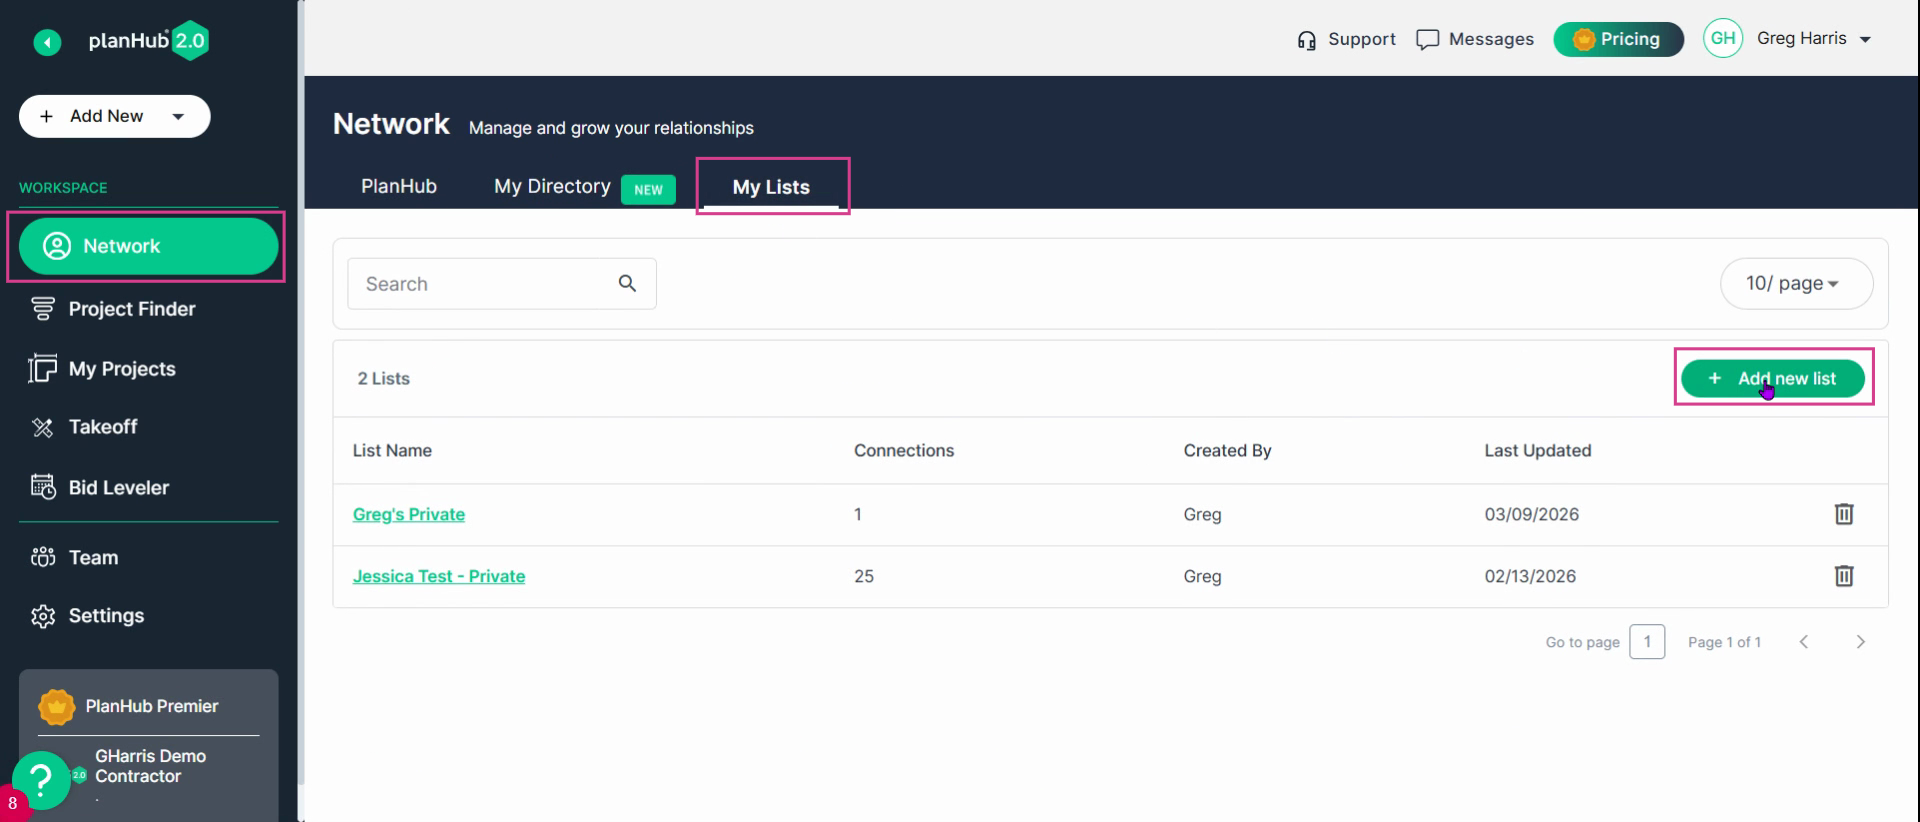
Or, upload your subcontractor list in bulk under My List.
Step 1: Post a Project
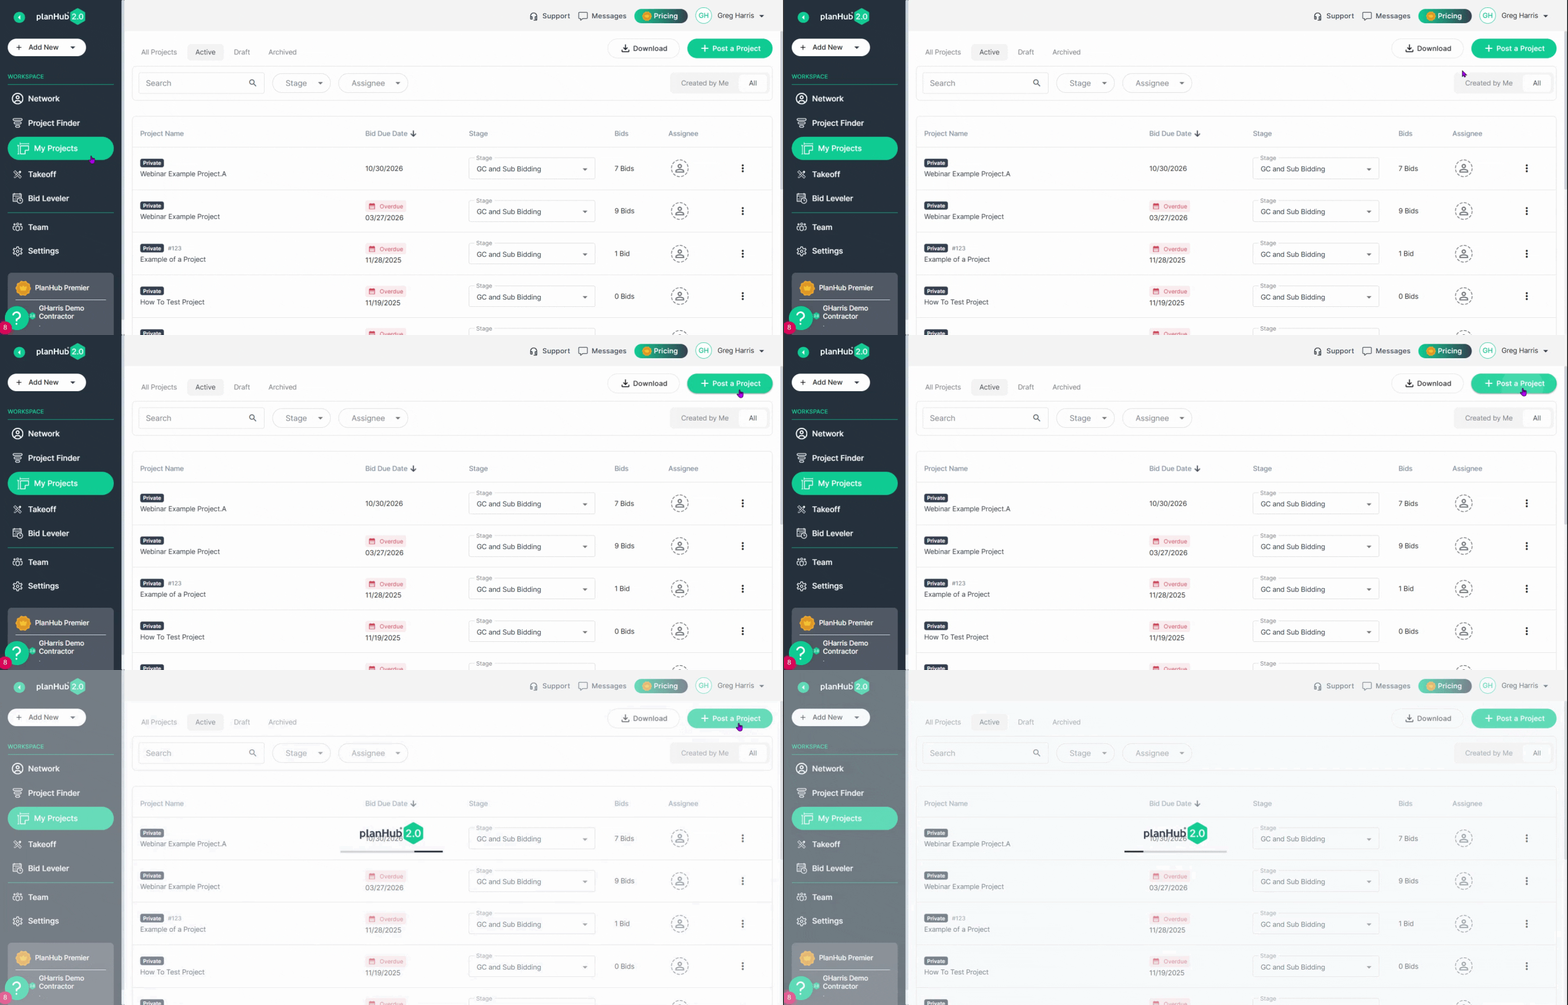
Go to your My Projects tab. Click Post a Project in the upper right corner.
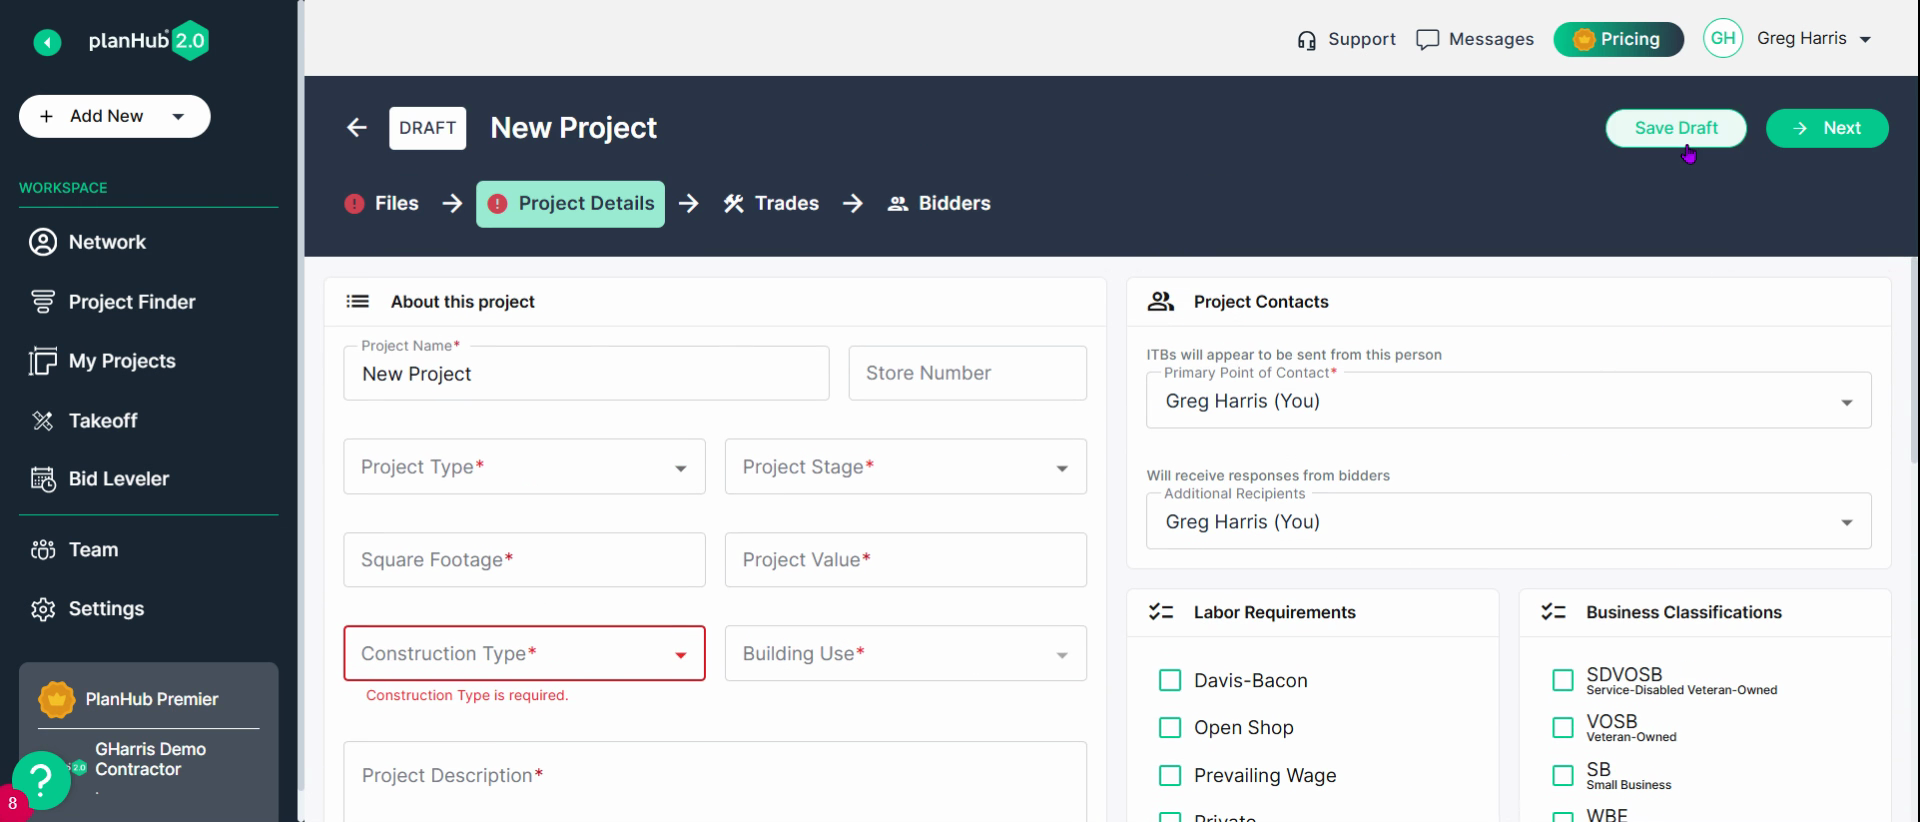
When posting a project, be sure to address required fields, every required field has a red asterisk.
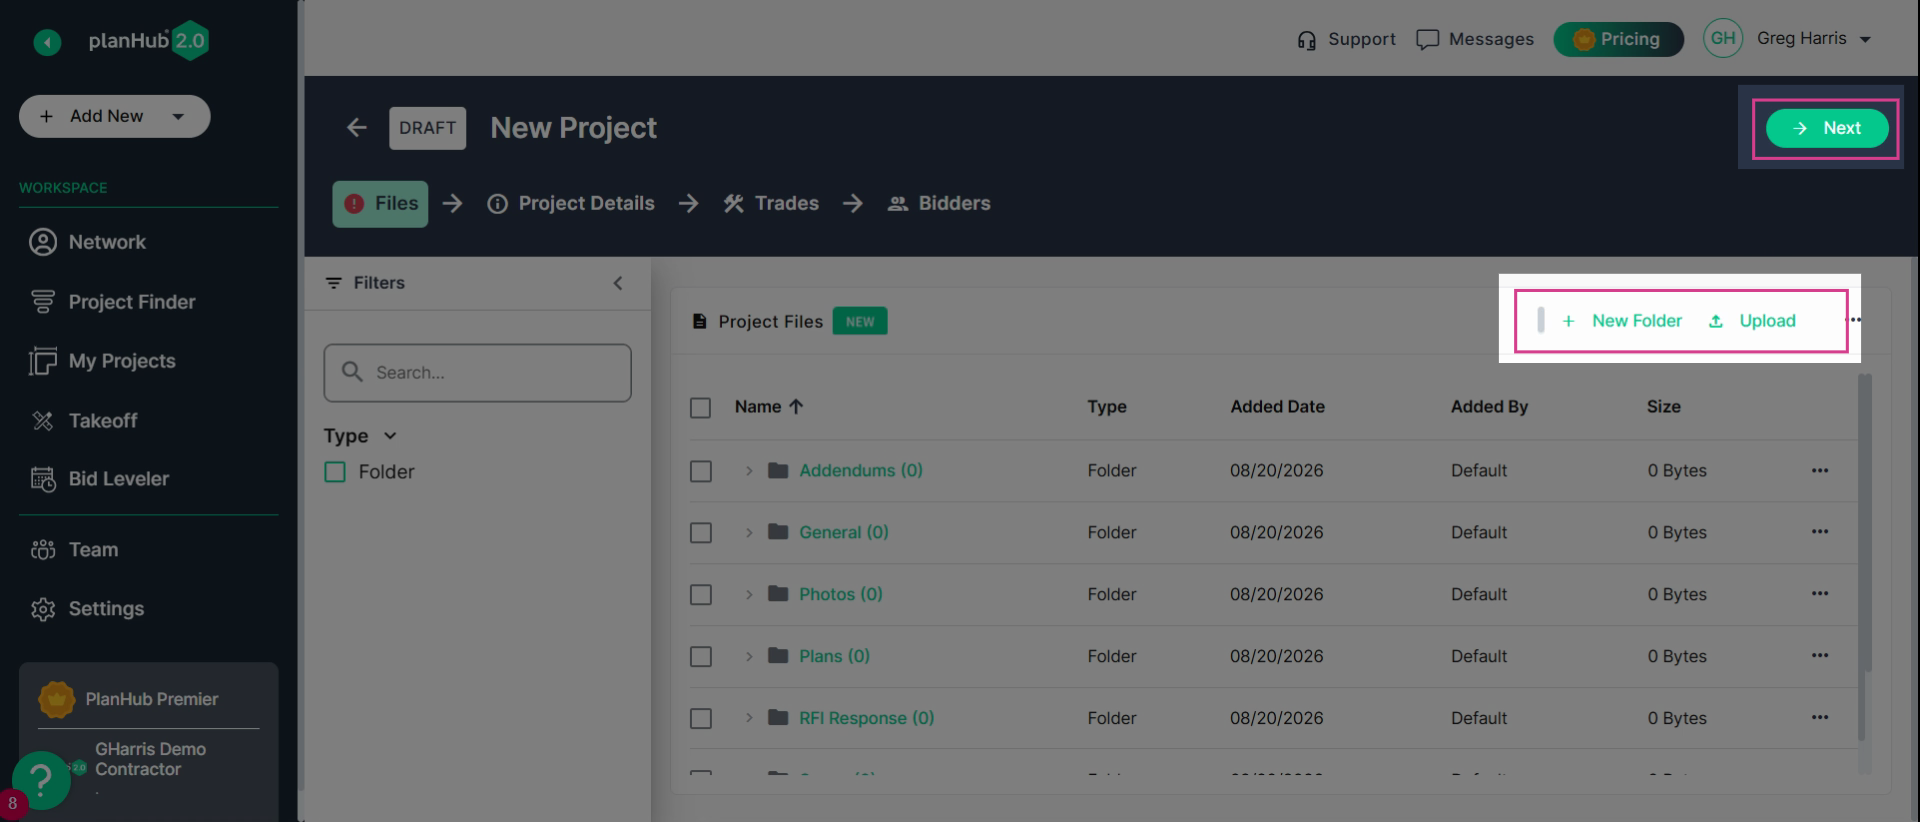
Start by uploading all your project files—drawings, specs, and any documents subcontractors and suppliers will need. Categorize each one for clarity. Click Next when you're ready for Step 2.
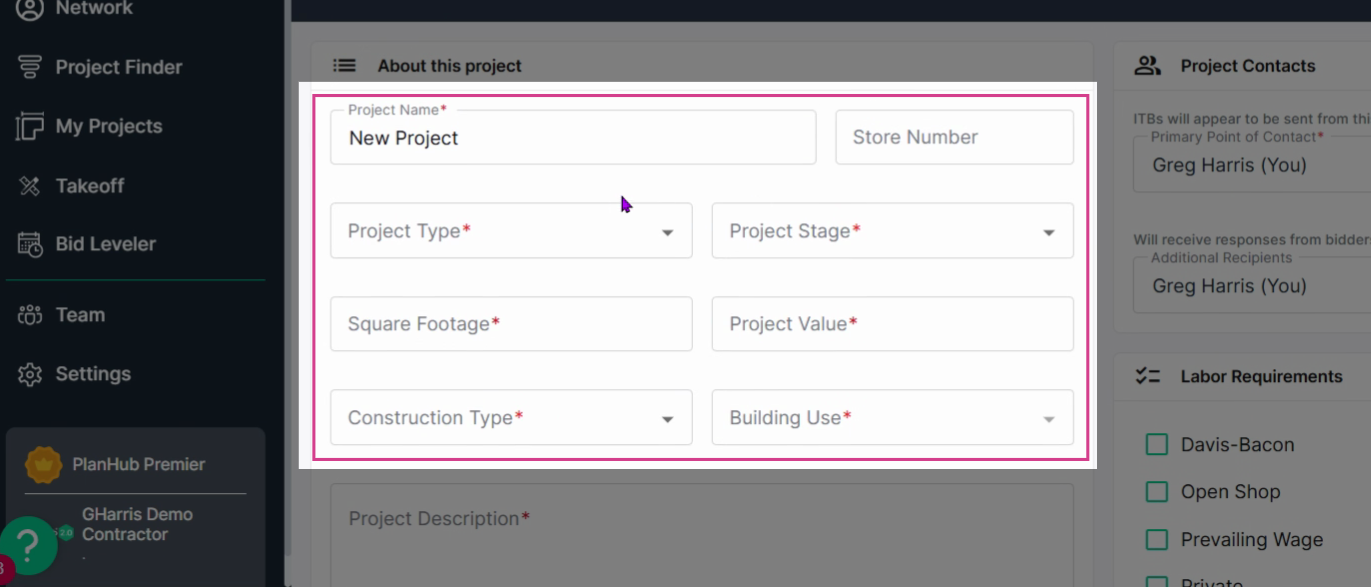
Fill in the Project Details section. Add a descriptive project name, type, value, square footage, construction type, intended use, and any options that apply.
Start with the project name, stage, size, value, construction type and building use. If a field has checkboxes, select all that apply.
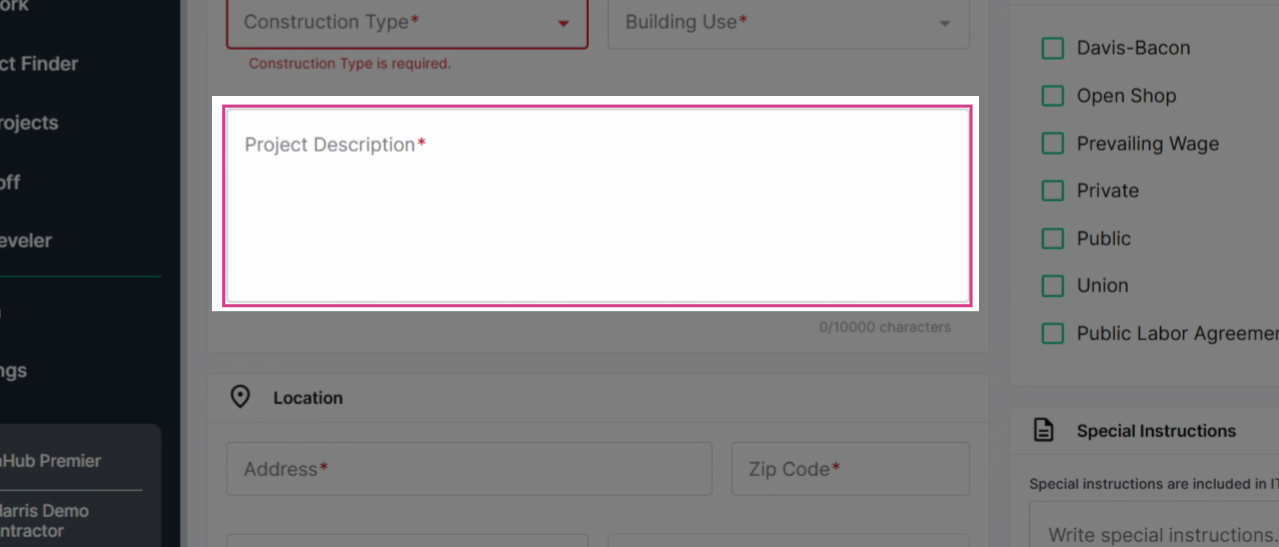
Project Description is a great place for Scope of Work. Add a detailed project description—this highly visible to subcontractors when they view your post.
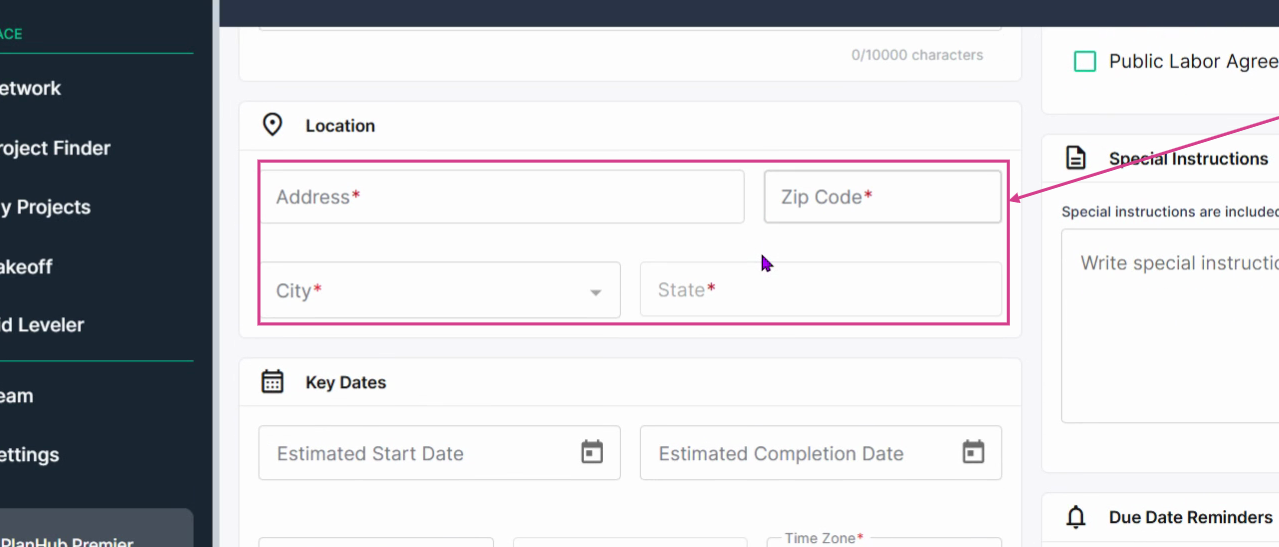
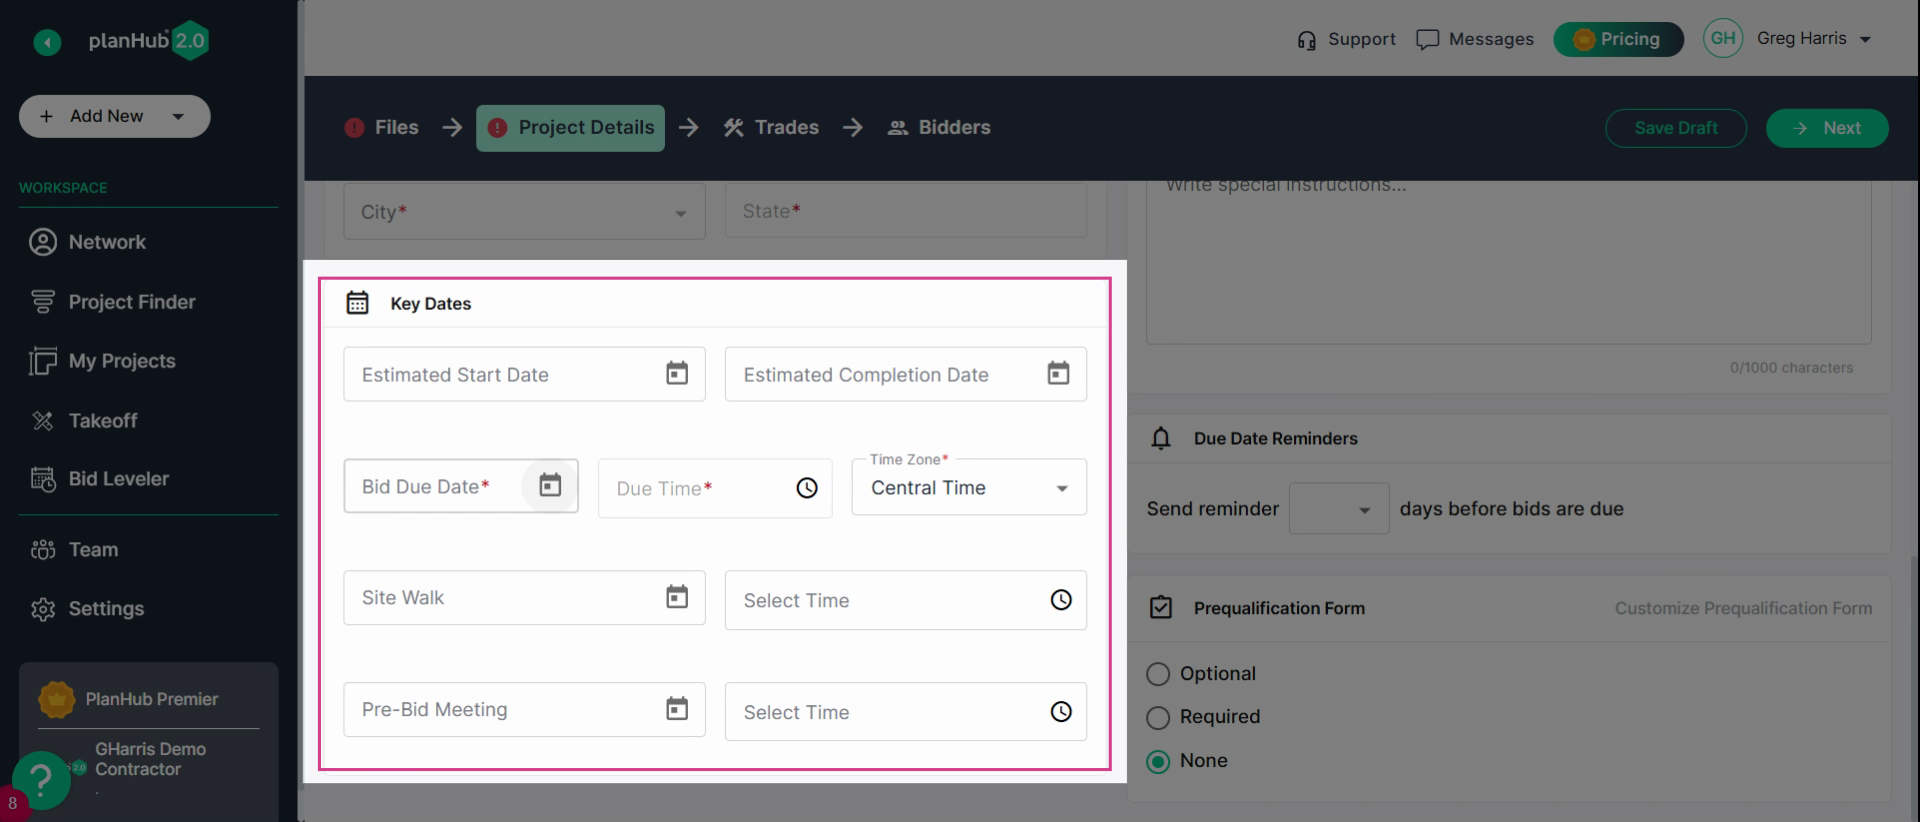
Type in the project location and enter key milestones like start/end dates, bid due dates, and any meetings or site walks.
Assign your main point(s) of contact.
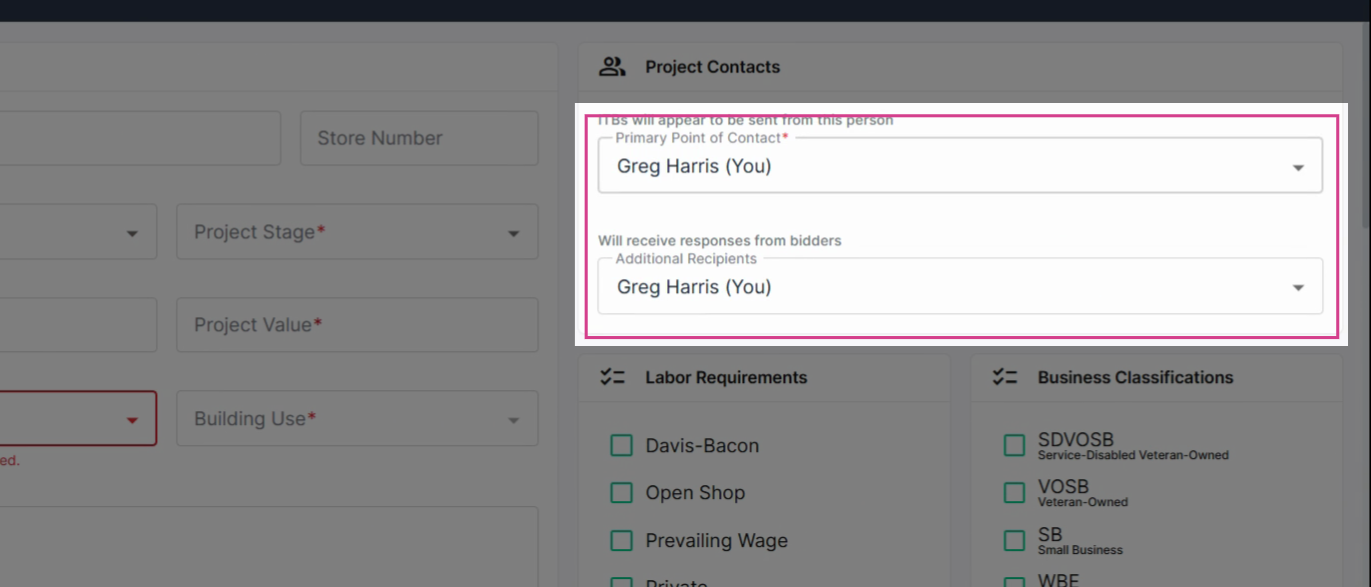
Select any required labor preferences or business classifications. Add any special notes for bidders, like after-hours access or security requirements.
At the bottom, set your expectations for a Prequalification Form—it can be optional or required as you choose. Edit the form to request the info you need and toggle off any unnecessary options.
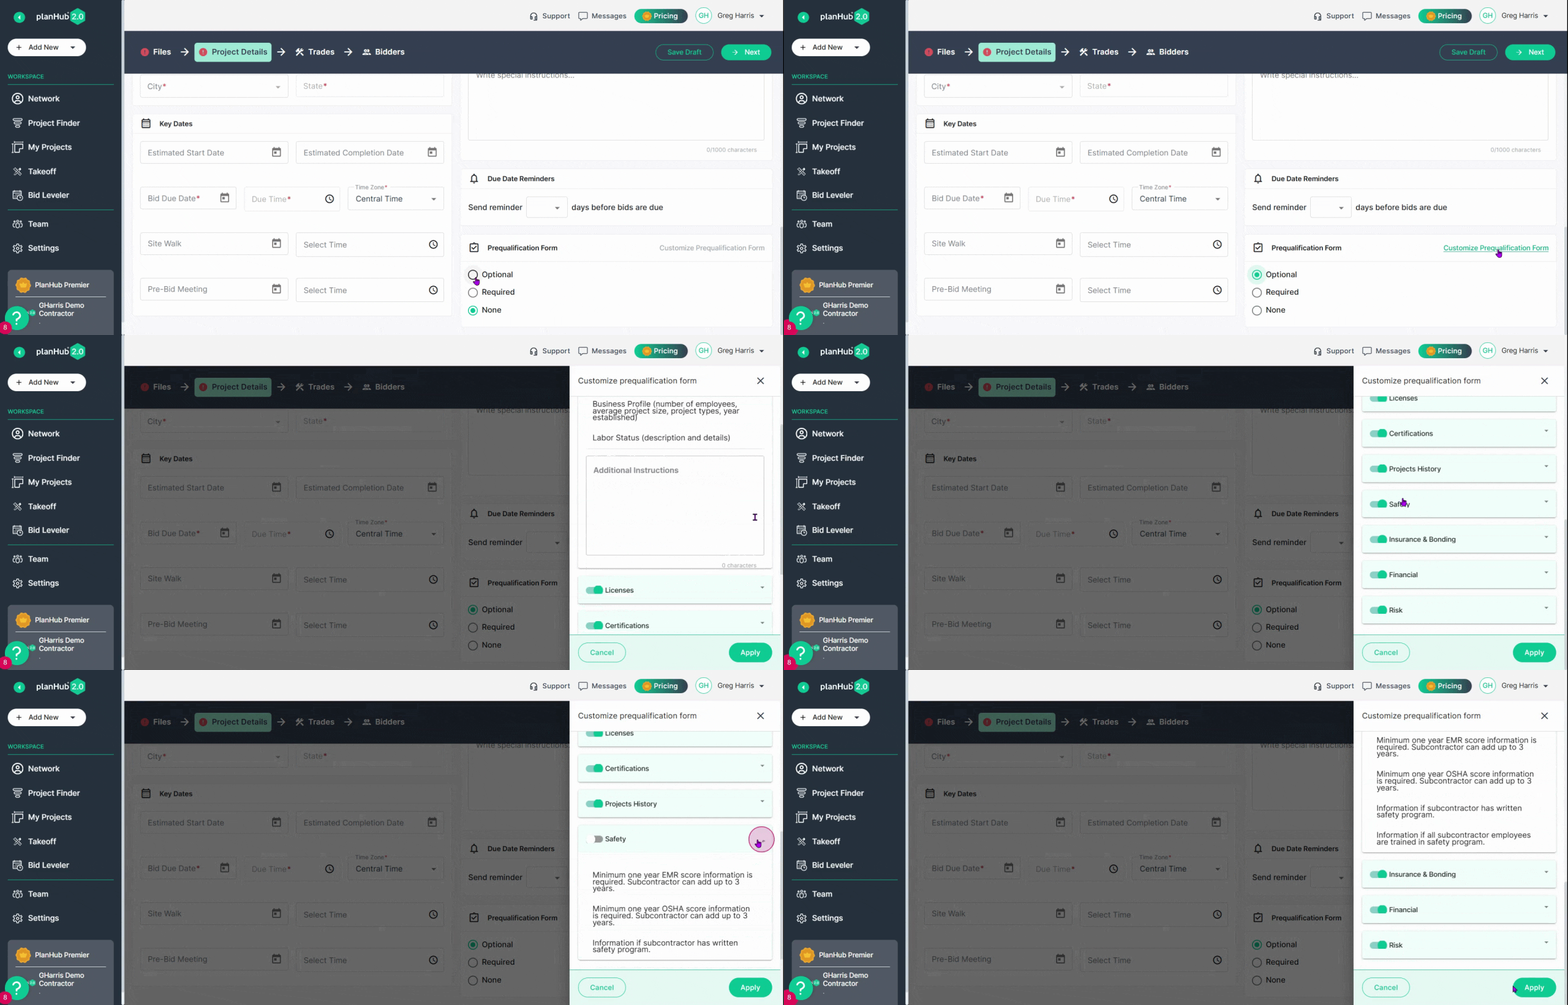
When you’ve finished this section, save your changes. Click Next.
Step 2: Select Needed Trades
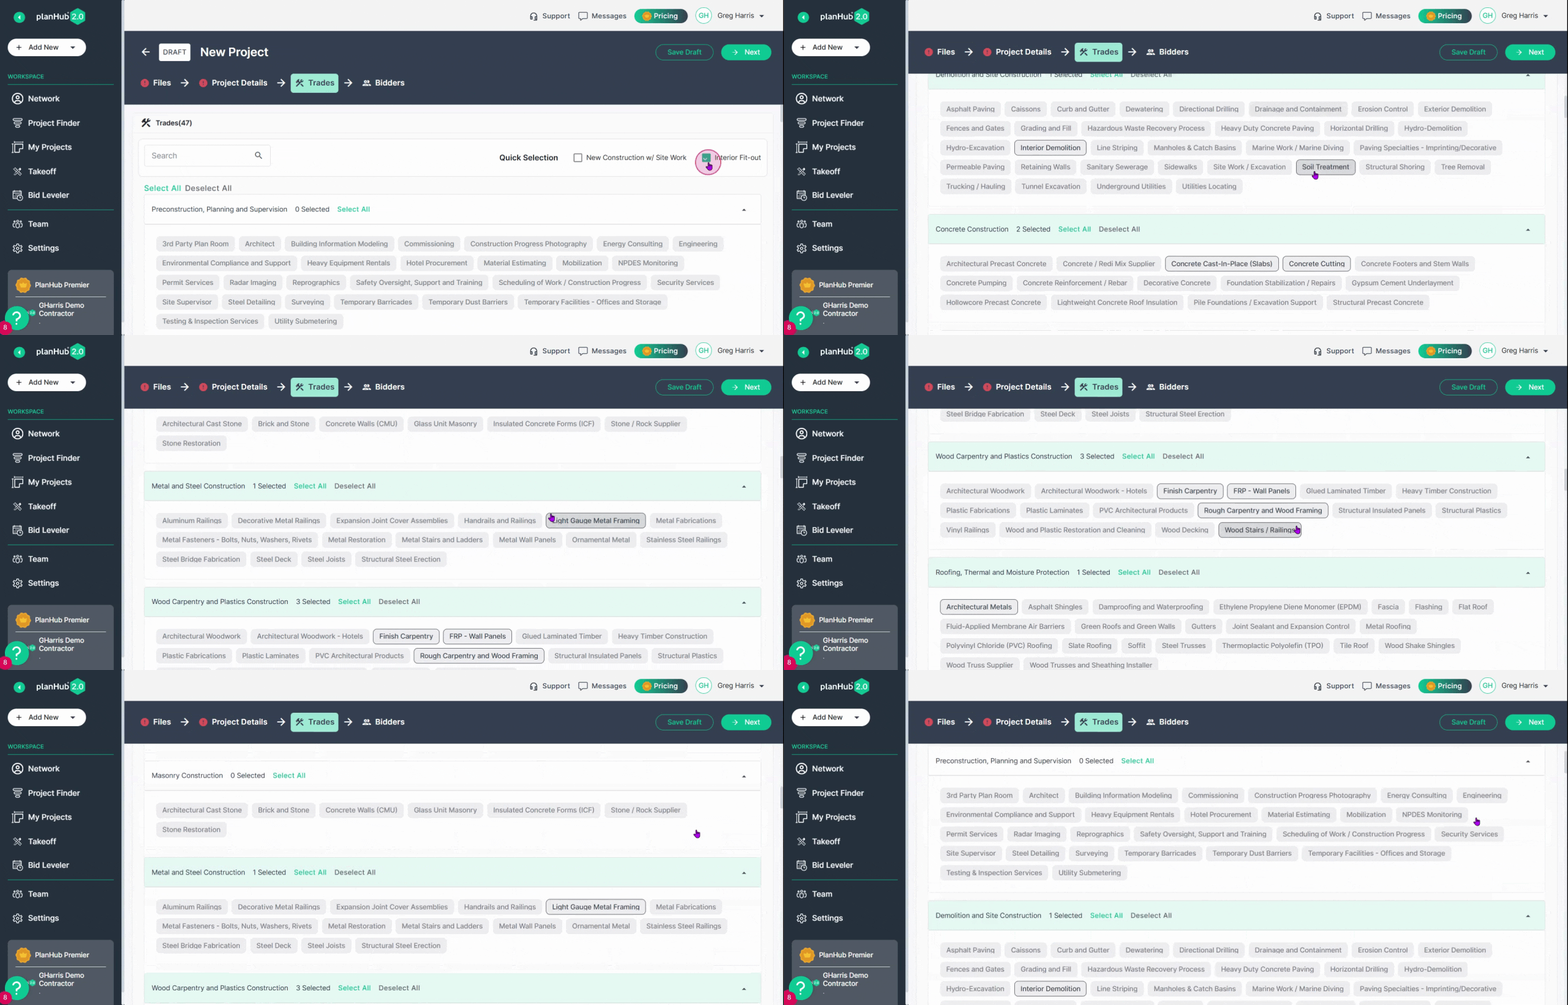
Select which trades to request bids for. Search by name or use quick selections for the most common work types.
The Quick Selections add the most common trades associated with that type of project. If you use a Quick Selection you can still search, scroll, and add/remove any trades you prefer.
For additional details on posting a project, view our Knowledge Base article: How to Post a Project as a General Contractor in planHub
Step 3: Invite Bidders
Choose who to invite—planHub automatically matches subs by trade and region and pre-selects the best fits. If your preferred subs match the project, they’ll appear so you can add them, too.
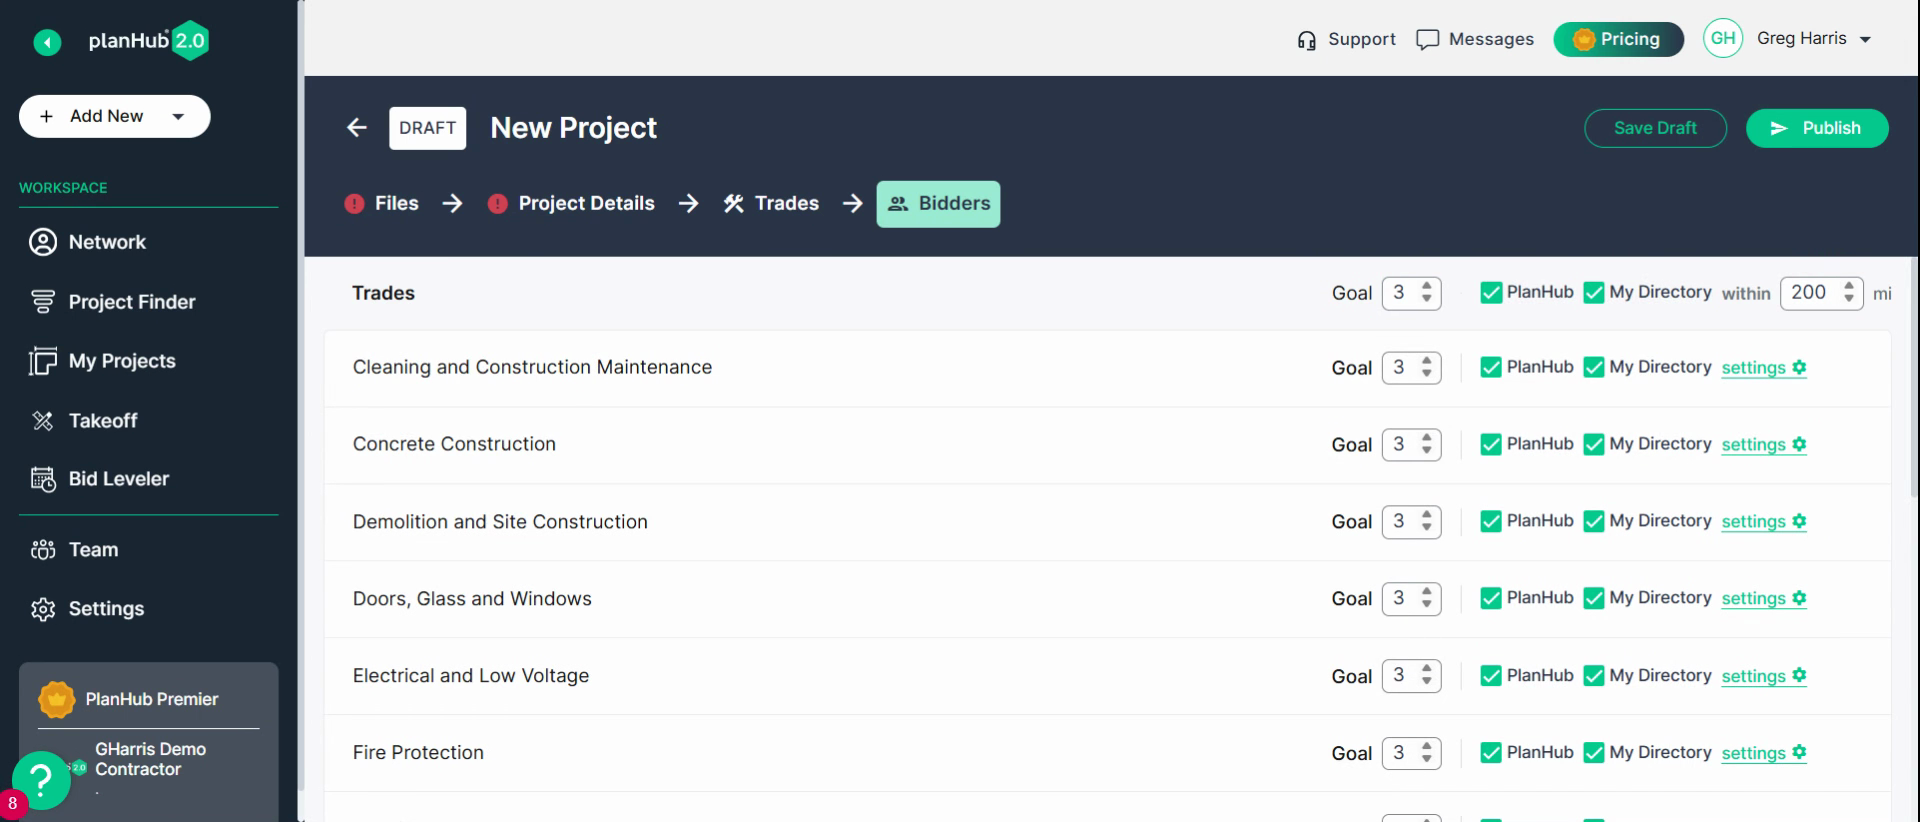
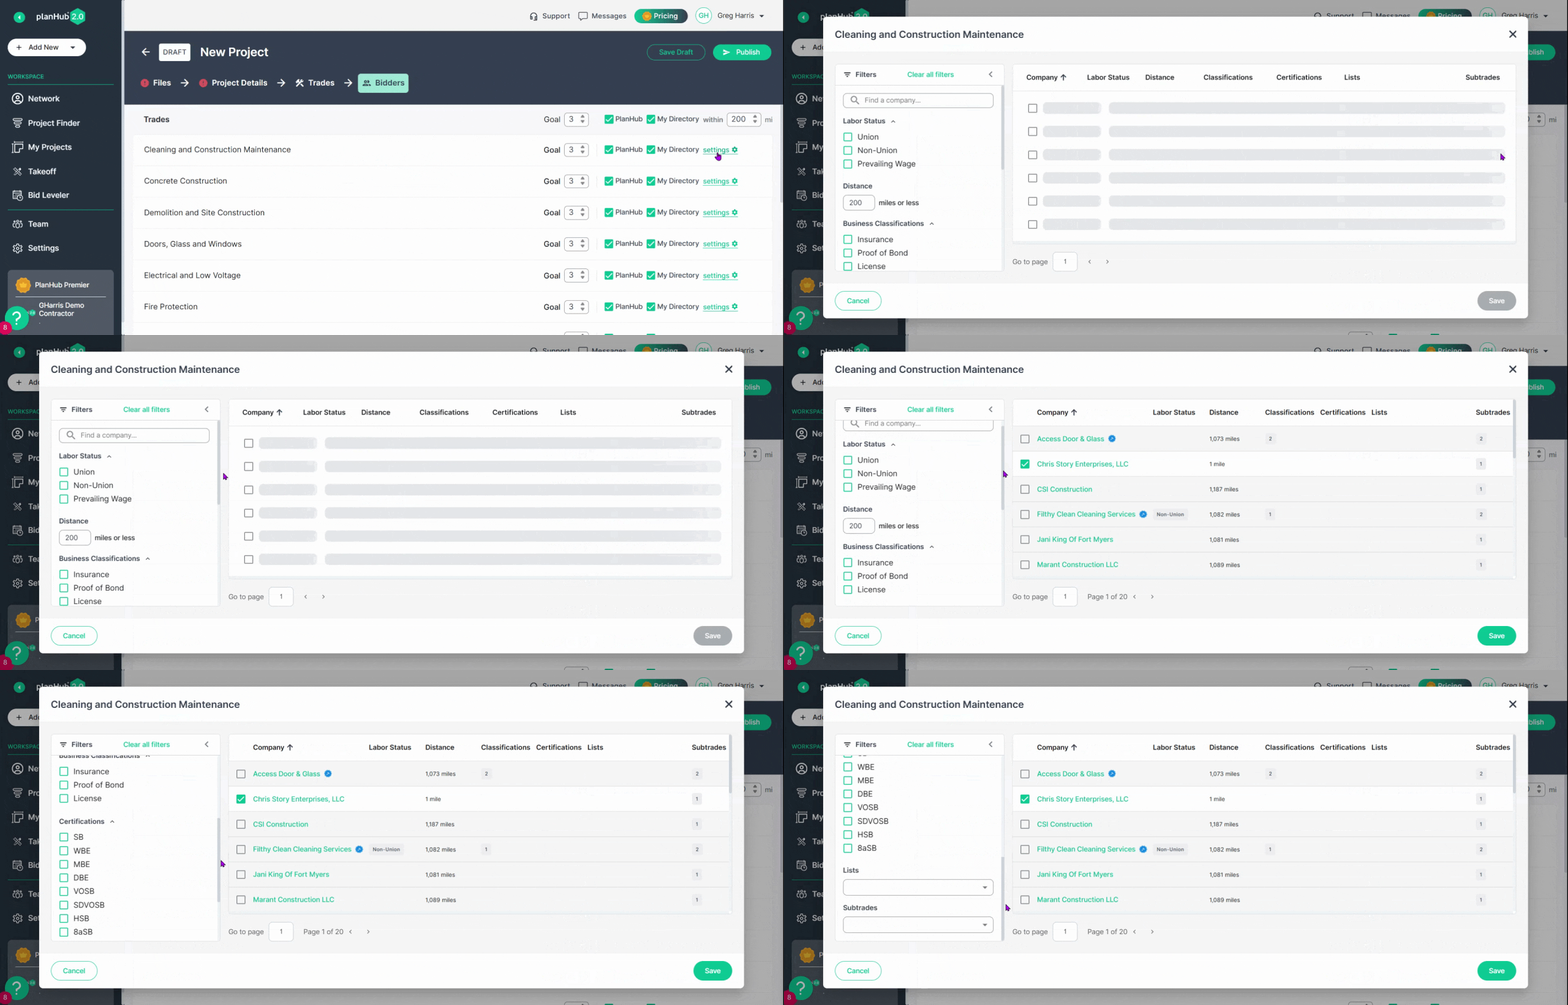
Adjust settings for any bidder like preferred distance or certifications.
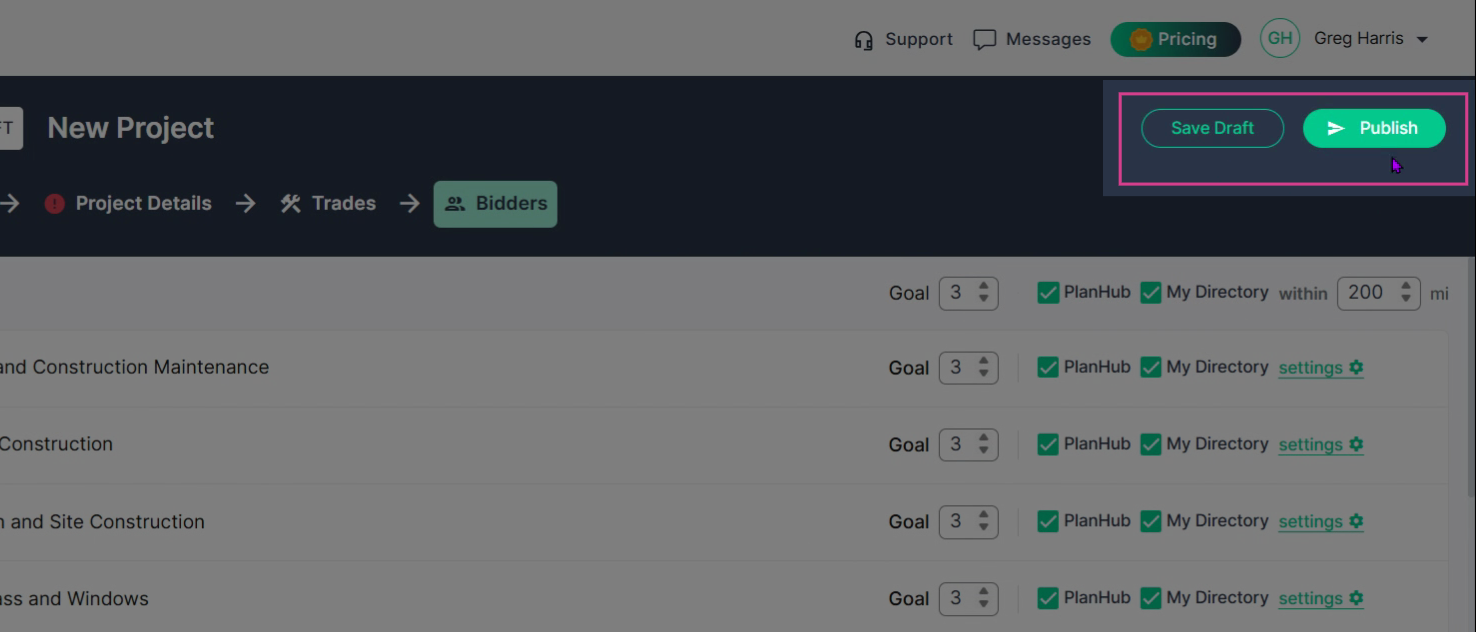
When you’re ready, either save as a draft for later or publish now to send ITBs instantly.
Every step is built to make posting projects smooth and make it easy for subs to bid—all so you get more, higher quality proposals.
Step 1: Manage and Review Your Projects
Go to My Projects to view, update, or edit what you’ve posted.
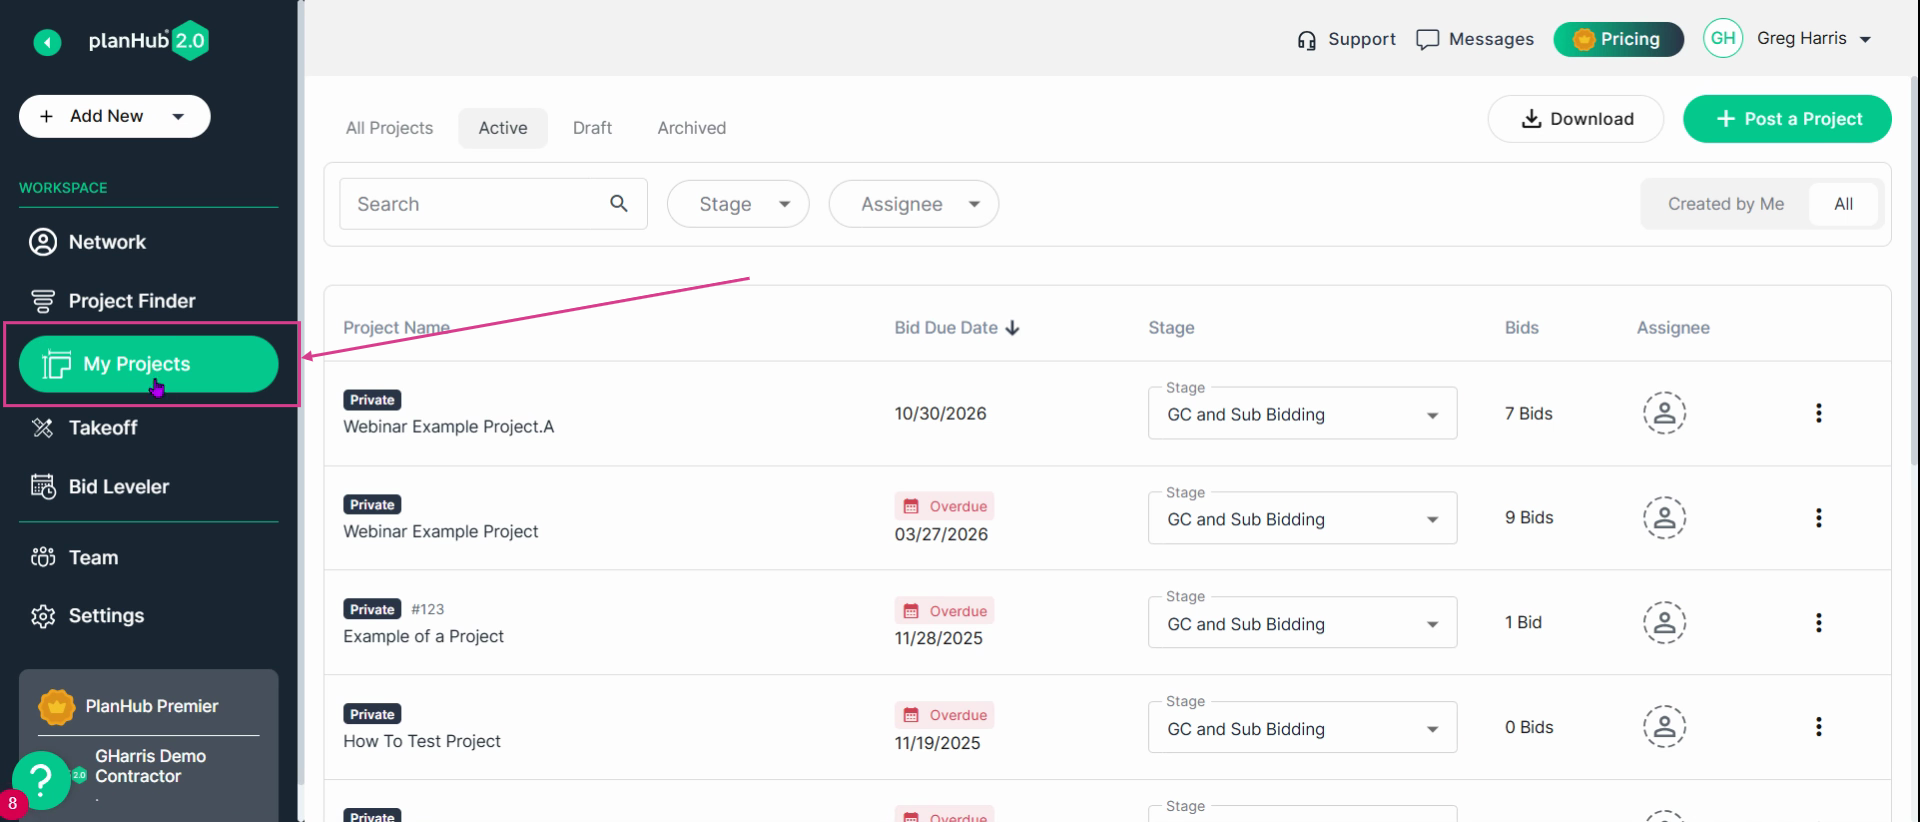
Click any project name to view its details, files, assigned trades, and current bidders.
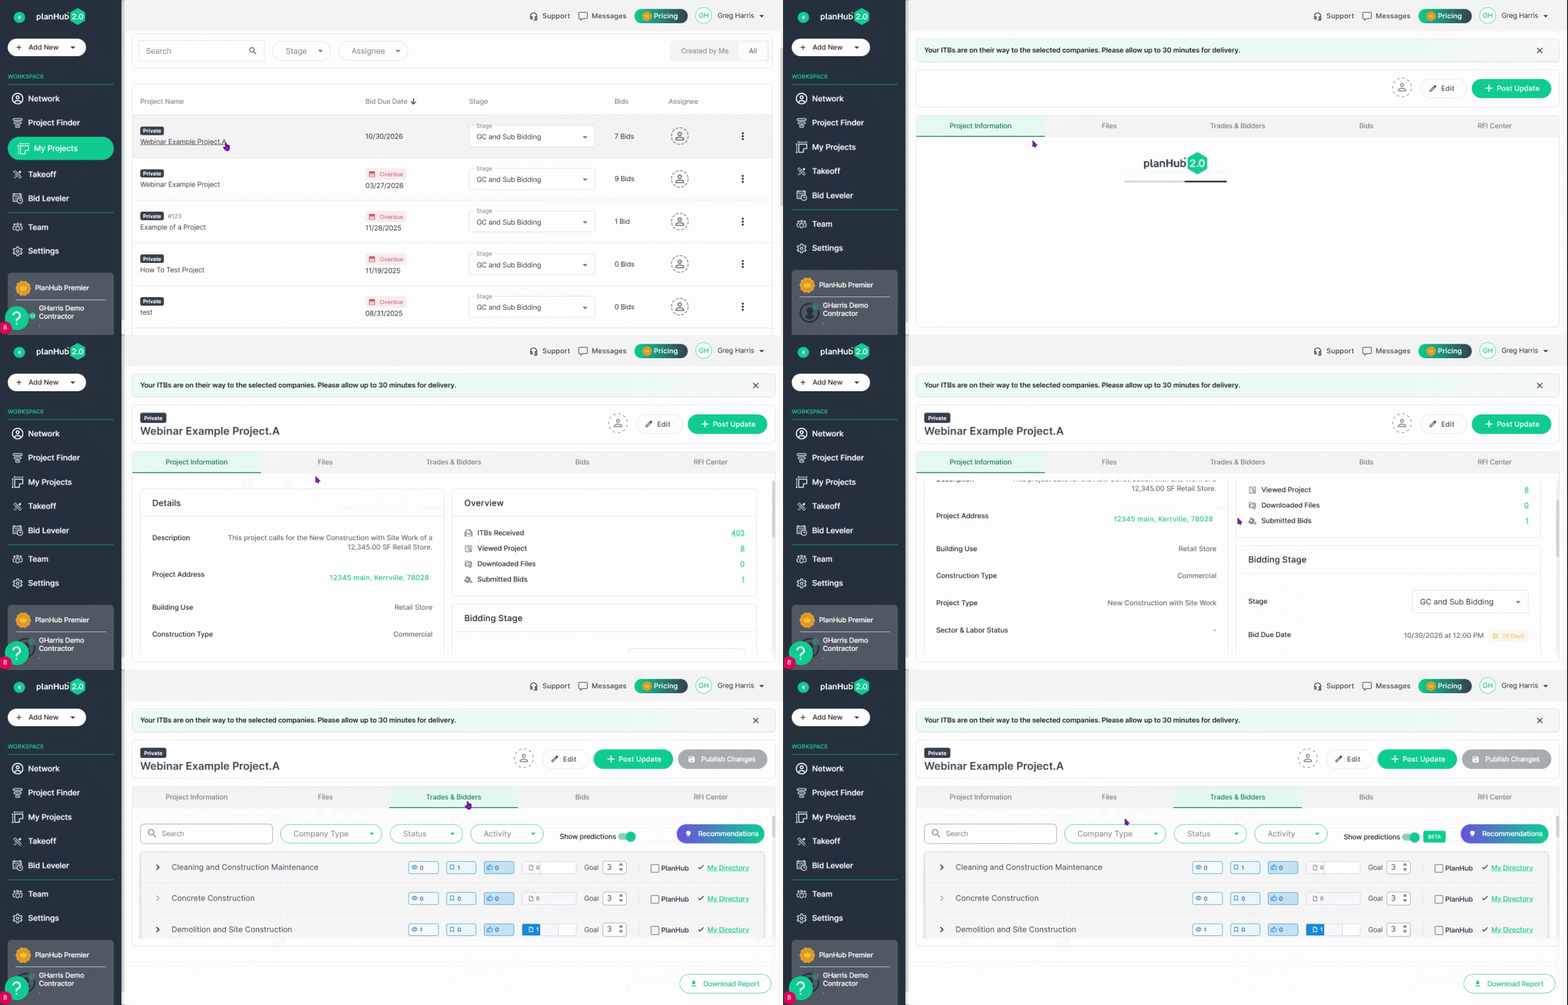
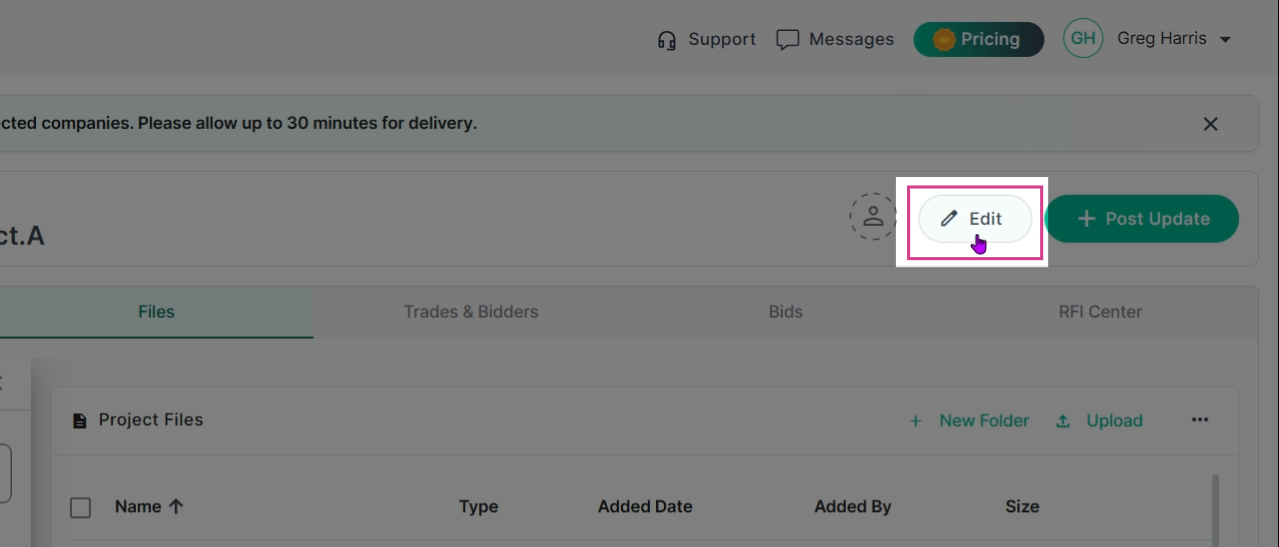
Click Edit on any project posting to make changes. You’ll be taken directly to the 4-step process to quickly update your project.
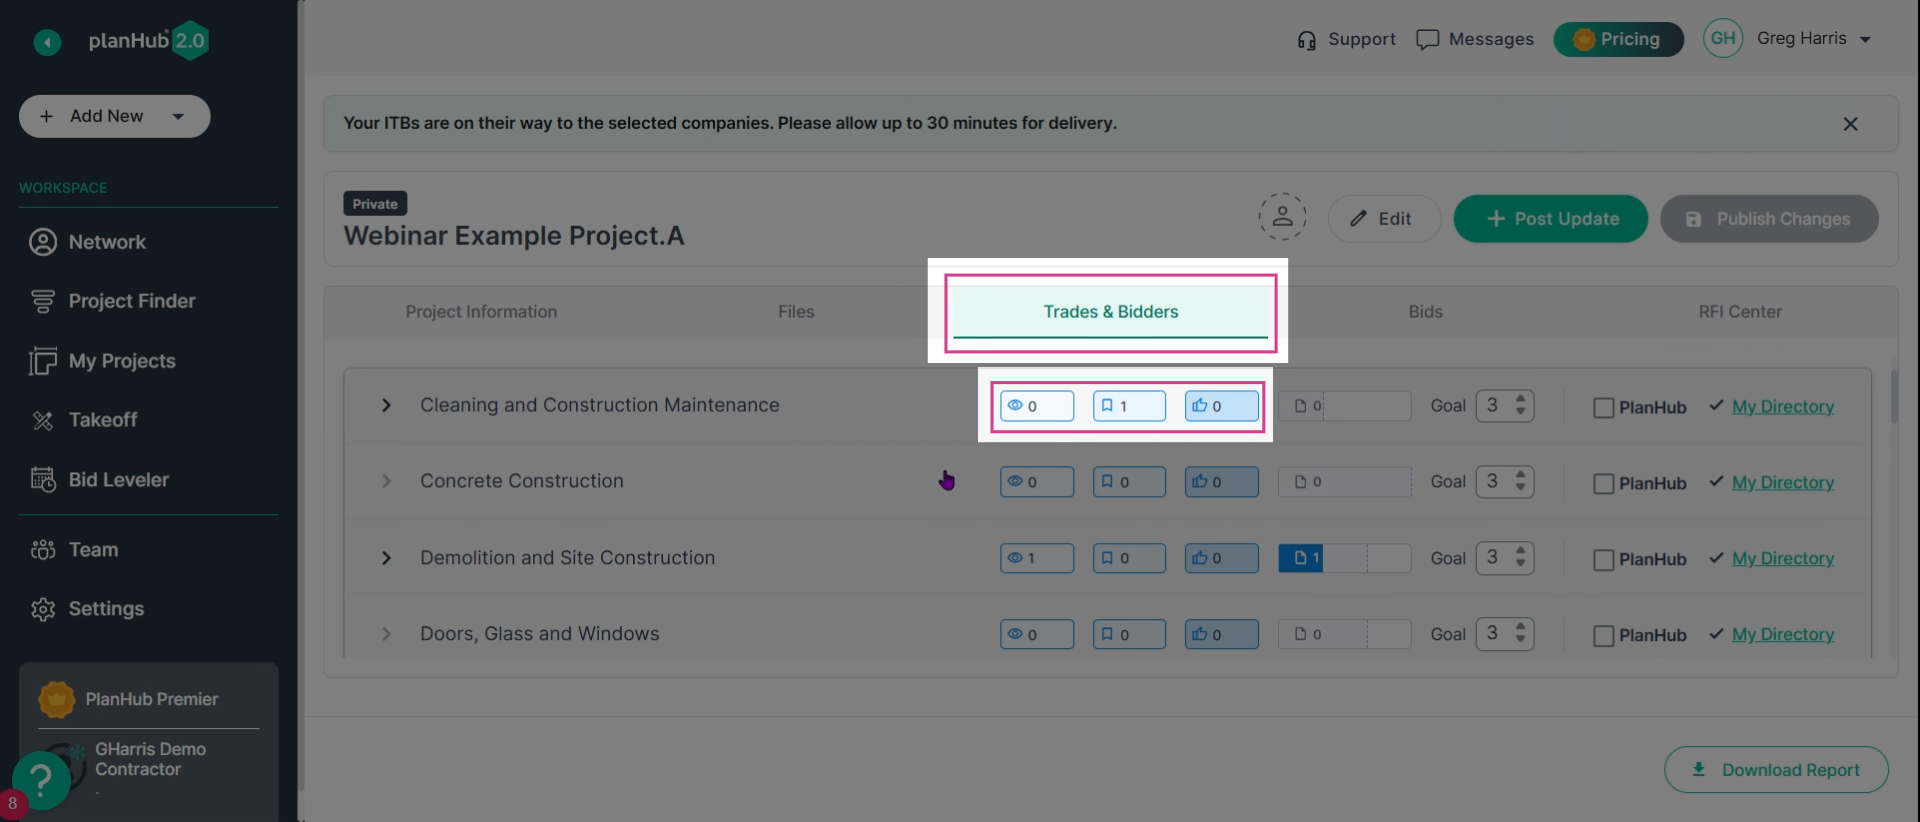
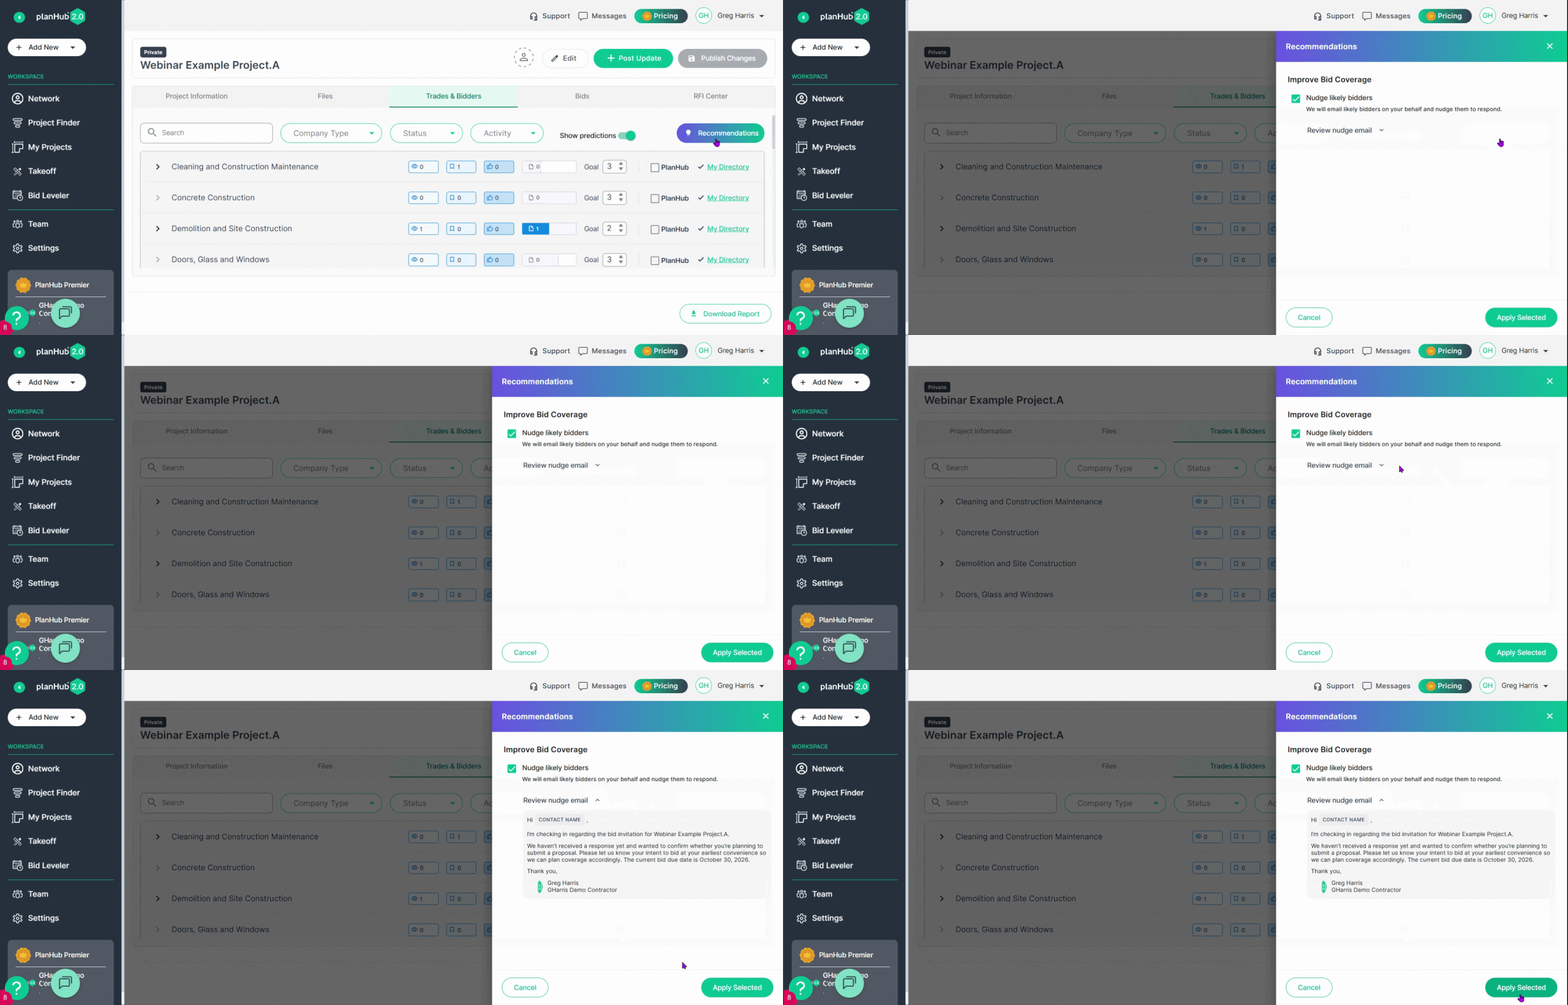
From the Trades & Bidders tab, view activity from trades and see engagement, interest, and what subs intend to bid. See all bidder responses in one spot.
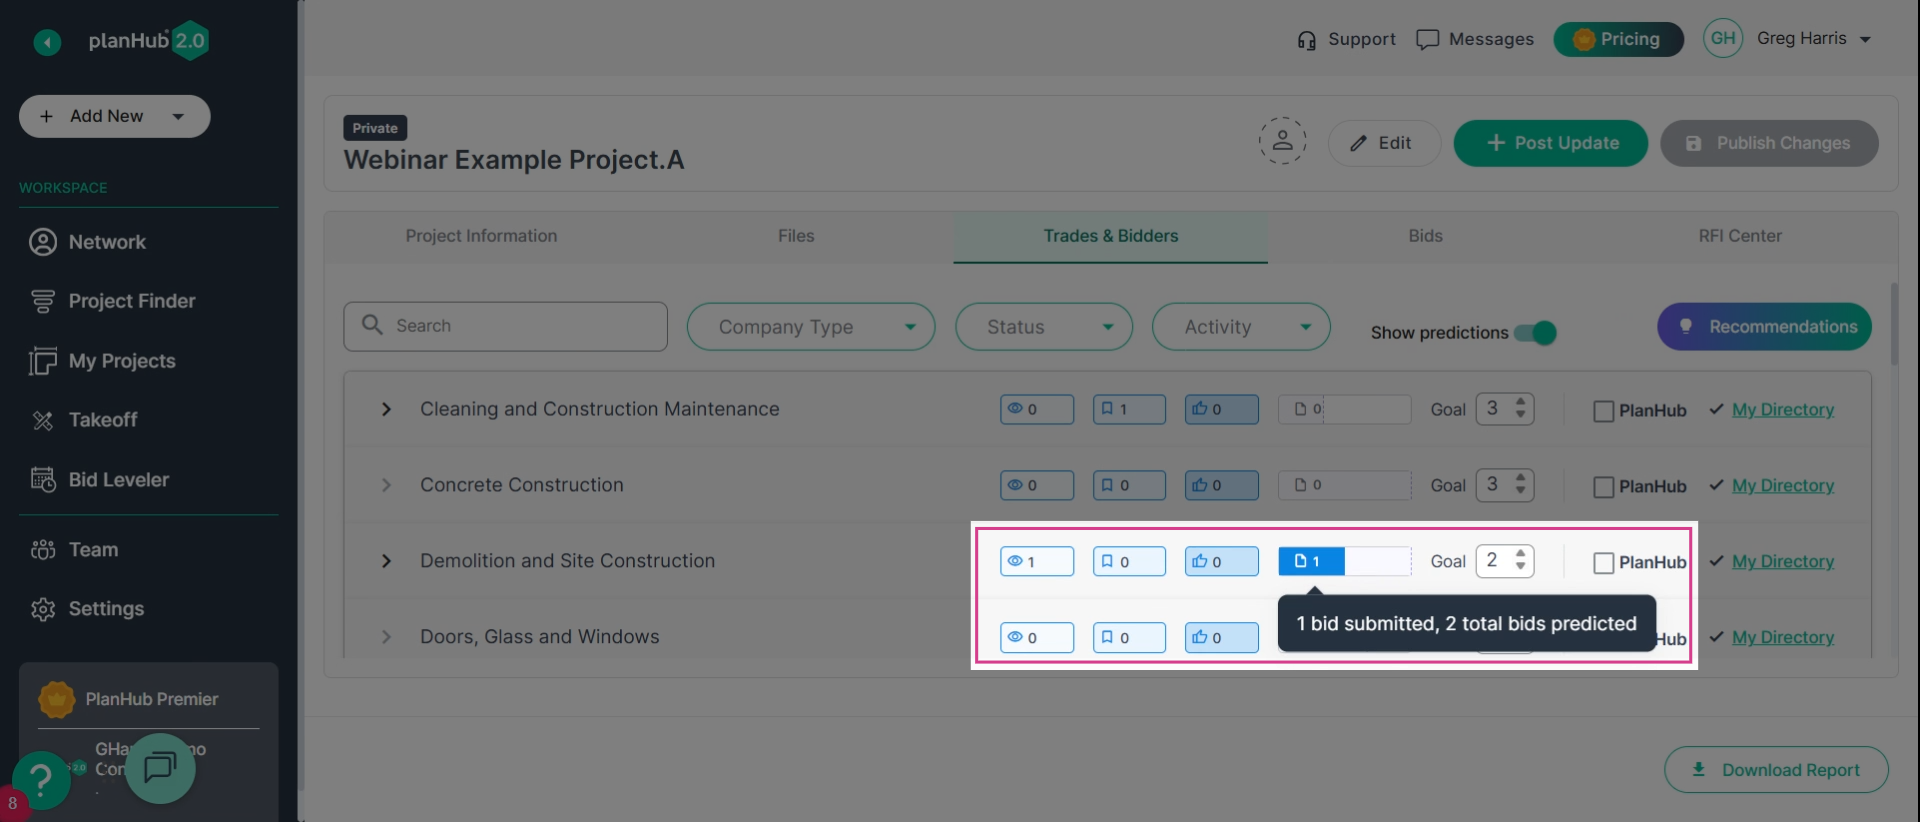
In Trades & Bidders you can use AI recommendations and Bid Predictions to get an intelligent look into the status of your received/expected bids; or use Recommendations to help decide which potential bidders to nudge.
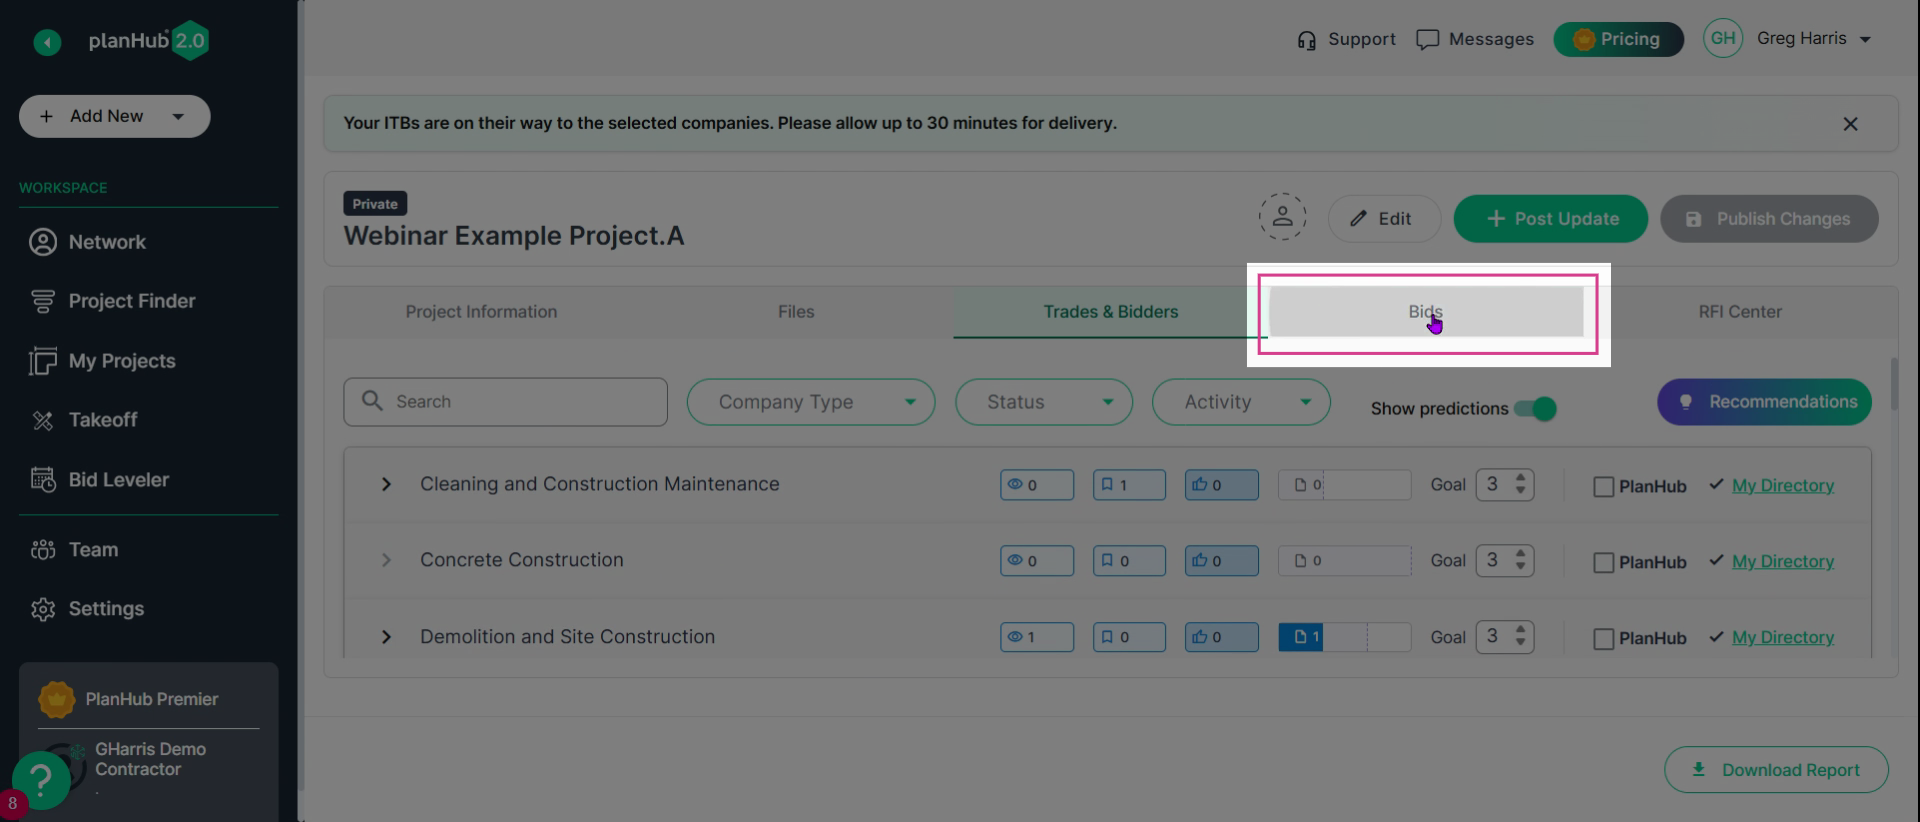
Switch to the Bids tab for a summary of all received proposals. Download or edit bids as needed and upload manual bids from outside planHub to keep everything together.
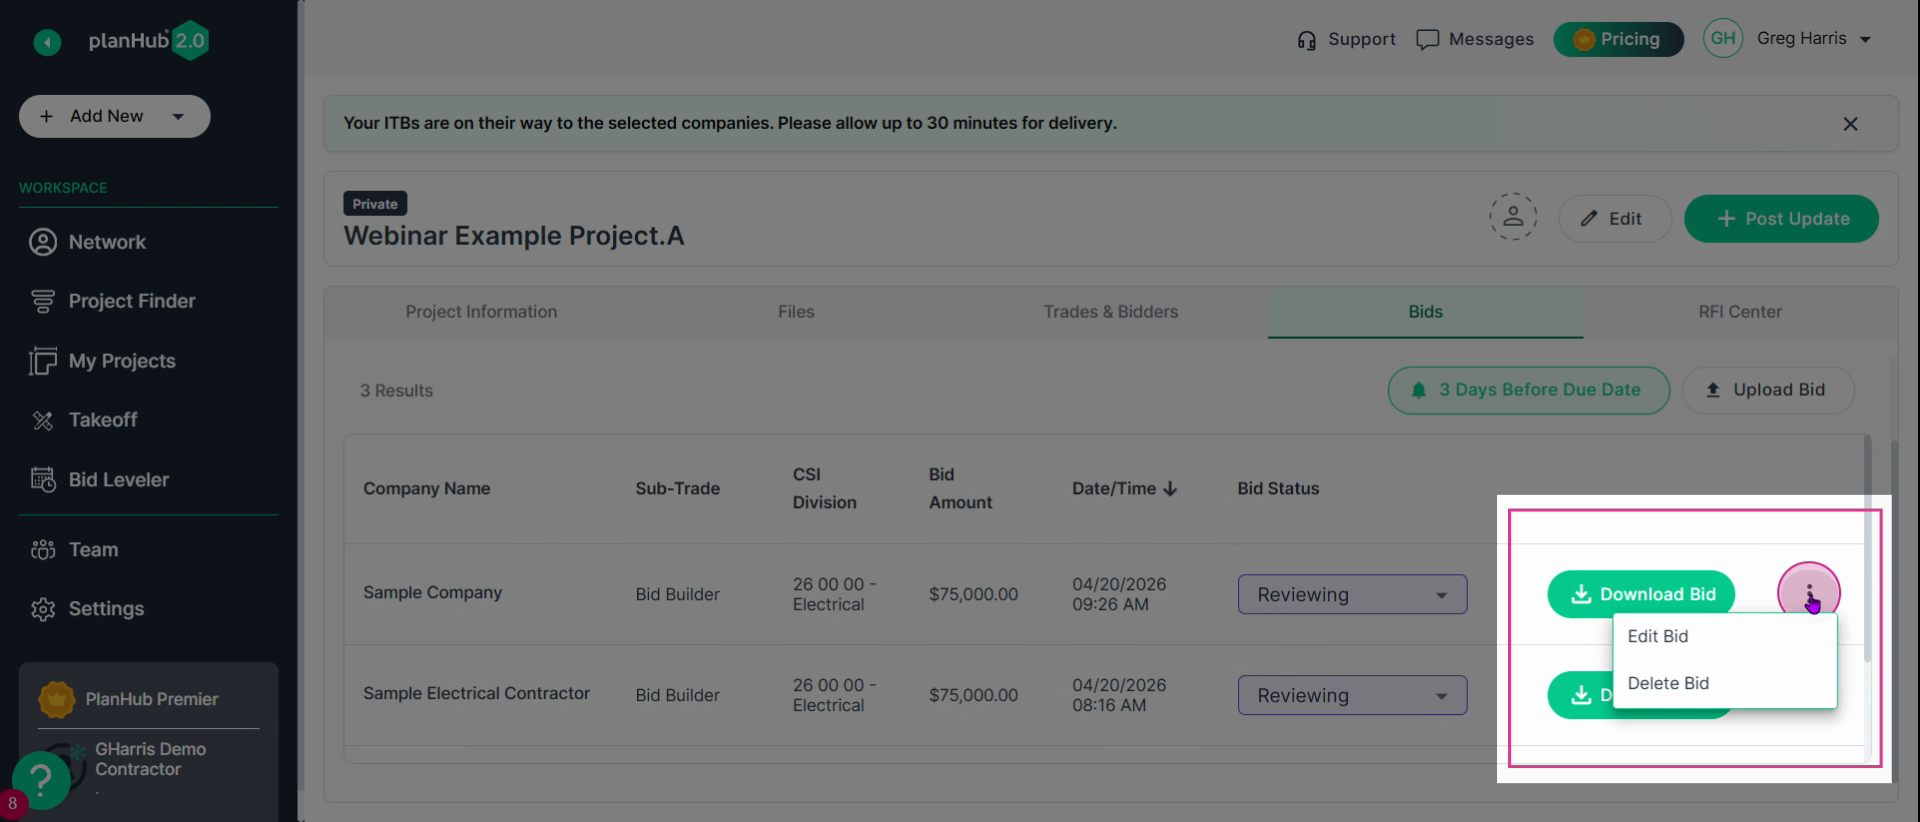
Use the three dot actions menu to edit or delete a bid.
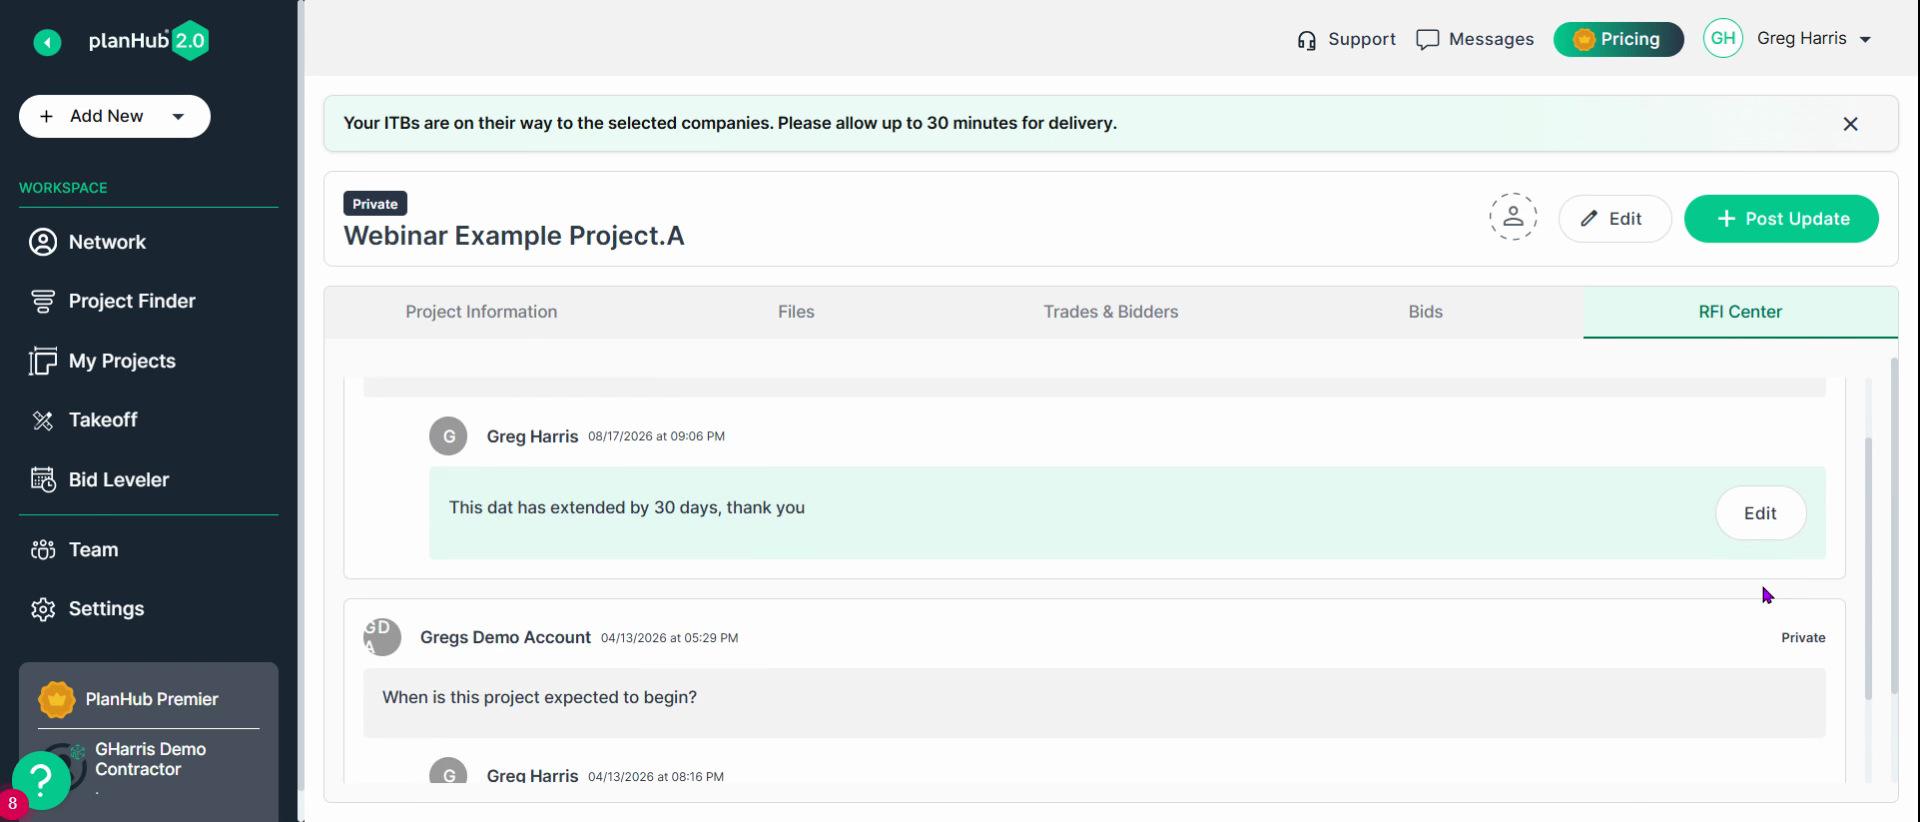
Need to respond to RFIs? The RFI Center is your hub for bidder questions and document clarifications. Reply directly and edit your responses any time.
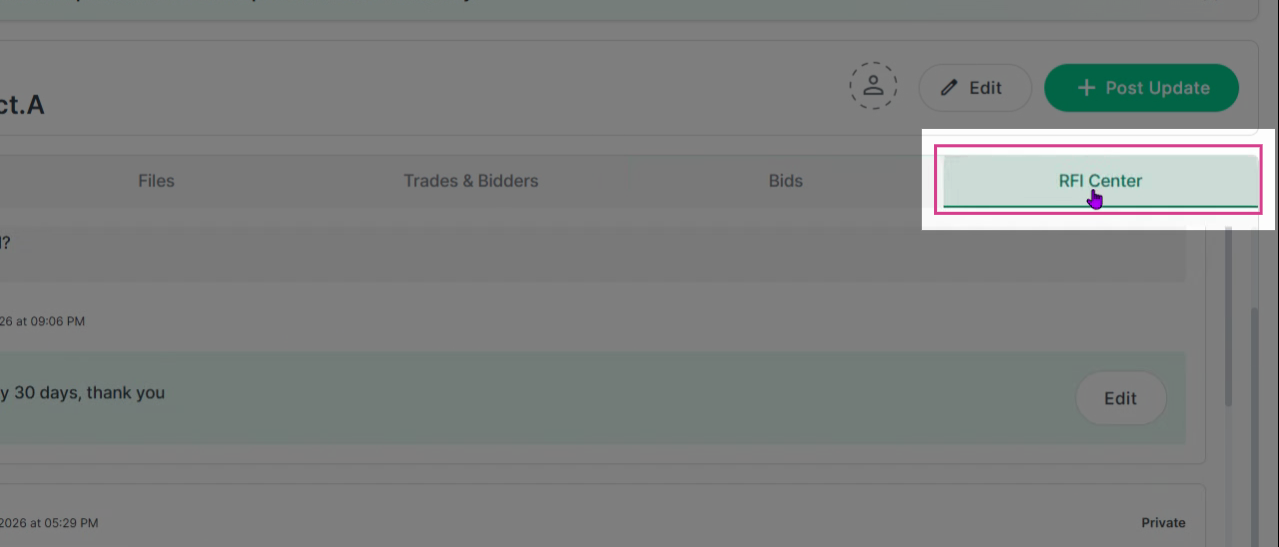
Select any RFI to edit or reply.
To get the most out of planHub:
- Complete your profile
- Upload your preferred bidders
- Post thoughtful projects
- Provide feedback
It's all about efficiency, professionalism, competition, and building the right relationships in your market.
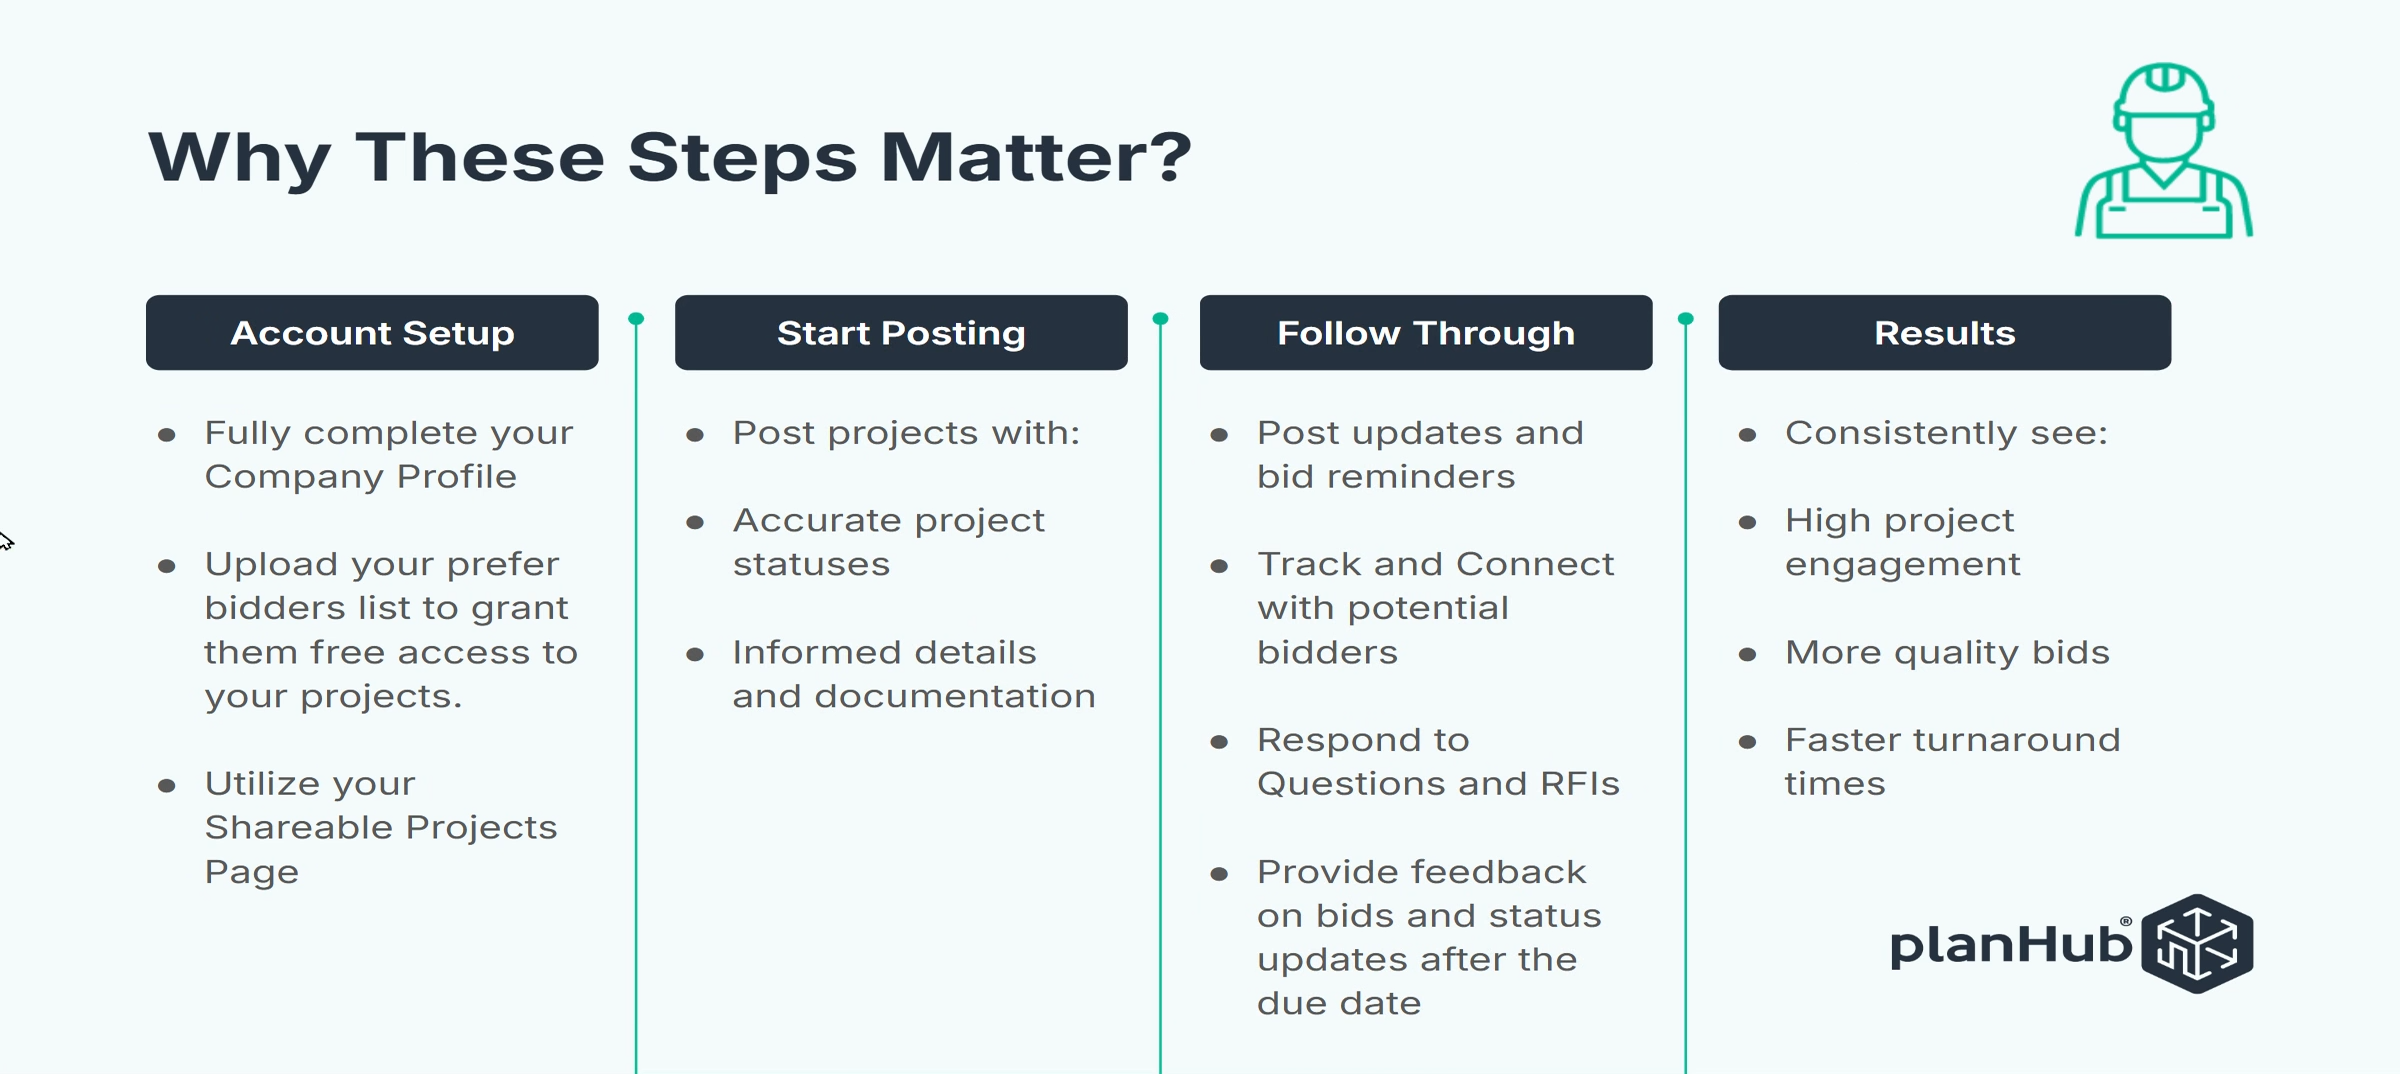
General contractors who follow these practices consistently see more bids, higher engagement, and quicker response times.
It’s all about working smarter—being active on planHub brings maximum value through speed, competition, and stronger professional relationships.
Streamline your projects and improve bidding outcomes with planHub Essentials
Need help? Contact us for assistance or support:
- planHub Contact Page: https://planhub.com/contact/
- Customer Facing Support Ticket Link: https://knowledgebase.planhub.com/knowledge/kb-tickets/new
- Customer Success Team: CustomerSuccess@planhub.com