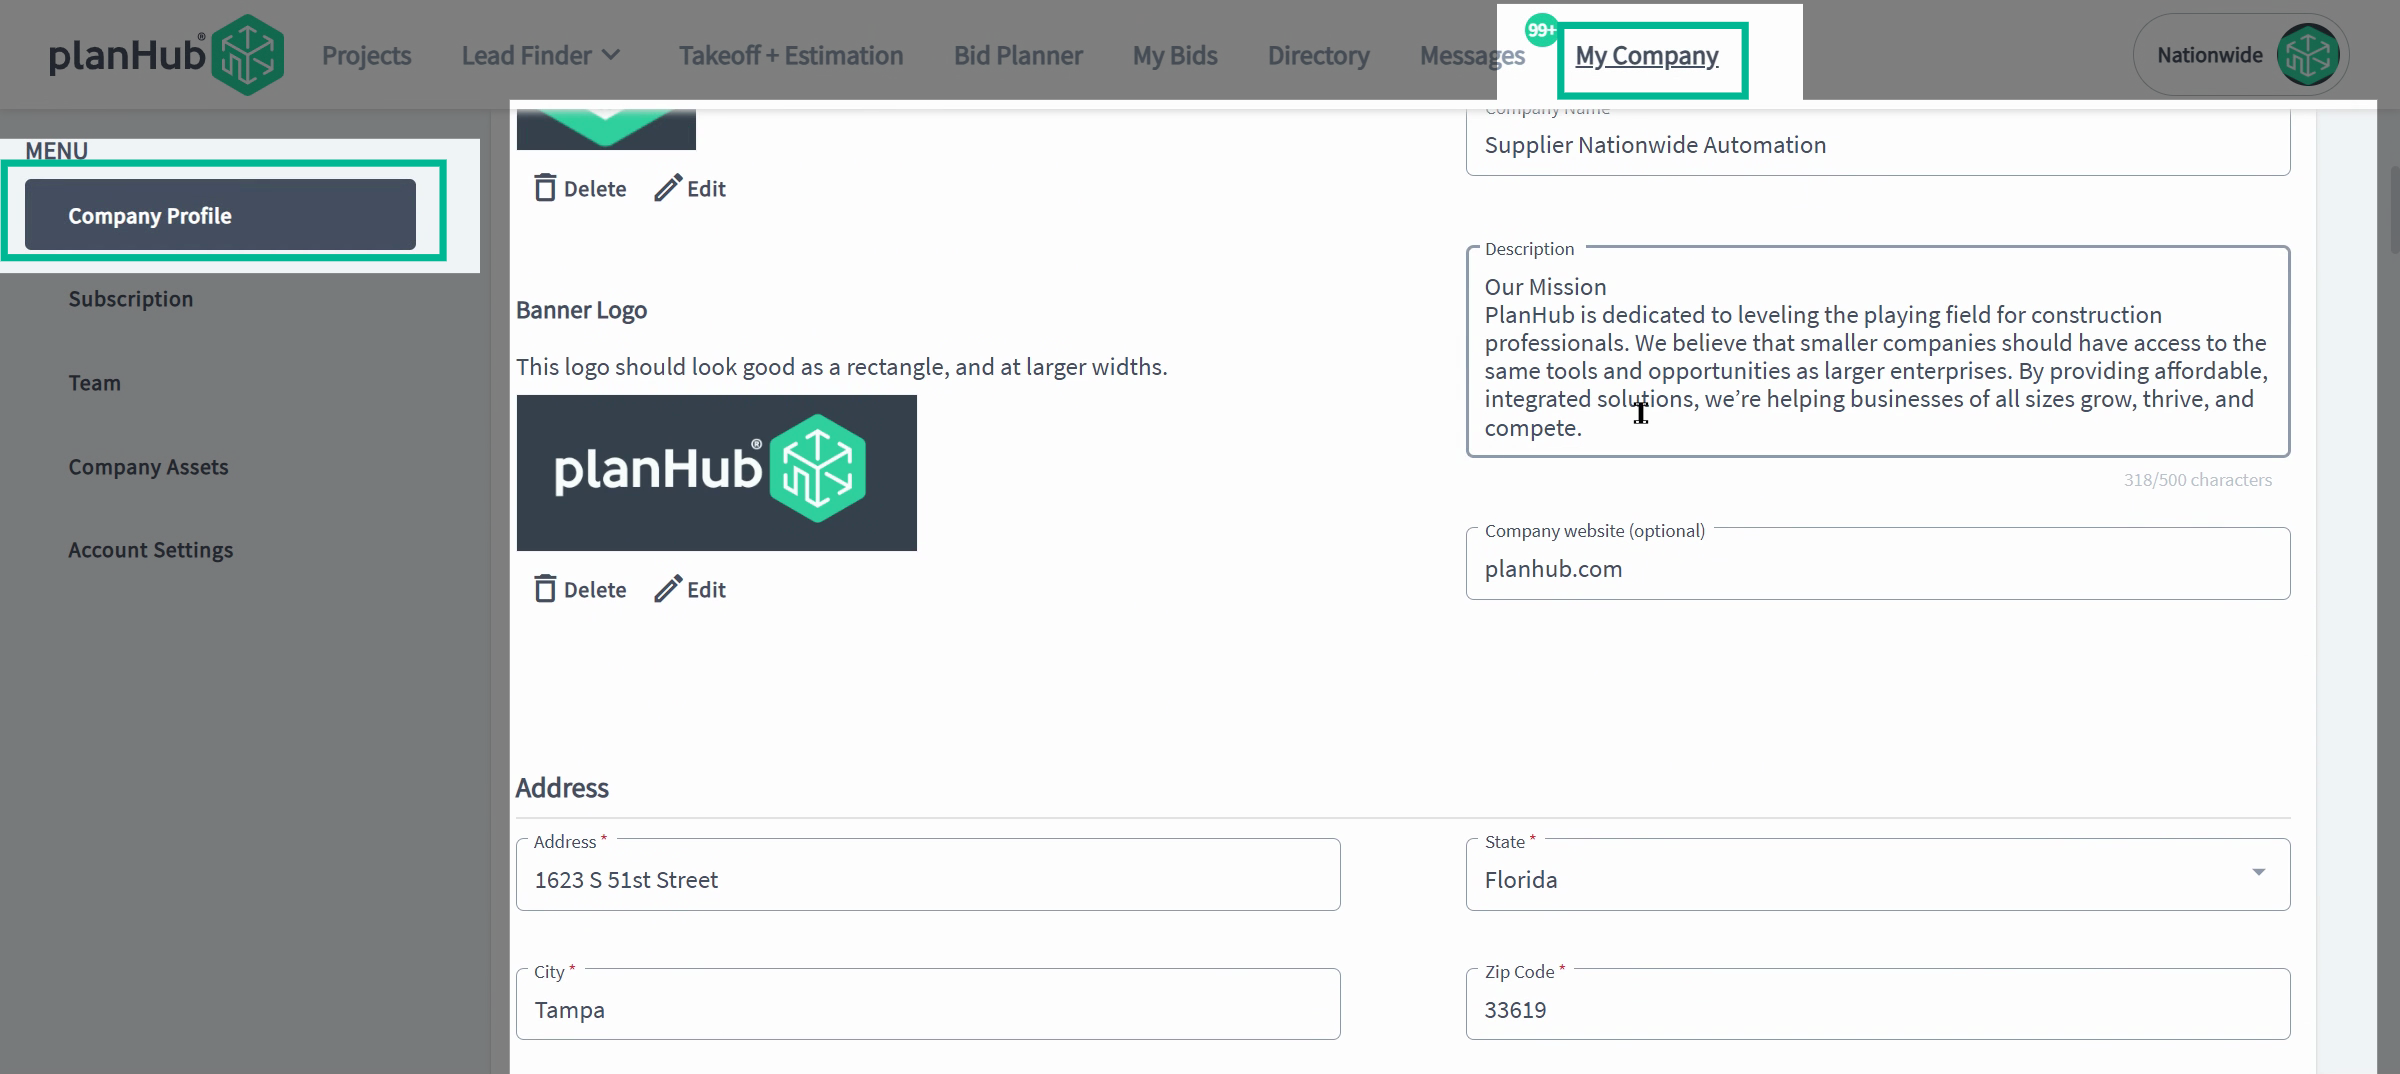
Step 1: Set Up Your Company Profile
-
Showcase your business right away. Complete your company profile to make a strong first impression on contractors. This profile acts as your digital business card, explaining who you are and what you offer to potential clients. Make sure to include all relevant products, services, and experience details.
-
Highlight your specialties in the trade section for the best match with projects.
-
General contractors tend to pass over incomplete or low-effort profiles. So be sure to prioritize accuracy and detail.
Step 2: Configure Your Account Notifications
-
Adjust notification preferences so you never miss key project updates. Head to Account Settings and open the Notifications section. Set up alerts for relevant projects and updates tailored to your interests.
-
Easily manage the notifications for the projects you’re tracking.
-
Step 3: Manage Project Invitations to Bid (ITB) Fine-tune the Invitations to Bid settings to filter incoming projects you’re notified about. Filter by trade, construction type, location, and building use. Add keywords that match your focus areas by entering them and hitting enter.
-
These settings ensure your invitations match your target work and region.
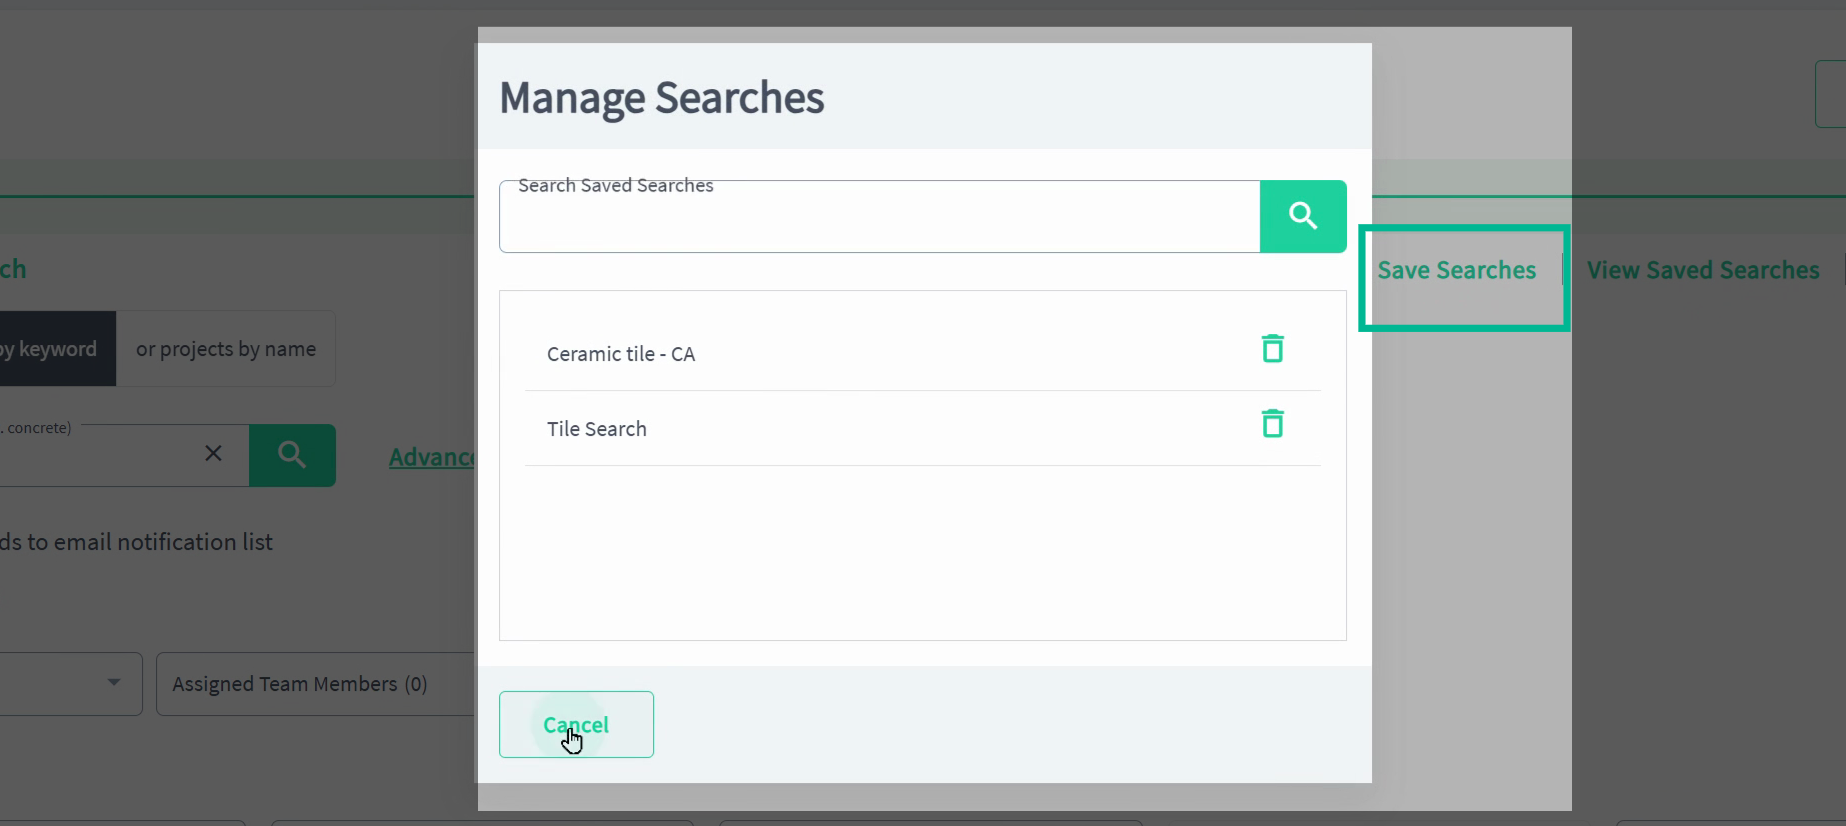
Step 4: Create and Use Saved Searches
-
Go to the Projects page and use filters with keywords, trades, location, and more to refine project lists. Save any useful searches for quick access later. View and manage saved searches to stay on top of new opportunities.
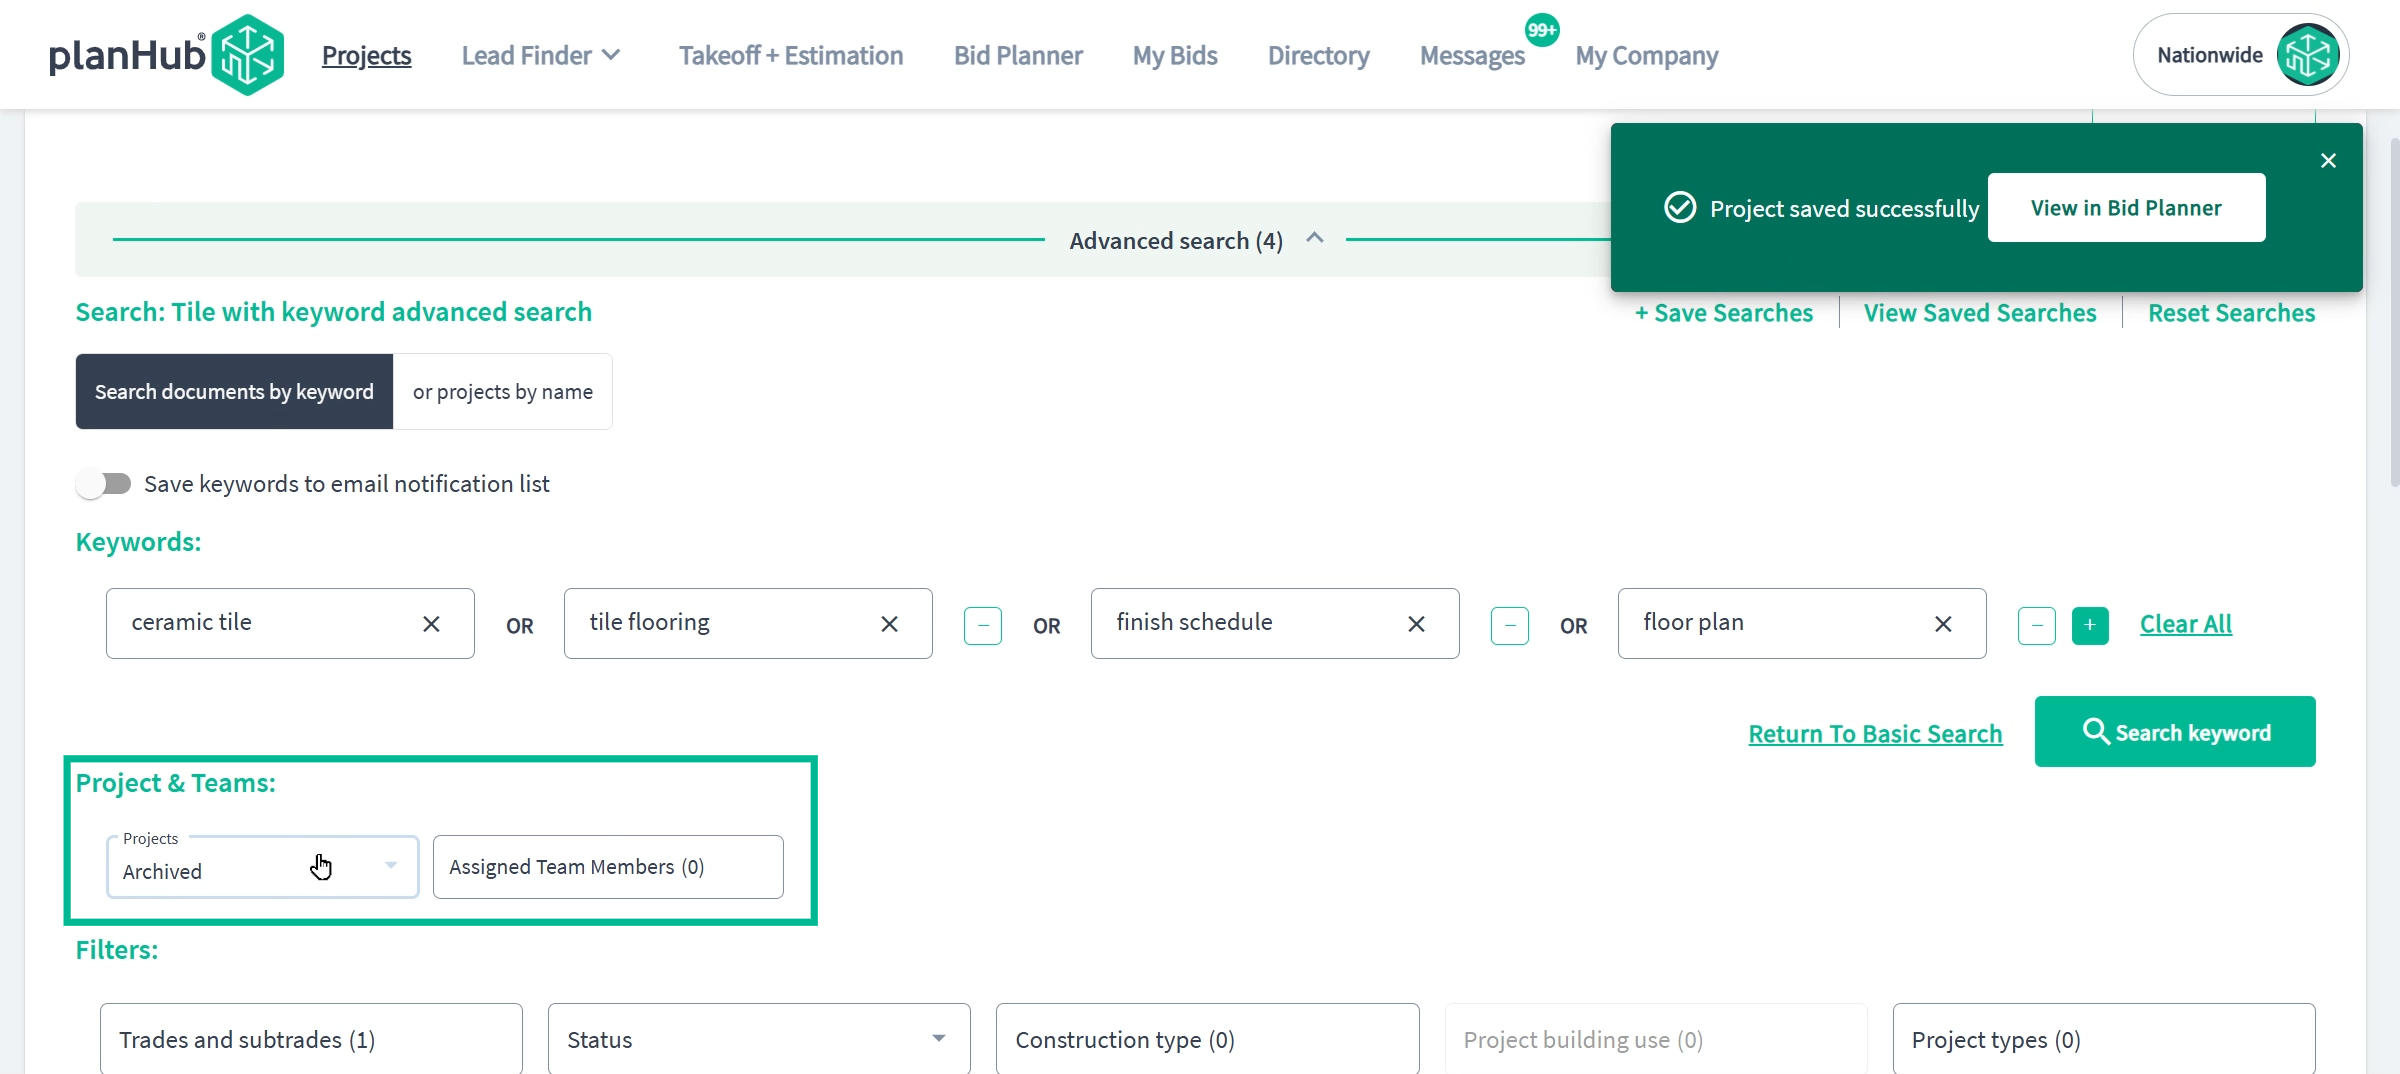
Step 5: Employ Advanced Keyword Searches
- This page has projects posted by General Contractors soliciting bids from suppliers and subs in PlanHub
- Target projects more precisely by using the search tools on your Projects page.
- Use the Filters to target projects based on project details, trades, and location.
- Use advanced keyword searches for material types, plan names, or brands.
-
Enter your keyword in the search bar or use the advanced search to search for multiple unique keywords—up to 10—for broad but relevant results.
-
This helps surface complex or niche project opportunities.
-
Advanced Keyword search
-
Save these advanced searches to use them again whenever needed.
Step 6: Organize Project Leads and Bids
-
Manage your project pipeline by saving or archiving projects as you qualify them.
-
Saved projects are added to your bid planner for tracking and your Saved Filter.
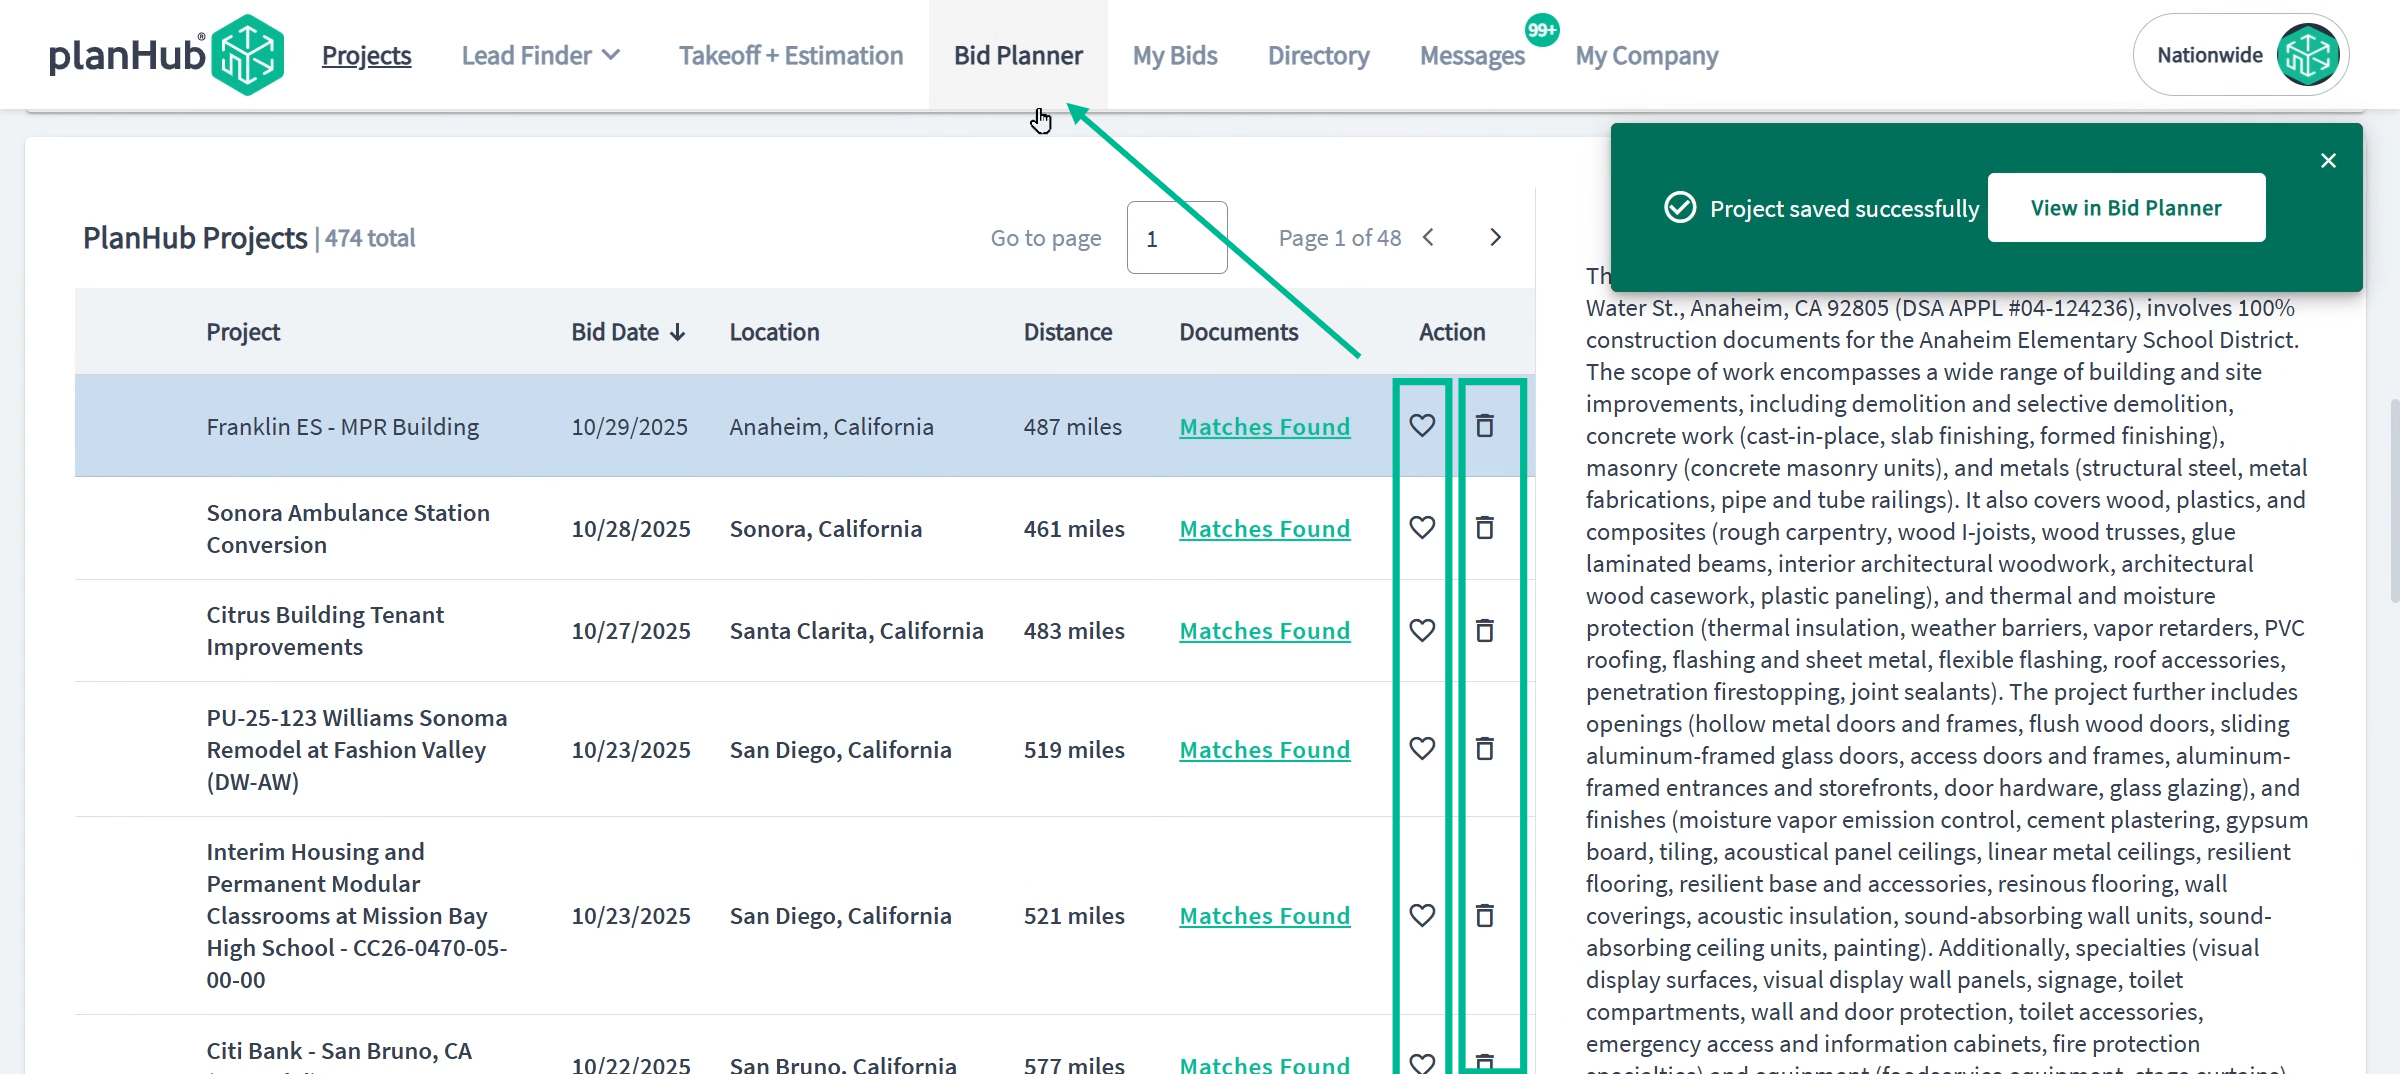
-
Archived projects go to a separate filter for clarity.
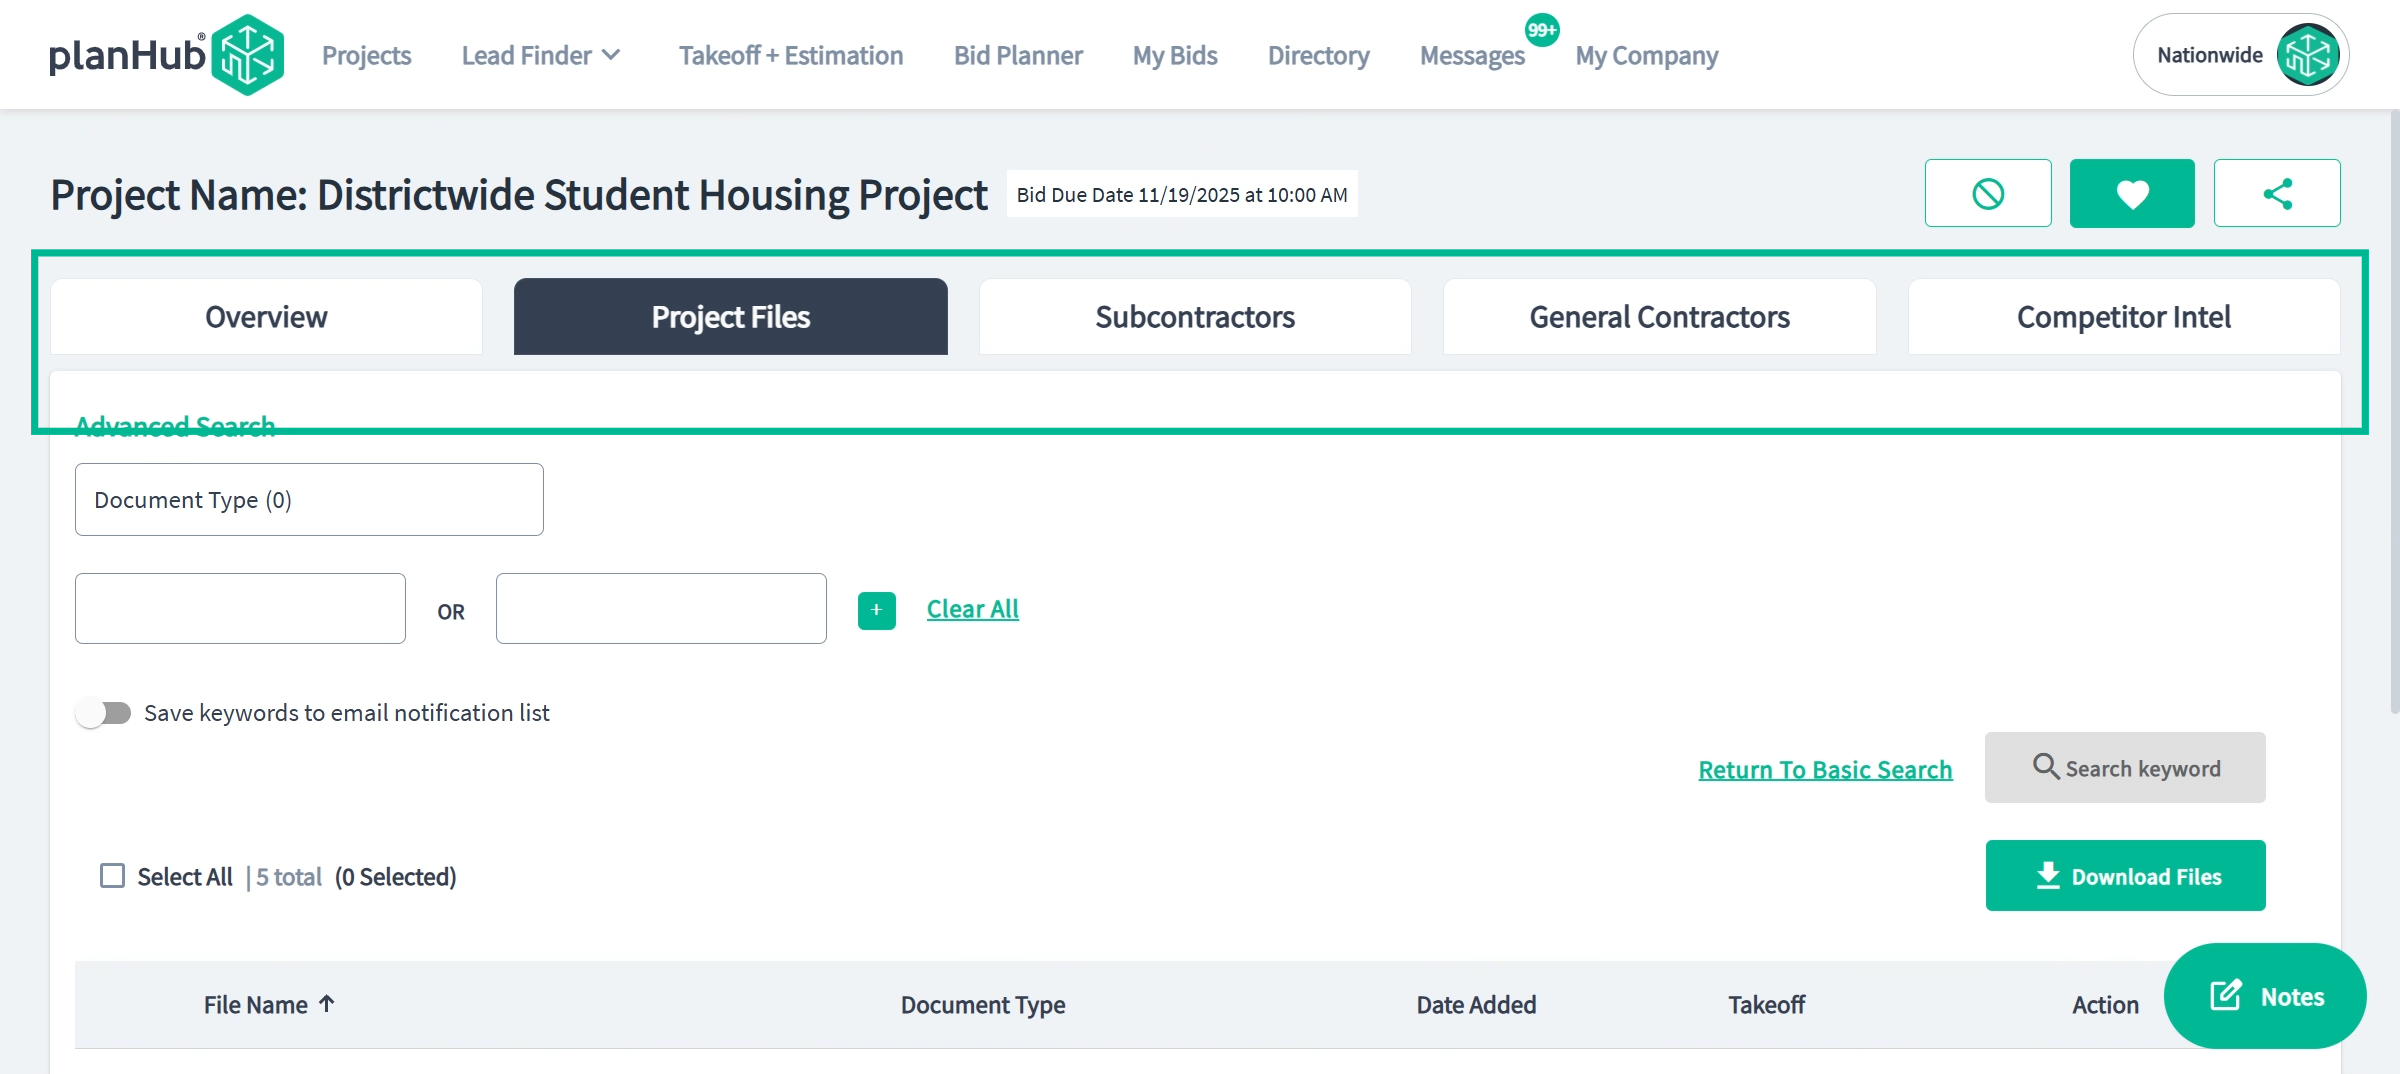
Step 7: Qualify Projects and Review Documentation
-
Delve into project details to ensure a strong fit before bidding. Review the project overview, trades, and attached files for bid forms, specs, and drawings.
Step 8: Communicate With GCs and Subcontractors
-
Reach out to the appropriate contacts early to stand out and enhance your winning potential. View contact info for general contractors and subs in their tabs on the project.
-
Interact immediately for better networking.
-
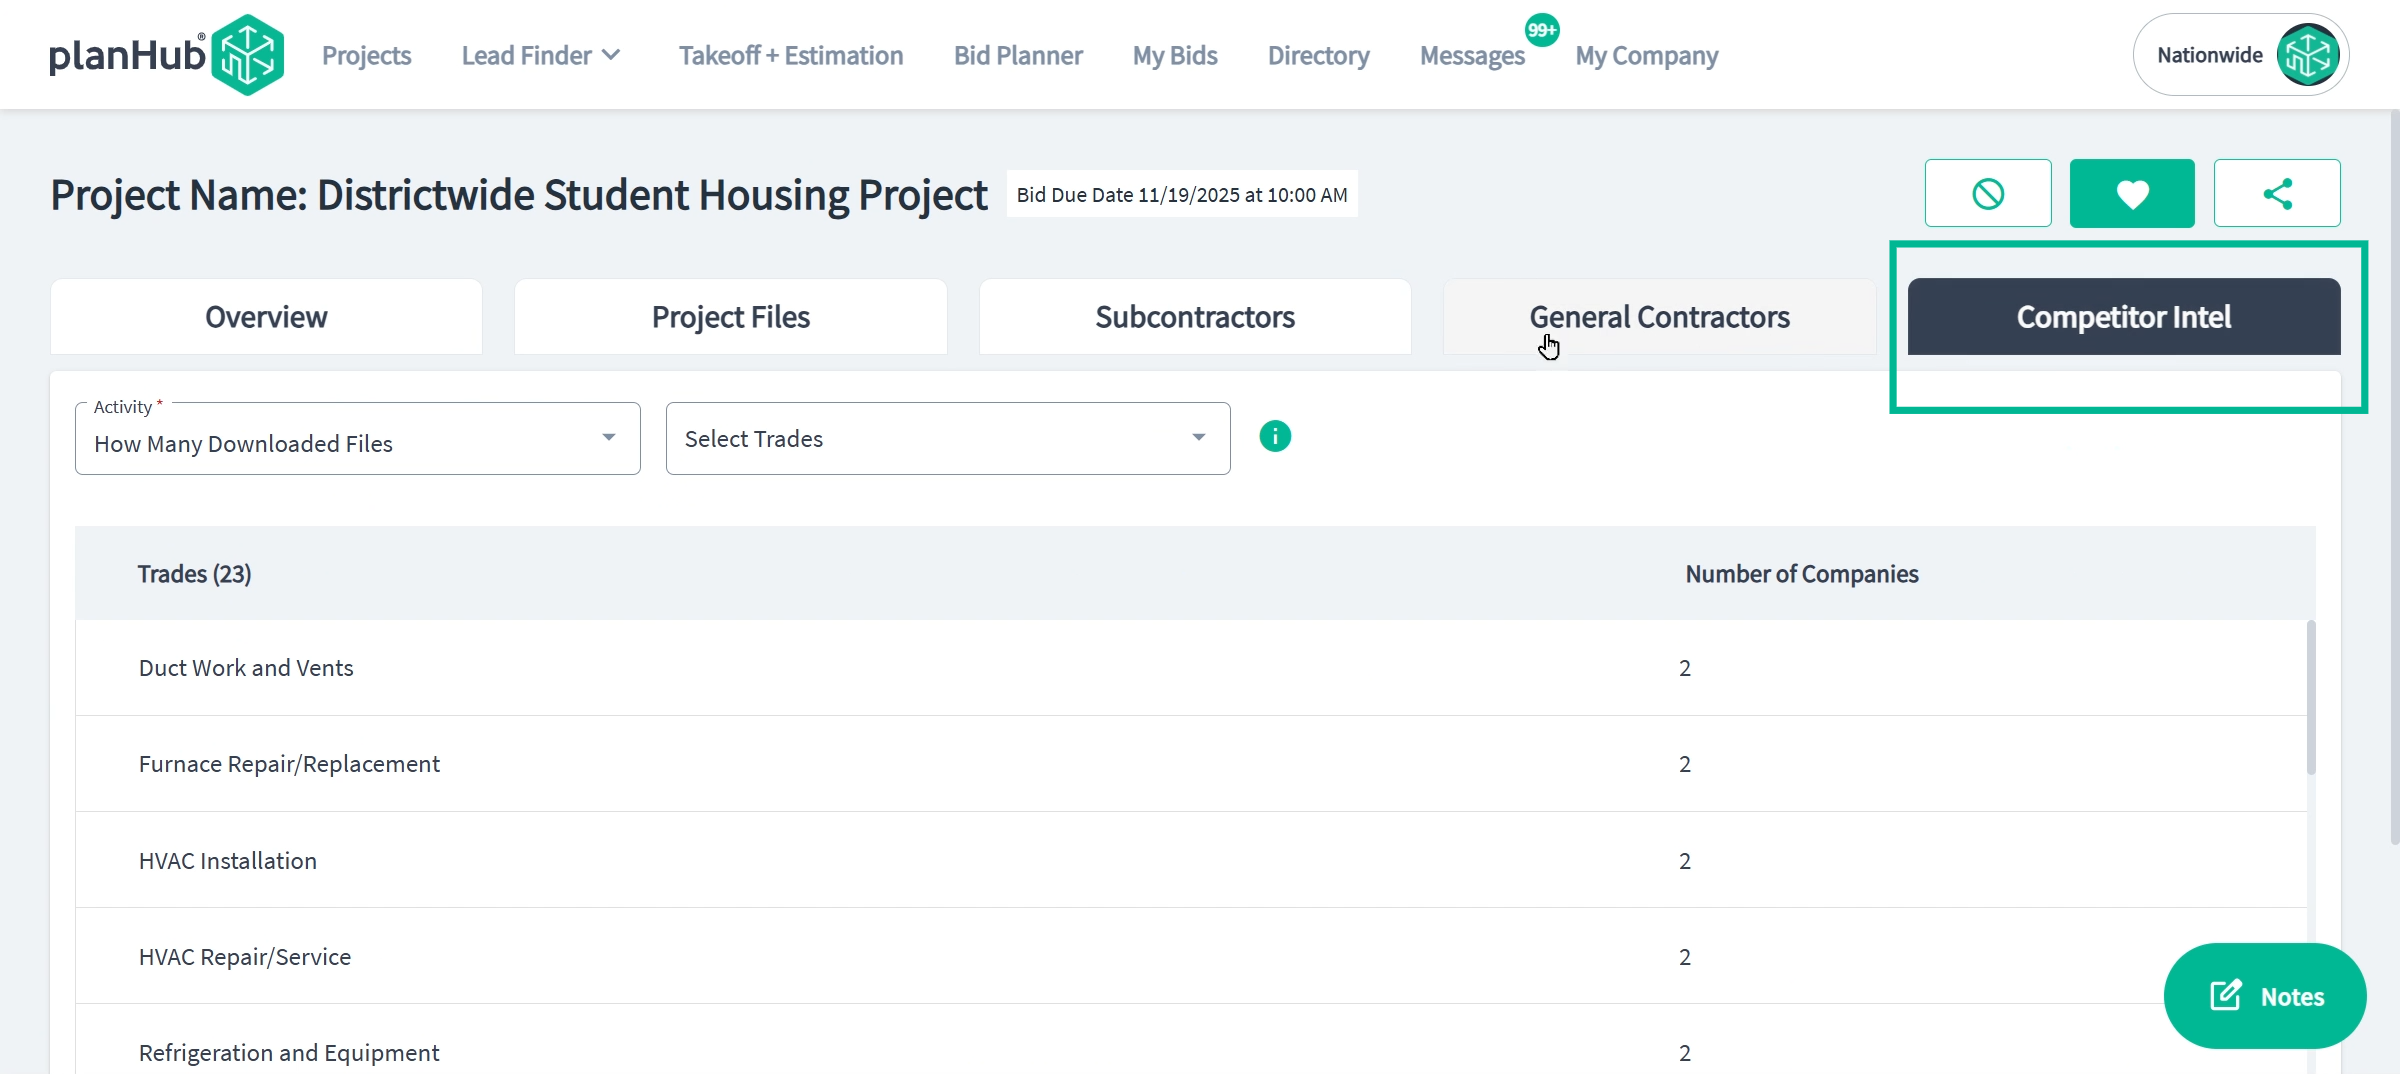
Check competitor intel to see how many others are bidding in your division.
- Keep internal notes for your team right within each project.
Step 9: Submit Bids and Share Estimates
-
When you're ready, submit your bid by navigating to the general contractor and selecting Place Bid.
-
To share an estimate with a subcontractor, go to their contact and select Share Estimate. For sharing with groups, choose multiple subs and send with Share Group Estimate.
-
Make sure every submission is clear, competitive, and complete.
Step 10: Stay Organized With Bid Planner
-
Track all saved and active projects in your Bid Planner, your command center for follow-up and project management.
-
Use the project search and project filters by team member and stage.
-
Move projects through different stages as you manage their progress.

Step 11: Search and Target Contacts in the Directory
-
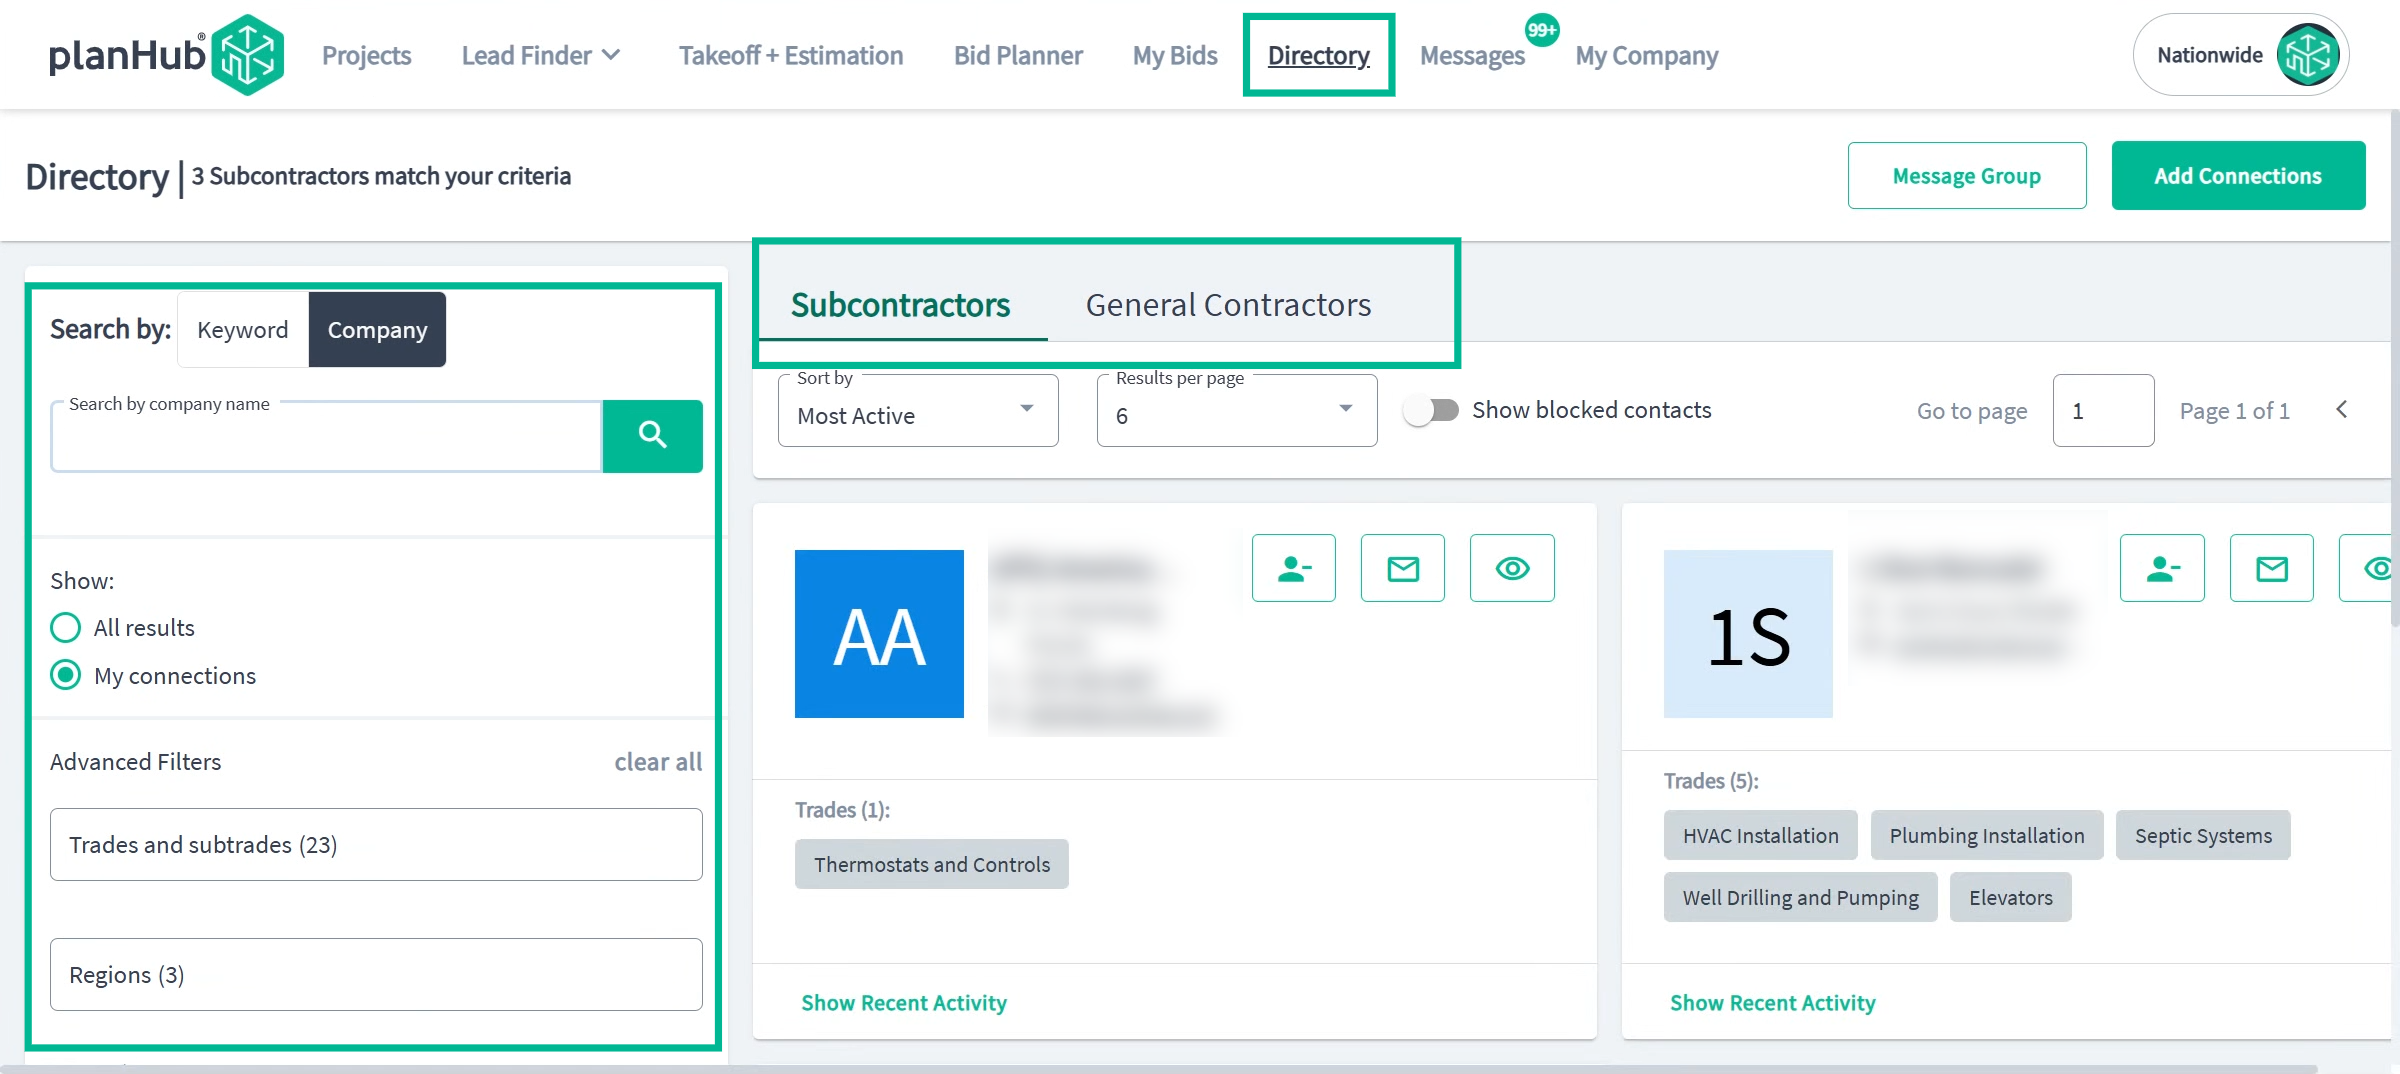
Leverage the built-in directory to find and connect with general contractors or subcontractors outside of projects.
-
You can use the Search tools in the bar to the left to narrow down the results by searching for a contact by company name or email, connection type, trades, or location.
-
Use the Directory to refine your networking to expand your business reach.
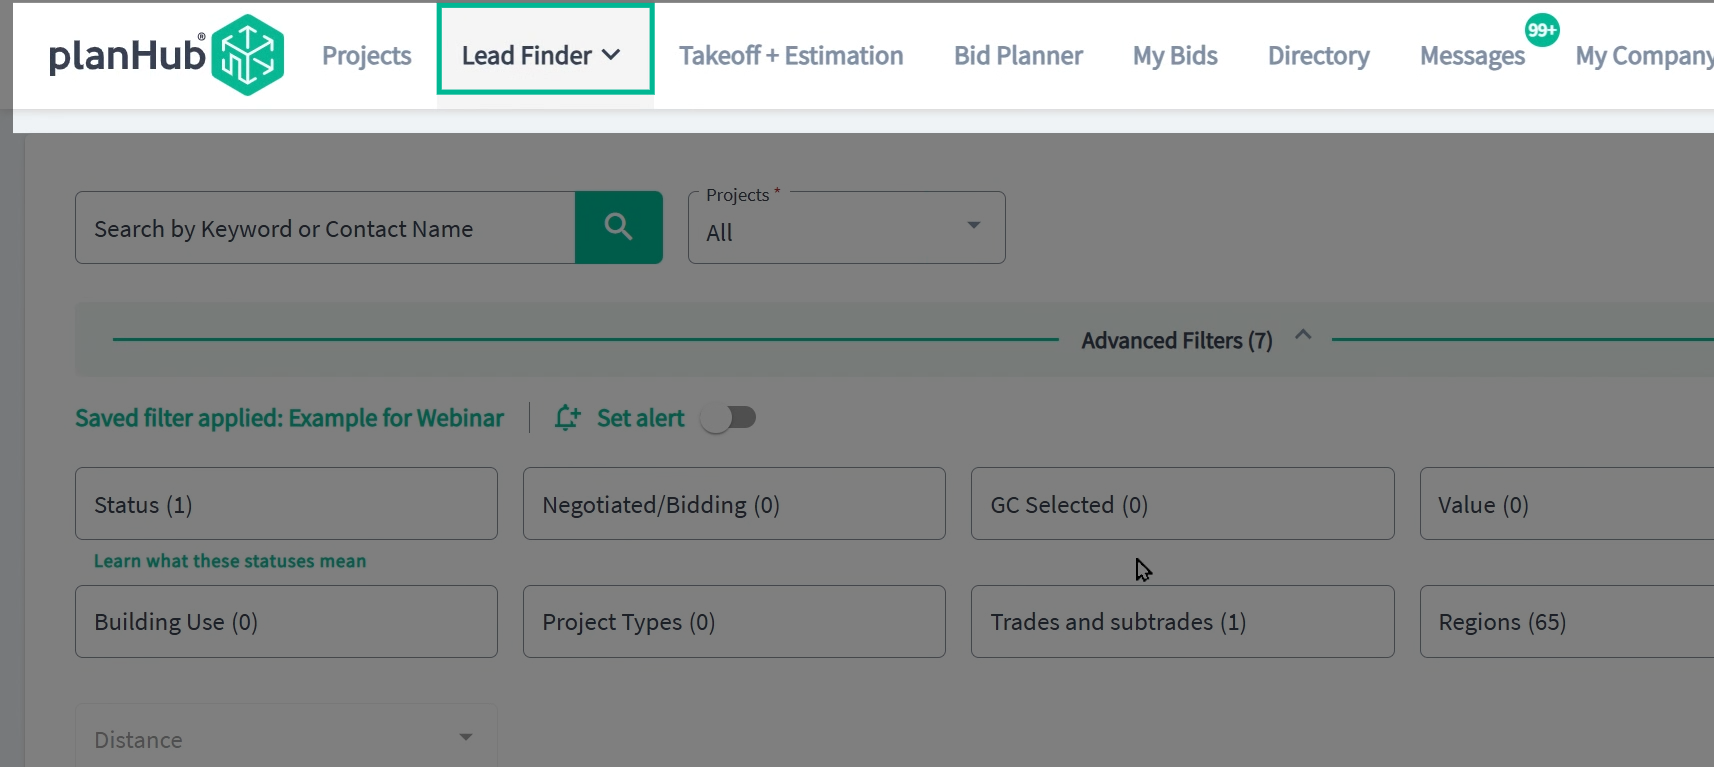
Step 12: Discover Leads in Lead Finder
-
Use the Lead Finder for early-stage project leads that aren't yet out to bid.
-
These 'cold' leads let you get specified before projects go public.
-
Search tools here work similarly to the main Projects search
-
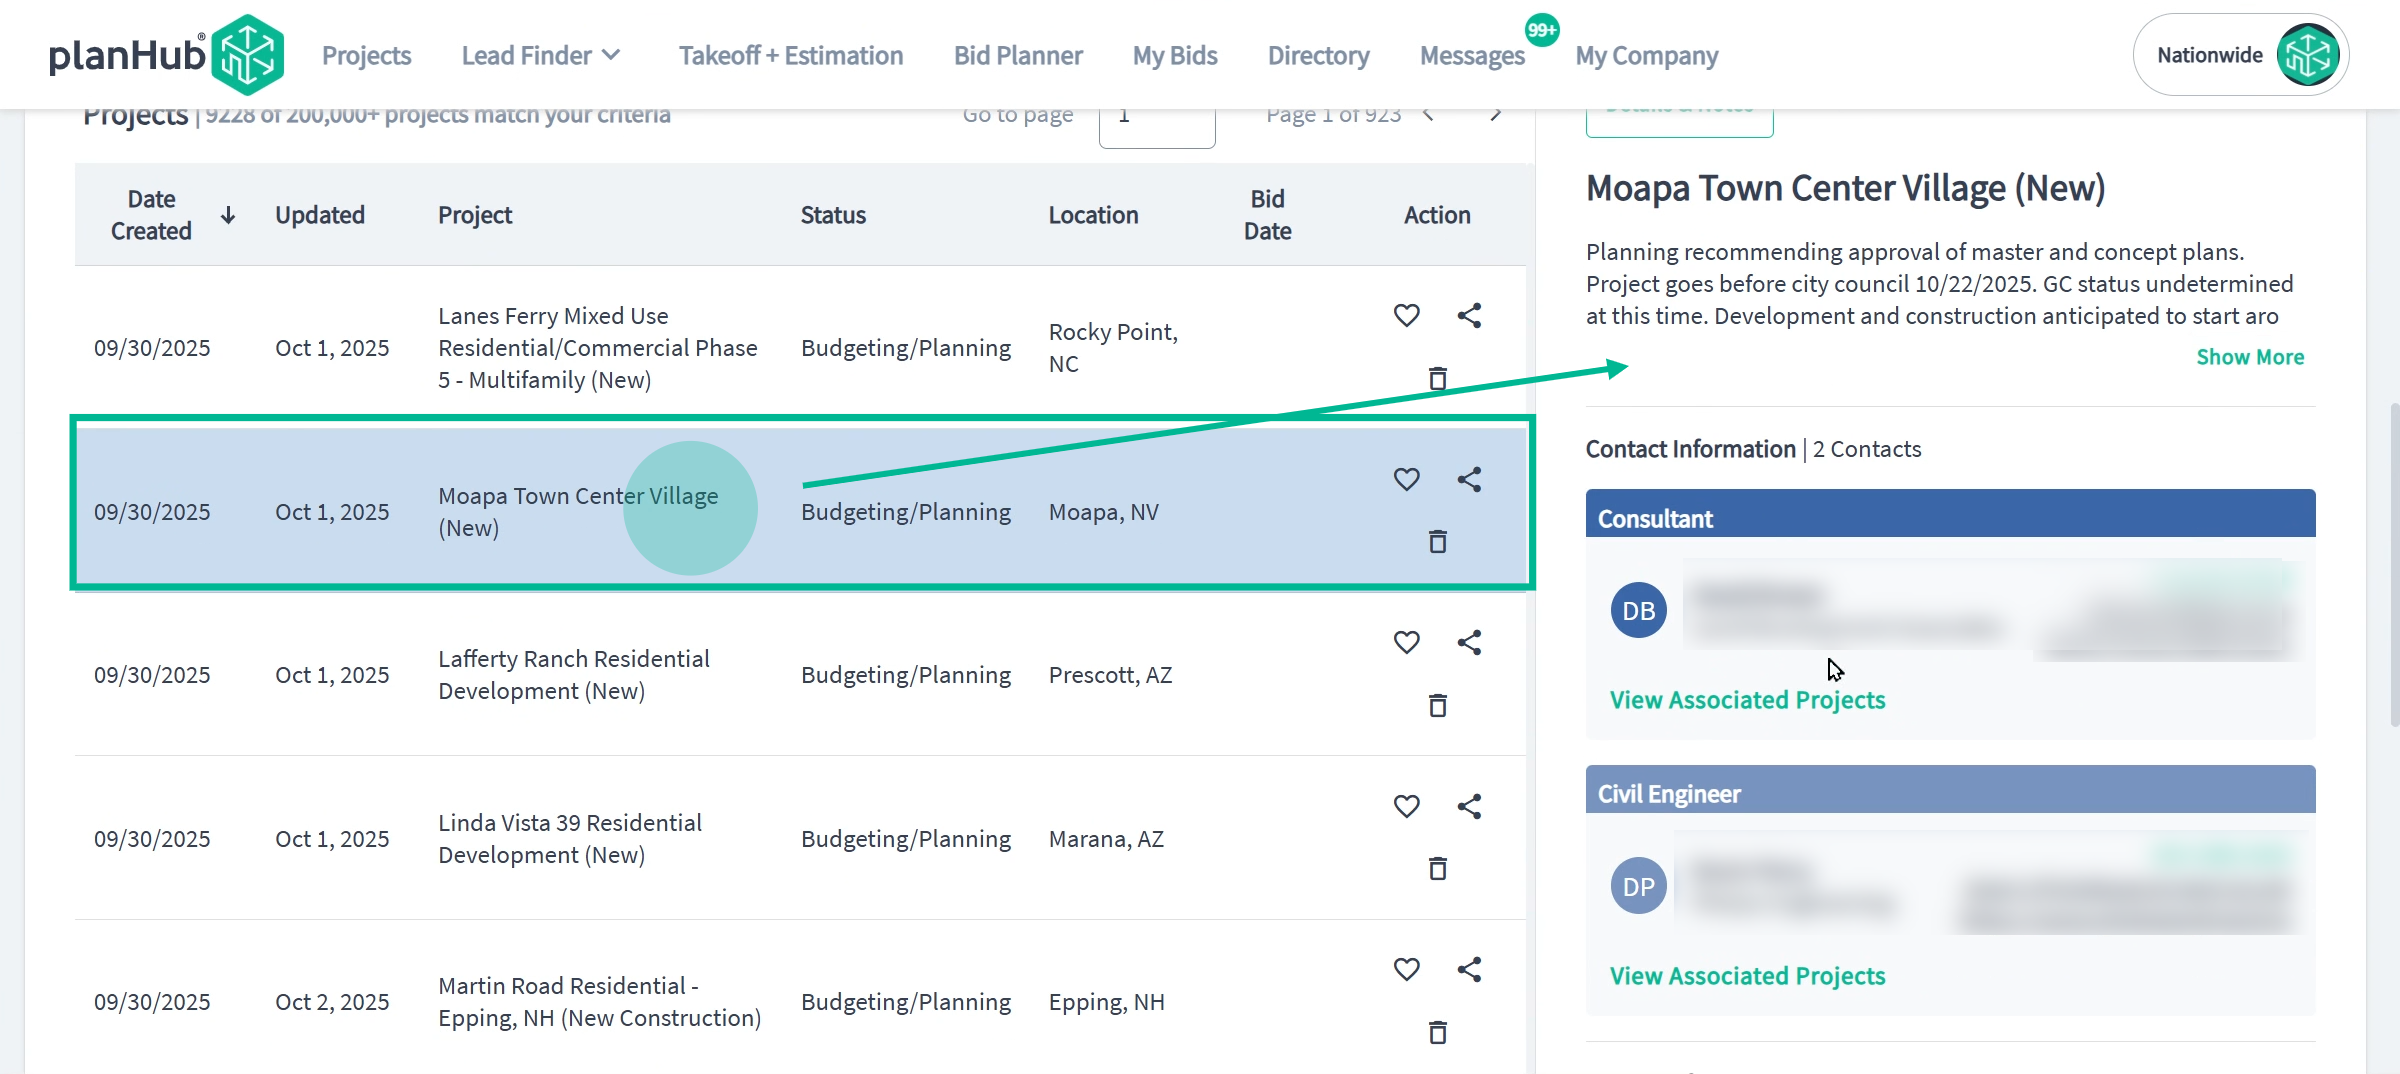
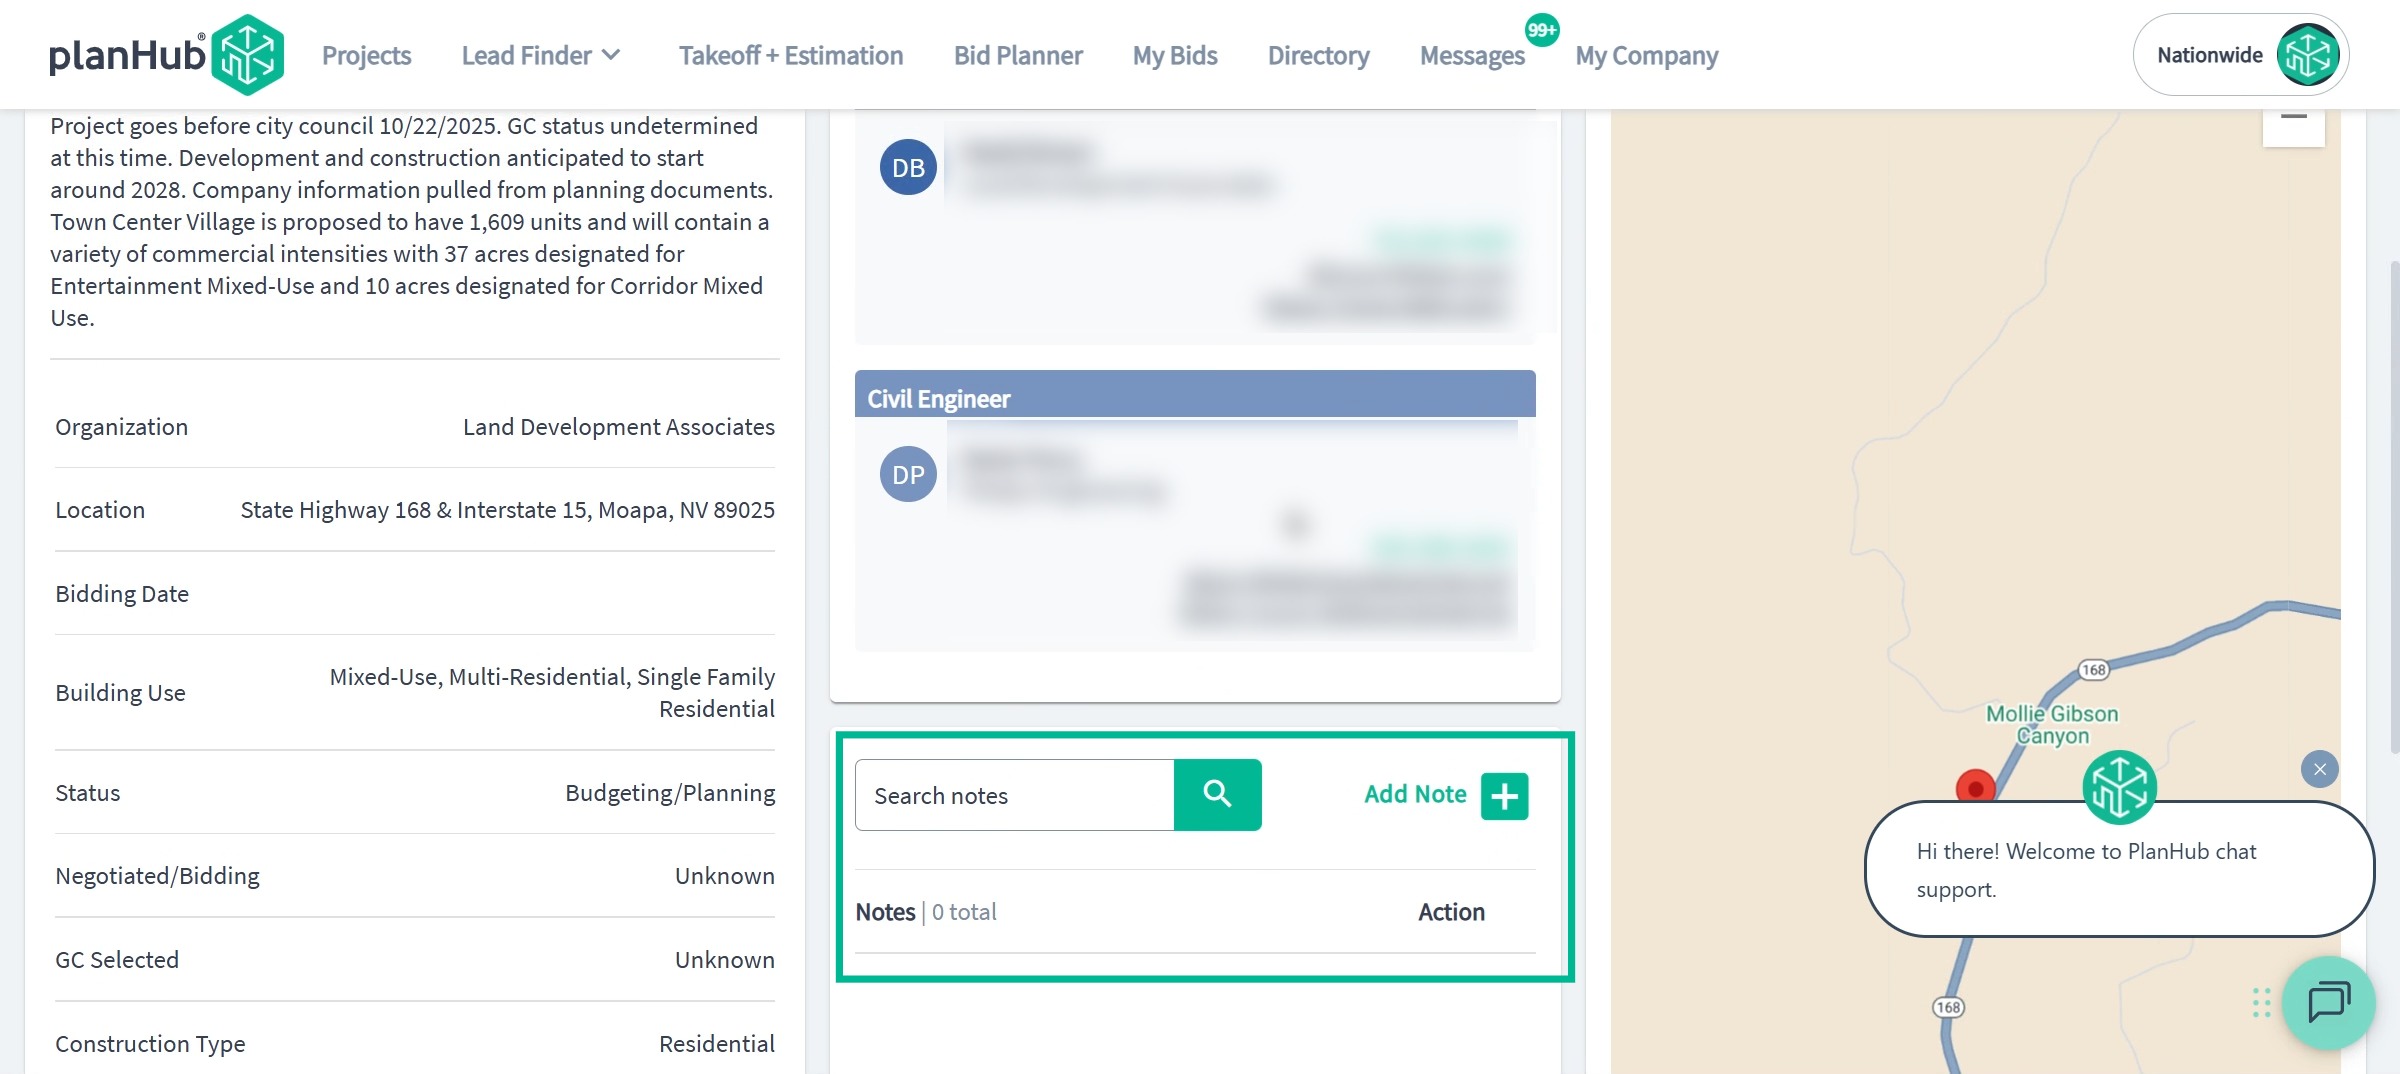
Click a lead for detailed info and get status, descriptions, and main contacts.
-
Add notes and schedule follow-ups directly from the lead's details page.
Why Getting Started Matters A strong profile, tailored search and notification settings, and a disciplined workflow boost your visibility, efficiency, and win rates. Stay proactive and organized—these steps set up your business for long-term growth on PlanHub Pro.
You're ready to explore, connect, and win more work through PlanHub Pro. Reach out to our Success team anytime for support. Welcome aboard!
Troubleshooting
Contact us if you need assistance or to report an issue:
- PlanHub Contact Page: https://planhub.com/contact/
- Customer Facing Support Ticket Link: https://knowledgebase.planhub.com/knowledge/kb-tickets/new
- Customer Success Team: CustomerSuccess@planhub.com