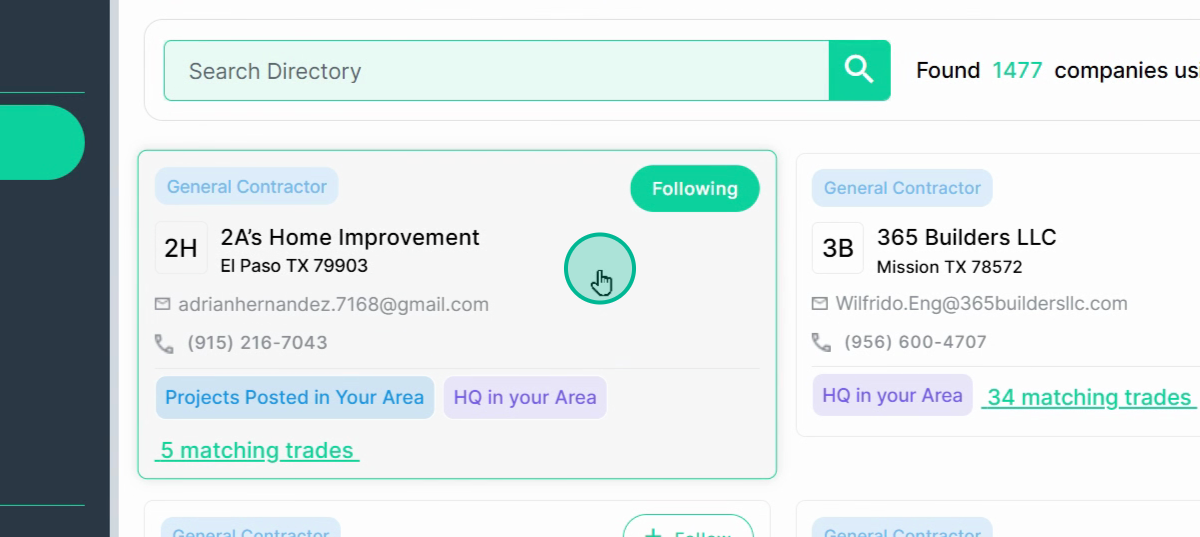
Step 1: Begin by clicking on a company card on the Network page.
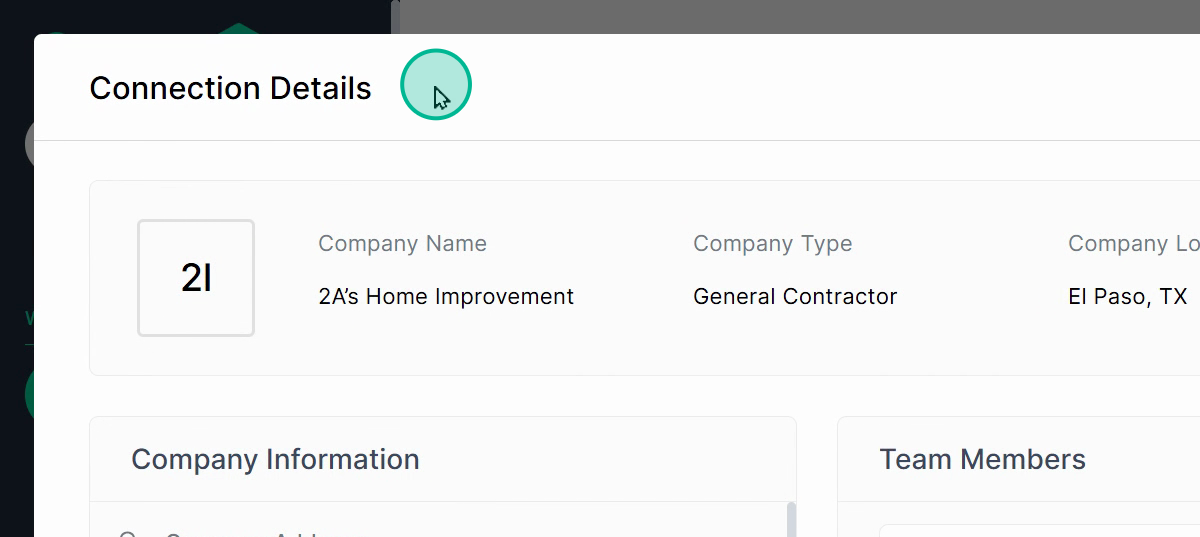
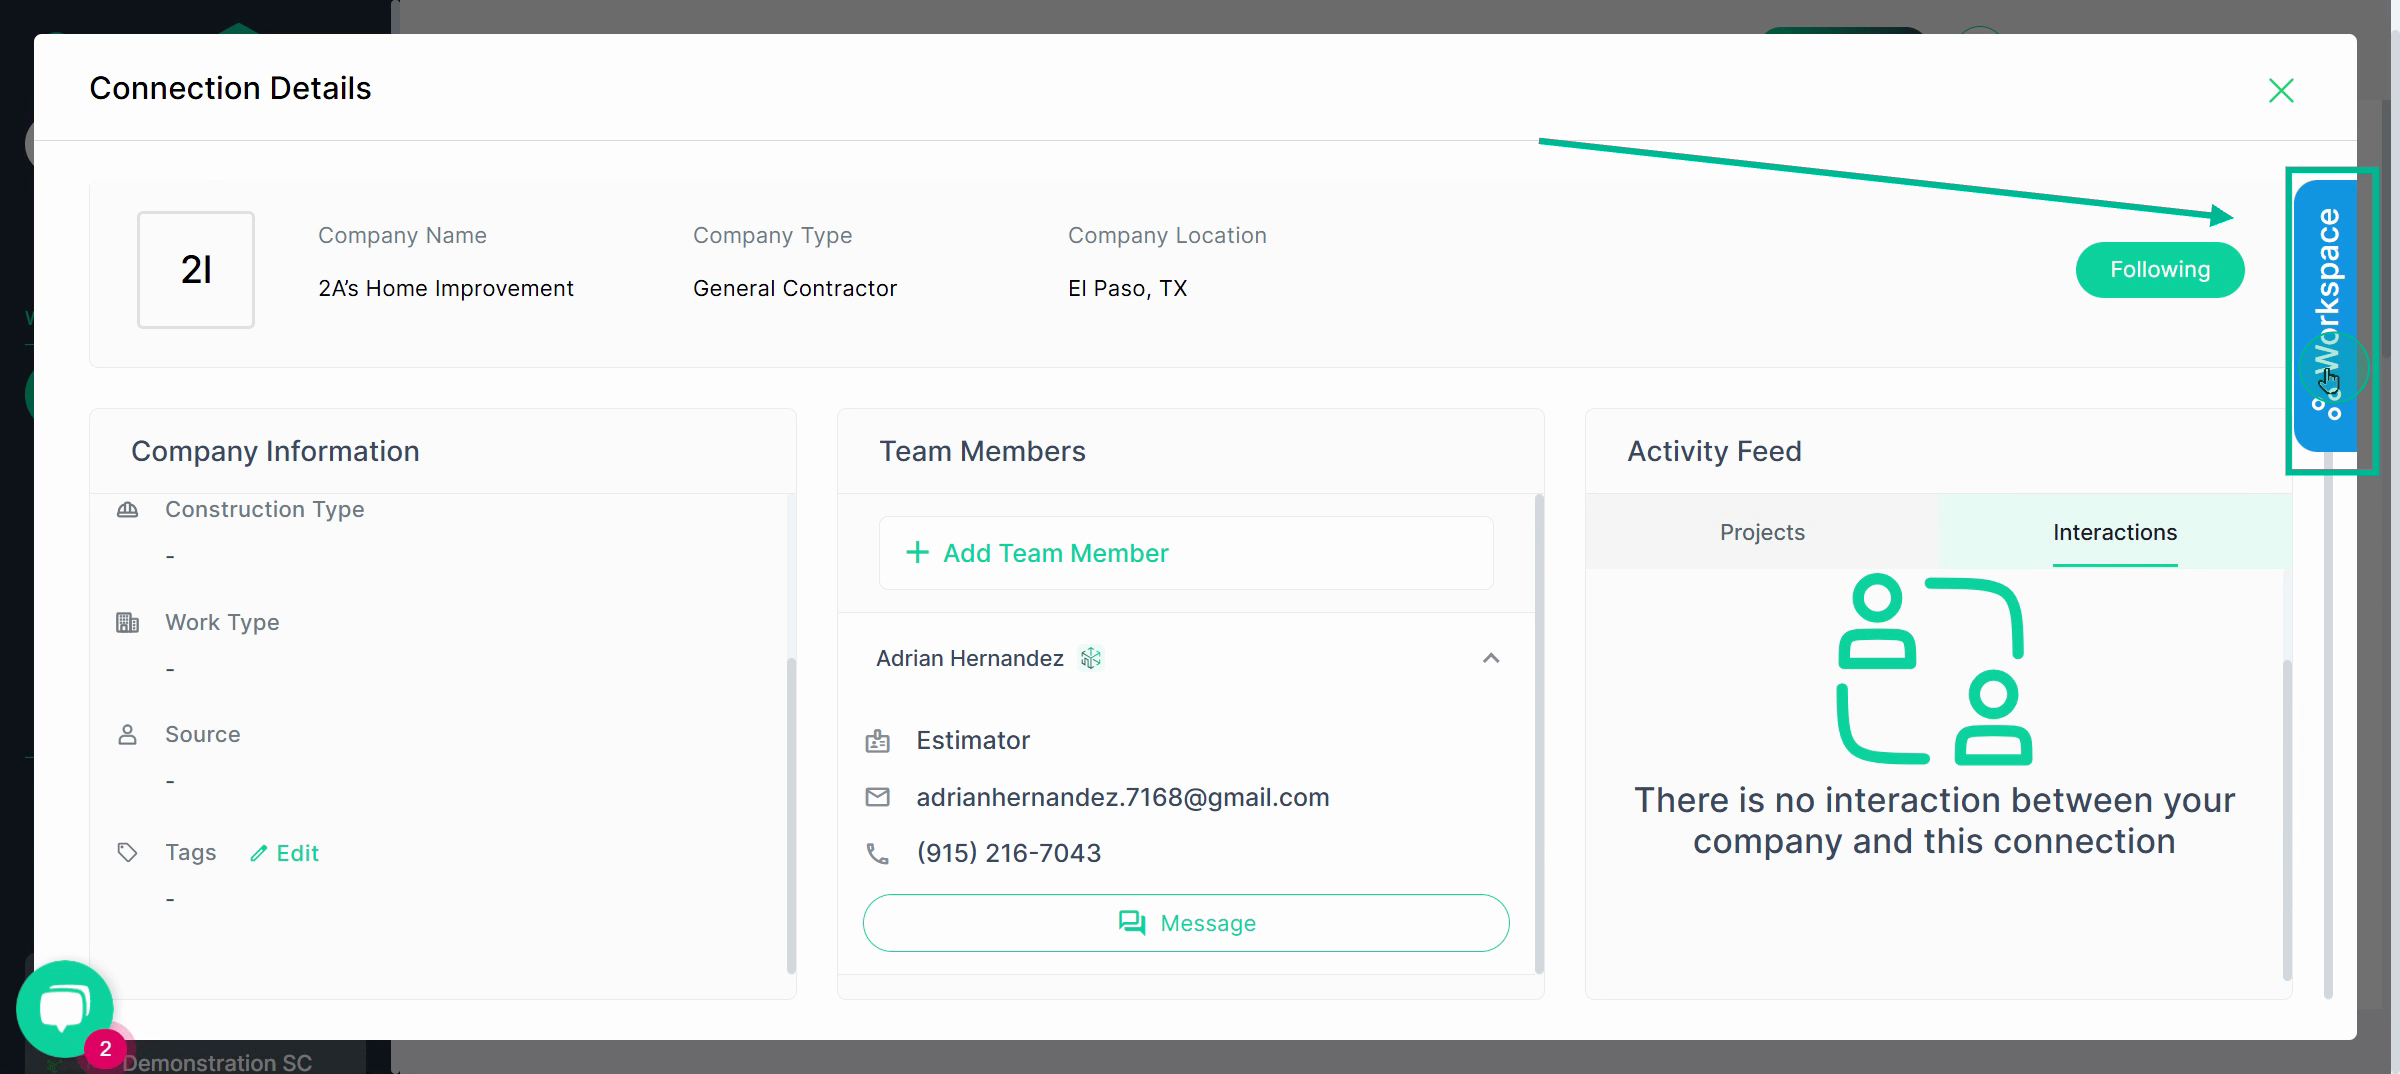
Step 2: This action opens the company's profile where you'll find their connection details.
Step 3: The details include the company name, the company type, and the company location.
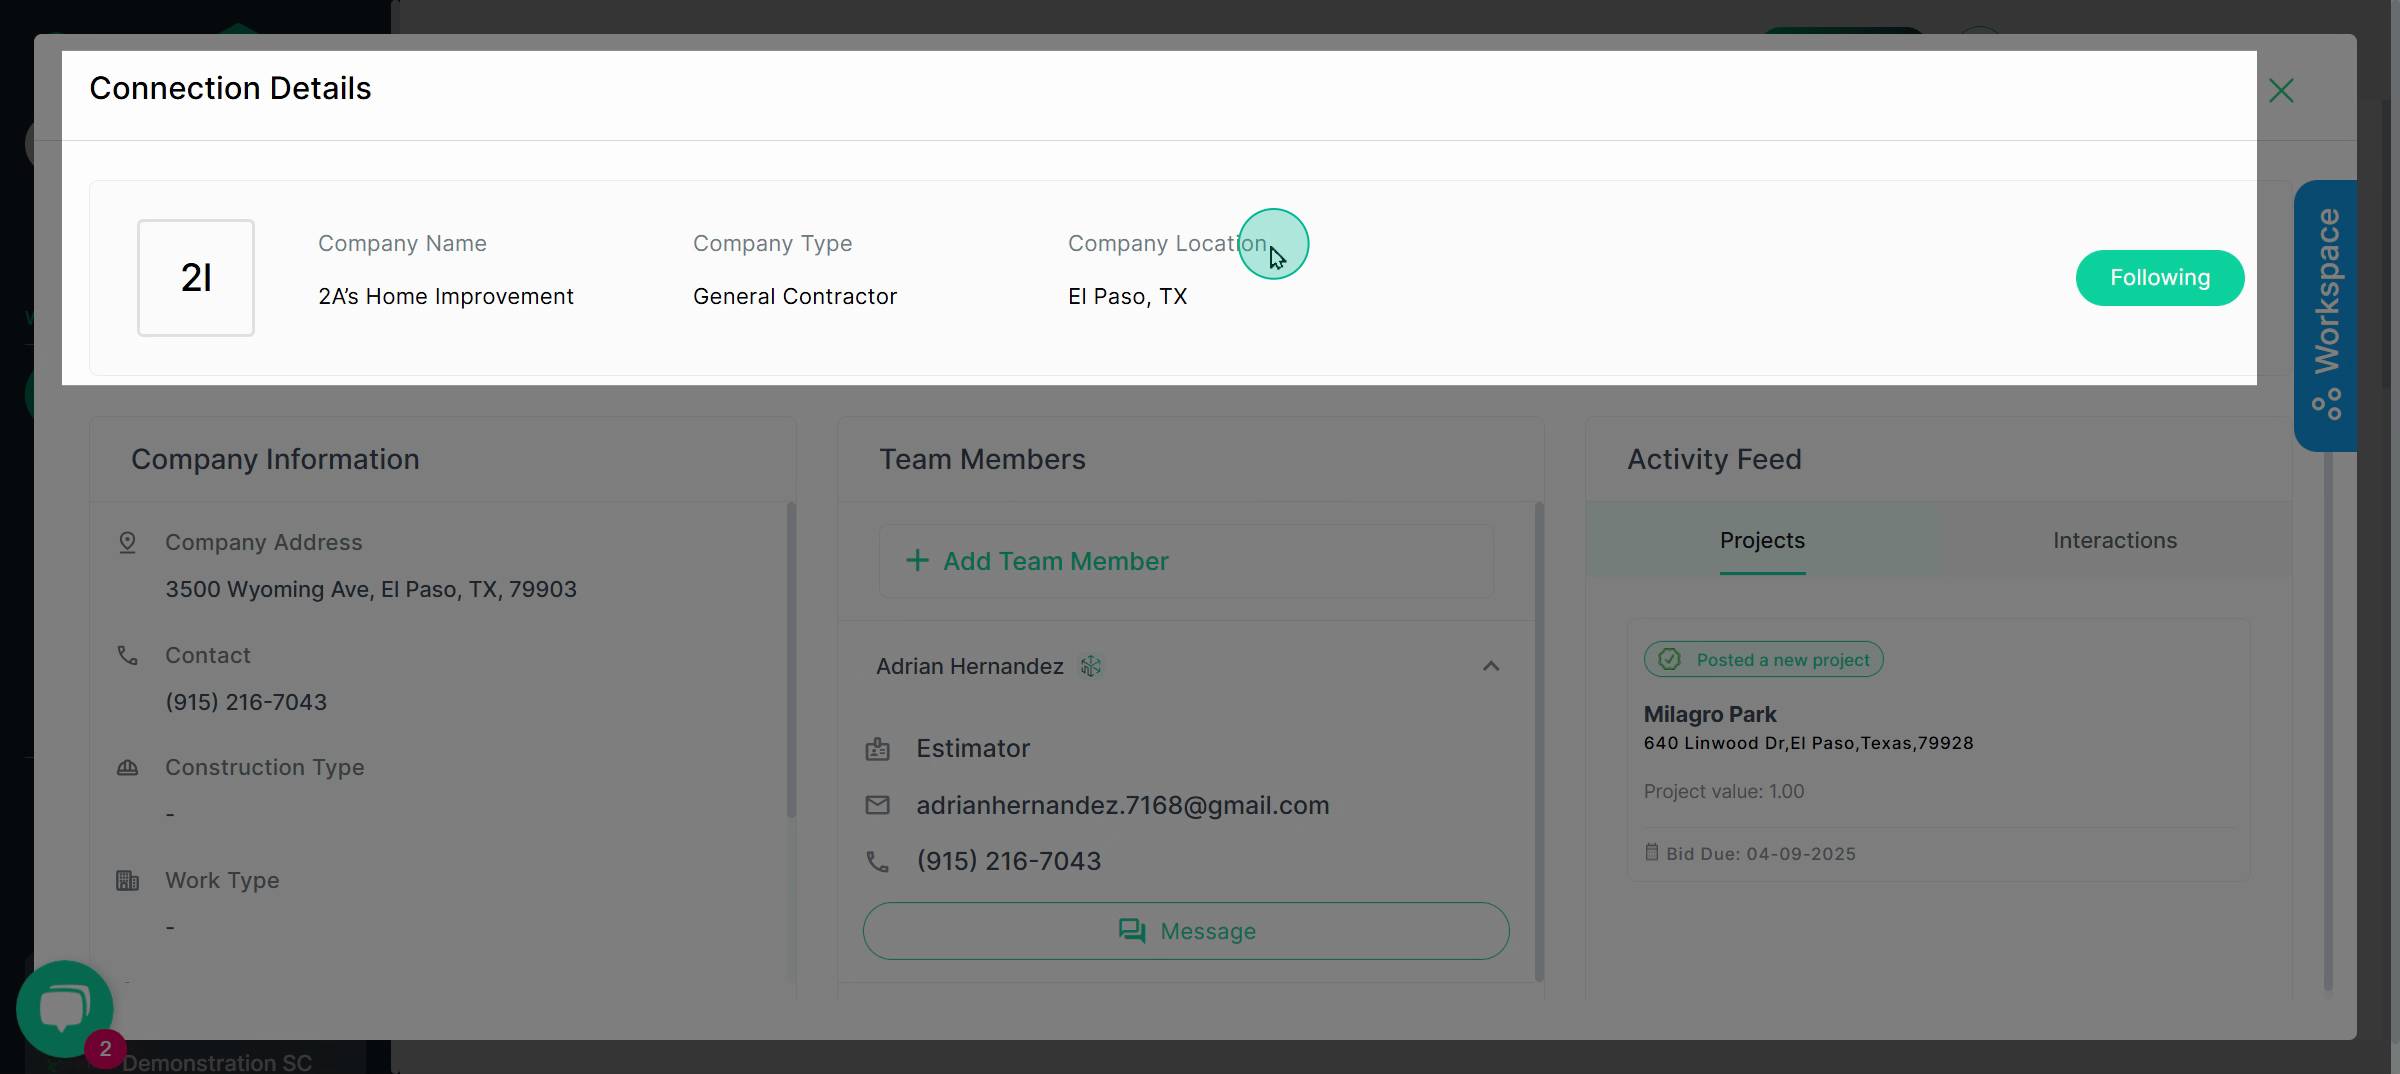
Step 4: For additional company information, check the Company Information section. Note in the Tags section, you can add customized labels to this company that help you and your team organize and find this company again in the future using filters.
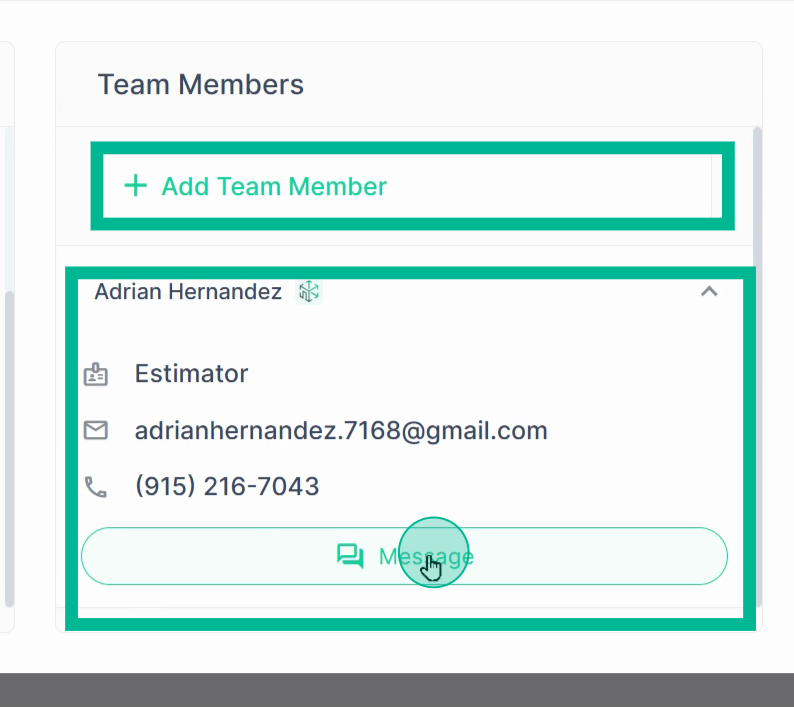
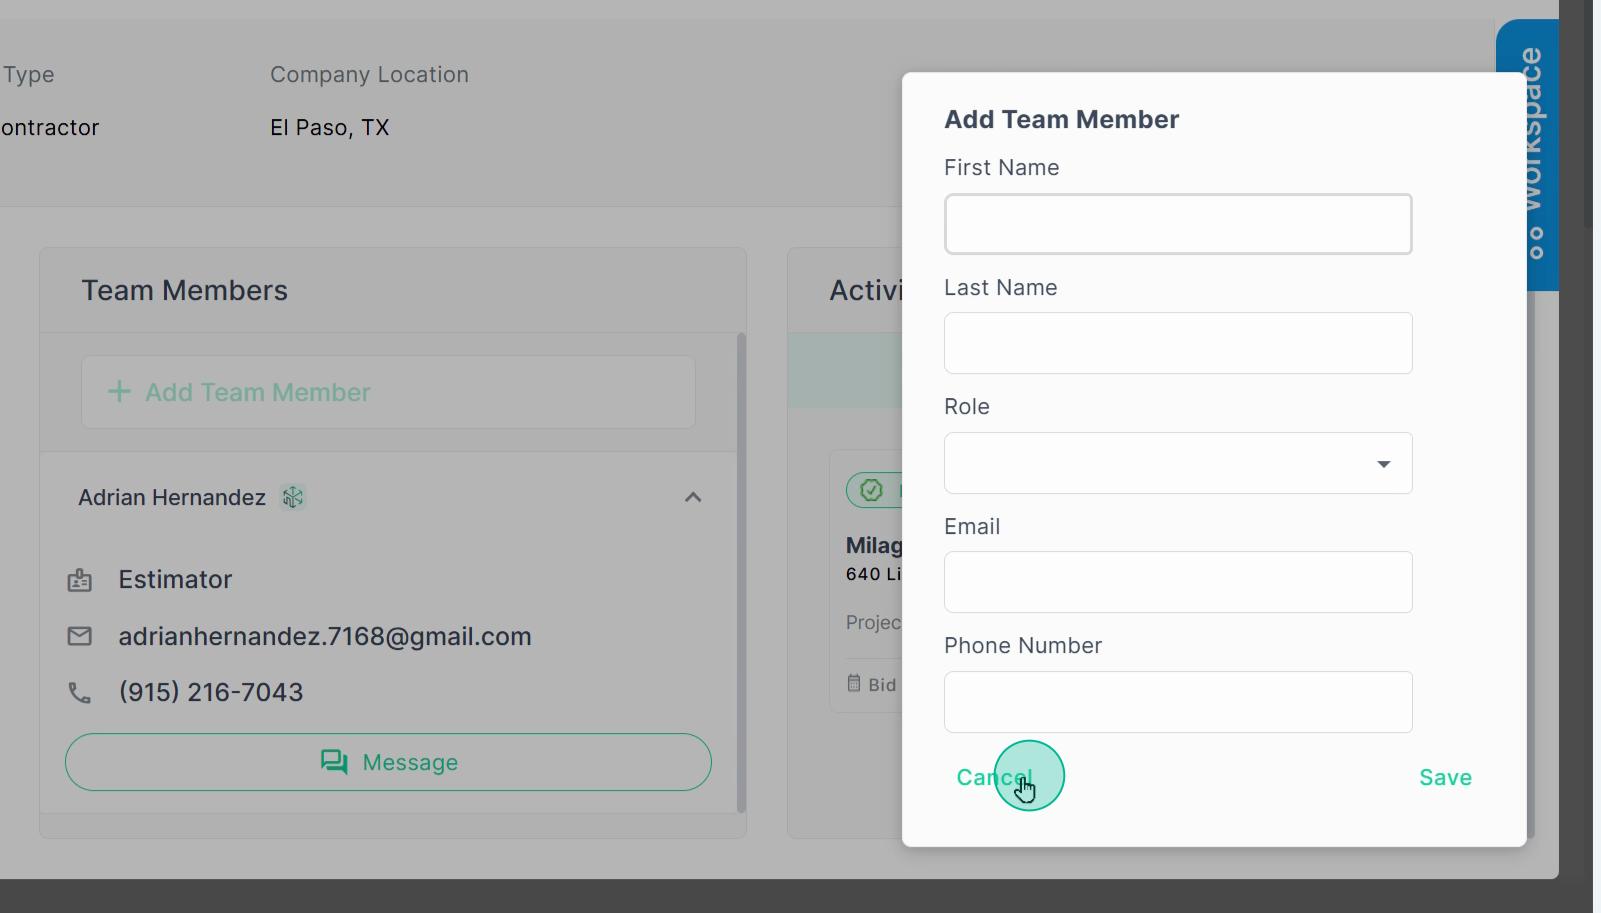
Step 5: The Team Member box provides a list of team members. To send a team member a message, click on Message. If there are contacts with this company that are not listed, click Add Team Member.
Step 6: You'll need to fill out a team member profile for any contacts you add. These contacts remain private to your company until they register the email address you listed for their own PlanHub login under their company profile.
Step 7: In the Activity feed, you'll see a list of projects that the general contractor has posted to PlanHub and any interactions you've had with the general contractor in PlanHub.

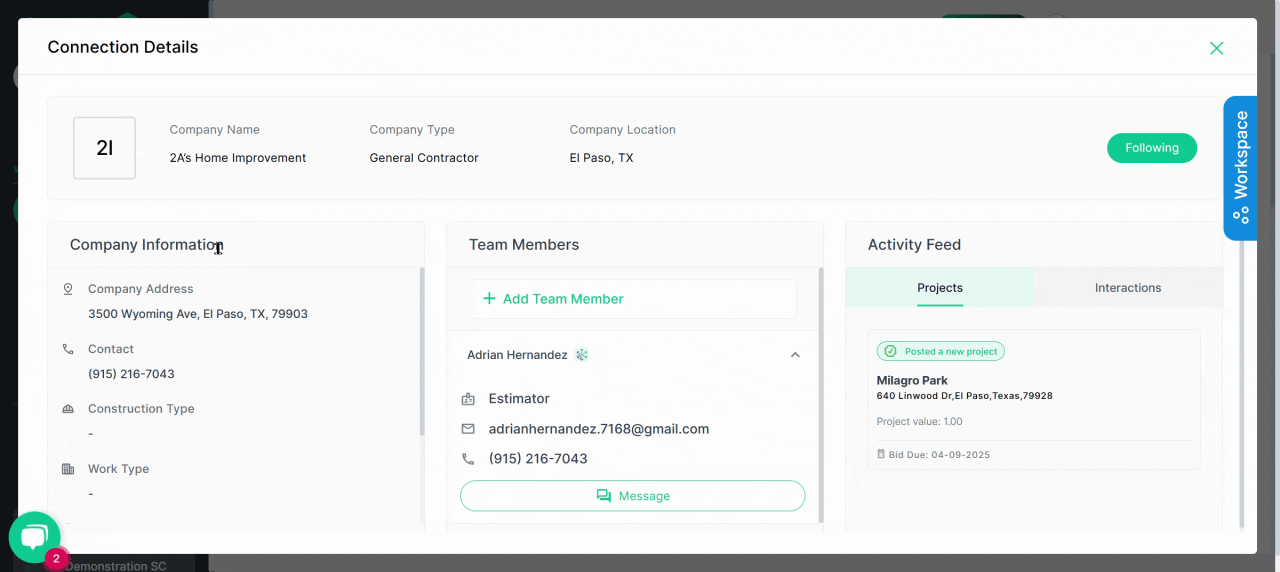
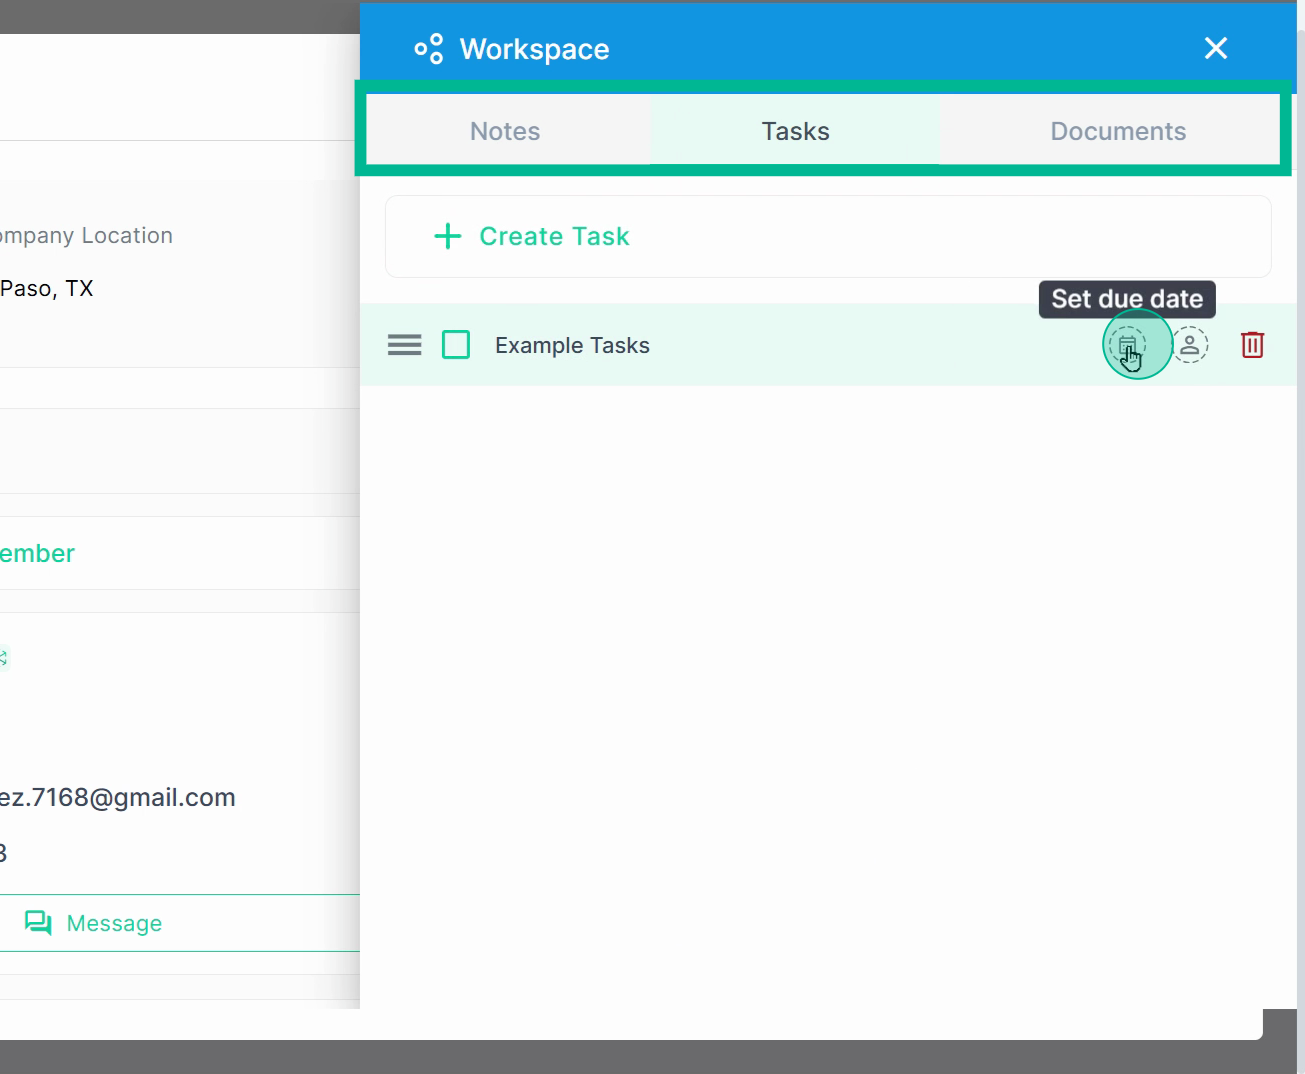
Step 8: Each company card has a workspace.
Step 9: Use this workspace to keep private notes for yourself and your team members, tracking the relationship you're building. Assign tasks to yourself or your team members. You also have the option to attach additional documentation. This can include any documentation related to your company's relationship with the general contractor.
These tools improve communication, collaboration, and follow-up efforts while helping your team effectively manage networking opportunities and company interactions.
Troubleshooting
Contact us if you need assistance or to report an issue:
- PlanHub Contact Page: https://planhub.com/contact/
- Customer Facing Support Ticket Link: https://knowledgebase.planhub.com/knowledge/kb-tickets/new