Guide to using the Messaging Center for General Contractors
This article will guide you on how to use the Messaging Center for general contractors in planHub.
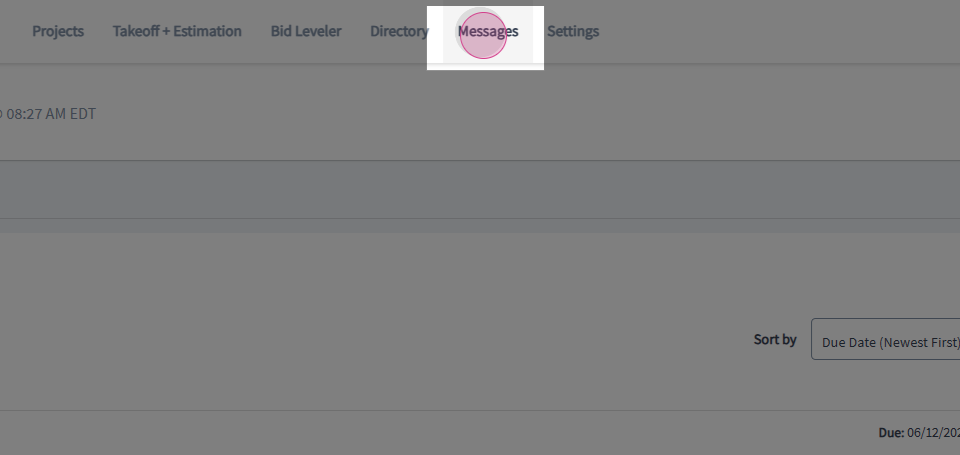
Step 1: Access the Messaging Center by clicking on Messages in the main navigation bar at the top of your planHub account page.
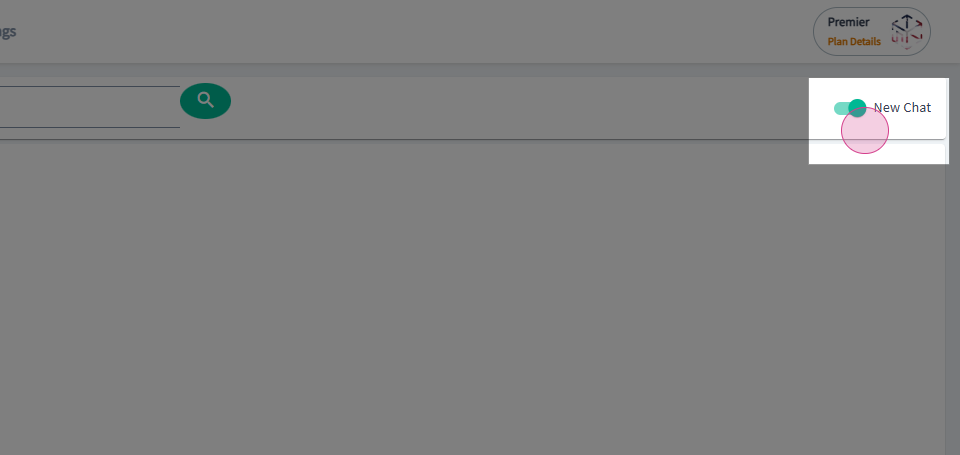
Step 2: To view old messages, click on the toggle in the top right corner.
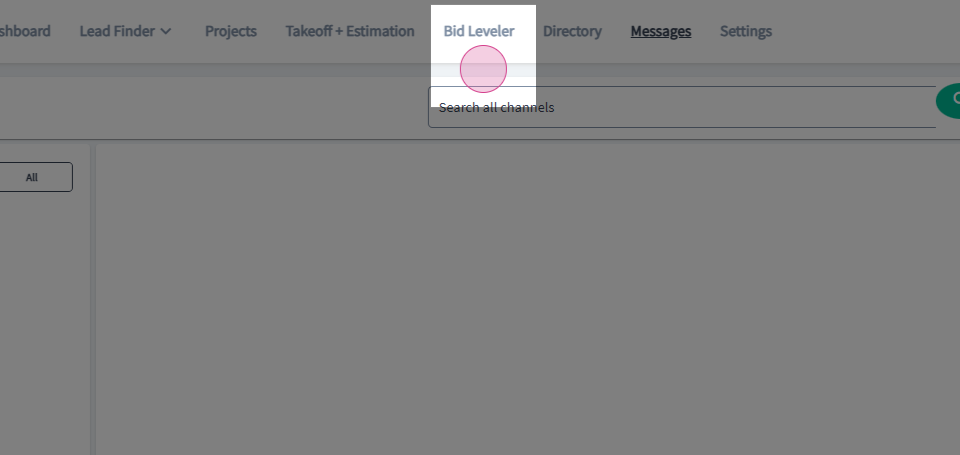
Step 3: You can initiate a chat from the Projects page, the Bid Leveler page, or from the Directory.
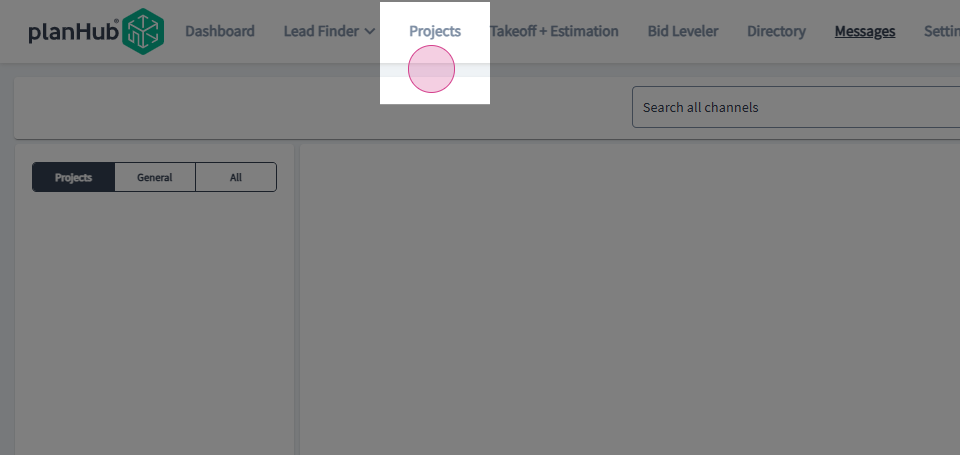
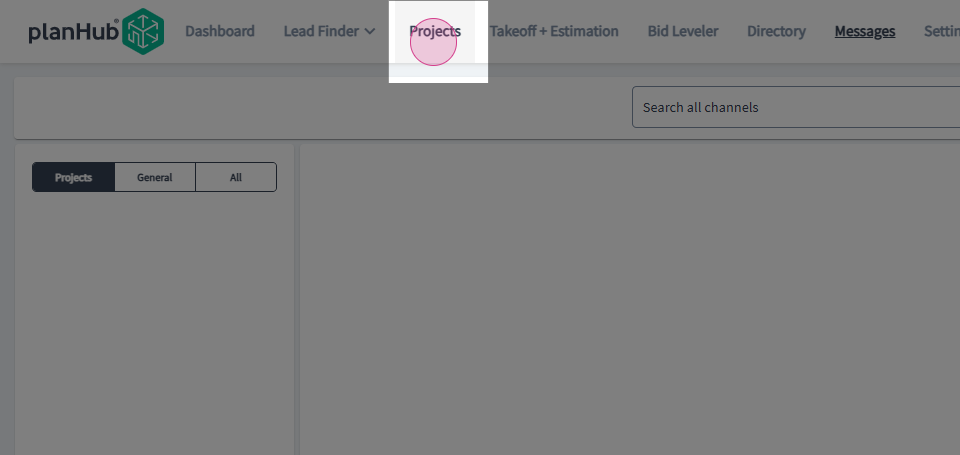
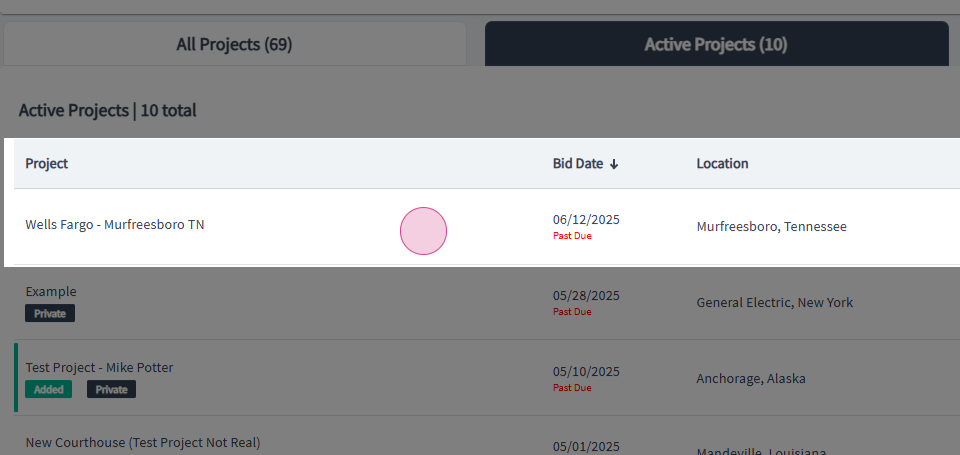
Step 4: To begin a conversation from a project, click on Projects at the top in the main navigation bar, then click on a project you posted.
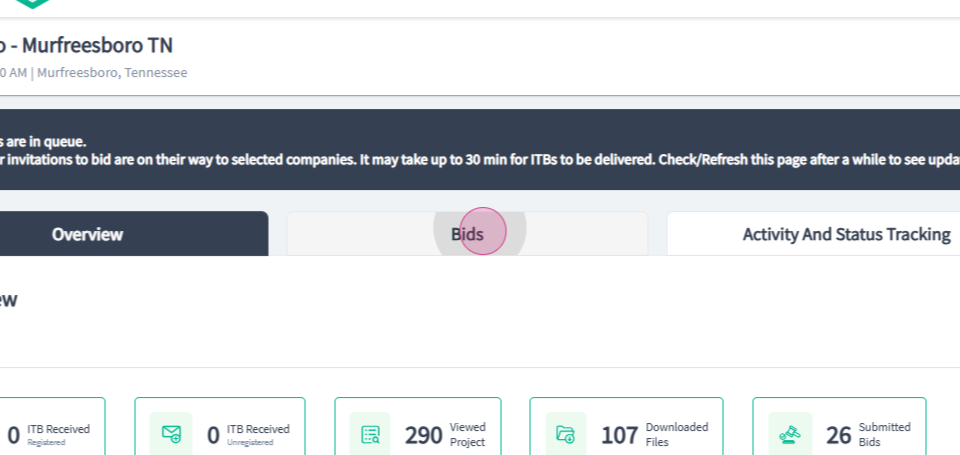
Step 5: To begin a conversation with a contact, click on the Bids tab.
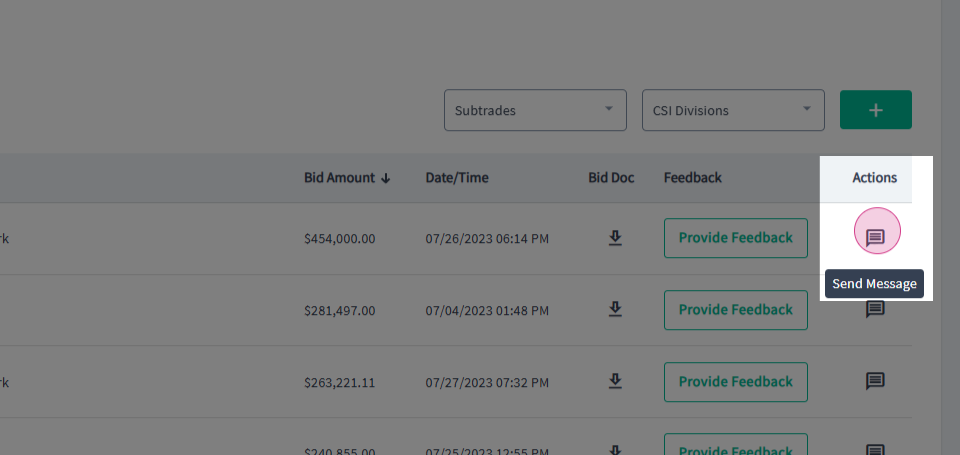
Step 6: Then select the Send Message option in the Actions column for the contact.
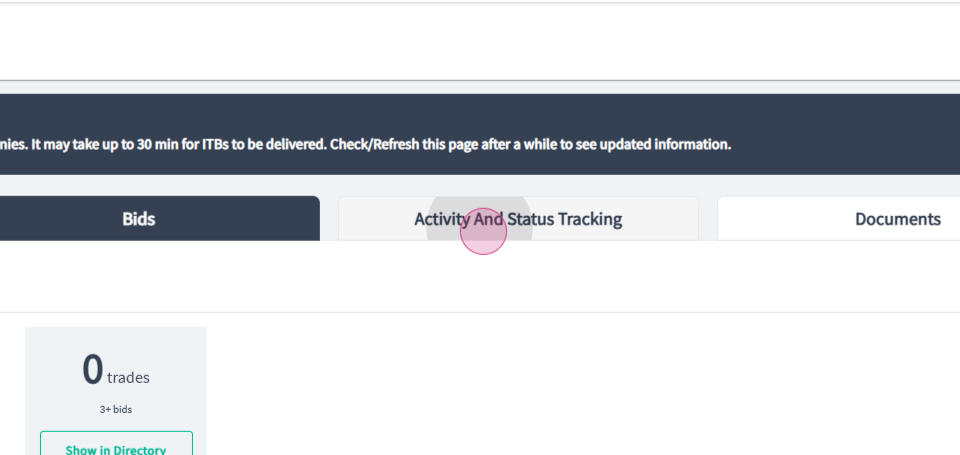
Step 7: To initiate a conversation in the Activity and Status Tracking section, click on the Activity and Status Tracking tab.
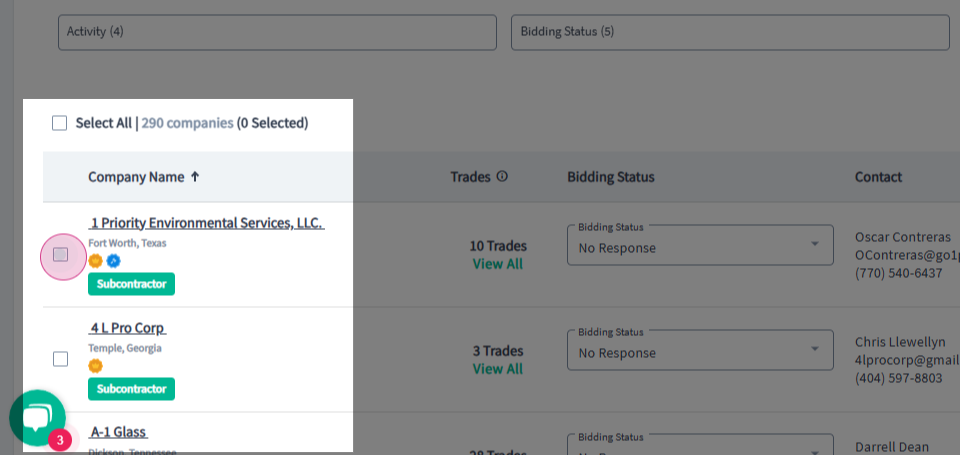
Step 8: Select the contacts you want to send a message to by clicking on the check mark box for each contact.
Step 9: Then click on the Message link in the top right corner.
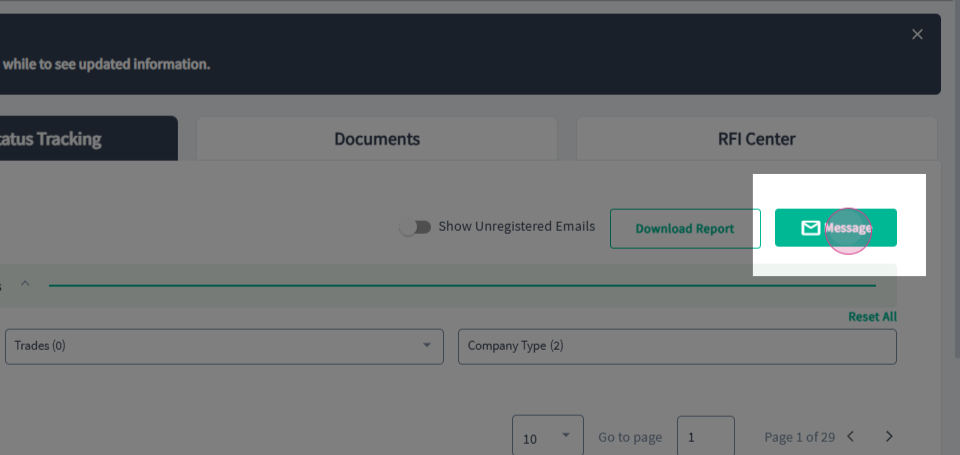
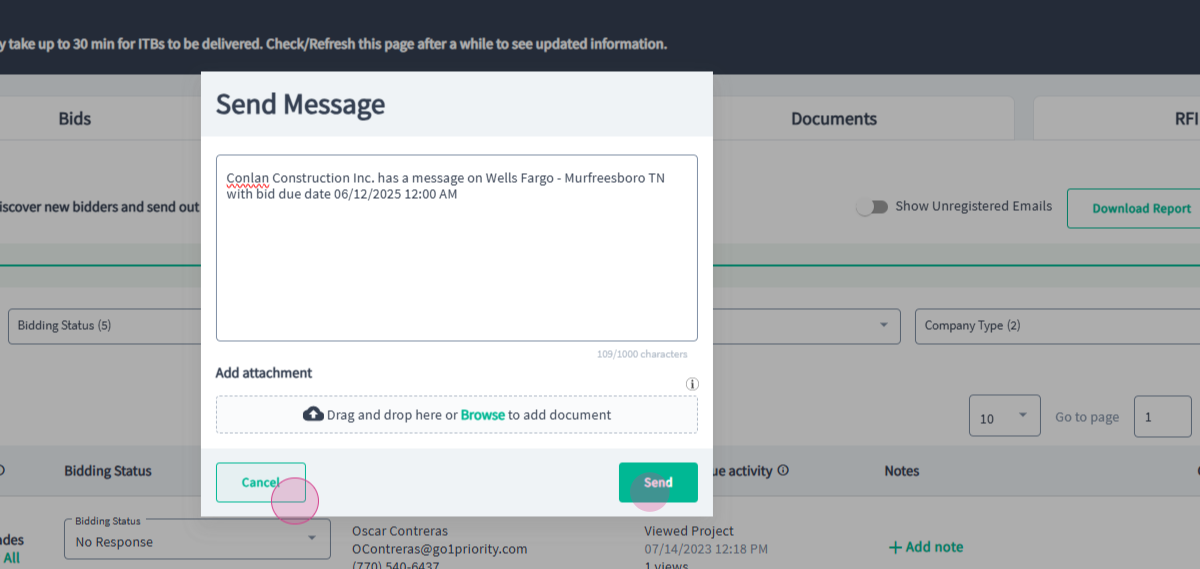
Step 10: From the pop up window, enter your message, upload documents you want to include and then click on Send to send the message.
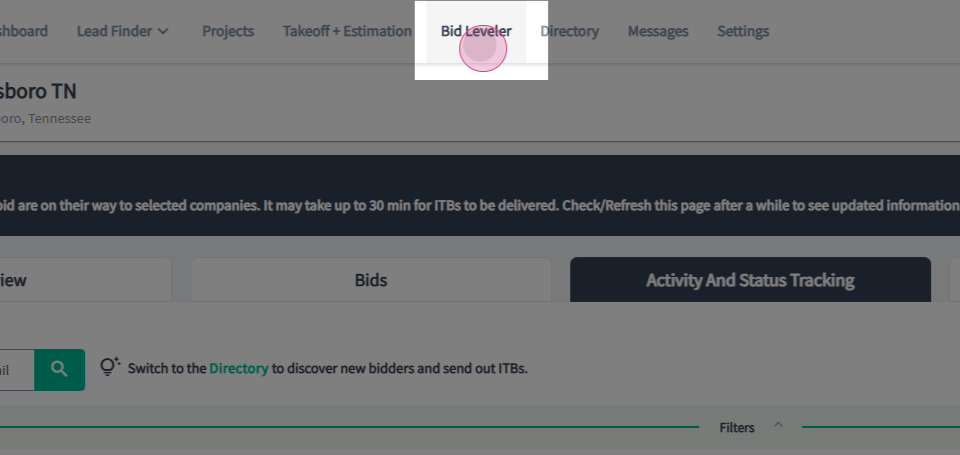
Step 11: To initiate a conversation from Bid Leveler, click on Bid Leveler in the main navigation bar at the top of the page.
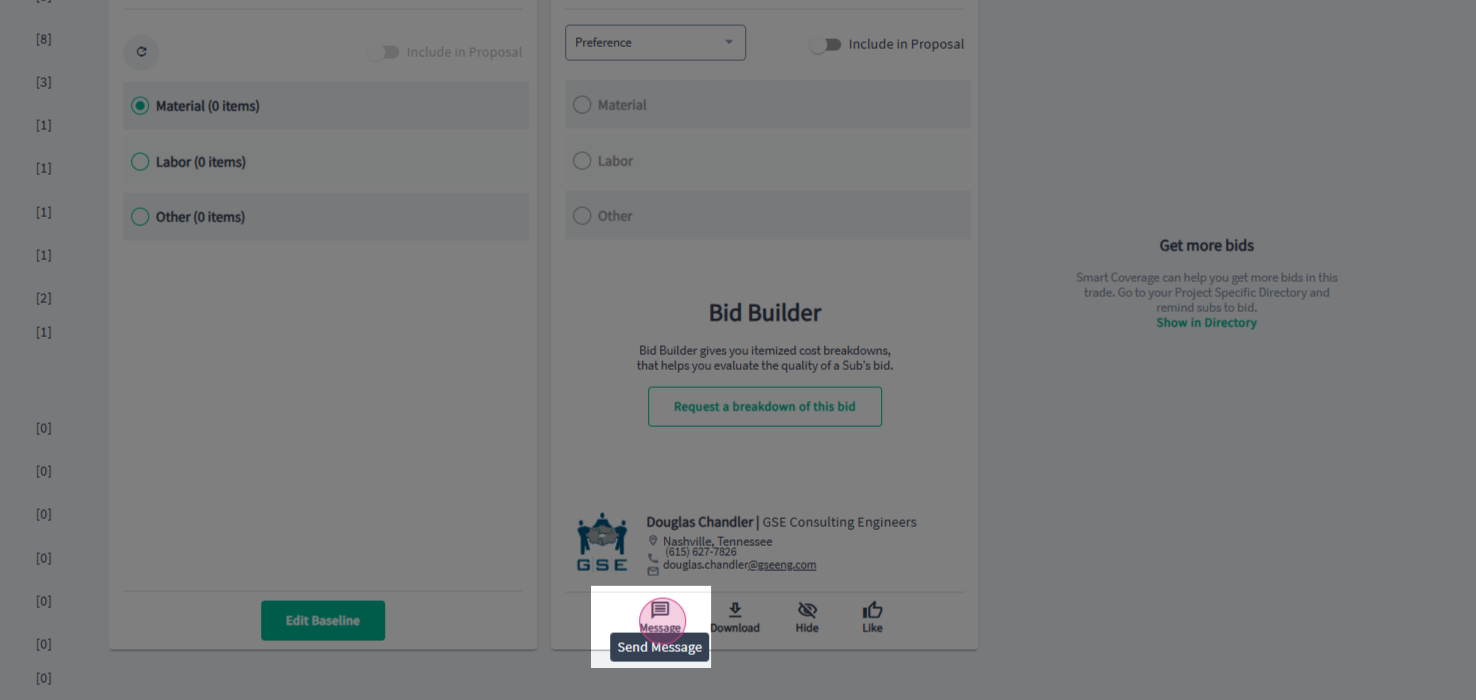
Step 12: Then, click on Message located at the bottom of the bid card.
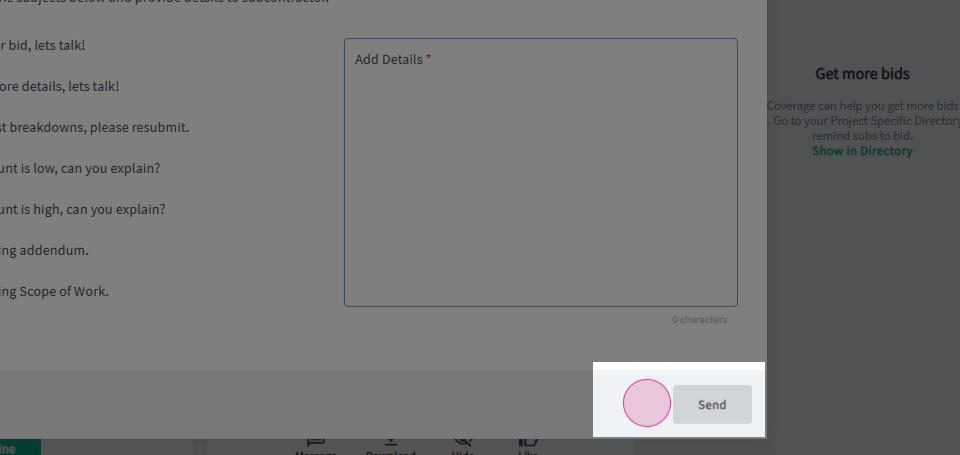
Step 13: From the message pop-up window, select an option from the subjects listed and enter your details.
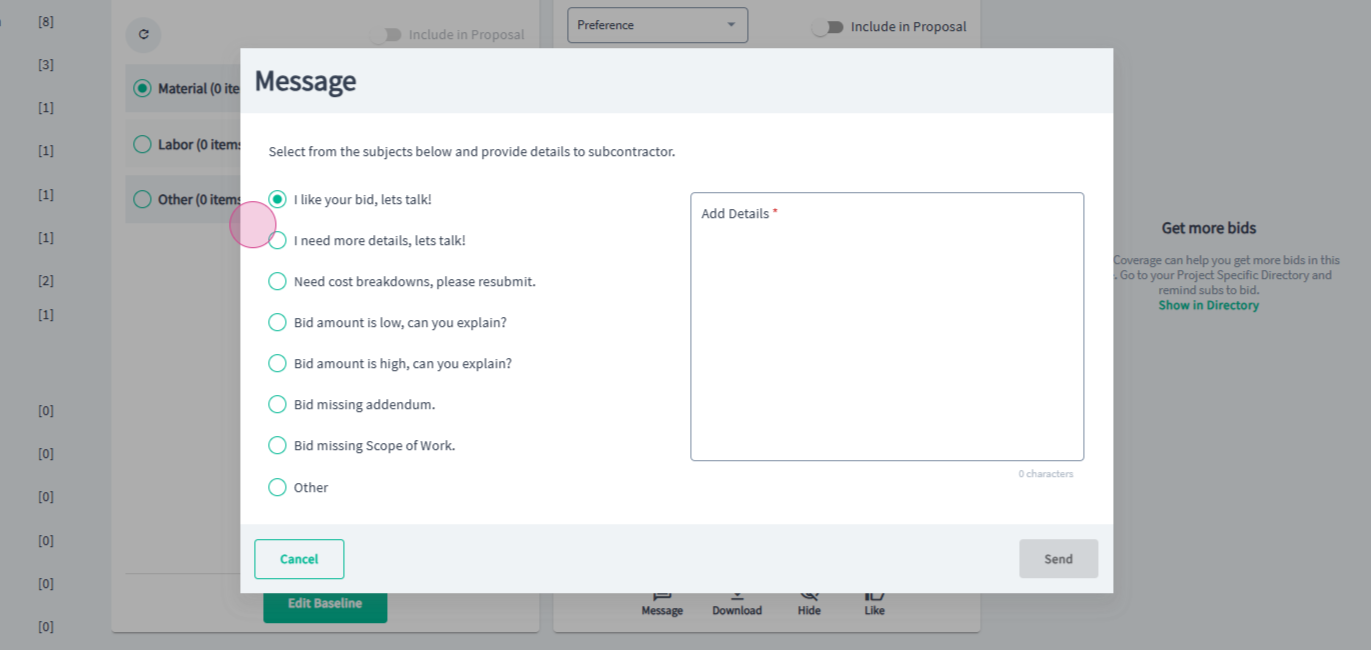
Step 14: Then click on Send to send the message.
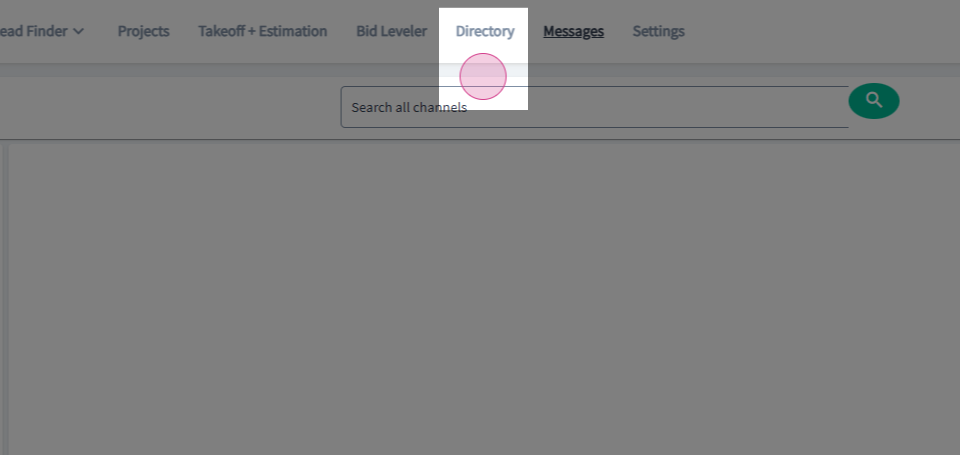
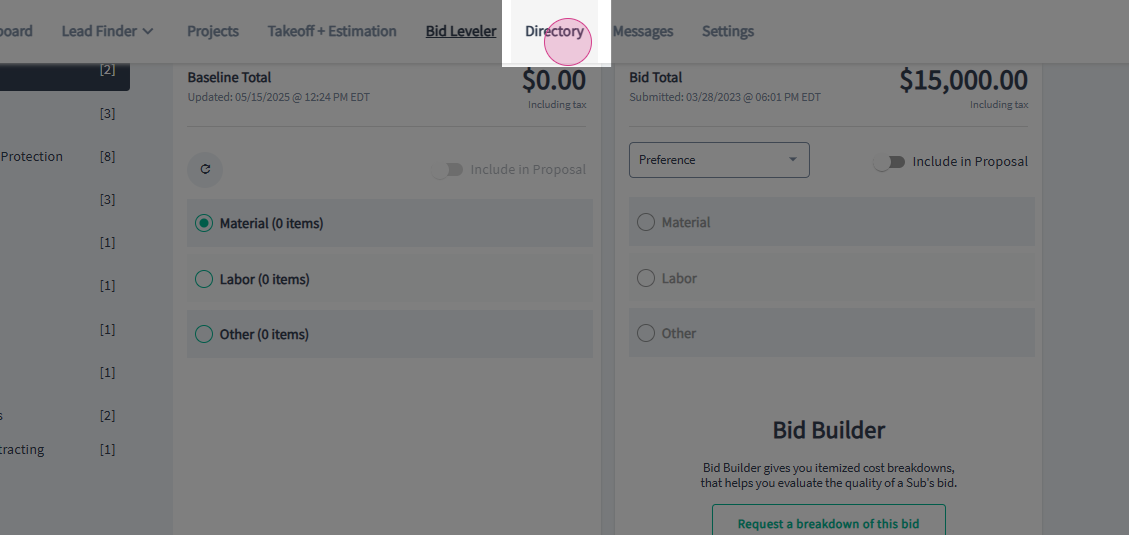
Step 15: To initiate a conversation from the Networking directory, click on Directory in the main navigation bar at the top of the page.
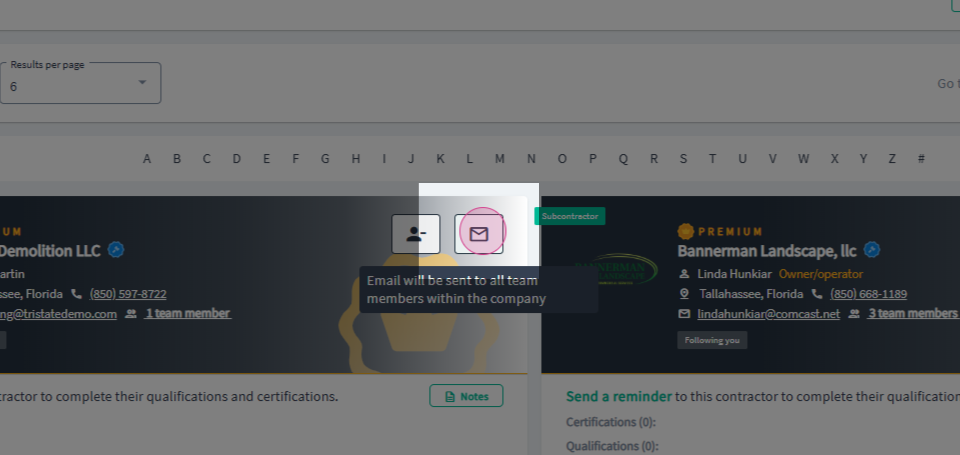
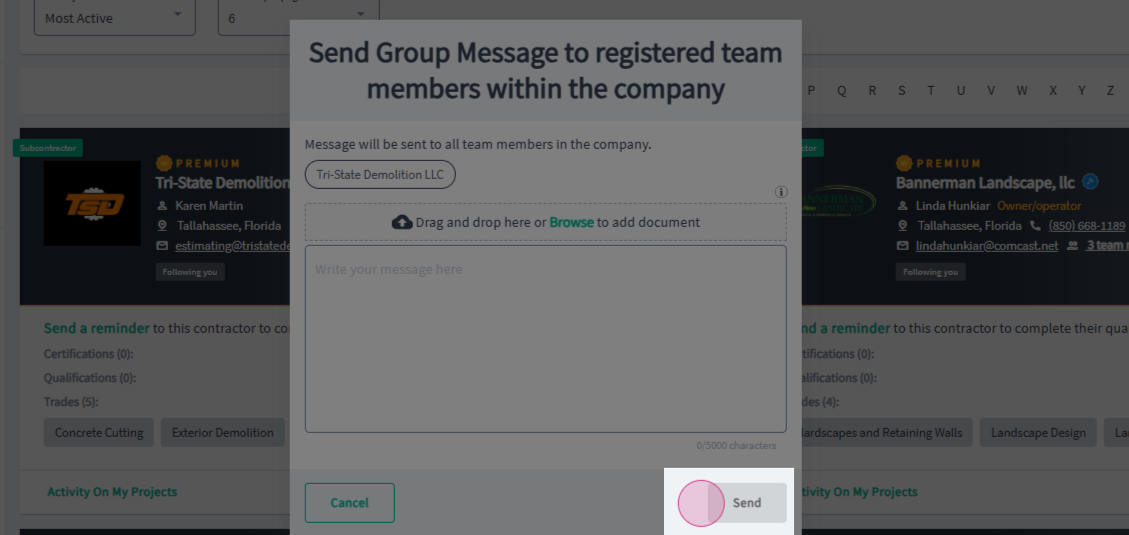
Step 16: Then, click on the envelope in the top right corner of the contact card for the contact you want to send a message to from the Directory.
Step 17: From the pop up window, enter your message, upload documents you want to include and then click Send to send the message.
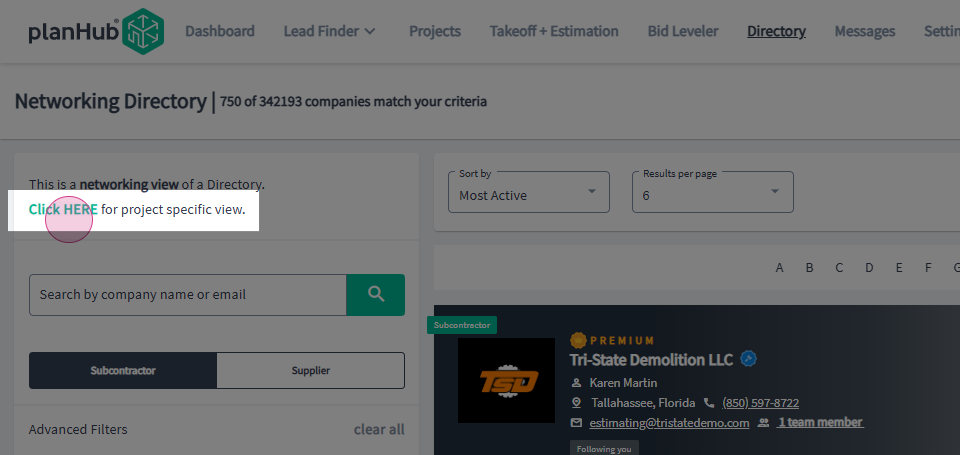
Step 18: To send a message from the Project Specific Directory, click where it says Click HERE in the top left corner.
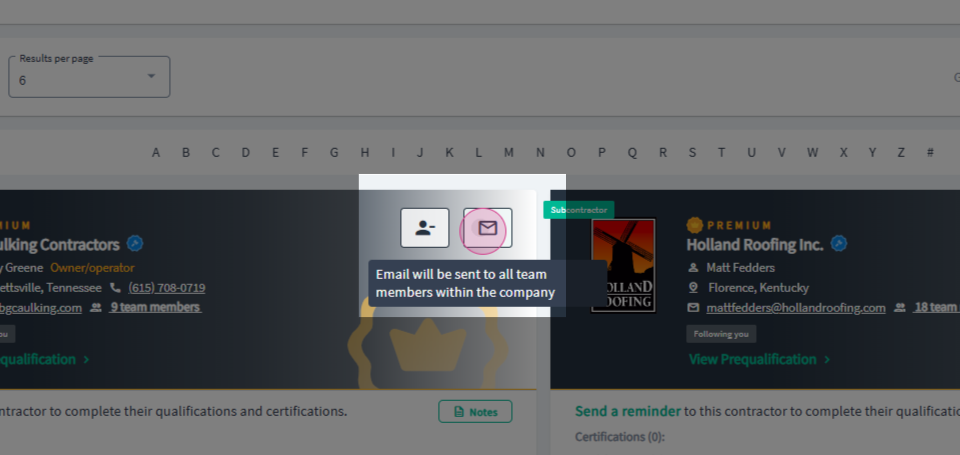
Step 19: Click on the envelope in the top right corner of the contact card.
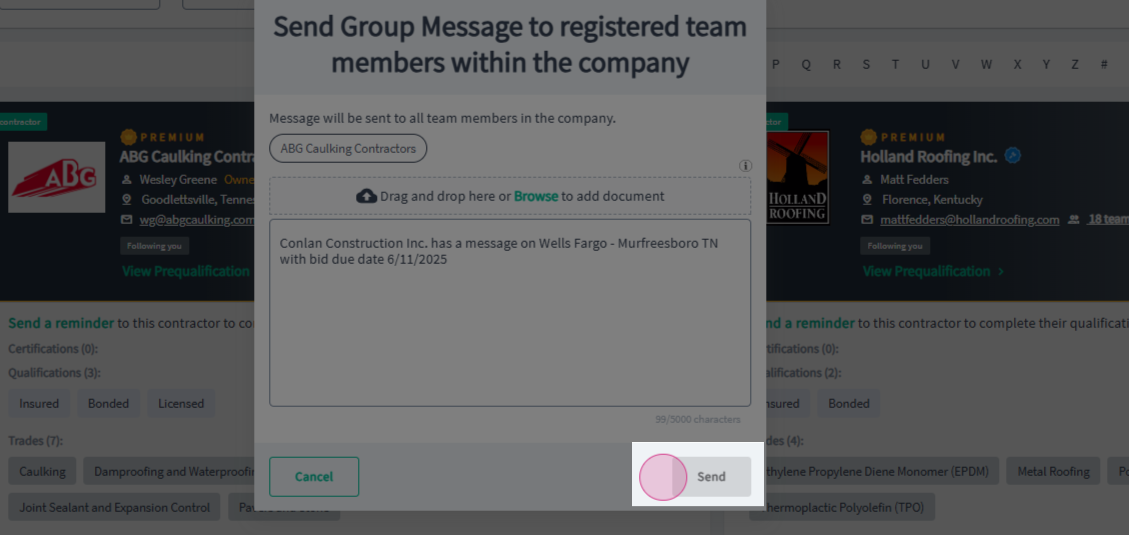
Step 20: From the pop up window, enter your message, upload documents you want to include and then send the message.
Step 21: To send a message from the Lead Finder, click on Lead Finder in the main navigation bar at the top of the page.
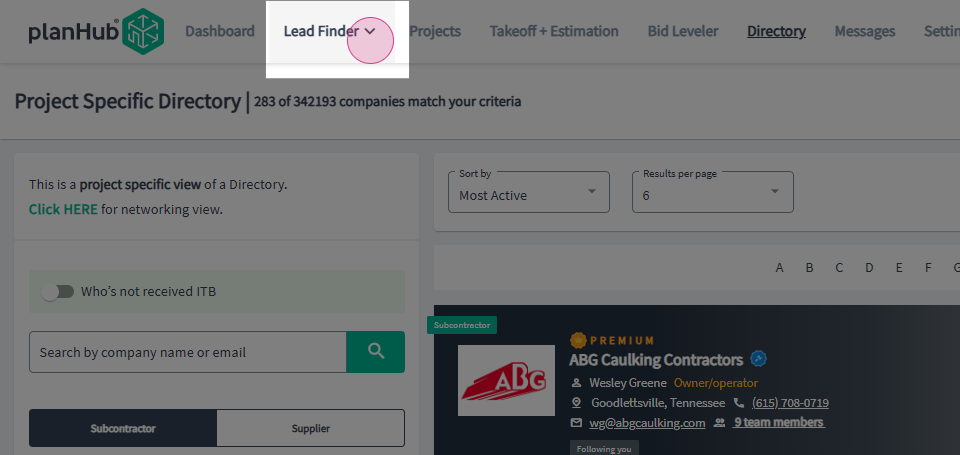
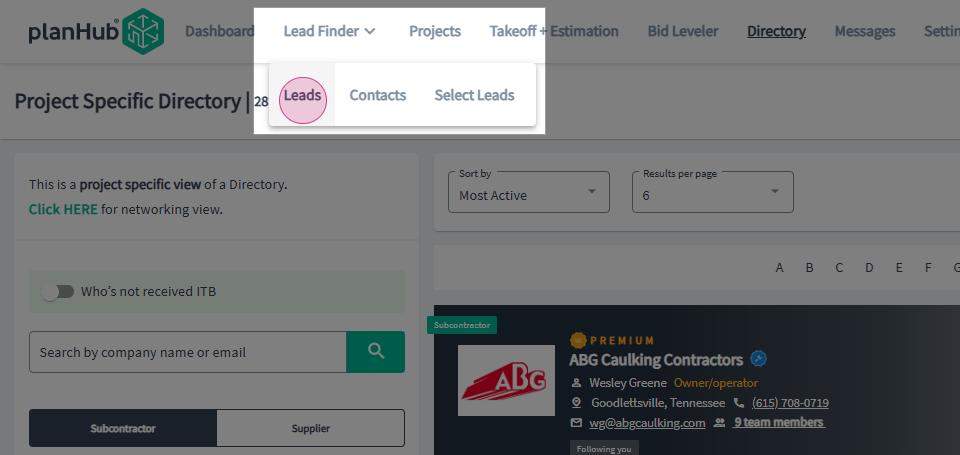
Step 22: Click on Leads in the drop-down menu.
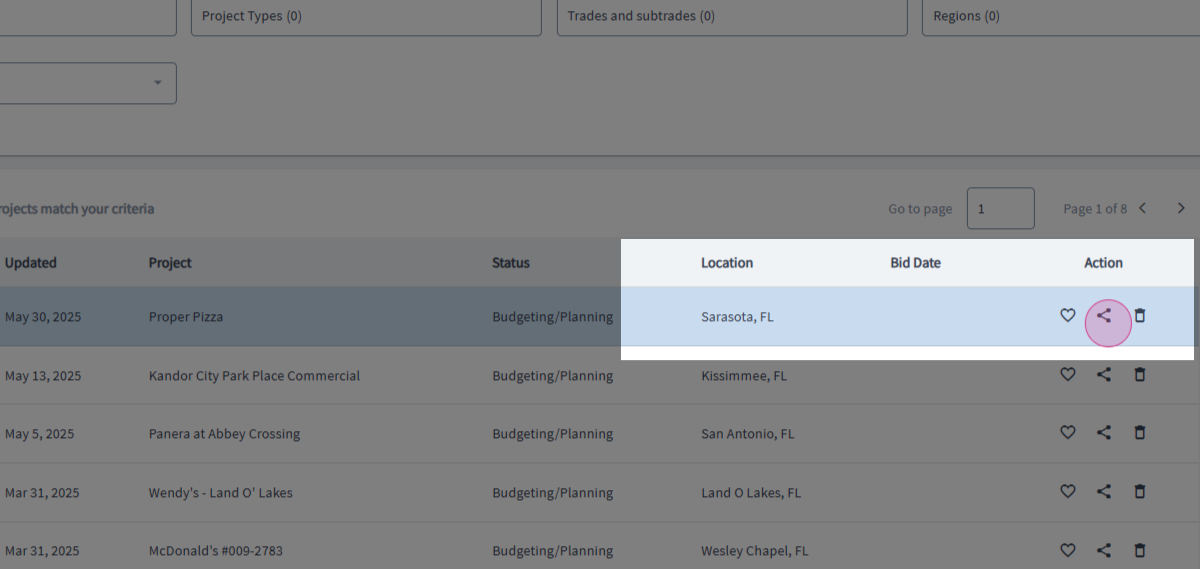
Step 23: Click on the Share Project option located in the Action column at the end of the row.
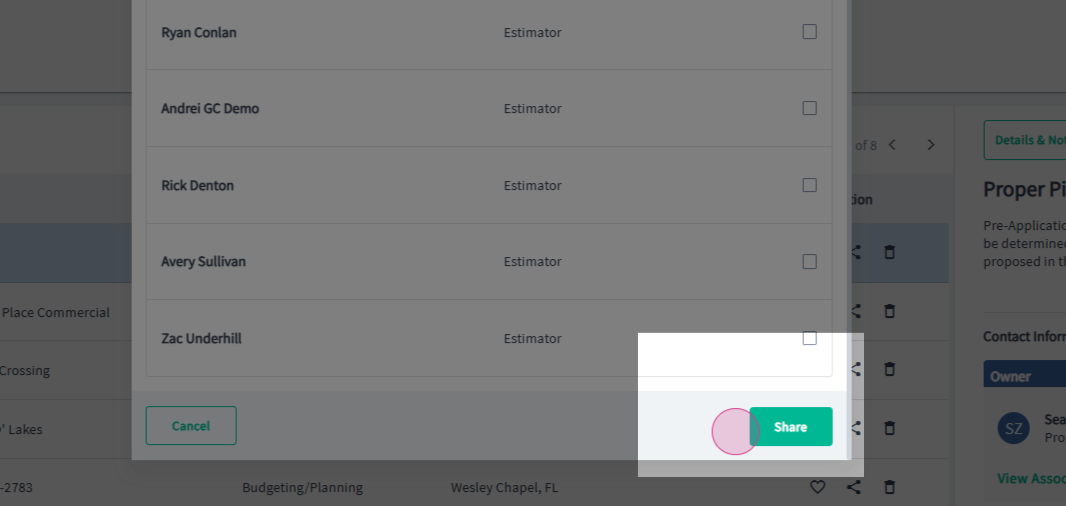
Step 24: From the pop up window, select the team members you want to share the project with from the list.
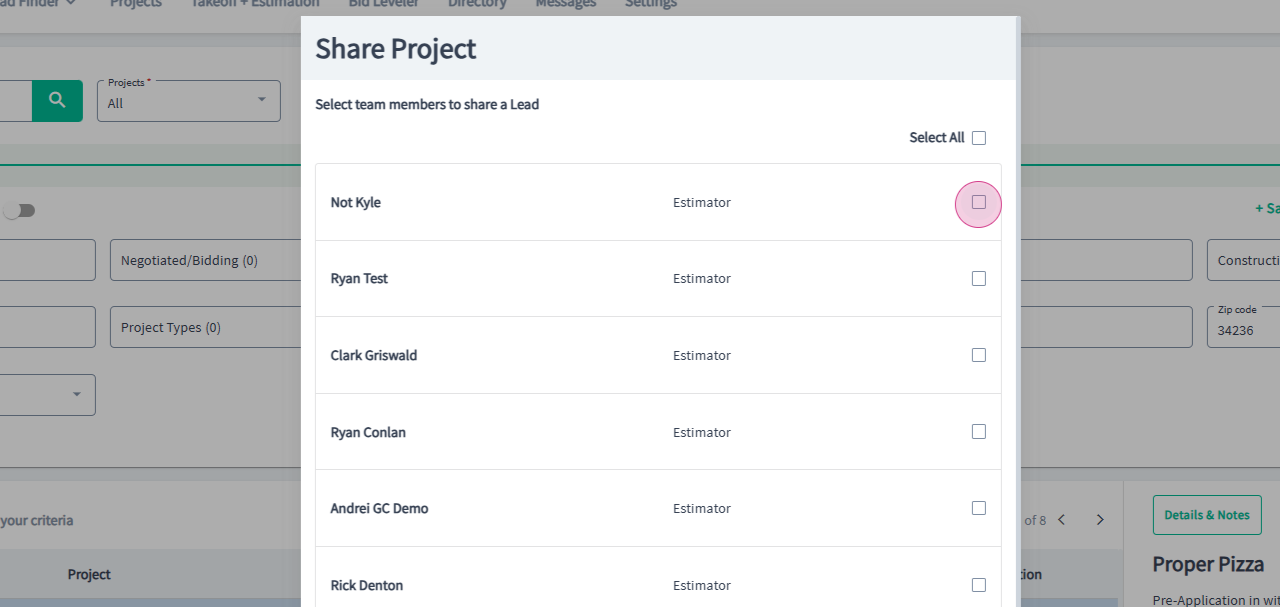
Step 25: Then click on Share at the bottom of the pop up window.
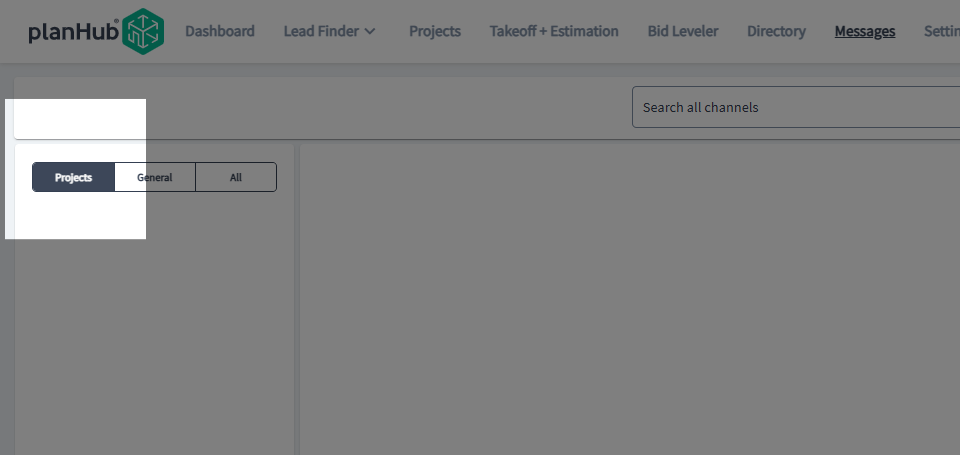
Step 26: In the messages center, the Projects tab contains any messages that are started within a project or conversations initiated in Bid Leveler or the Project Specific Directory.
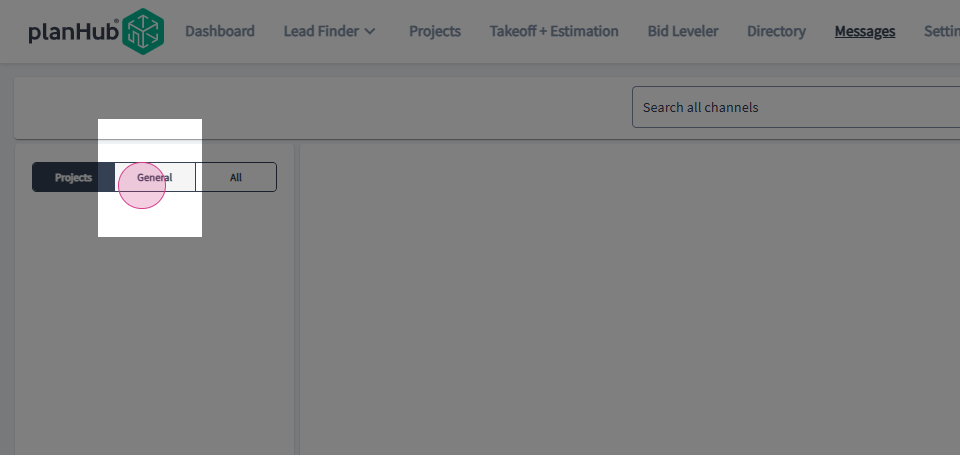
Step 27: View the General tab to find messages started within the directory or to view messages sent to you by your team from the Lead Finder.
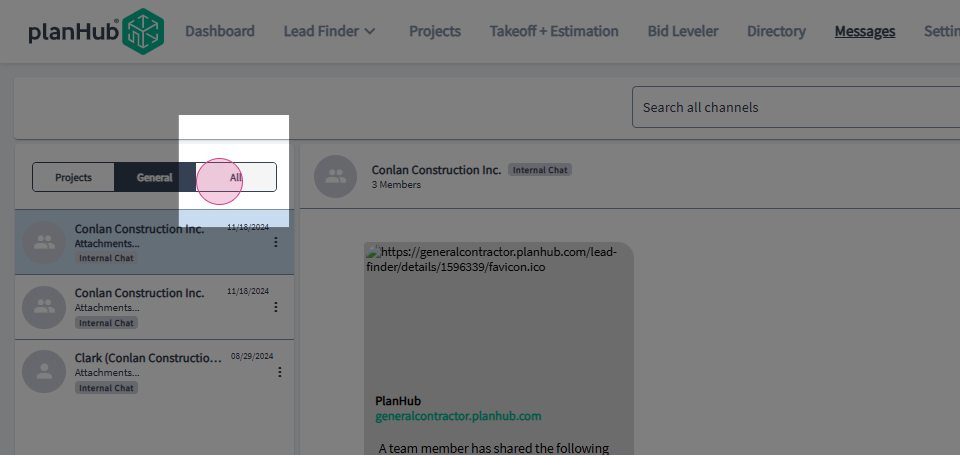
Step 28: View the All tab for a combination view of both Project Related messages and General Related Messages.
Step 29: Unread messages are indicated by a green circle showing a number inside.
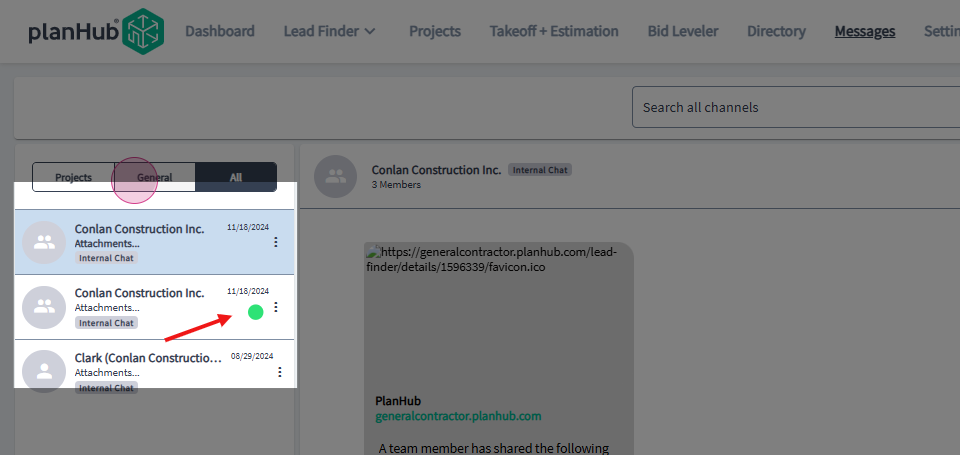
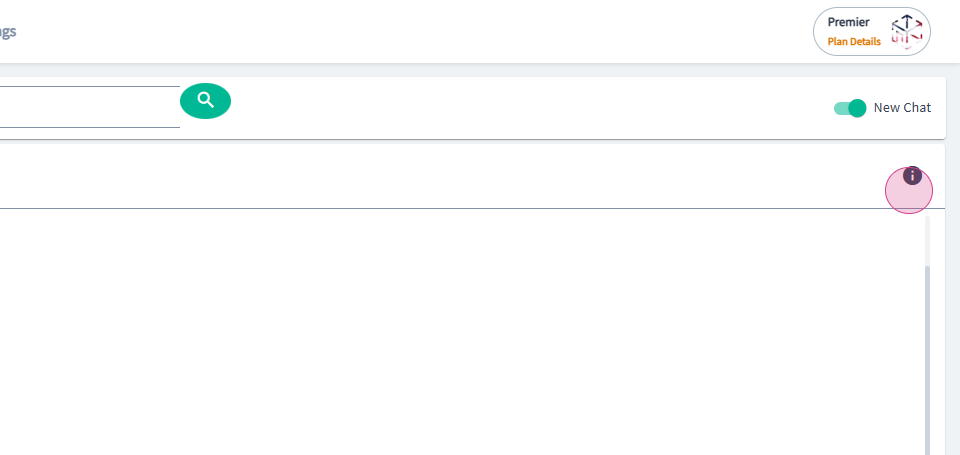
Step 30: To view details about a message, select a message and click on the Info icon in the top right corner.
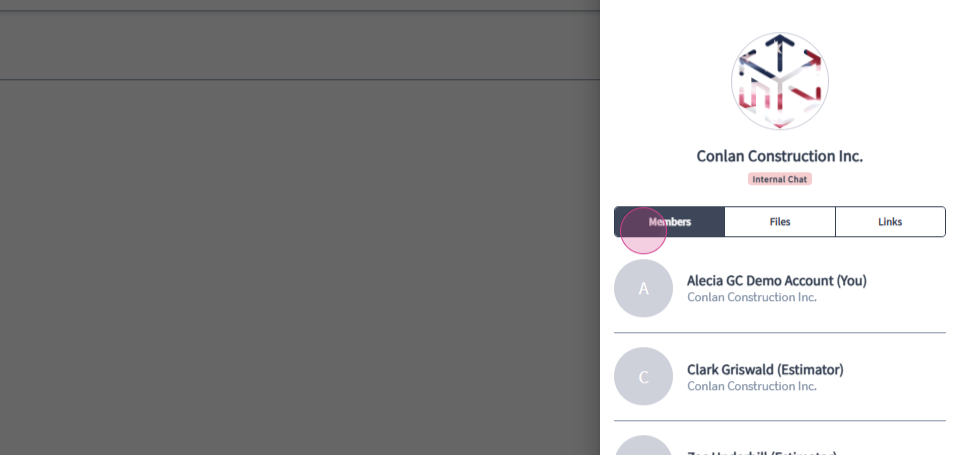
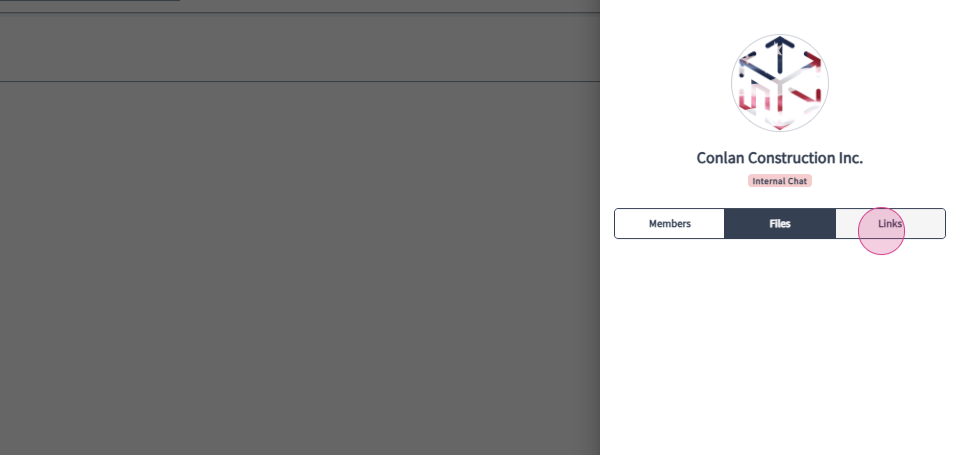
Step 31: In the pop up window, select the Members tab, to view a list of the team that have access to this message.
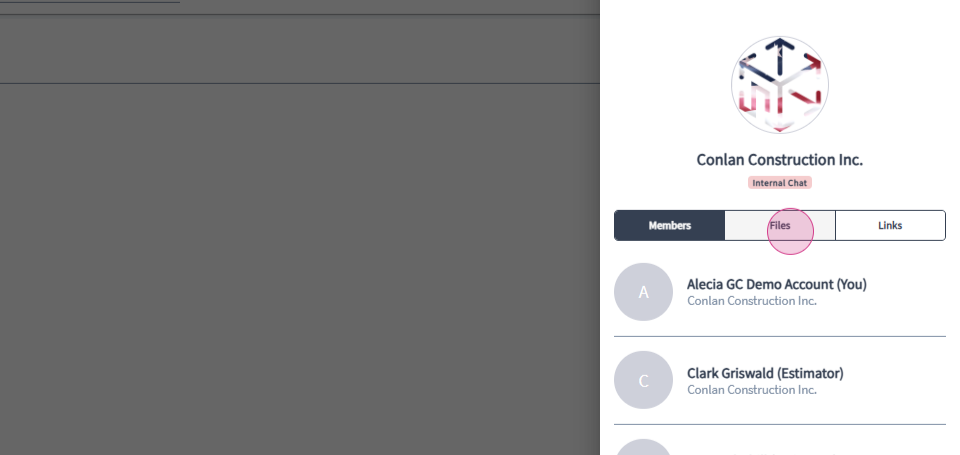
Step 32: Next, select the Files tab to view a list of the files attached to the message.
Step 33: Then, select the Links tab, to view a list of the links within the message.
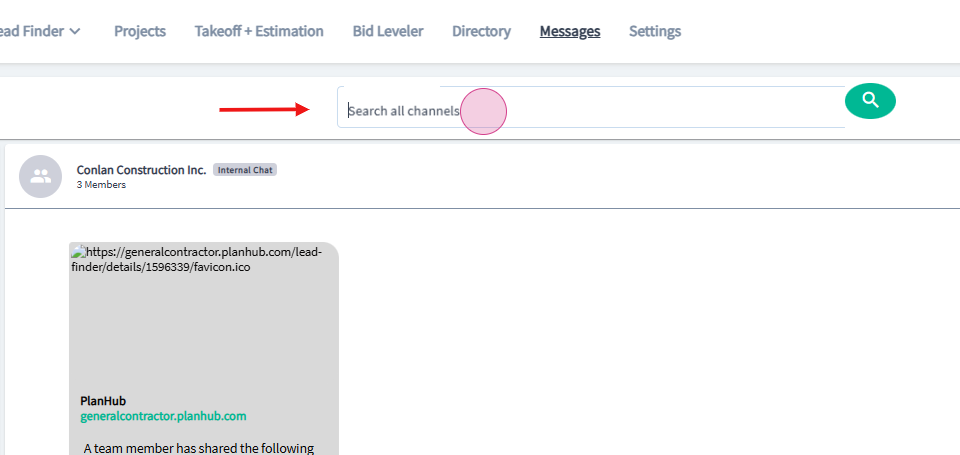
Step 34: Use the Search all channels search bar to perform a search within the messages.
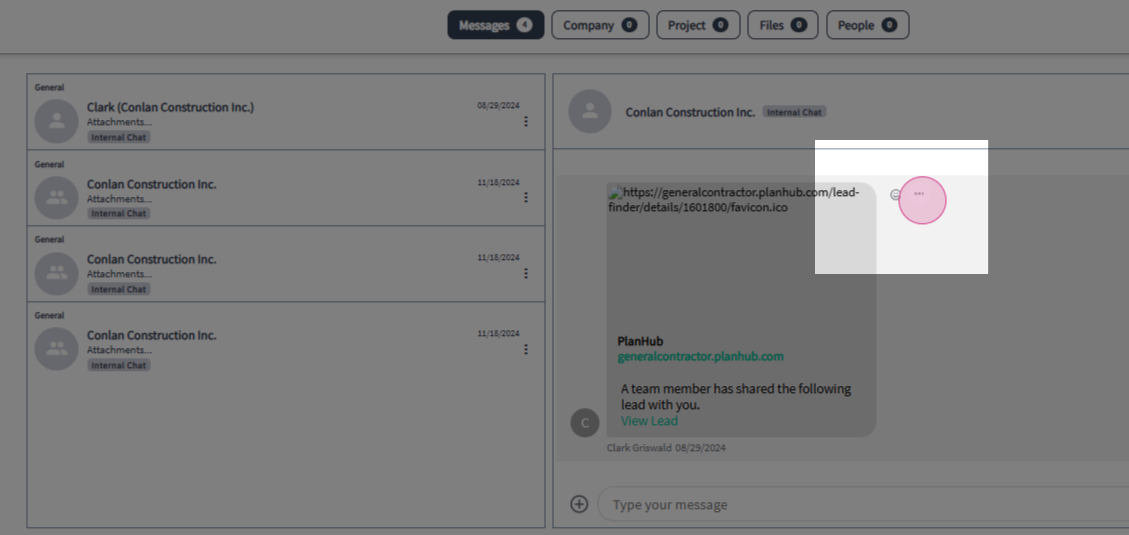
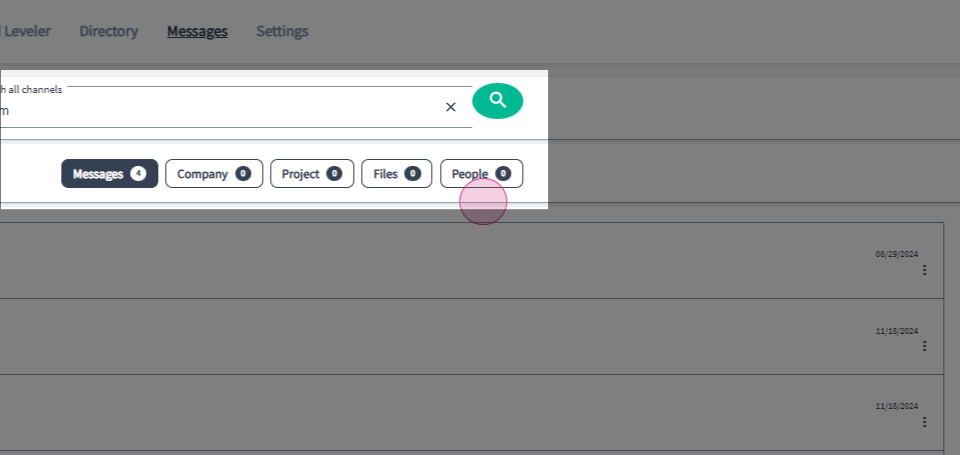
Step 35: Select a search option. The options to search are organized by Messages, Company, Project, Files and People.
Step 36: You can mark the message as Unread or Reply to the message by hovering the mouse over the message and clicking on the Action menu in the top right corner.
