In this article, you'll learn how to use the Linear tool to measure straight lines and curves.
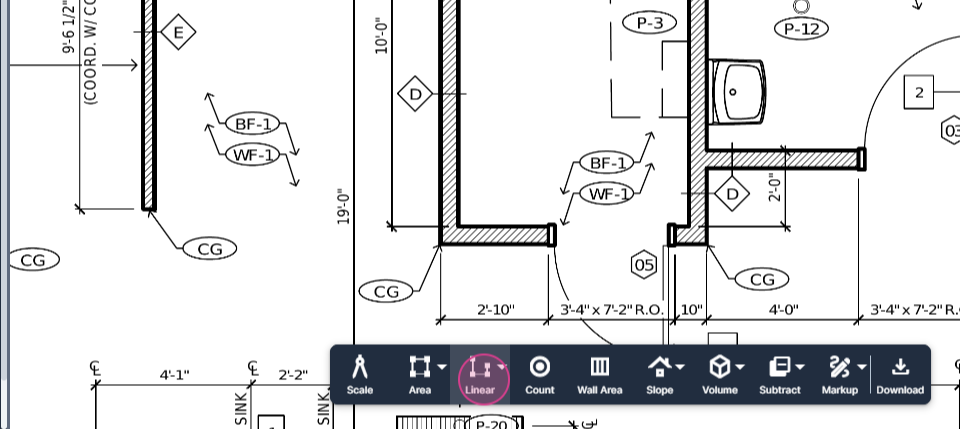
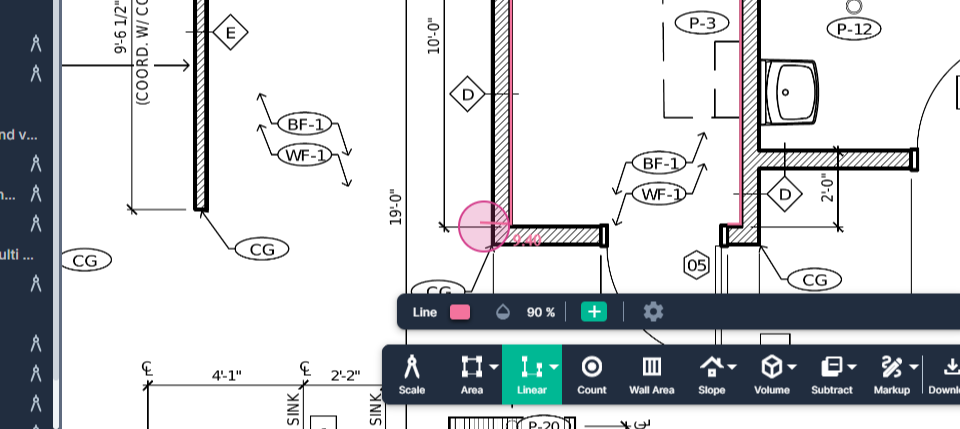
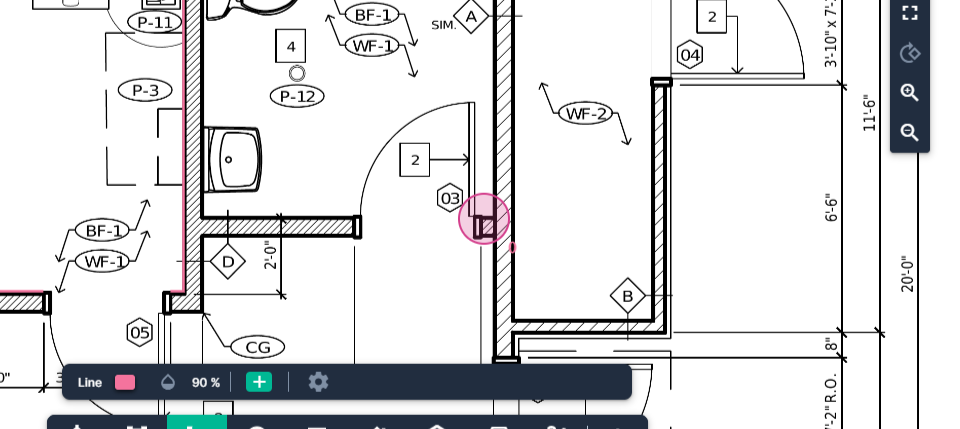
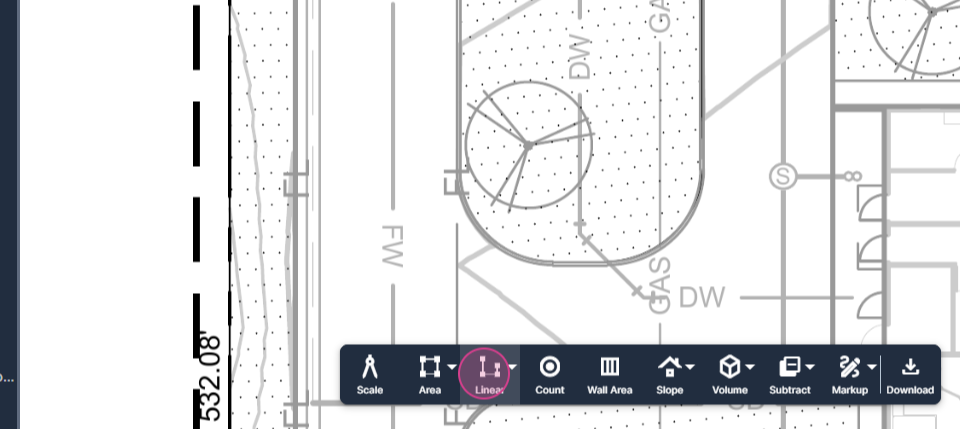
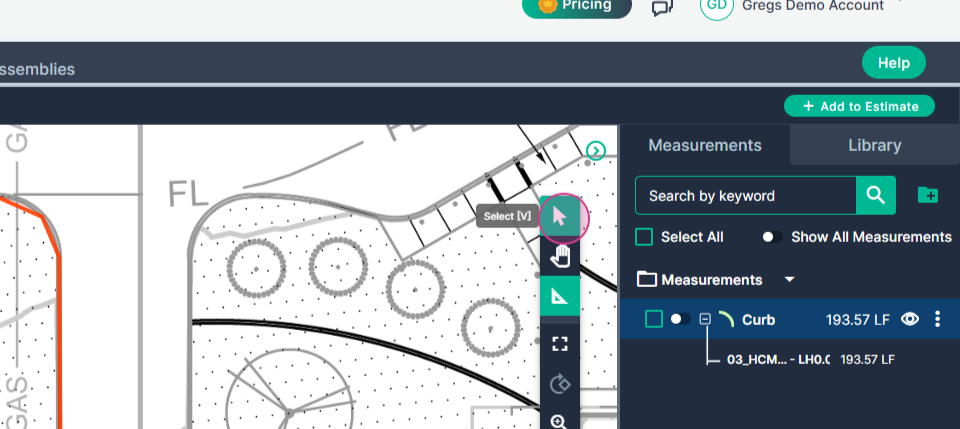
Step 1: Click the Linear button on your toolbar.
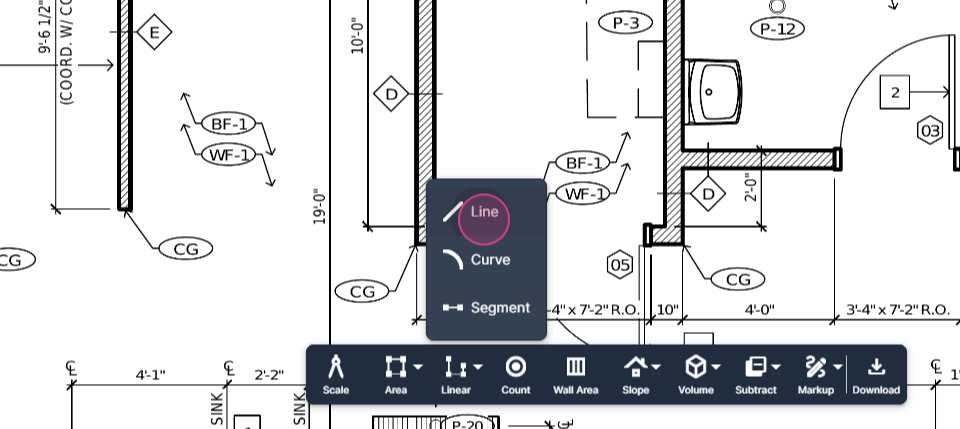
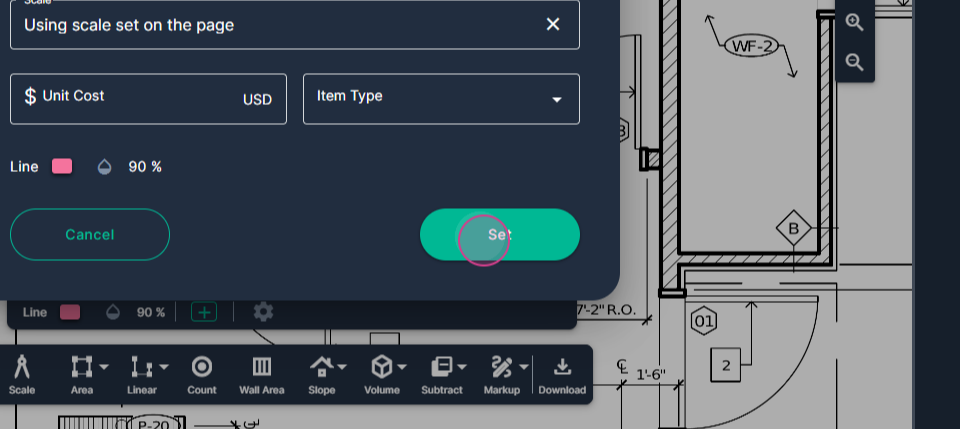
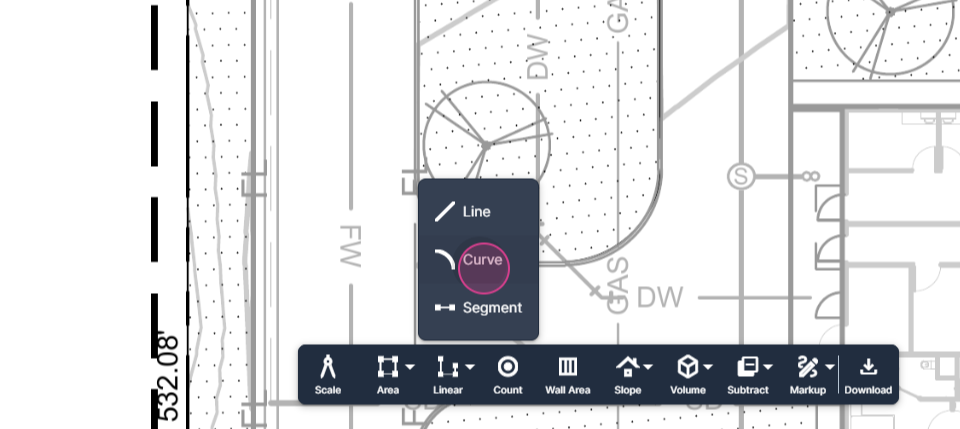
Step 2: Select Line.
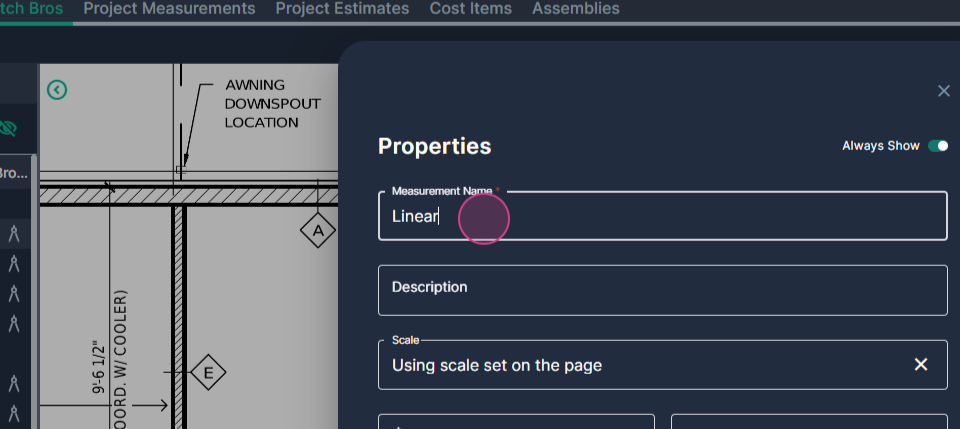
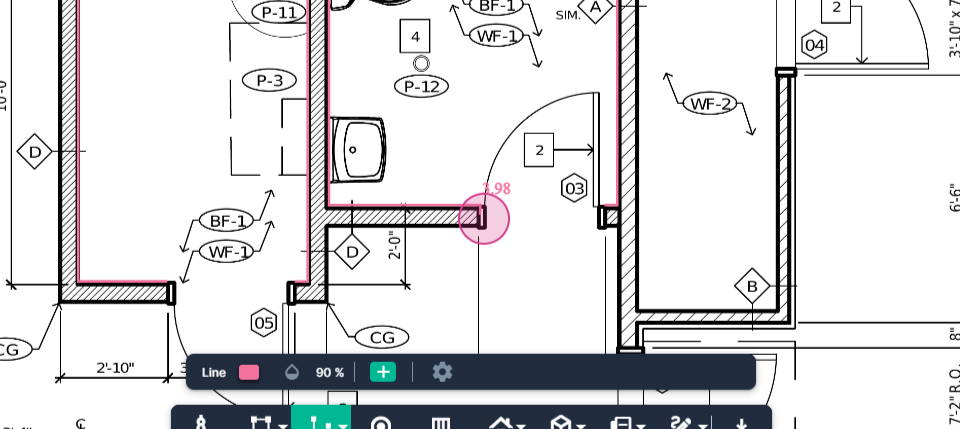
Step 3: Give the tool a custom name that reflects what you're measuring, Baseboards for this tutorial. Click Set.
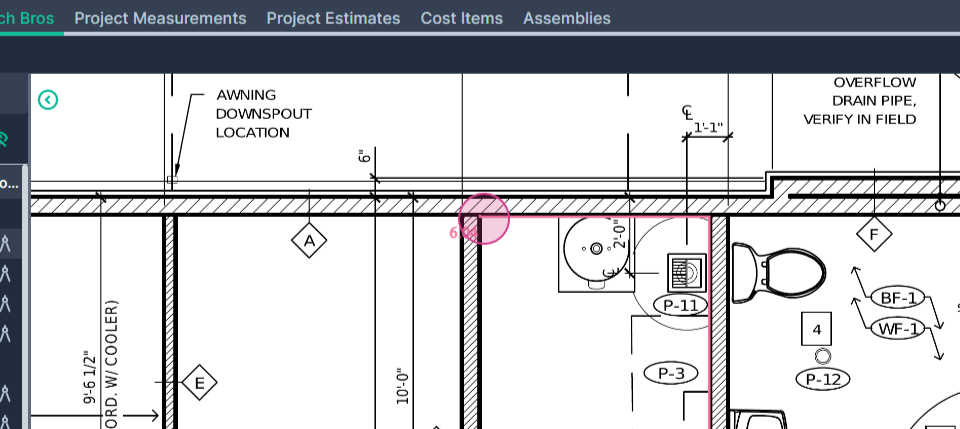
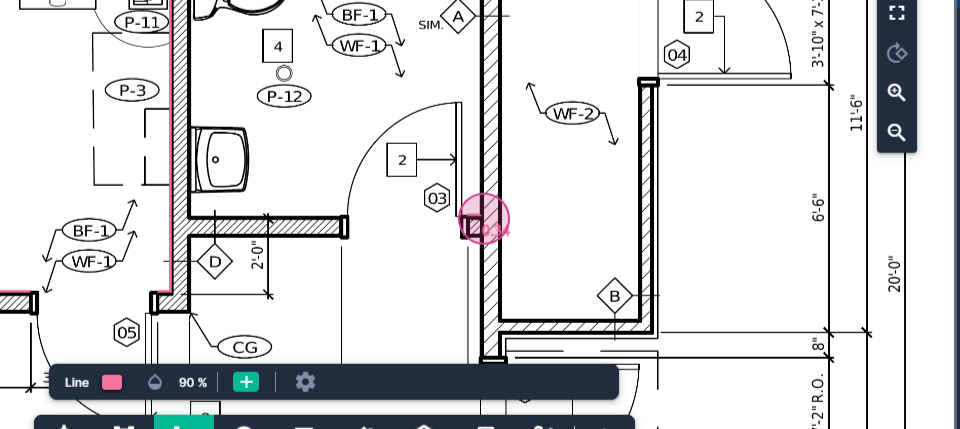
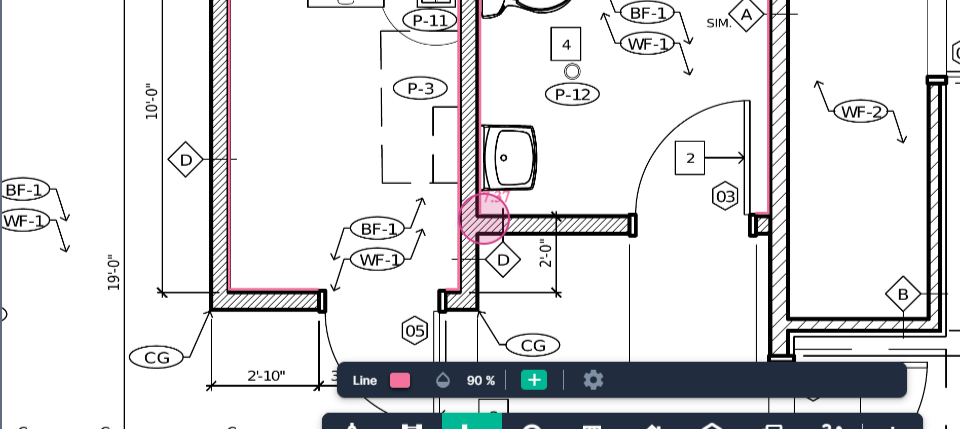
Step 4: Align your cursor with the starting point of your measurement and left-click once.
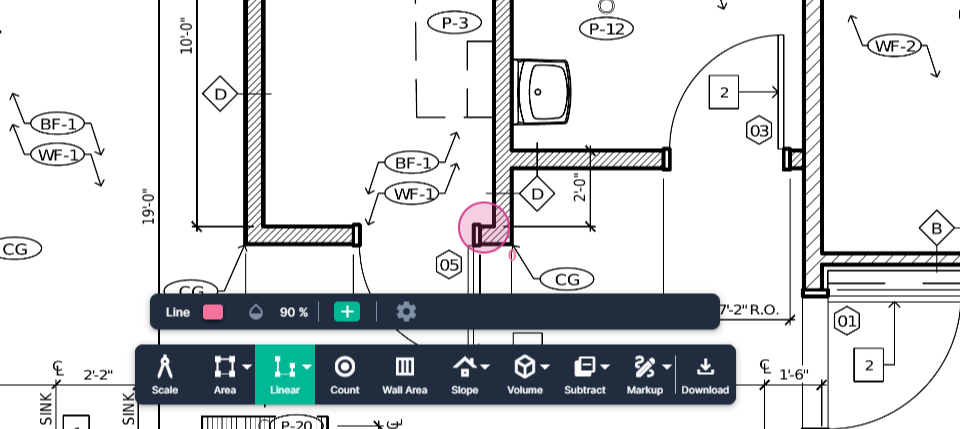
Step 5: Left-click again when you need to change direction.
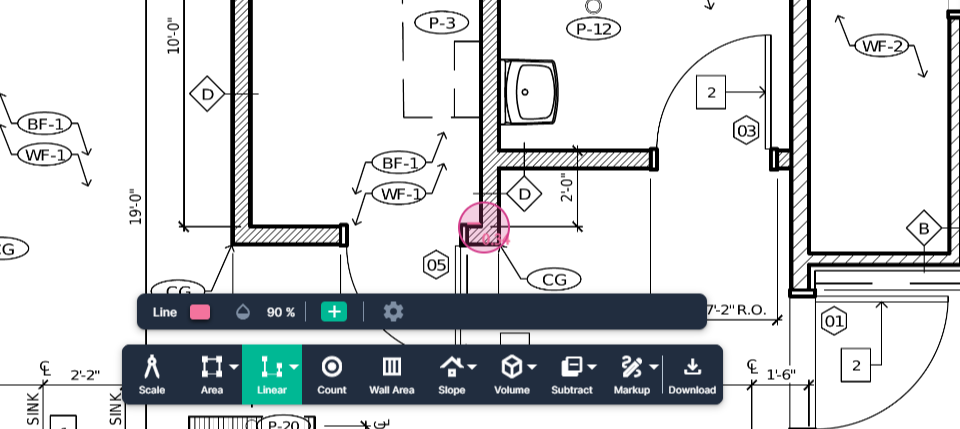
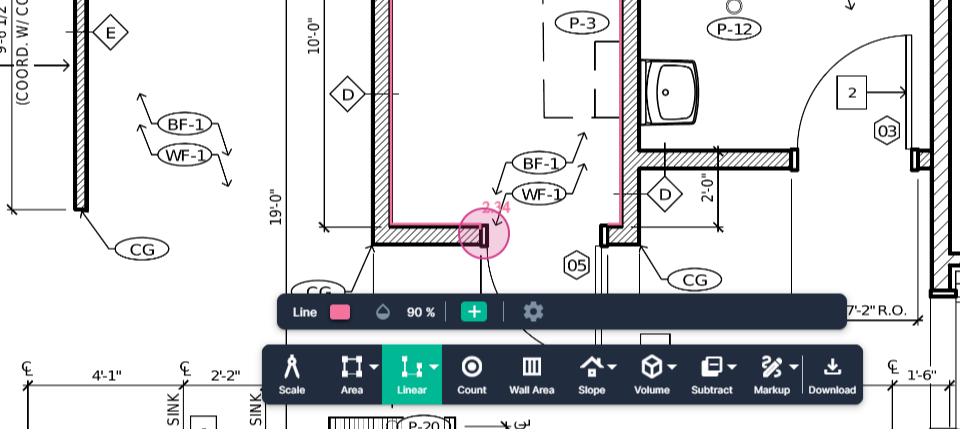
Step 6: Repeat this process until you reach the endpoint.
Step 7: Double-click on the endpoint to stop measuring.
Step 8: If you need to continue measuring, click the Continue switch next to the result.
Step 9: Click again to start your new section.
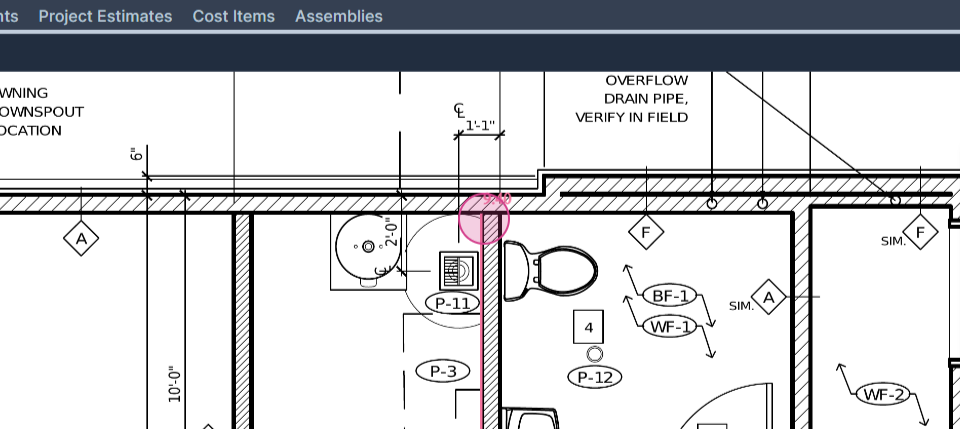
Step 10: Left-click at every corner to change direction.
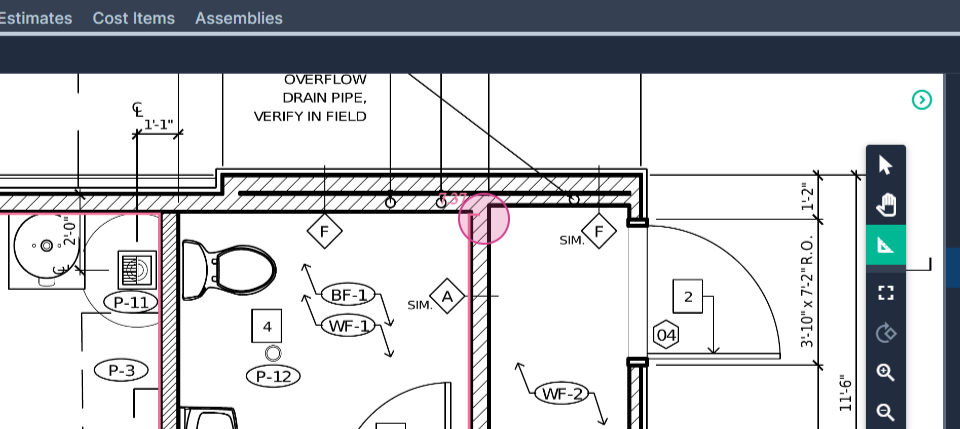
Step 11: Double-click when you reach your final point. In Continue mode, to turn off the Linear tool, click the Continue switch or the select arrow on the command bar.
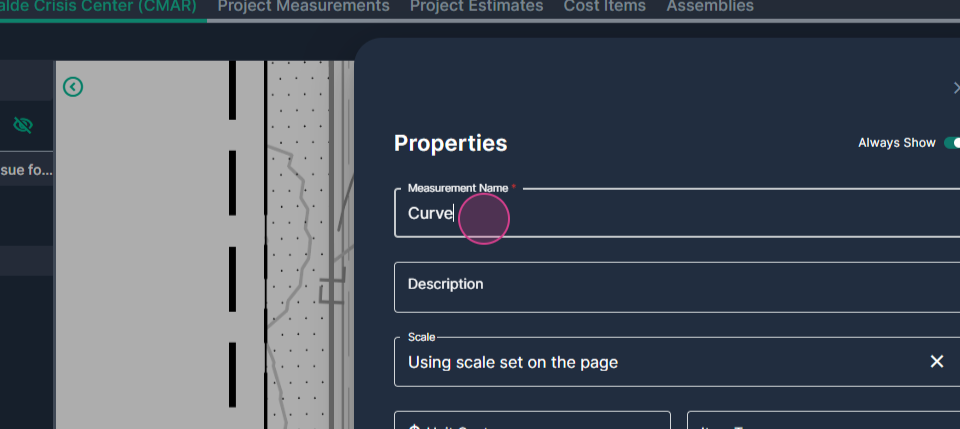
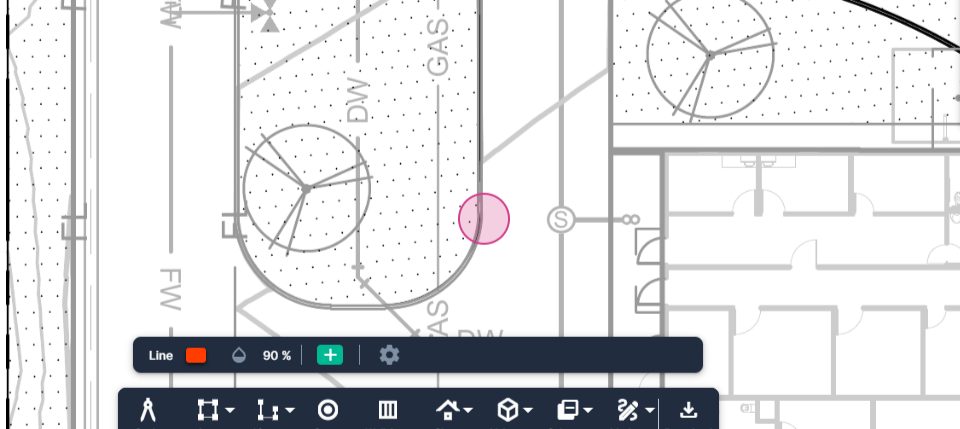
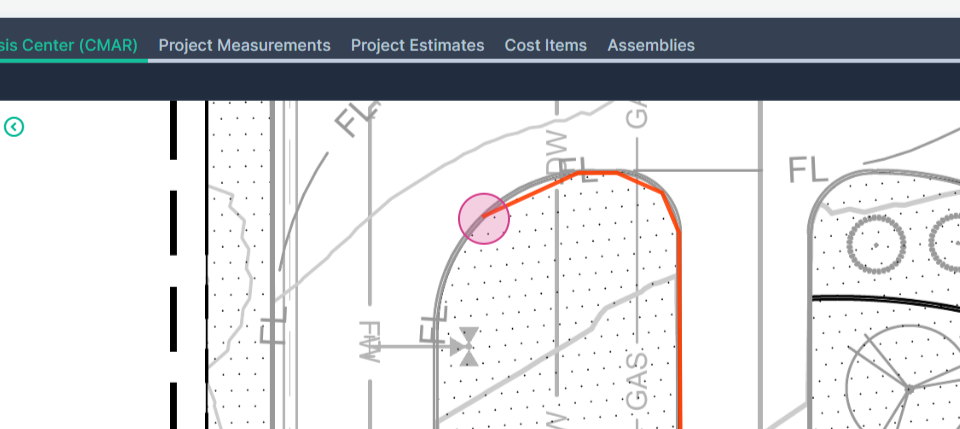
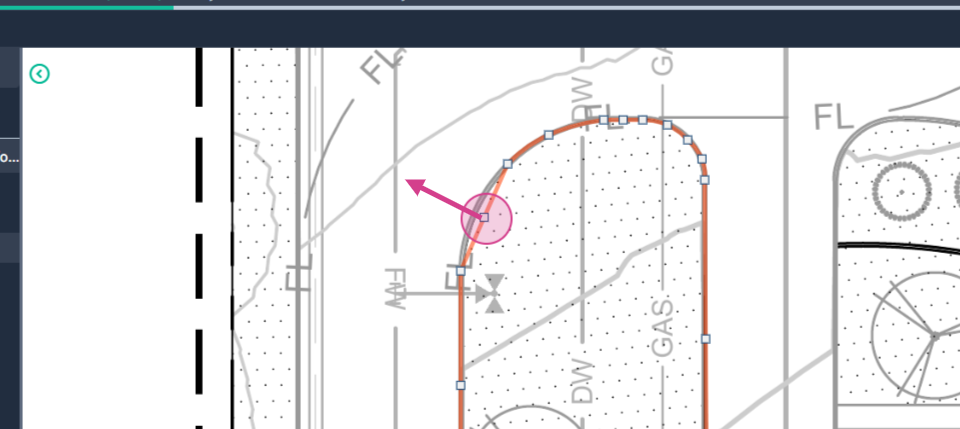
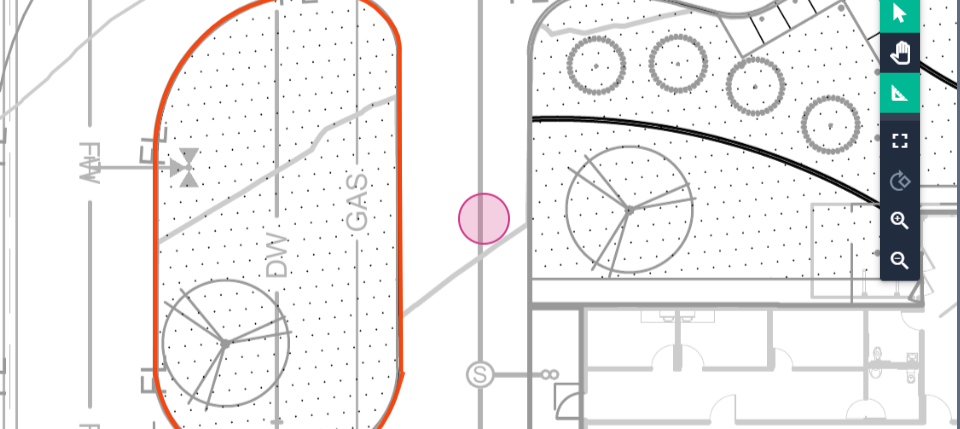
Step 12: To measure distances with a curve, click Linear tool, then Select Curve.
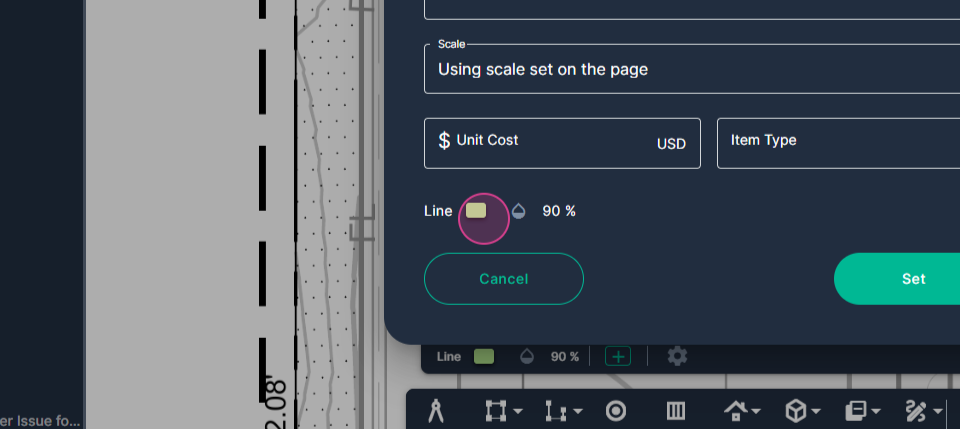
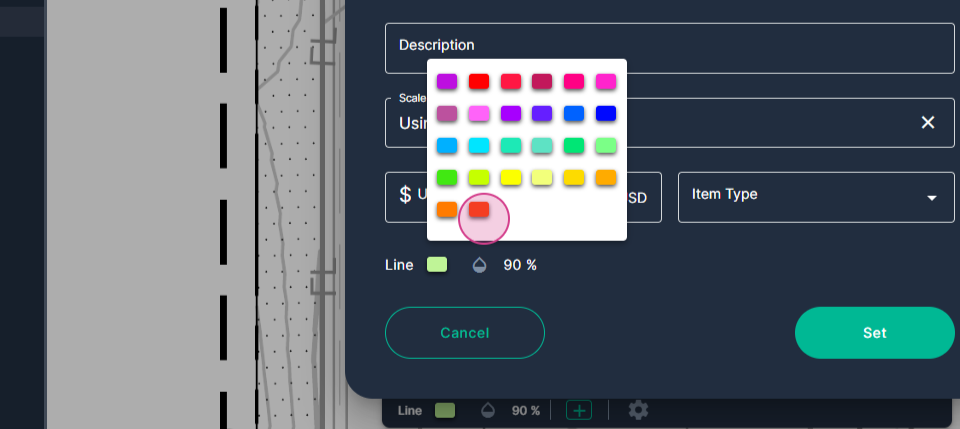
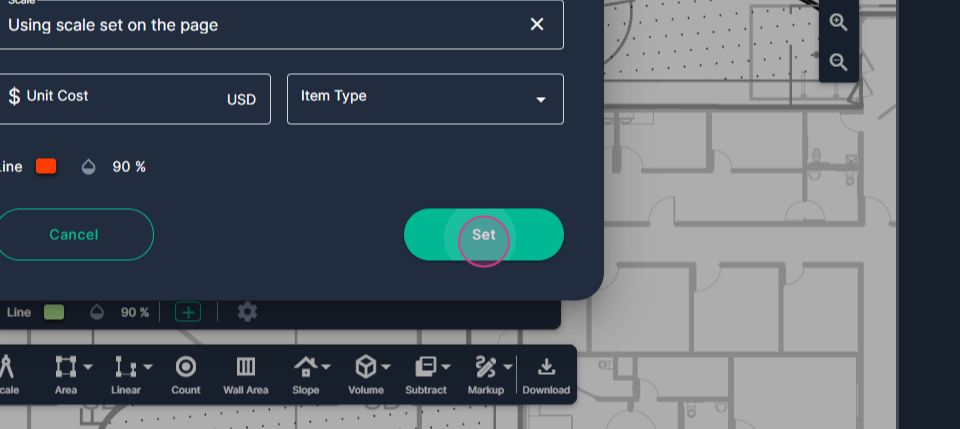
Step 13: Give your measurement a custom name and a visible color, then click Set.
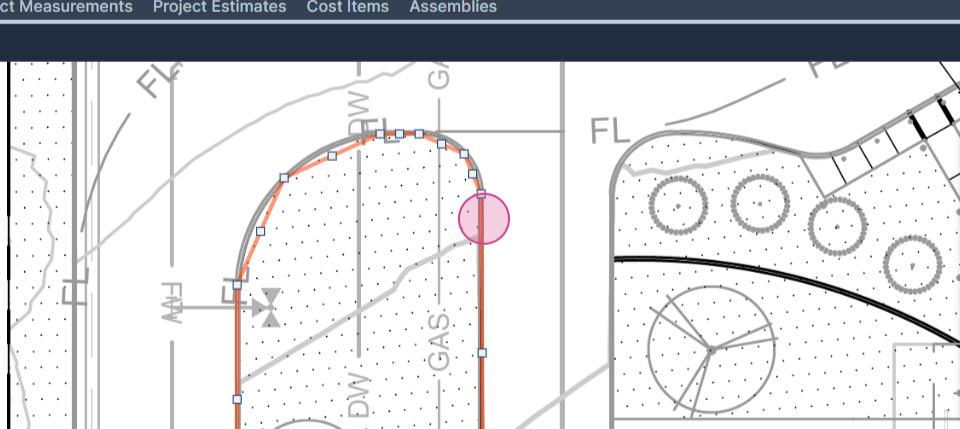
Step 14: Start your measurement at any point along the curve. Left-click to start.
Step 15: Click once at the beginning of an arc, again at the center, and then at the endpoint.

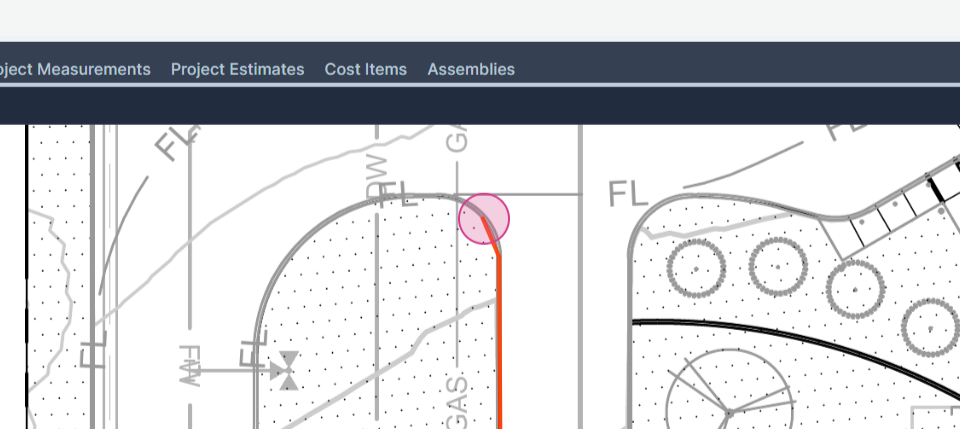
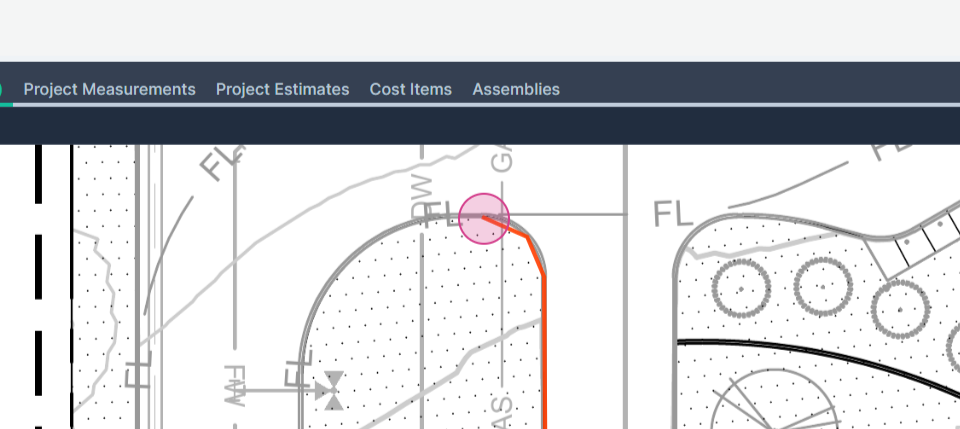
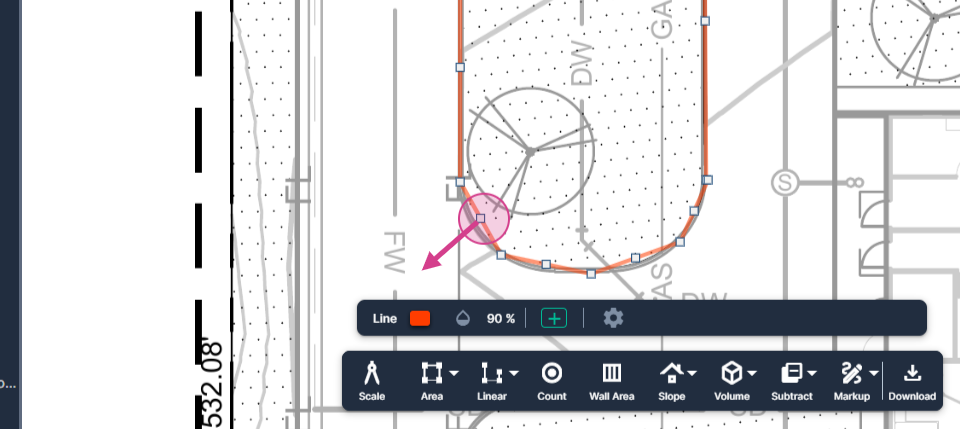
Step 16: Allow the line to continue to the beginning of the next arc and repeat the process.
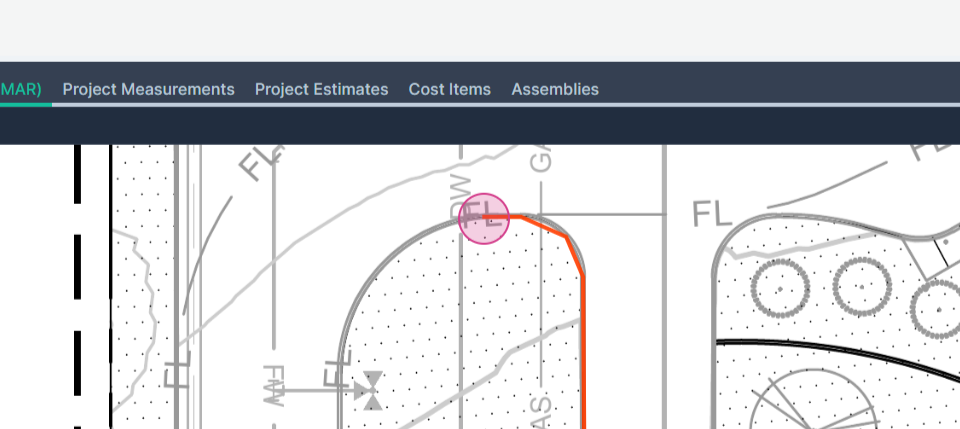
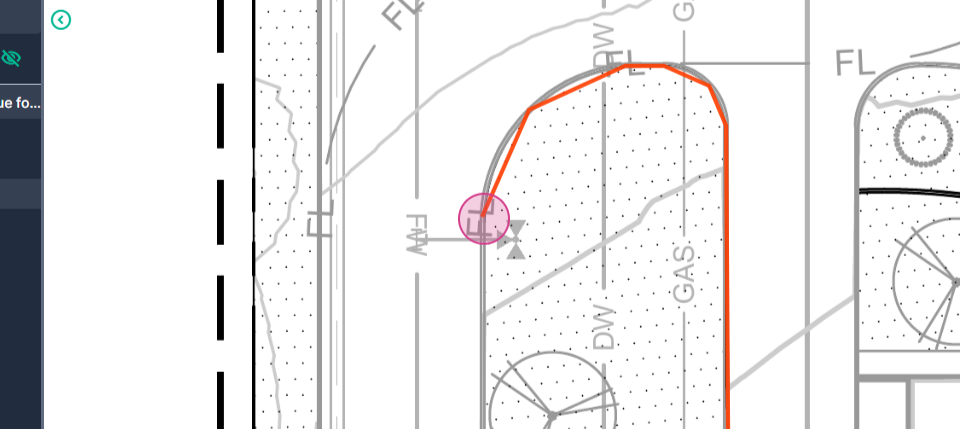

Step 17: Double-click to end the measurement.

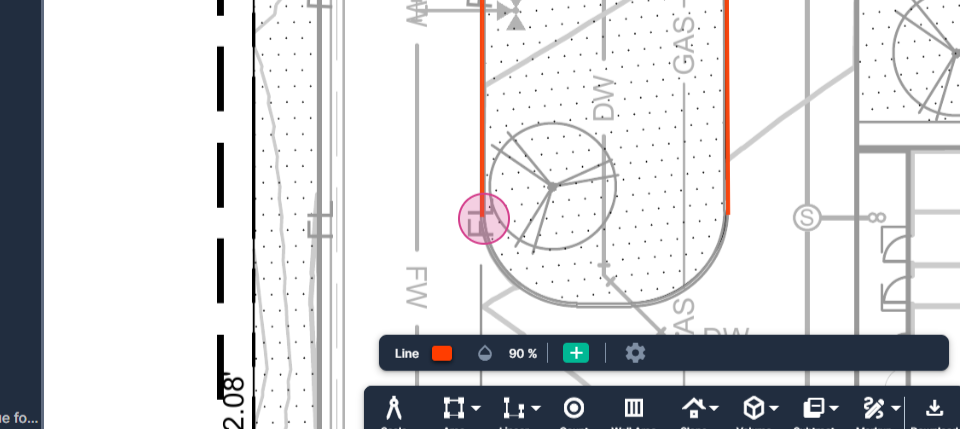
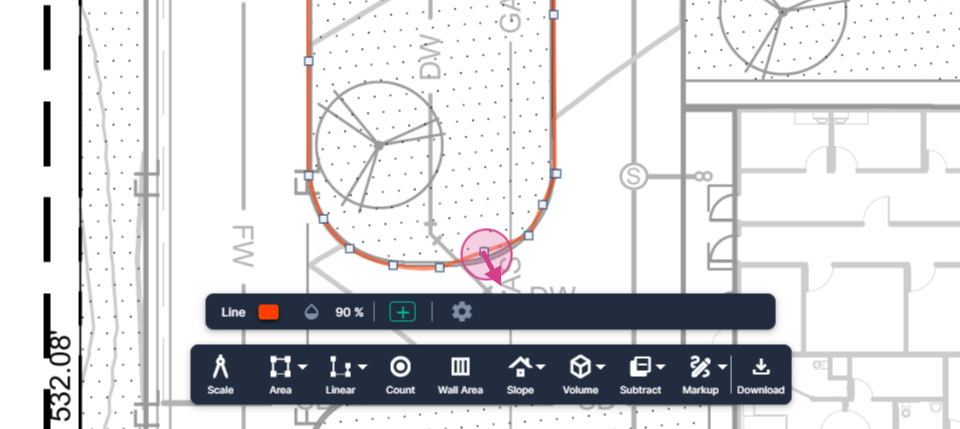
Step 18: To edit the curve, click the select arrow at the top of the command bar to enter Select mode.
Step 19: Click to select the measurement.
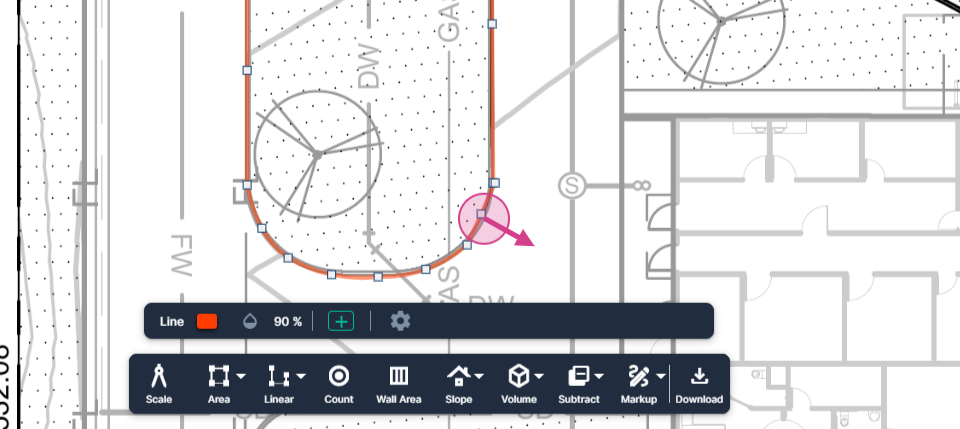
Step 20: Drag the nodes to turn the lines into curves.

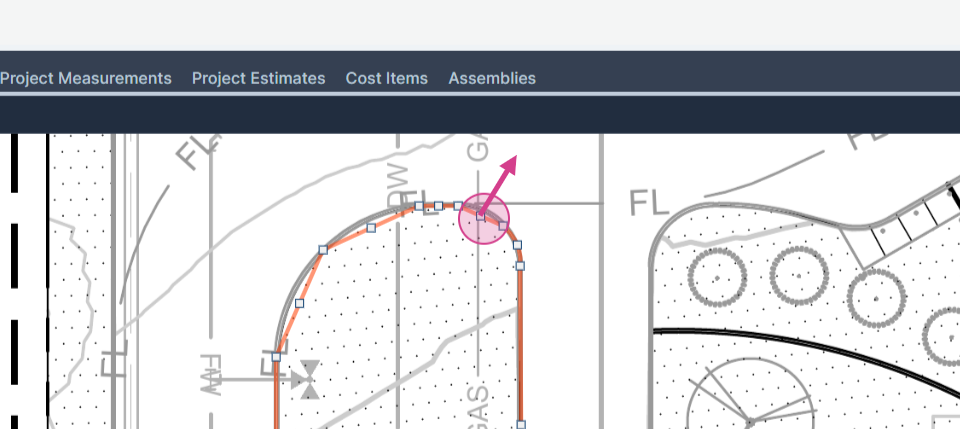
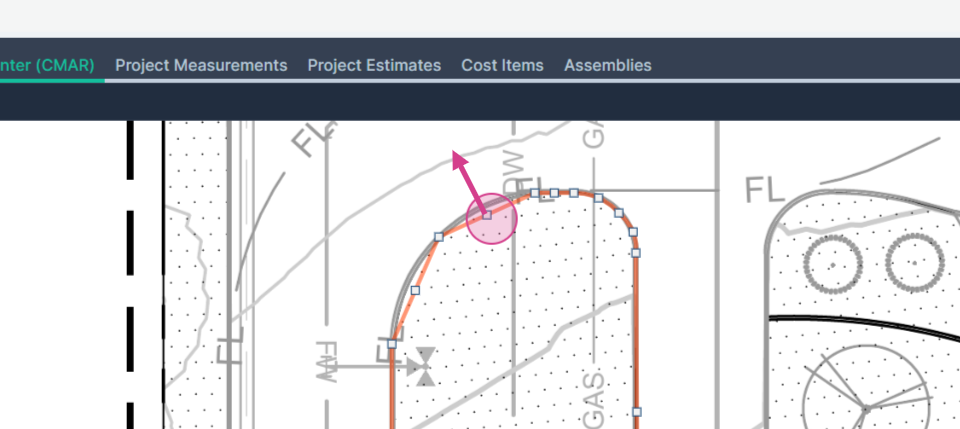
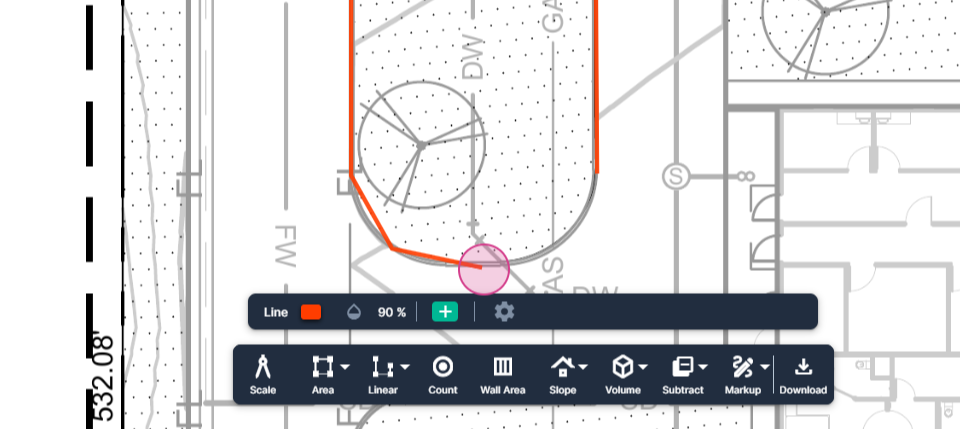
Step 21: Click and drag each node to match the line you're intending to match.
Step 22: After finishing all the curved shapes, click in the white space where there are no measurements on the plan page. This will exit the edit mode.
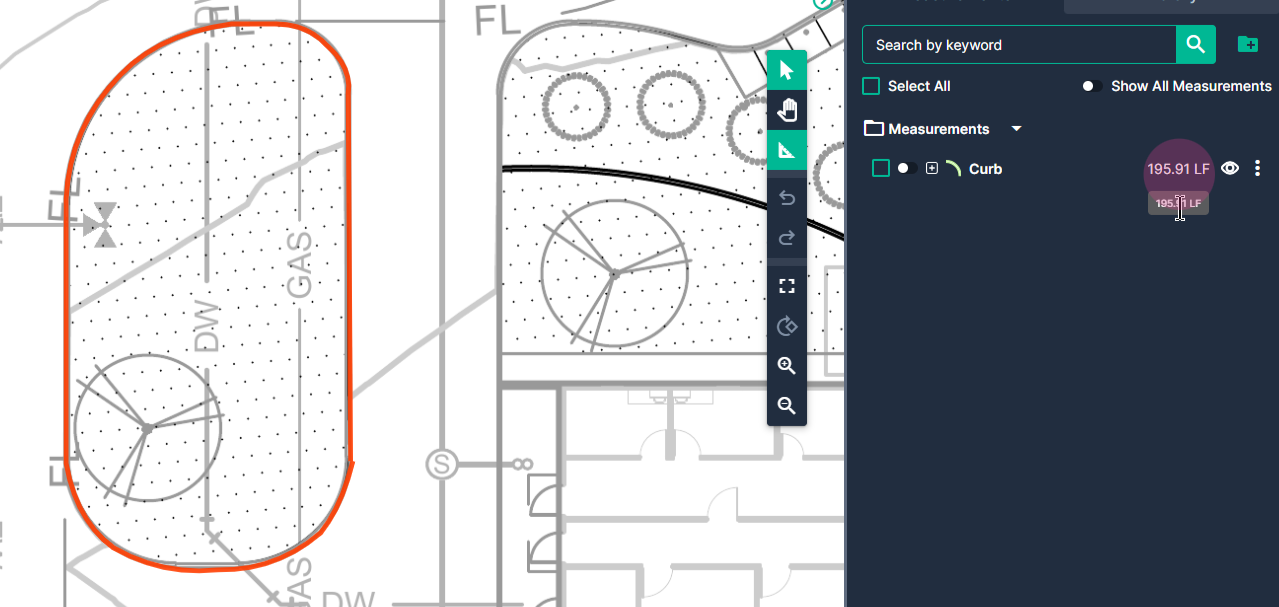
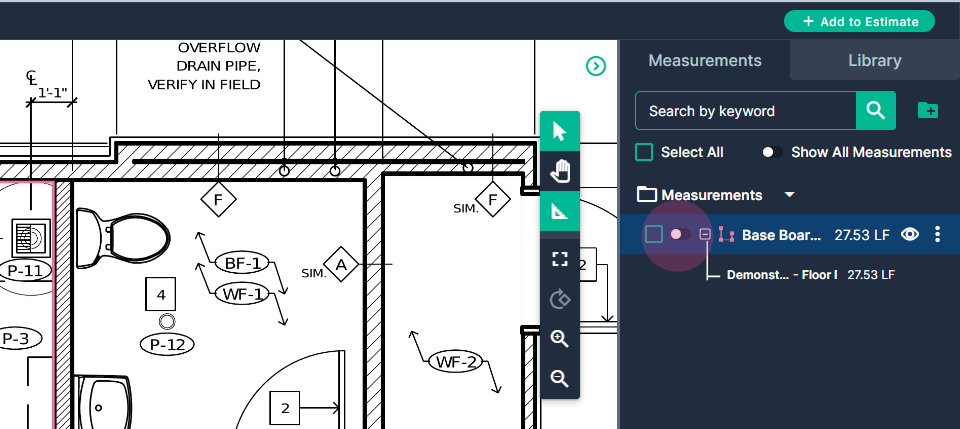
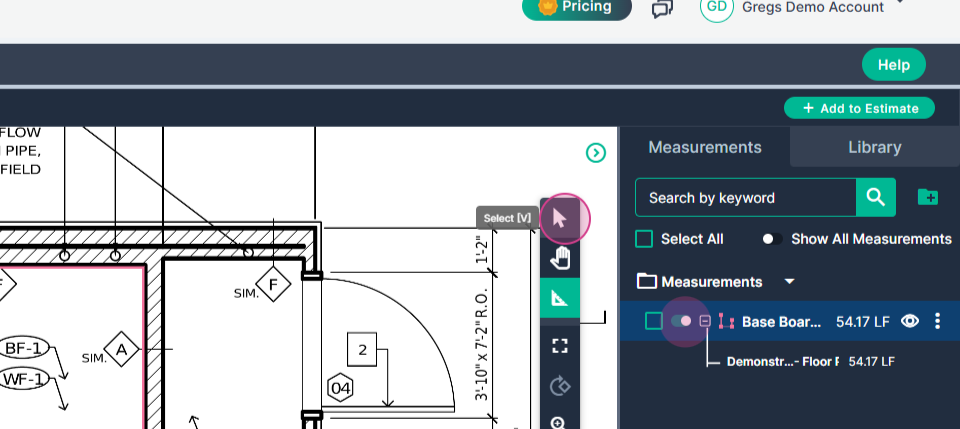
The measurement result is in the measurements panel on the right side of the screen