As a General Contractor, your customers are commonly owners, developers, architects, and engineers. You can use your access to the Leads to network with these types of contacts in the planning stages of projects.
If you have purchased access to the Lead Finder, you can tap into these early-stage project leads with contact details to network and attempt to get your company added to the bid list for future projects.
Because these leads are for early-stage planning, there are no plans attached to these leads.
In this tutorial, you'll learn how to use the Lead Finder for general contractors to find contact details of architects, developers, and owners associated with private projects and early planning and design stages.
*Please note* the Lead Finder is a purchasable product
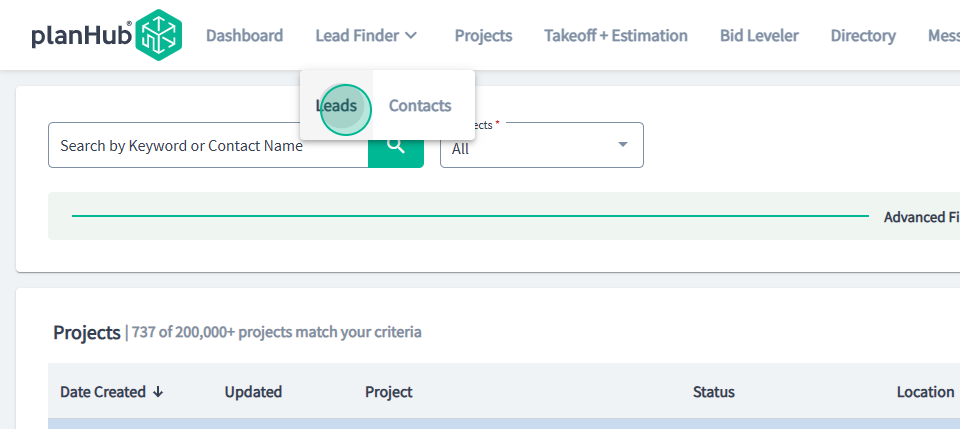
Step 1: Open the Lead Finder and navigate to the Leads page. Here, you'll find search tools and a leads list.
Step 2: Use the search tools to filter the list of leads by project status, bidding status, GC selection, status, value, construction type, building use, project types, expected trades, and the lead's expected location by regions or by zip code and distance.
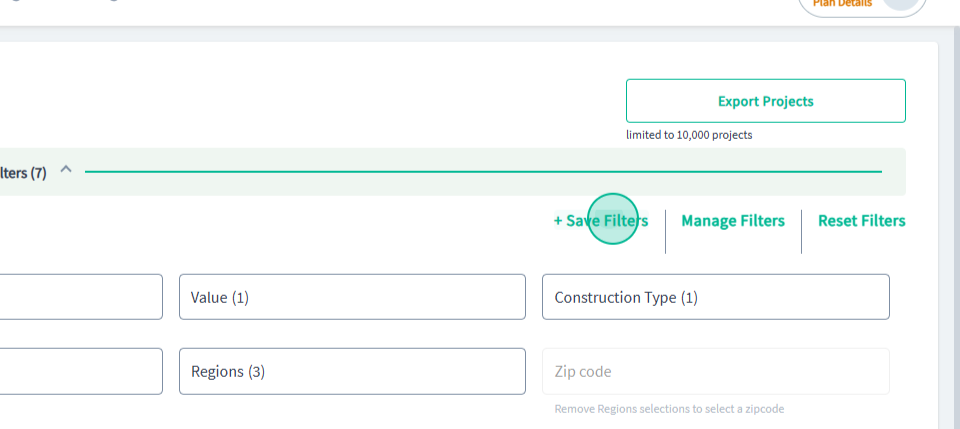
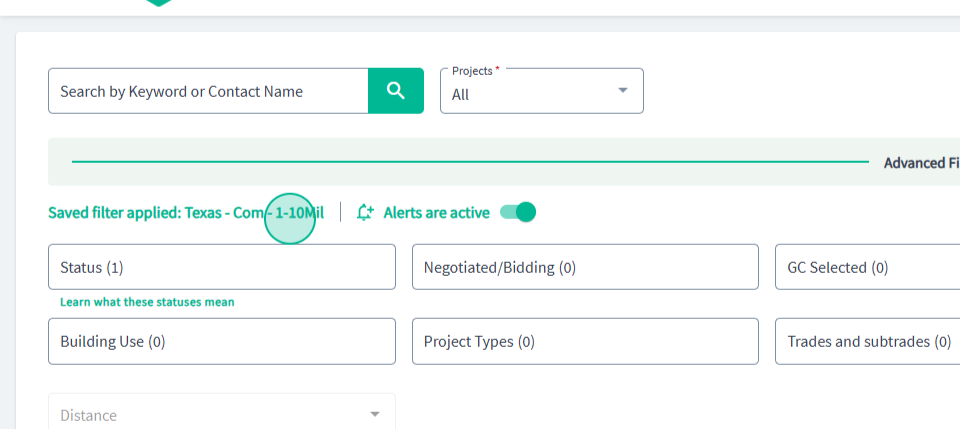
Step 3: Save these filters for easy future access.
Step 4: Set up notifications so that if a new lead that aligns with your filters is added to the board, you'll be notified via email.
Step 5: Manage your filters. To view, manage, or delete your filter sets, use the Manage Filters option. Select the filter you wish to use, make edits to, or delete filters you don't want.
You can see the saved filter you are using here
Step 6: Use the search bar to search for a lead by name or by contact name.
Step 7: Below the search tools is the list of leads that align with your filters or search terms. You can quickly save leads you find interesting, share leads with selected team members, or delete leads you are not interested in.
You can access your saved leads and your deleted leads in the folders within your search tools.
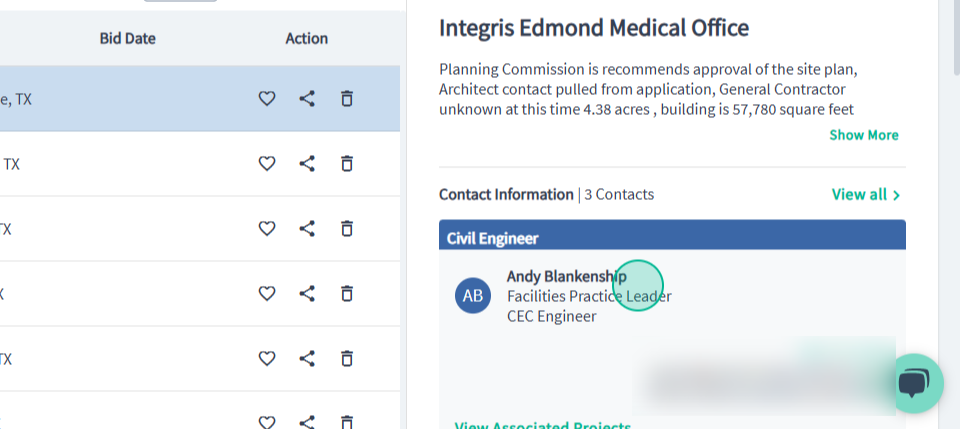
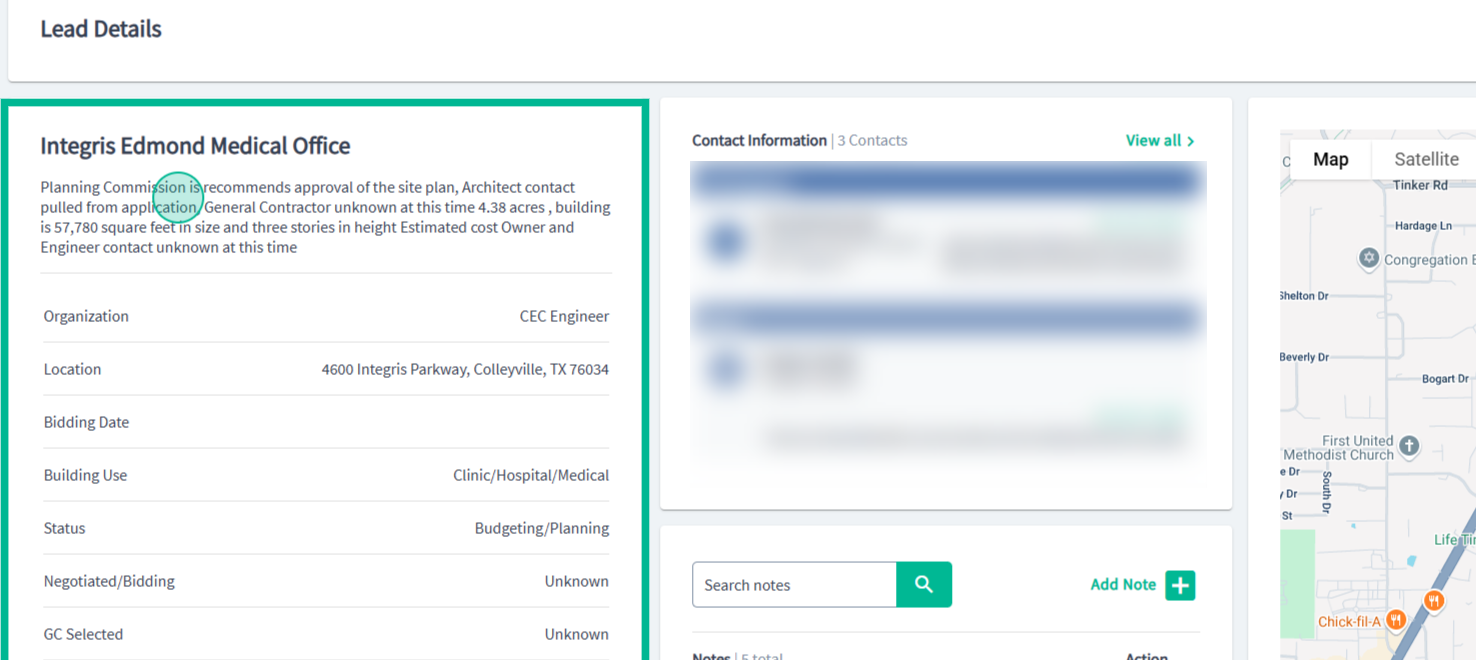
Step 8: Click on a lead to get more information. This includes project details, the project description, contact information, and the project information. 
To see all the information we have on this lead, click Details and Notes.
Step 9: From here, you can see the full lead information. Scroll down to view the expected trades and click "View all" to see a full list of traits. You can search for trades here, too.

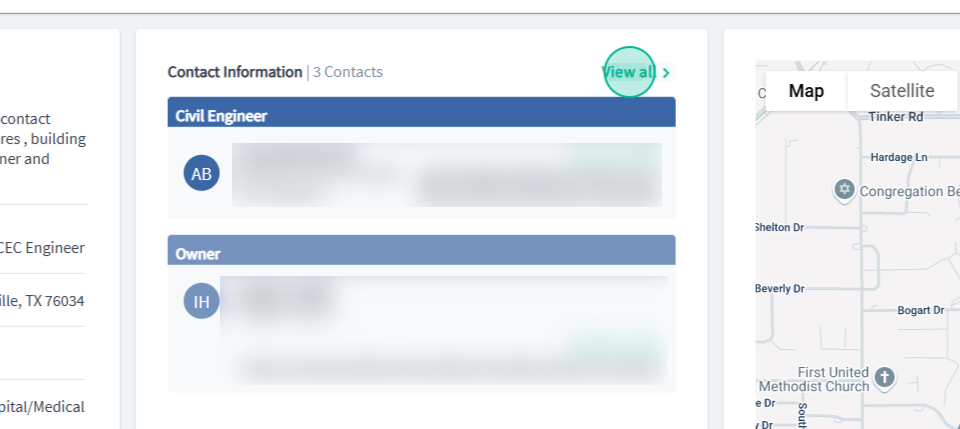
Step 10: To view all contacts, click "View all" in the Contacts box.
To add a note, click Add Note. You can also schedule yourself a follow-up reminder. All notes can be viewed by your team members, and they are searchable.

Step 11: The interactive map shows the project location. You can switch this to a satellite view where you can explore more of the surroundings. You can also save, share, or delete the project from your Leads list.
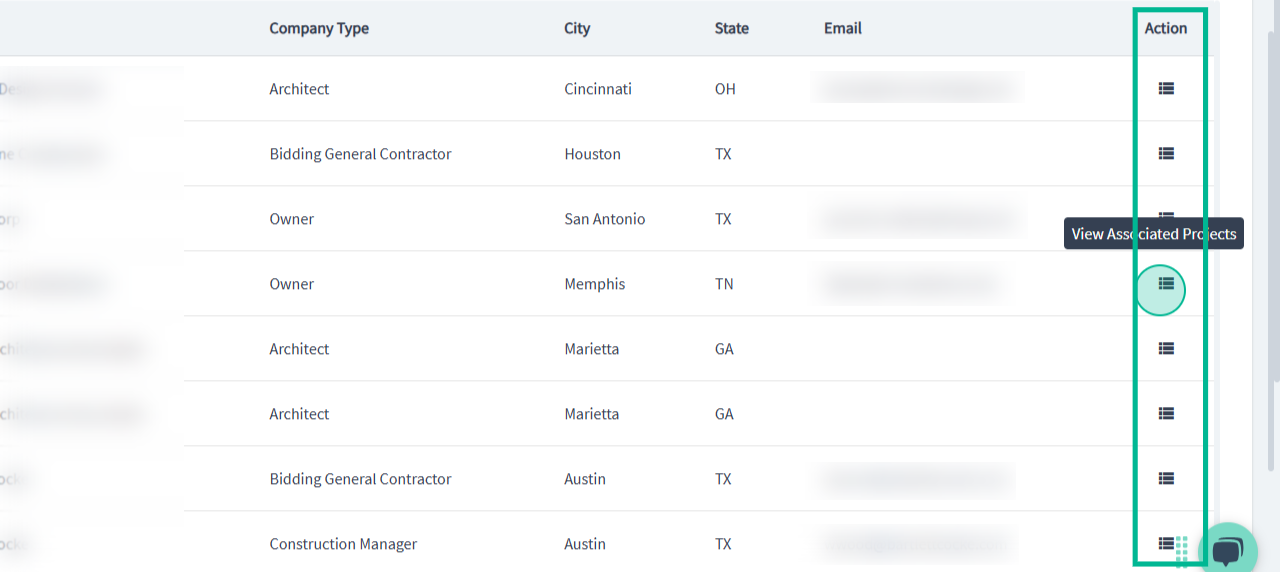
Step 12: The Contacts view in the Lead Finder helps you target potential clients. Here you will find all the contacts that are listed in the leads. Use the filters to narrow down your list of contacts. These filters can also be saved and managed. Use this link to see all the projects associated with this contact.
Use the actions button to see all the projects associated with this contact.