Step 1: Access the Job Board
To access the Job Board, you must have a subcontractor account and have purchased the Job Board add-on feature. If you do not currently have access, please contact your account manager or Customer Support for assistance with purchasing. For available contact methods, refer to the Knowledge Base article: How to Contact PlanHub Customer Support
Step 2: Open the Job Board page from the Main Panel

Step 3: Choose a Viewing Option
At the top of the page, switch between the three main views:
-
Job Board view for a workflow-style board.
-
List View for a detailed table of job information.
-
Calendar View to see jobs scheduled on a timeline.
Step 4: Navigate Project Status Columns
The Job Board columns help you visualize job progress—To Do, In Progress, In Review, and Completed. Move jobs across columns as your team advances through each stage.

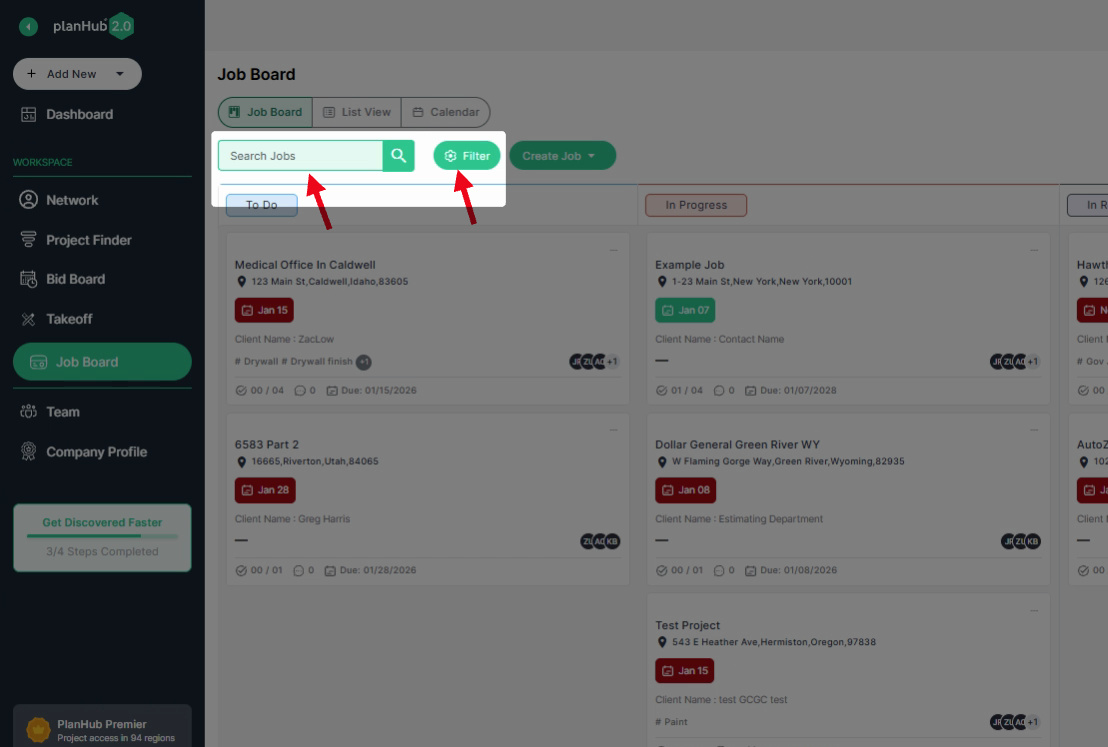
Step 5: Search and Filter Jobs
Use the keyword search bar to find a job by name. Apply filters to narrow results by status, team member, client, construction type, tags, or advanced options. Once you’ve set the filters, click Apply to update.
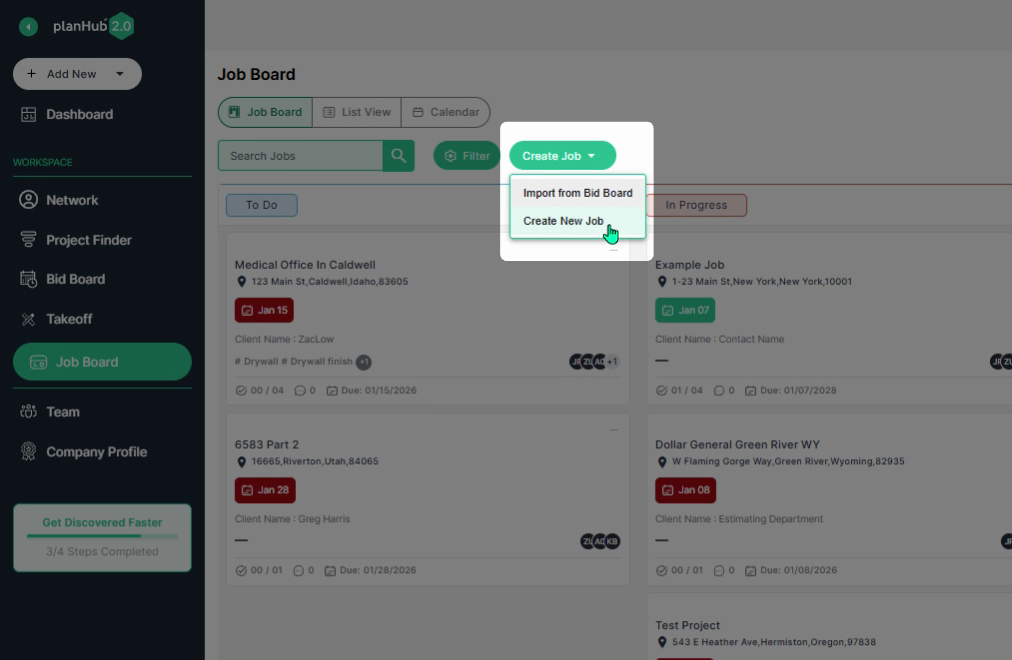
Step 6: Add a New Job
Click the Create Job dropdown menu. Import a job from your Bid Board or create a new job.
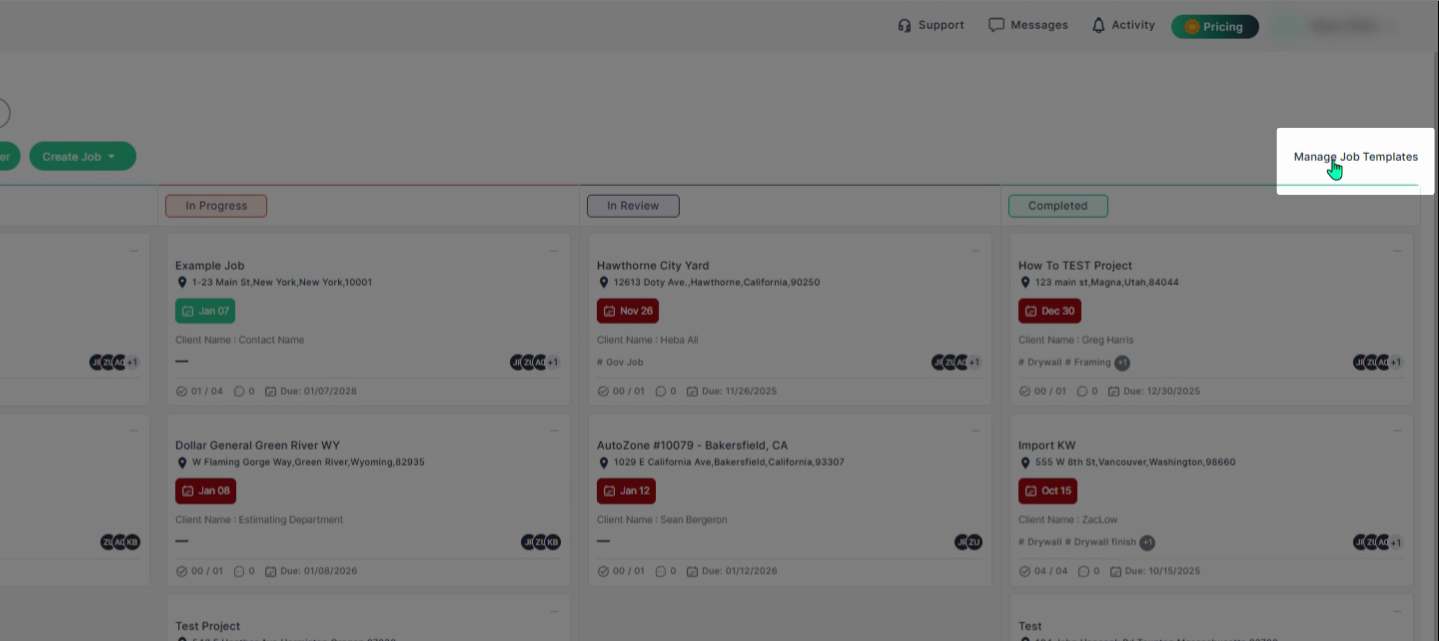
Step 7: Manage Job Templates
Transform frequently used job setups into templates. Manage templates by selecting the Manage Job Templates option on the upper right side of the Job Board. On the Manage Templates page, use Create Job Template to build new templates.
Step 8: View and Edit Job Details
Click the job name to open the details page, then select Edit next to each section to make updates. You can update the following sections:
-
Job Description
-
Client Information
-
Team Members
-
Job Information
-
Milestones
-
Documents
To update the job status, use the dropdown menu. From the Action menu, you can choose to Edit, Clone, Delete, or save the job as a template.
Step 9: Use the Action Menu
Access the action menu (three dots) on each job card. Here, you can:
-
View job details
-
Edit, Clone, or Delete the job
-
Save the job as a template
-
Save as Template
Step 10: Visual indicators display job due dates: red indicates the estimated end date has passed, while green indicates the estimated end date has not yet passed.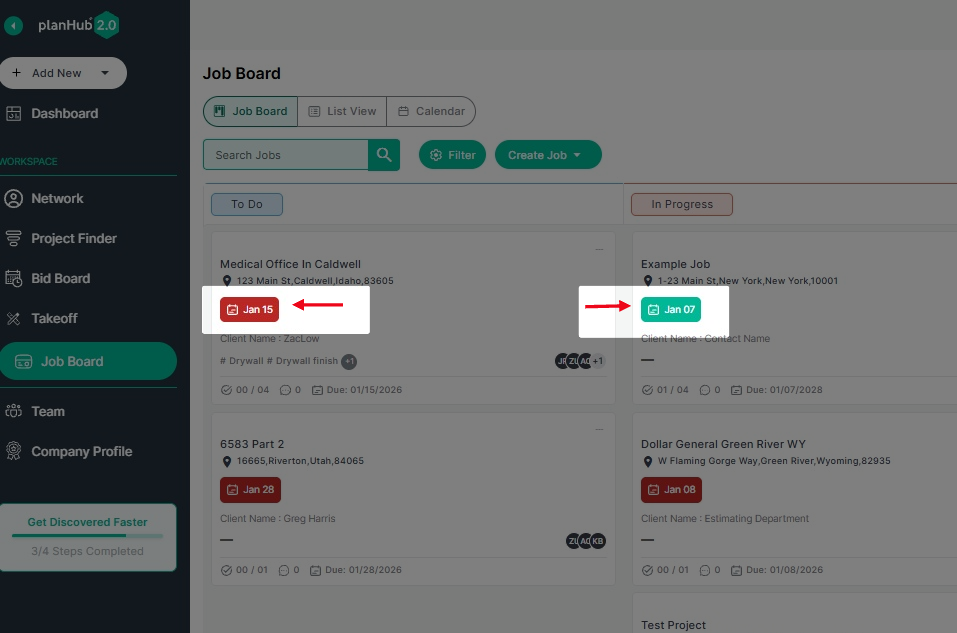
Step 11: Explore Job Tabs
Within each job’s page, select the tabs to navigate between the following:
-
Job Details
-
Milestones
-
Team
-
Documents
-
Chats
This makes it easy to keep track of every aspect of your projects.

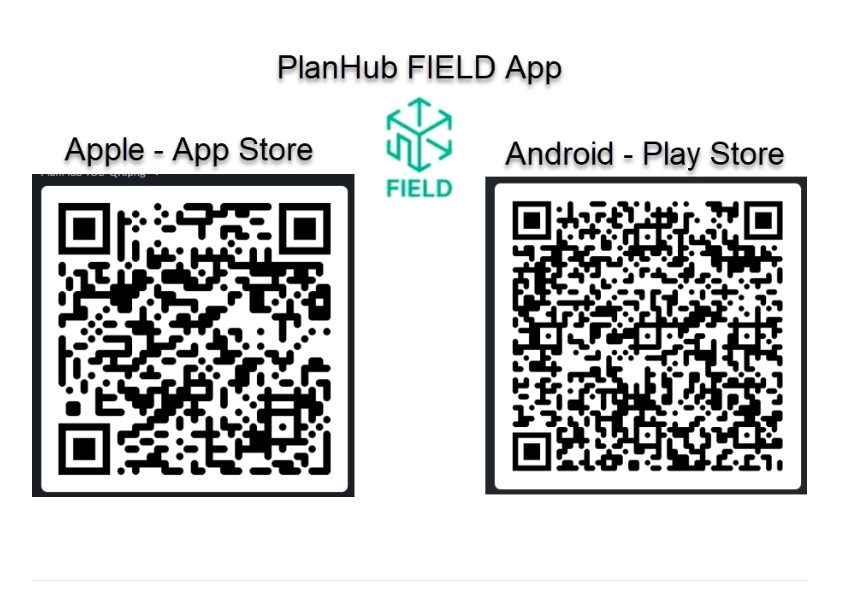
Step 12: Download the FIELD App
The Job Board works best when your field team actively uses the planHub Field App to record labor, upload documents, and mark tasks as completed, helping keep projects organized and on schedule.
The Job Board enables Subcontractors to efficiently organize, track, and manage active field jobs in one centralized view, giving both office and field teams clear visibility across every stage of a project.