In this tutorial, you'll learn how to use the volume tool to measure slabs and trenches. This tool is particularly useful when you need to calculate the amount of concrete required for a specific area.
Prerequisites:
-
You need a subscription or trial that includes Takeoff to measure plans, export a plan into TakeOff, and set the scale. Then you can begin measuring.
-
You need to set a scale on the page before measuring, if you need to learn hoe to set a scale click here: How to Set A Scale
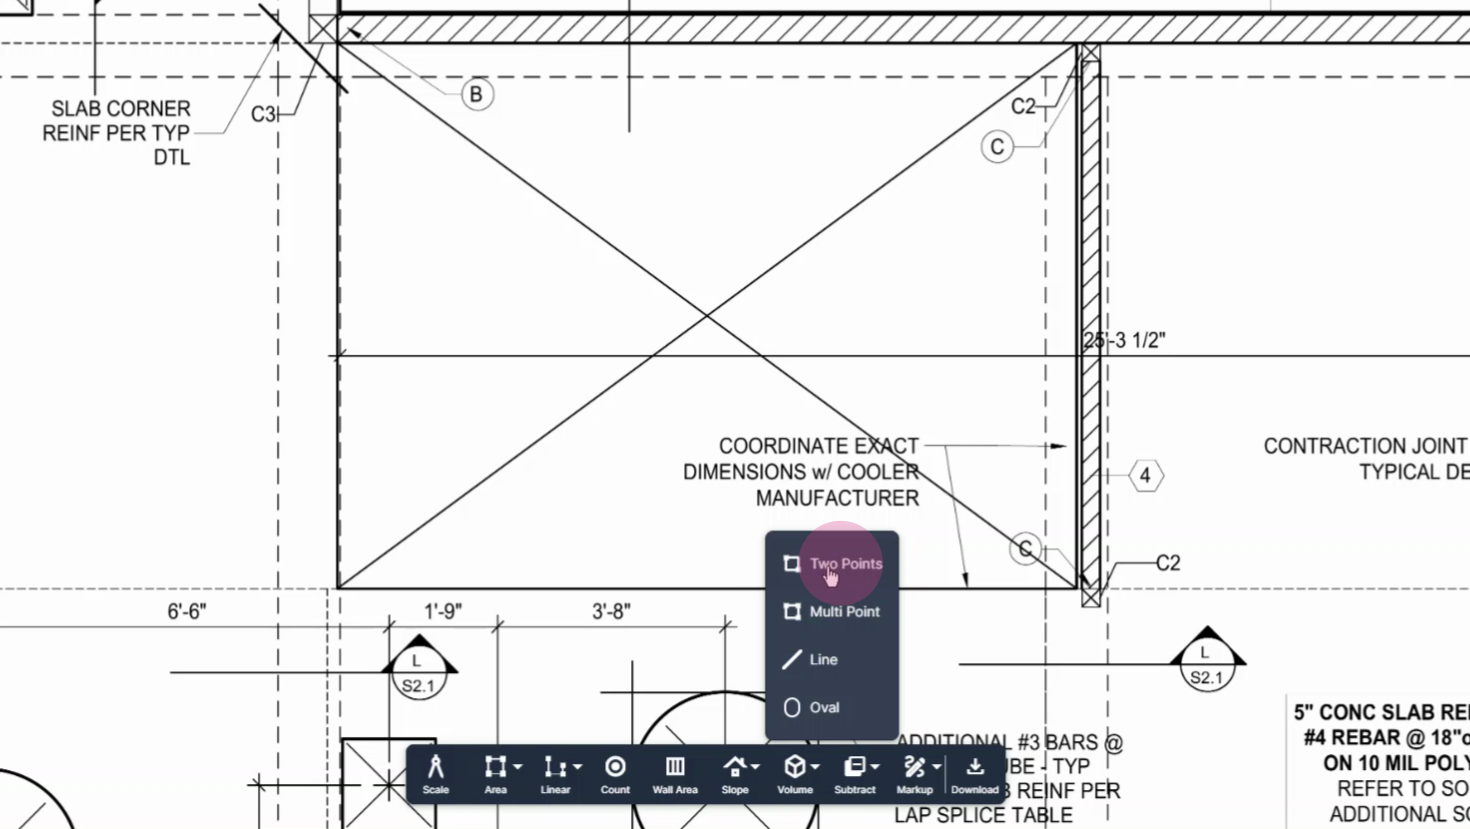
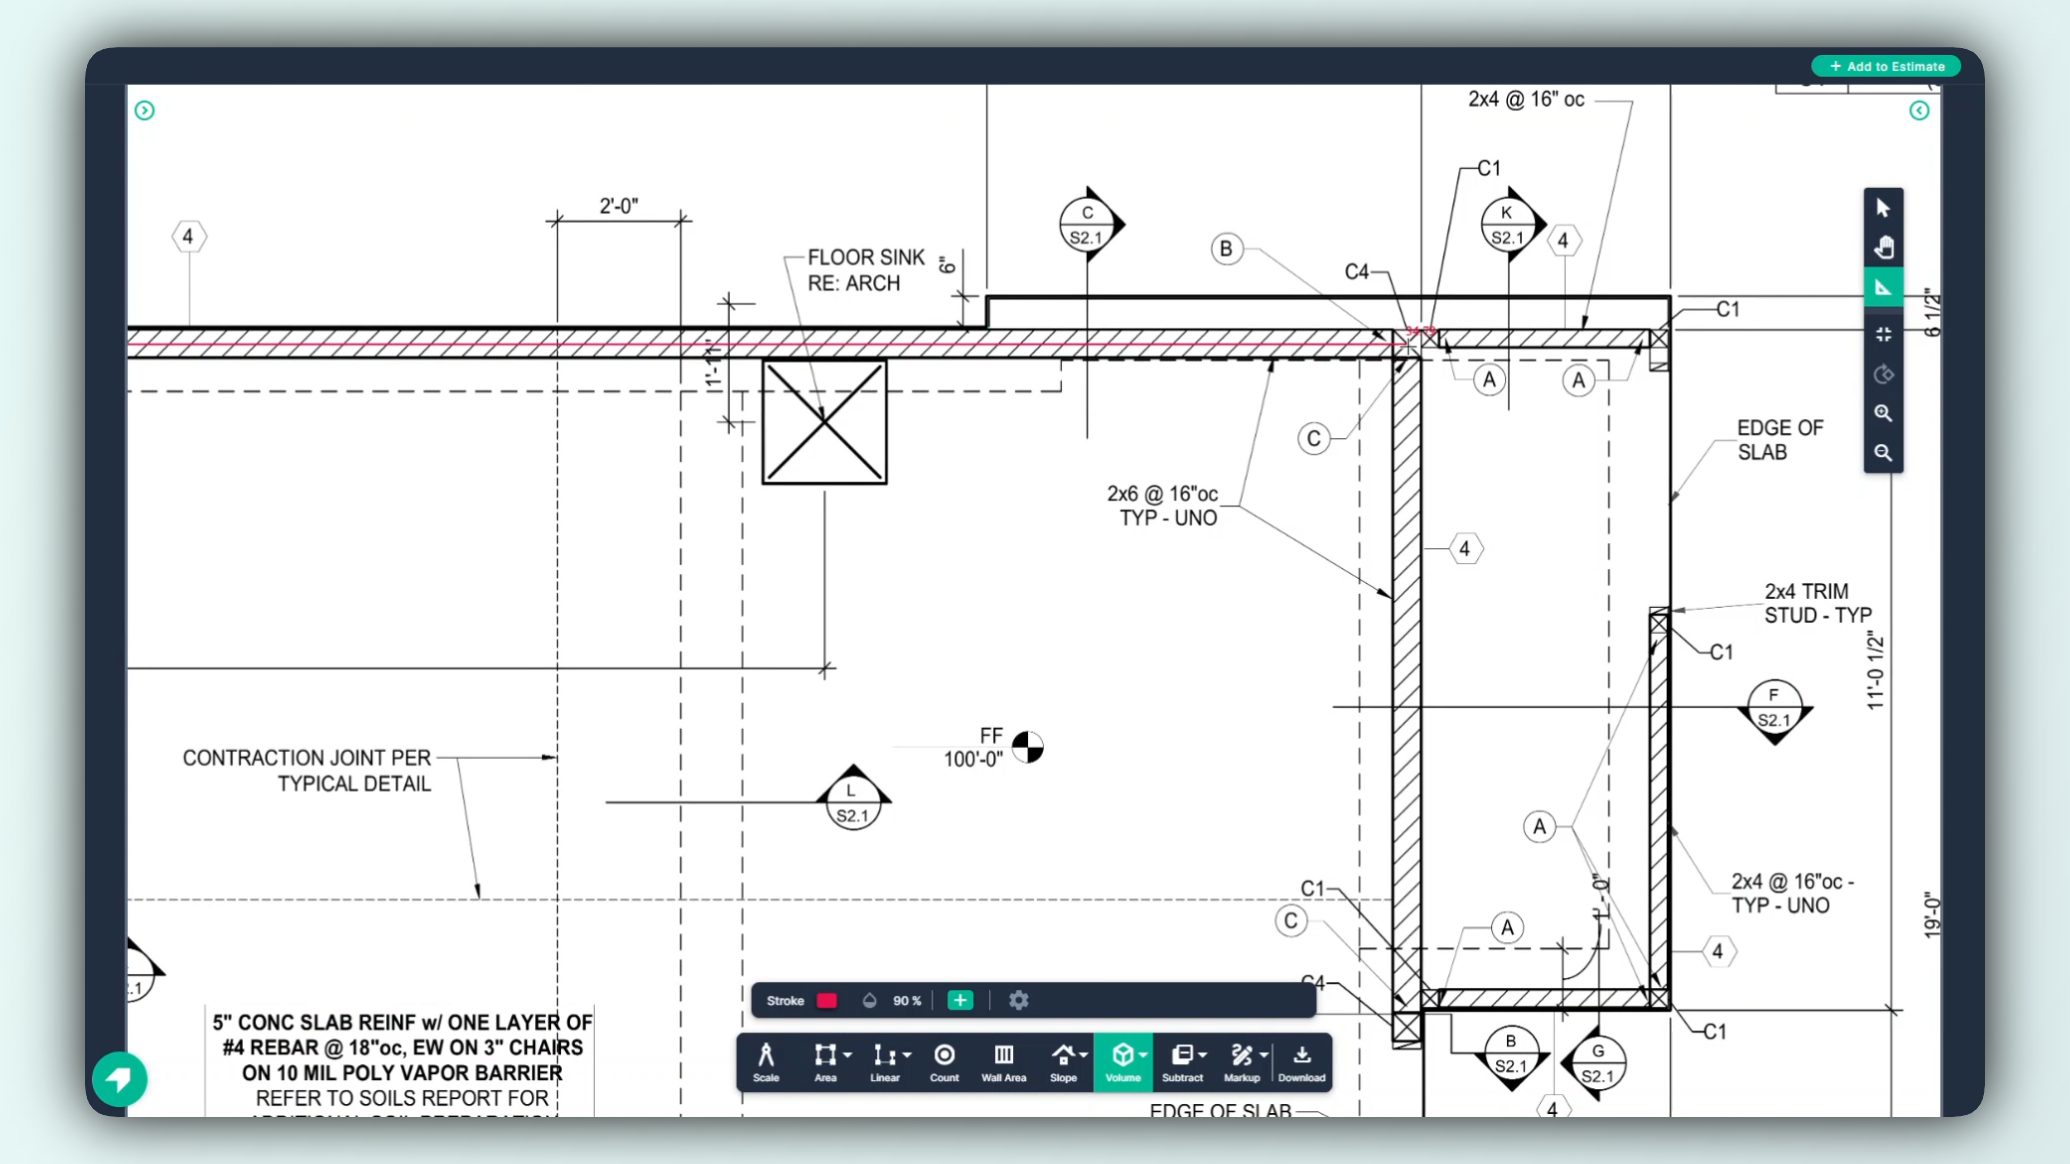
Step 1: Click the volume button.
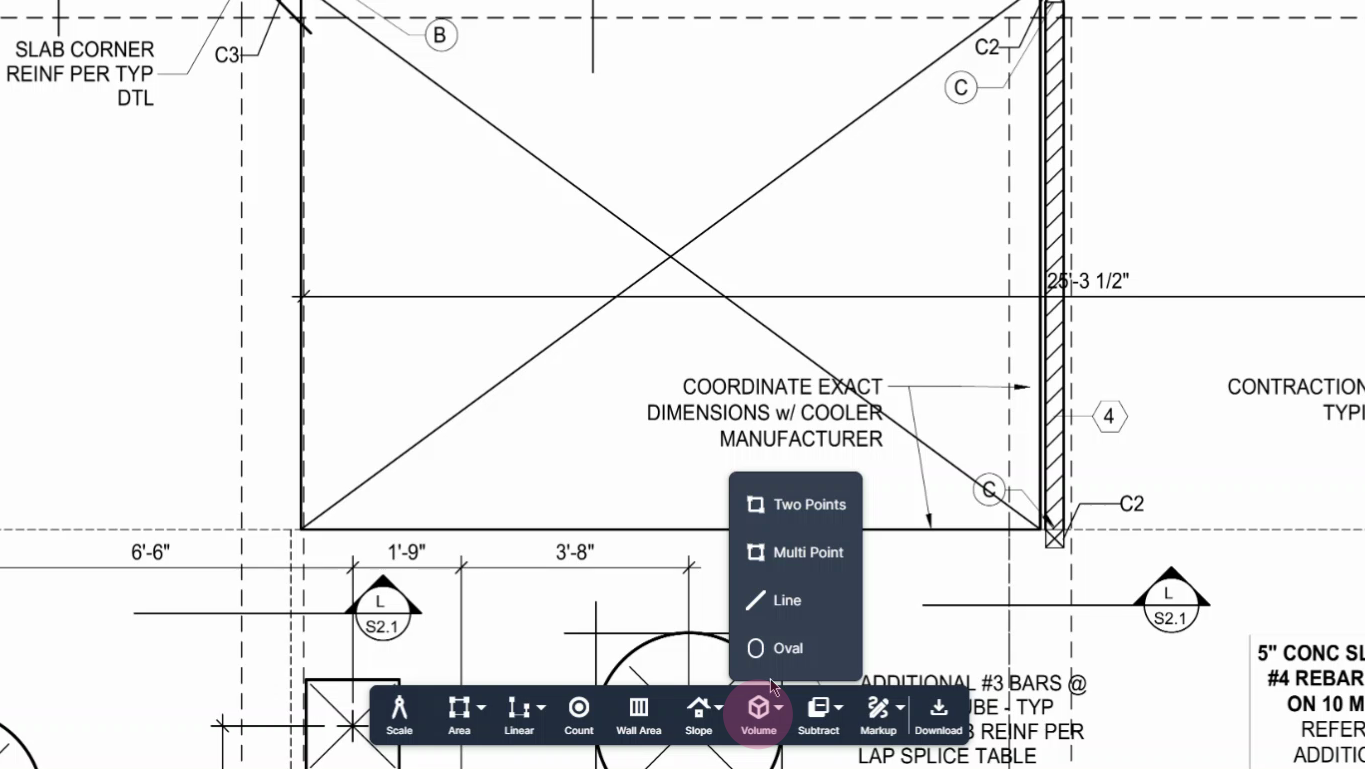
Step 3: For a perfect square or rectangle shape, choose the two point option.
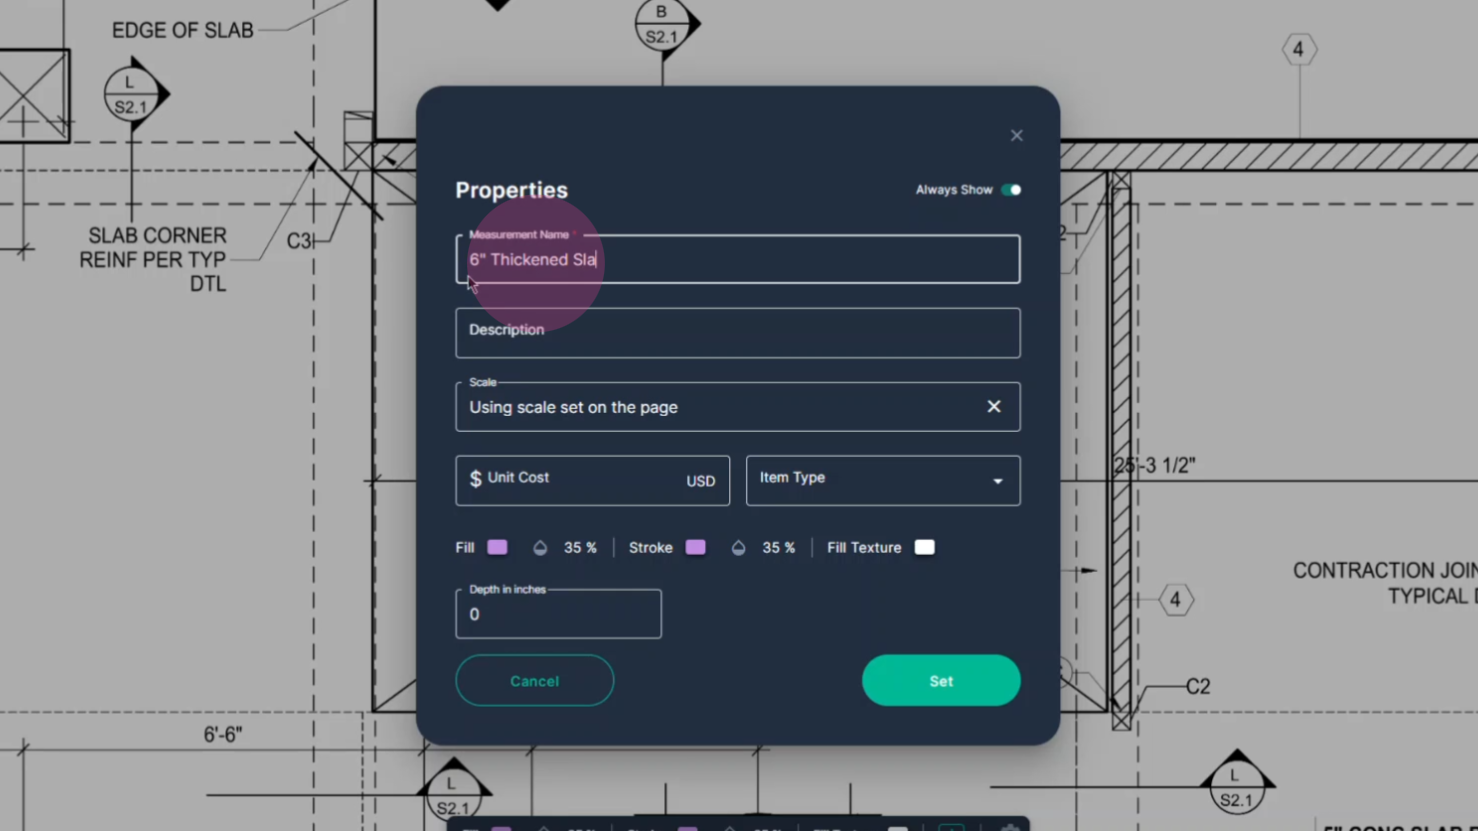
Step 4: Assign a recognizable name to this tool, for example, '6" Thickened Slab'.
Step 5: Input the depth dimension for the slab. In this example, it's 6 inches.
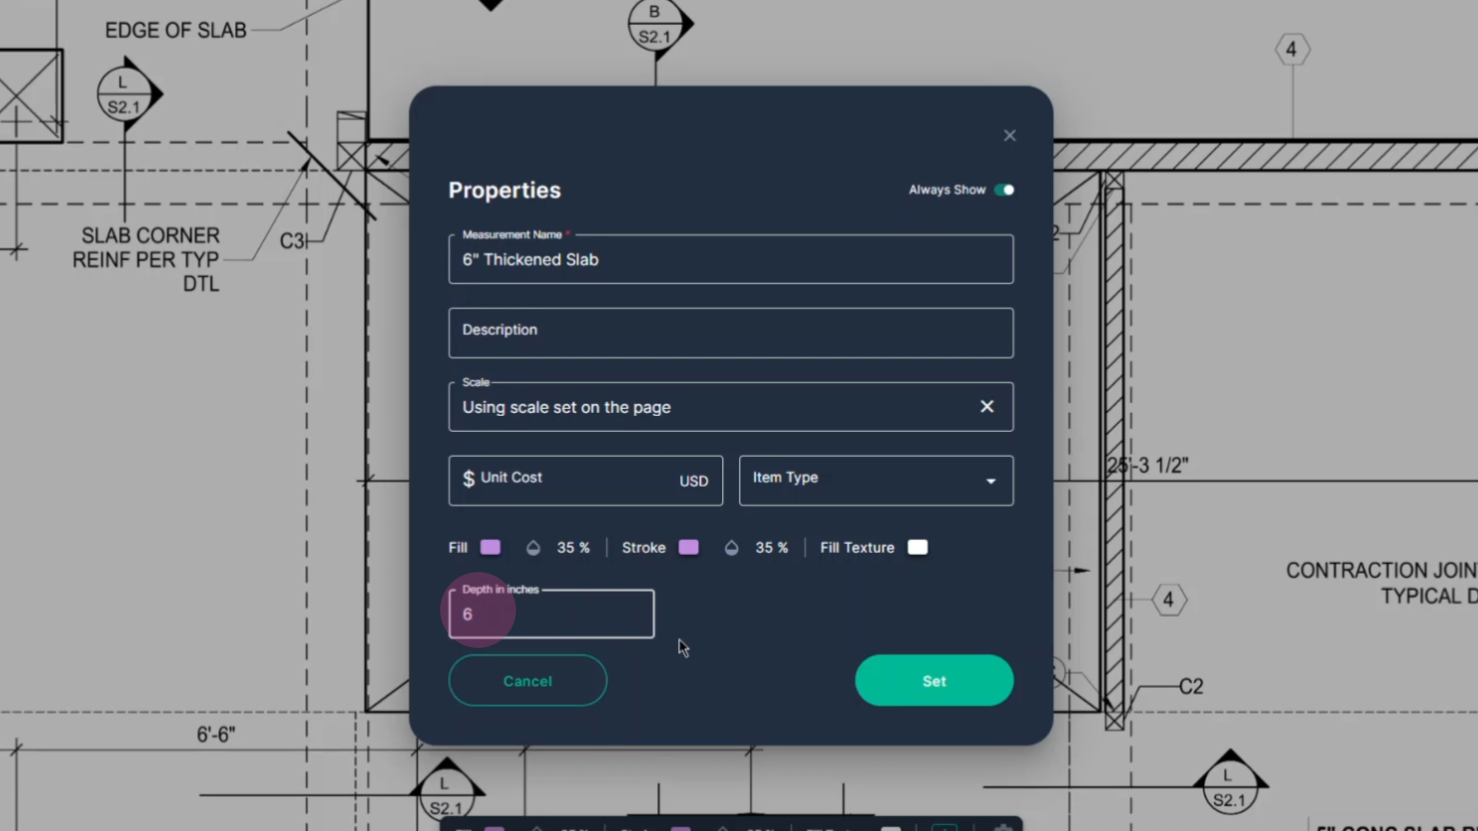
Step 6: Click set in the box.
Step 7: Begin in one corner, left click once.
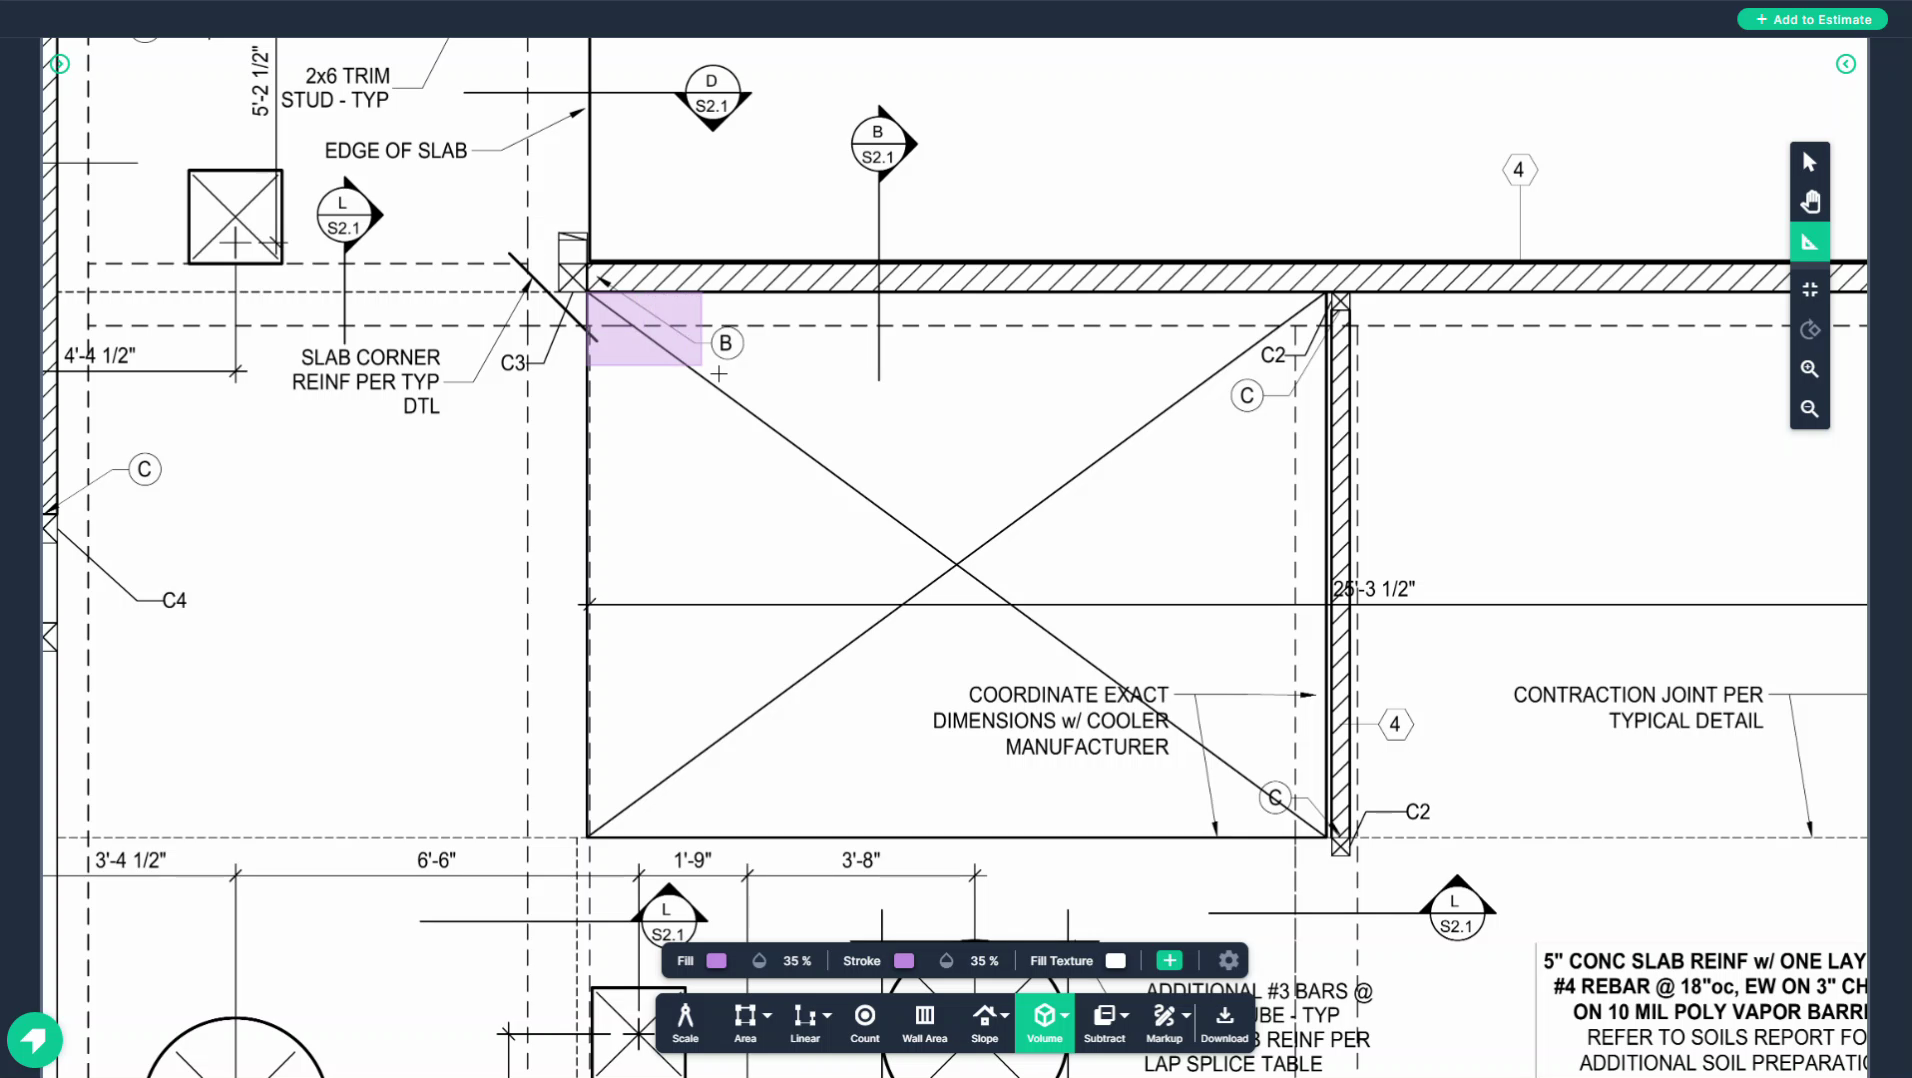
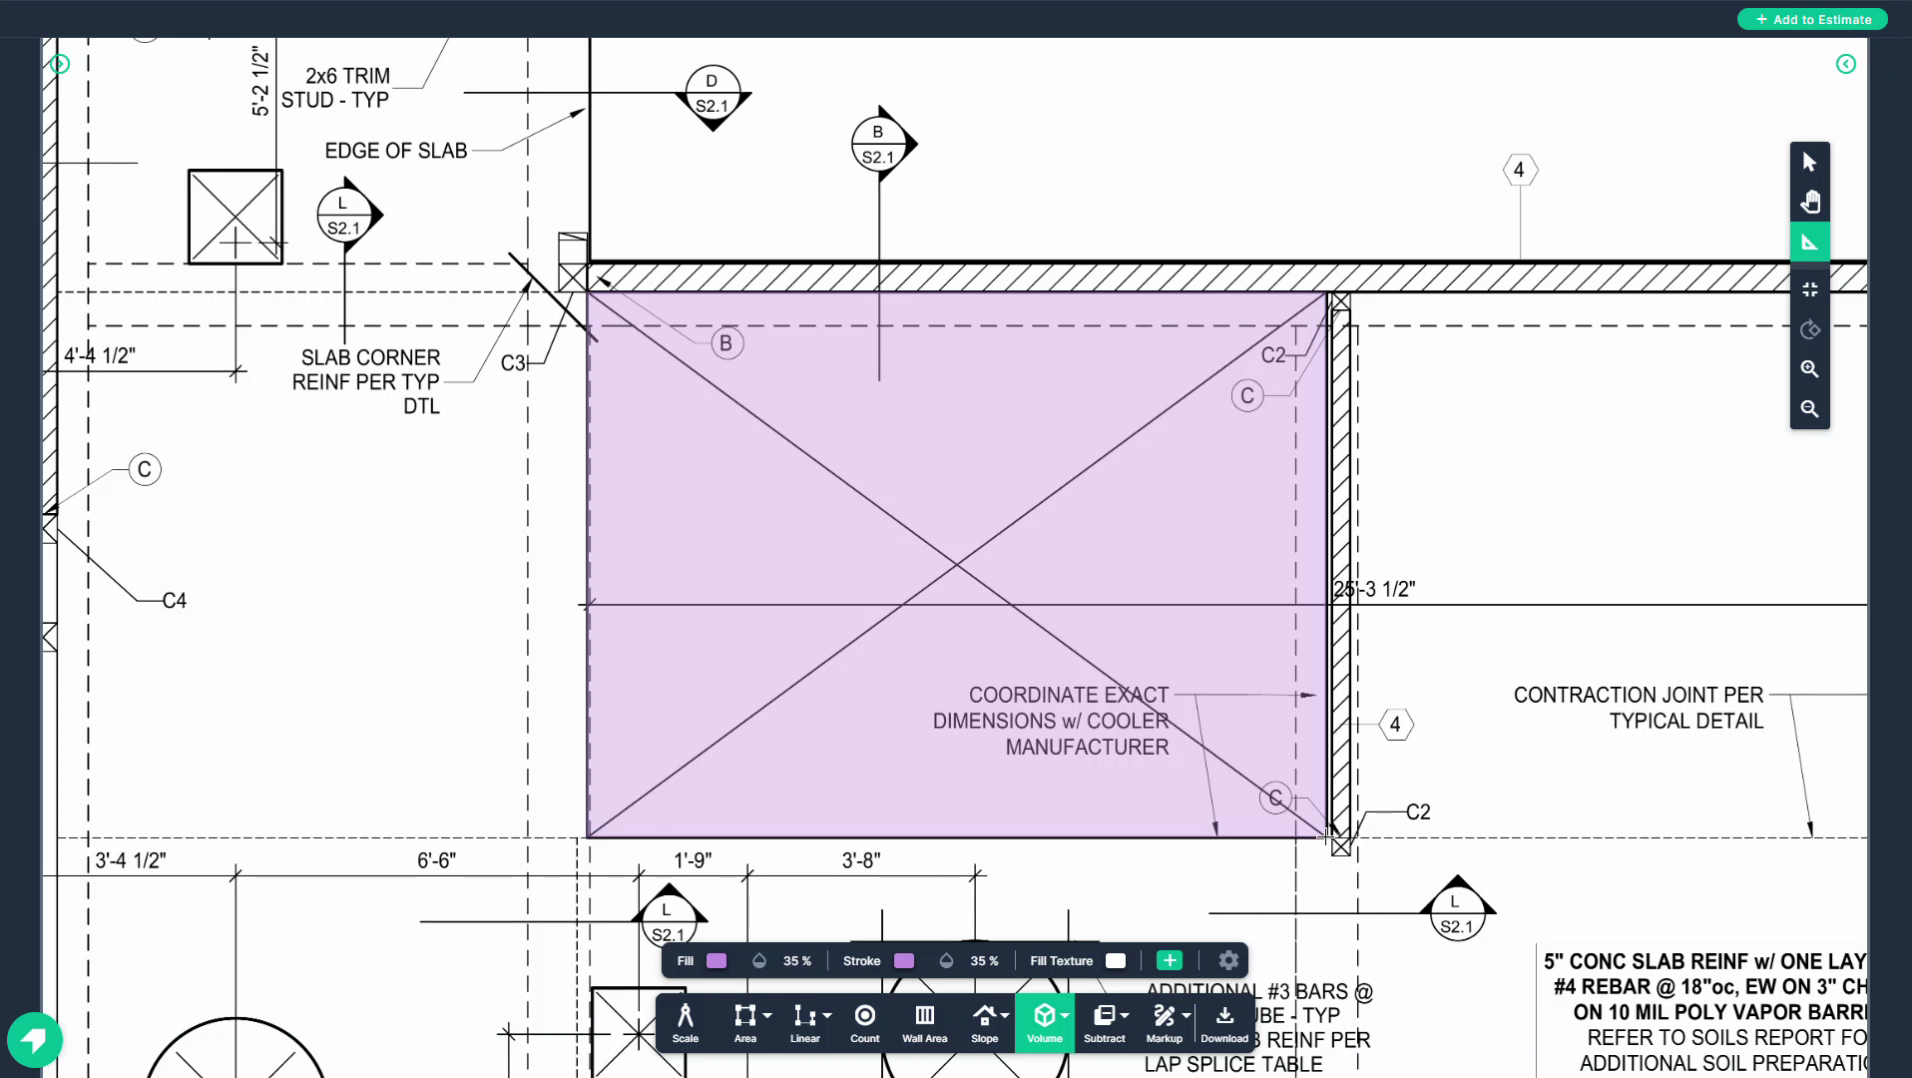
Step 8: Drag the shape across to the opposite corner, it follows your mouse after the initial click, click on the opposite corner to finalize the measurement.
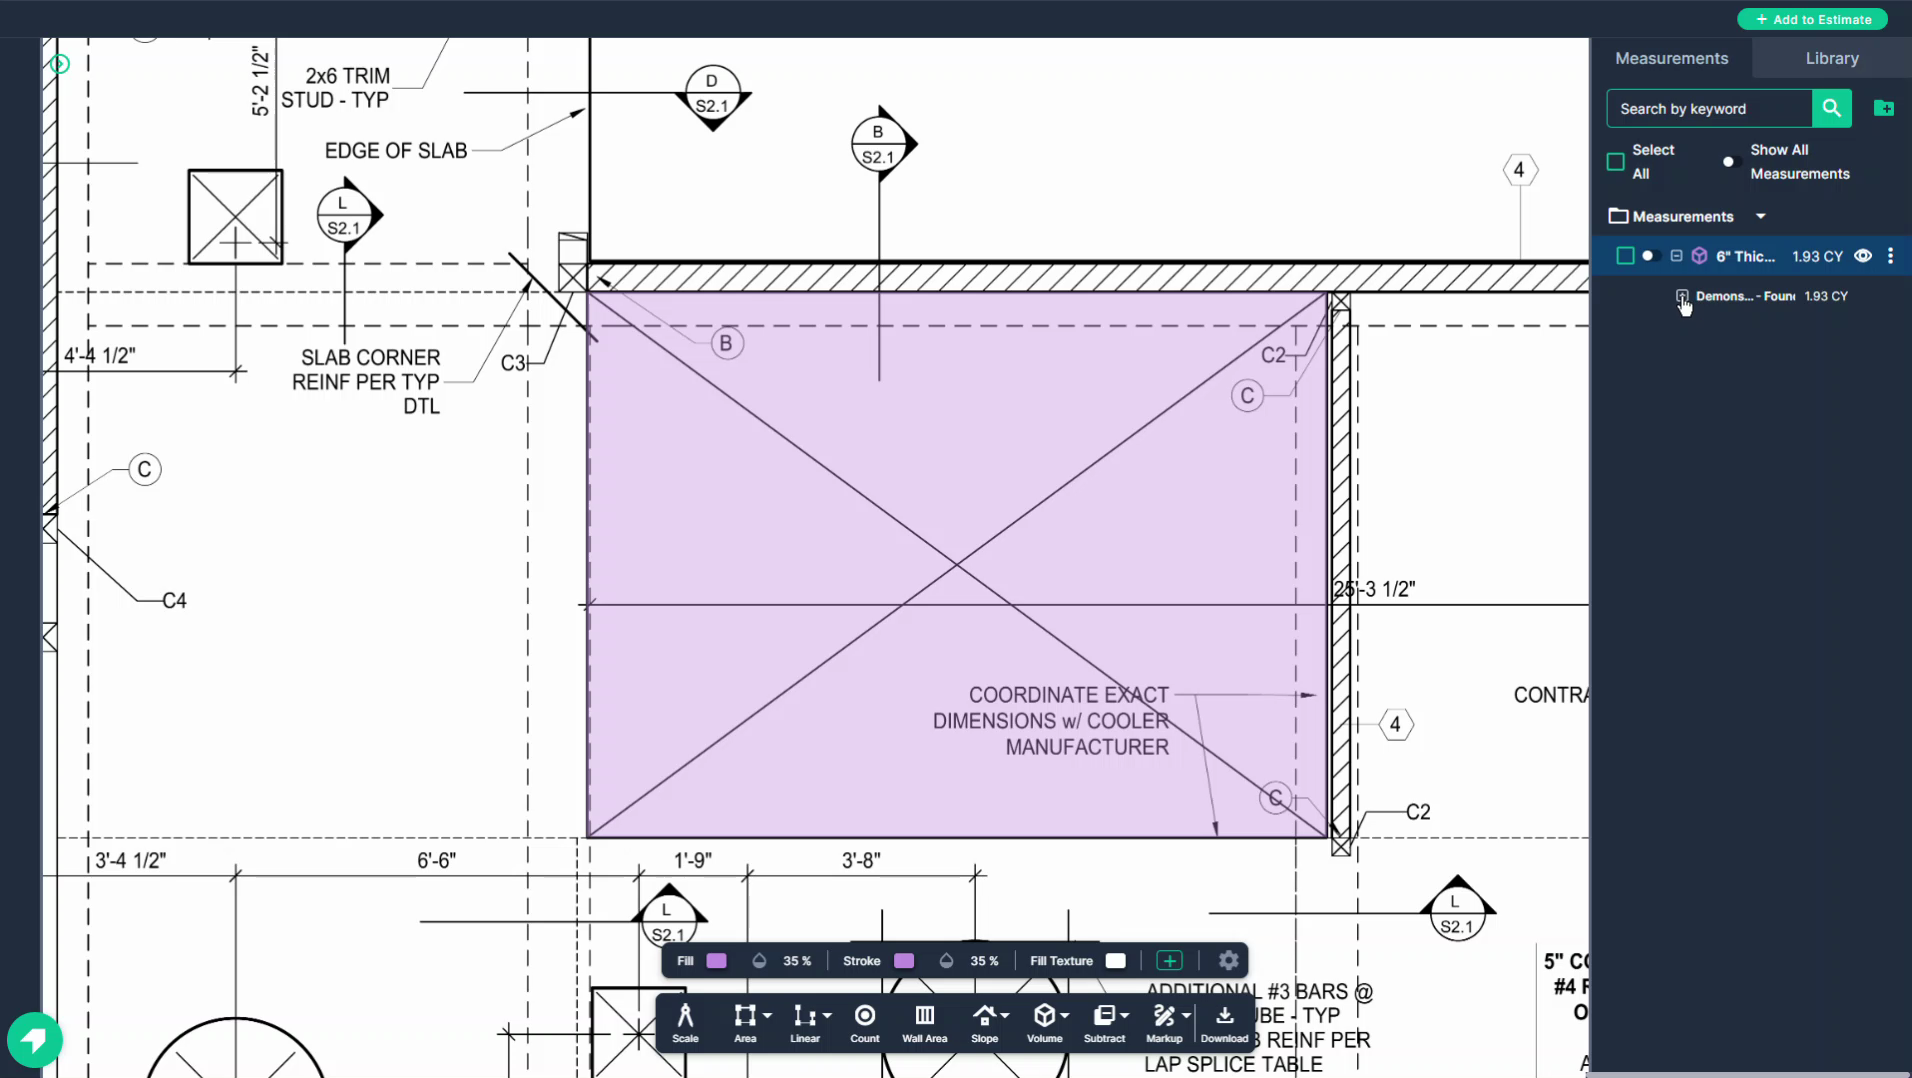
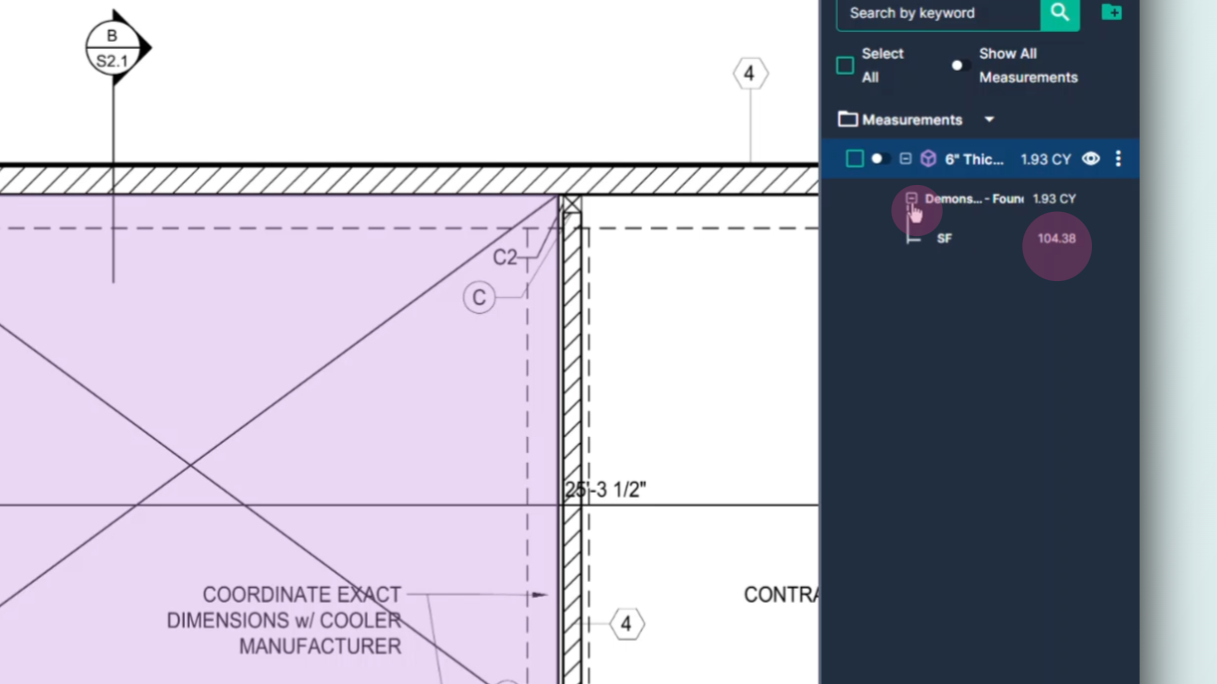
Step 9: Check the measurements panel on the right side. Here, you'll see the amount of concrete required for the measured space.
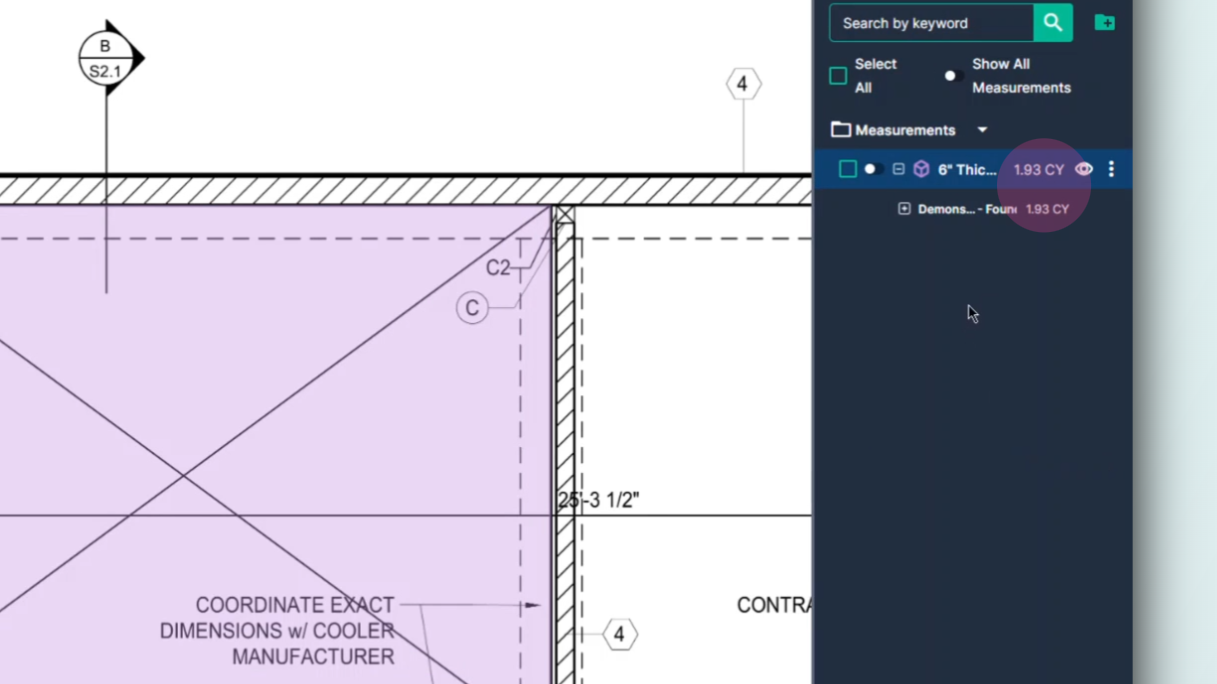
Step 10: Click the plus symbol to see the surface area of the measured territory.
Step 11: To measure the volume of trenches for continuous footers, for example, use the volume linear tool.
Step 12: Click the volume tool again. This time, Select the line option.

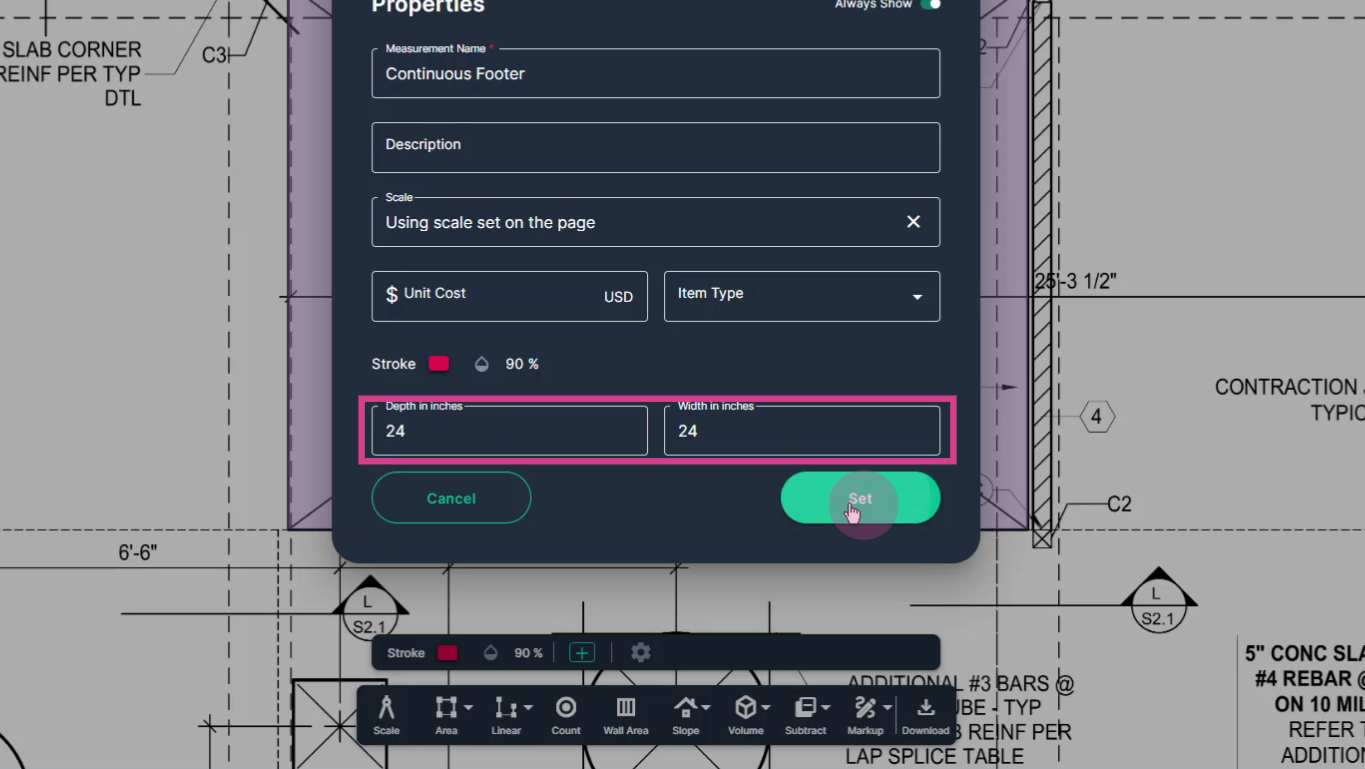
Step 13: Give this measurement a custom name.

Step 14: Input the depth and width of the trench. In this example, it's 24 inches by 24 inches.
Click set.
Step 15: Measure a straight line, starting where the continuous footer begins and ending where it stops.
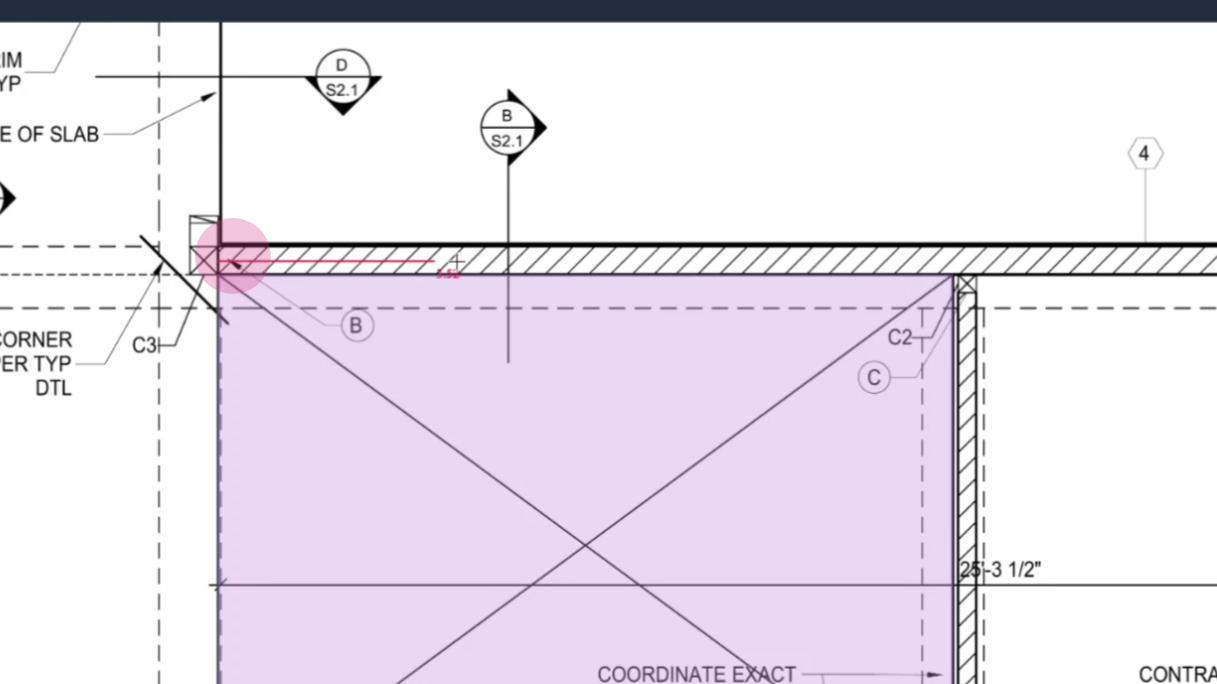
Step 16: Double click at the end of this section.
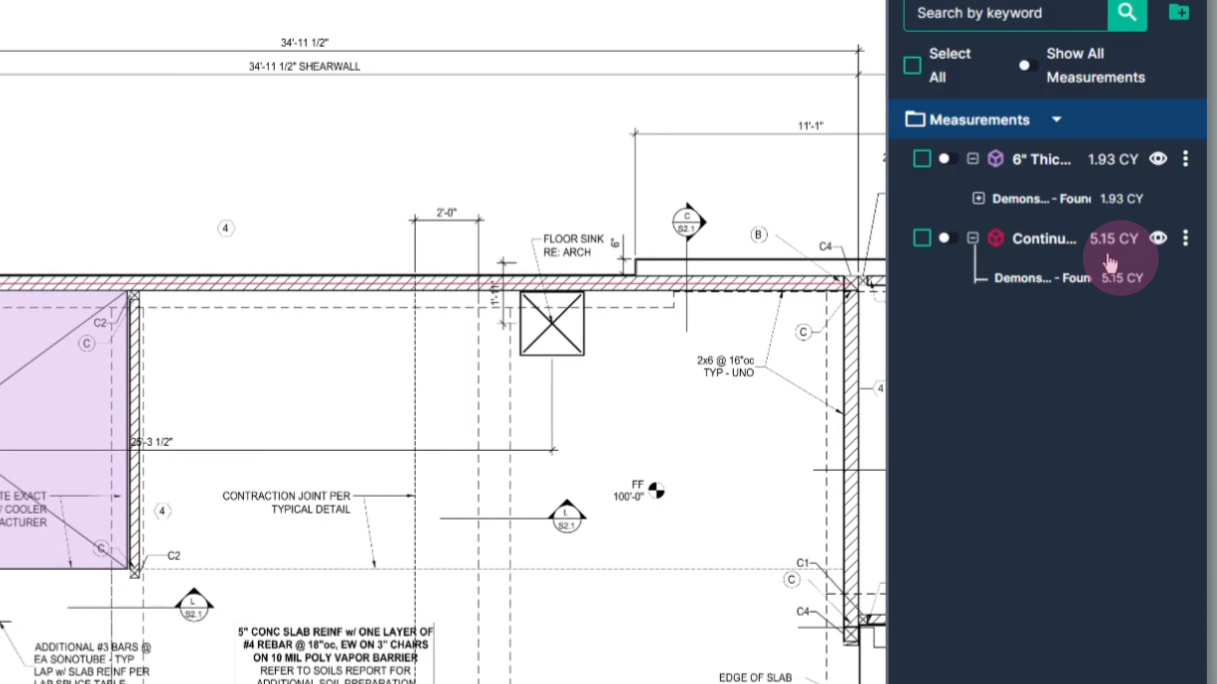
Step 17: Check the result on the right side. This shows the amount of concrete required for the measured stretch of continuous footer.
Next Steps
Once you have completed taking all your measurements, you can:
- Download the measurements in a table from the Project Measurements page
- How To Download Project Measurements From Takeoff
Add a legend and download the PNG of your takeoff page - Using Legend Markup in Takeoff
If you have purchased the Estimation add-on tool, send measurements into the Project Estimate page or push them into an Assembly you have built. - Estimation - Exporting a Measurement from TakeOff to Estimation
- Estimation | How to Create an Assembly
- Share your Takeoff with anyone using the Share button in the upper right-hand corner.
Troubleshooting
Contact us if you need assistance or to report an issue:
- PlanHub Contact Page: https://planhub.com/contact/
- Customer Facing Support Ticket Link: https://knowledgebase.planhub.com/knowledge/kb-tickets/new
- Schedule a Free 1-on-1 Takeoff Training: https://meetings.hubspot.com/zac-low/takeoff-and-estimation