This article will guide you on how to use the subtract tool in PlanHub's takeoff to measure an area and subtract unwanted regions from the overall measurement. Subtract may be used to remove areas from areas, volumes from volumes, and slope areas from slope areas.
Prerequisites:
- You need a subscription or trial that includes Takeoff to measure plans, export a plan into TakeOff, and set the scale. Then you can begin measuring.
- You need to set a scale on the page before measuring, if you need to learn hoe to set a scale click here: How to Set A Scale
Step 1: Start the Area Tool by clicking on Area.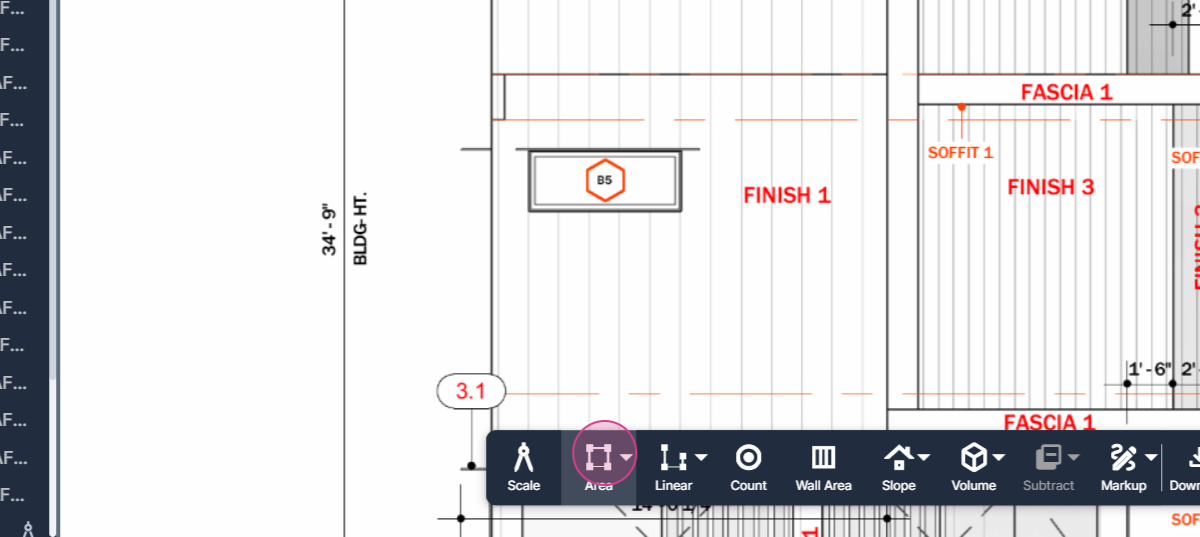
Step 2: Select Multipoint.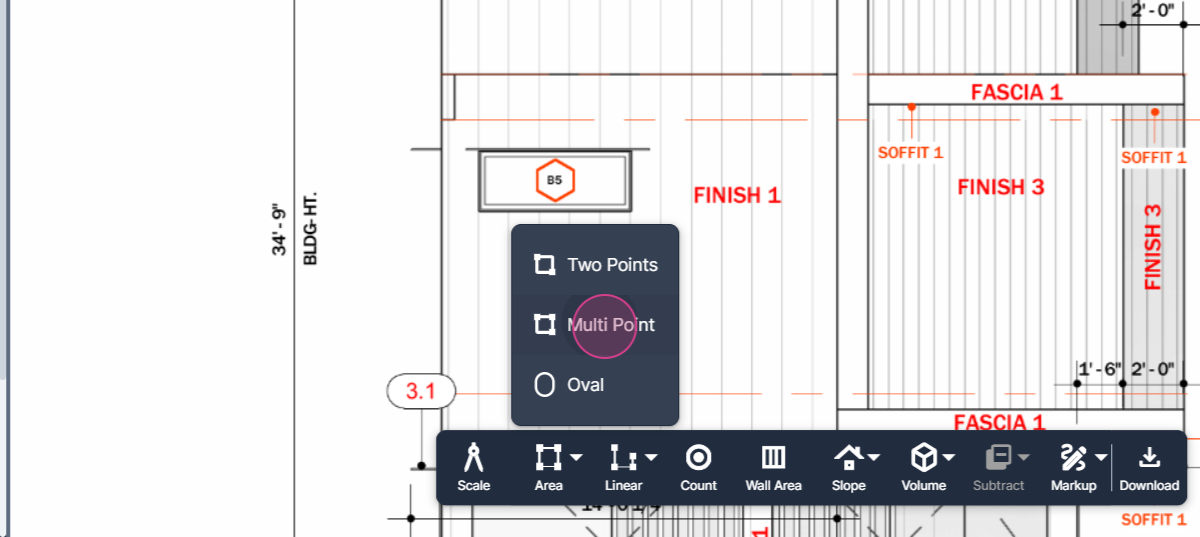
Step 3: Name your area, for instance, Finish1.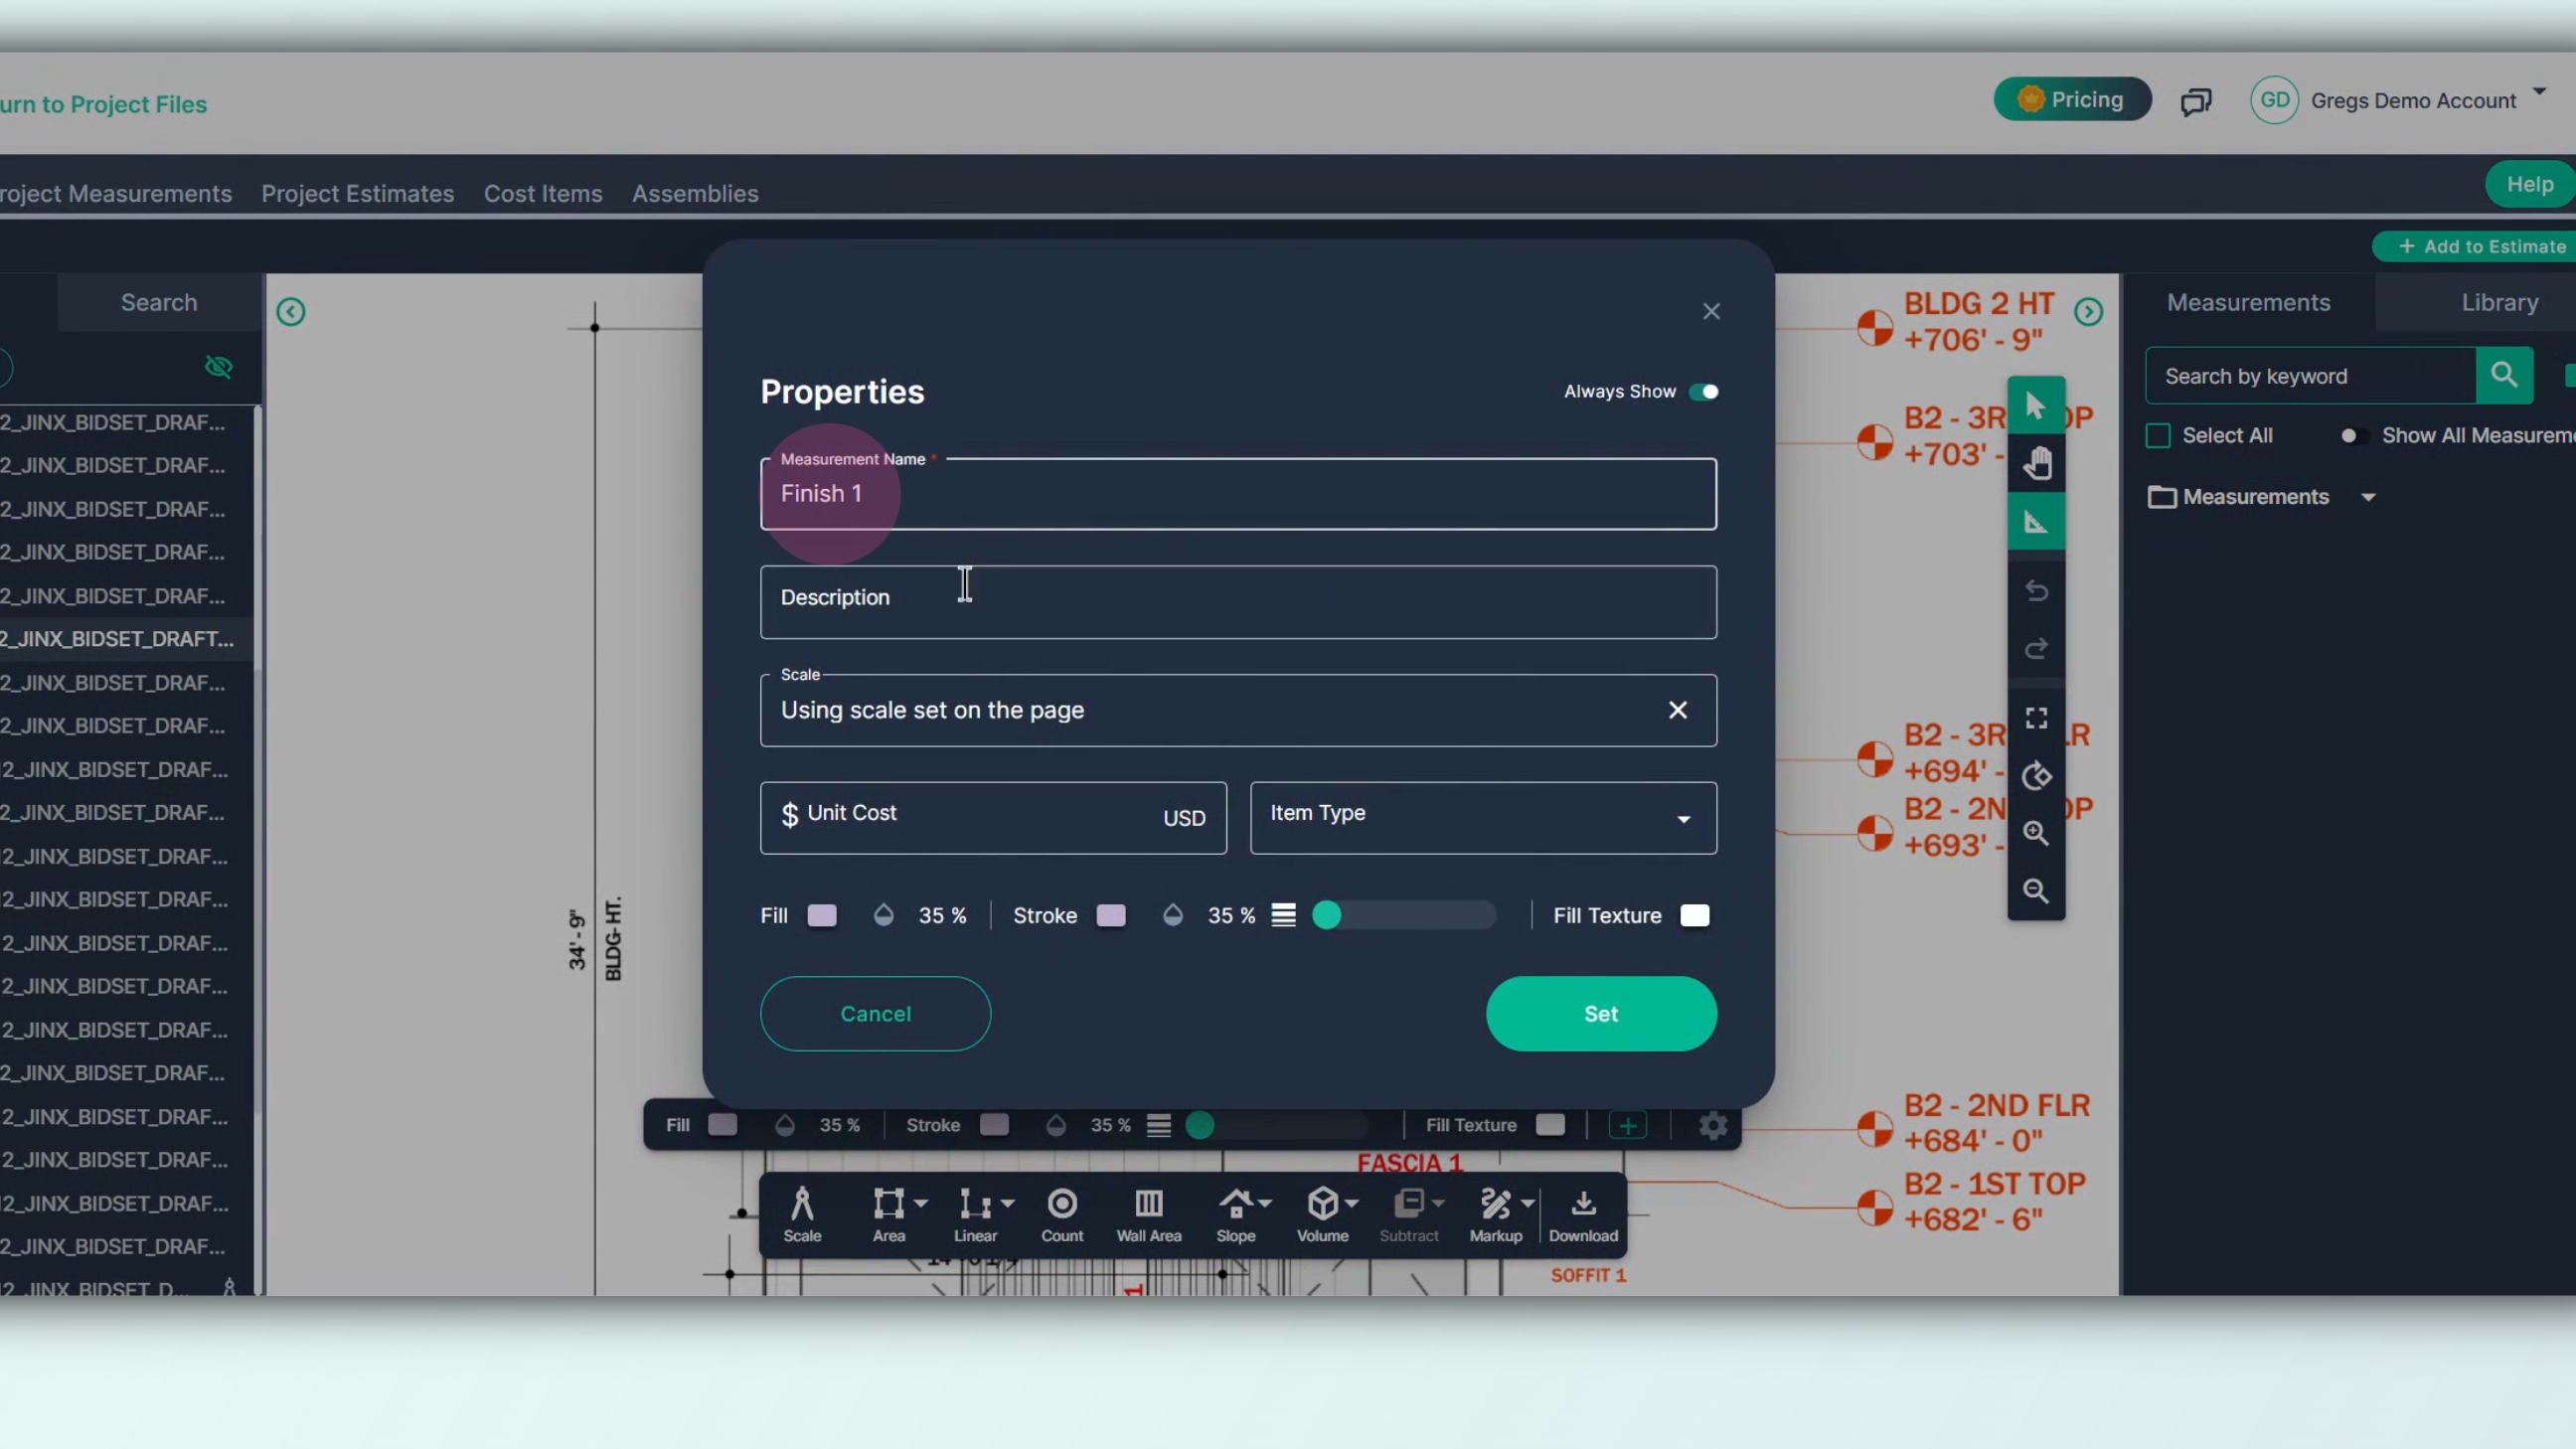
Step 4: Click Set to begin.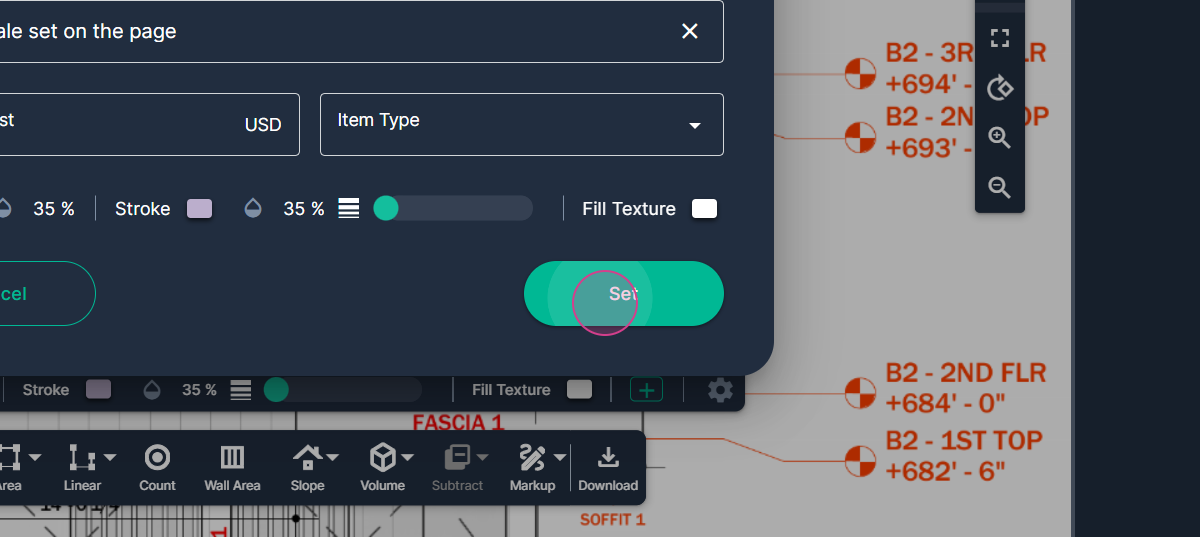
Step 5: Outline the shape you want to measure by left clicking to start.
Step 6: Left click at every point you need to change direction until the entire region is outlined and filled in.
Step 7: Complete the measurement by double clicking on the final point.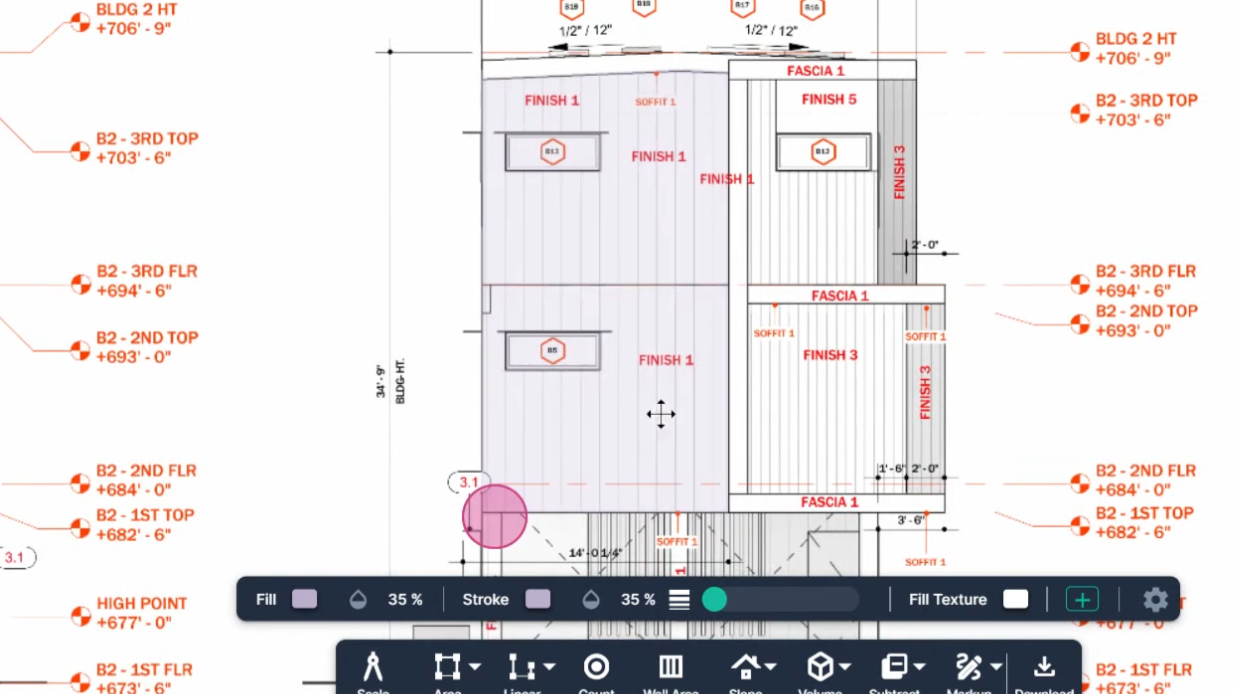
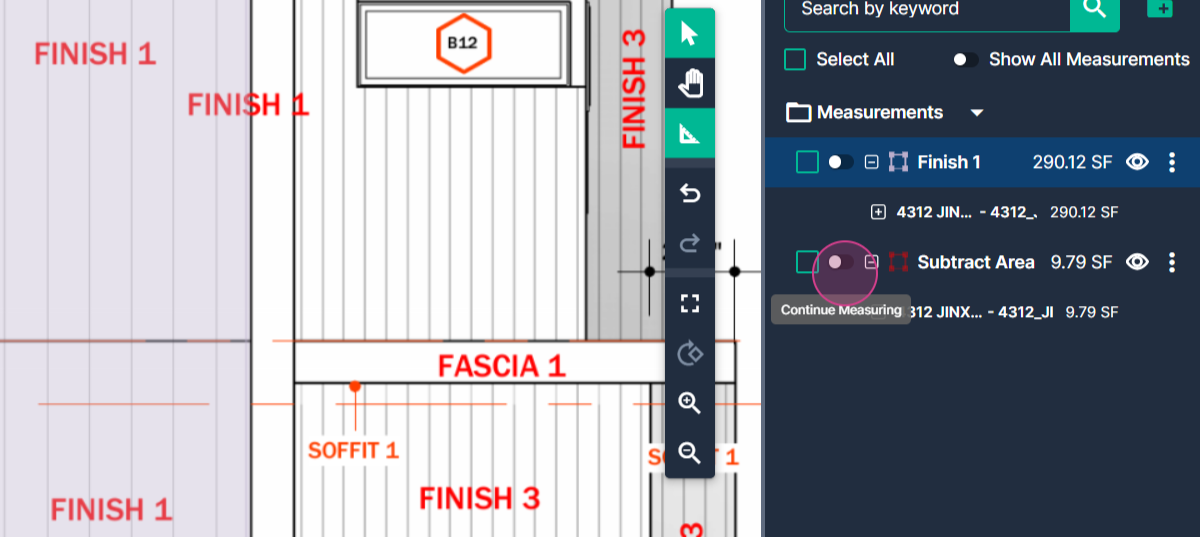
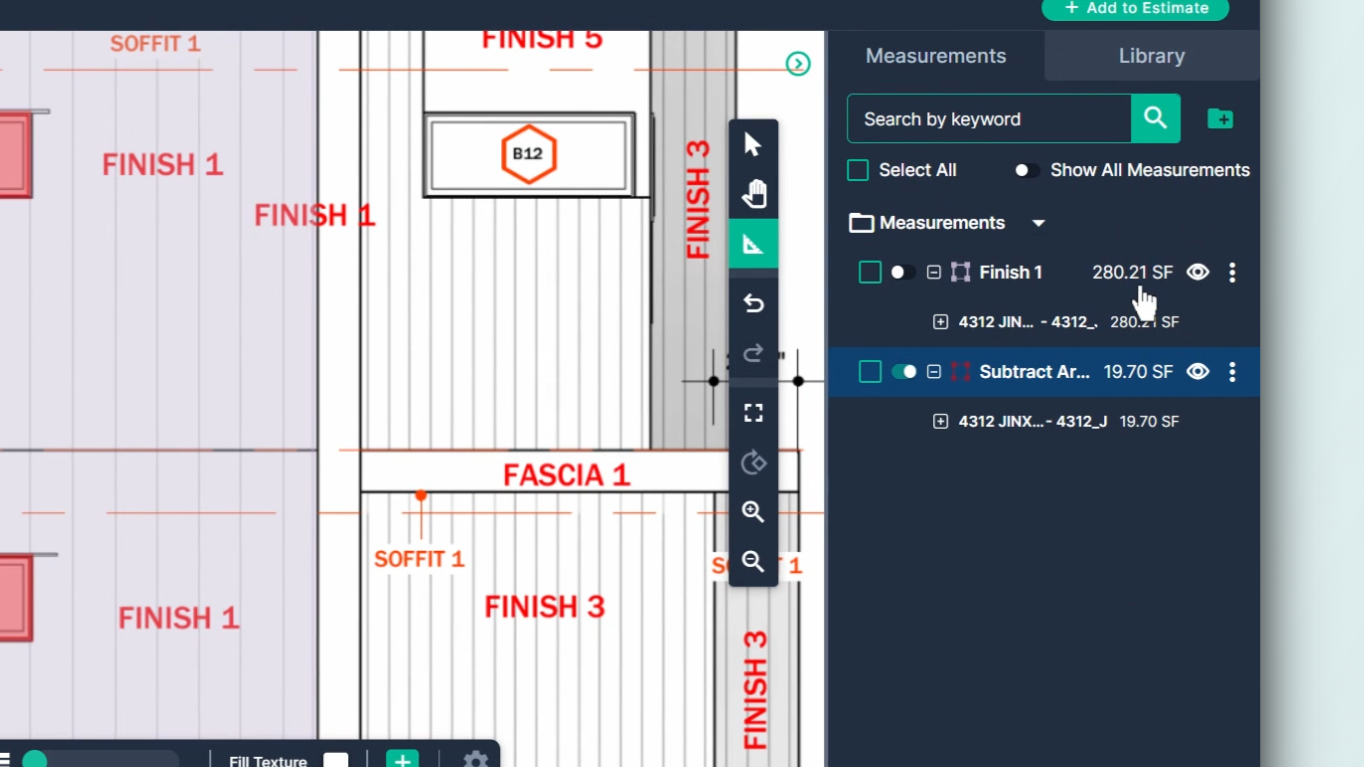
Step 8: The result is listed in the measurement panel on the right side of the page, 299.91 SF for this example.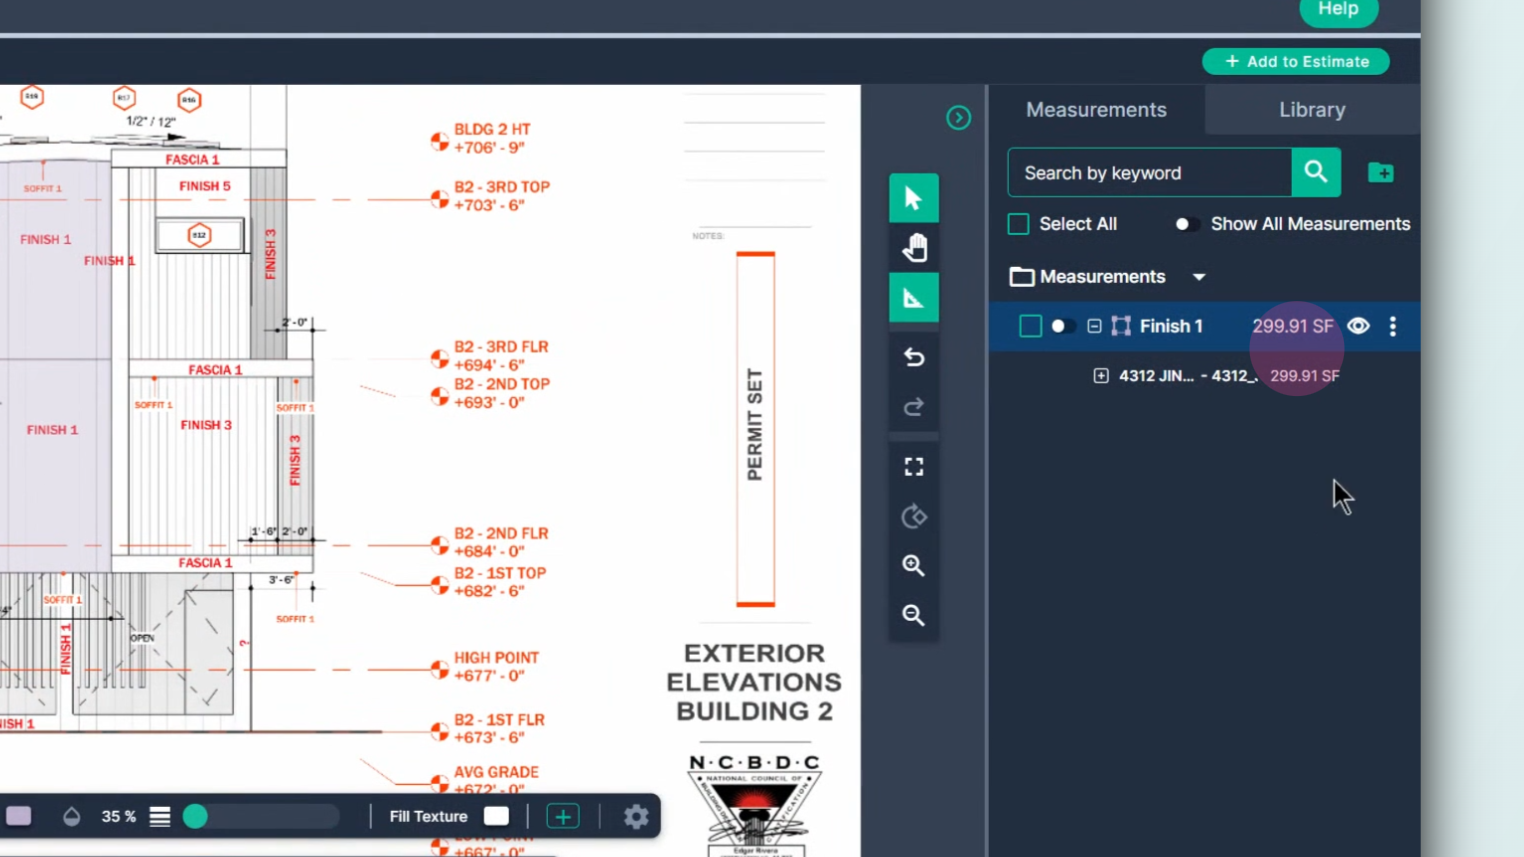
Step 9: To begin the subtraction, click the Subtract button.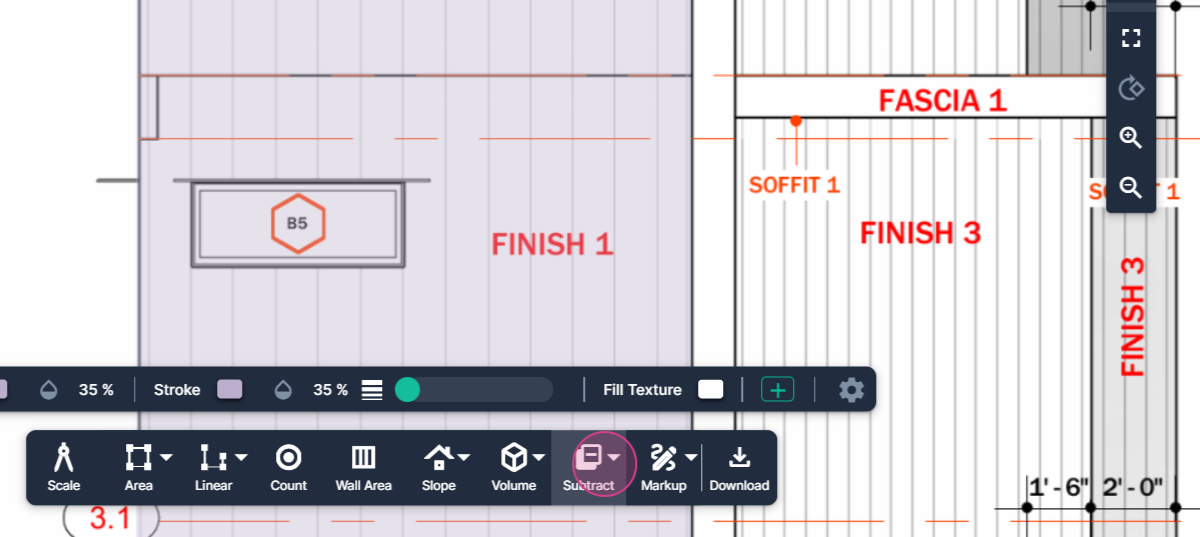
Note: The only available option to subtract is area to because that's the only measurement type we have to subtract from.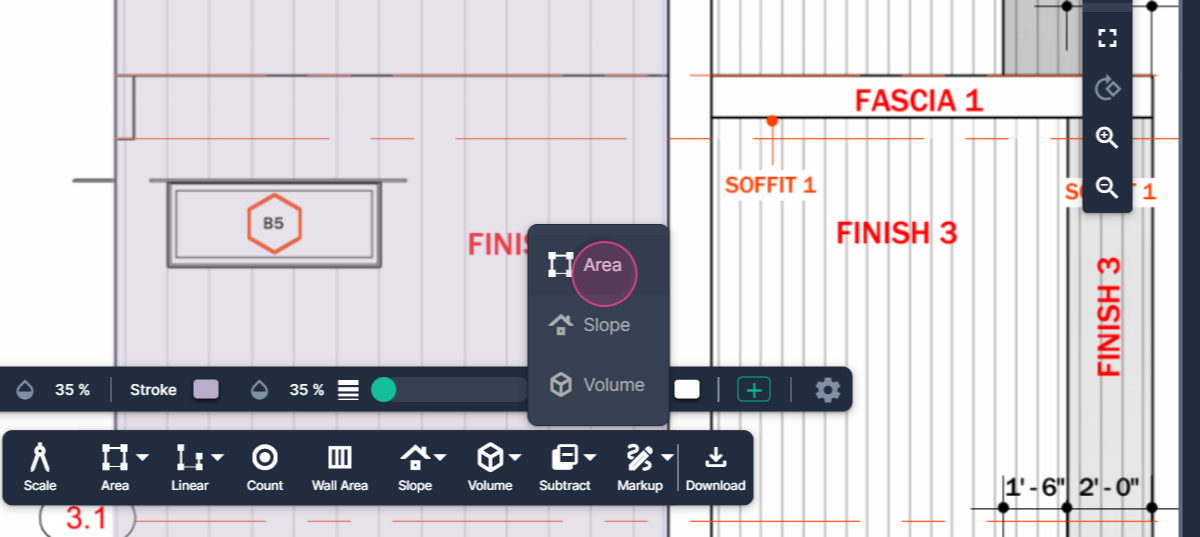
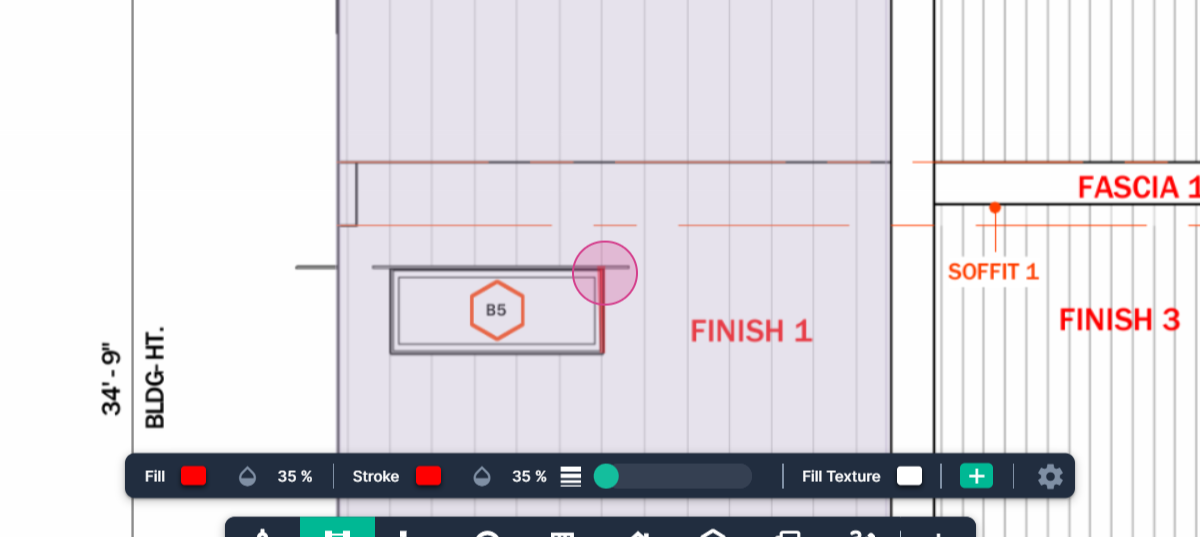
Step 10: Measure the area of the first window by left clicking to begin and then clicking at every corner around the space until its outlined. Double click to Finish.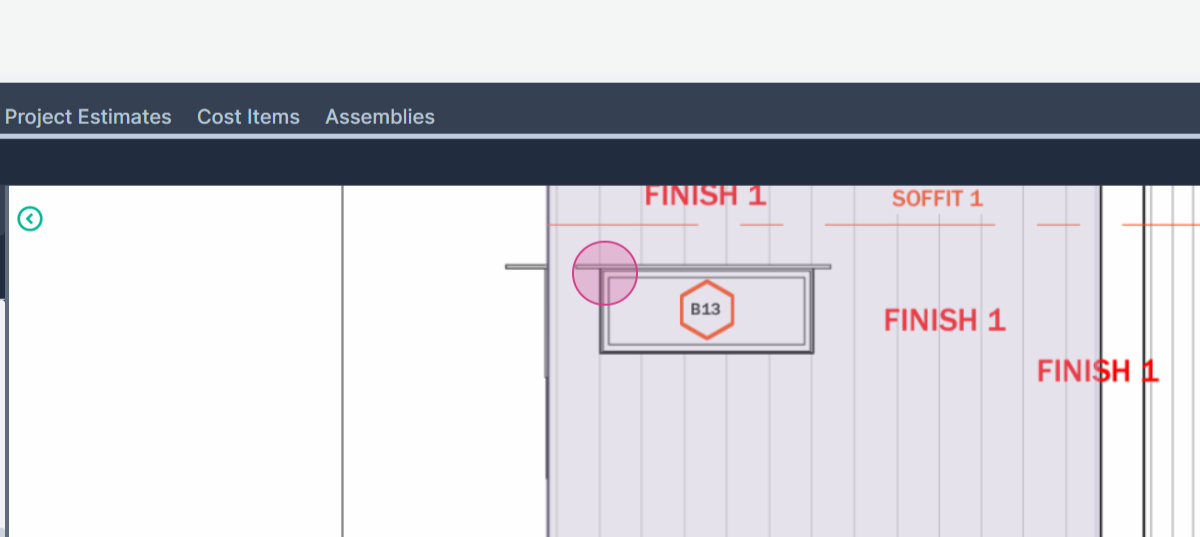
Move to the next corner and click 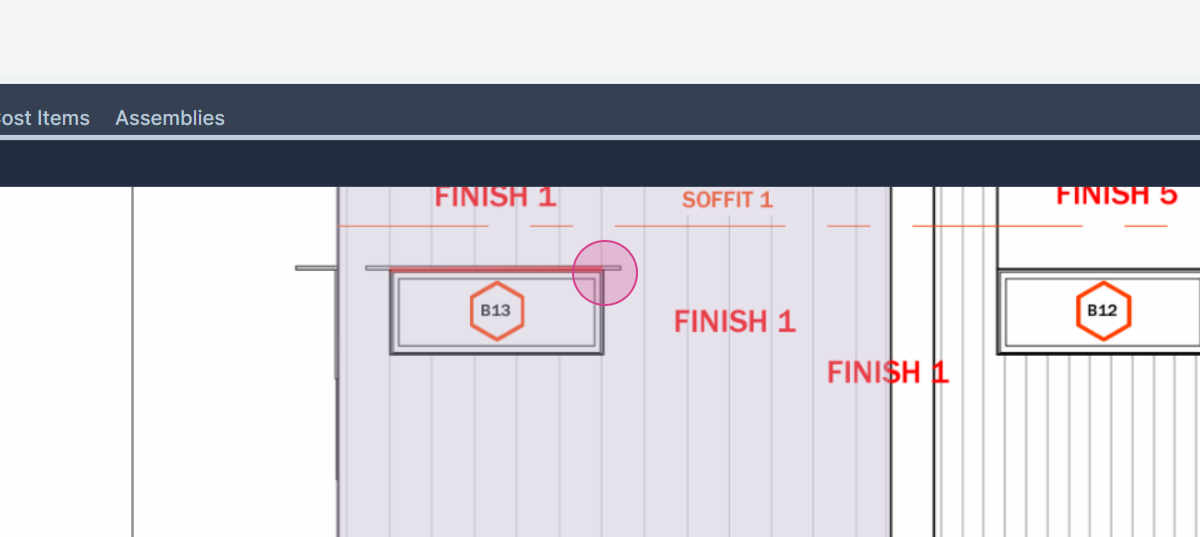
Move to the next corner and click 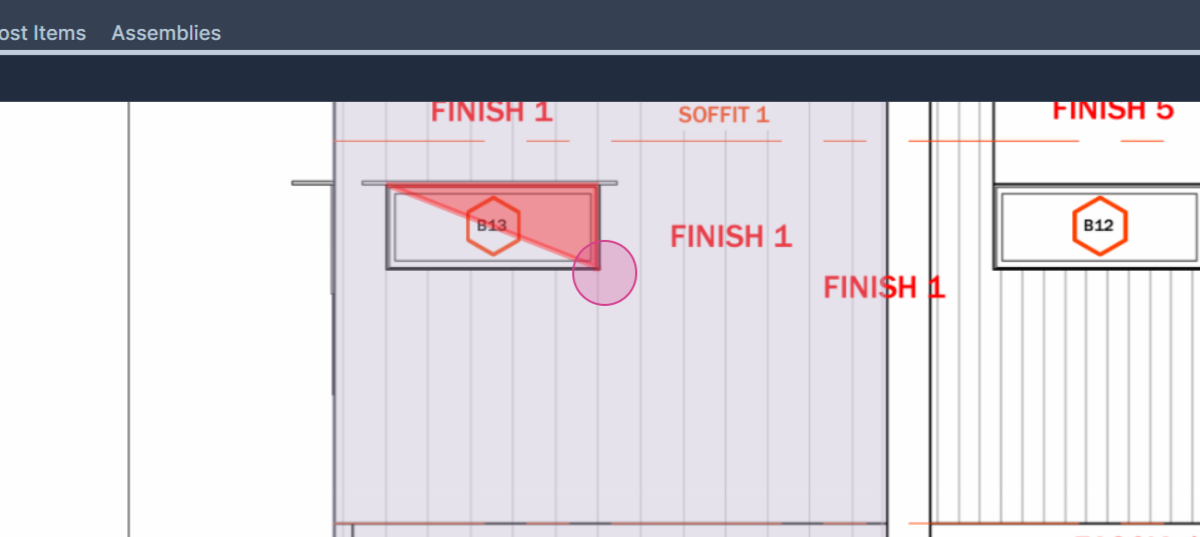
Double click on the last corner to finish.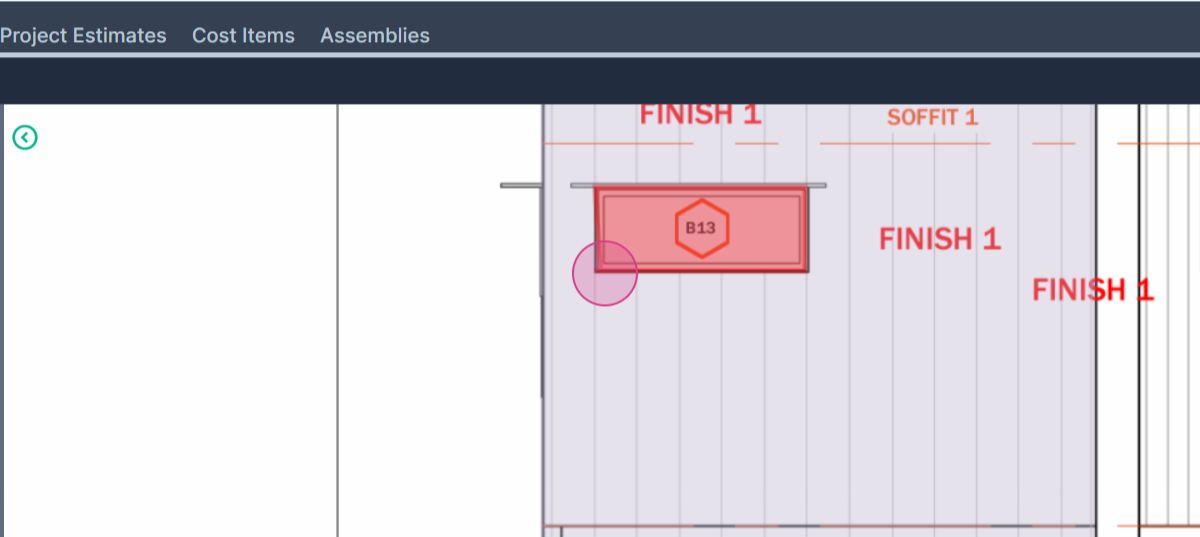
Step 11: The total results for "finish" one should now be down to 290 square feet from 299.
Next we subtract the area of the window labeled B5. Continue the subtraction with the continue switch.
Step 12: Measure around the second window.
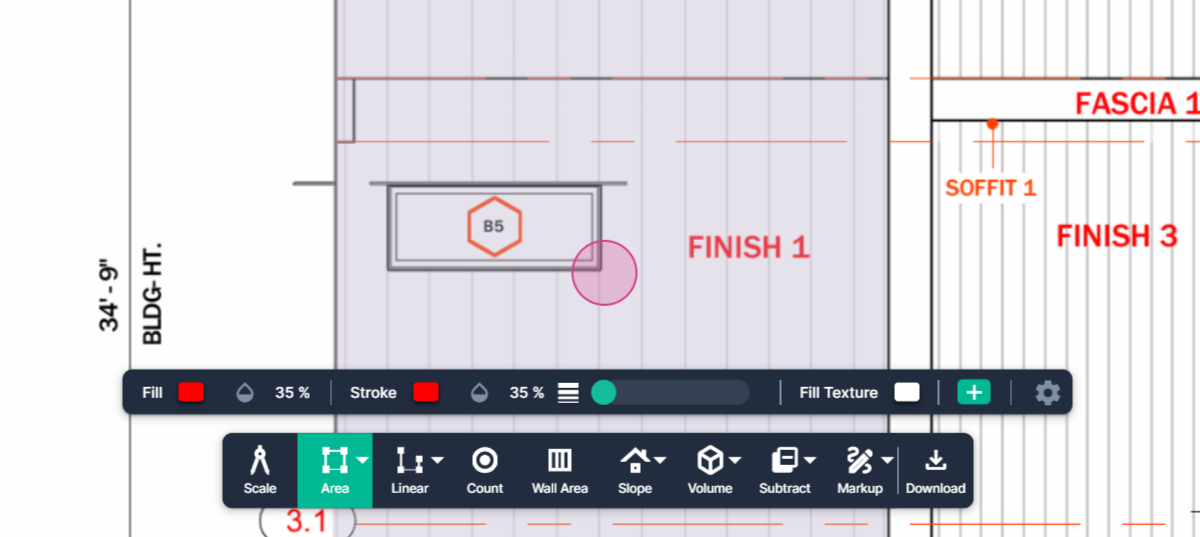
Step 13: Add the territory of the second window to the subtracted amount.

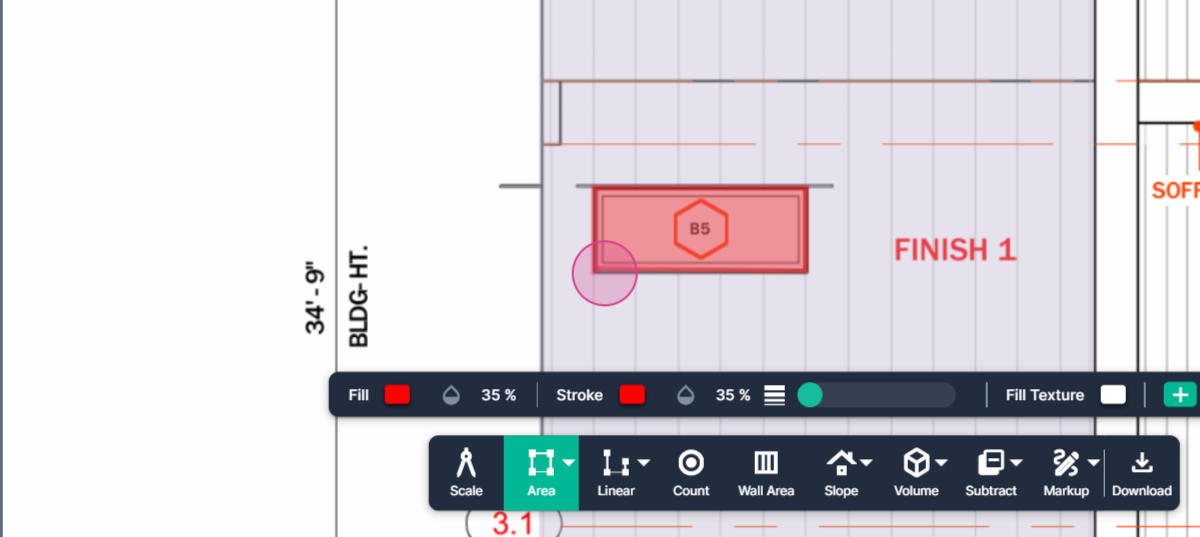
Now, you're subtracting 19.7 square feet from the original measurement of 299. So, the grand total is 280.21 square feet after removing the windows.
Use the subtraction tool to get more accurate areas even if there are objects inside your area that are not part of what you need to measure.
Next Steps
Once you have completed taking all your measurements, you can:
- Download the measurements in a table from the Project Measurements page
- How To Download Project Measurements From Takeoff
Add a legend and download the PNG of your takeoff page - Using Legend Markup in Takeoff
If you have purchased the Estimation add-on tool, send measurements into the Project Estimate page or push them into an Assembly you have built. - Estimation - Exporting a Measurement from TakeOff to Estimation
- Estimation | How to Create an Assembly
- Share your Takeoff with anyone using the Share button in the upper right-hand corner.
Troubleshooting
Contact us if you need assistance or to report an issue:
- PlanHub Contact Page: https://planhub.com/contact/
- Customer Facing Support Ticket Link: https://knowledgebase.planhub.com/knowledge/kb-tickets/new
- Schedule a Free 1-on-1 Takeoff Training: https://meetings.hubspot.com/zac-low/takeoff-and-estimation