In this article, you'll learn how to use the slope tool in PlanHub's takeoff to measure lines and areas that have a slope.
Prerequisites: A subscription or trial that includes Takeoff is required to measure plans, export a plan into TakeOff, and set the scale. Then you can begin measuring.
Step 1: Set the scale on the page. If you need to learn how to set a scale click here: How to Set A Scale
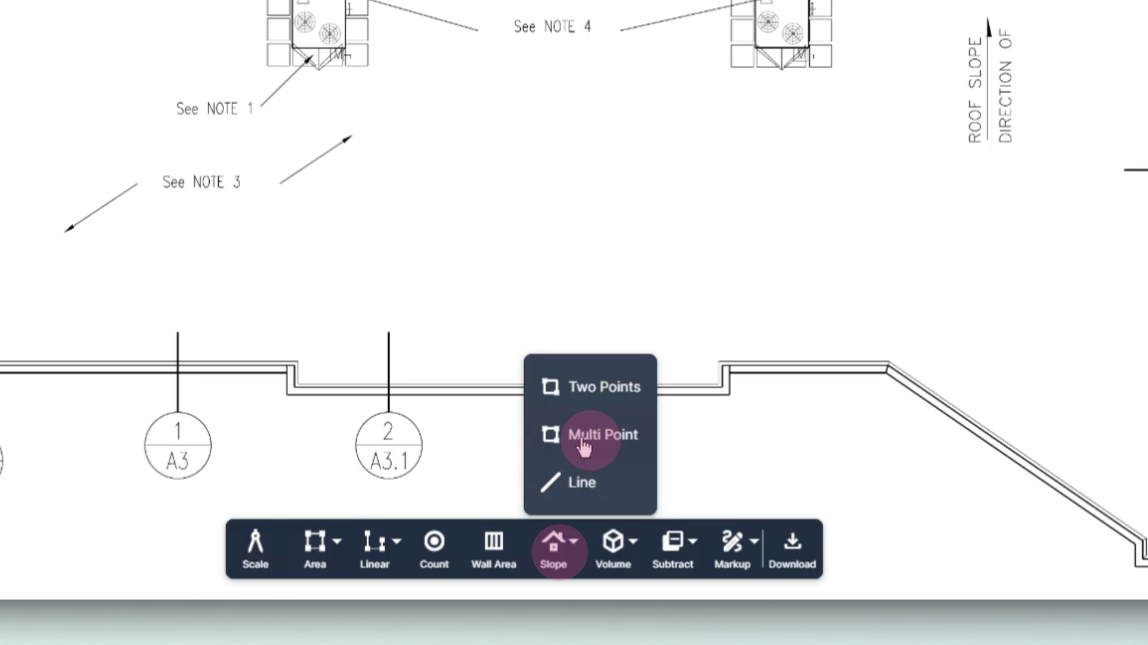
Step 2: Click the slope icon on the toolbar. Then Select the mode, Multi Point, Two Point, or Line.
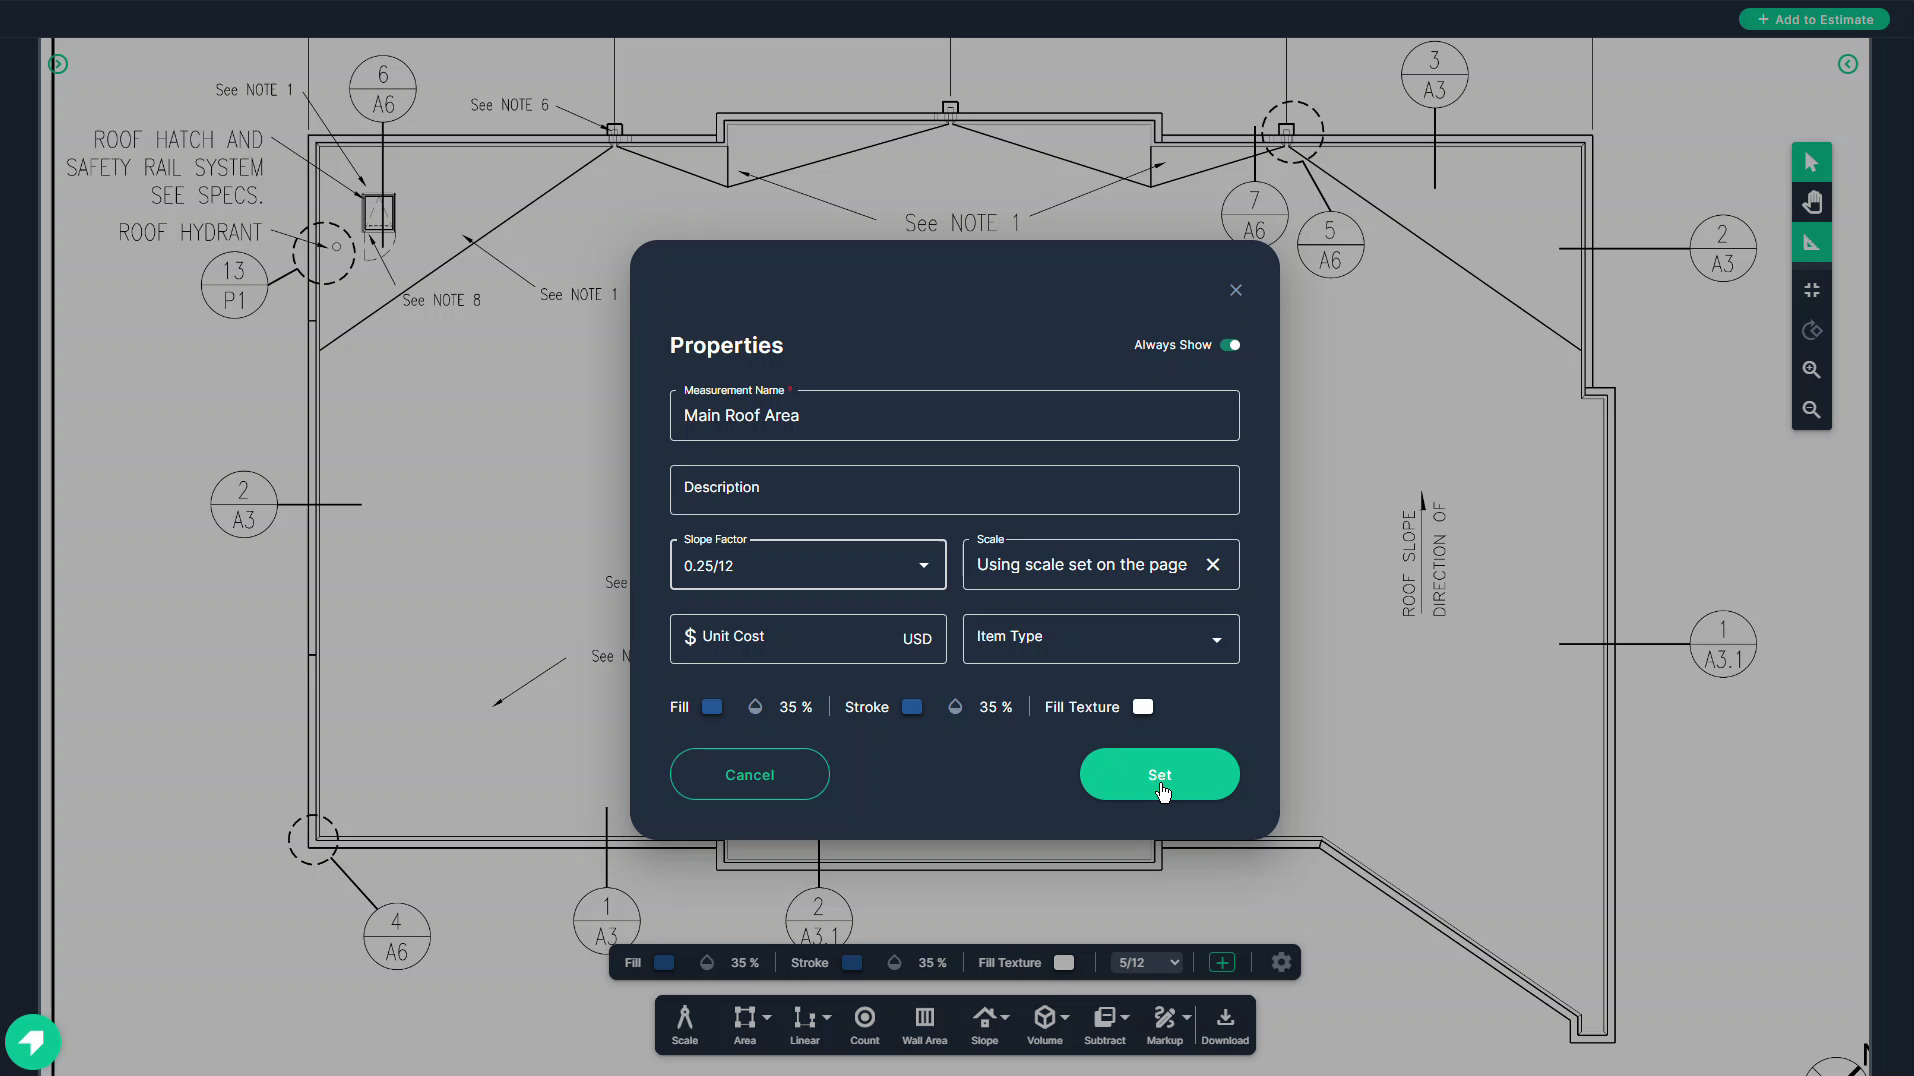
Step 3: Give your measurement a custom name.
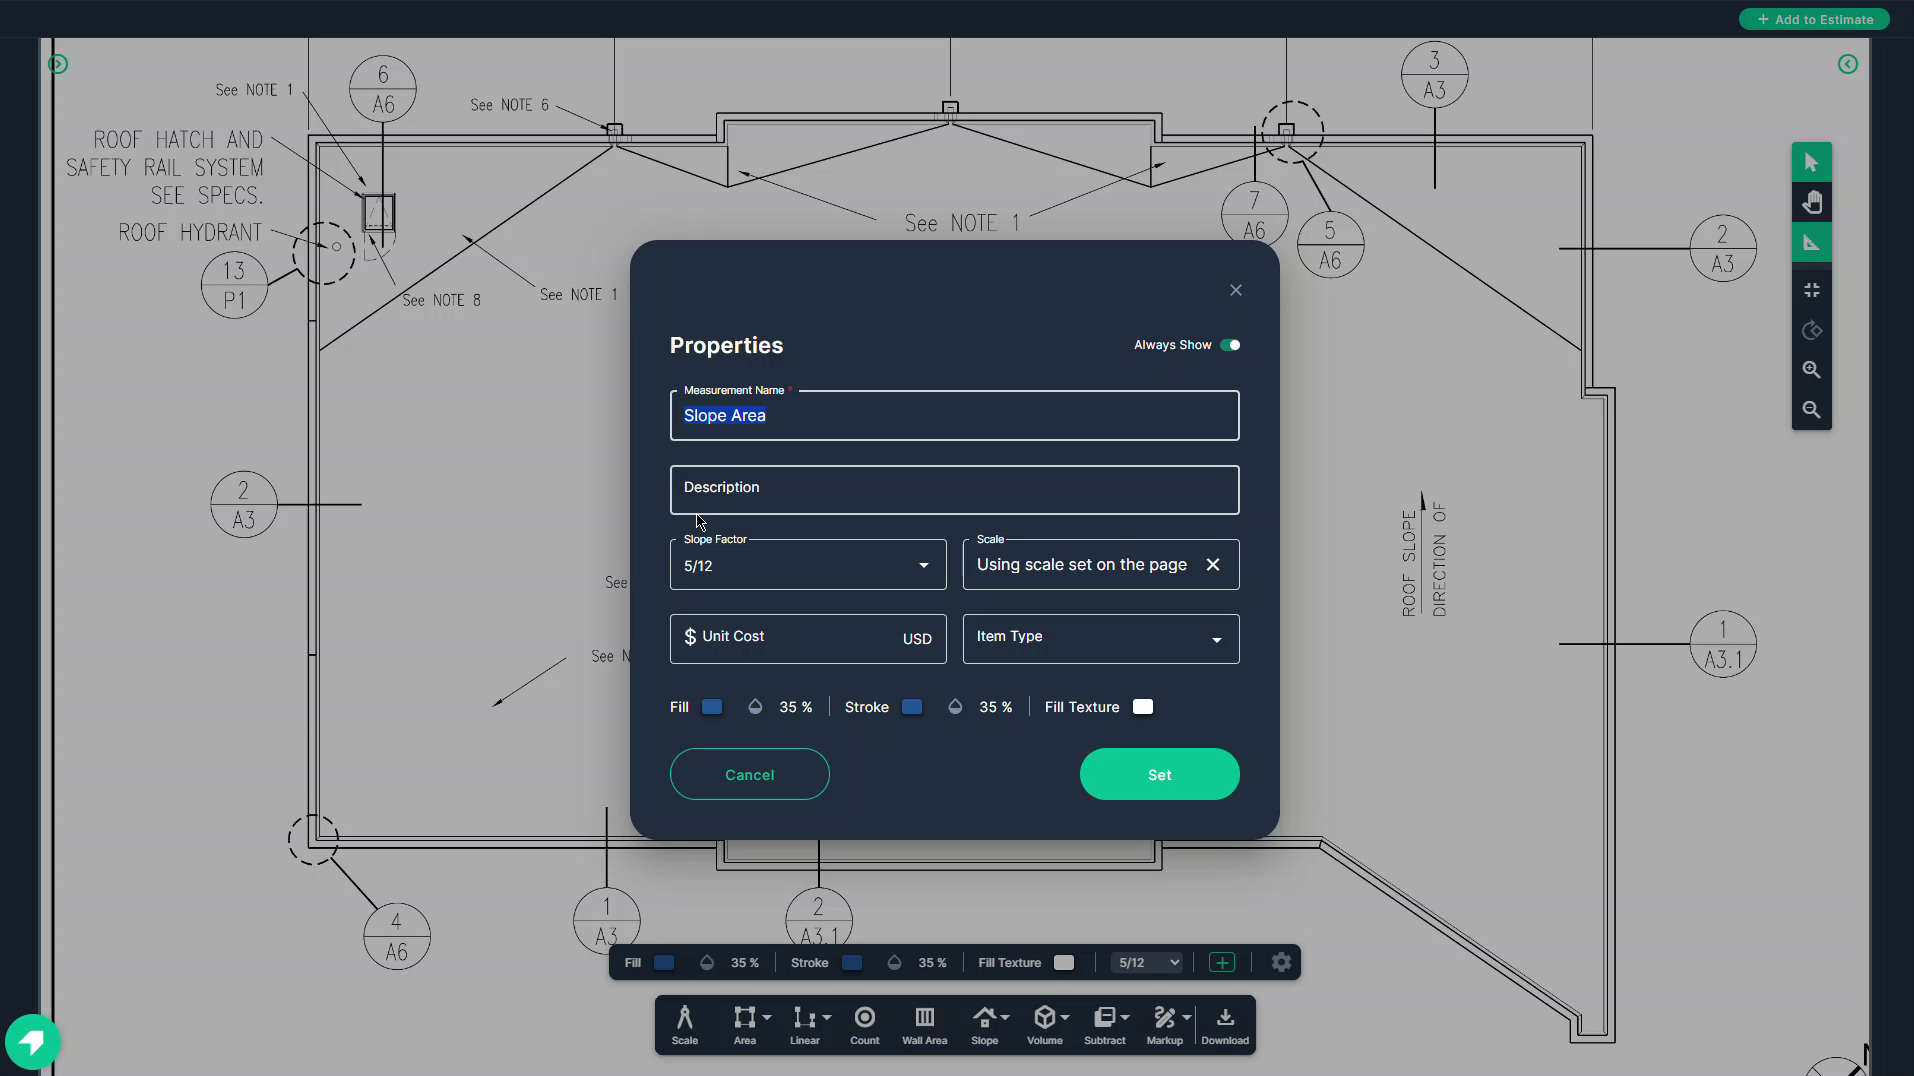
Step 4: Set your slope factor to match the slope listed in the blue print. For example, if the slope is 1/4 inch over 1 foot, set the slope factor as 0.25 over 12. Click Set.
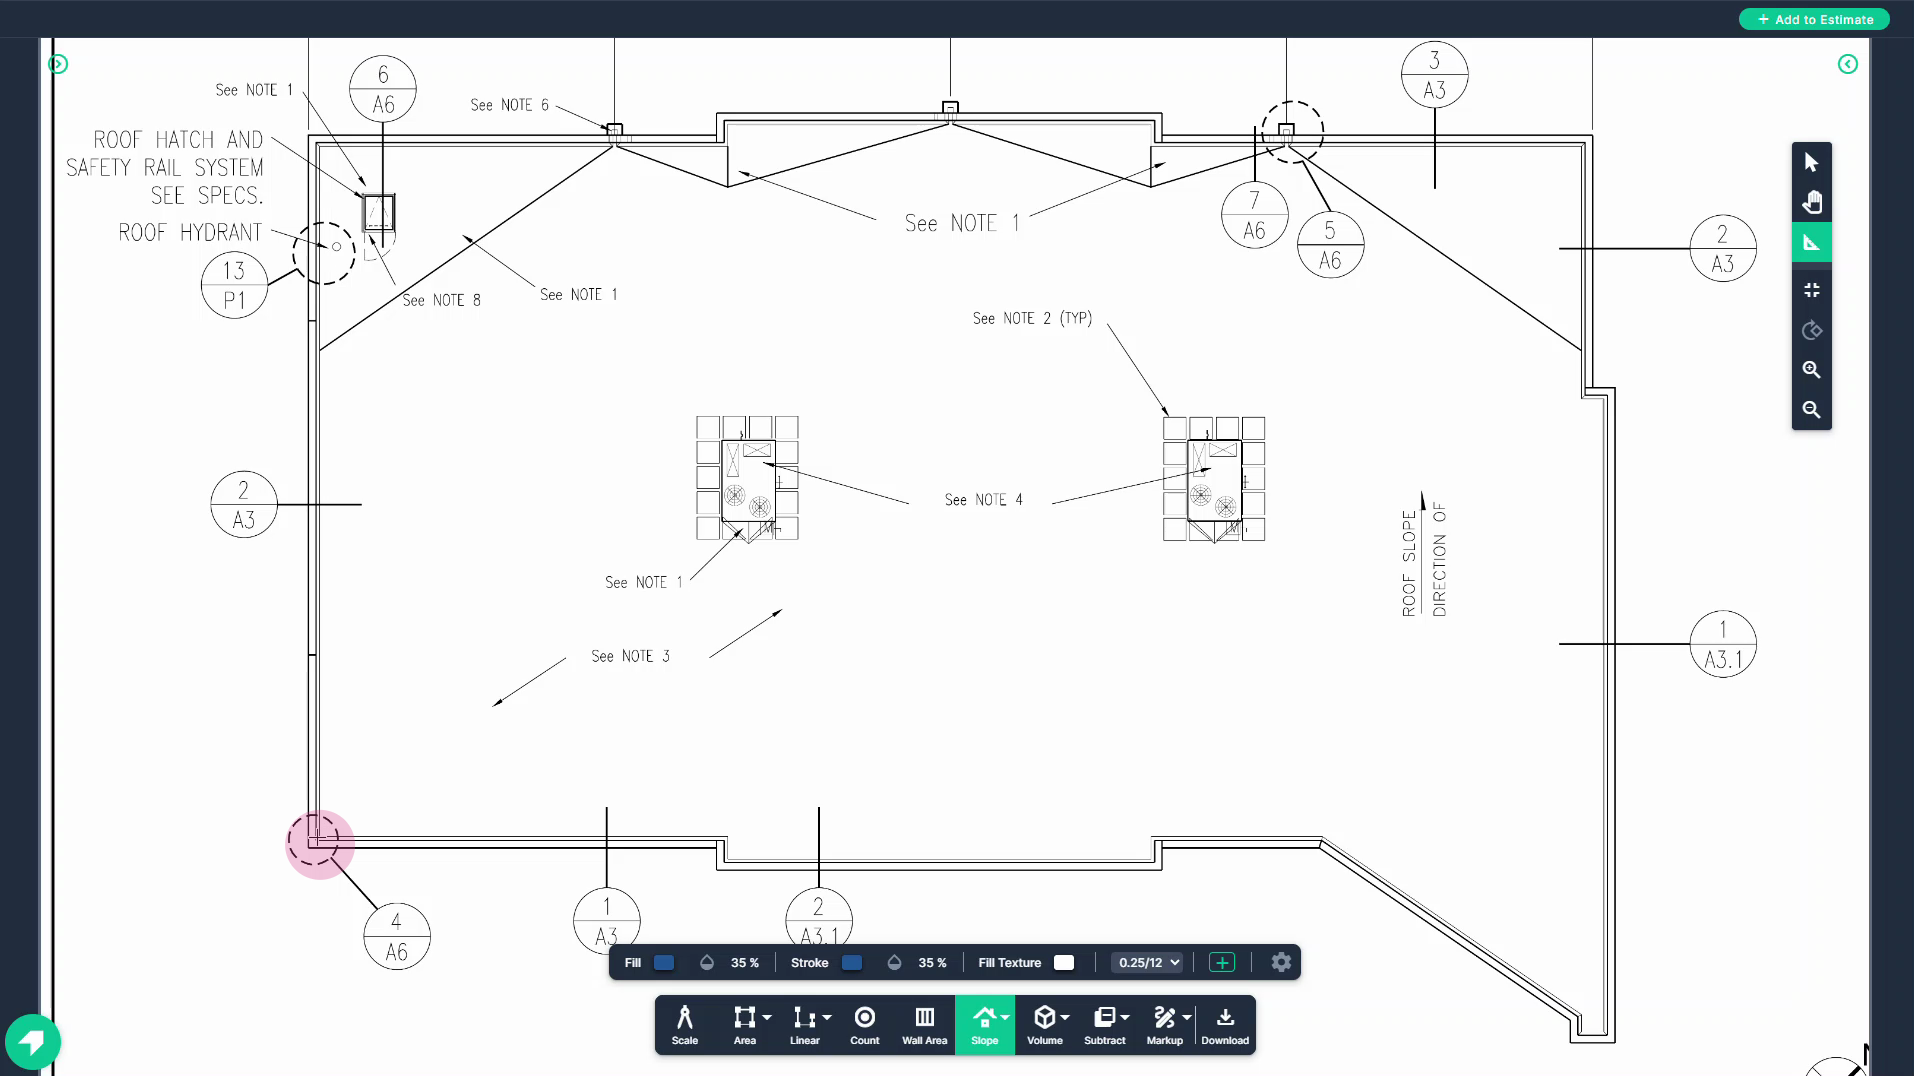
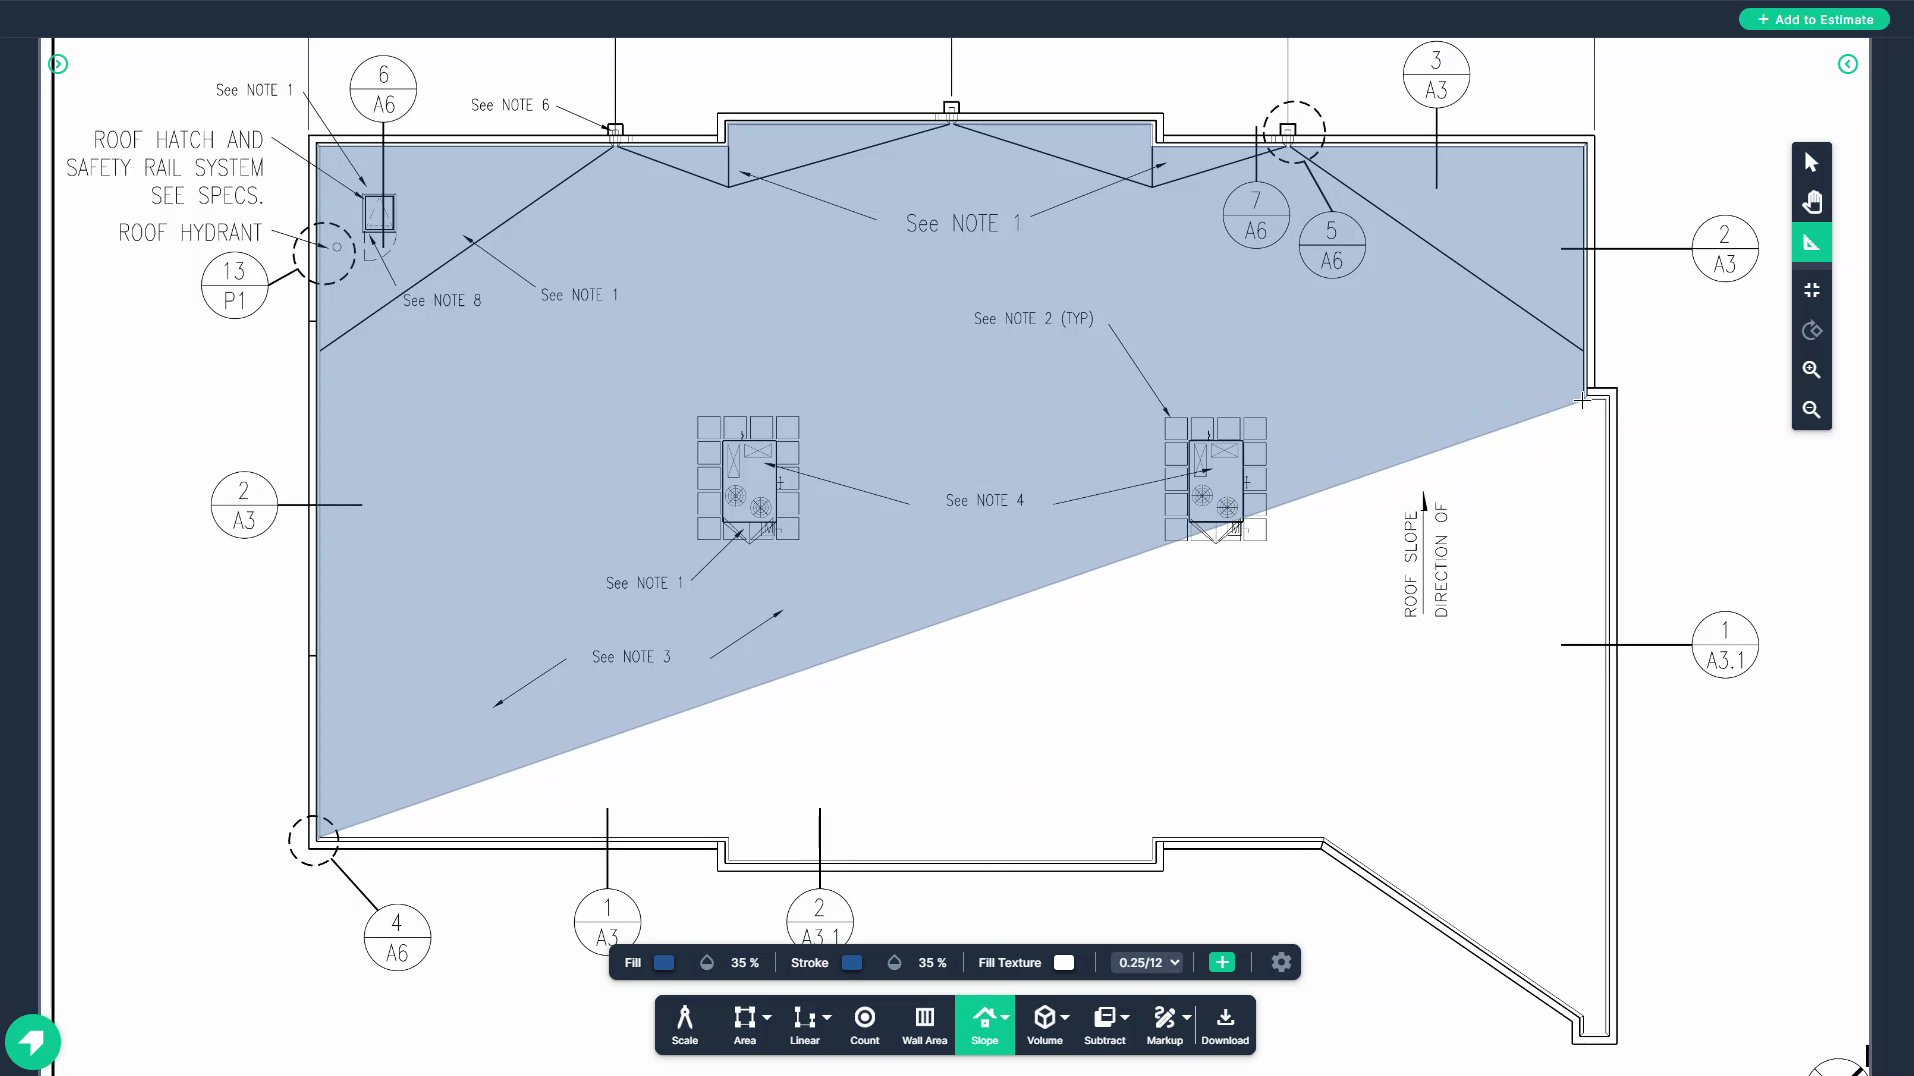
Step 5: Align your cursor's crosshair with the beginning point of the measurement. Click once to begin the measurement.
Step 6: Trace around the entire roof line, including all pitched areas, left-clicking each time to change direction.
-
NOTE: It doesn't matter how many pitched areas there are. The Slope Tool will measure all gables, hips, valleys, etc. You don't need to break your roof up into sections as long as the slope factor is the same for the area you are mapping.
Step 7: If the lines are snapping to an angle that doesn't allow you to follow the direction you need, hold down your space bar to pause the snap-to-angle setting.
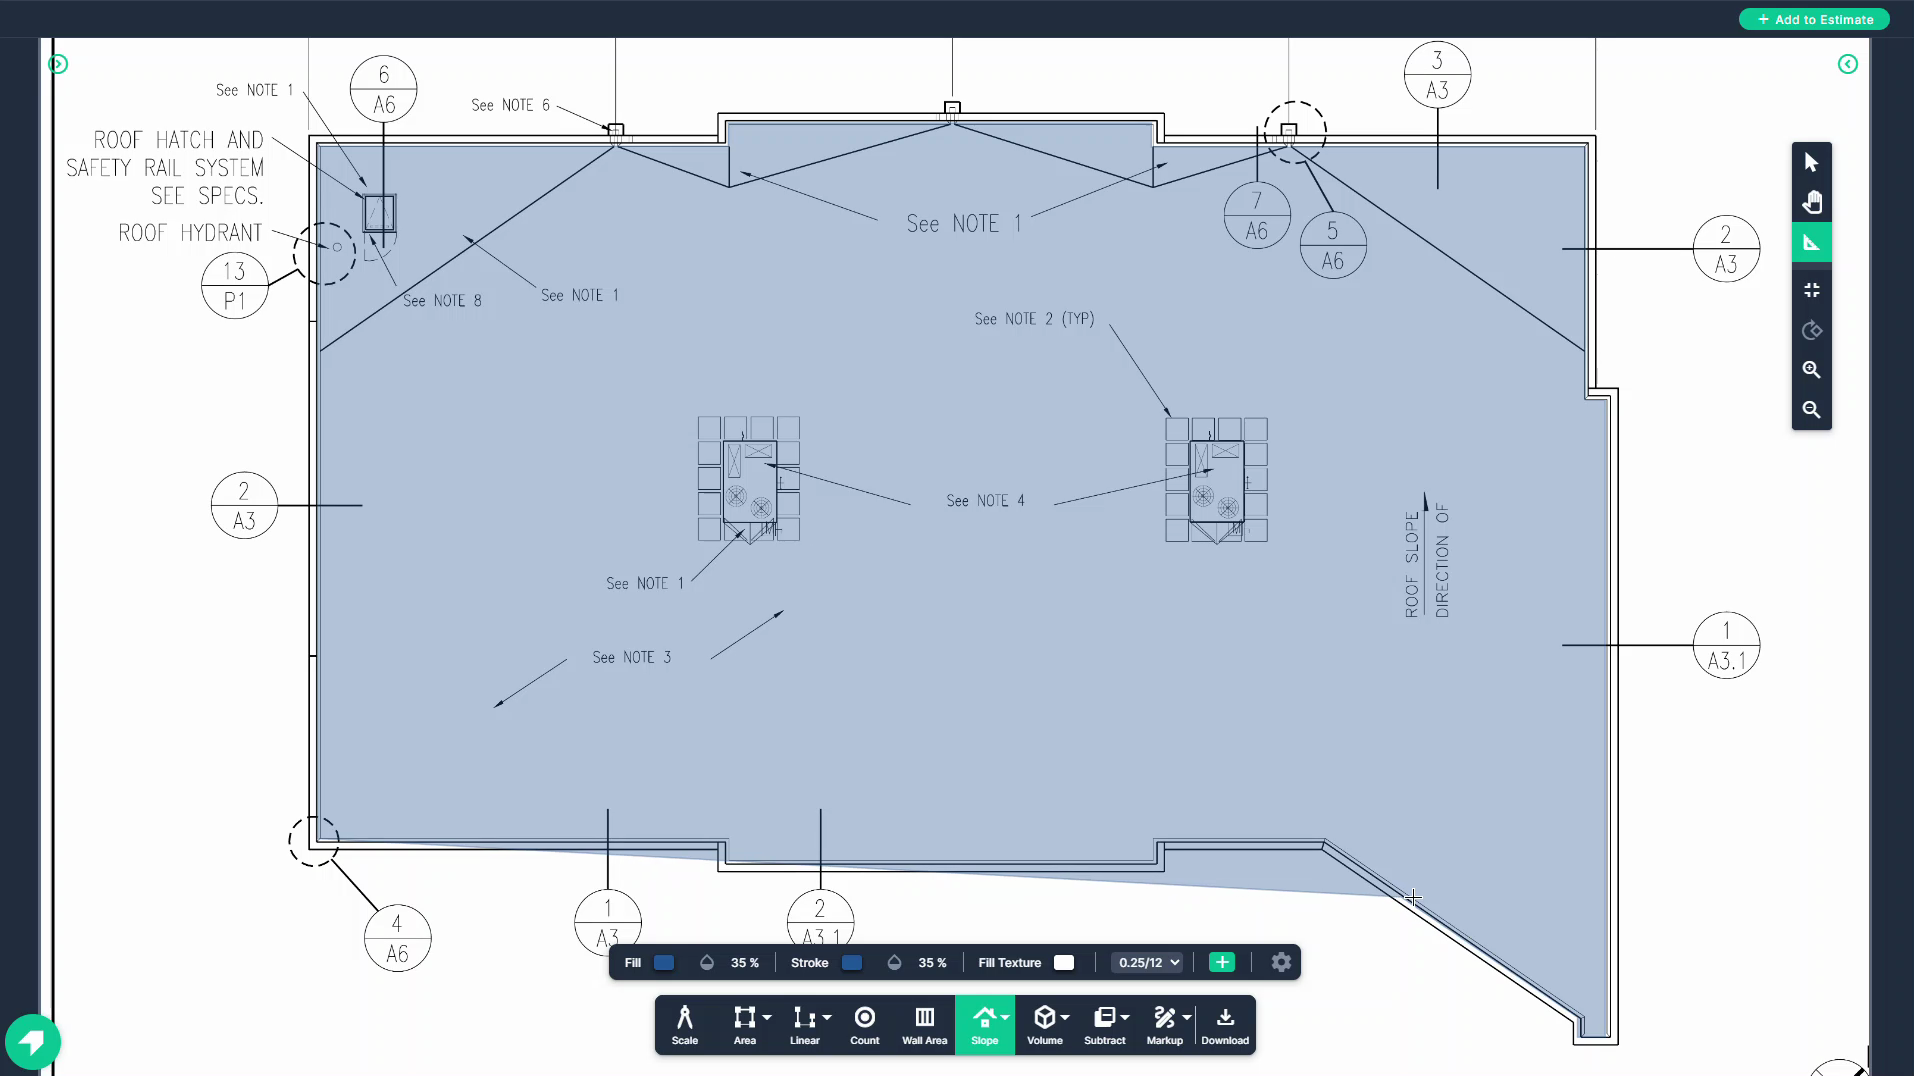
Step 8: Continue tracing the shape, left-clicking to change direction.
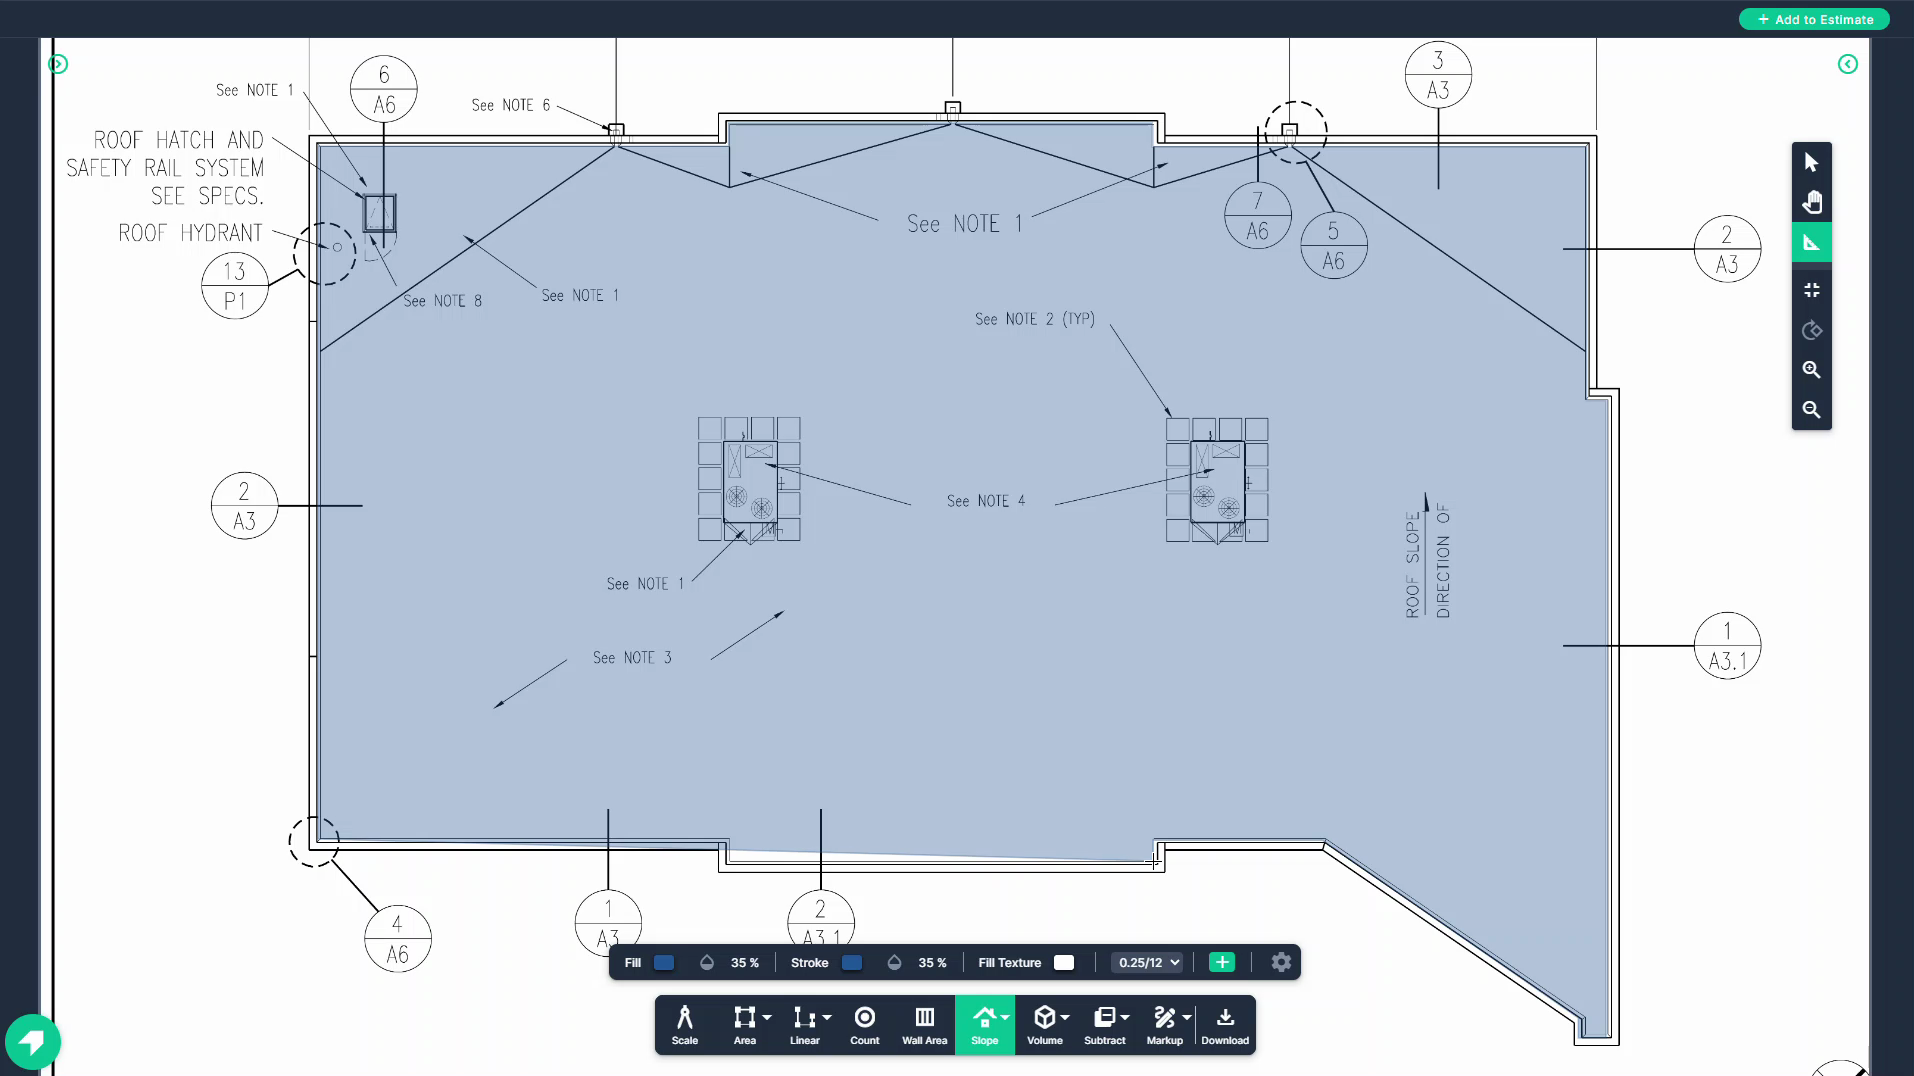
Step 9: Double click to set the final point.
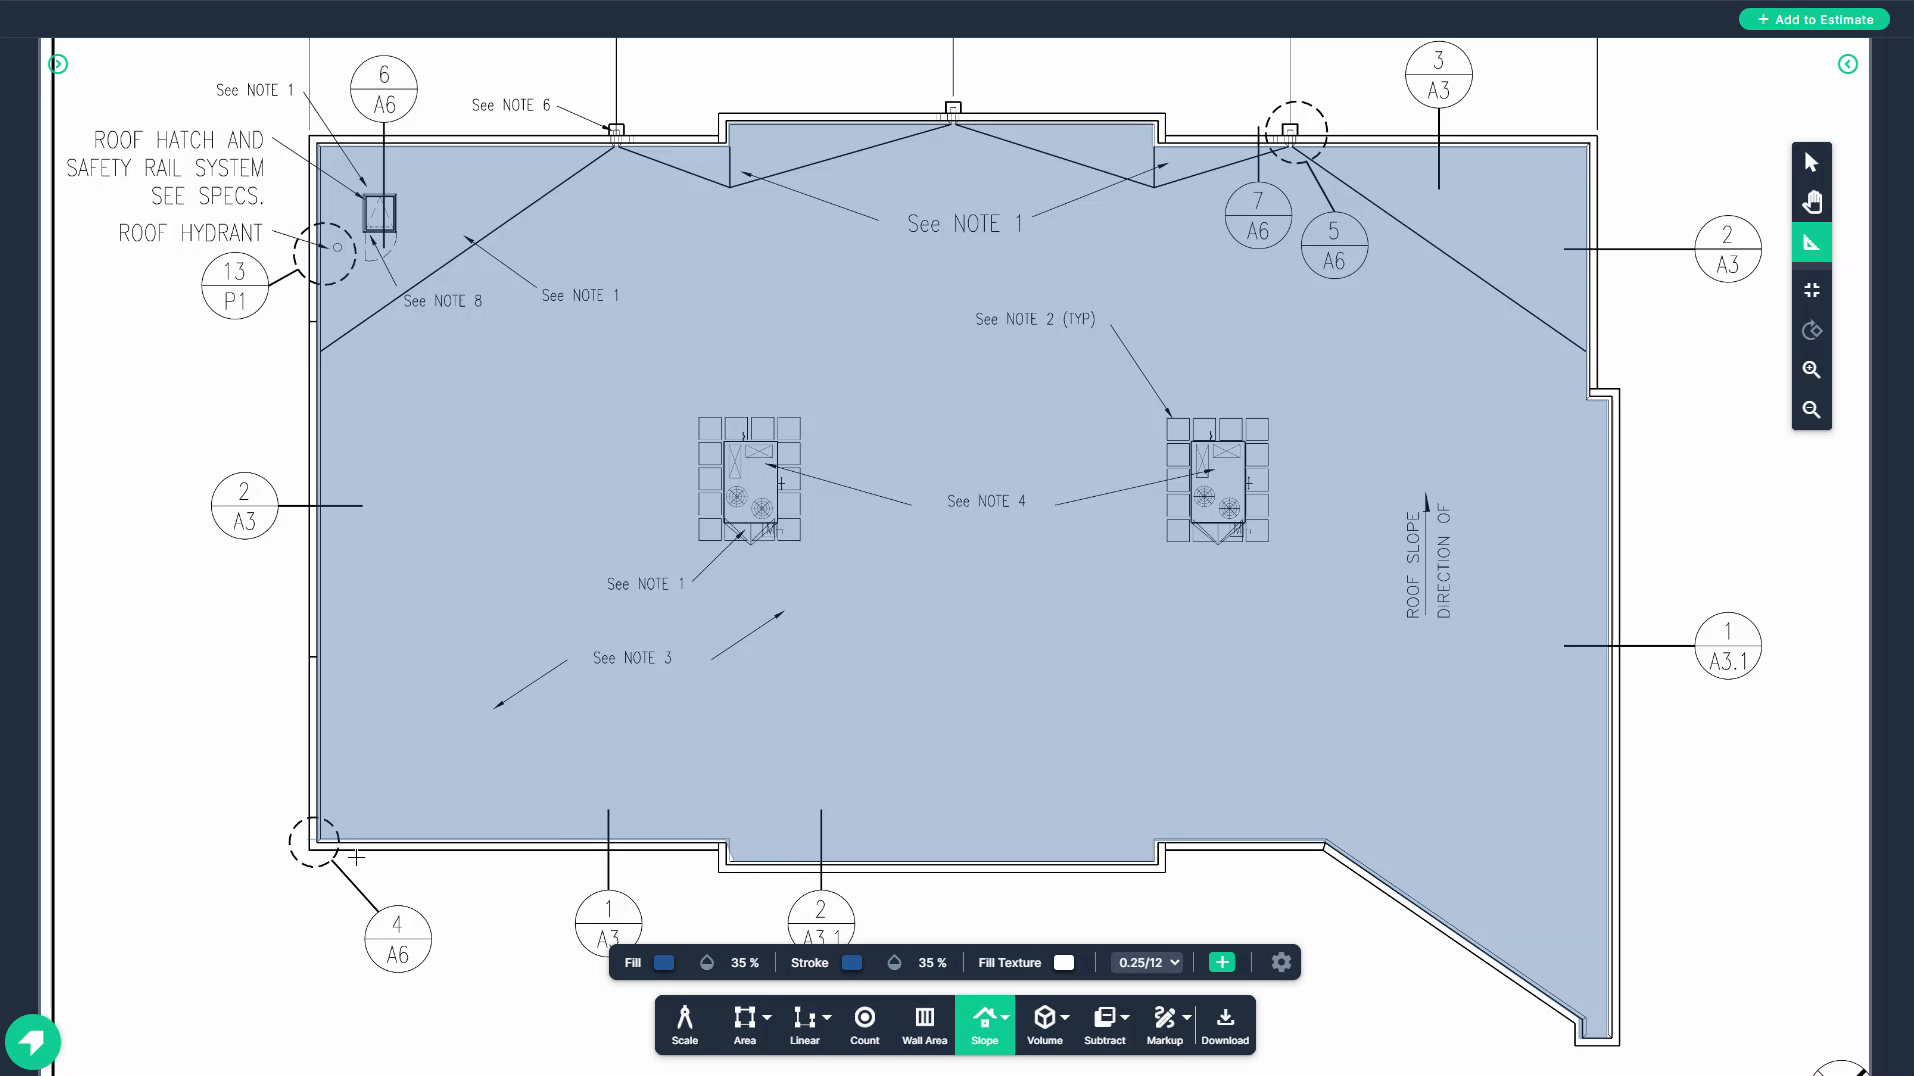
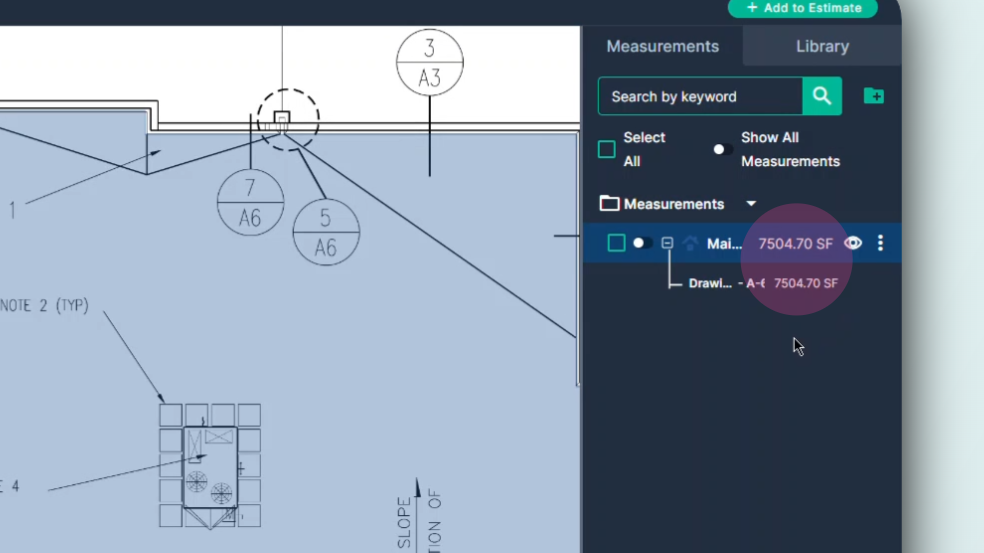
Step 10: Check your result in the measurements panel on the right side of the page.
The Slope Area tool should be used when you are looking at the surface on the plans and there is a known Rise of Run value provided on the plans.
-
Next Steps
Once you have completed taking all your measurements, you can:
- Download the measurements in a table from the Project Measurements page
- How To Download Project Measurements From Takeoff
Add a legend and download the PNG of your takeoff page - Using Legend Markup in Takeoff
If you have purchased the Estimation add-on tool, send measurements into the Project Estimate page or push them into an Assembly you have built. - Estimation - Exporting a Measurement from TakeOff to Estimation
- Estimation | How to Create an Assembly
- Share your Takeoff with anyone using the Share button in the upper right-hand corner.
Troubleshooting
Contact us if you need assistance or to report an issue:
- PlanHub Contact Page: https://planhub.com/contact/
- Customer Facing Support Ticket Link: https://knowledgebase.planhub.com/knowledge/kb-tickets/new
- Schedule a Free 1-on-1 Takeoff Training: https://meetings.hubspot.com/zac-low/takeoff-and-estimation
- Download the measurements in a table from the Project Measurements page