Get ready by confirming your project's scale. Once that's set, you can jump into measuring. To learn how to set a scale visit this article: How to set a scale
In this article, you'll learn how to use the Area tool on PlanHub to measure different shapes and spaces.
Prerequisites:
- You need a subscription or trial that includes Takeoff to measure plans, export a plan into TakeOff, and set the scale. Then you can begin measuring.
- You need to set a scale on the page before measuring, if you need to learn hoe to set a scale click here: How to Set A Scale
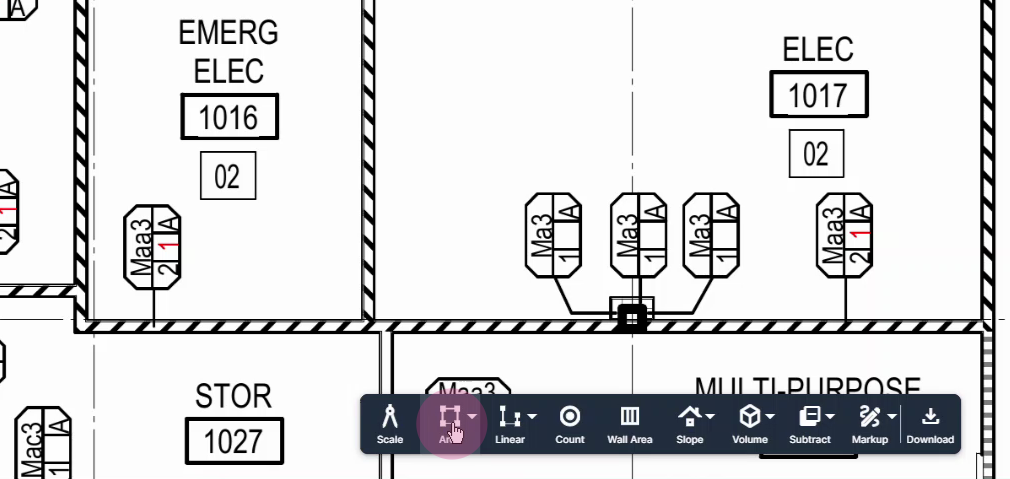
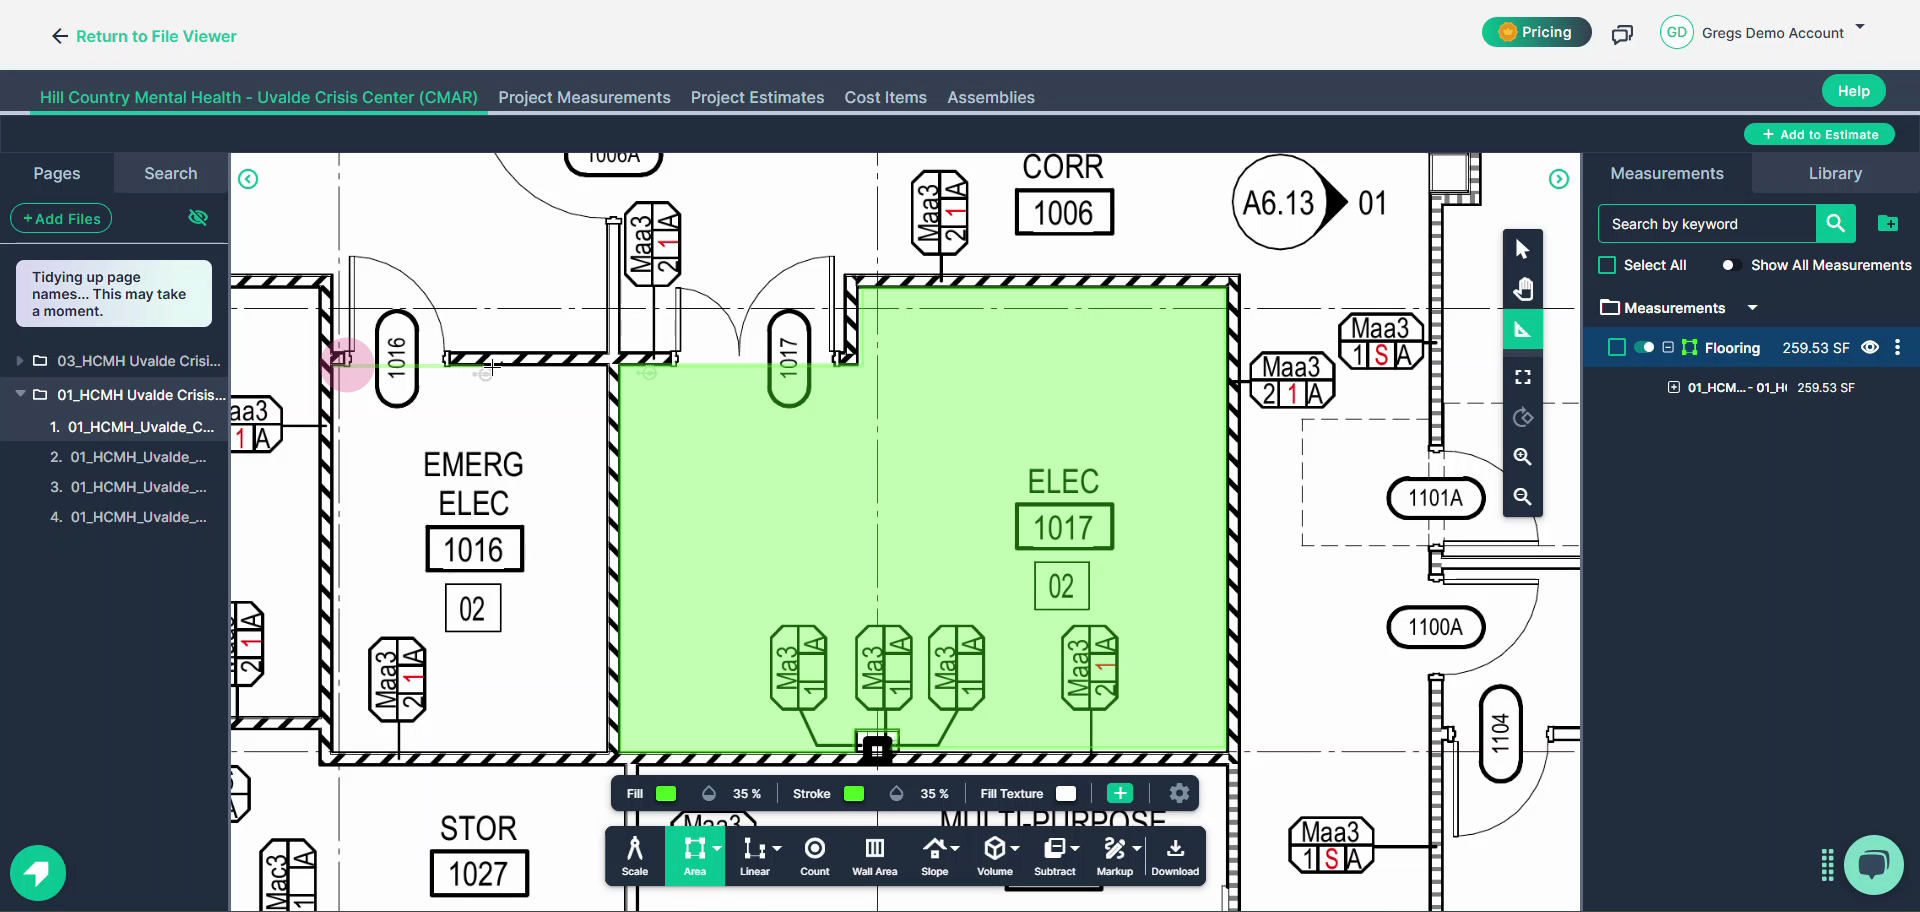
Step 1: Start by clicking the Area button on the toolbar.
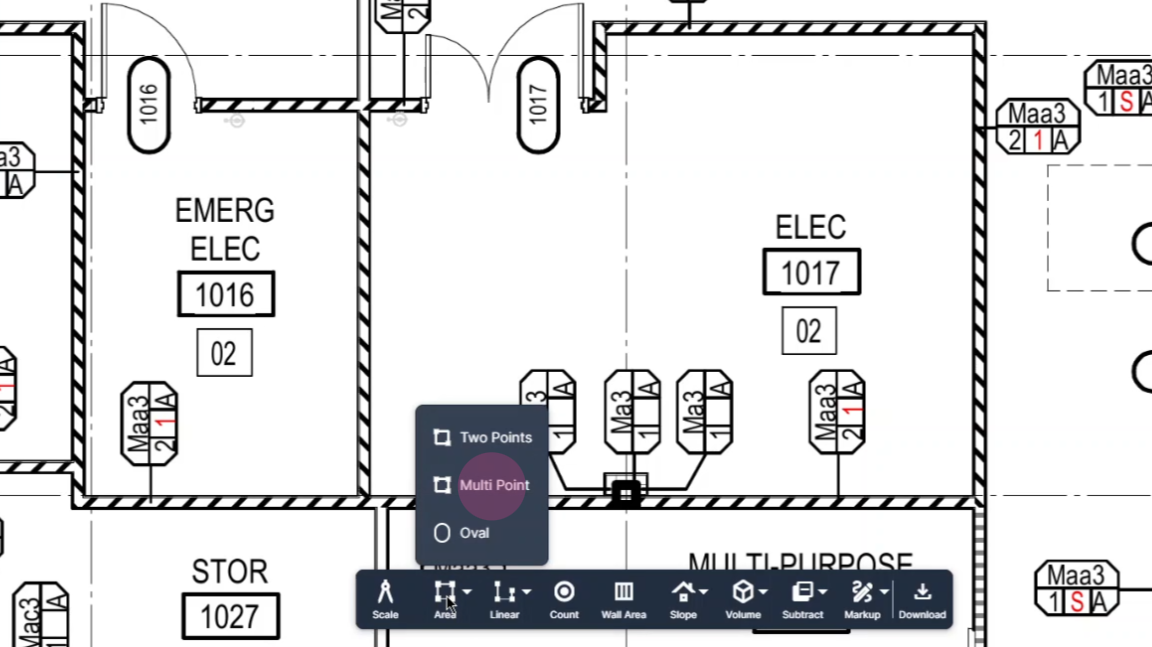
Step 2: Choose the mode you want to use. For circles or ovals, select the oval mode. For squares, rectangles, or any four-sided shape aligned with the page, select the two Point mode.
For this tutorial, we're using the Multipoint mode to measure an irregularly shaped room.
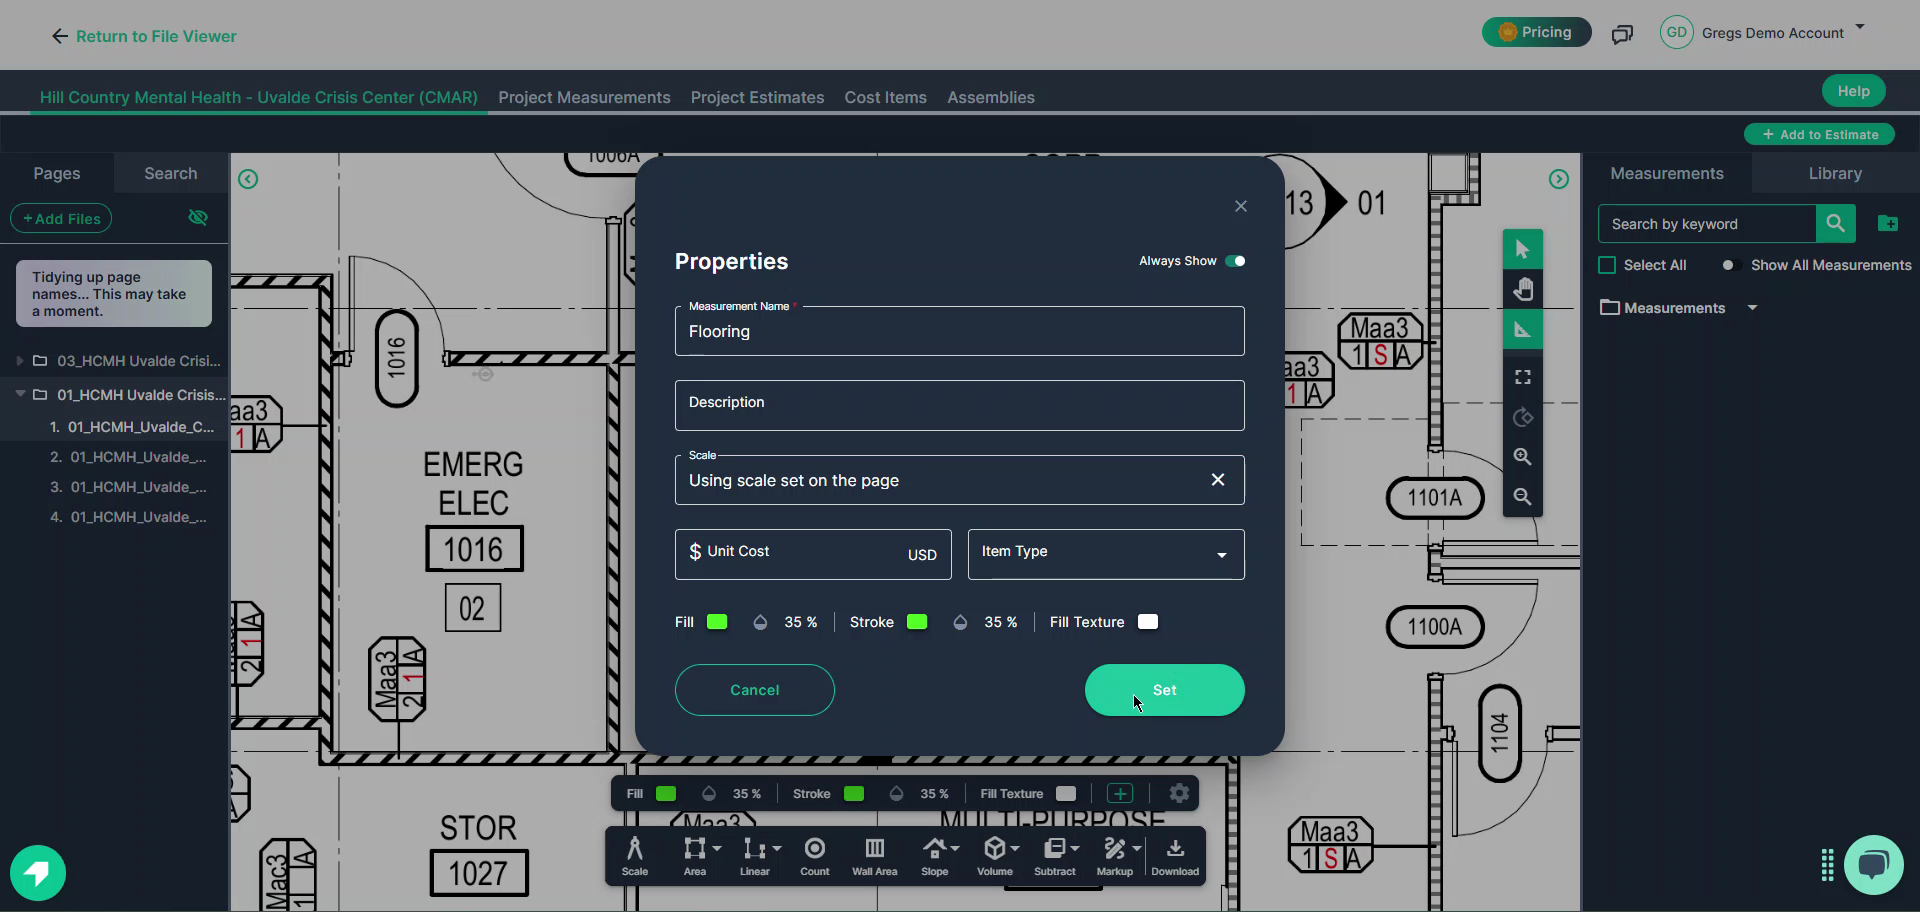
Step 3: After selecting Multipoint, name your measuring tool and click Set.
Step 4: Start measuring by picking a corner and clicking once with your left mouse button. The measurement will follow you until you need to change direction. Left click to change direction.
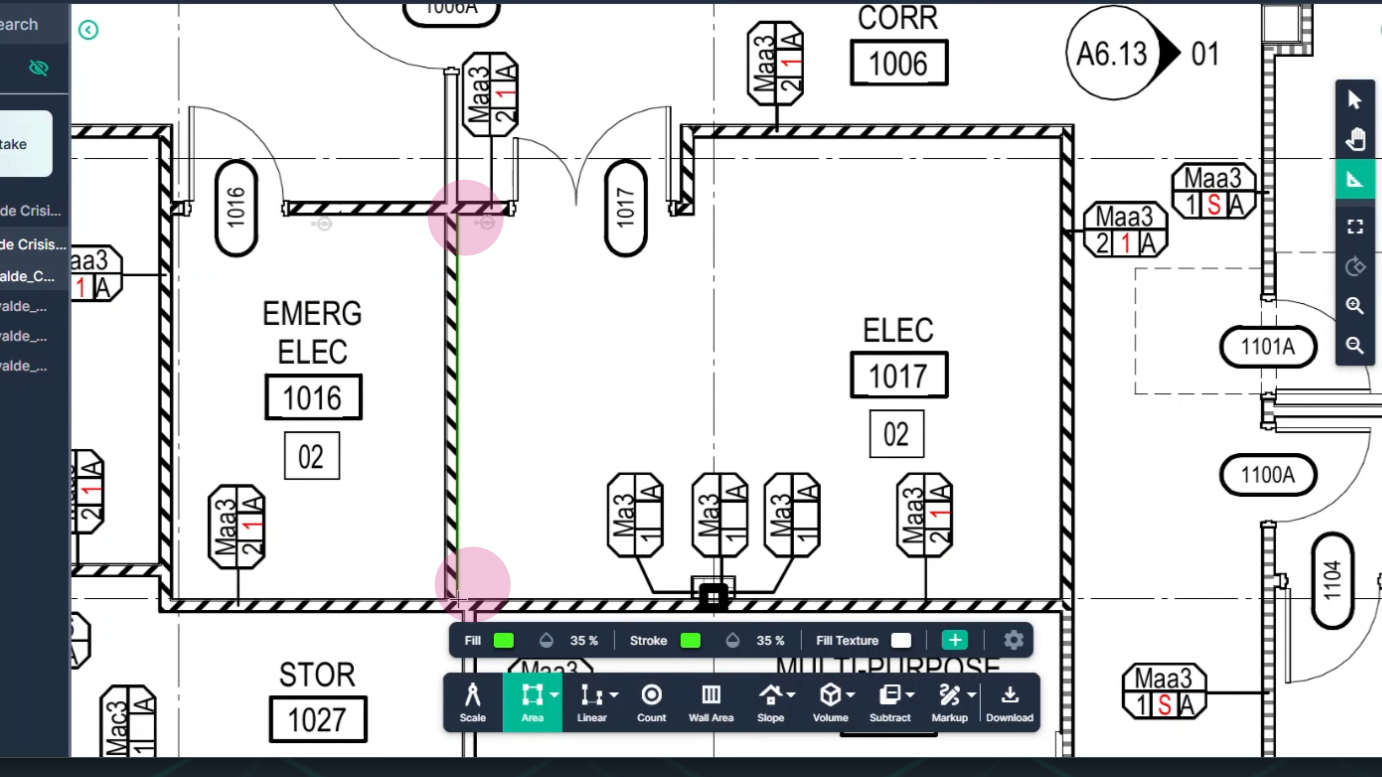
Step 5: Continue this process, clicking at every corner where you need to change direction. To set the final point and turn off the tool, double-click.
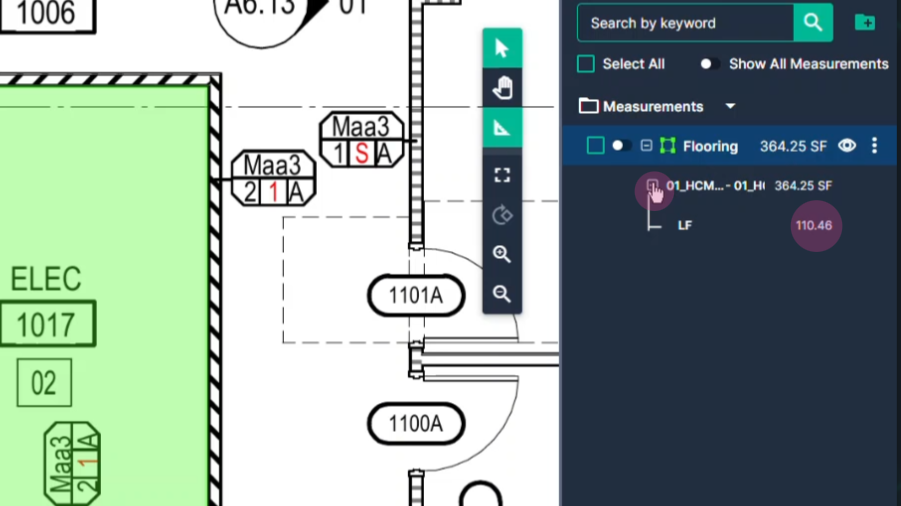
The square foot area result appears in the measurement panel on the right side of the page.
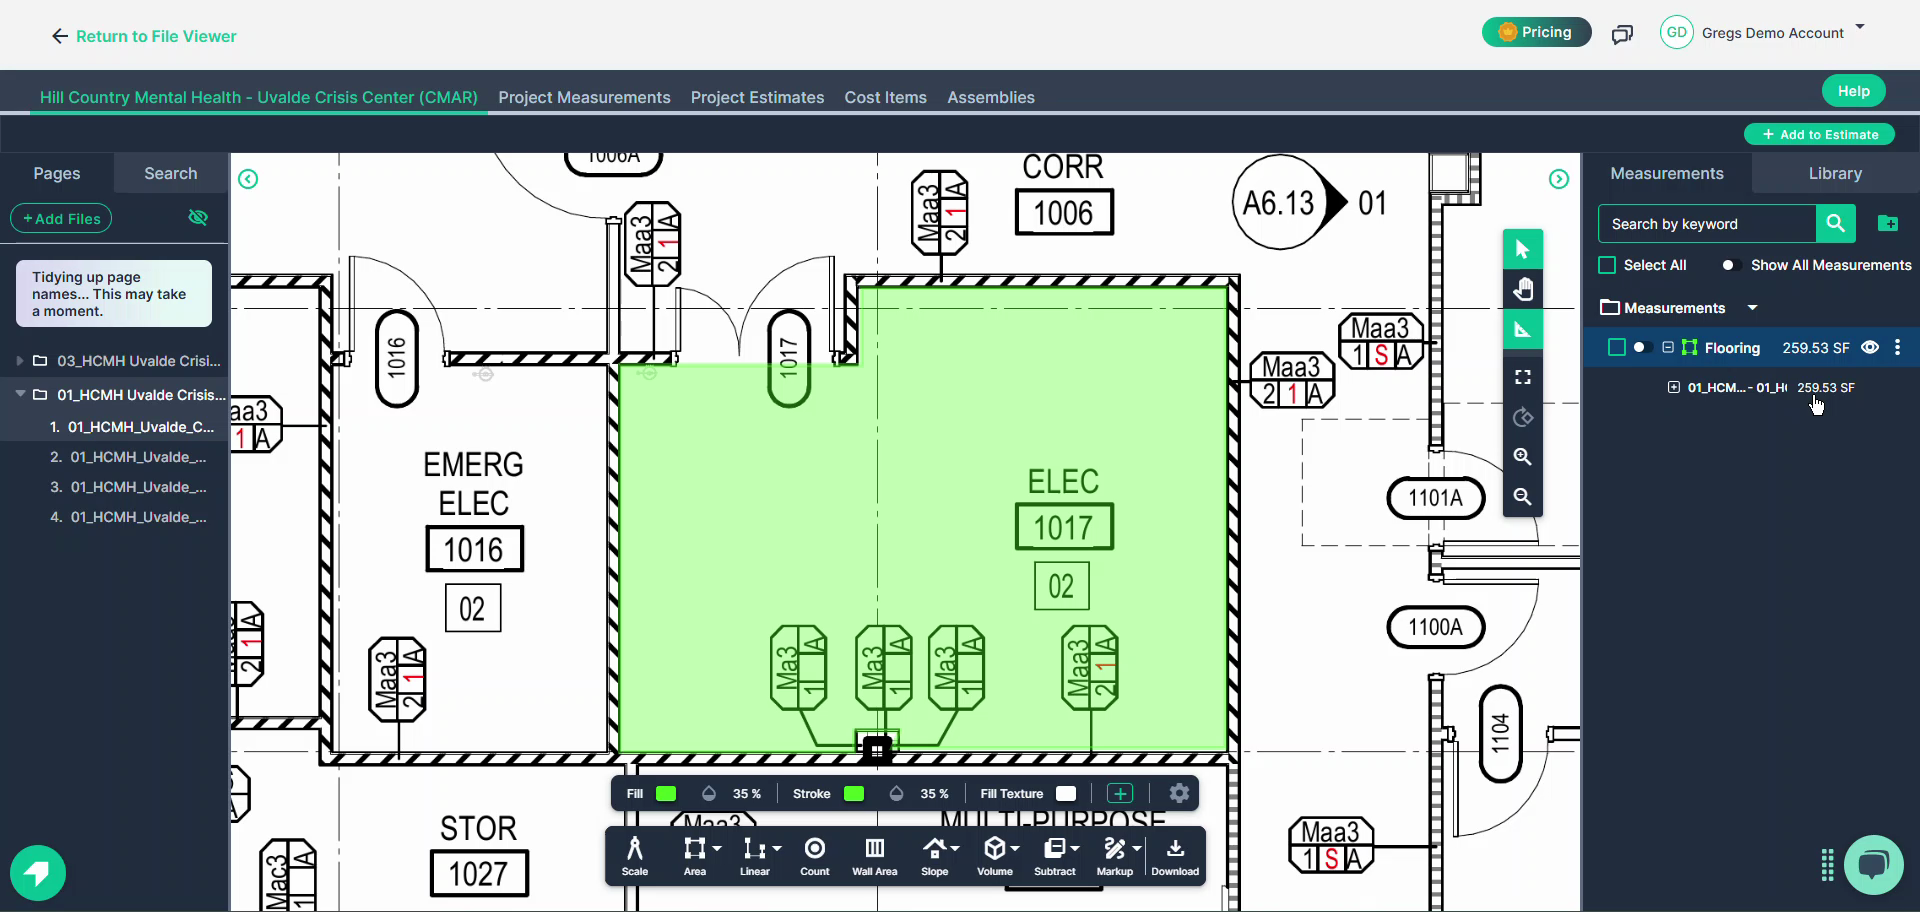
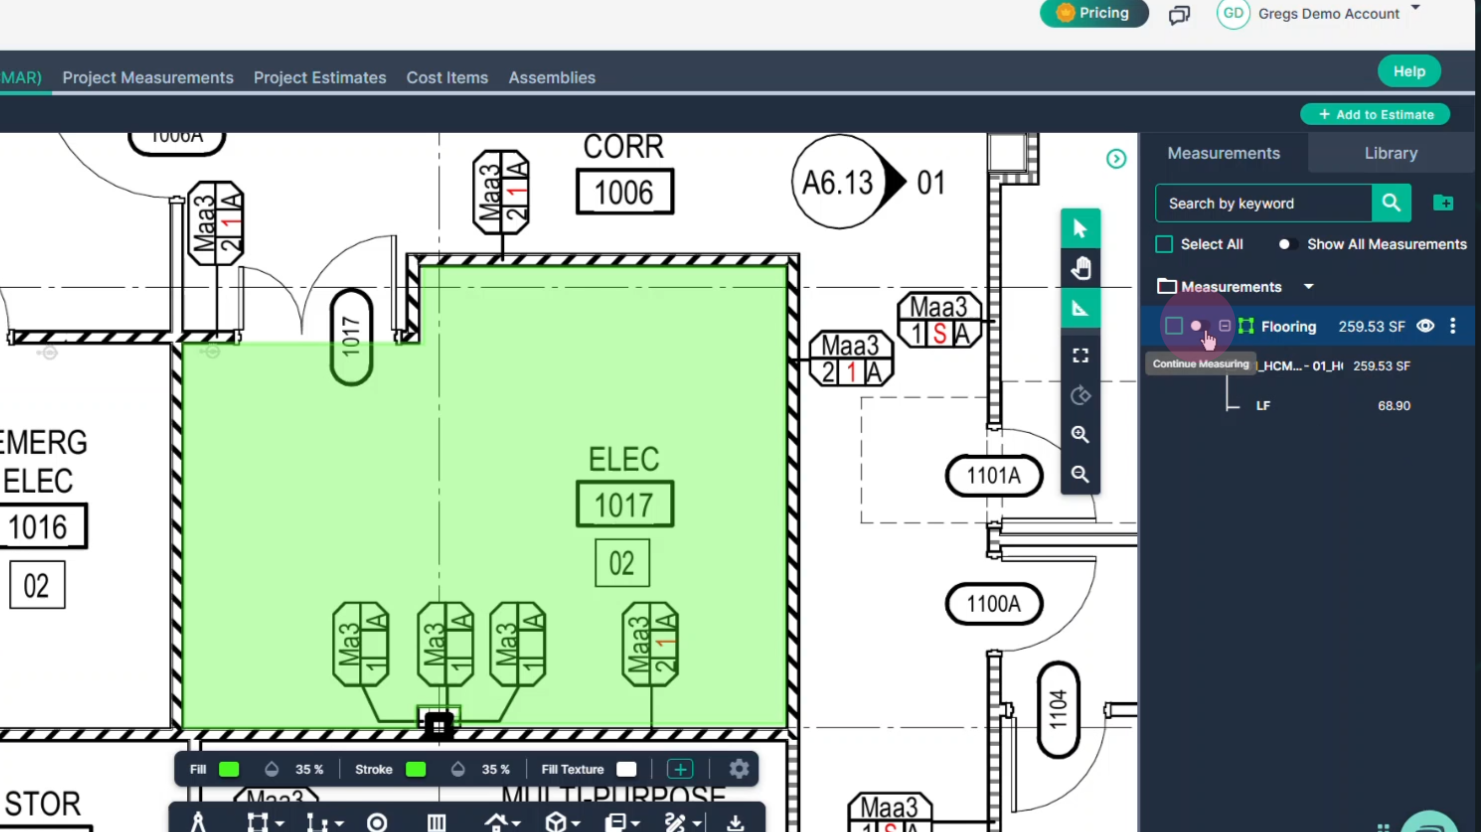
If you expand the panel, you'll also see the linear foot perimeter of the measured space.
Step 6: If you need to measure additional space, click the Continue switch or right-click in the measured area and select Continue.
Step 7: Select the new space and pick a corner to start. Click once to begin, click at every intersection or corner to change direction, then double-click to finish the section.
NOTE: In Continue mode, the tool remains active. To turn it off, click the switch on the tool or the arrow at the top of the command bar.
The measurement result for both sections combined is displayed on the right side of the page in the measurement panel.
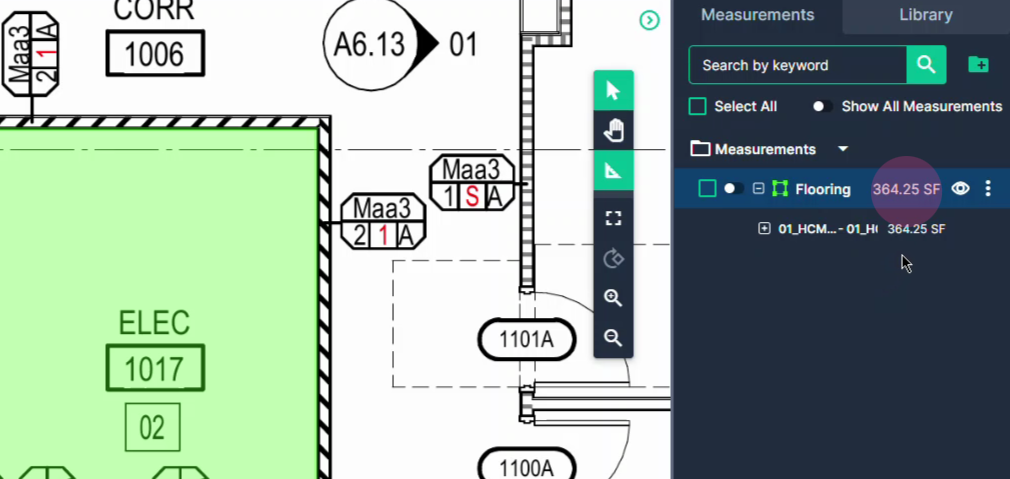
The linear foot perimeter is also the sum of both sections combined.
Next Steps
Once you have completed taking all your measurements, you can:
- Download the measurements in a table from the Project Measurements page
- How To Download Project Measurements From Takeoff
Add a legend and download the PNG of your takeoff page - Using Legend Markup in Takeoff
If you have purchased the Estimation add-on tool, send measurements into the Project Estimate page or push them into an Assembly you have built. - Estimation - Exporting a Measurement from TakeOff to Estimation
- Estimation | How to Create an Assembly
- Share your Takeoff with anyone using the Share button in the upper right-hand corner.
Troubleshooting
Contact us if you need assistance or to report an issue:
- PlanHub Contact Page: https://planhub.com/contact/
- Customer Facing Support Ticket Link: https://knowledgebase.planhub.com/knowledge/kb-tickets/new
- Schedule a Free 1-on-1 Takeoff Training: https://meetings.hubspot.com/zac-low/takeoff-and-estimation