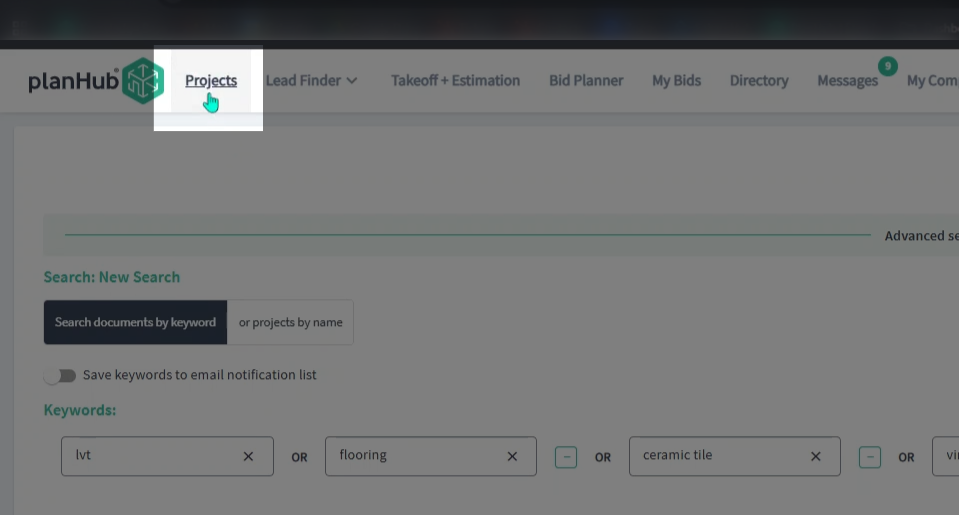
Step 1: Go to the top main panel and select the Projects option.
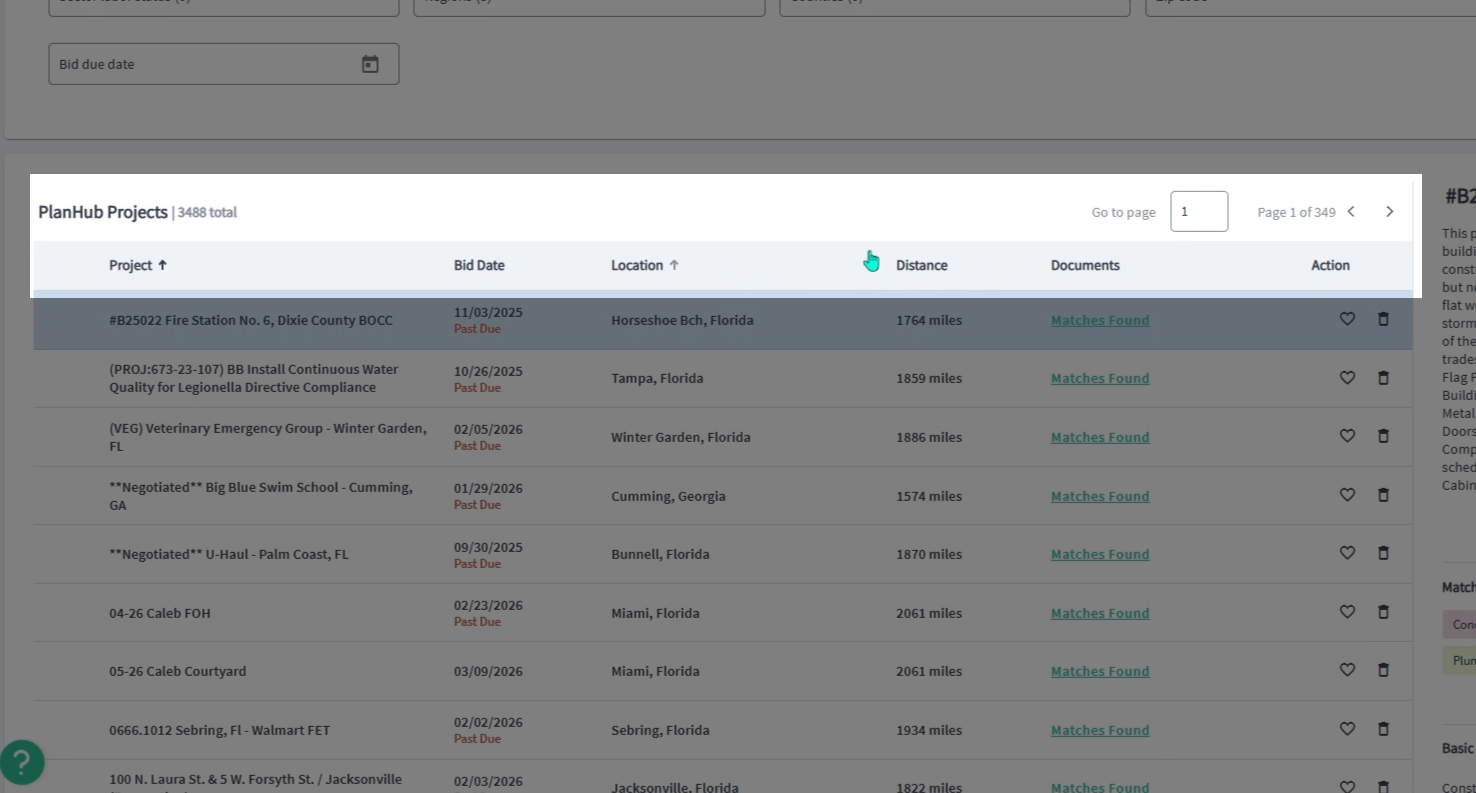
Step 2: Review the list of projects. Each entry displays the project name, bid date, location, distance, documents, and an Action column.
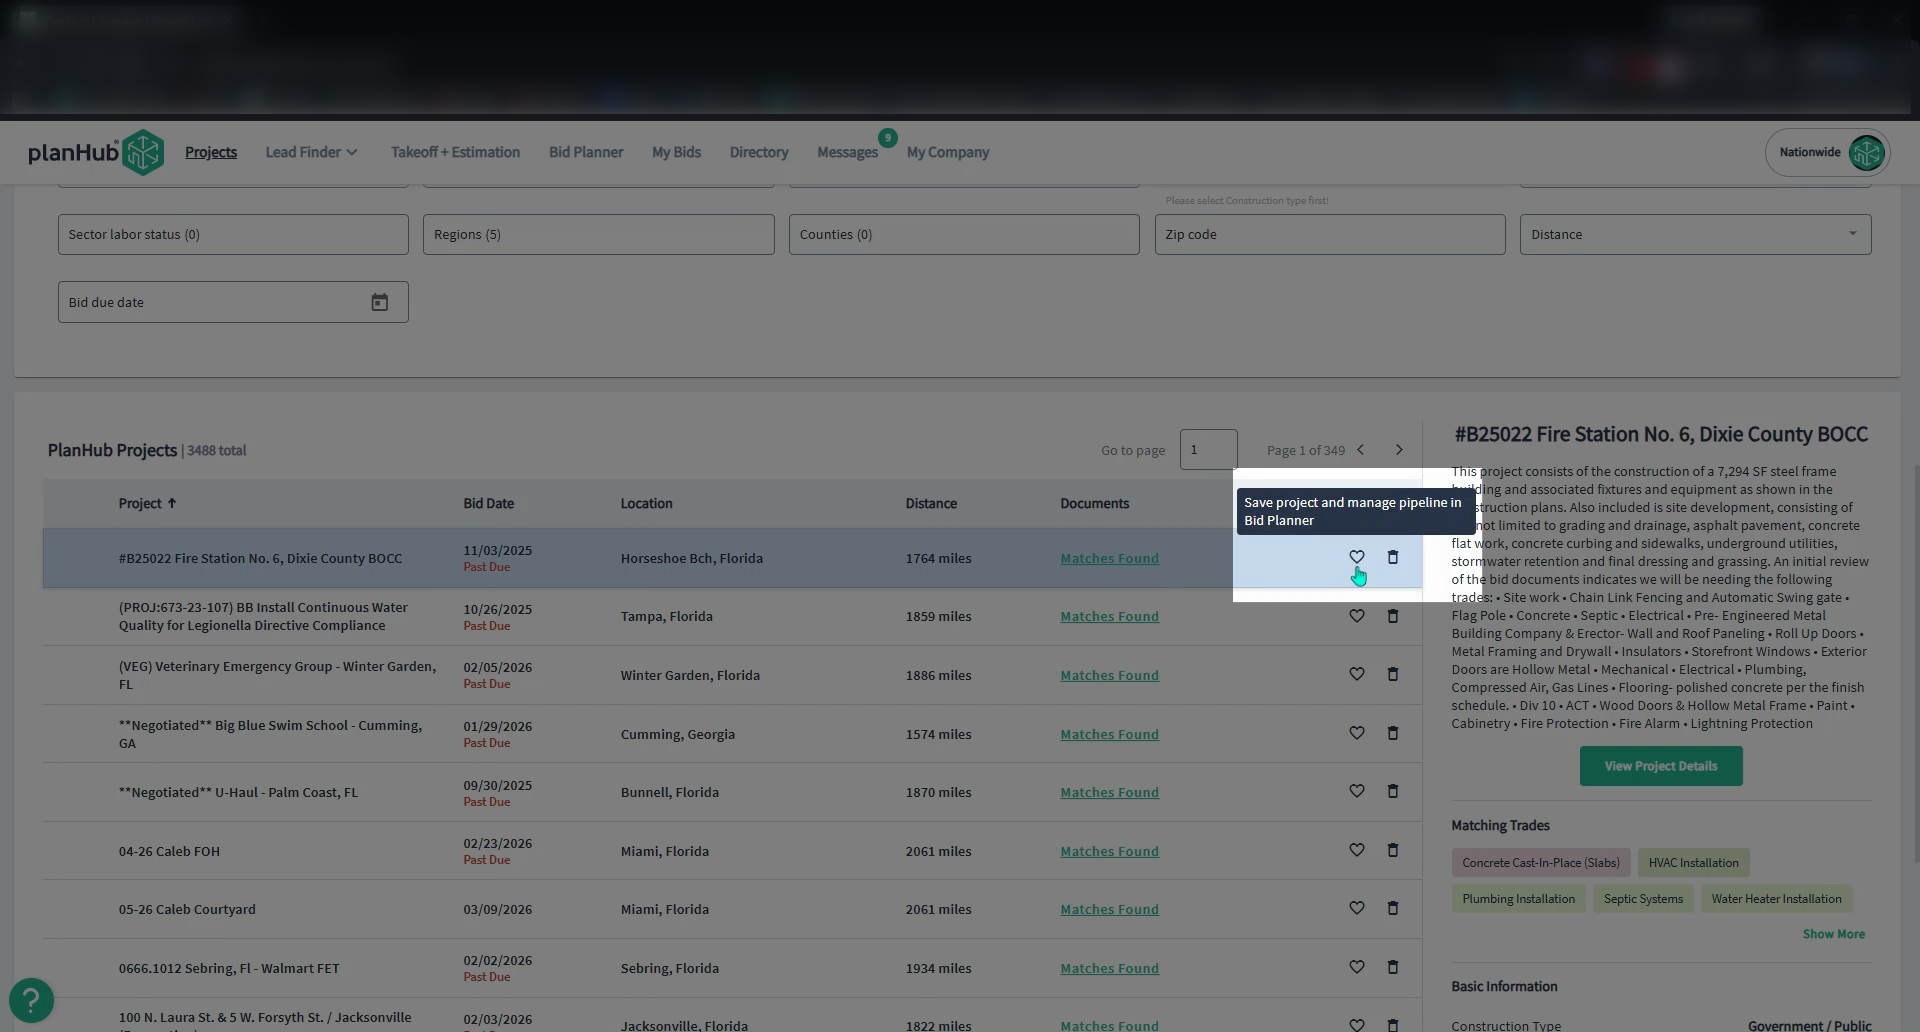
Step 3: To save a project, click the heart icon in the Action column. This lets your team know you’re interested.
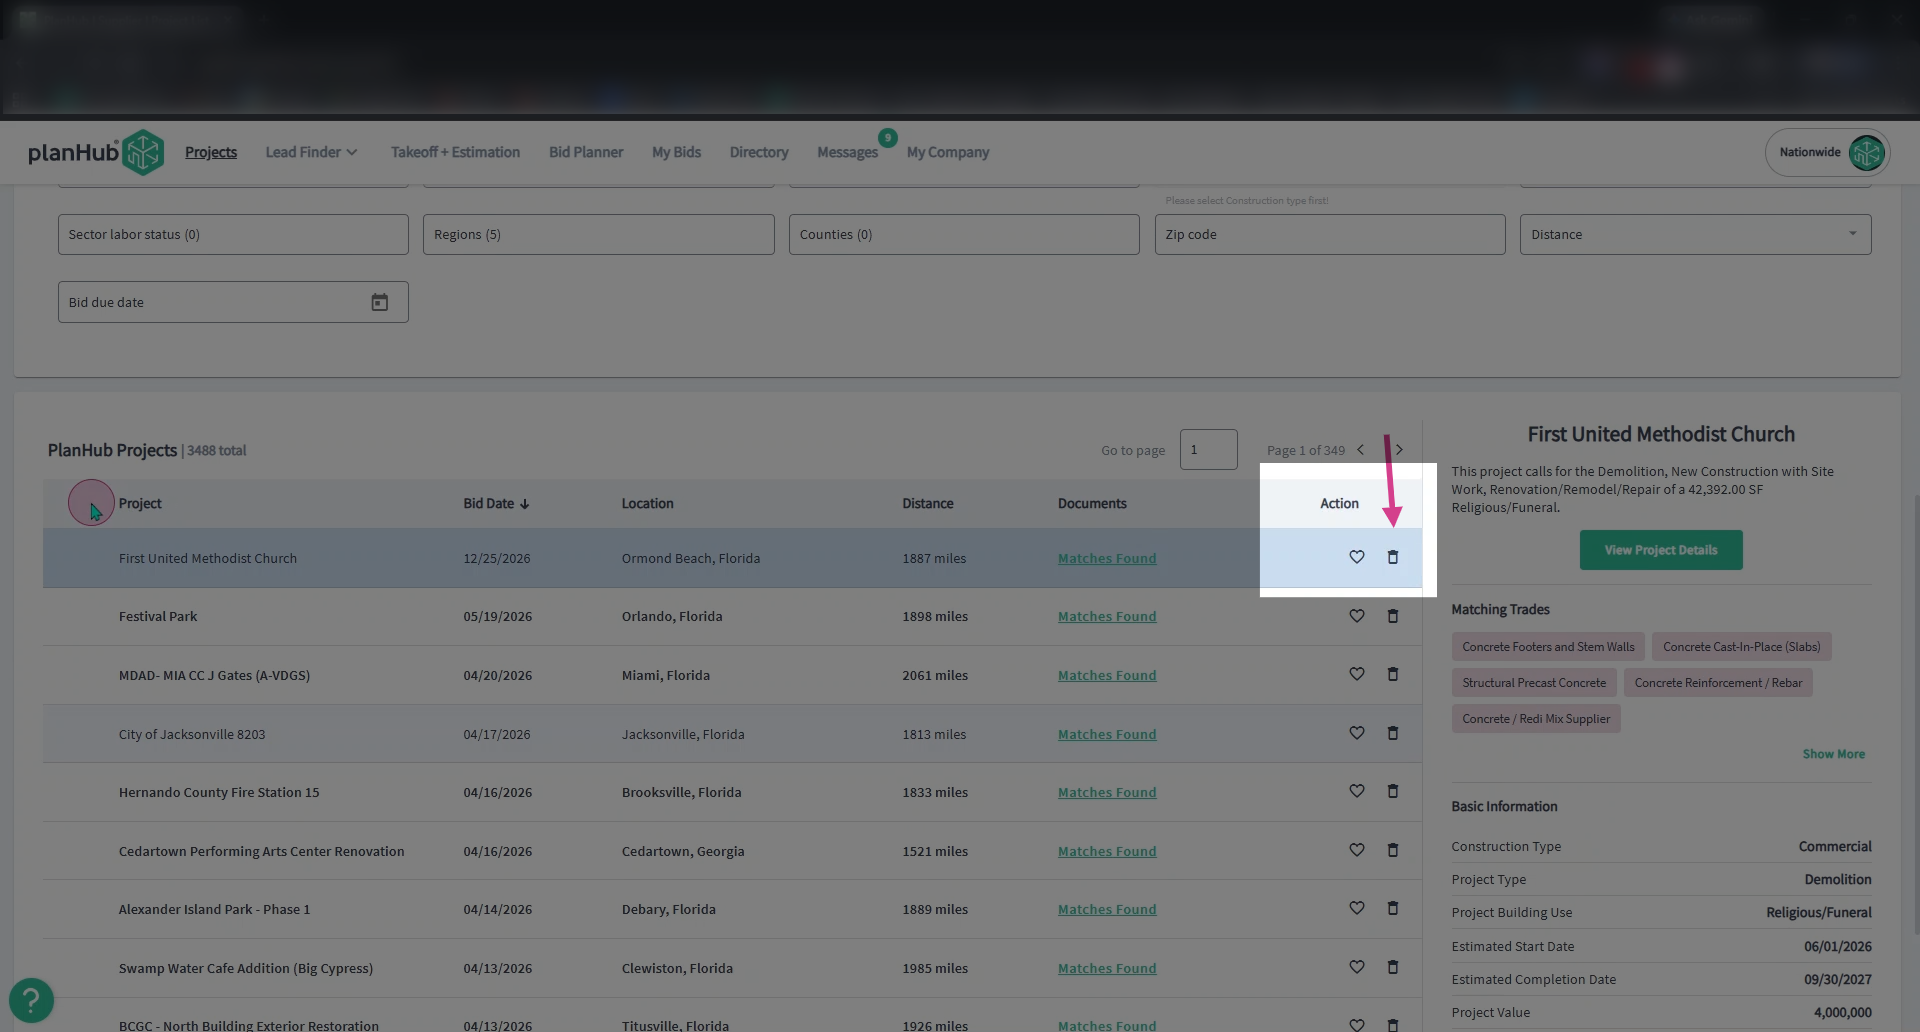
Step 4: To remove a project, click the trash icon at the end of the row. This shows the general contractor you’re not interested in bidding.
Step 5: To view saved projects, scroll to the Advanced Search section on the Projects page and expand it.
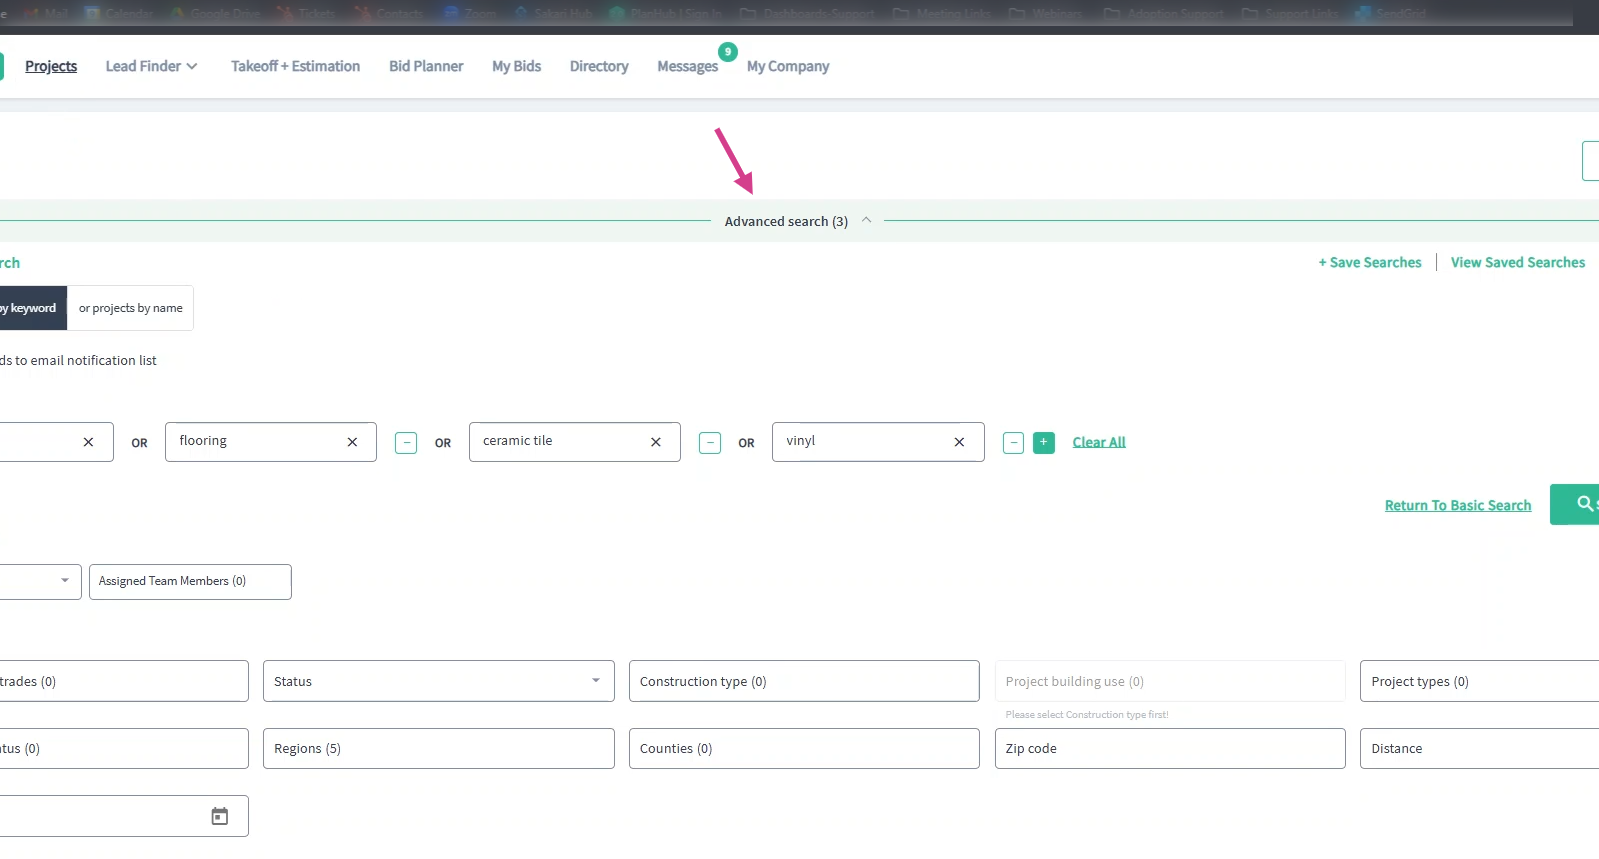
Step 6: In the Projects and Team section, open the Projects dropdown menu and select Saved. The list updates to show only the projects you’ve saved.
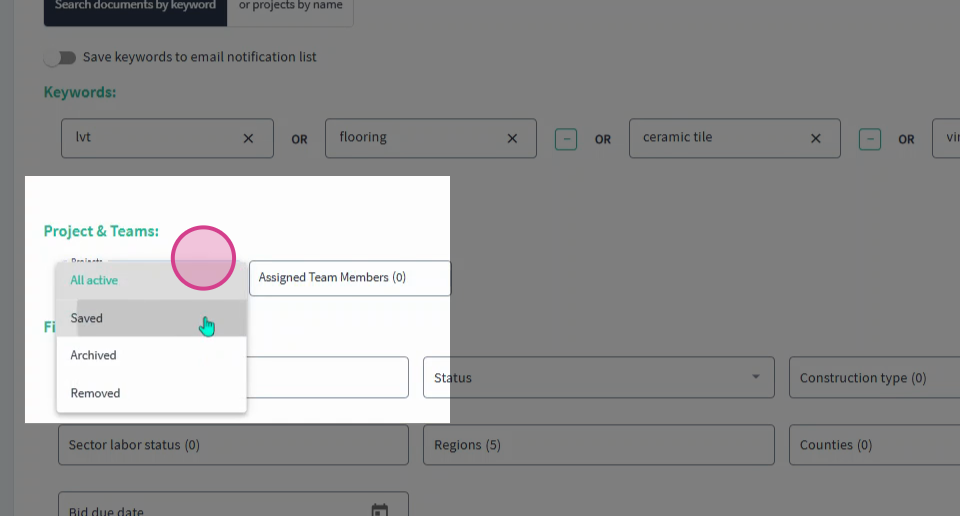
Step 7: To view removed projects, open the same dropdown menu in Advanced Search, and select Removed. You’ll see the list of projects you indicated you’re not interested in.
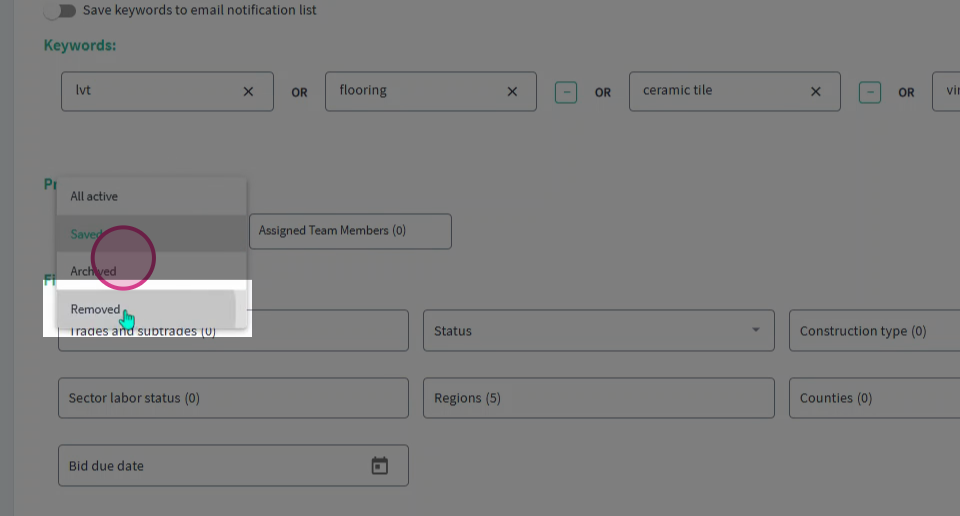
Step 8: To view all active projects again, choose All Active from the Projects dropdown menu.

Reviewing and Assigning Projects
Once you save projects, you can review their details and assign them to team members for collaboration.
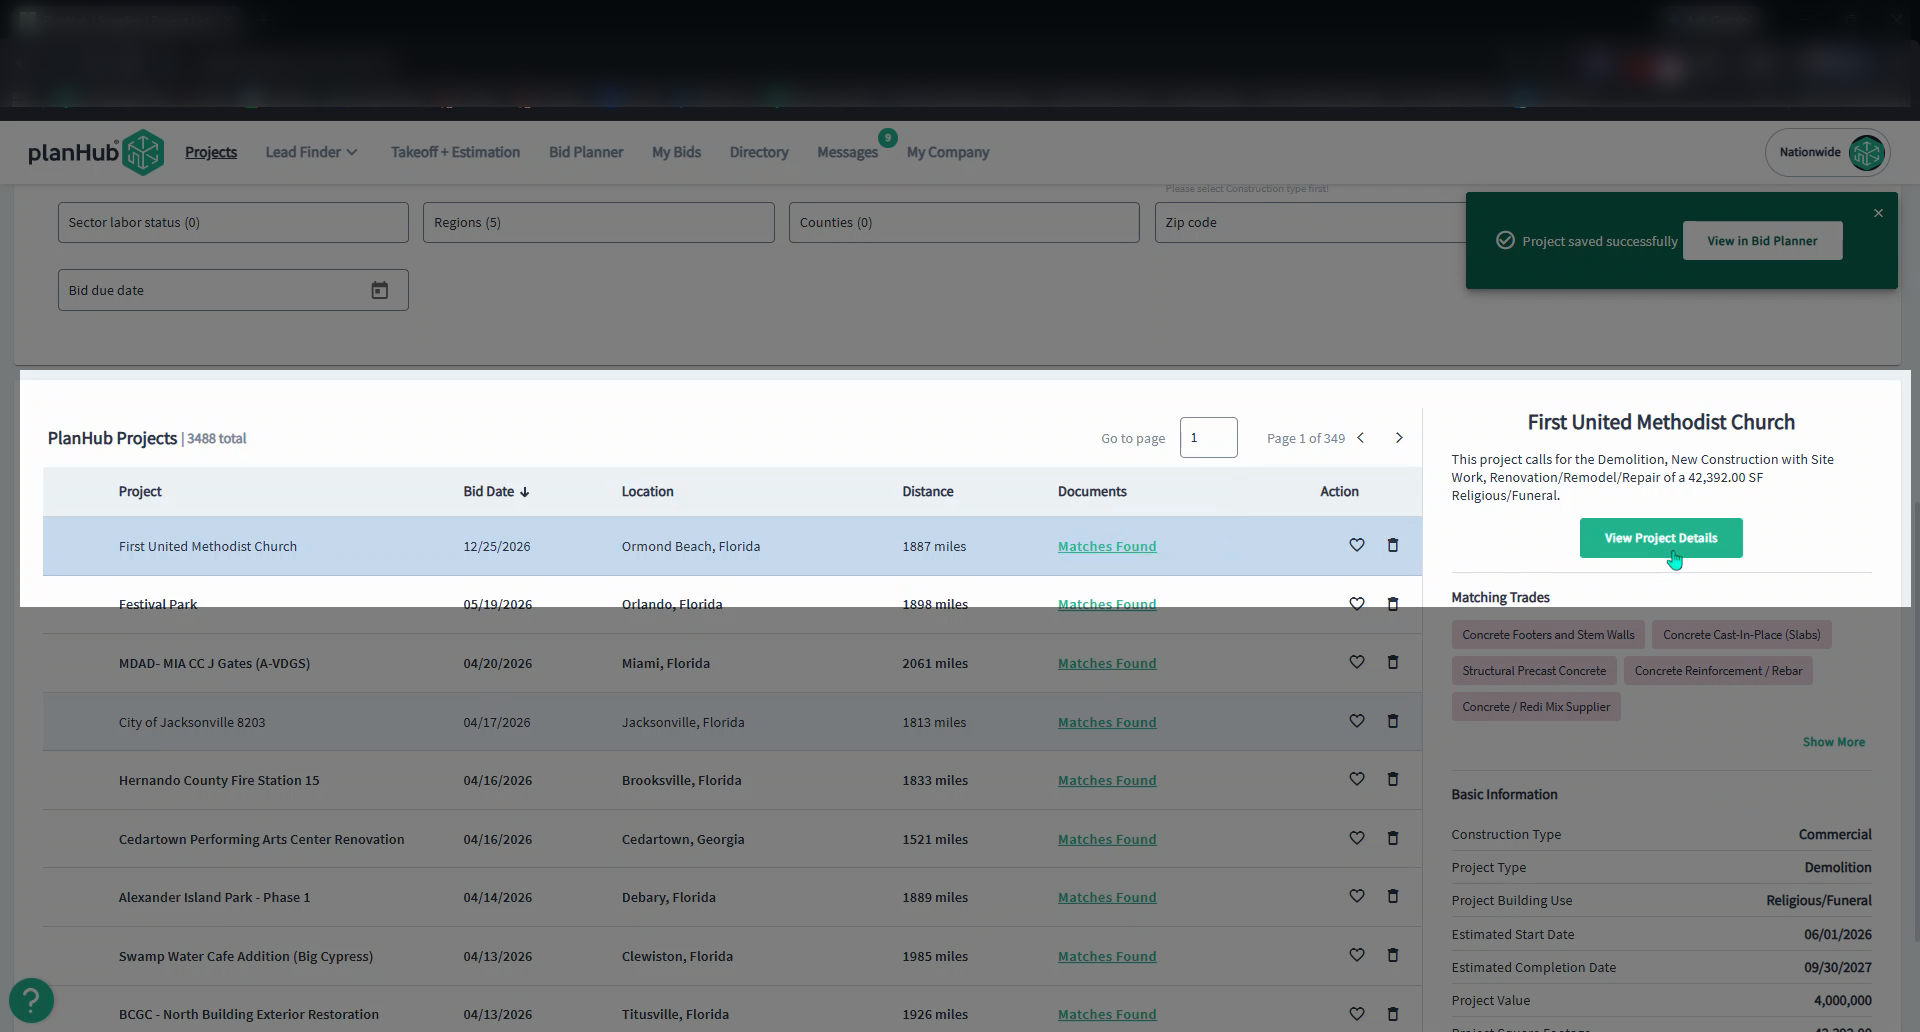
Step 1: Find a project you want to review and click View Project Details on the right side.
Step 2: On the project details page, save the project in one of two ways:
-
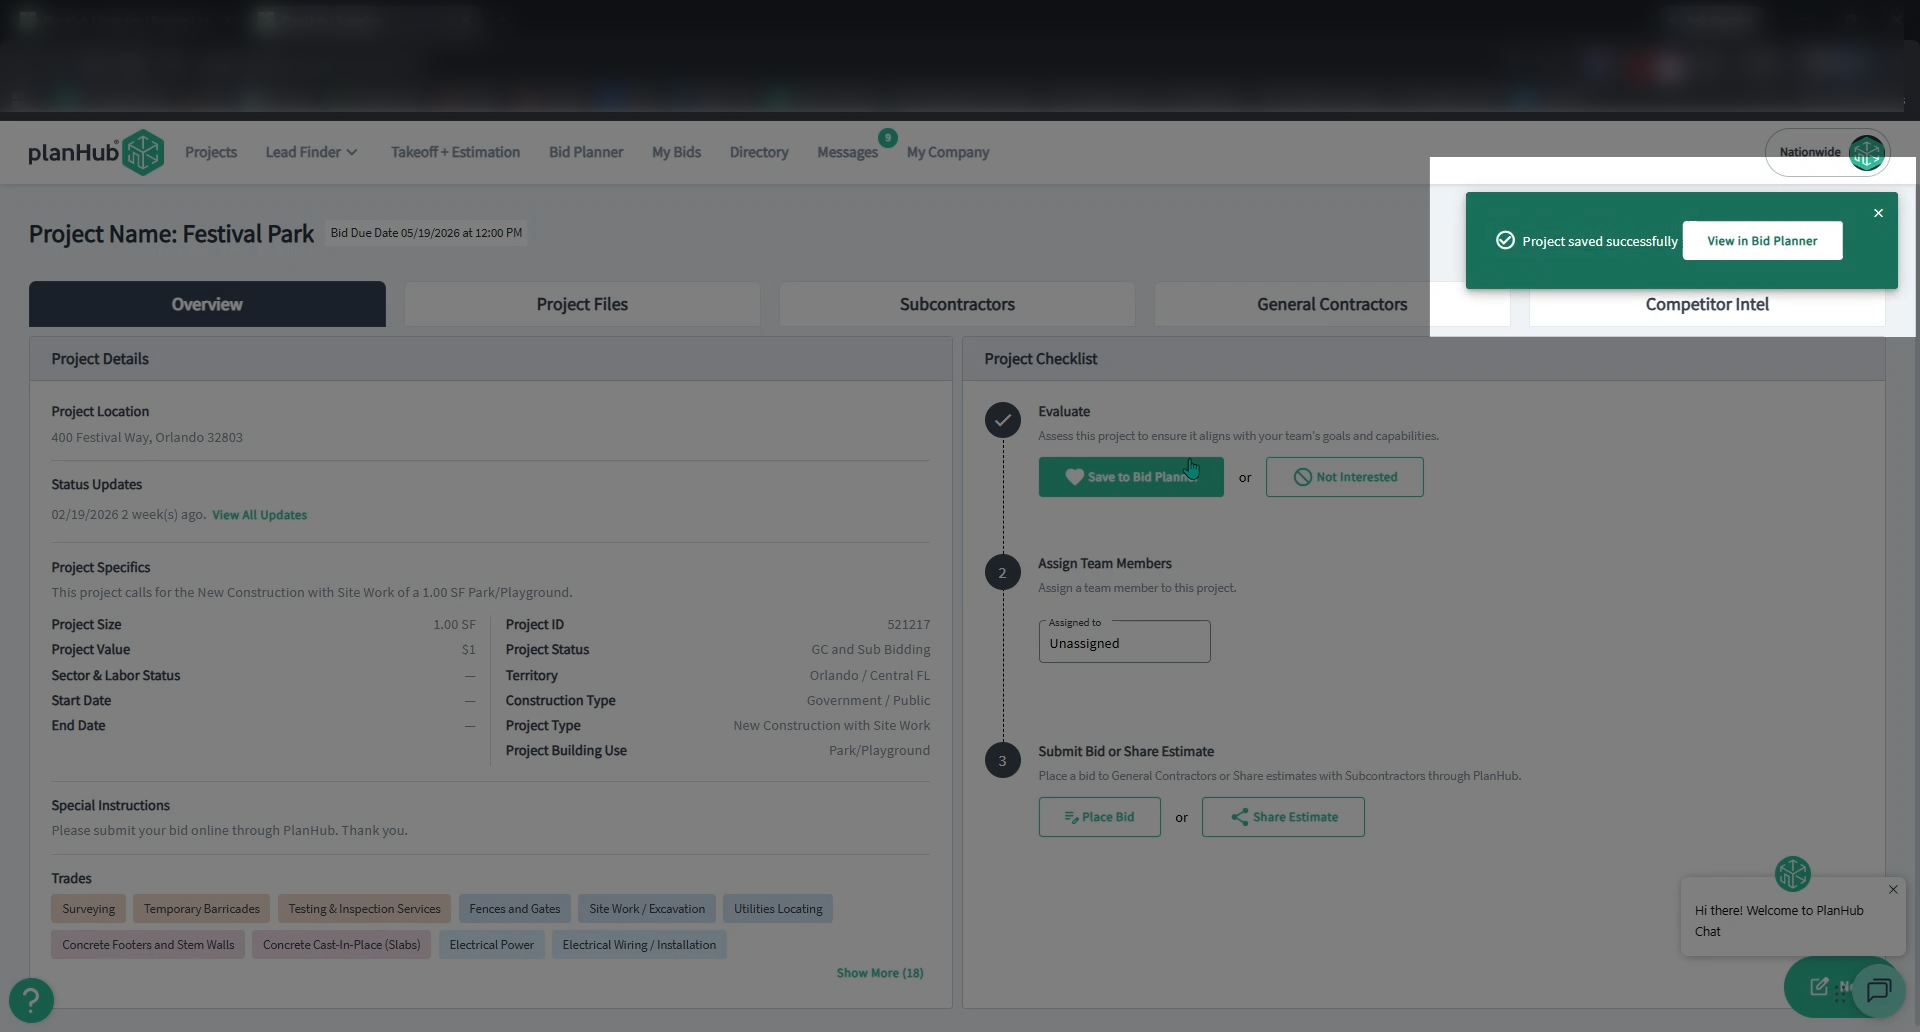
Click the heart icon in the top right corner.
-
Go to the Checklist section on the right and click Save to Bid Planner.
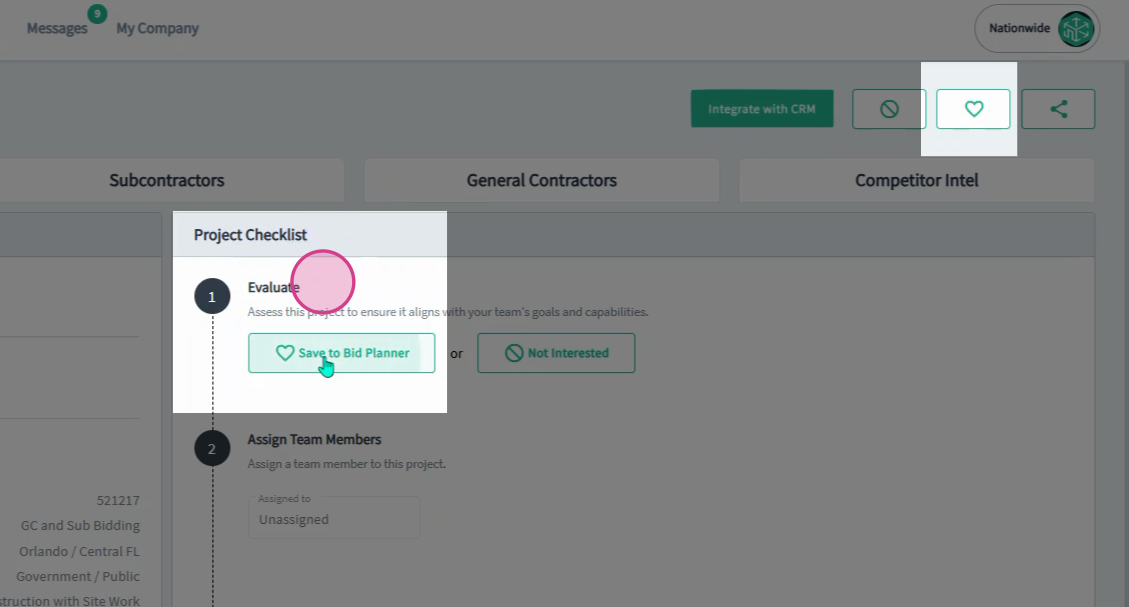
Step 3: A pop-up will confirm that the project has been saved and can be viewed in your Bid Planner.
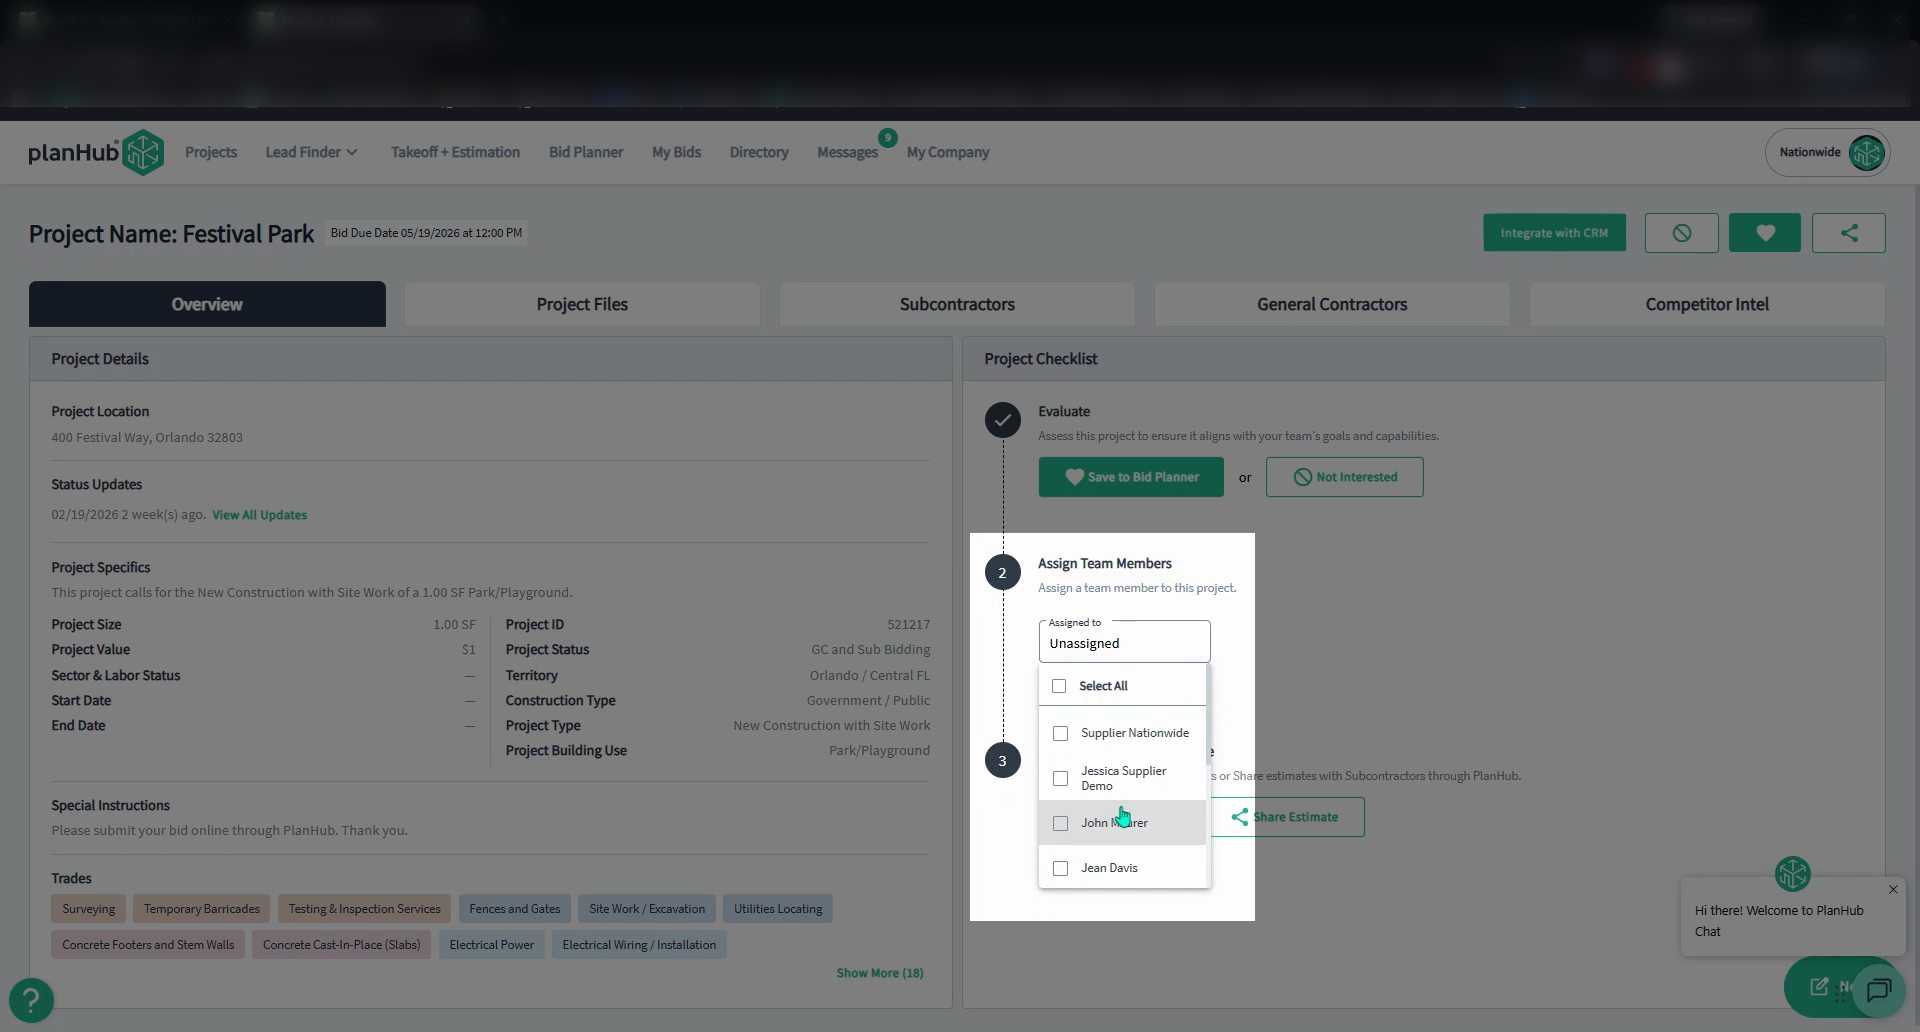
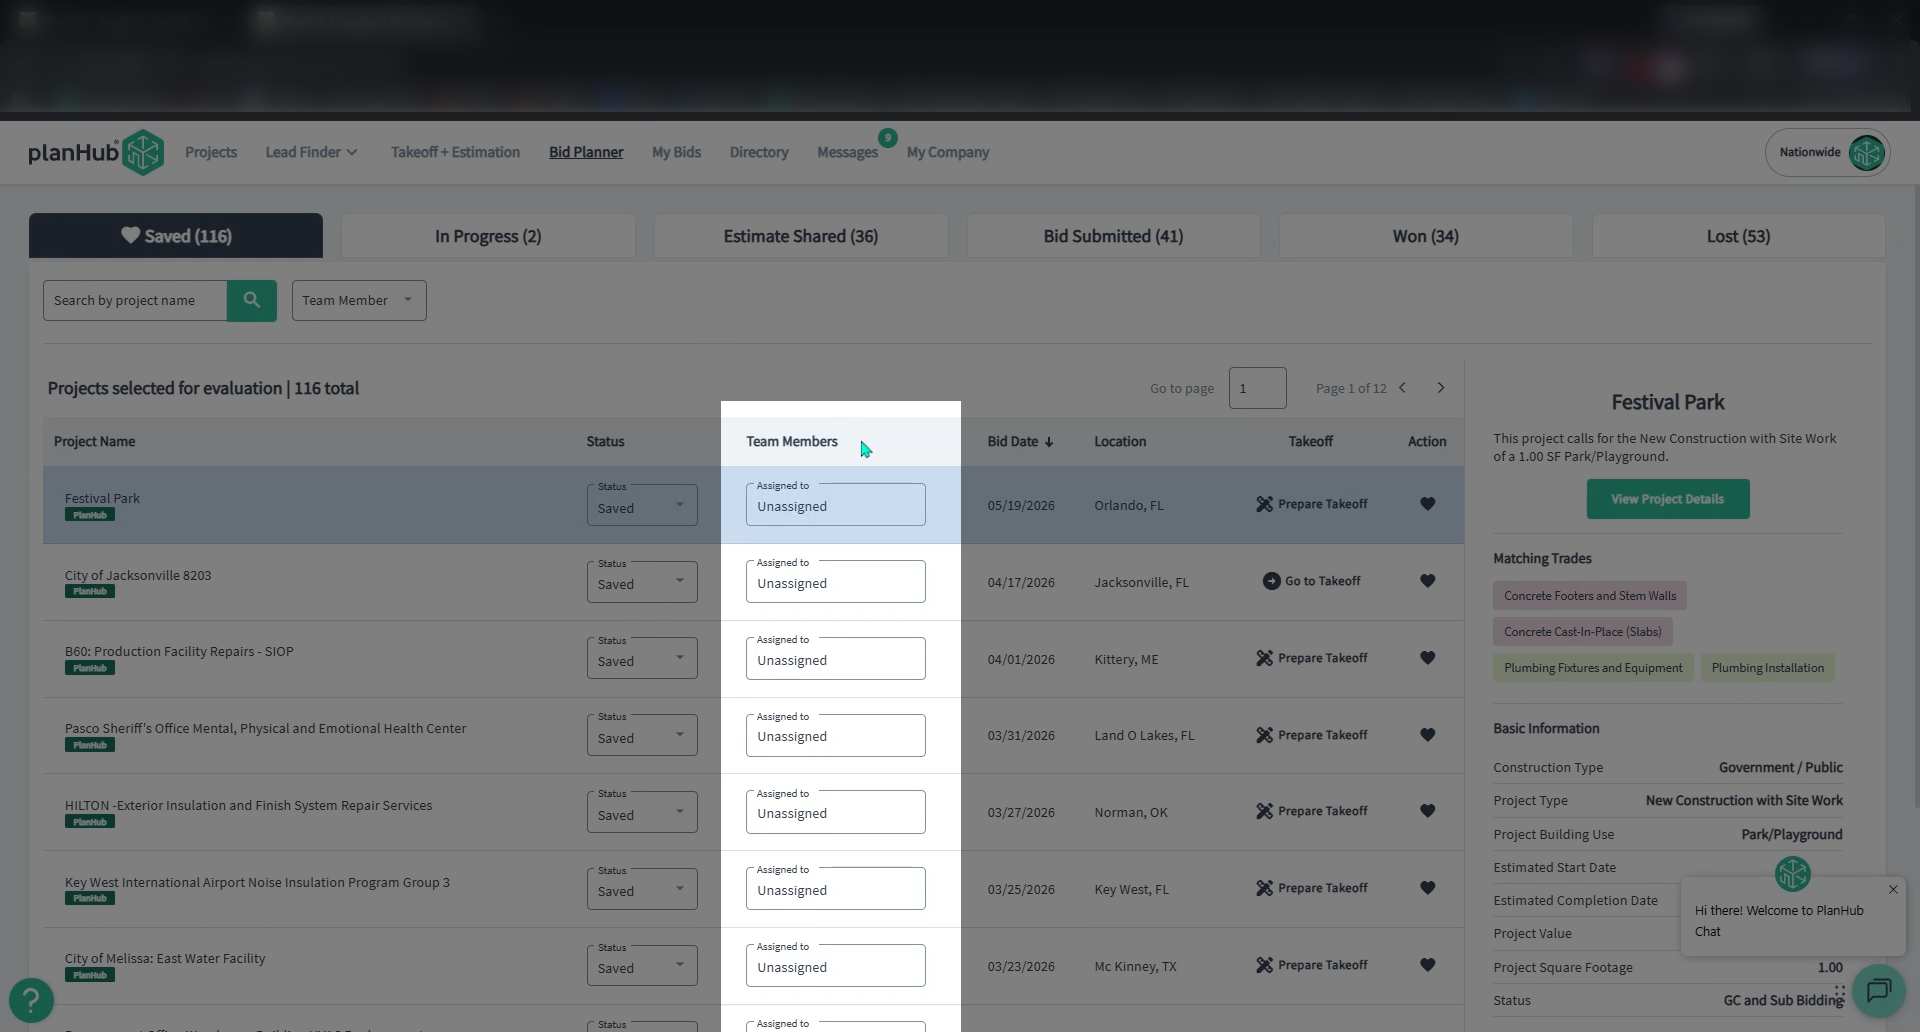
Step 4: To assign the saved project, use the dropdown menu in the Assign Team Members section to select your team member.
Step 5: To review all saved projects, go to the top of the page, click Bid Planner.
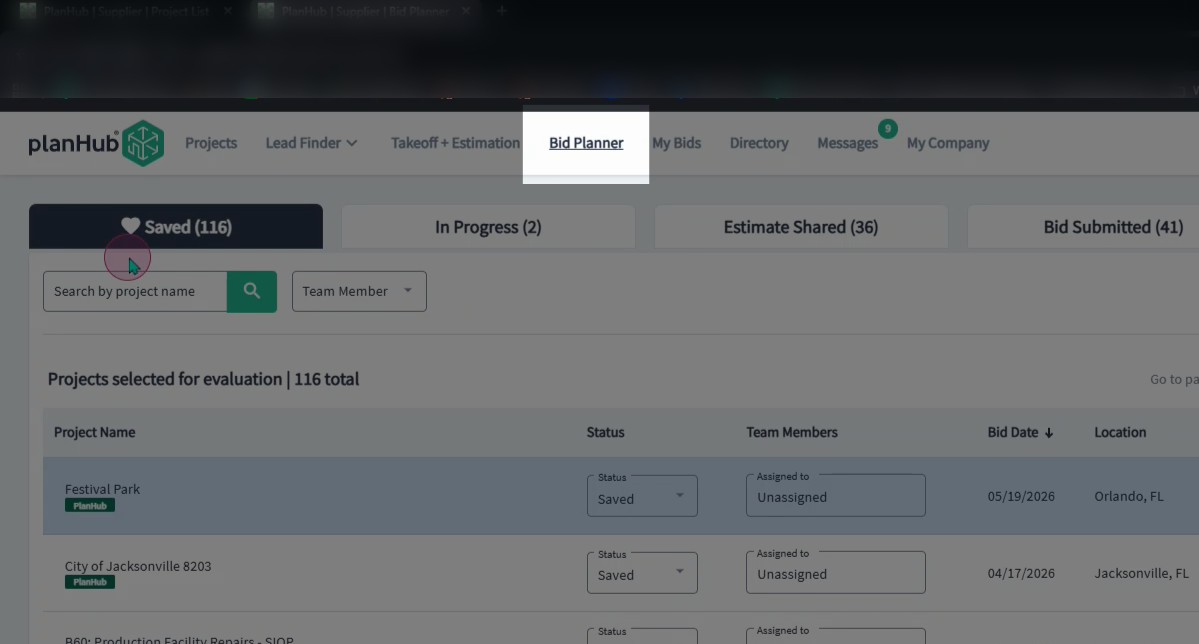
Step 6: Here, you can continue assigning saved projects to Team Members or review their details.
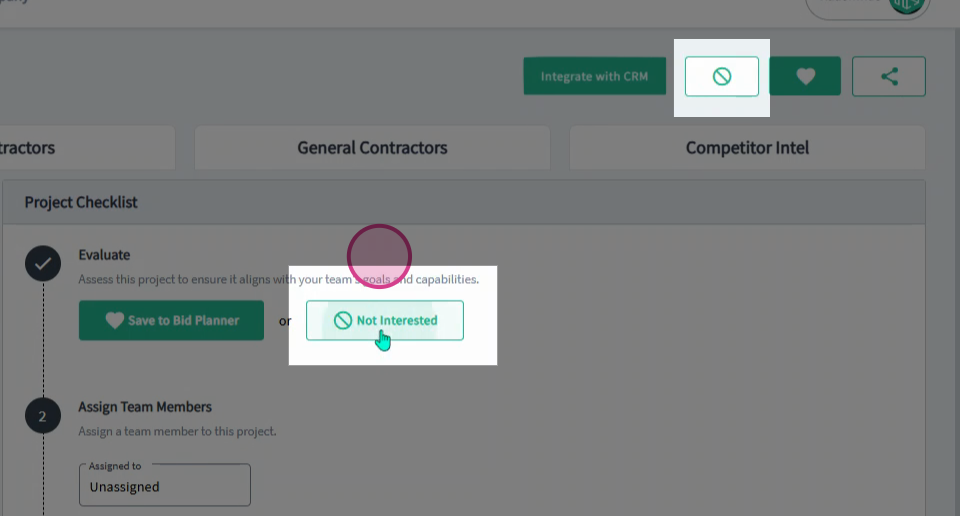
Step 7: If you decide you don’t want to bid on a project after reviewing it, return to the project details page. Click one of the 2 options to show that you are Not Interested to remove the saved project.
Conclusion
Saving and removing projects in your project lists helps you stay organized and focused on the opportunities that matter most to your business. Taking a few moments to maintain your project lists makes it easier to track opportunities, stay prepared, and respond quickly when it’s time to bid.
If you need further assistance, please contact Customer Support.