This step-by-step guide matches the actions shown in the video demonstration, helping you navigate and control every detail of your project’s workflow.
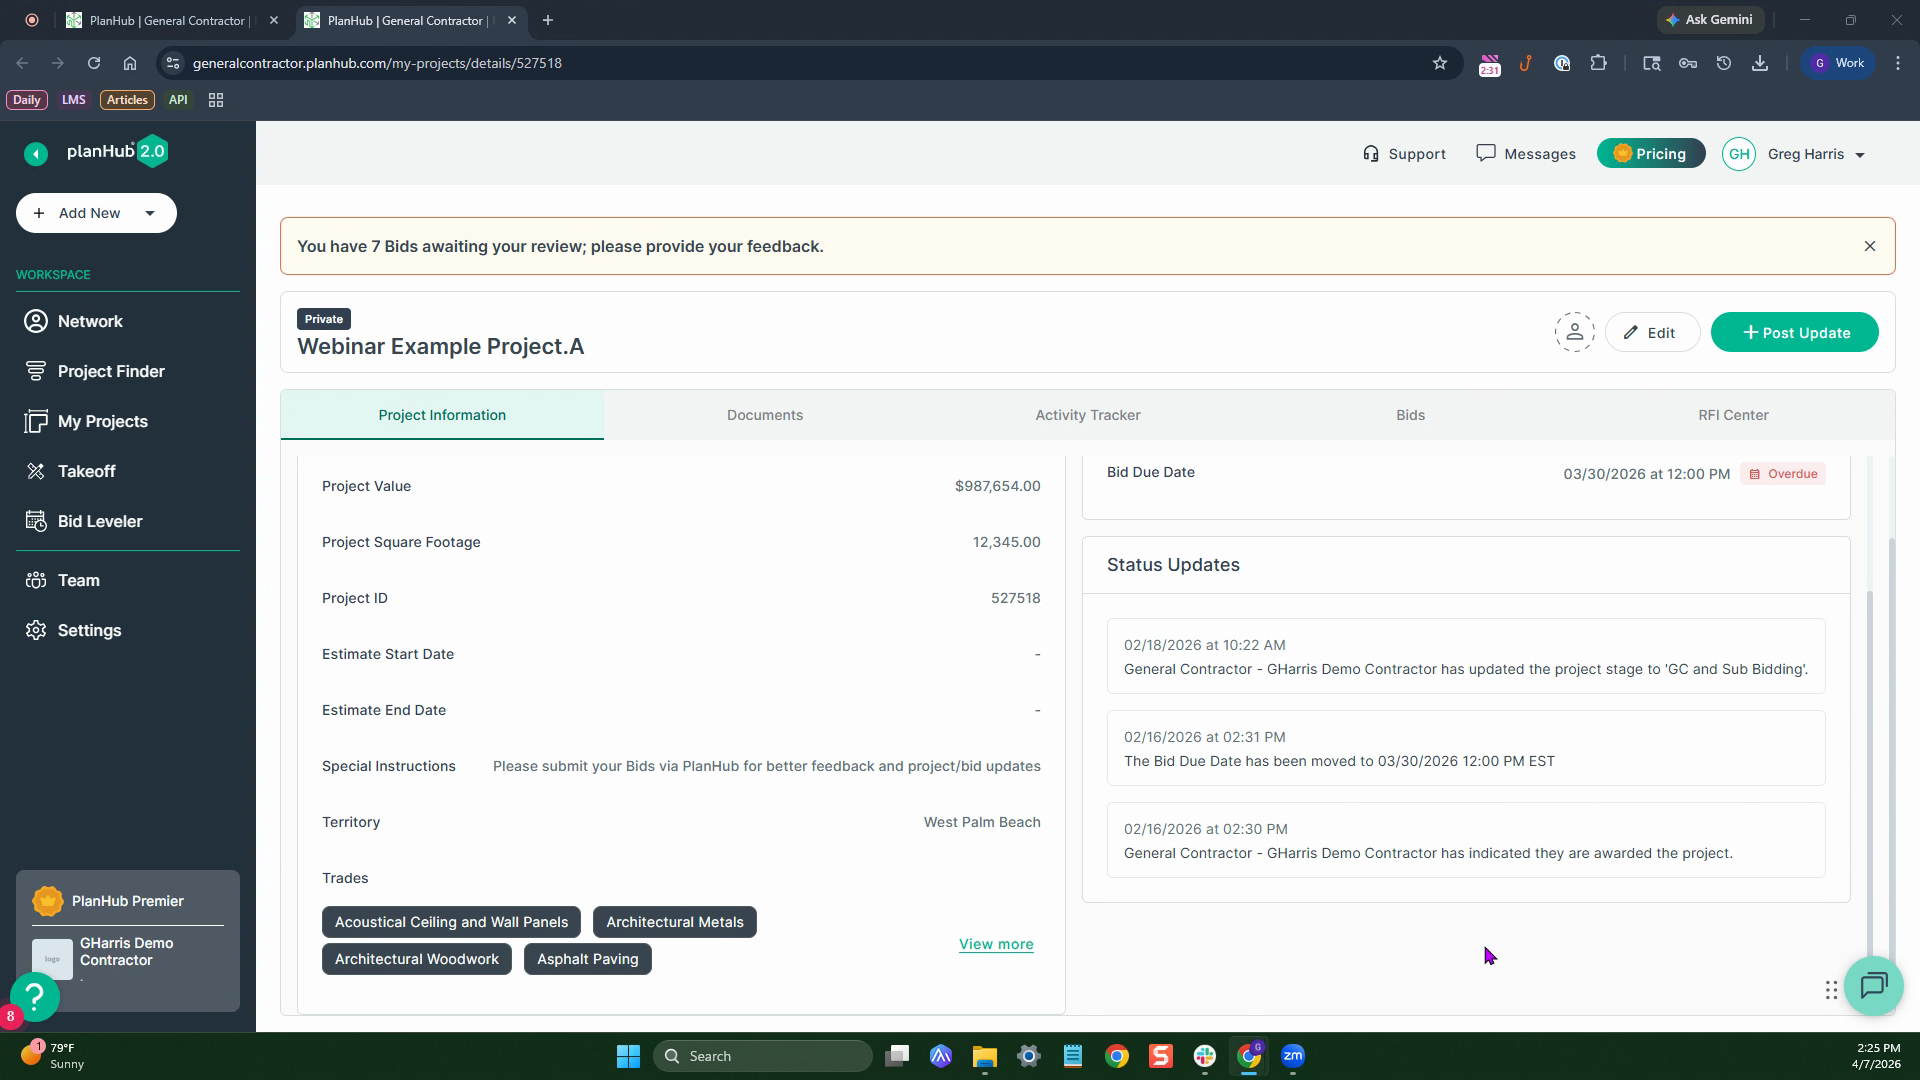
Step 1: Start on the My Projects page, and click your project's name to open its details.
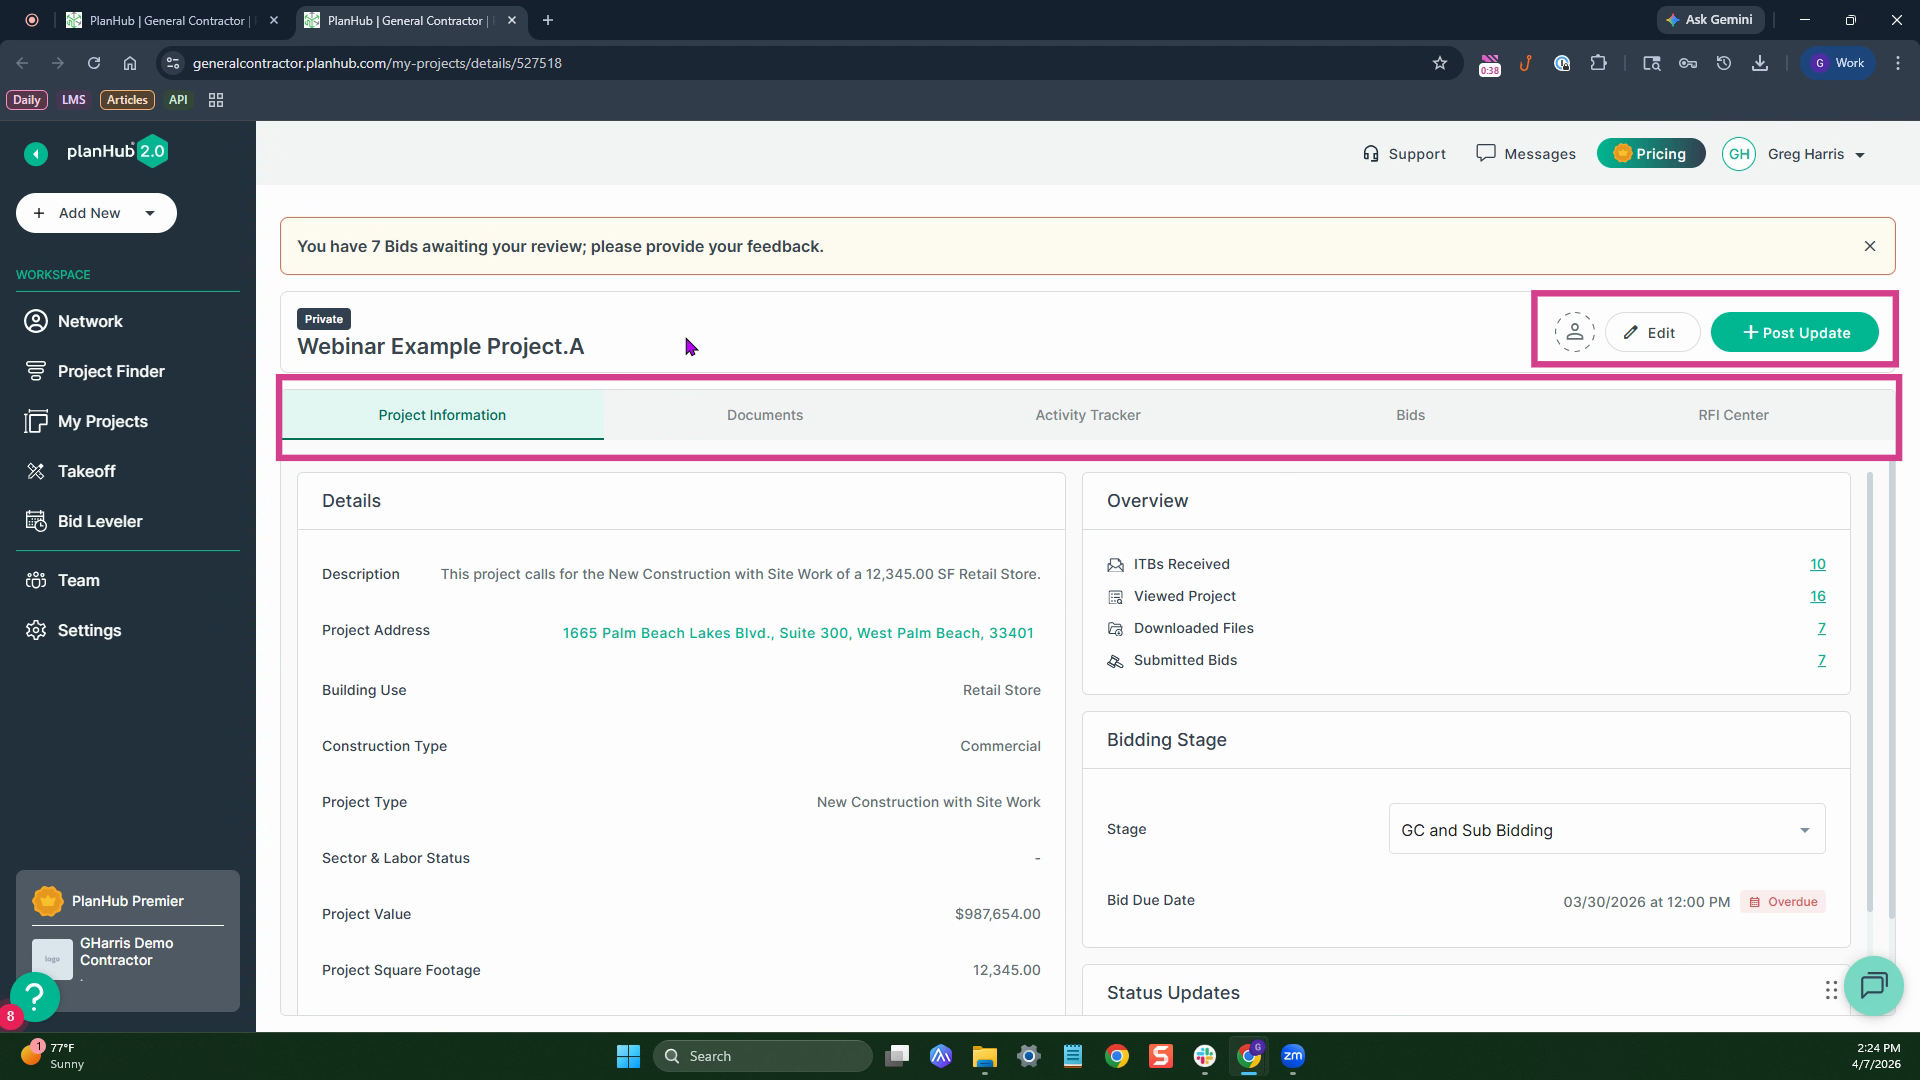
Step 2: Notice five main tabs and three quick links at the top of the project overview. Use the quick links to assign, edit, or update your project.
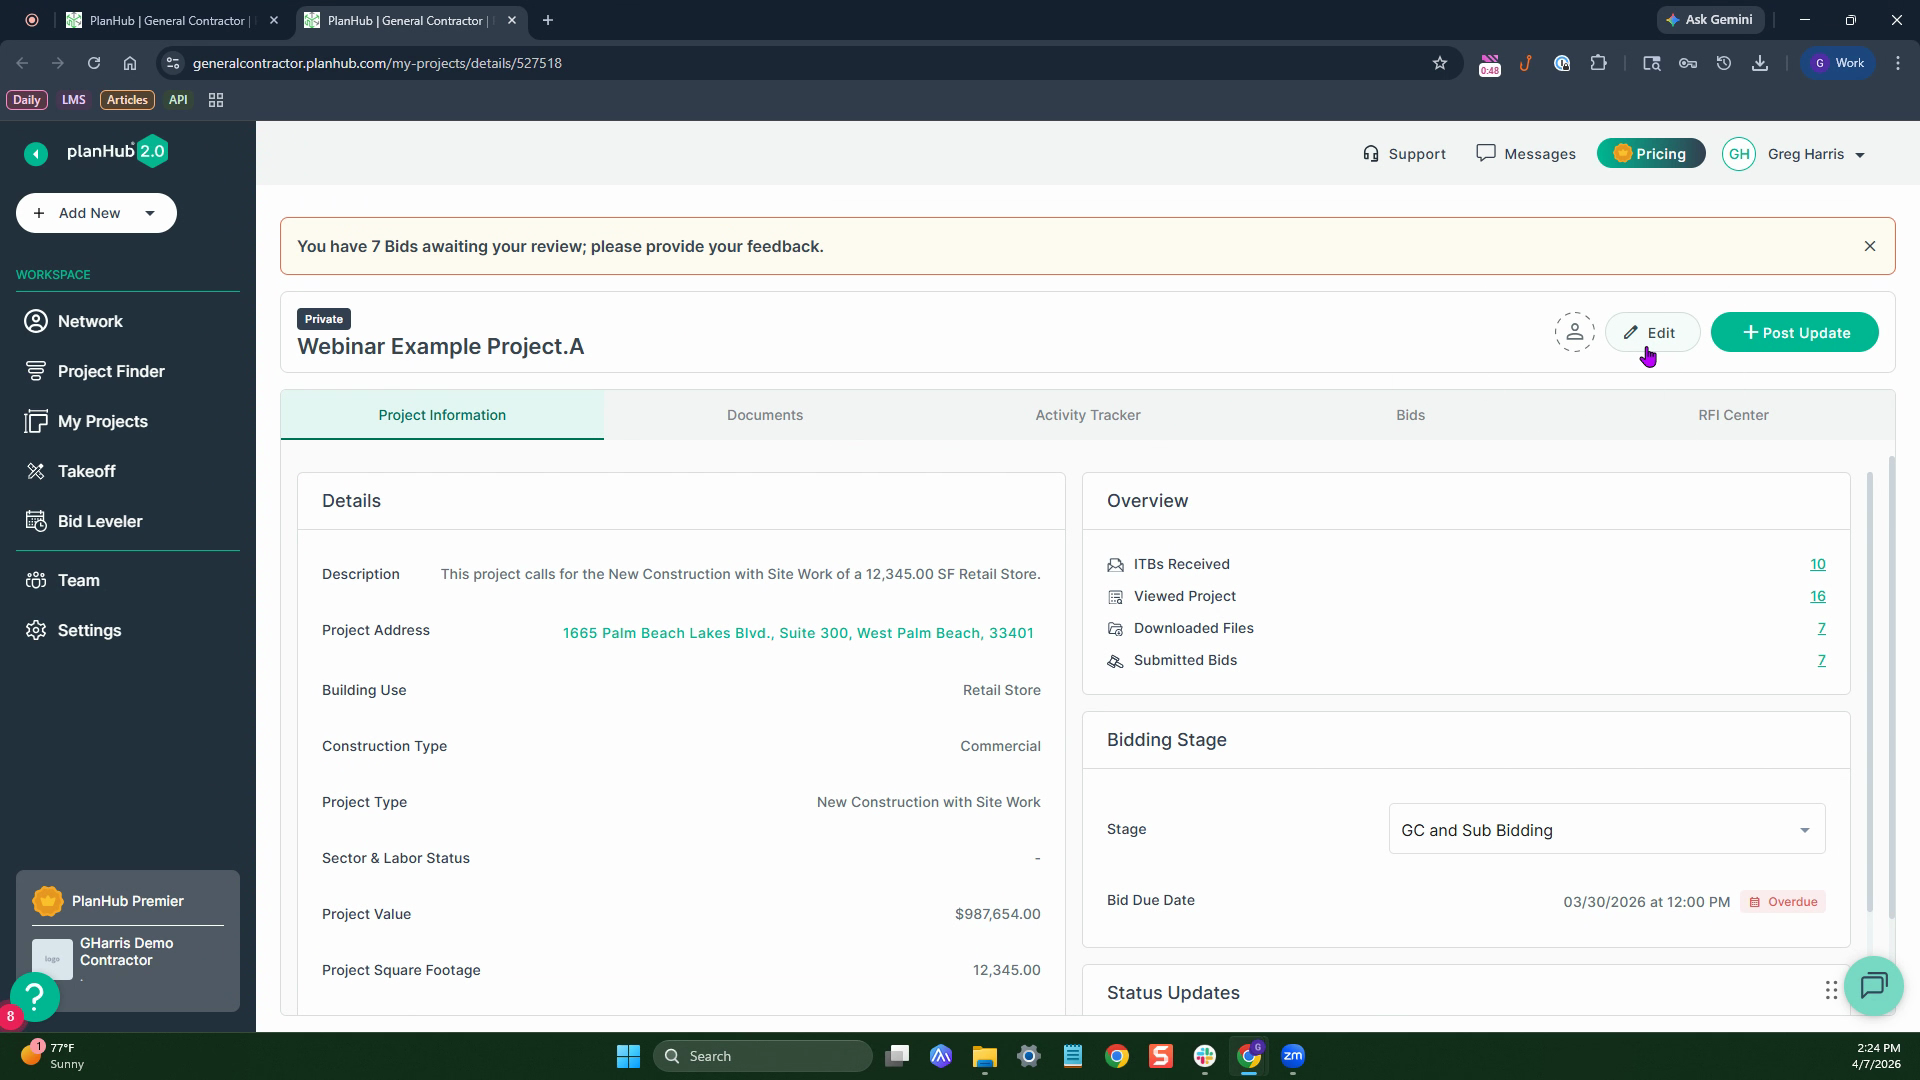
Step 3: To edit project details, click the edit option on the quick links.
Step 4: Want to send an update? Click Post Update, type your message in the provided box, and select who should be notified.
Step 5: Choose whether to notify all companies (except those not bidding) or only those who viewed your project, then click Send to distribute your update.

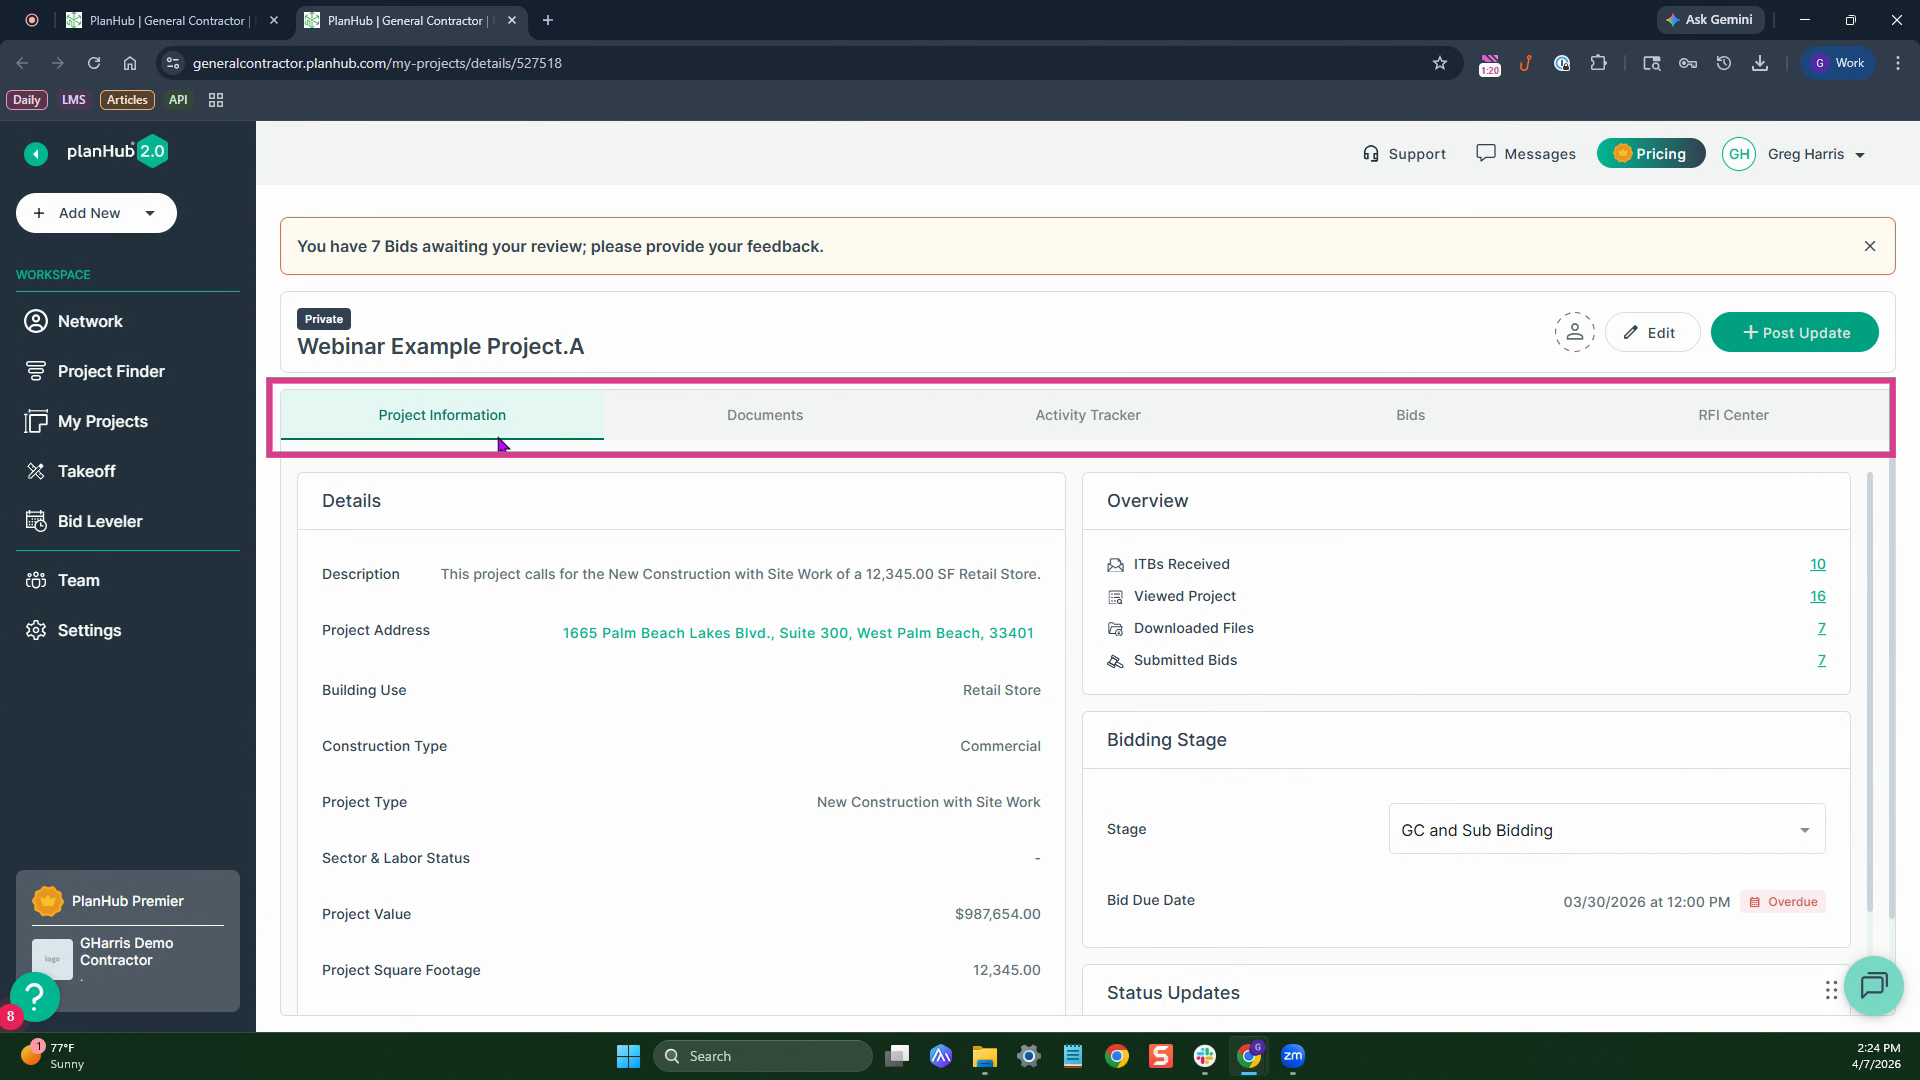
Step 6: The Project Information tab displays project details, stage, and status updates. Find summaries and statistics about your project's progress here.
Step 7: Review project overview metrics—like number of ITBs received, views, downloads, and bids. Clicking the numbers reveals more details.

Step 8: Scroll further to see your status update history. All core information is accessible on this single page.
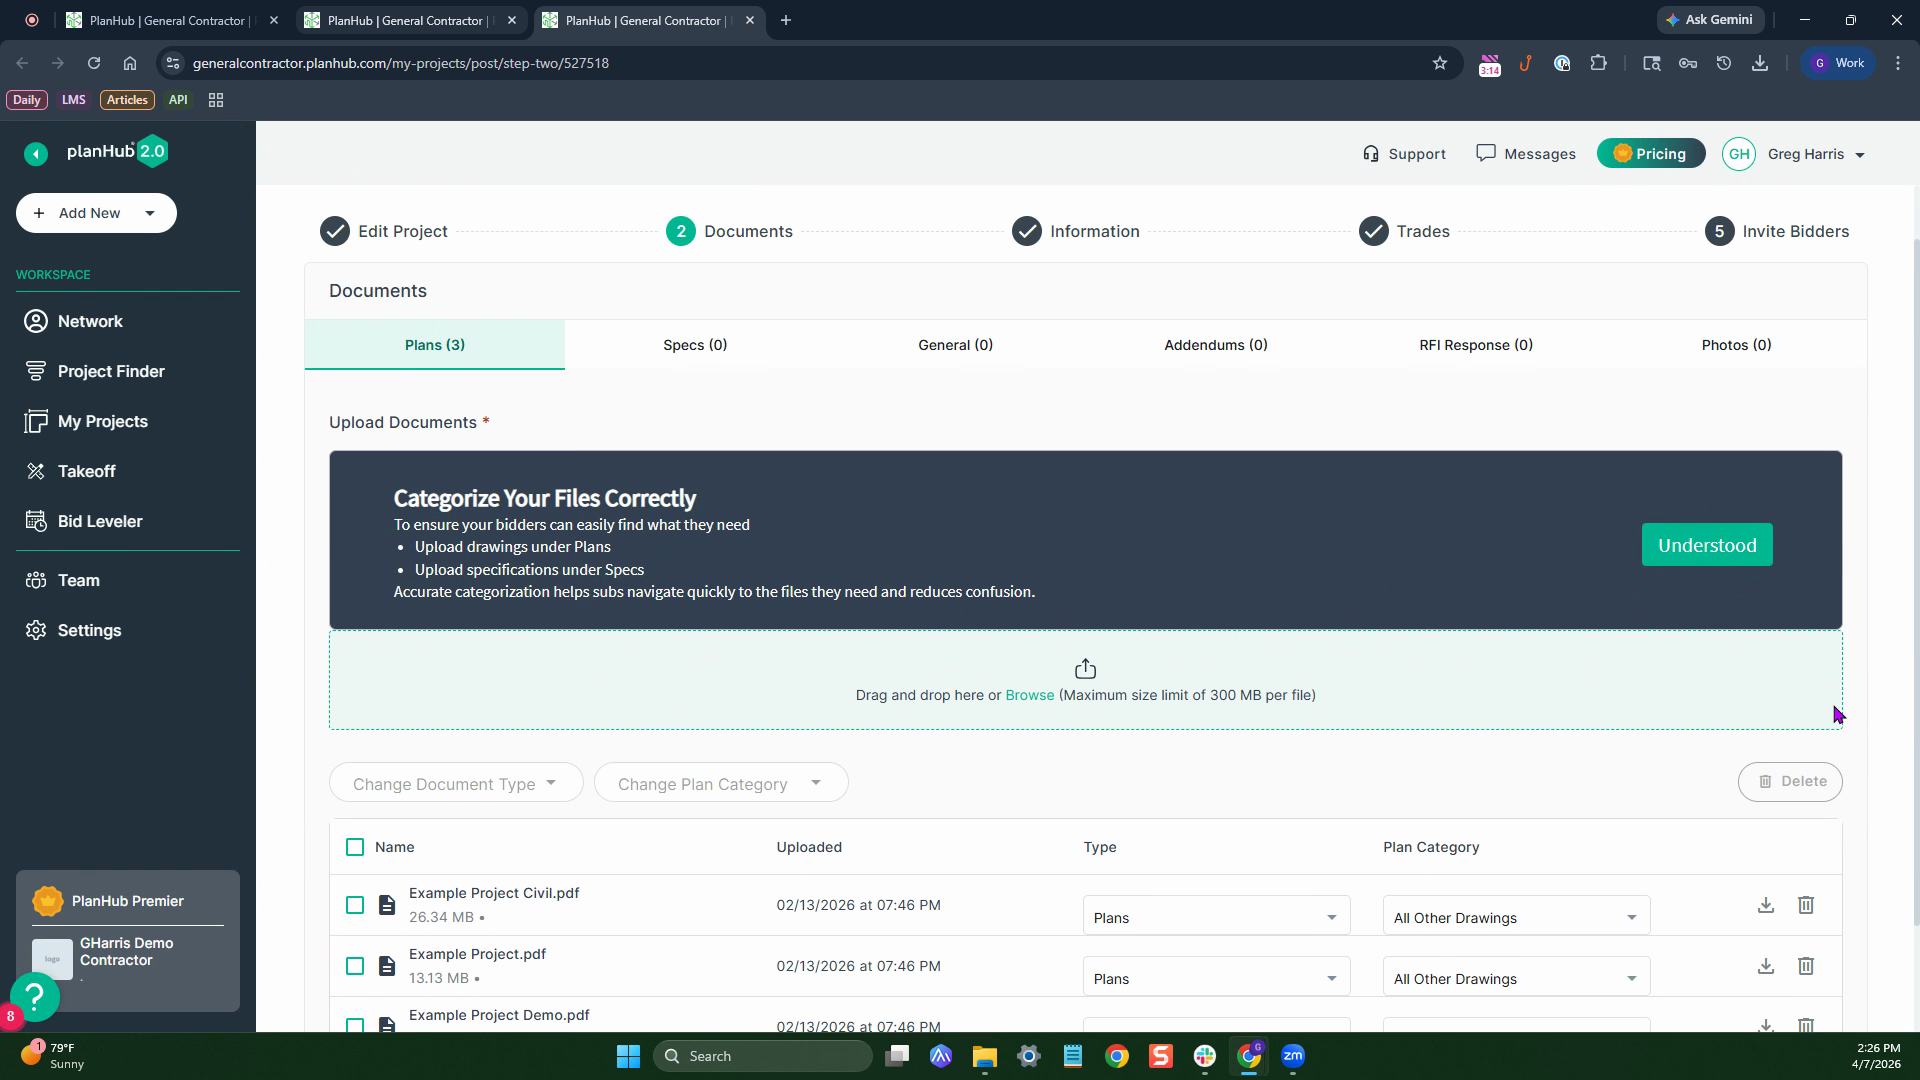
Step 1: Move to the Documents tab to add or update documents attached to your project. Use Manage Documents to edit, add, or remove files.

Step 2: Once in edit mode, the document section opens for instant changes.
Step 1: Open the Activity Tracker tab to monitor engagement as your bid date approaches. Click the tab to view detailed behavior insights.

Step 2: See how many bids you may receive and encourage additional bidders to participate. Depending on your plan, view company contact information or search by name or email. See bid status and more for each contact.
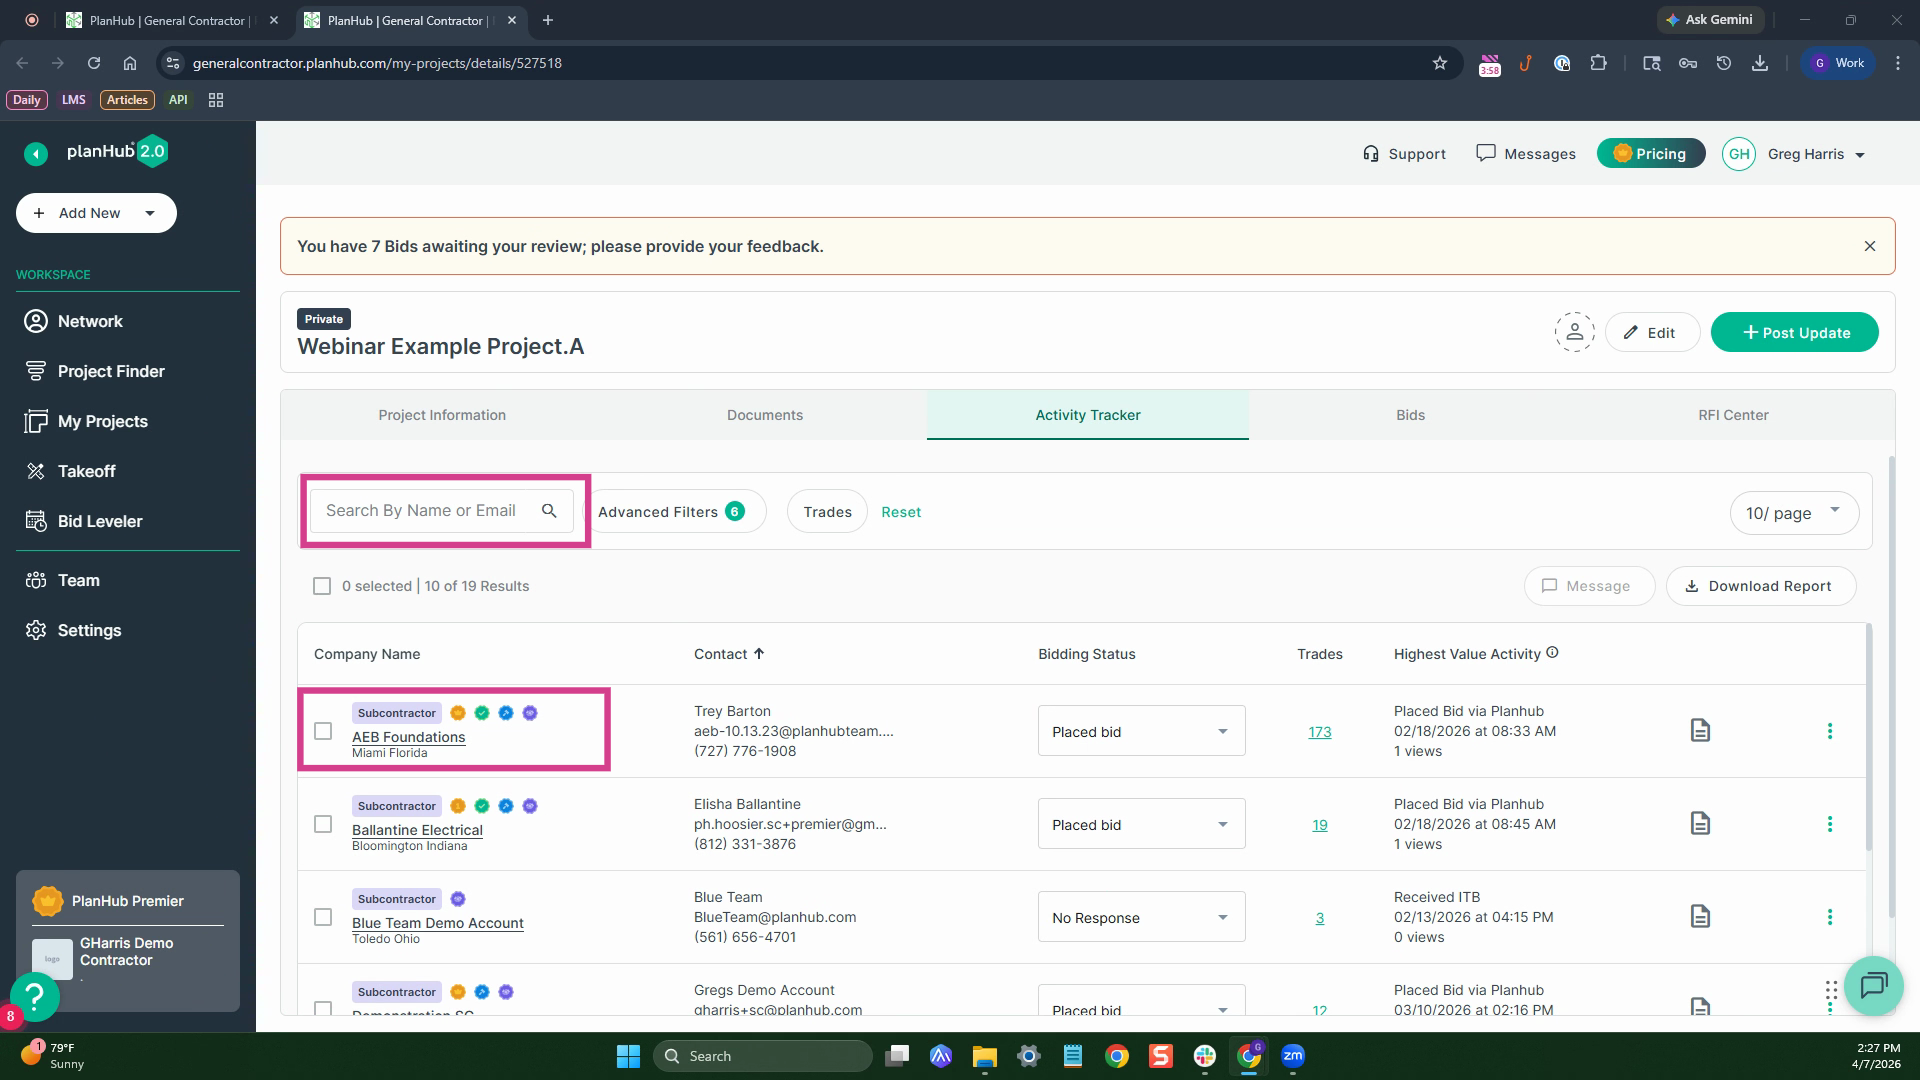
Step 3: Add notes directly for any contact.

Step 4: Send a note to any contact by clicking the page icon.
Step 5: Use the three dots to send messages, or sort contacts by any column by clicking the arrow beside the column header.

Step 6: To send bulk messages, select multiple contacts and click the messages button.
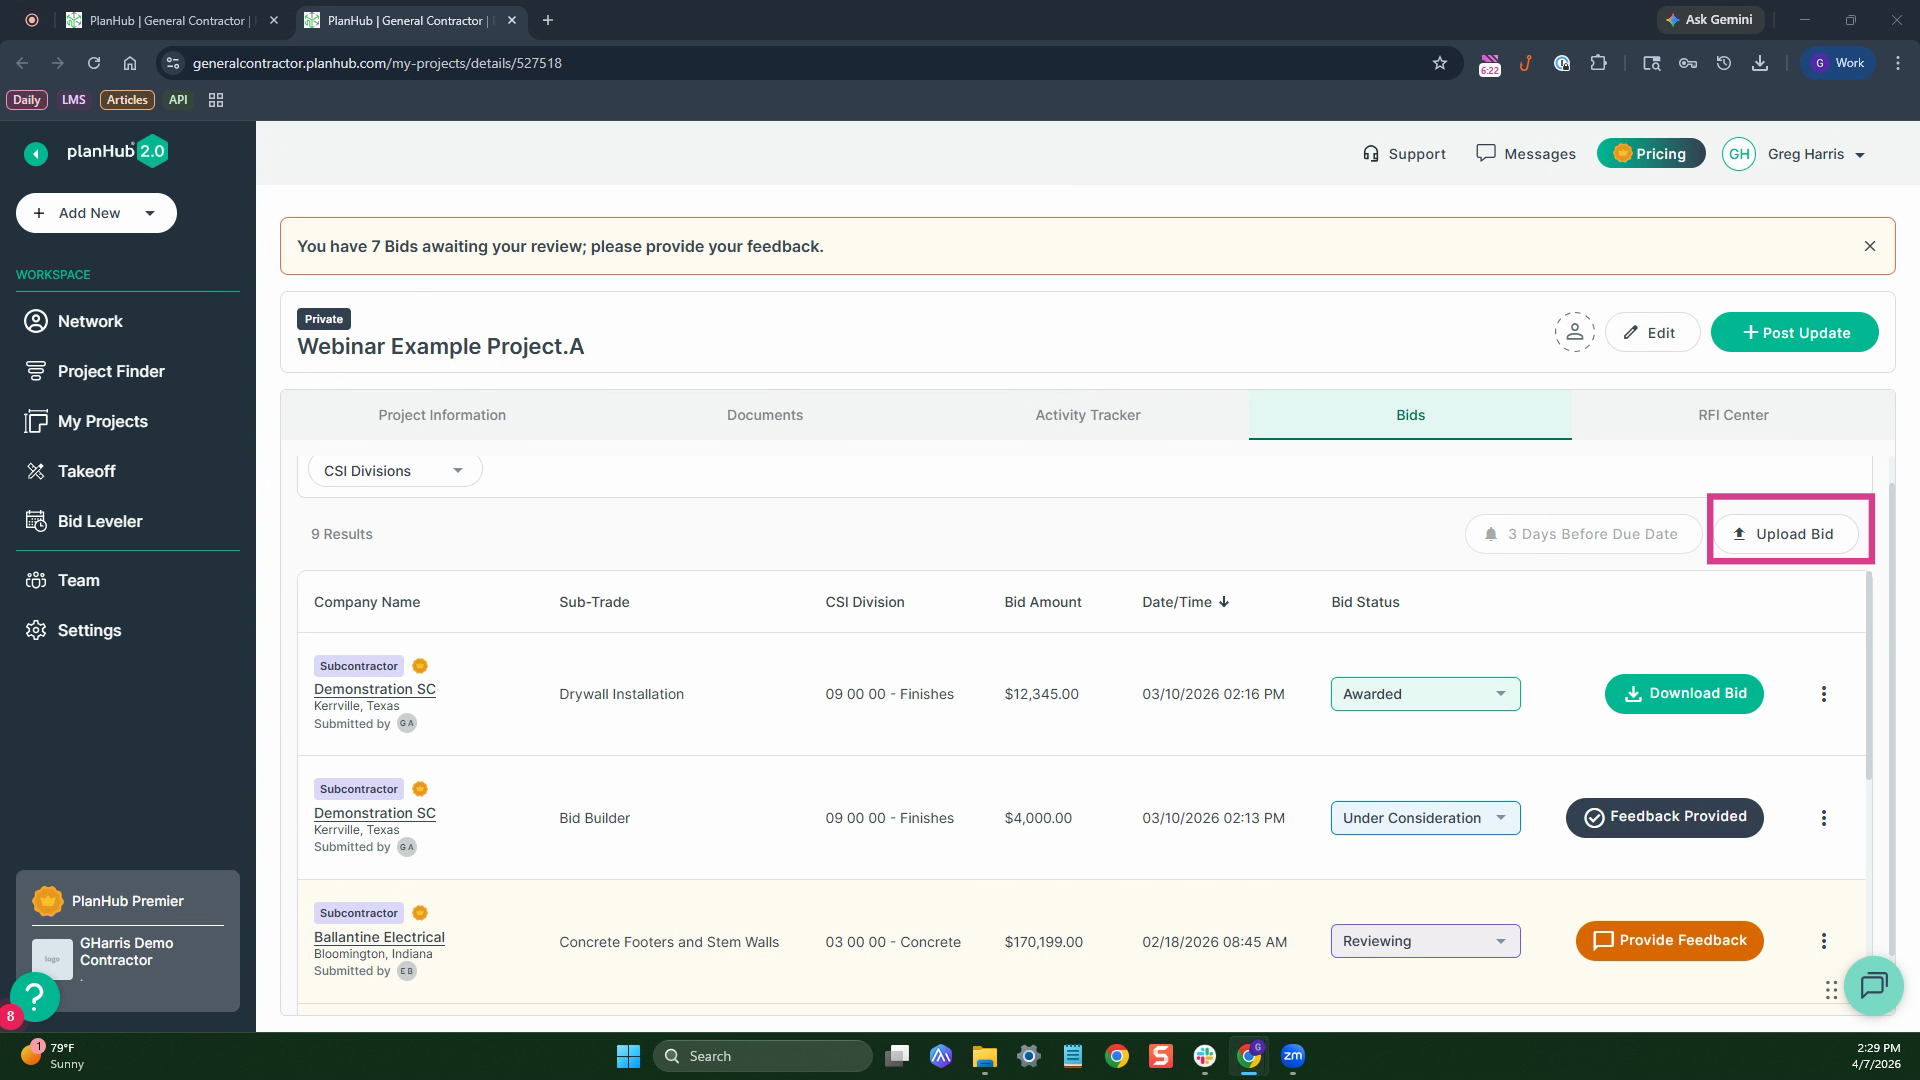
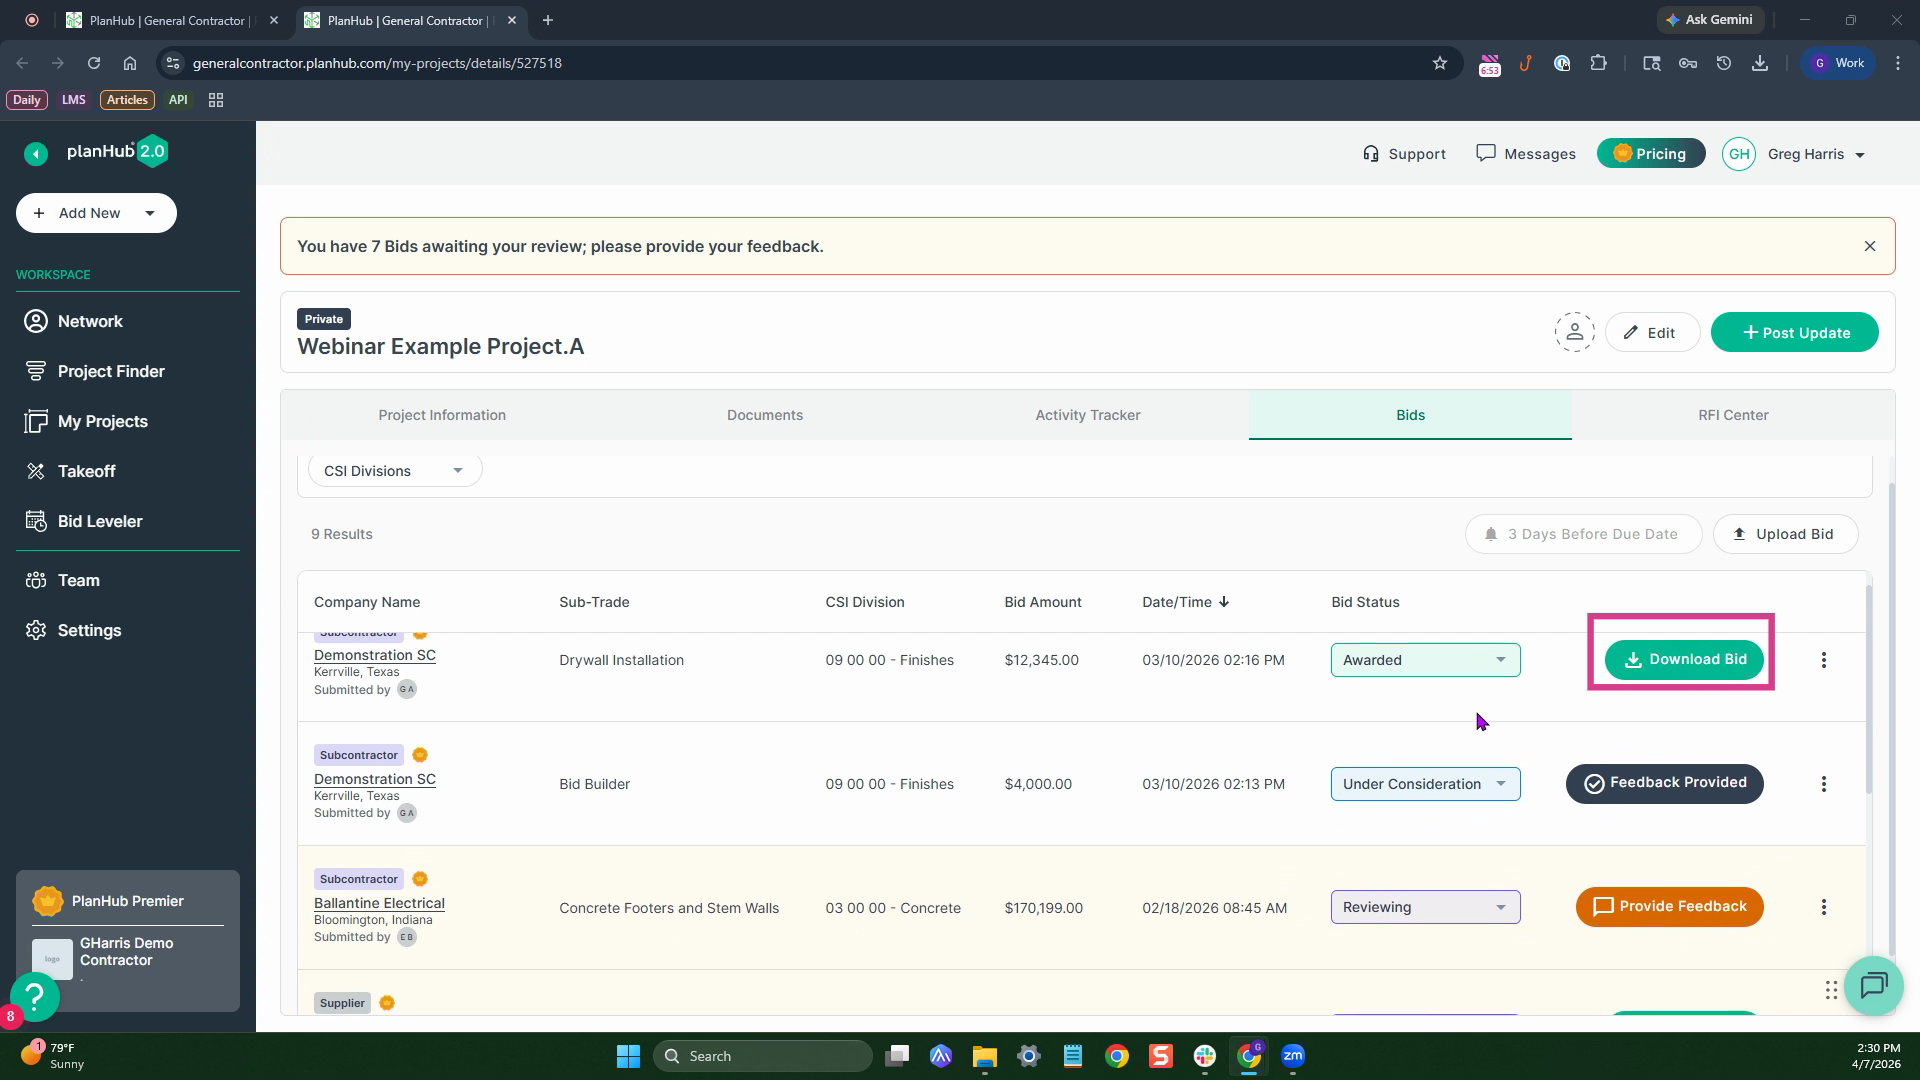
Step 1: All received bids display automatically in the Bids tab. If you’ve collected quotes outside PlanHub, add and organize them here.
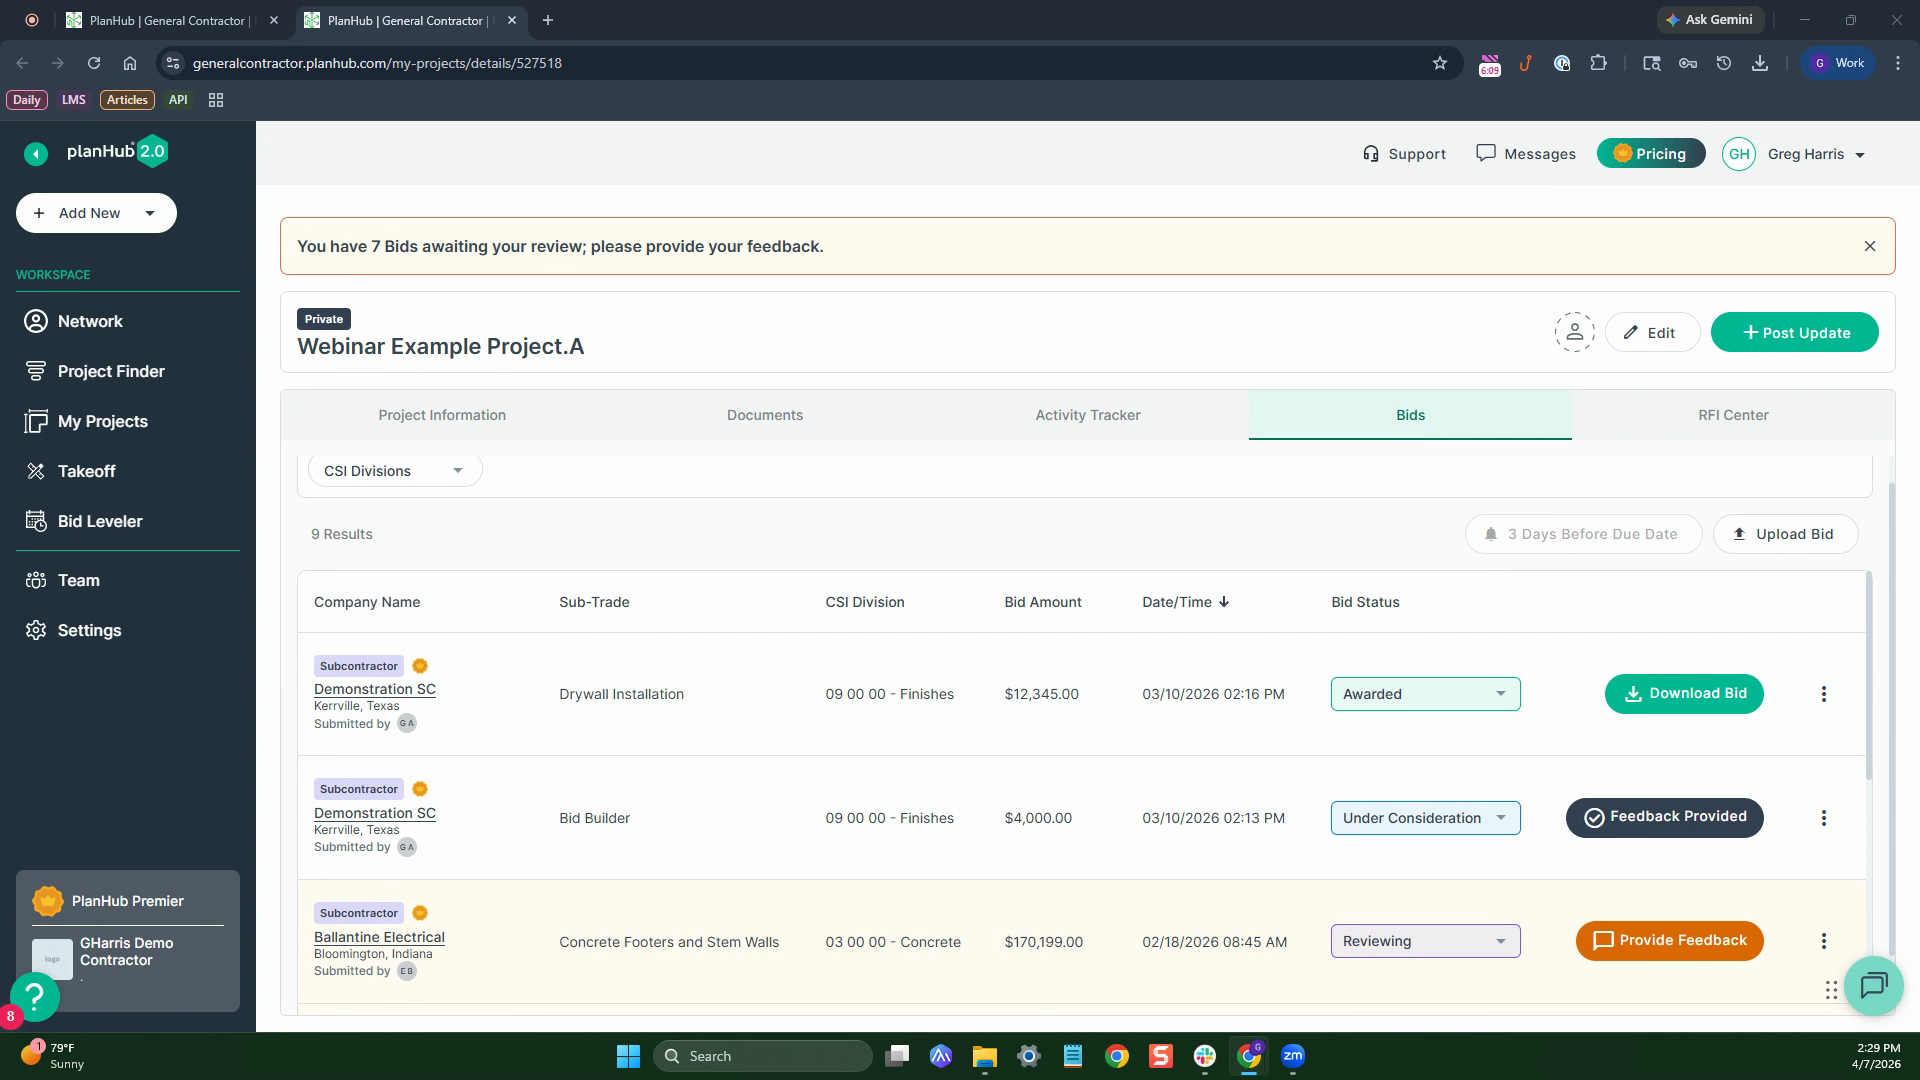
Step 2: The bid list shows company name, sub trade, CSI division, bid amount, date, time, and status—plus easy feedback tools
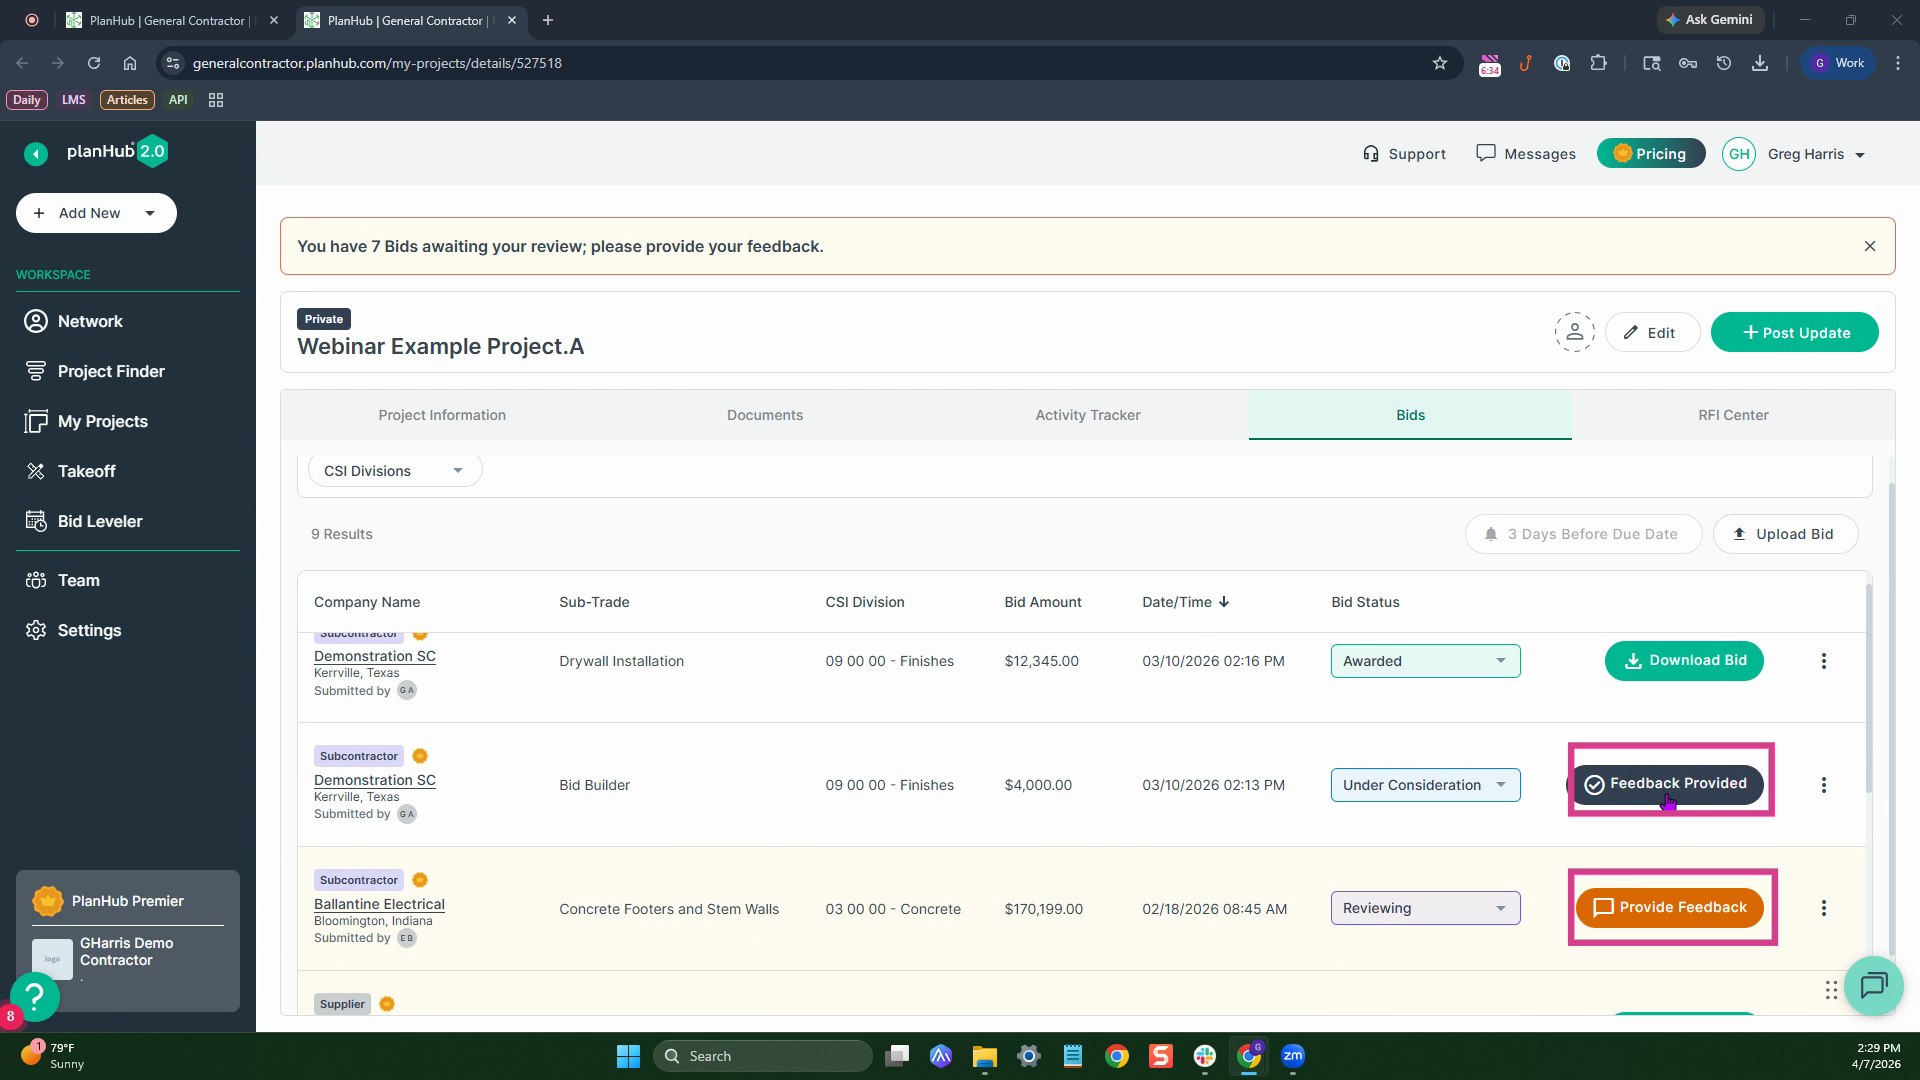
Step 3: Give feedback directly to contractors. Subcontractors who get feedback are more likely to bid on your future projects.
Step 4: Download the bid using the download bid button.
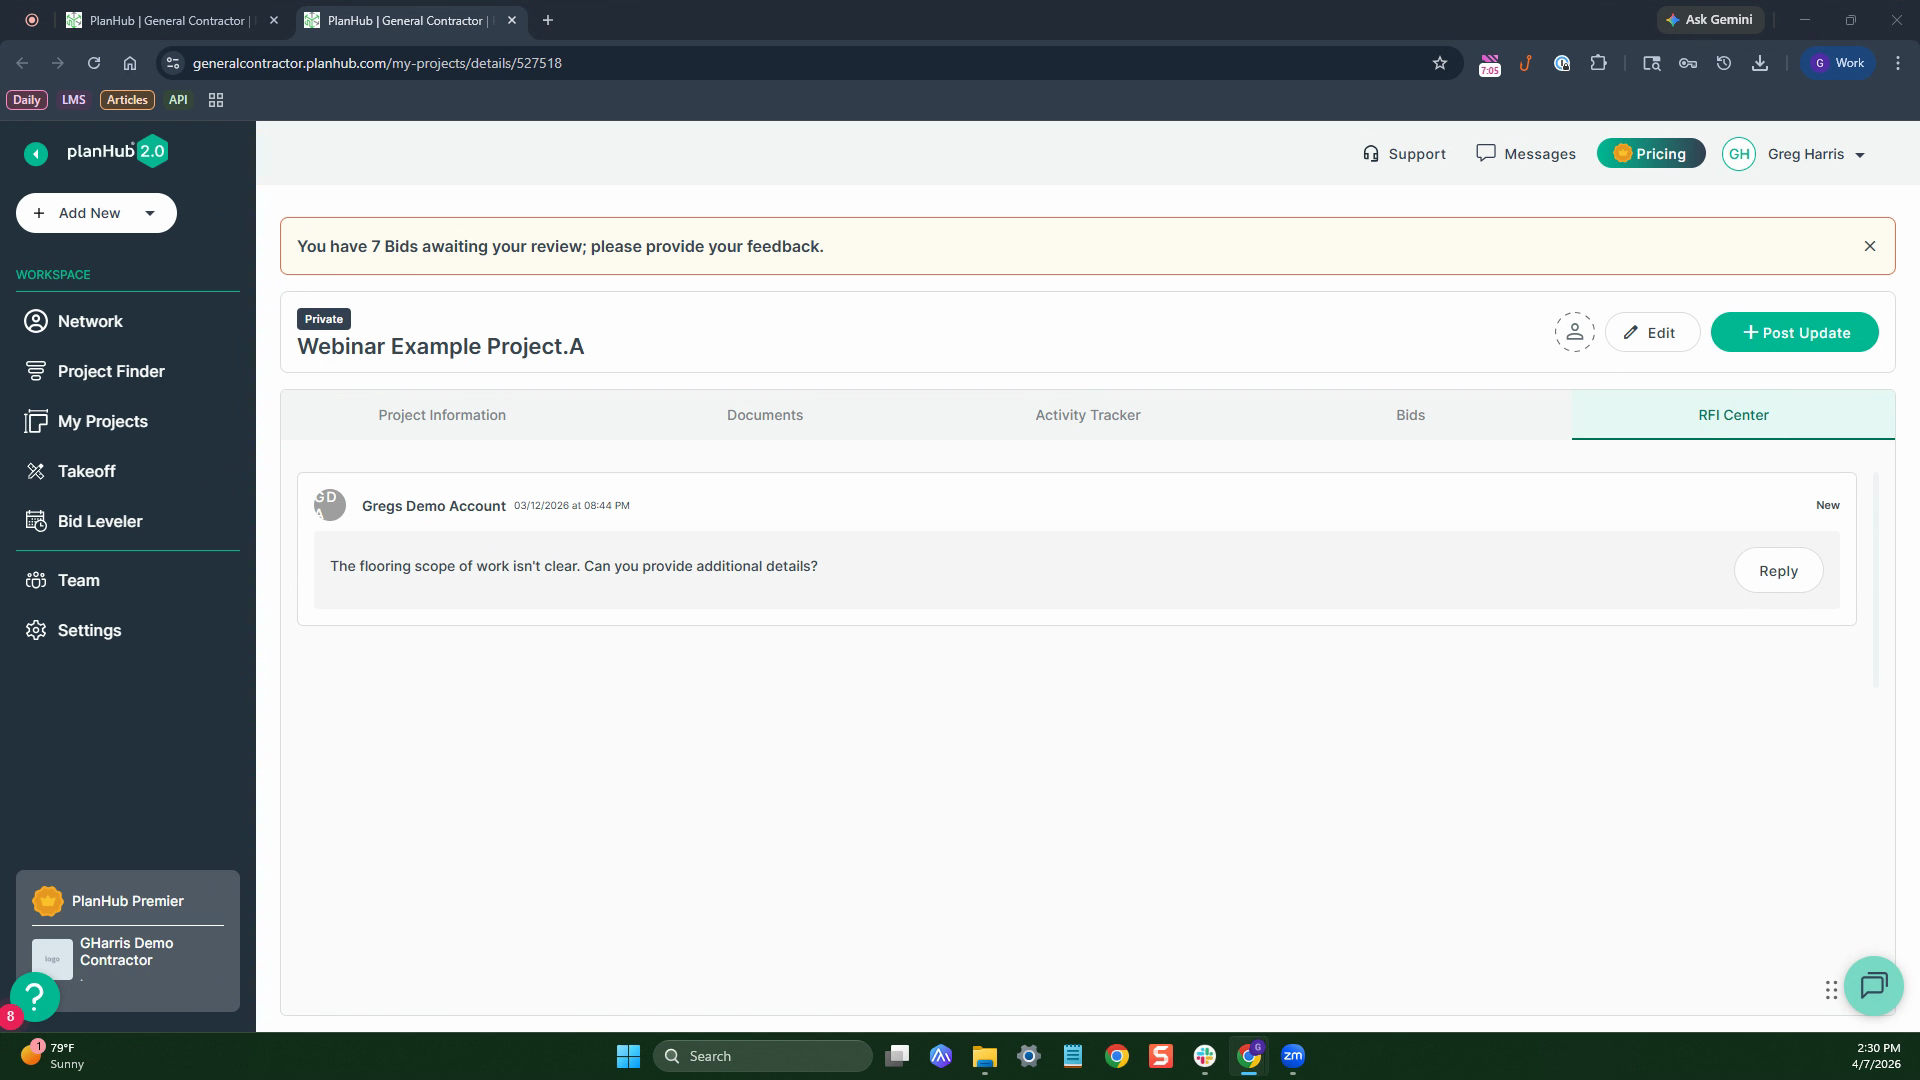
Step 1: The RFI Center lets you see any questions from subcontractors and suppliers. Review, download attachments, and reply from here.
Step 2: Enter your answer, attach files, and pick whether your reply is public or private. Private replies show only to the requesting user; public replies are visible to all project-accessible contacts.
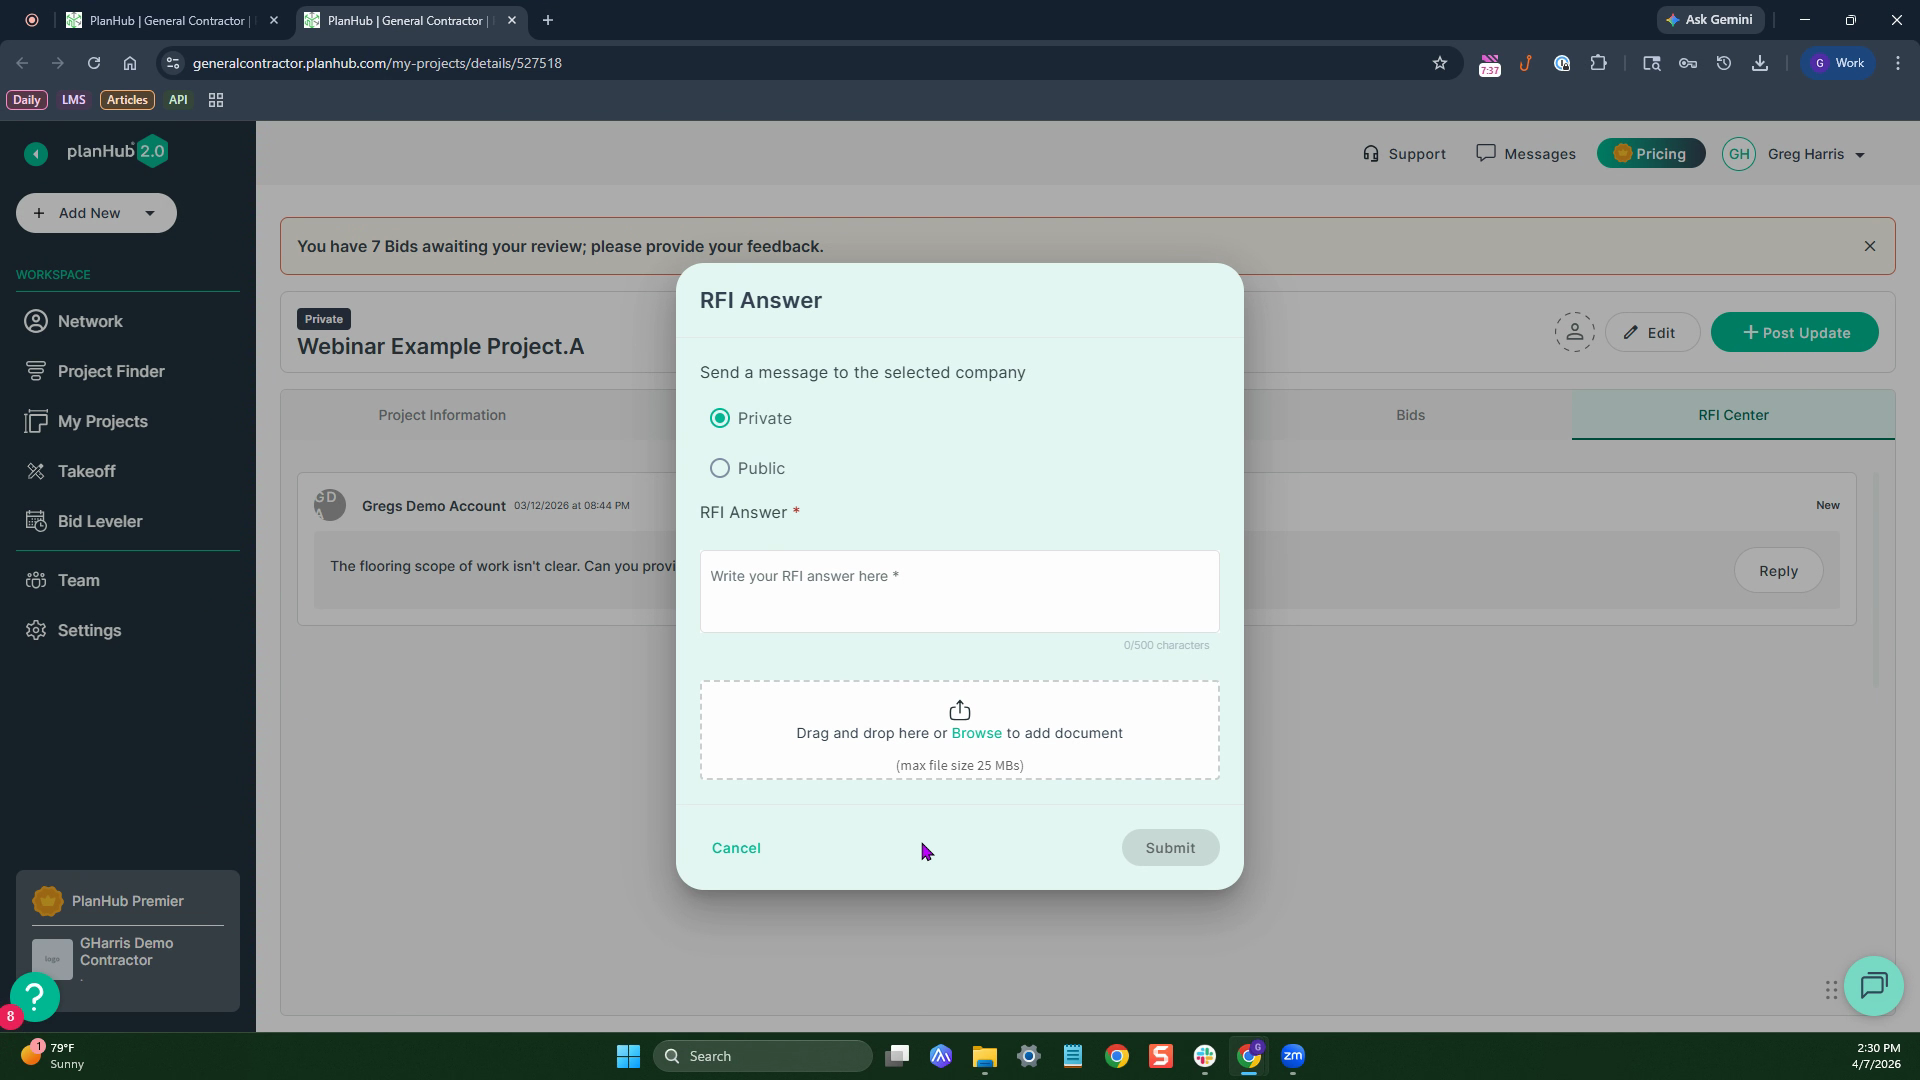
Step 3: When you submit, the answer appears in the subcontractor’s message center, and the RFI log records the exchange.

Managing projects in PlanHub gives you complete oversight from initial posting through bidding and final updates. Stay organized and responsive using these tools, and you’ll ensure smooth collaboration and successful project delivery.
Troubleshooting
Contact us if you need assistance or to report an issue:
- PlanHub Contact Page: https://planhub.com/contact/
- Customer Facing Support Ticket Link: https://knowledgebase.planhub.com/knowledge/kb-tickets/new
- Customer Success Team: CustomerSuccess@planhub.com