Step 1: Go to your Company Profile section to access PlanHub Drive.
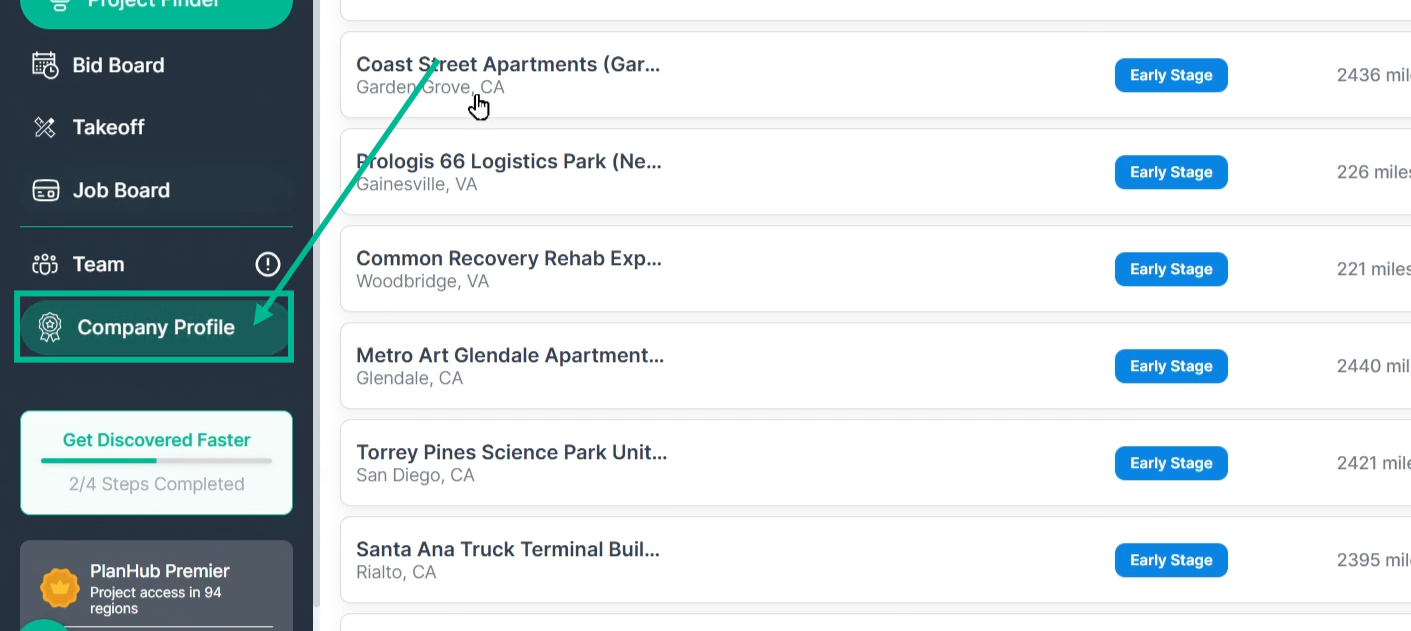
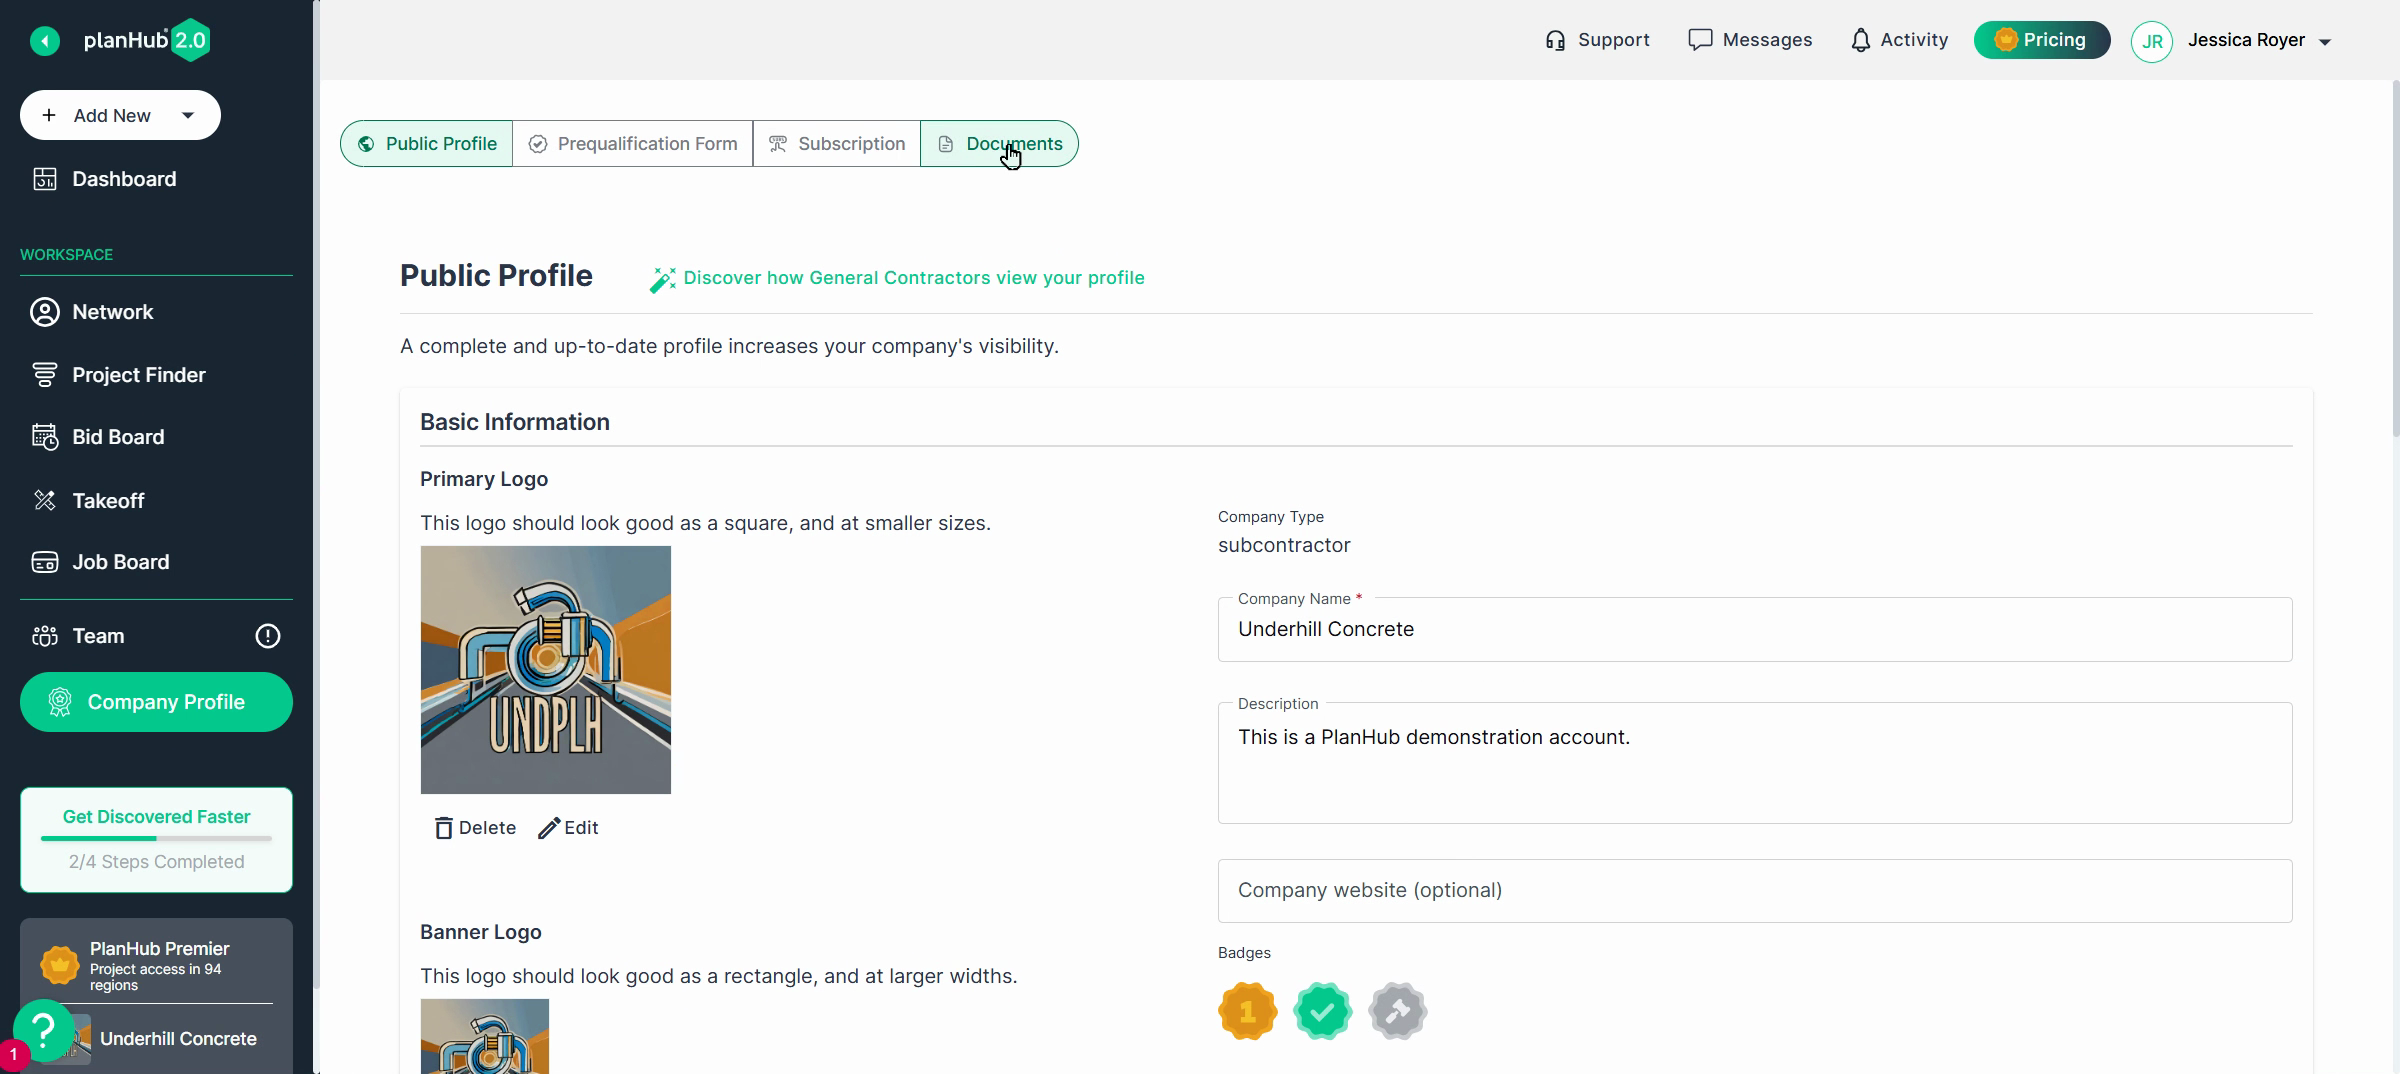
Step 2: Click Documents to open your company's private PlanHub Drive.
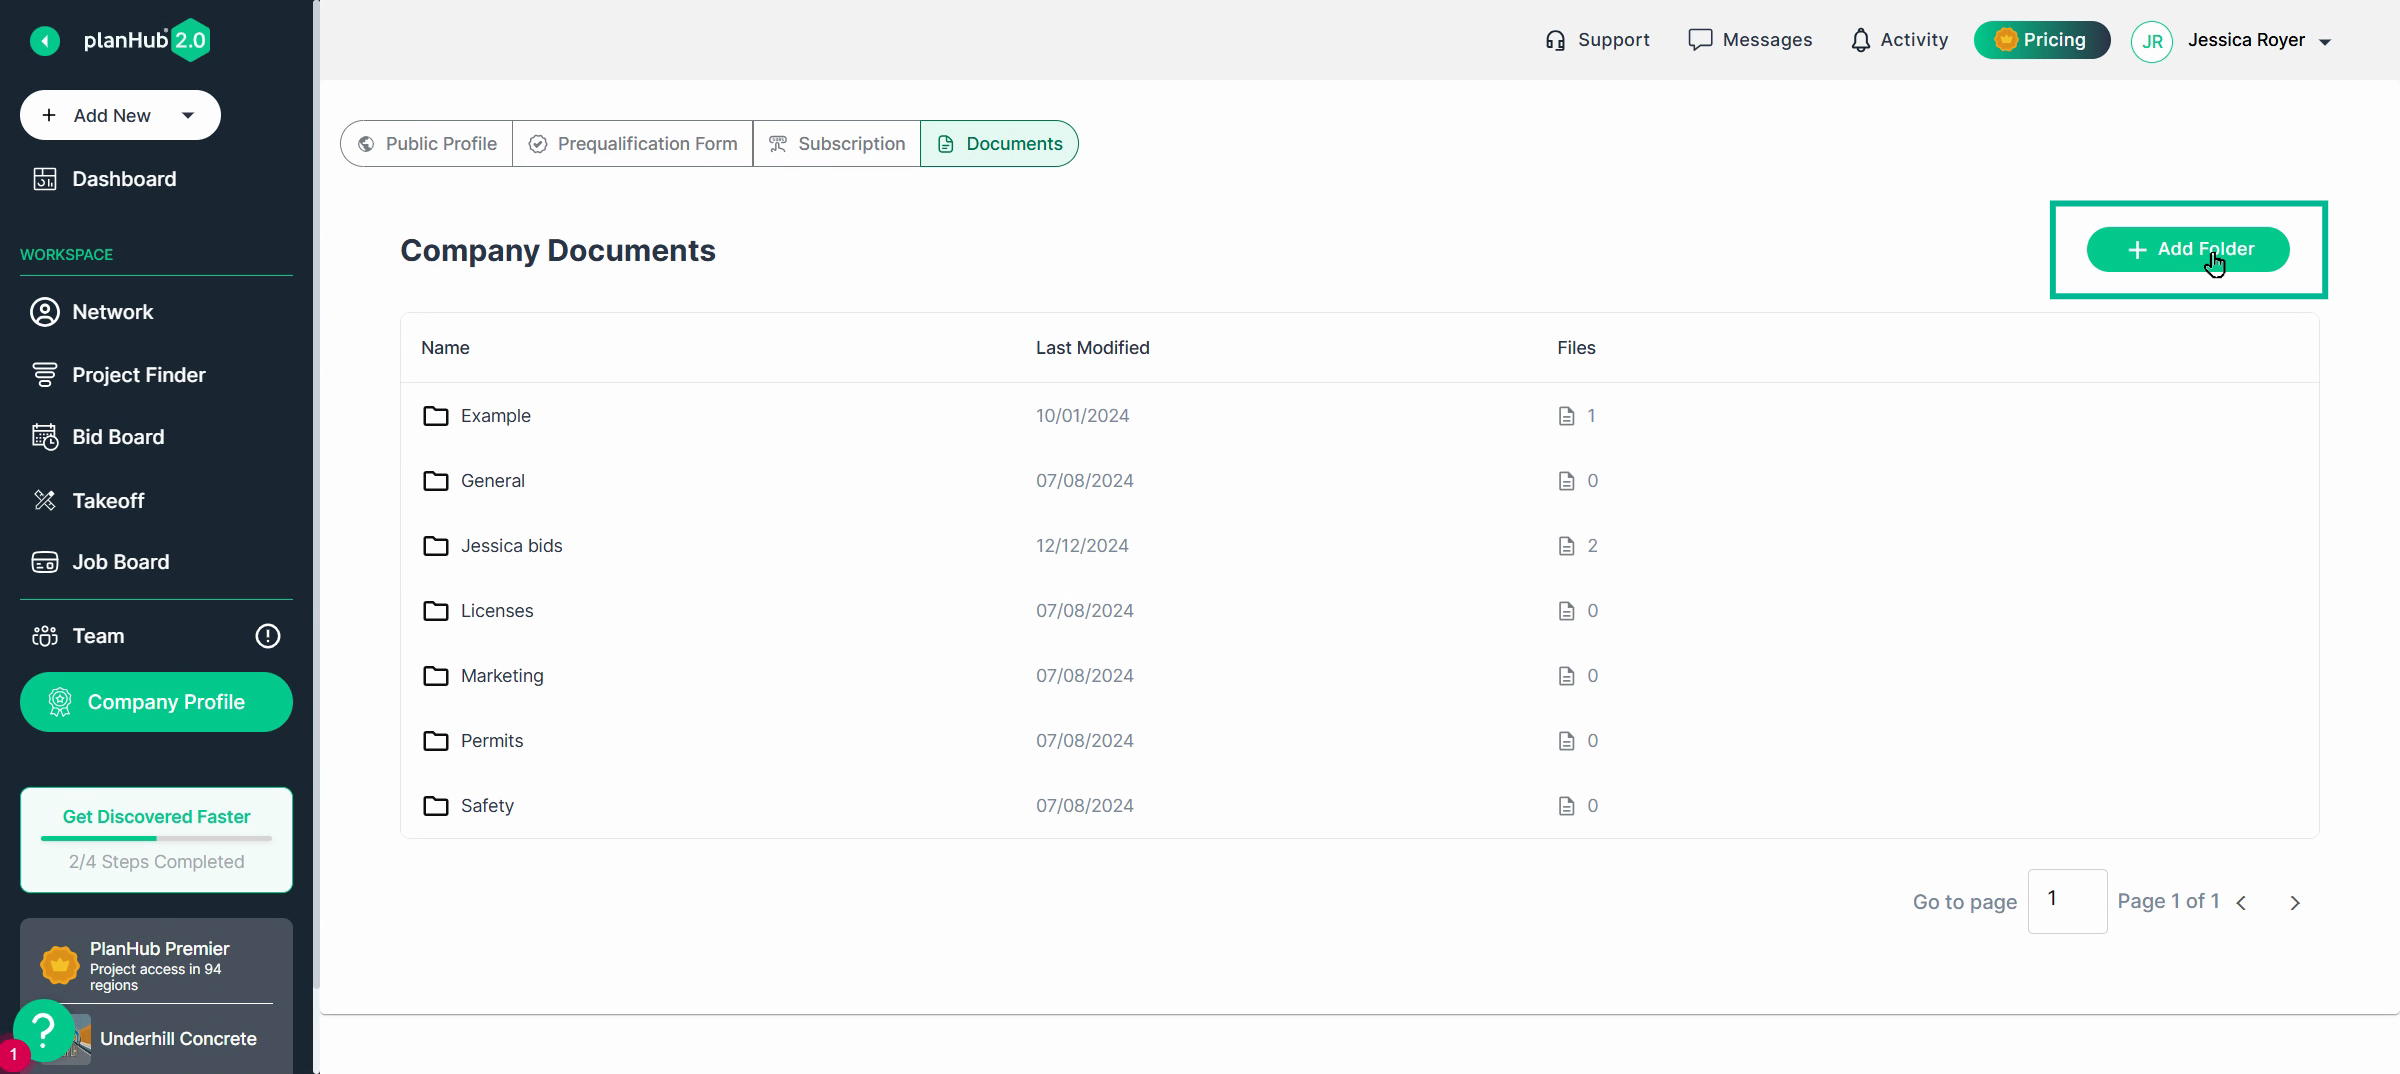
Step 3: Review the default folders set up for you. To add a new folder, click Add Folder and name it to fit your files.
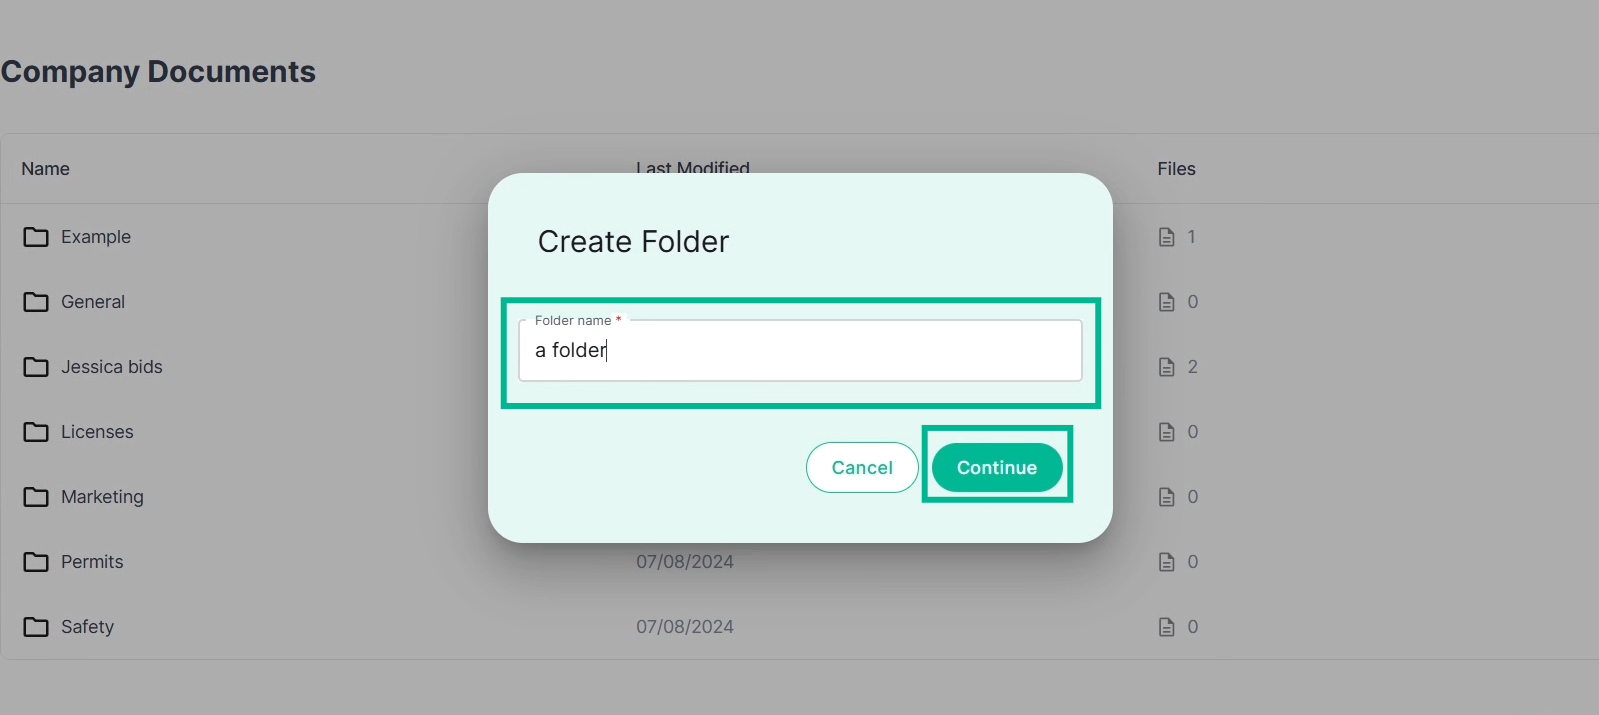
Name the folder and click Continue
Step 4: To upload files, open the folder where you want to store them. Click Upload Files and select documents from your computer.
Step 5: To rename a file, use the Edit icon next to the file name.
Step 6: To delete a file, click the Trash Can icon.
Step 7: To move a file to a different folder, select the Move File icon and choose its new home.
Step 8: Download any file you’ve stored by clicking Download.

Use your PlanHub Drive files when placing bids for projects—no need to upload the same documents each time. Click the prompt during bid submission to attach files directly from your company drive.
Pro tip: Add standardized documents like terms or templates to your PlanHub Drive. That way, every bid submission is a breeze.
Now you know how to keep your company documents organized, secure, and easy to access in PlanHub.