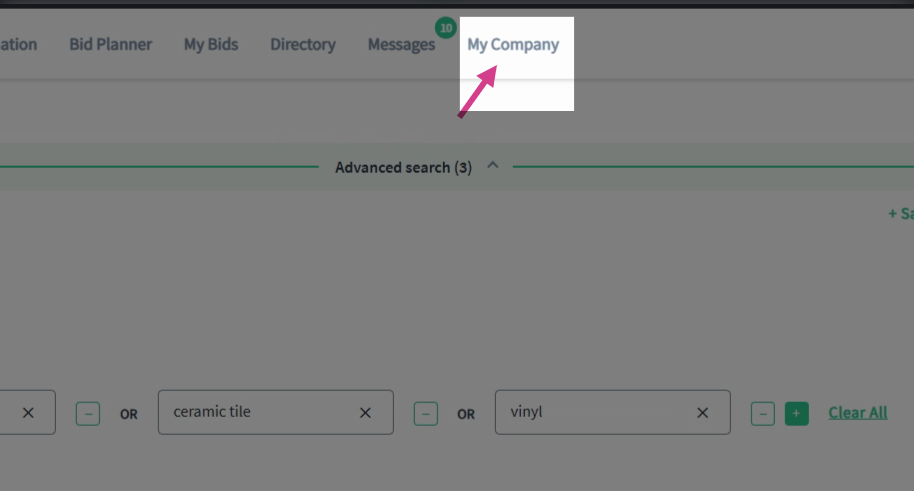
Step 1: Navigate to the My Company page from the main panel at the top of your screen.
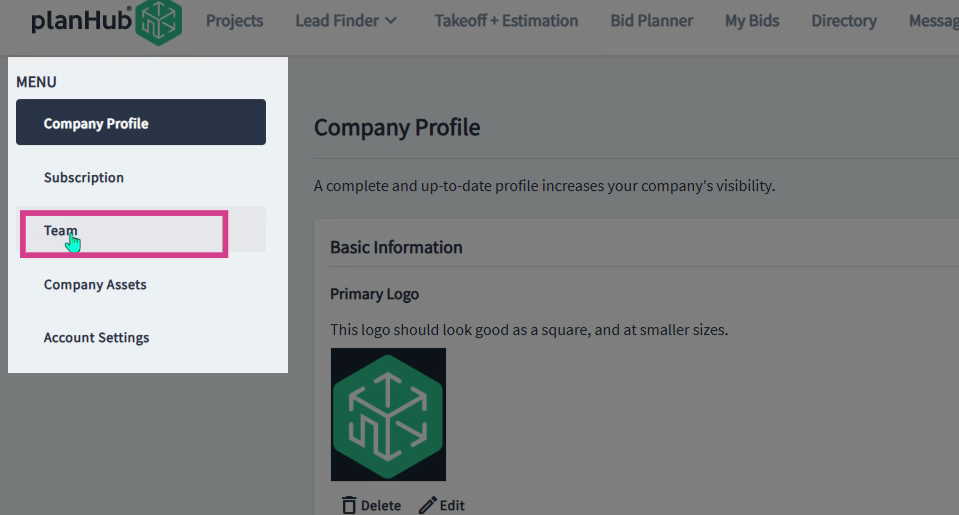
Step 2: On the left-side of the page, in the menu, select Team to open your list of registered team members and view their roles.
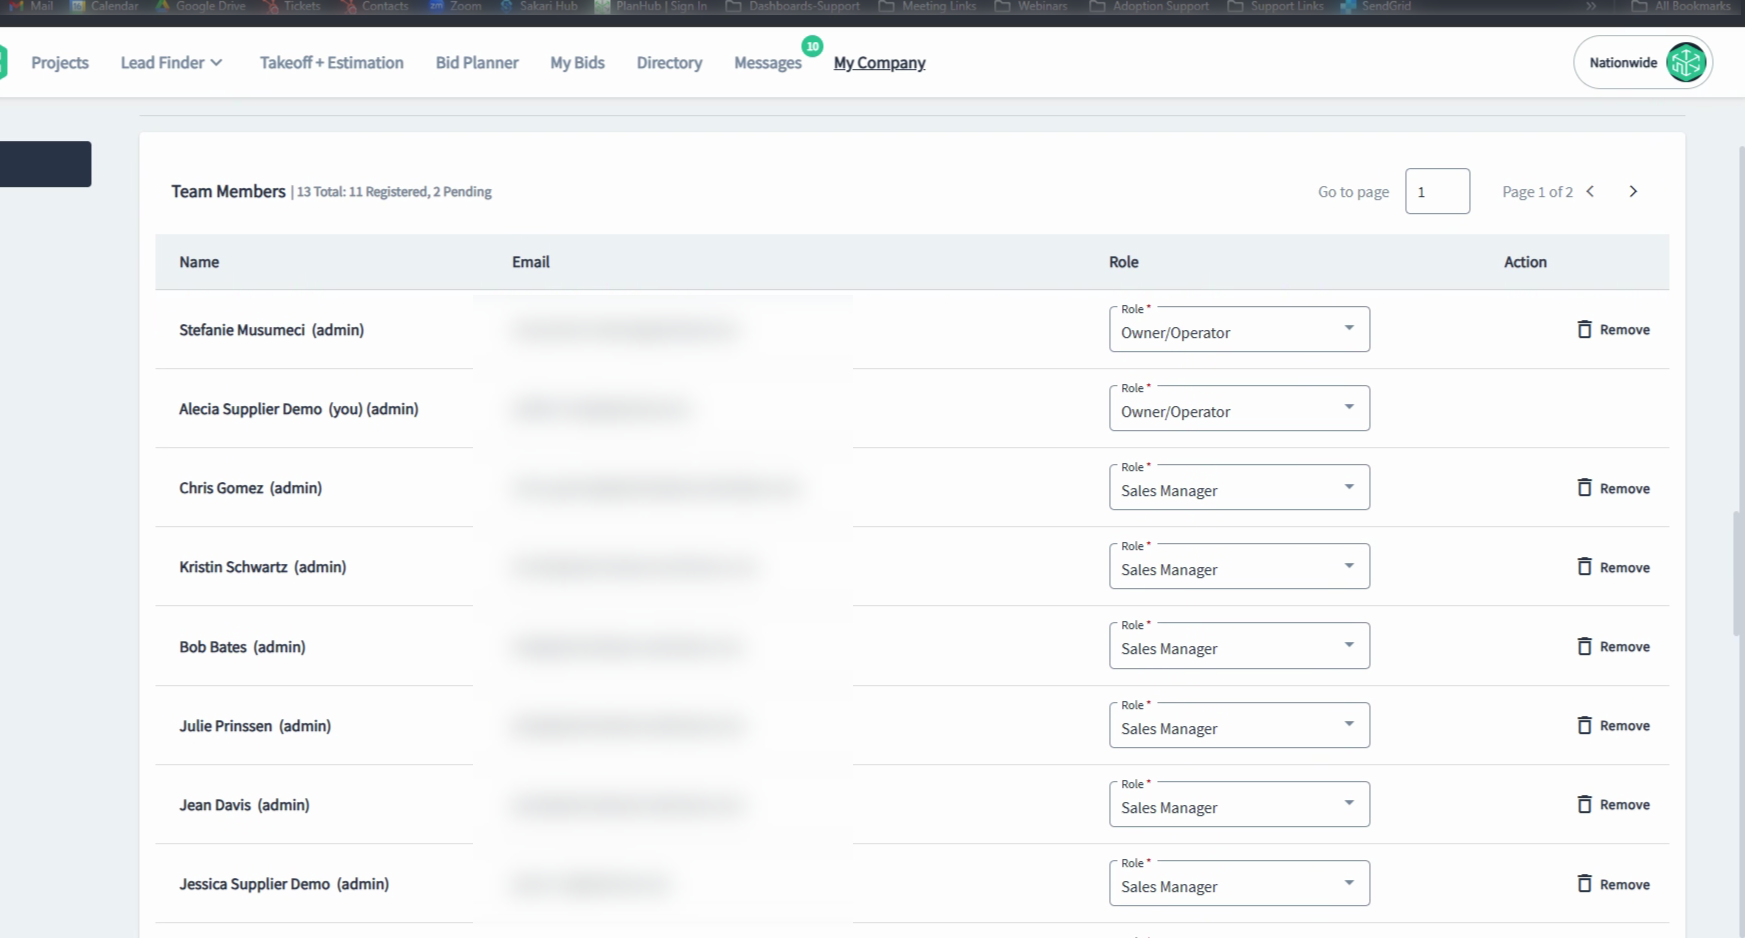
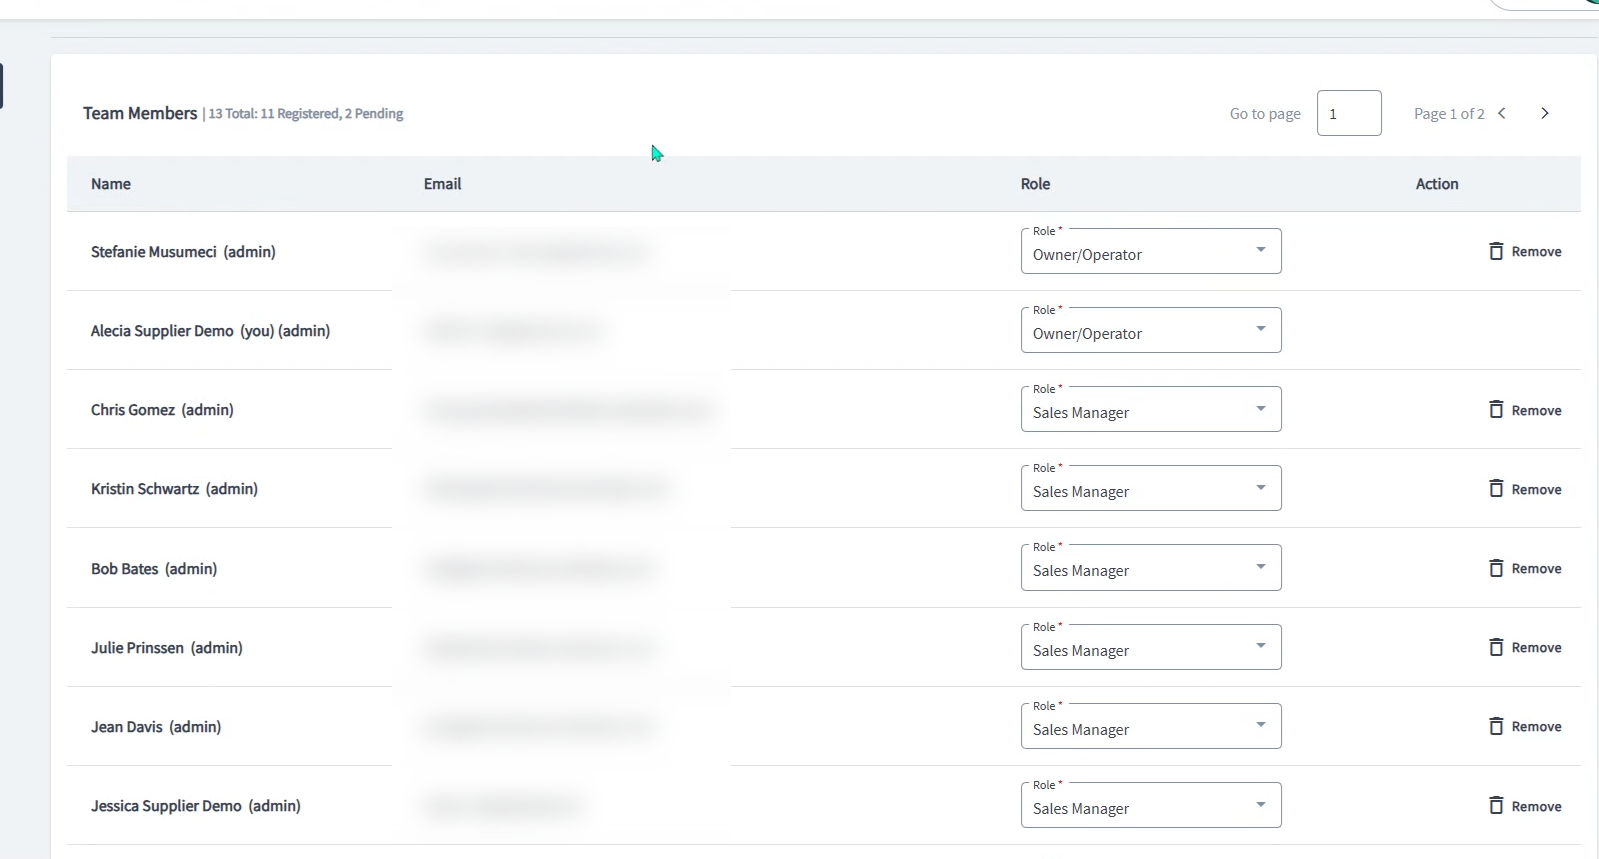
Step 3: Scroll through the list to view all registered and invited users, along with their roles and invitation statuses.
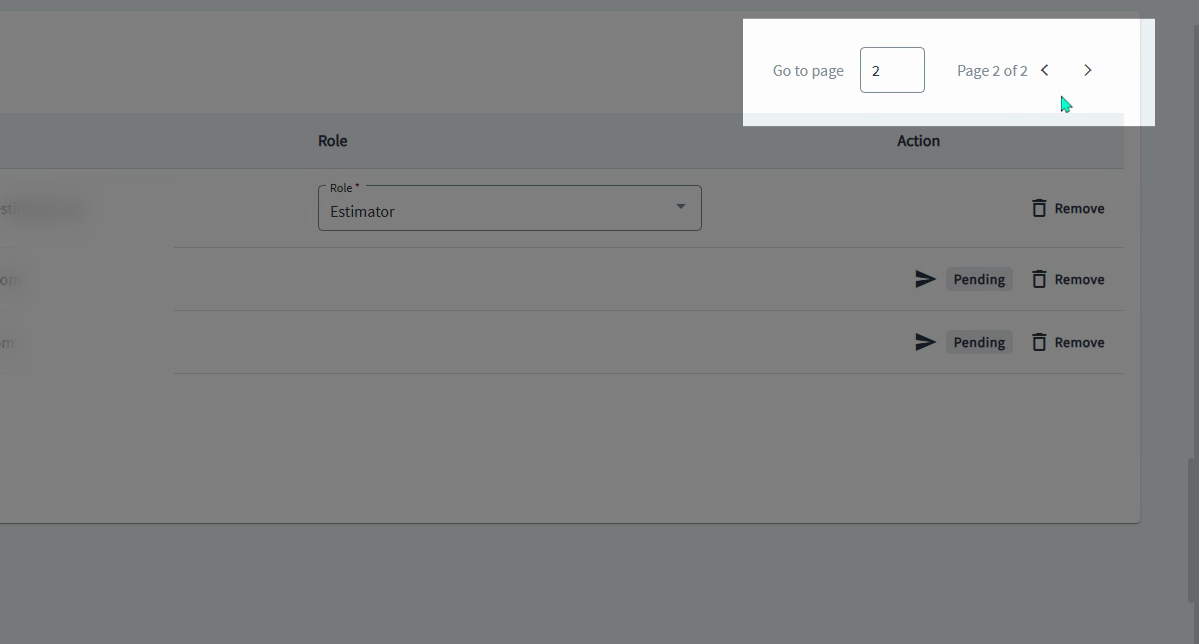
Step 4: Use the page controls at the top right corner of the team list to switch between pages.
Step 5: As an admin, click the role drop down menu to change their Role or navigate to the Action column to remove them from the account.

Note: If the Admin accidentally removed a user, the admin can contact PlanHub customer support to re-add them to an available seat on your planHub account.
Step 6: View pending invitations in the team list. Click on a pending invite to remove it or resend the invitation.

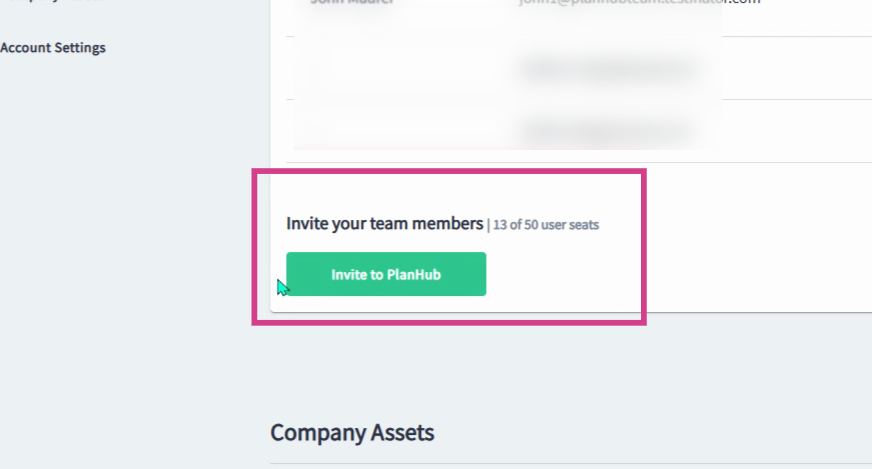
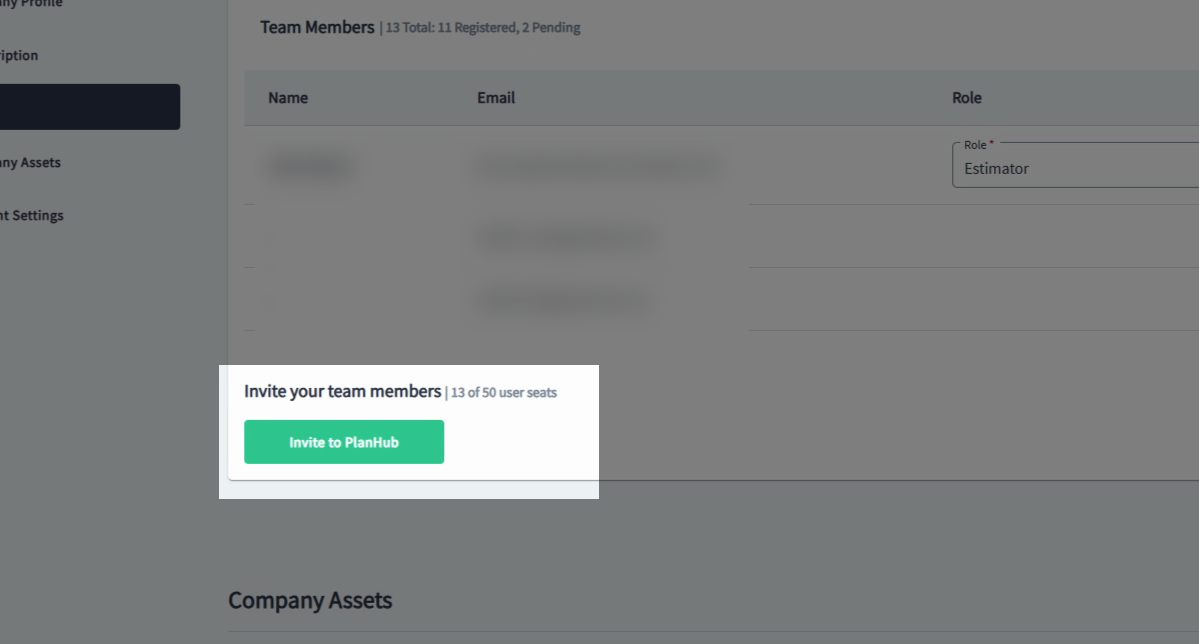
Step 7: To add a new team member, click Invite to PlanHub at the bottom left corner of the user list.
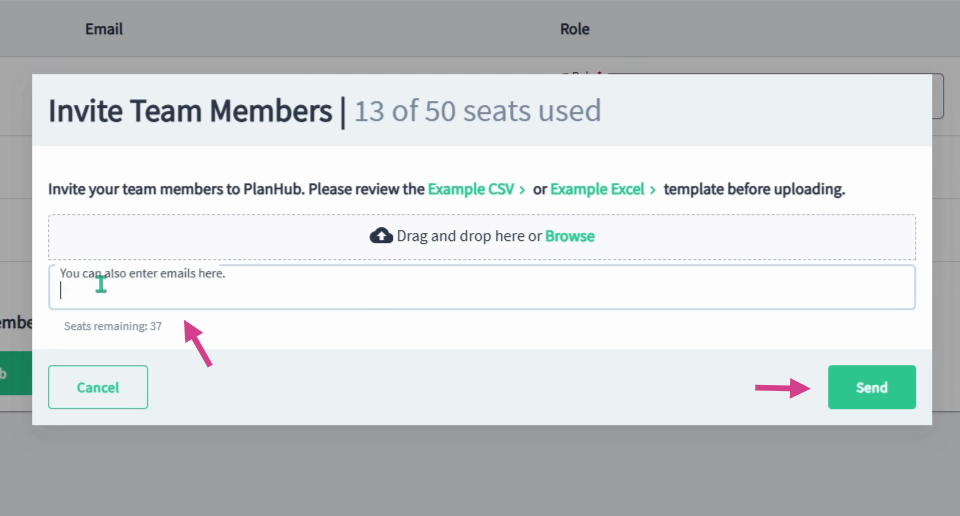
Step 8: In the pop-up window, enter the email address of the unregistered team member to invite and click Send.
Step 9: New, previously unregistered, users will receive an email invitation. Once they complete registration, they will appear in your Team list.
Tips and Troubleshooting
-
If a team member is already logged into planHub using a current user's account, they will need to log out before accepting the invite. Otherwise, it may log into the current user's account.
-
If the invitee is already registered to another planHub account, contact customer support to request a user merge. Admin approval is required.
-
If a team member has not received their invite, advise them to check spam/junk folders and ensure emails from ‘planhub.com’ are whitelisted as a safe domain.
-
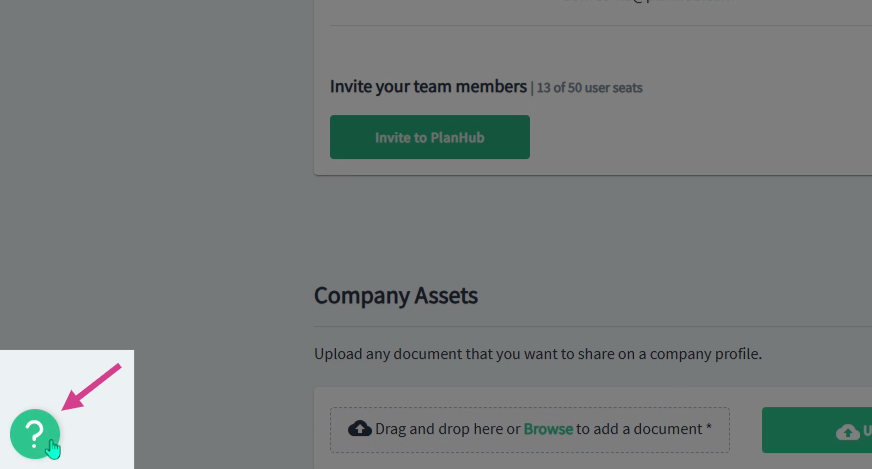
Still having issues? Click the question mark in the bottom left corner to access the Resource Center and start a live chat for help.
Upgrading Your Seat Limit
If you have used all your available seats, you will see an orange option button to Add More Seats instead of the green Invite to PlanHub button. Click the "Add More Seats" button to view the upgrade options or for questions about seat pricing and how many seats your team will need, contact your planHub Account Manager directly to discuss the best options for your team. 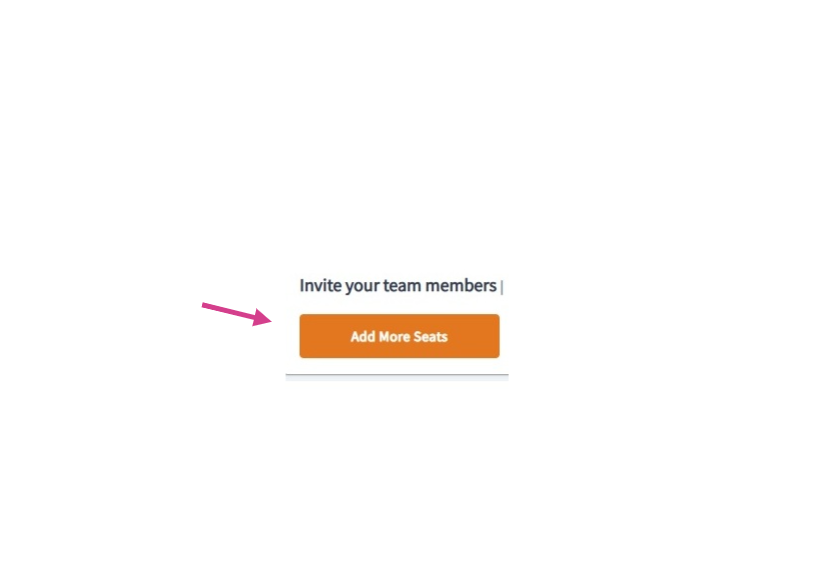
Managing your team members within your planHub supplier account helps ensure the right people have access to projects, communications, and opportunities while keeping your company profile organized and up to date.
Troubleshooting
Contact us if you need assistance or to report an issue:
- PlanHub Contact Page: https://planhub.com/contact/
- Customer Facing Support Ticket Link: https://knowledgebase.planhub.com/knowledge/kb-tickets/new
- Customer Success Team: CustomerSuccess@planhub.com