Easily upload your files and start material takeoff projects with PlanHub's Takeoff tools. This guide walks you through every step, matching the process shown in the video demonstration.
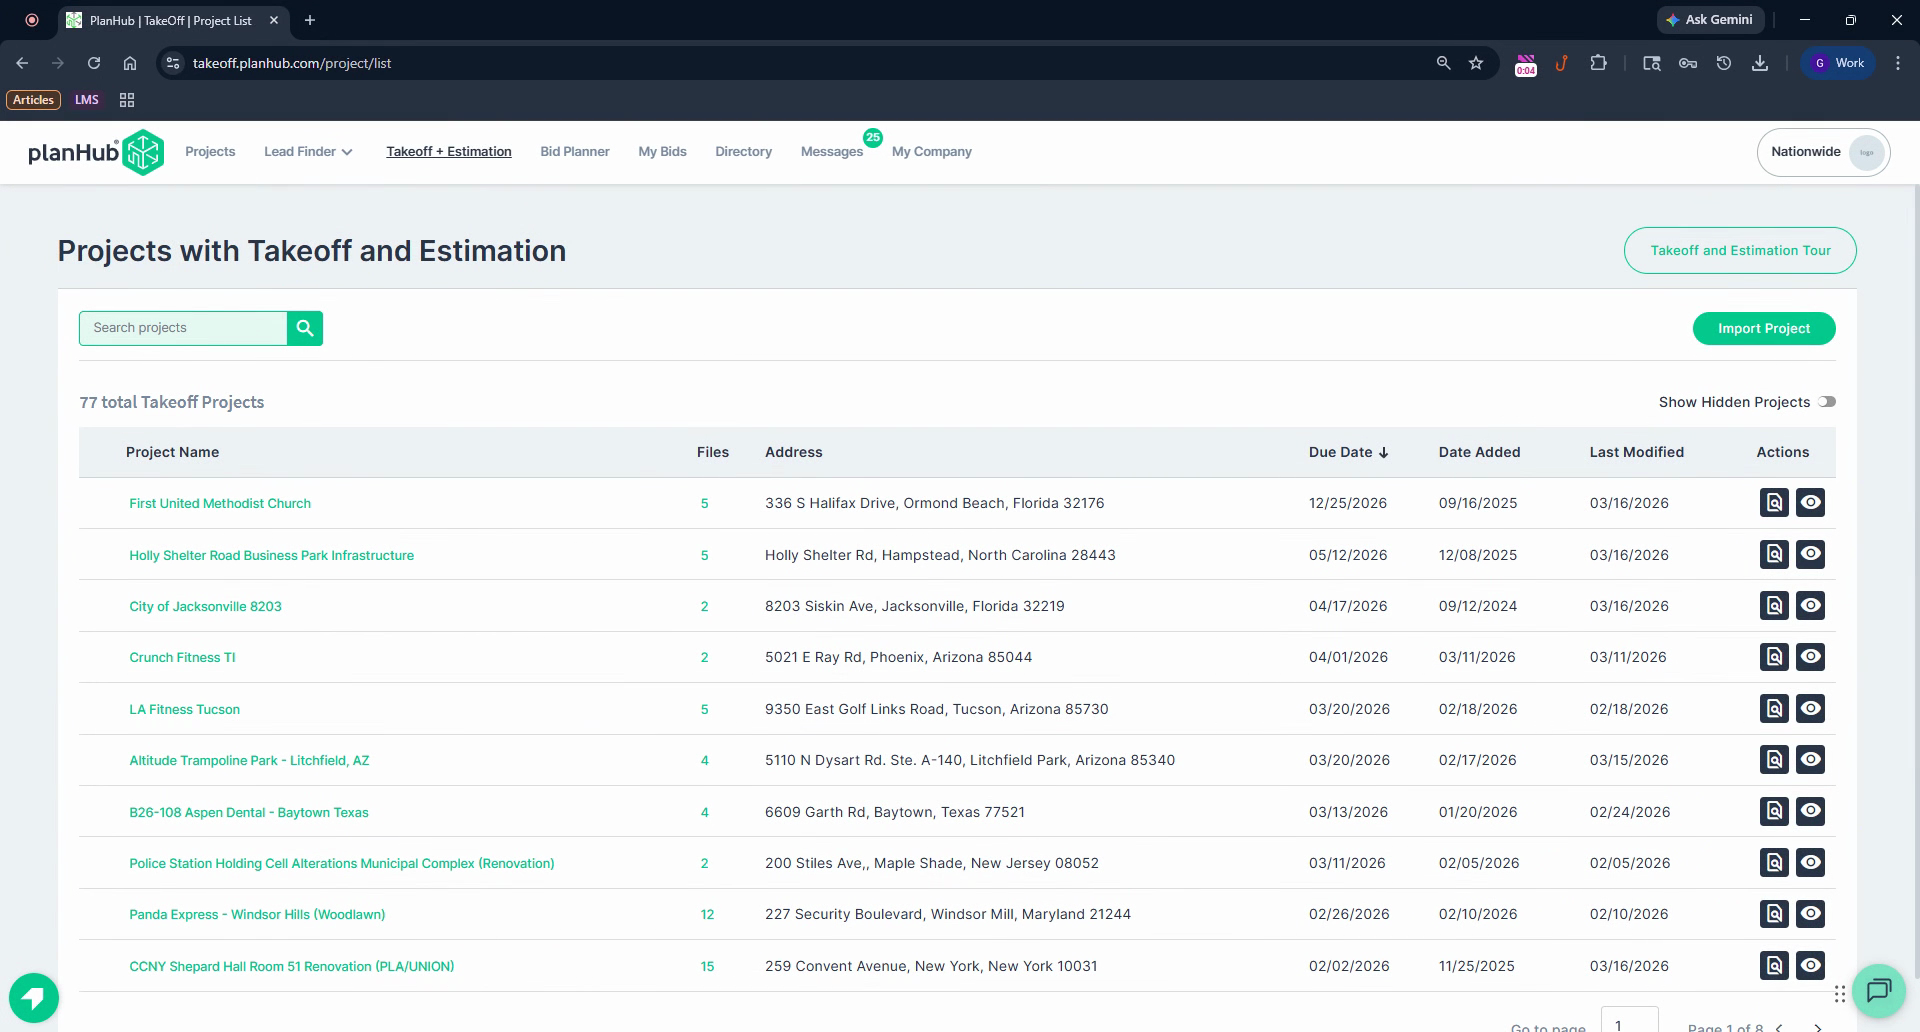
Step 1: Open your PlanHub account and navigate to the Takeoff & Estimation page.

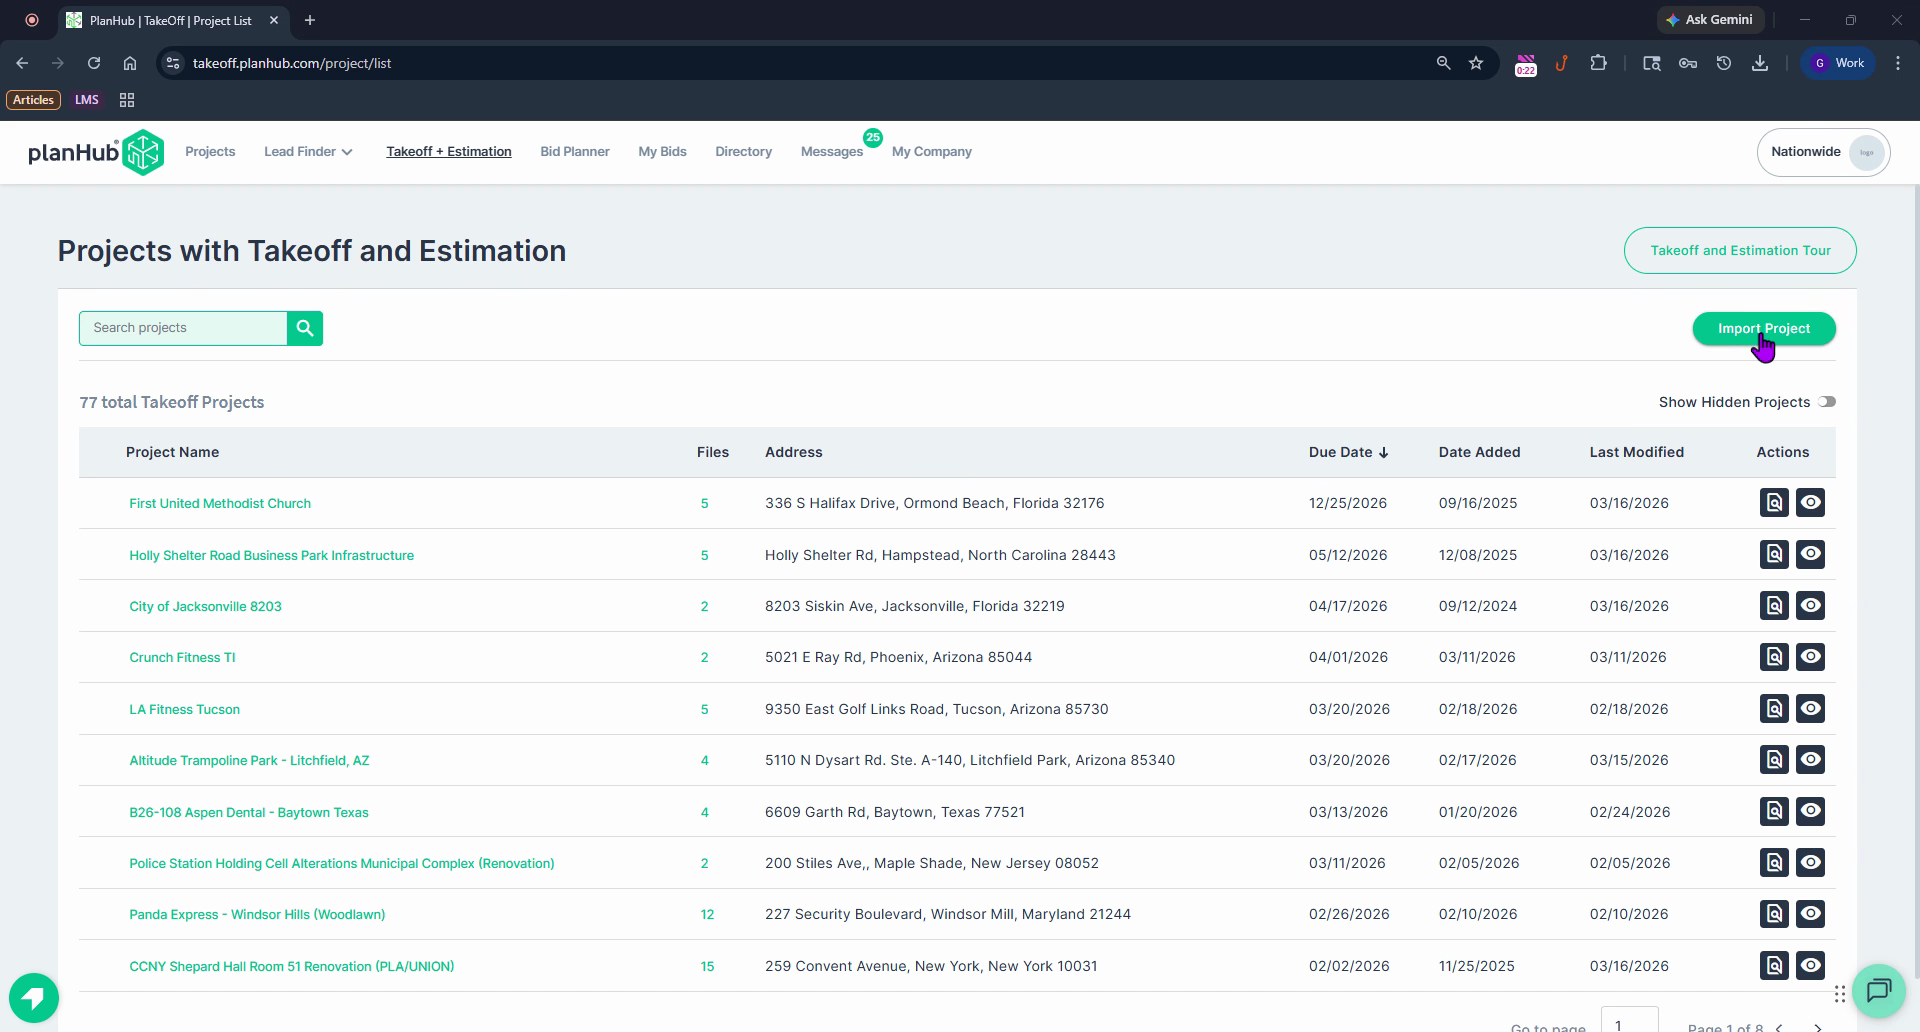
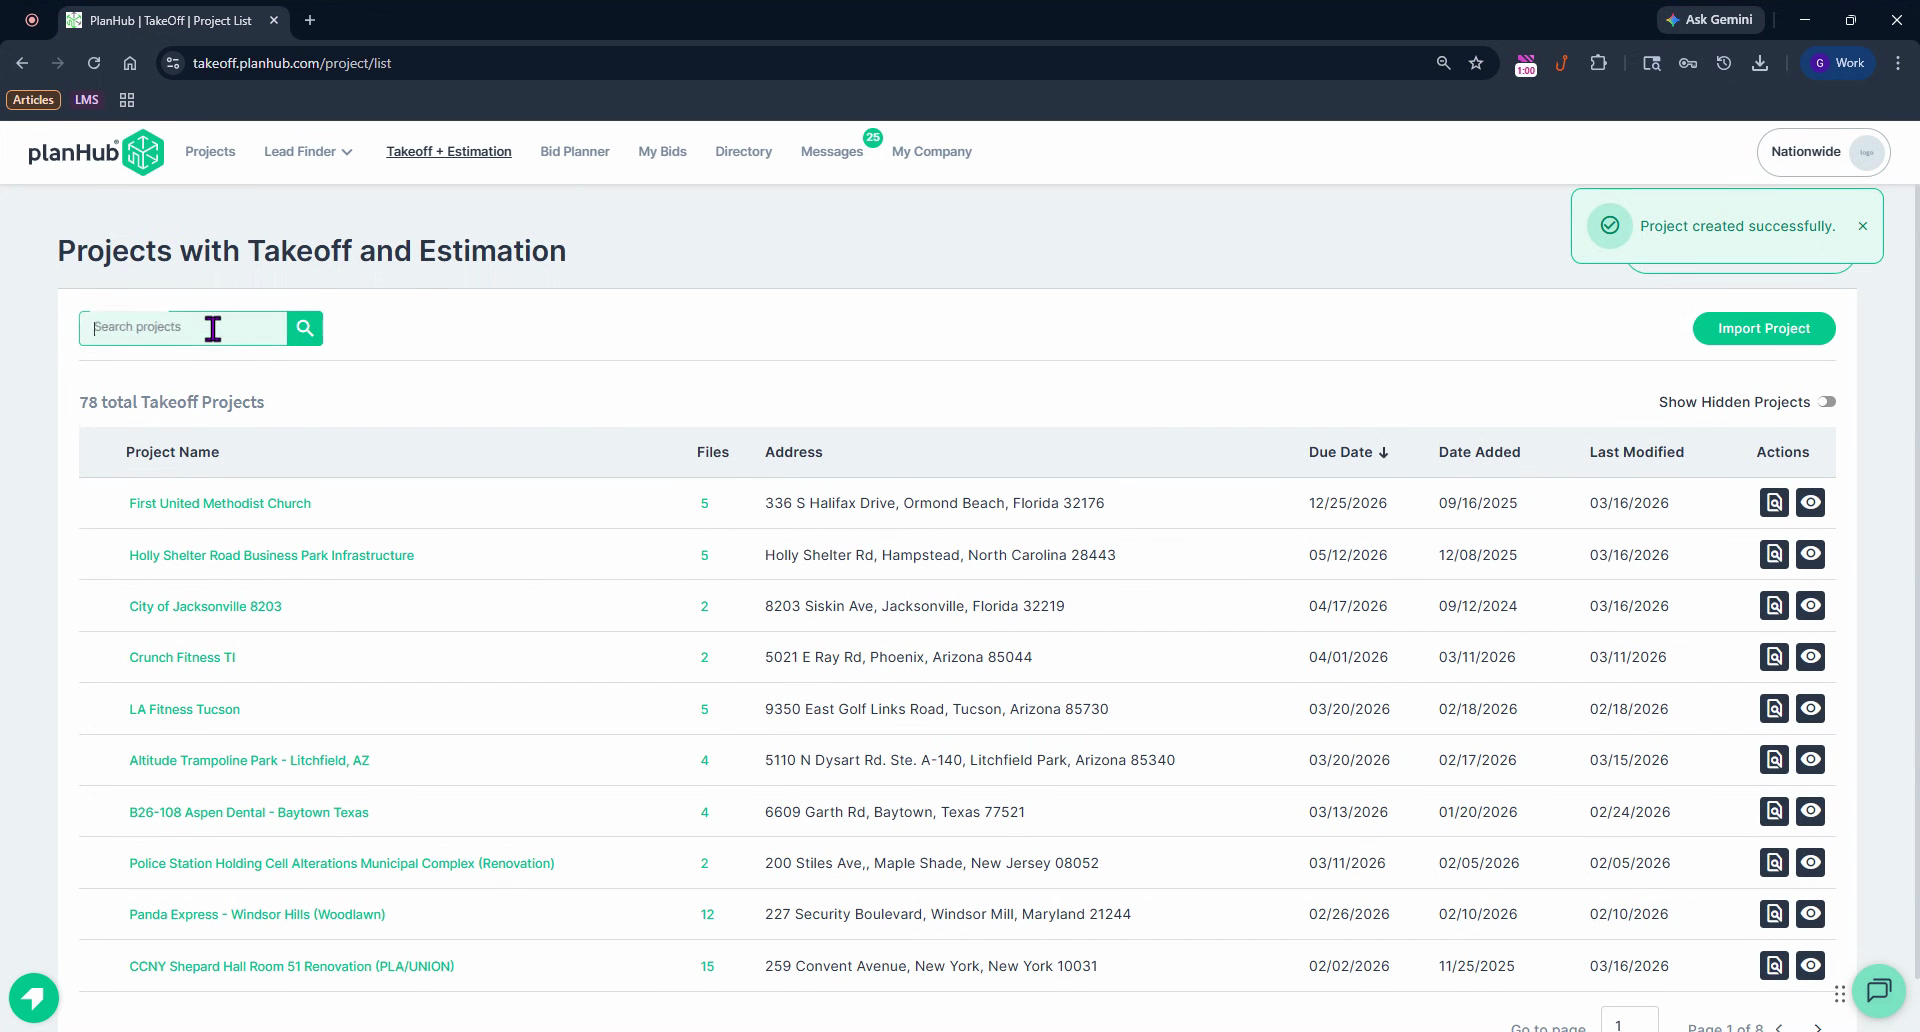
Step 2: Click the Import Project button to add a new takeoff job to your list.
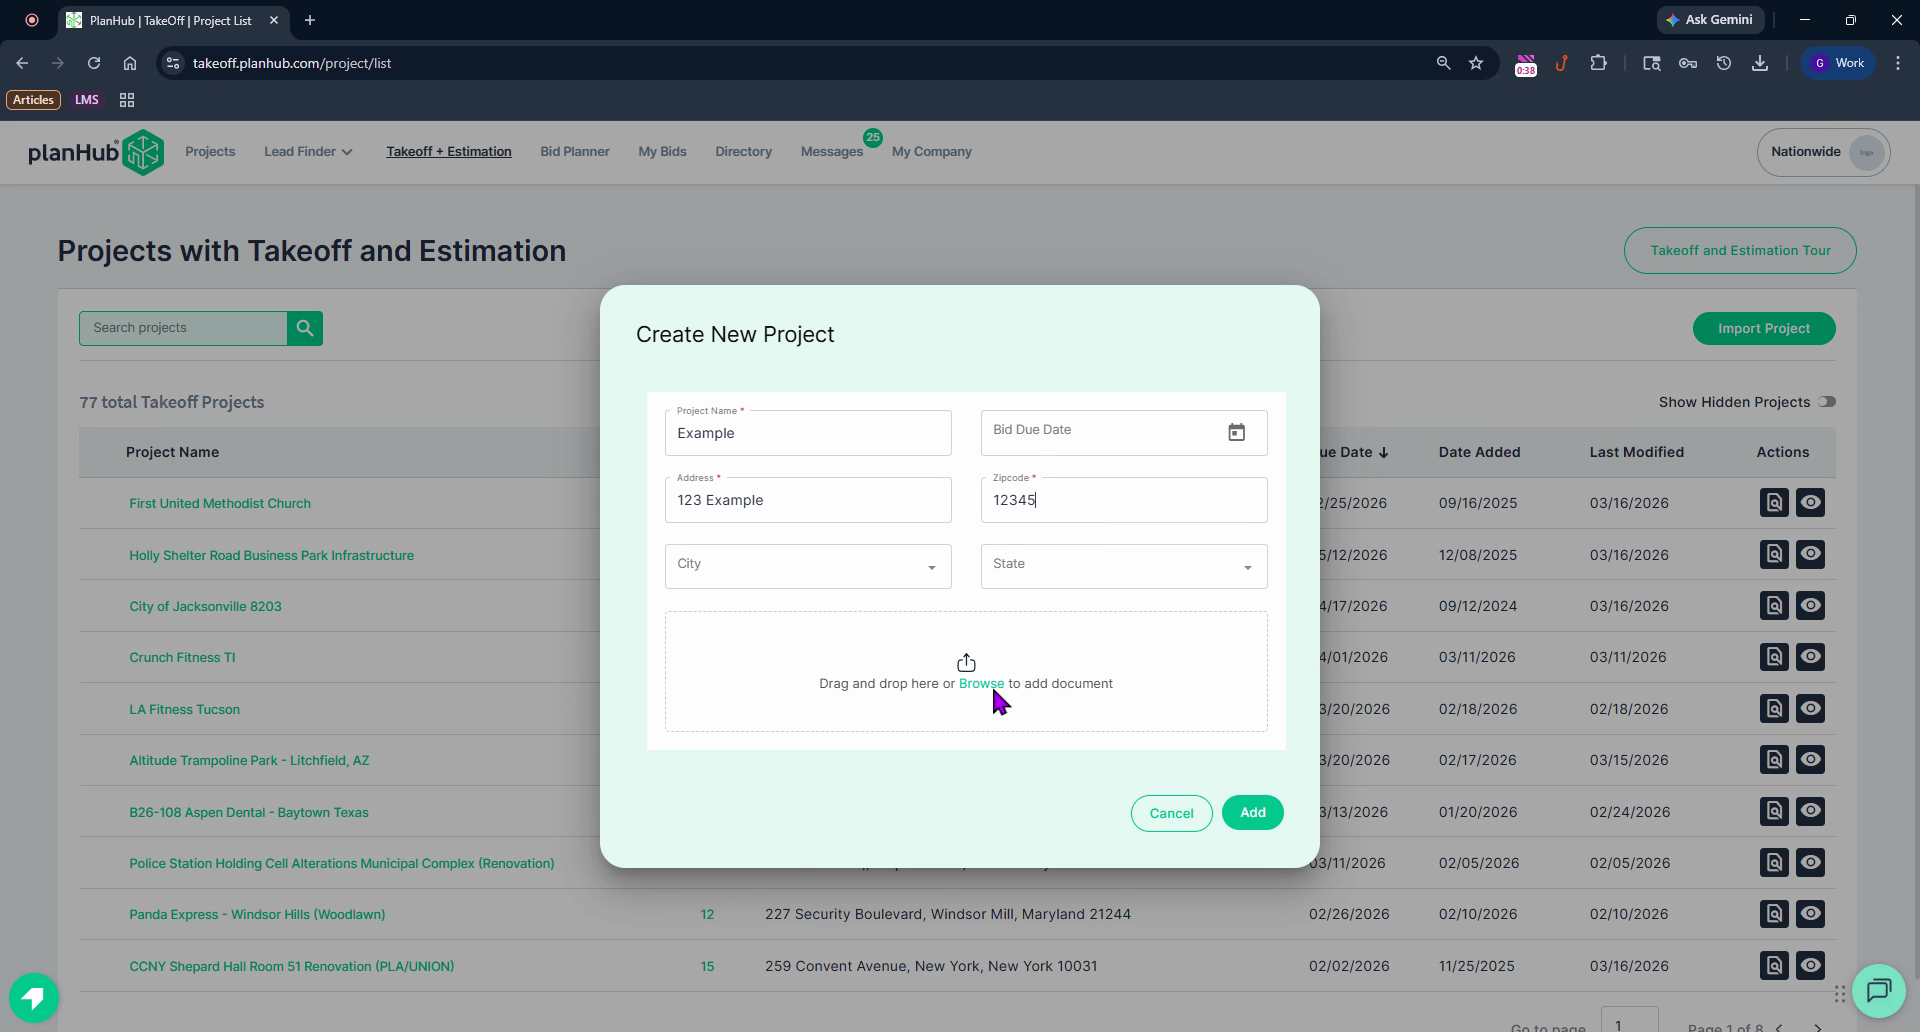
Step 3: In the import window that appears, enter your project's name.
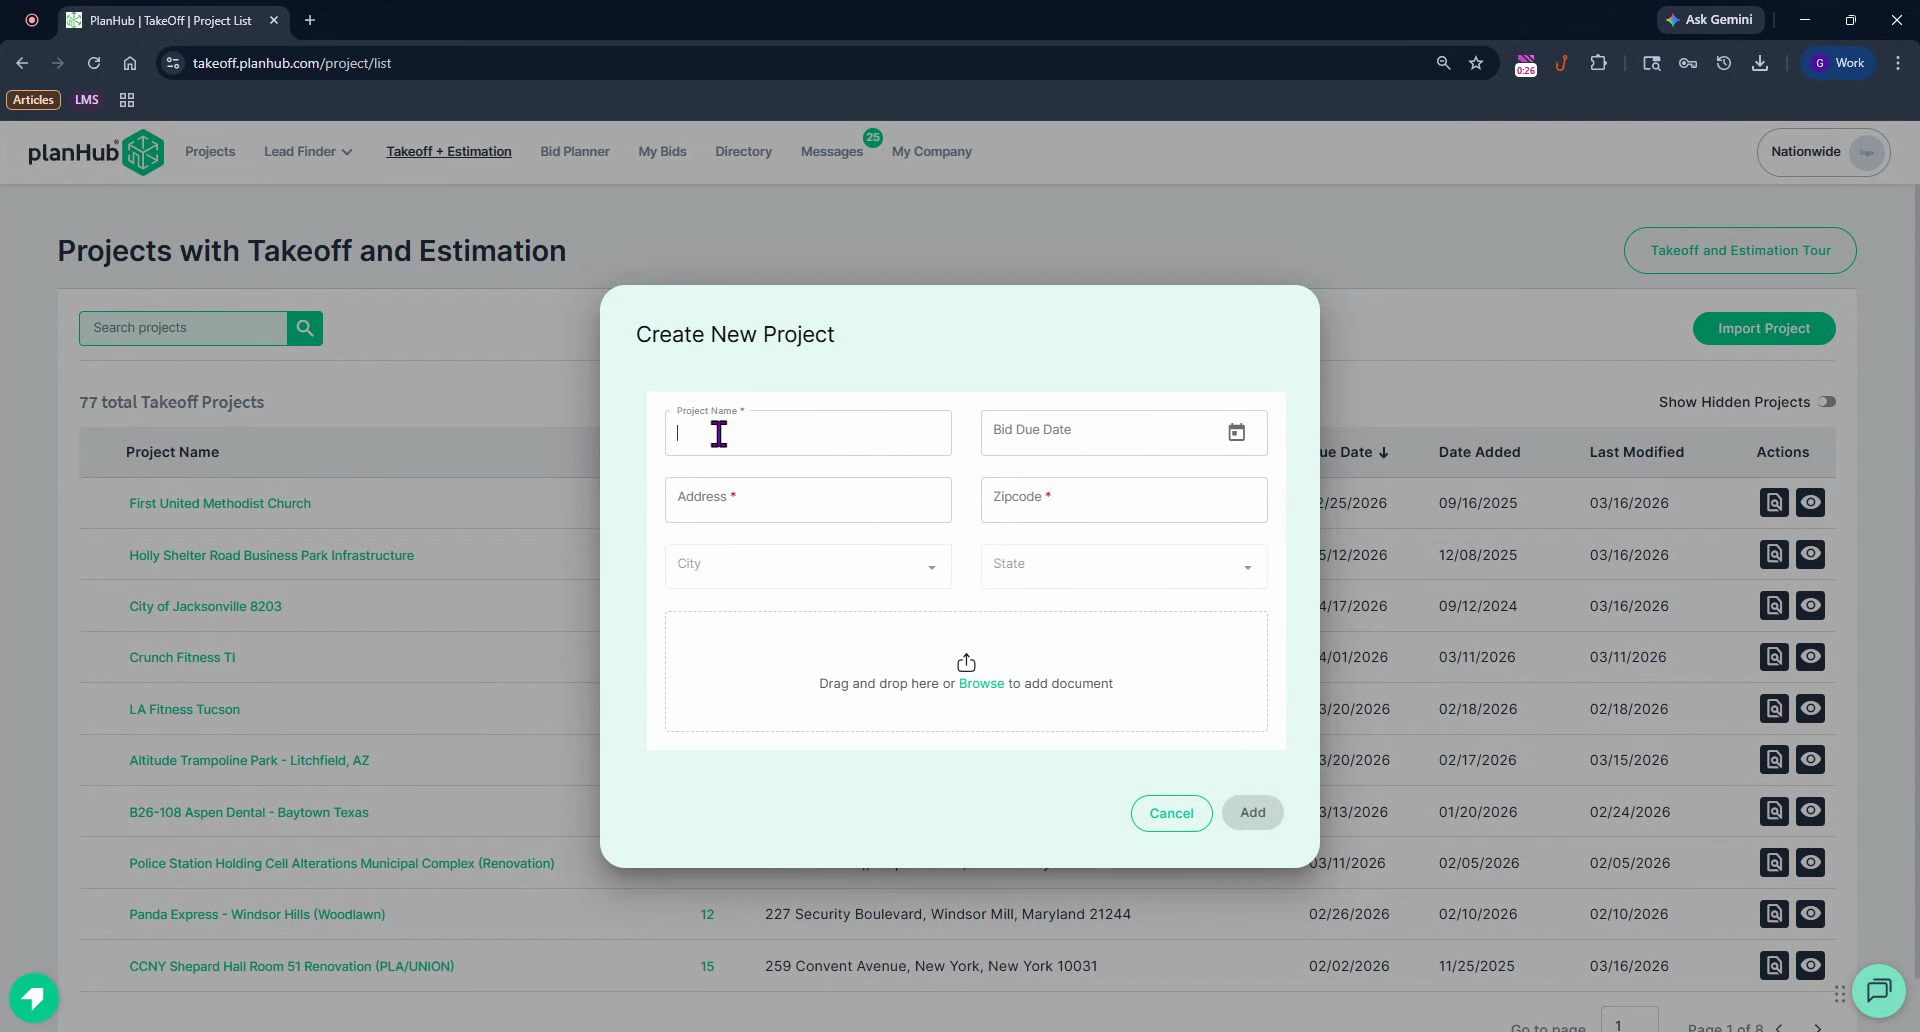
Step 4: Type the address and ZIP code for your project.
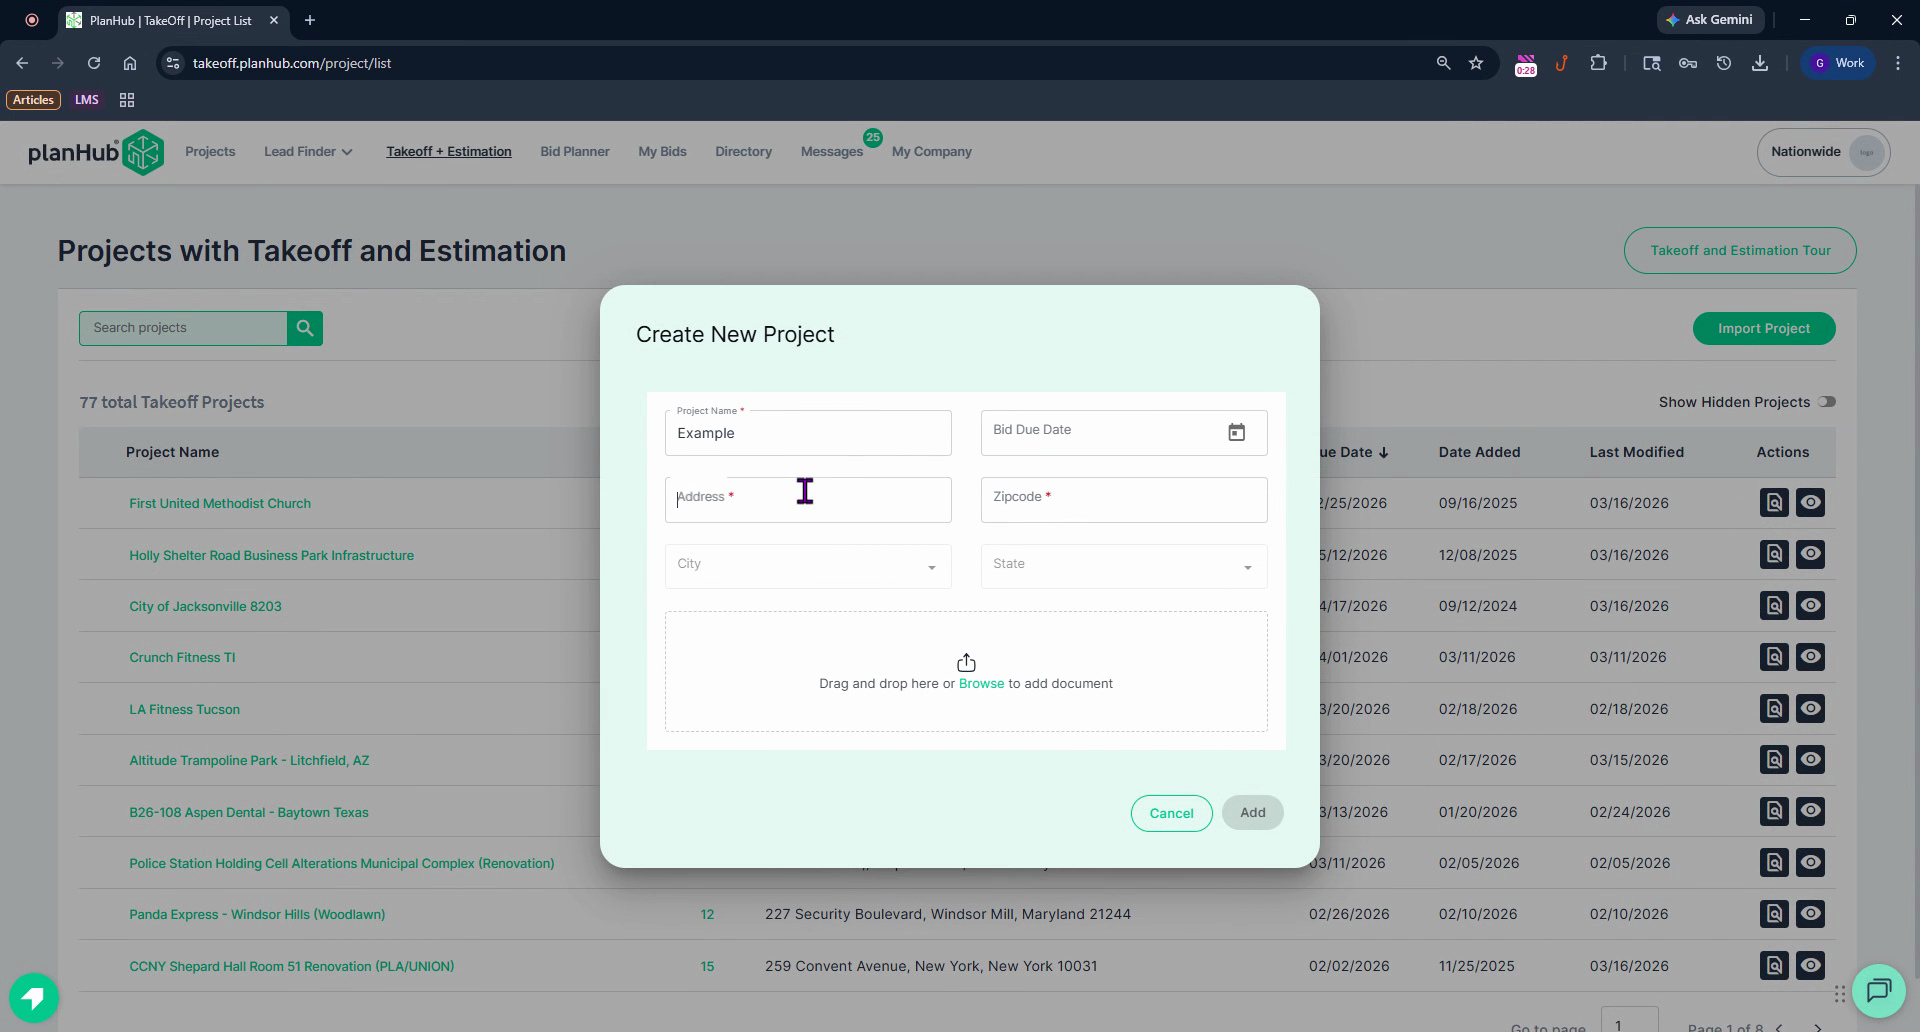

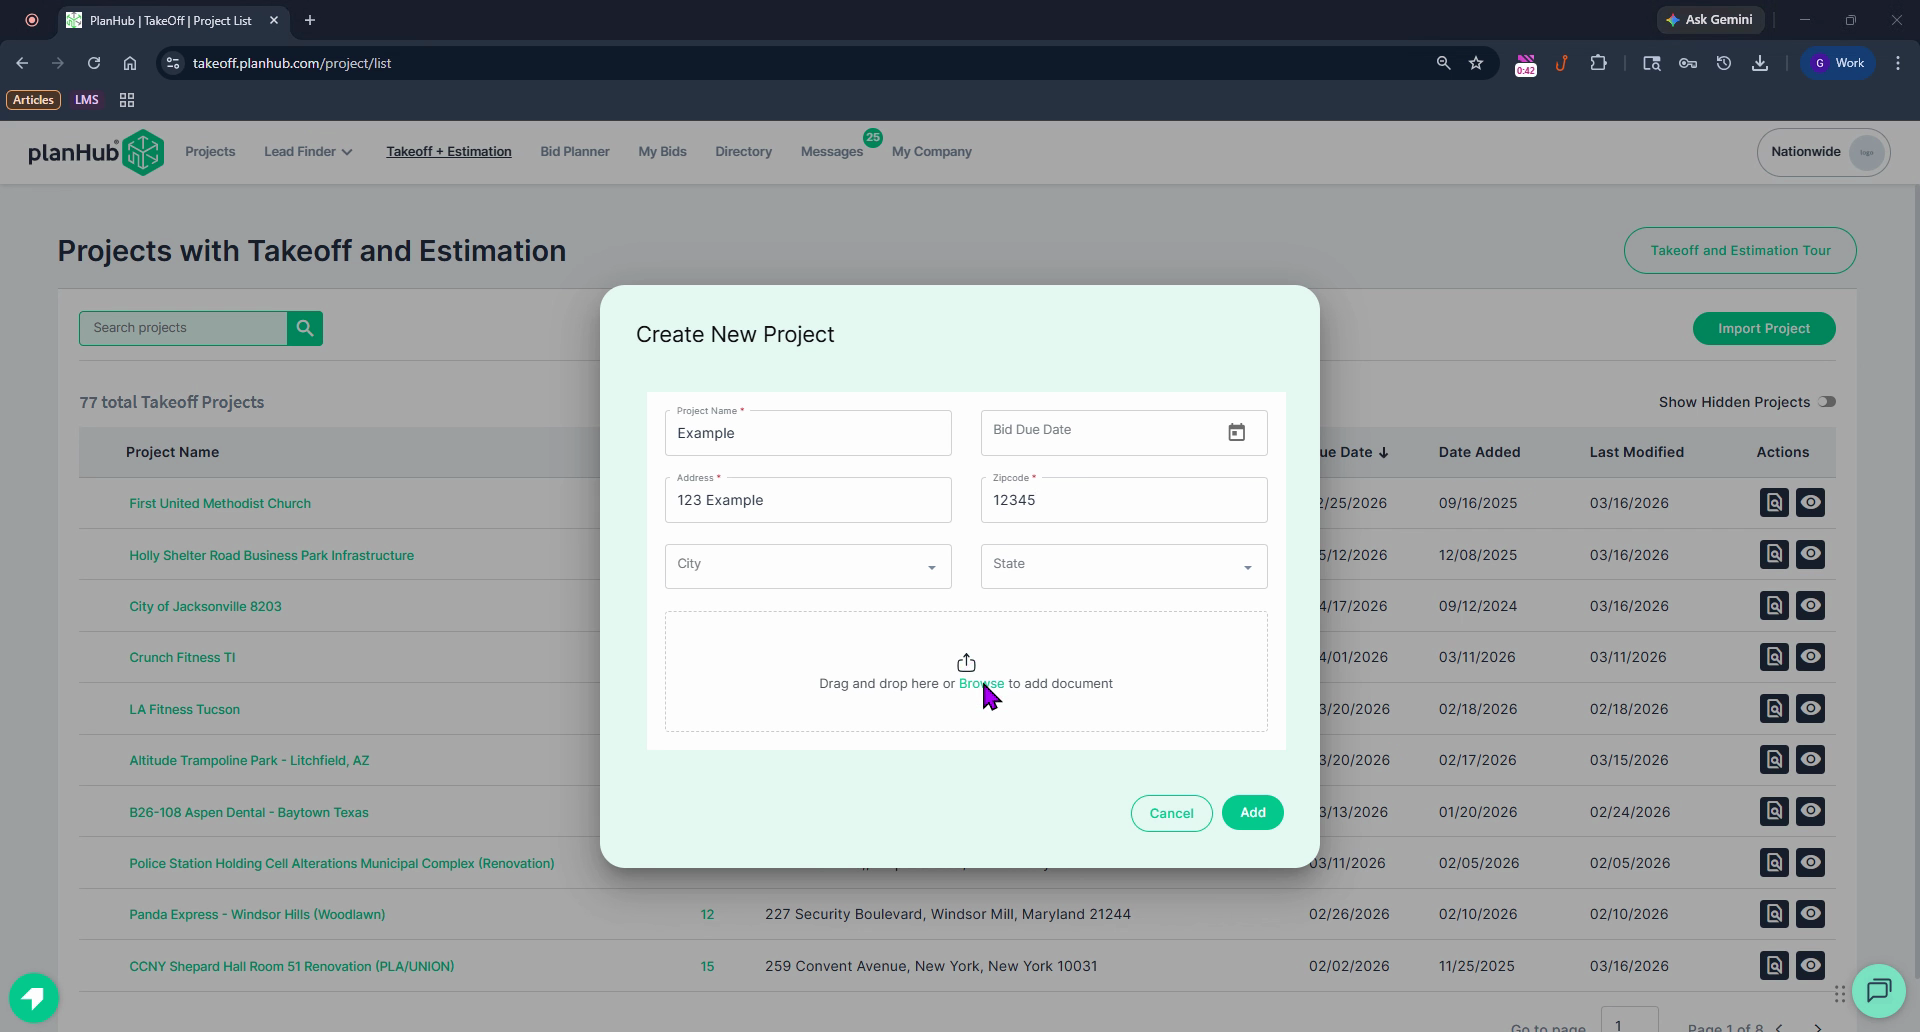
Step 5: Import your file either by dragging and dropping it over the upload area, or click Browse and select your file from your computer.

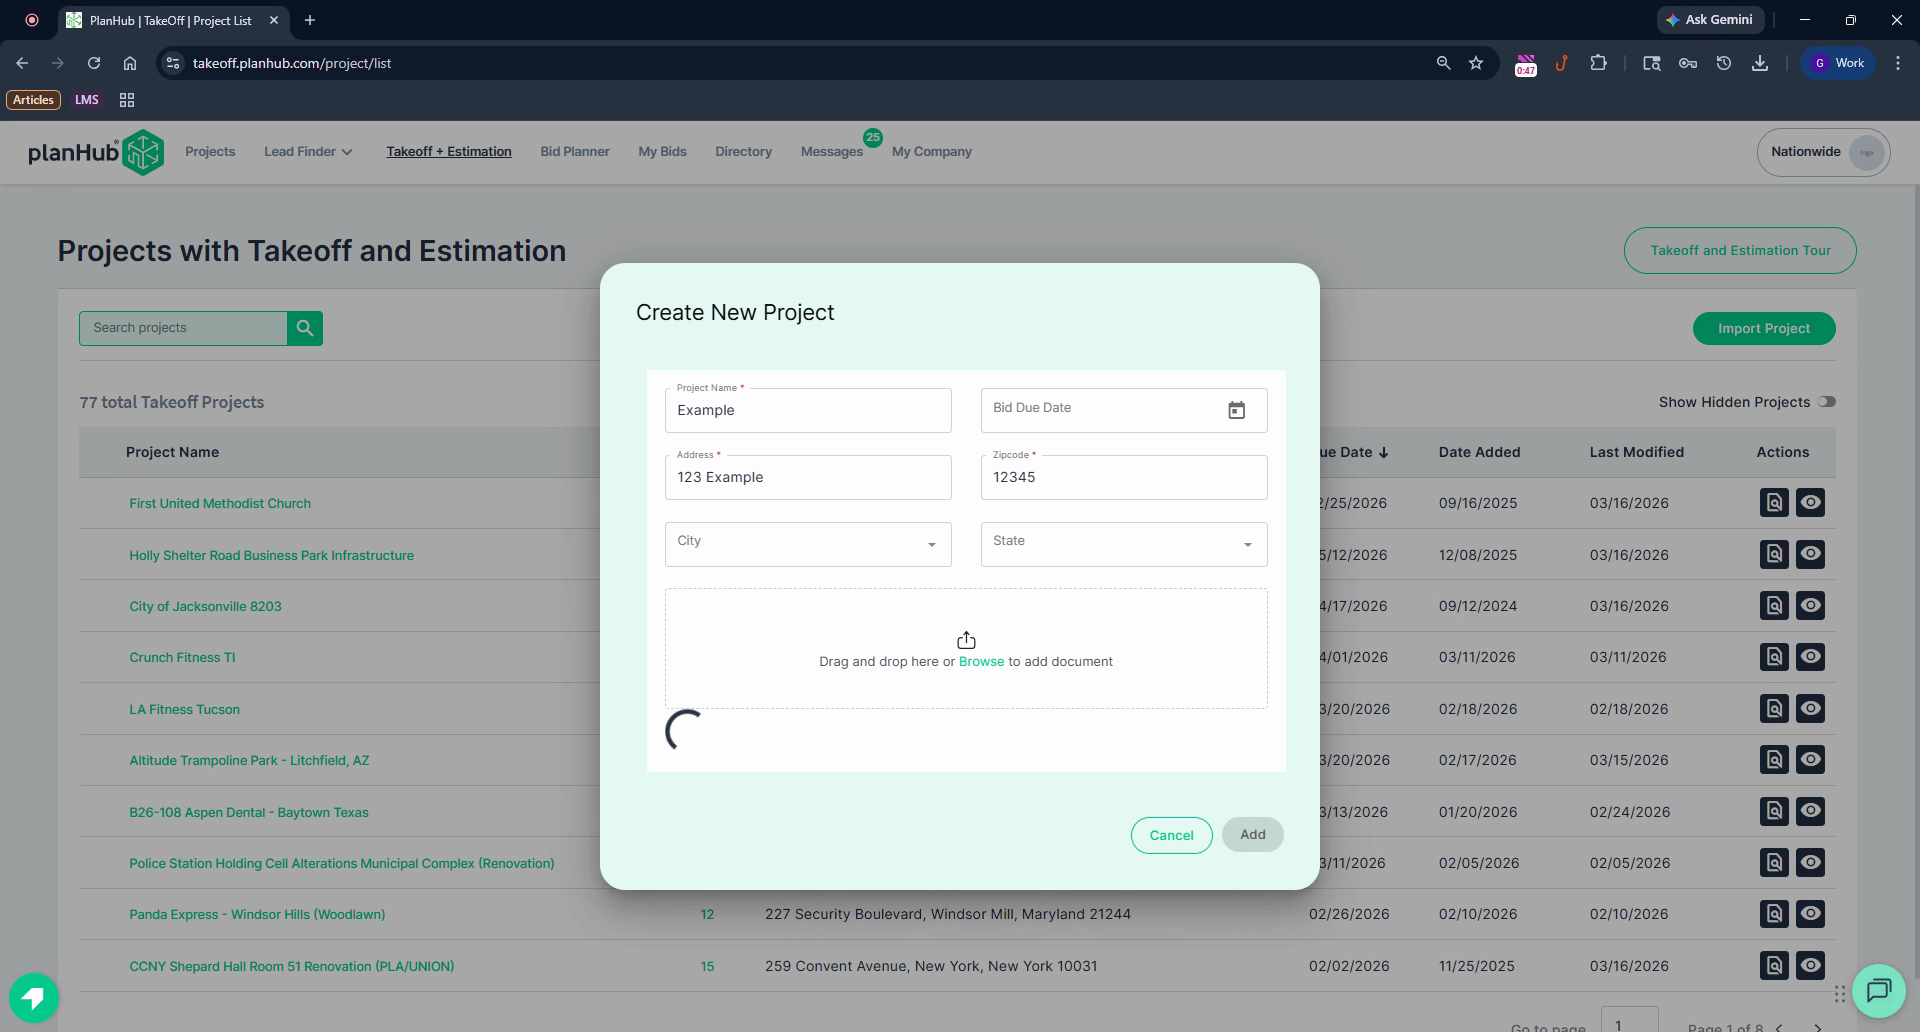
Step 6: Click Open to attach your document.
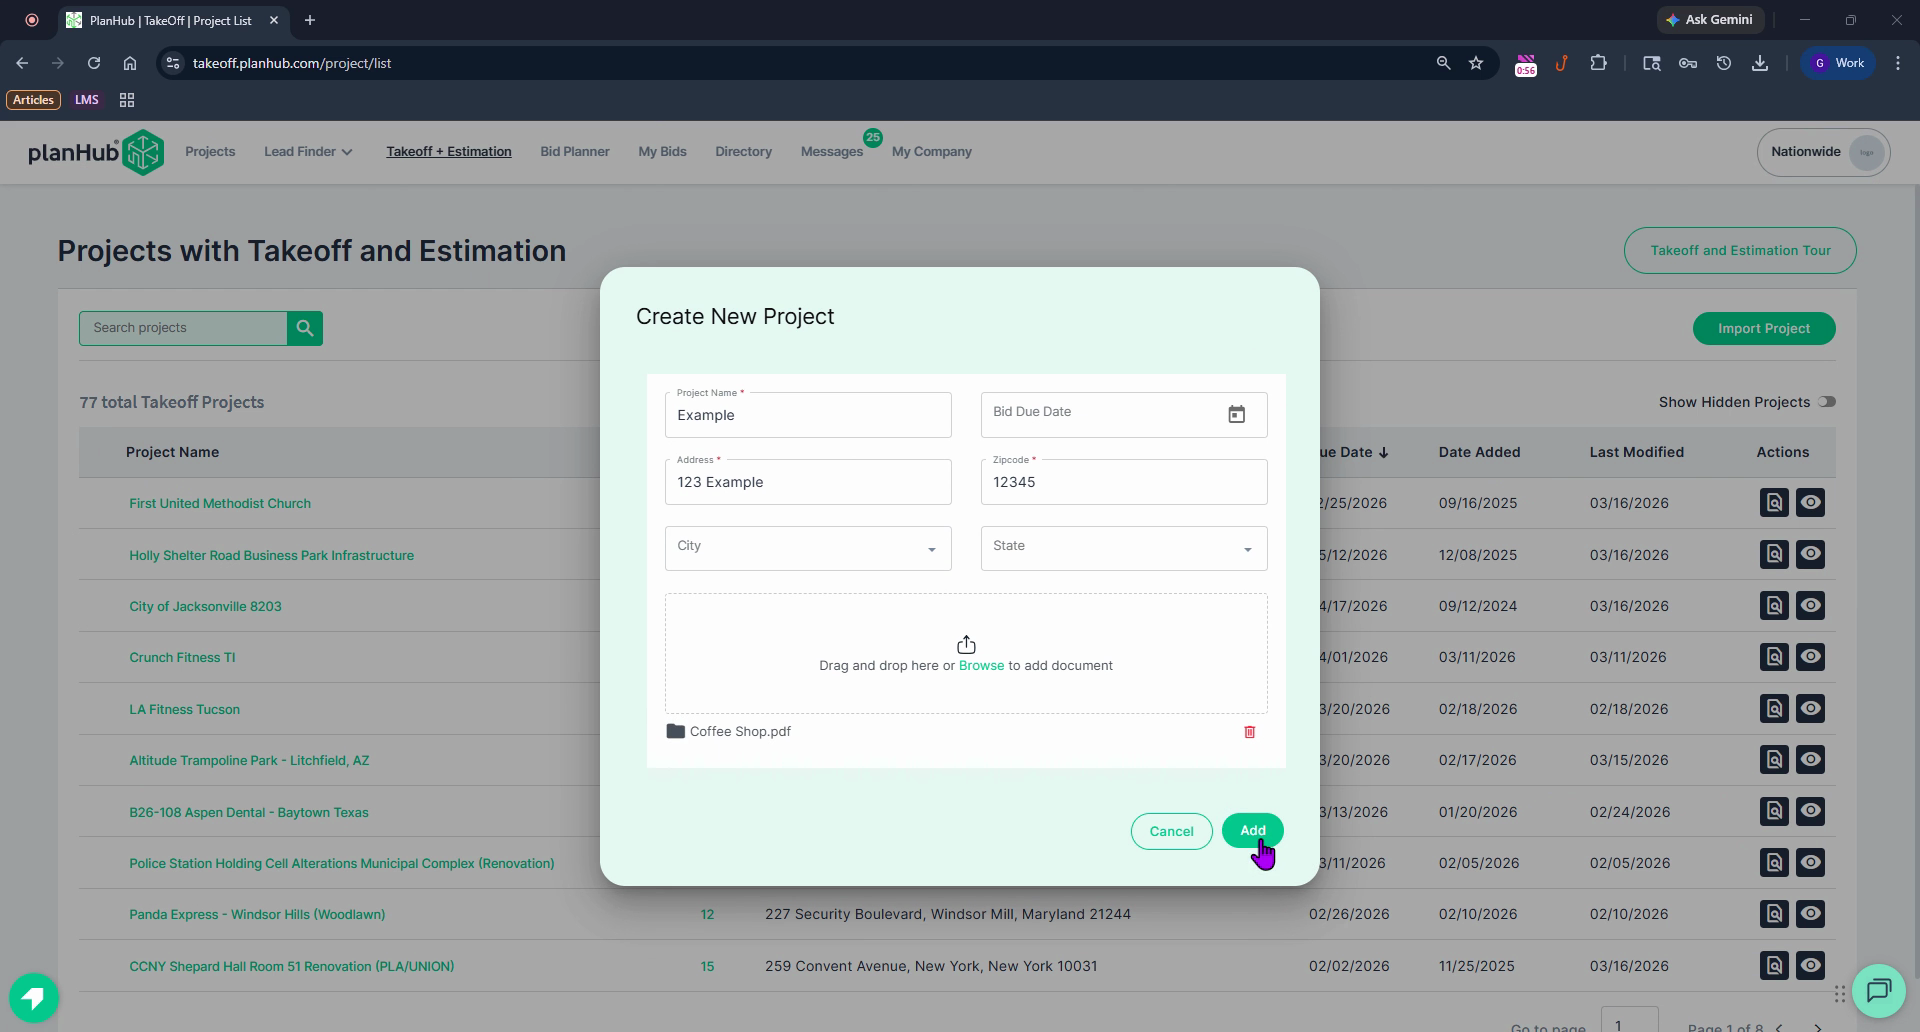
Step 7: Once the file appears, hit the Add button to include it in your projects.
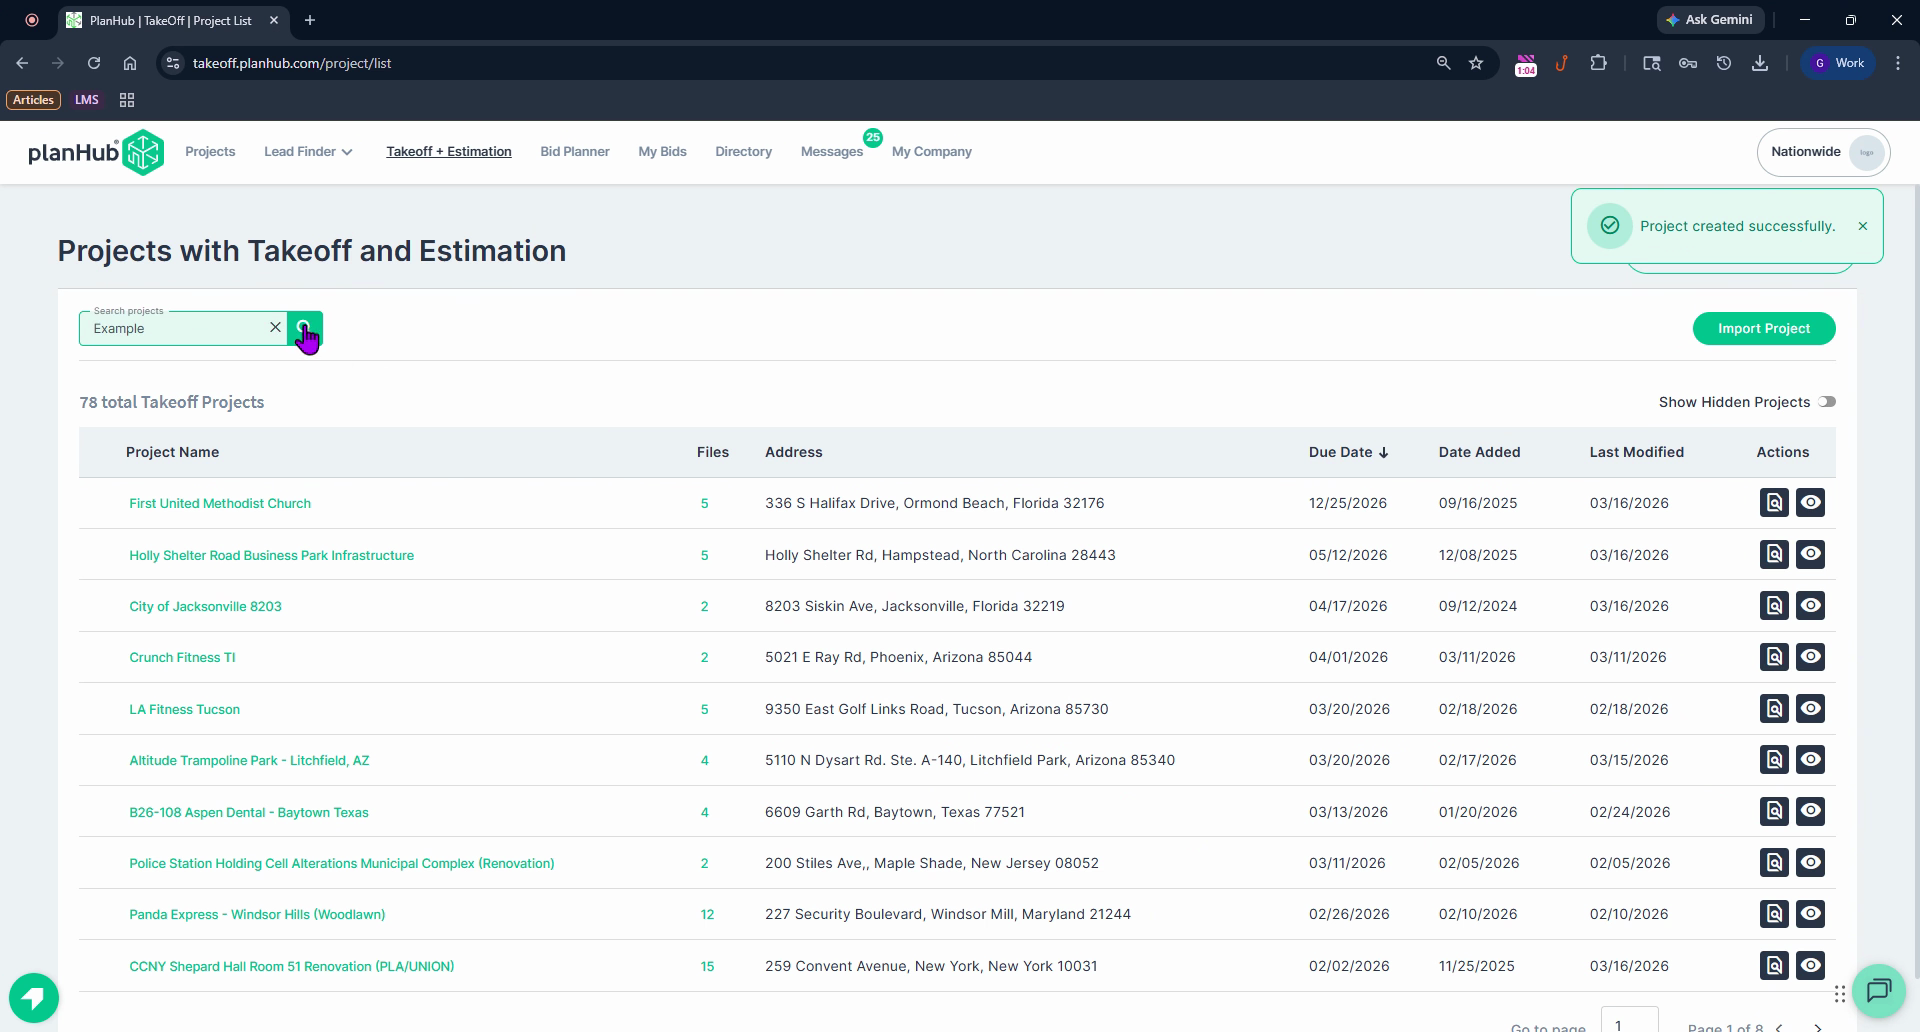
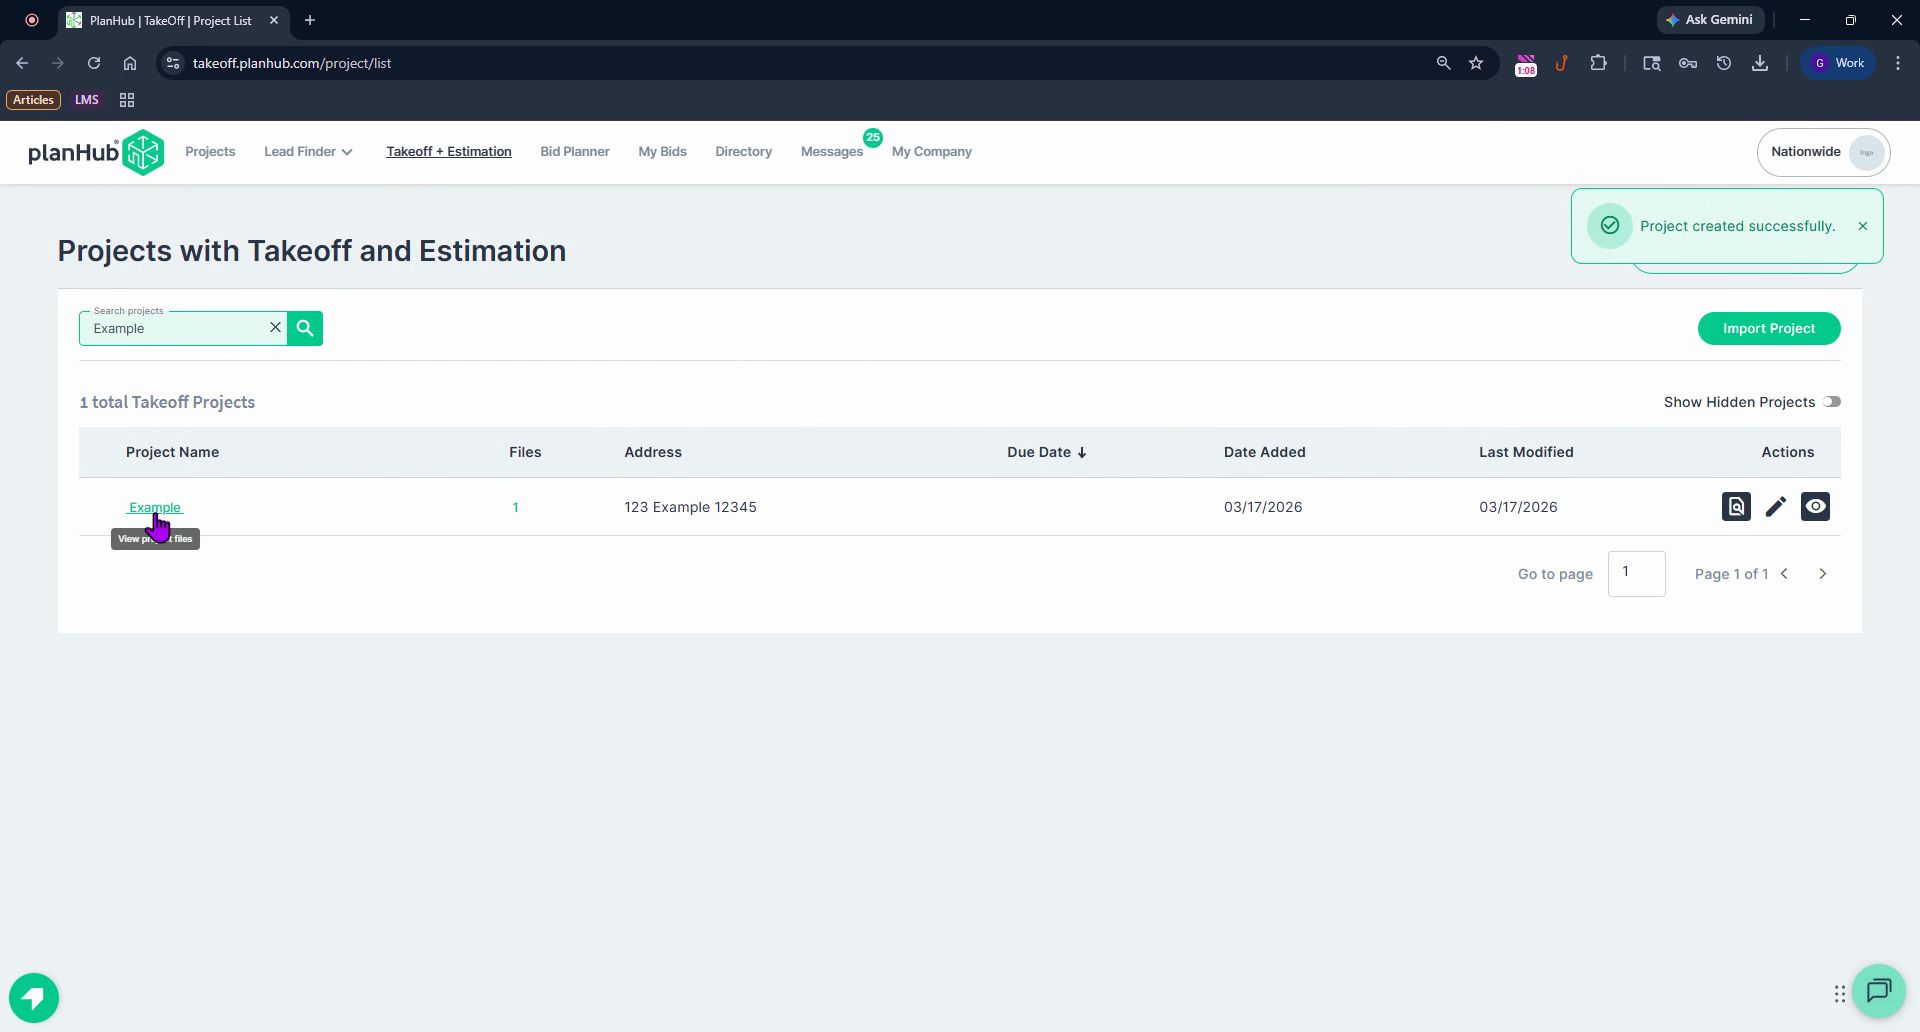
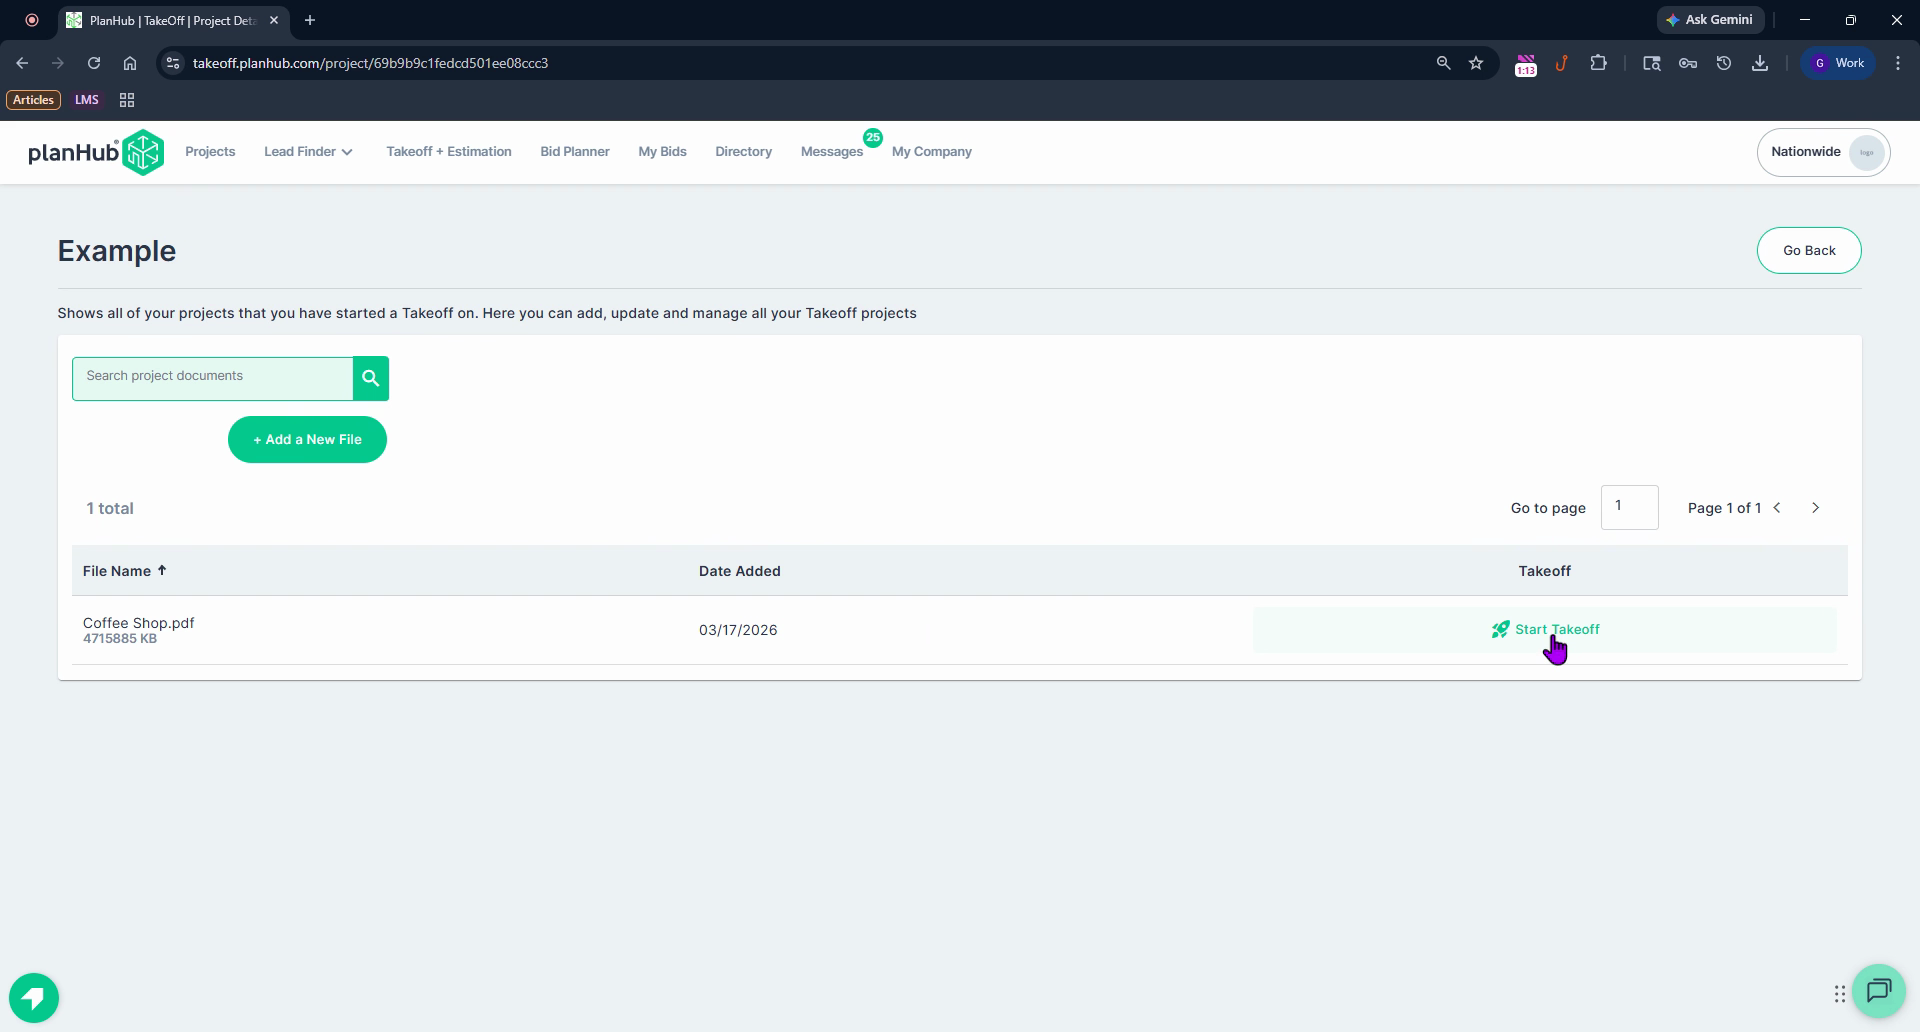
Step 8: Find your newly added project in the list by searching for its name.
Step 9: Click the project name to open it.

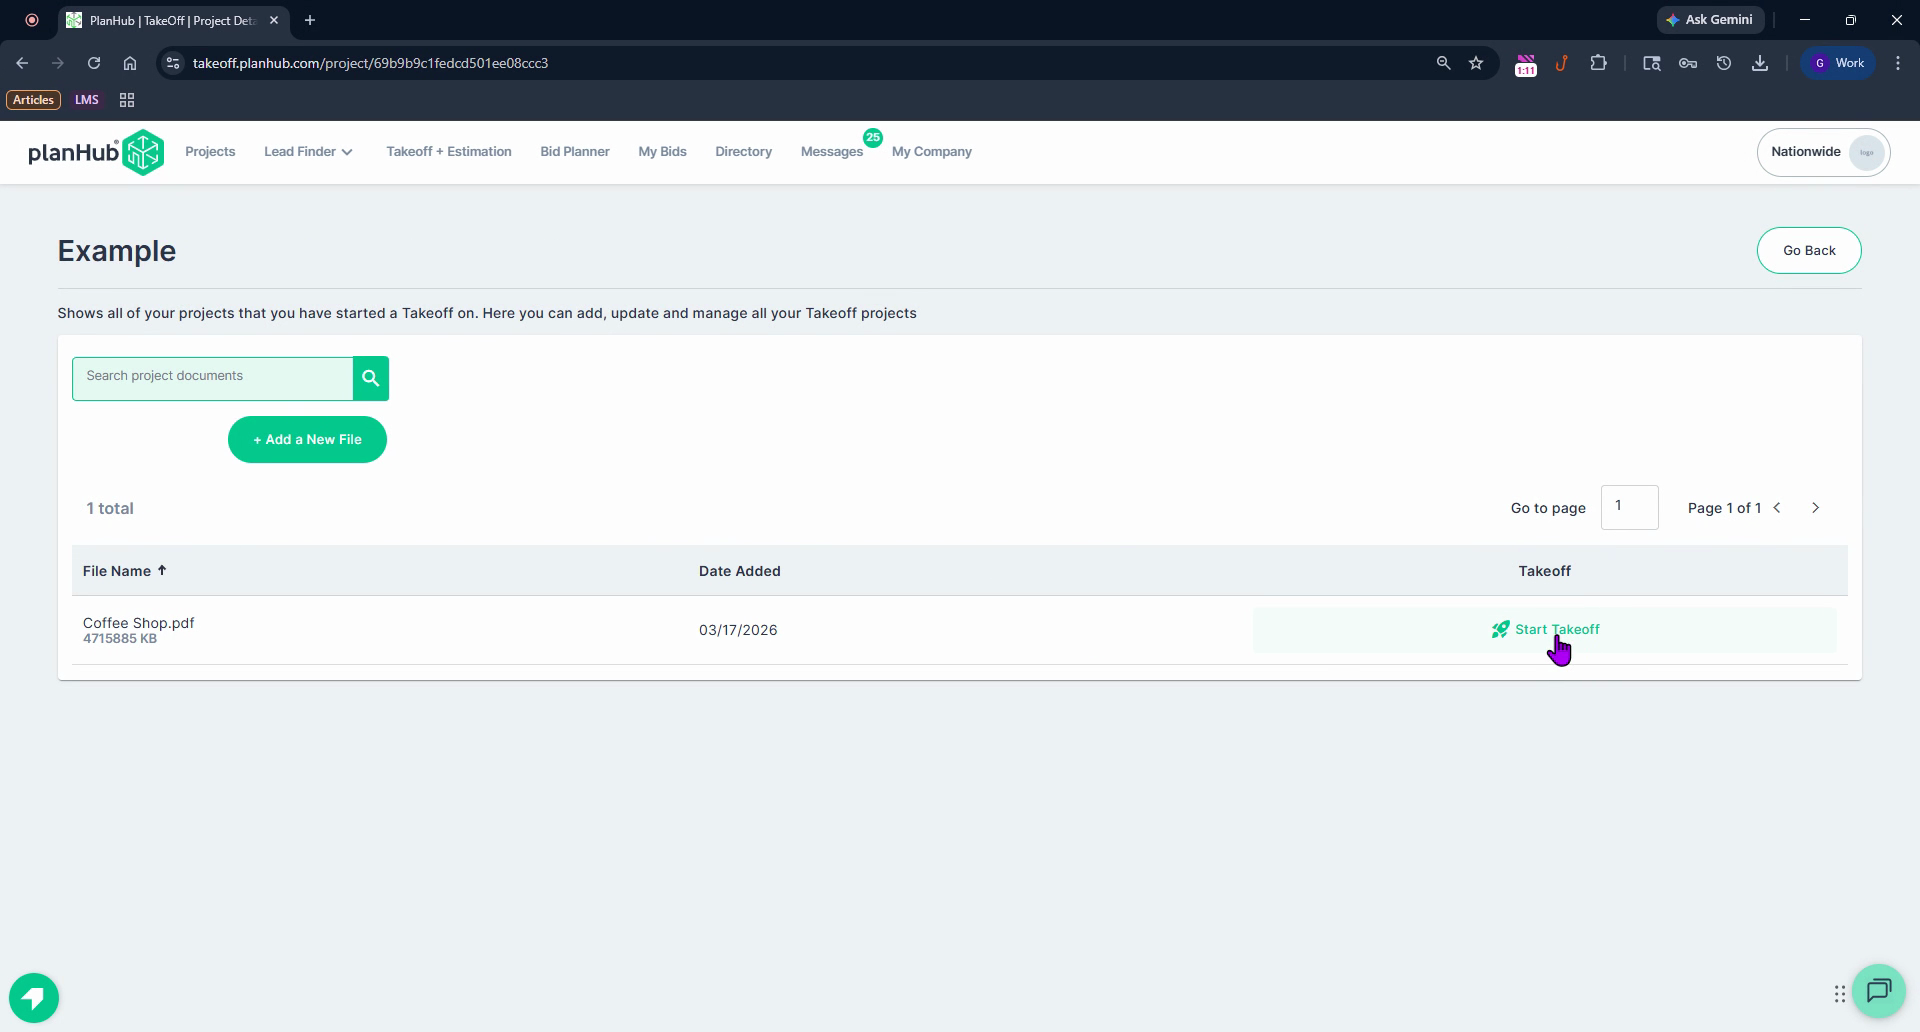
Step 10: Since this is the first time opening, click Start Takeoff.
Step 11: Any time you add or import a project, only members of your company with Takeoff access will be able to see it.
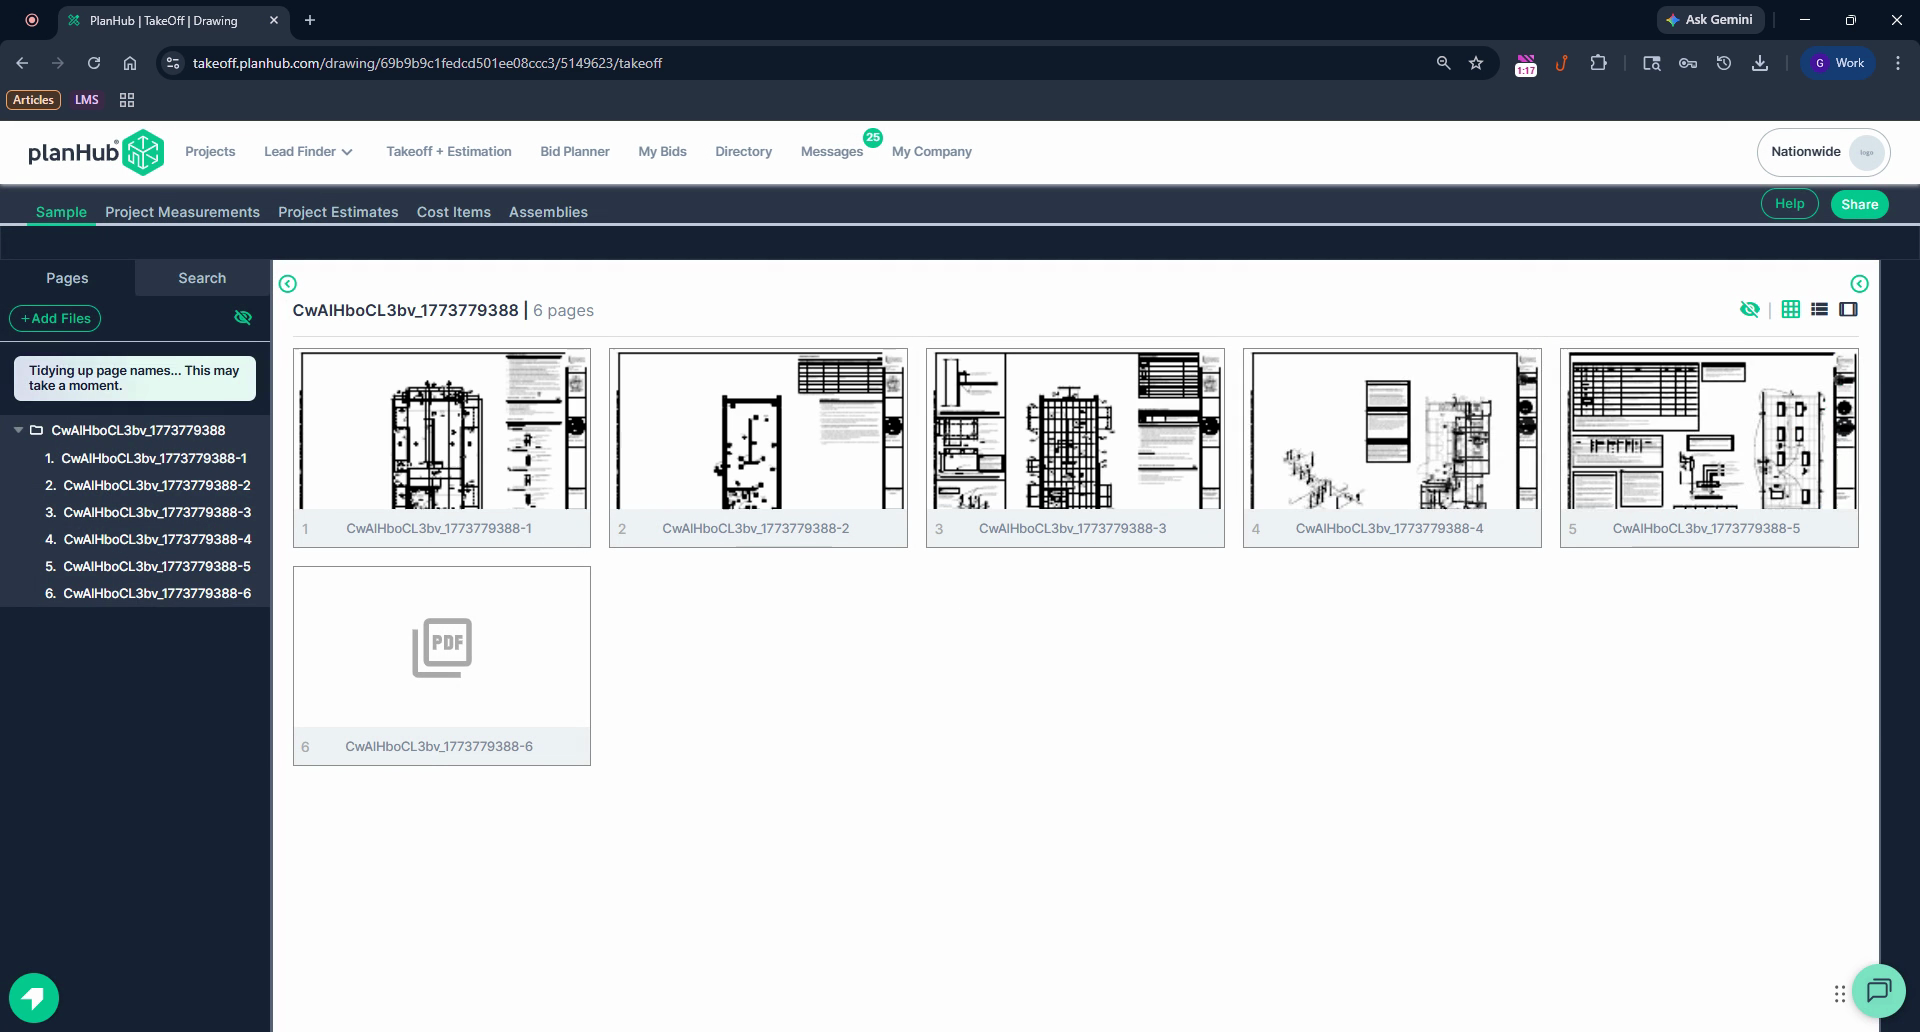

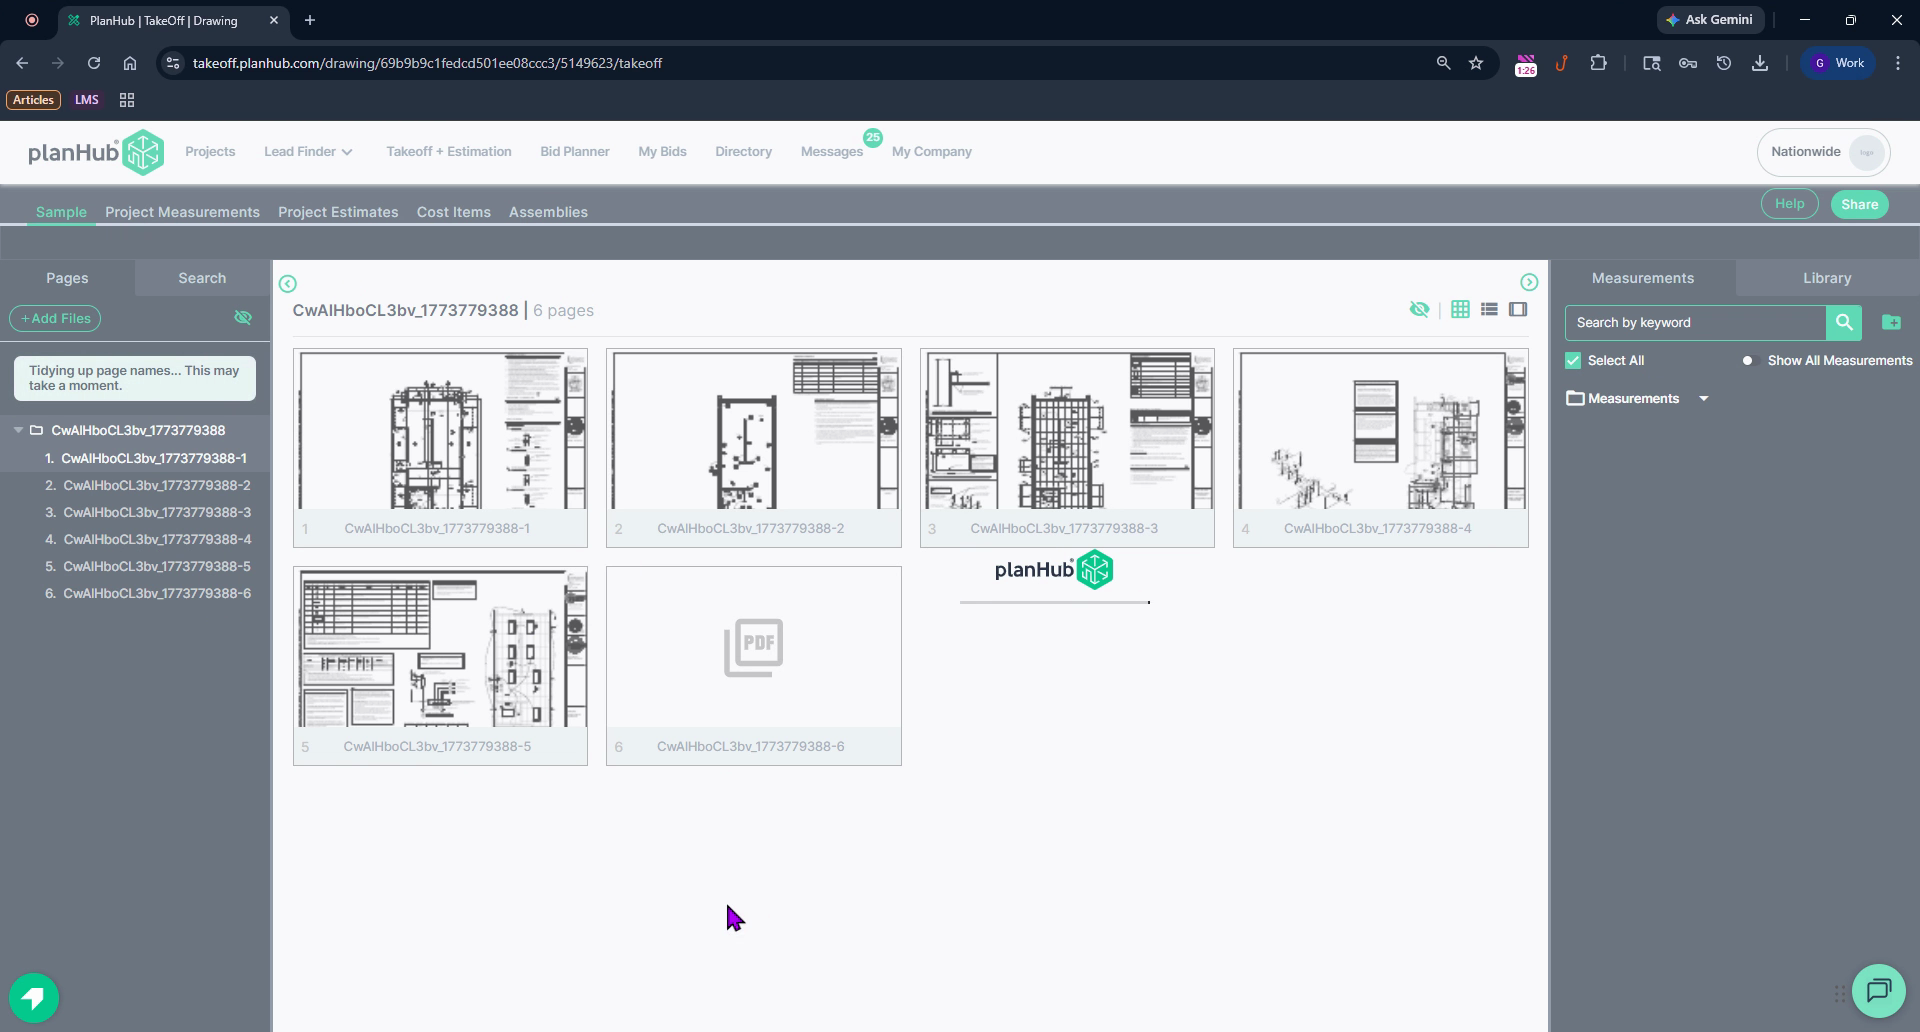
Step 12: Click on the name of any page within your project to open and start marking up your materials. You'll have full access to the takeoff tools right away.

Keep these steps handy whenever you begin a new takeoff project. You’re ready to quickly upload and estimate materials for any job using PlanHub Takeoff.
Troubleshooting
Contact us if you need assistance or to report an issue:
- PlanHub Contact Page: https://planhub.com/contact/
- Customer Facing Support Ticket Link: https://knowledgebase.planhub.com/knowledge/kb-tickets/new
- Customer Success Team: CustomerSuccess@planhub.com