![NEW_PlanHub_Logo_Navy.png]](https://knowledgebase.planhub.com/hs-fs/hubfs/Design/PH%20Logos/NEW%202024%20PH%20Logos/NEW_PlanHub_Logo_Navy.png?height=40&name=NEW_PlanHub_Logo_Navy.png)
Edit completed measurements quickly and accurately in PlanHub's Takeoff feature—whether changing polygons, including or excluding spaces, or refining your takeoff drawings.
Step 1: Make sure the Arrow at the top of the command bar is green. If it’s not, click on it to turn it on. The animated GIF below shows how the green arrow signals edit mode, making it easy to see when you're ready to start.
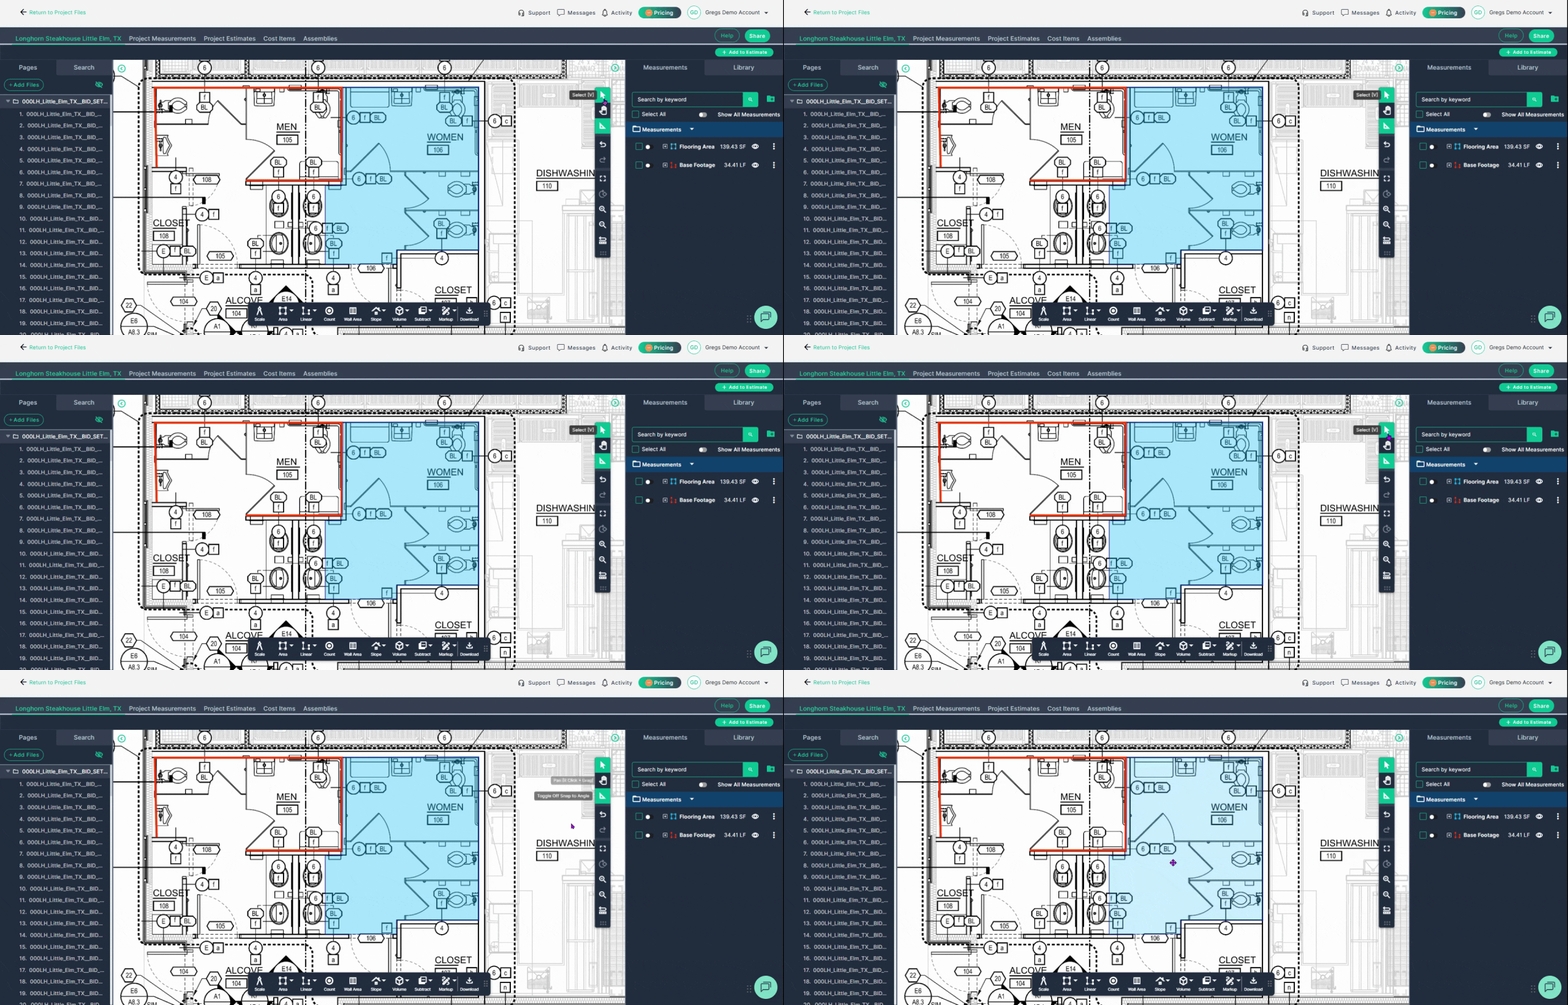
Step 2: Click the measurement you want to edit. Edit points appear right away.
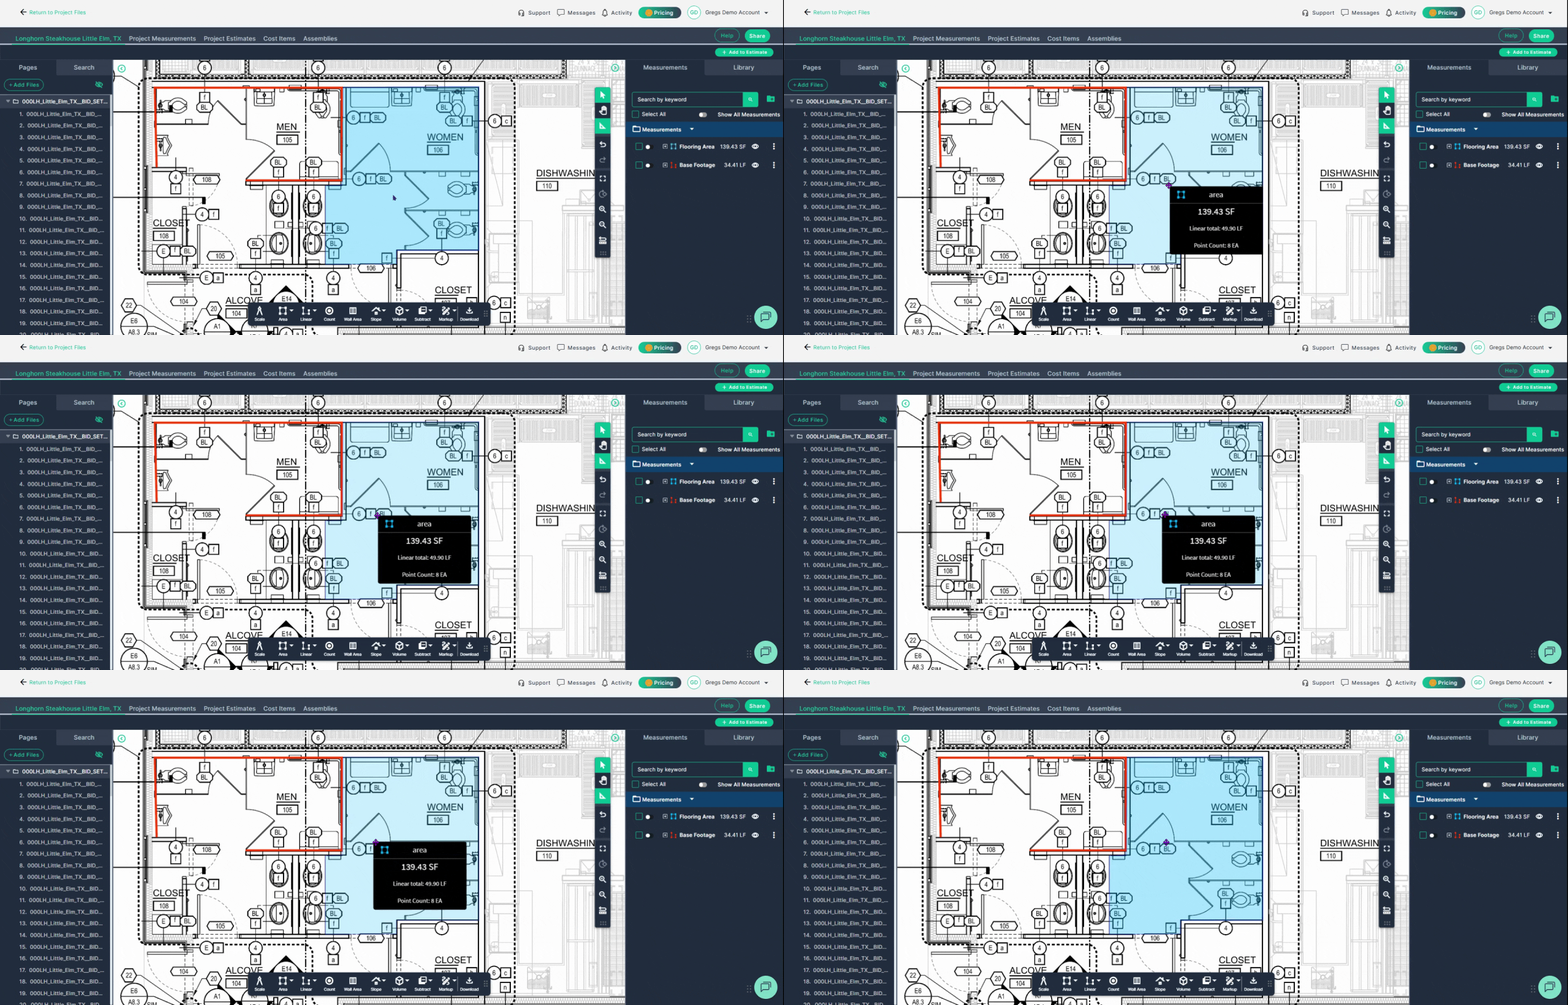
Step 3: If you want to expand the area, drag the edit points so the shape now includes more space, such as under a vanity. Any change instantly updates the measurements shown on the right side.
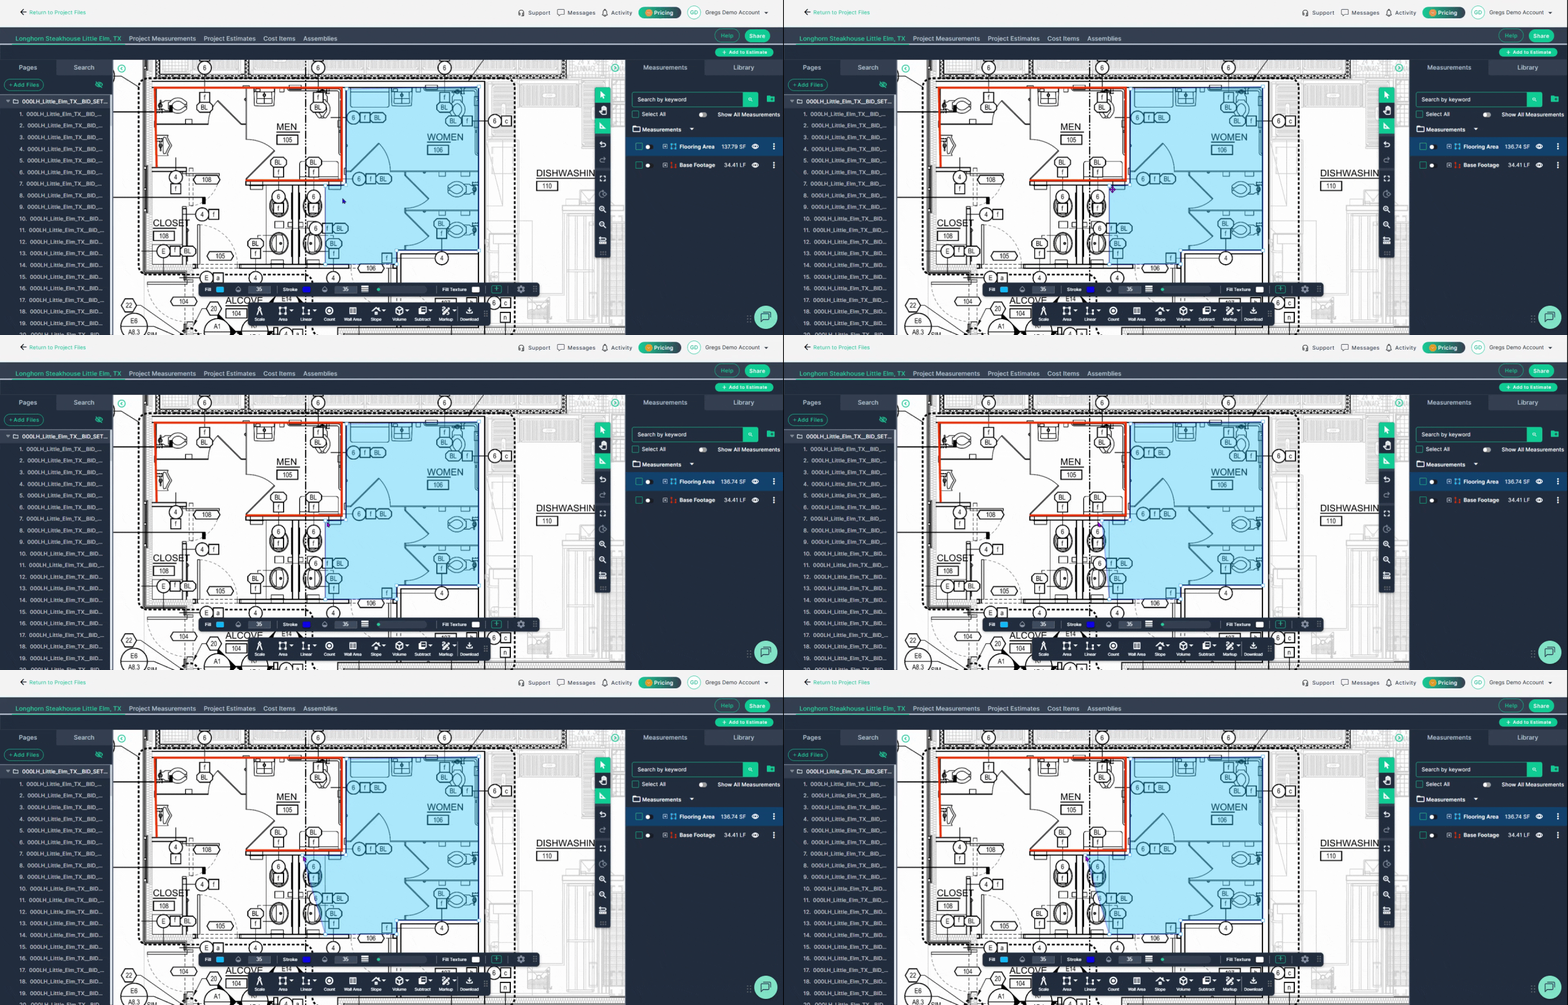
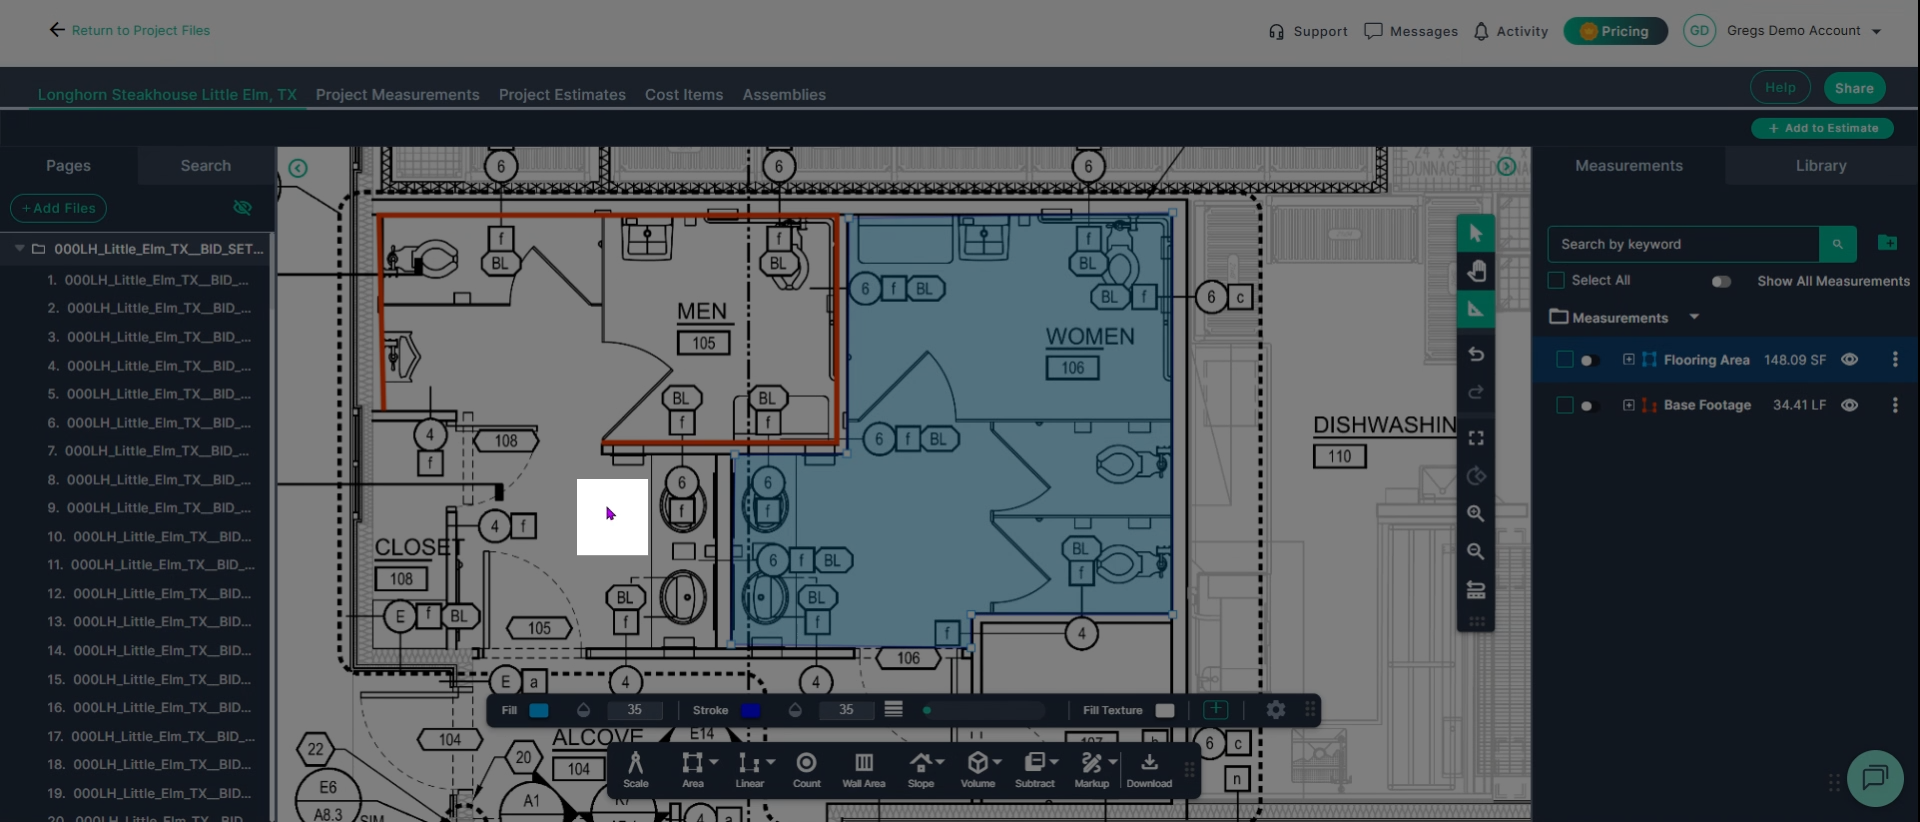
Step 4: When you’re done with the edit, click anywhere in the white space to exit edit mode.
Step 5: You're not limited to polygons—lines can be edited too. Click the line for the baseboard material in the upper restroom.
Step 6: If you need to include a wall or adjust the line, click on the line to show edit points.
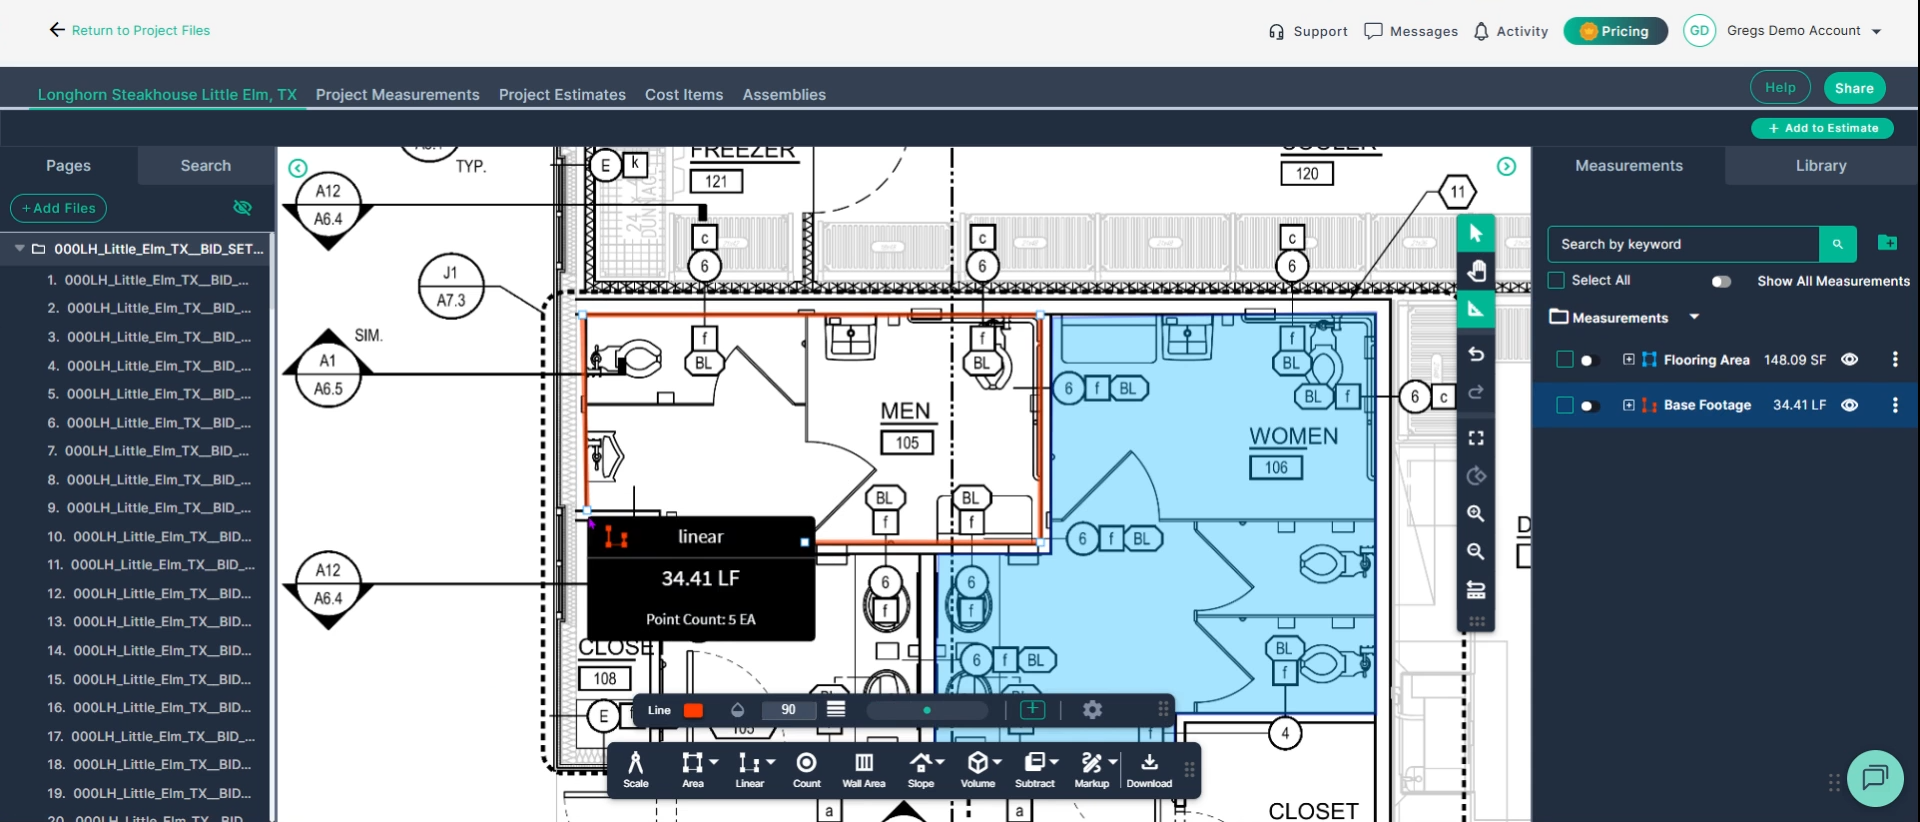
Step 7: Drag an edit point to the new location by selecting it and holding the left mouse button.
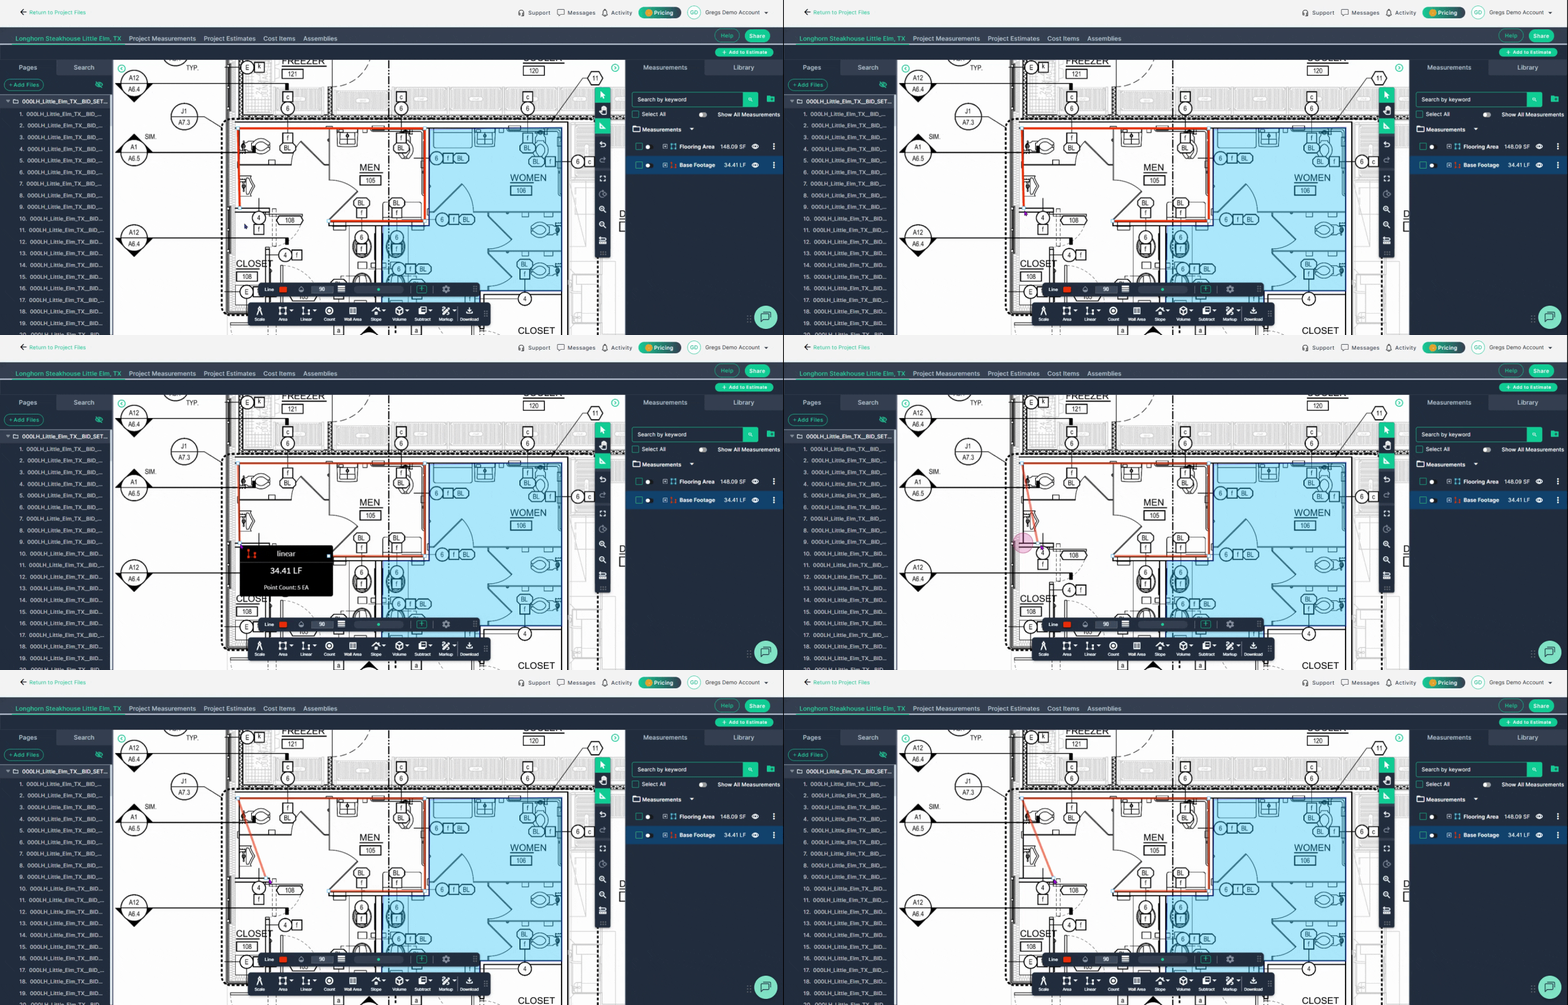
Step 8: For greater precision, double-click anywhere on the line to add a new edit point, giving you more control for fine-tuned adjustments.
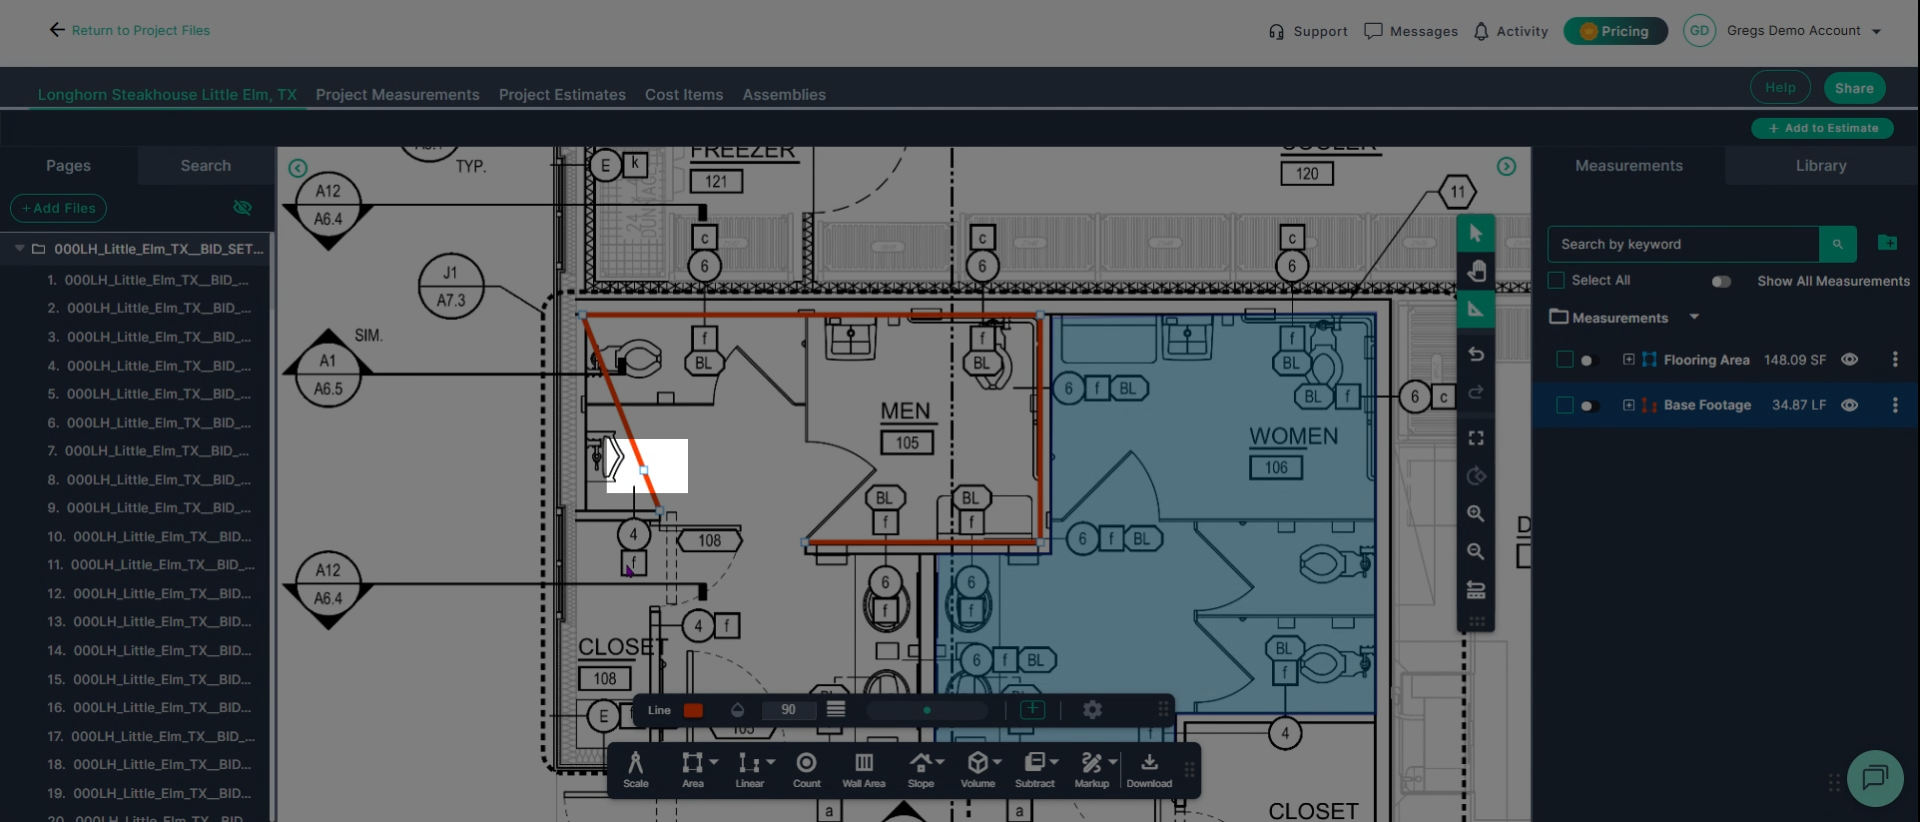
Step 9: Click the white space to finish editing. With the animated GIF below, you’ll see how to complete edits and confirm changes smoothly.
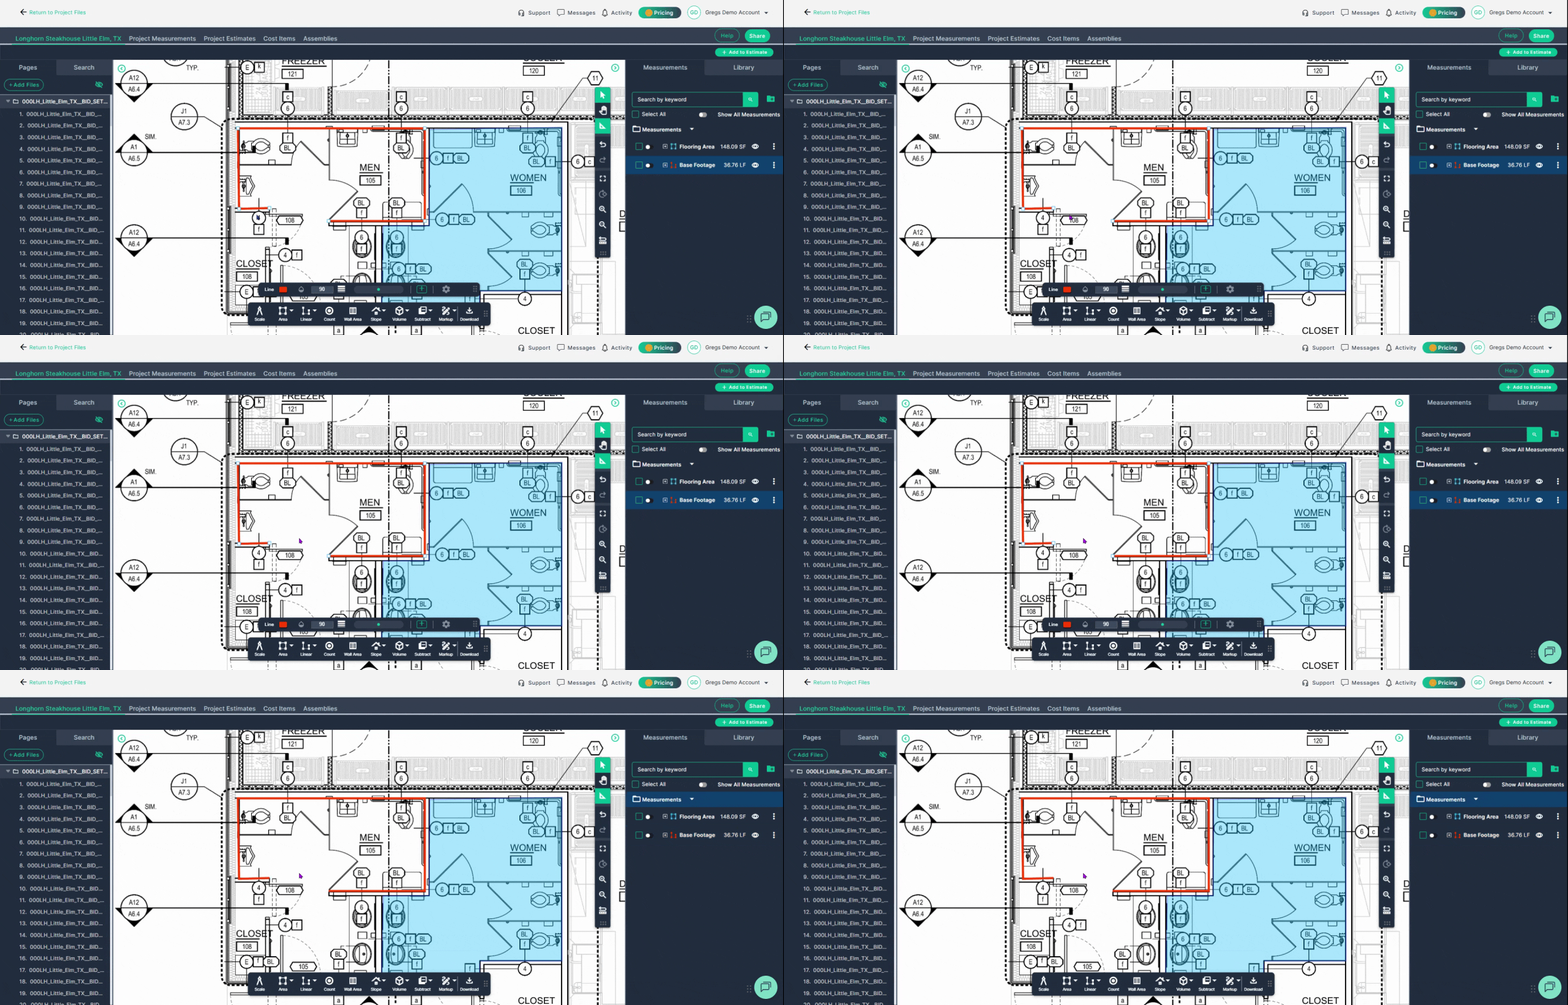
Takeoff edits in planHub are quick and flexible with these animated steps. Follow along to keep your plans accurate and up to date.
Troubleshooting
Contact us if you need assistance or to report an issue:
- PlanHub Contact Page: https://planhub.com/contact/
- Customer Facing Support Ticket Link: https://knowledgebase.planhub.com/knowledge/kb-tickets/new
- Customer Success Team: CustomerSuccess@planhub.com