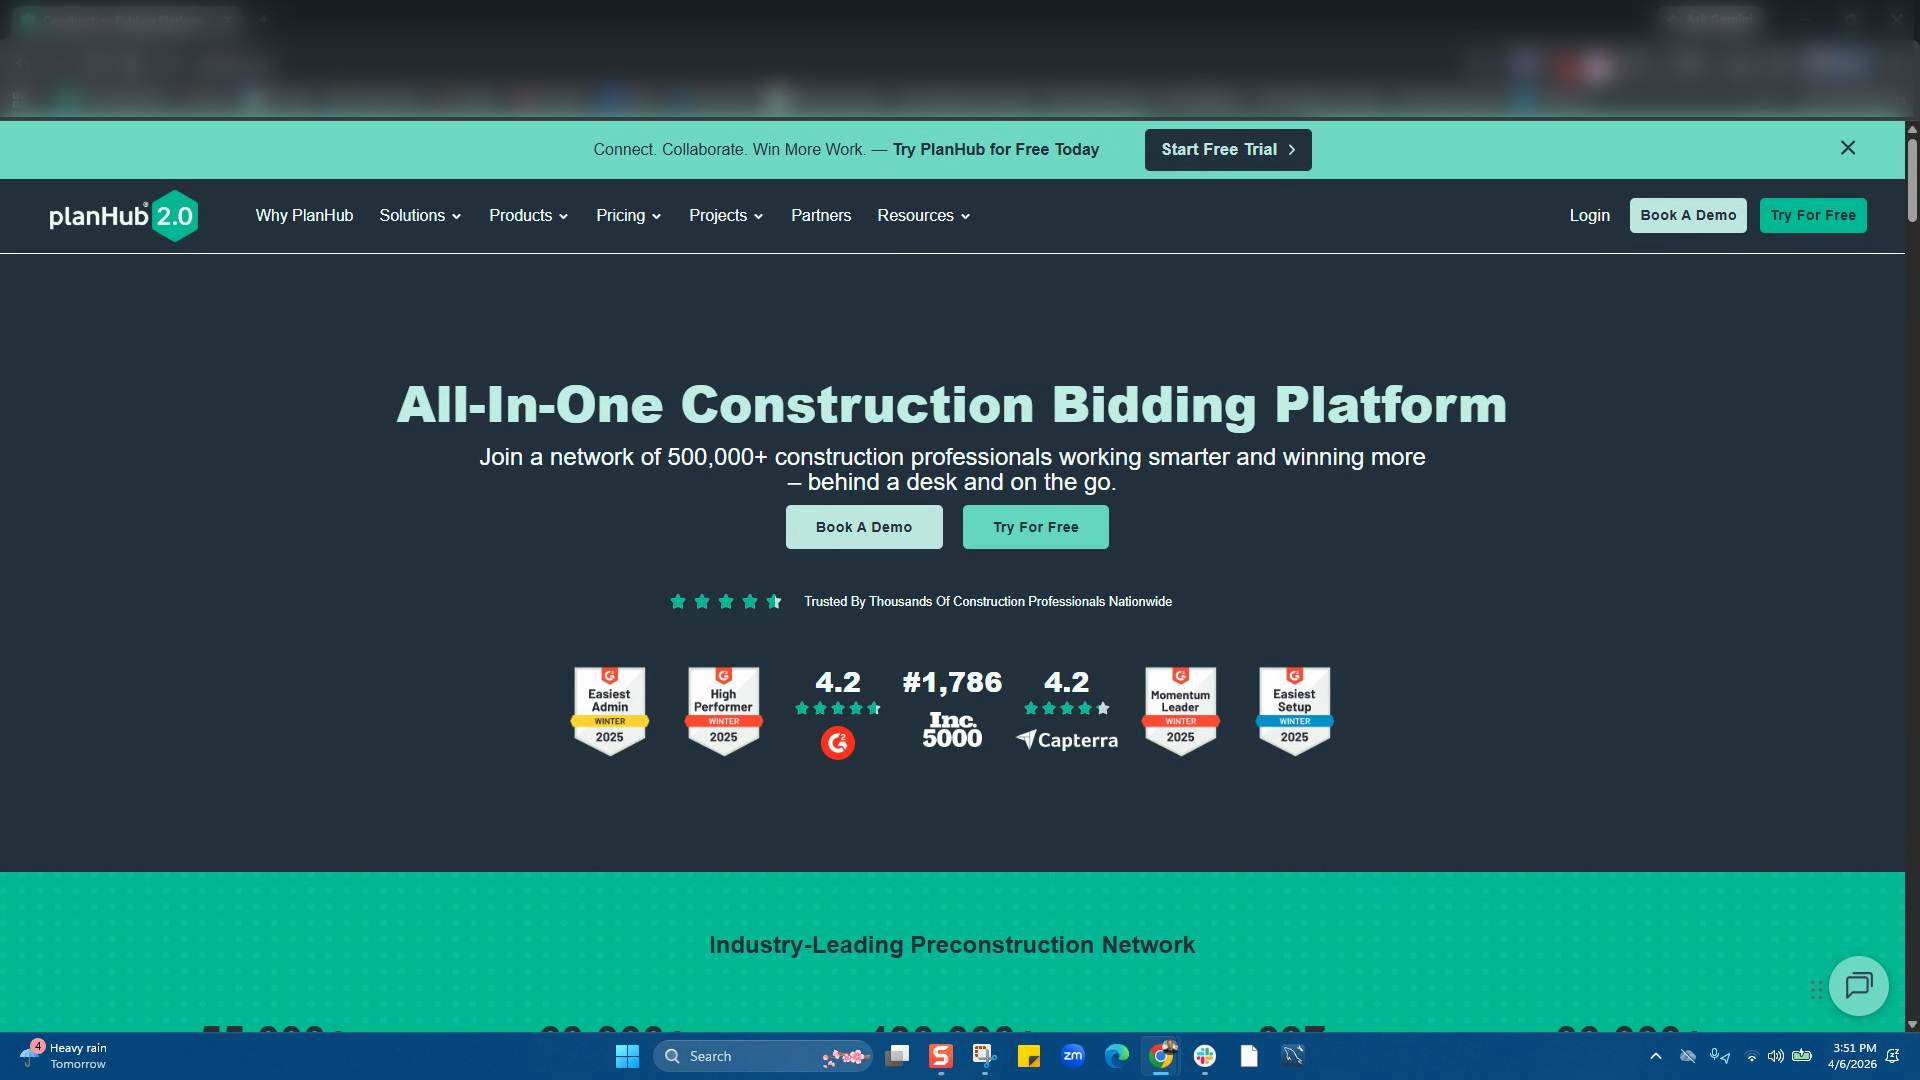
Step 1: Enter planhub.com into your web browser’s address bar to access the platform.
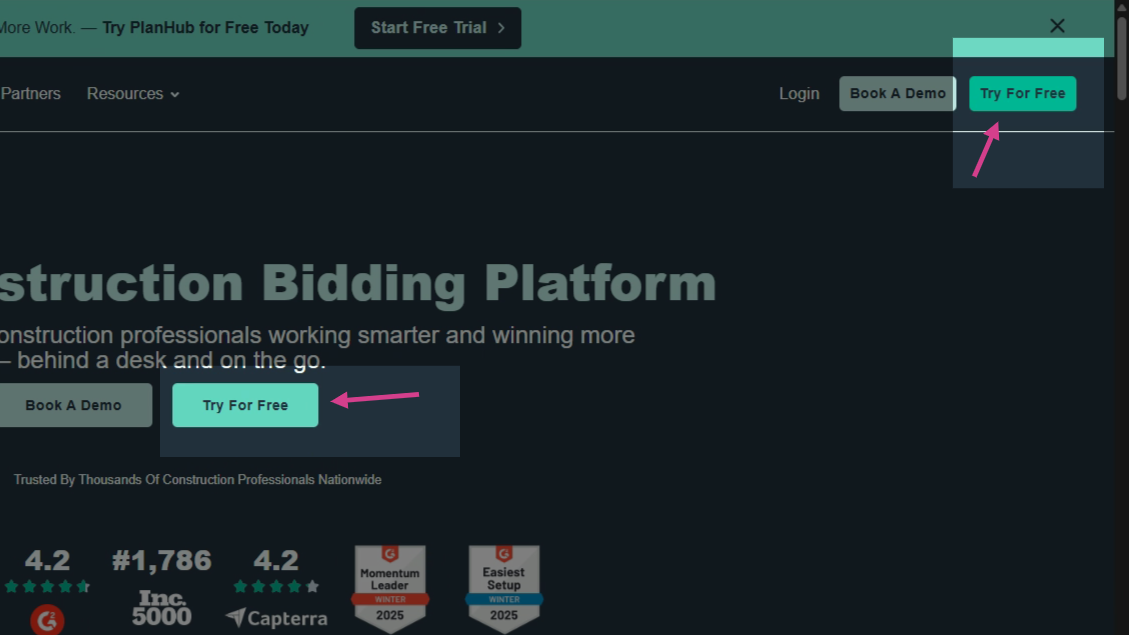
Step 2: Click on the "Try for Free" button.
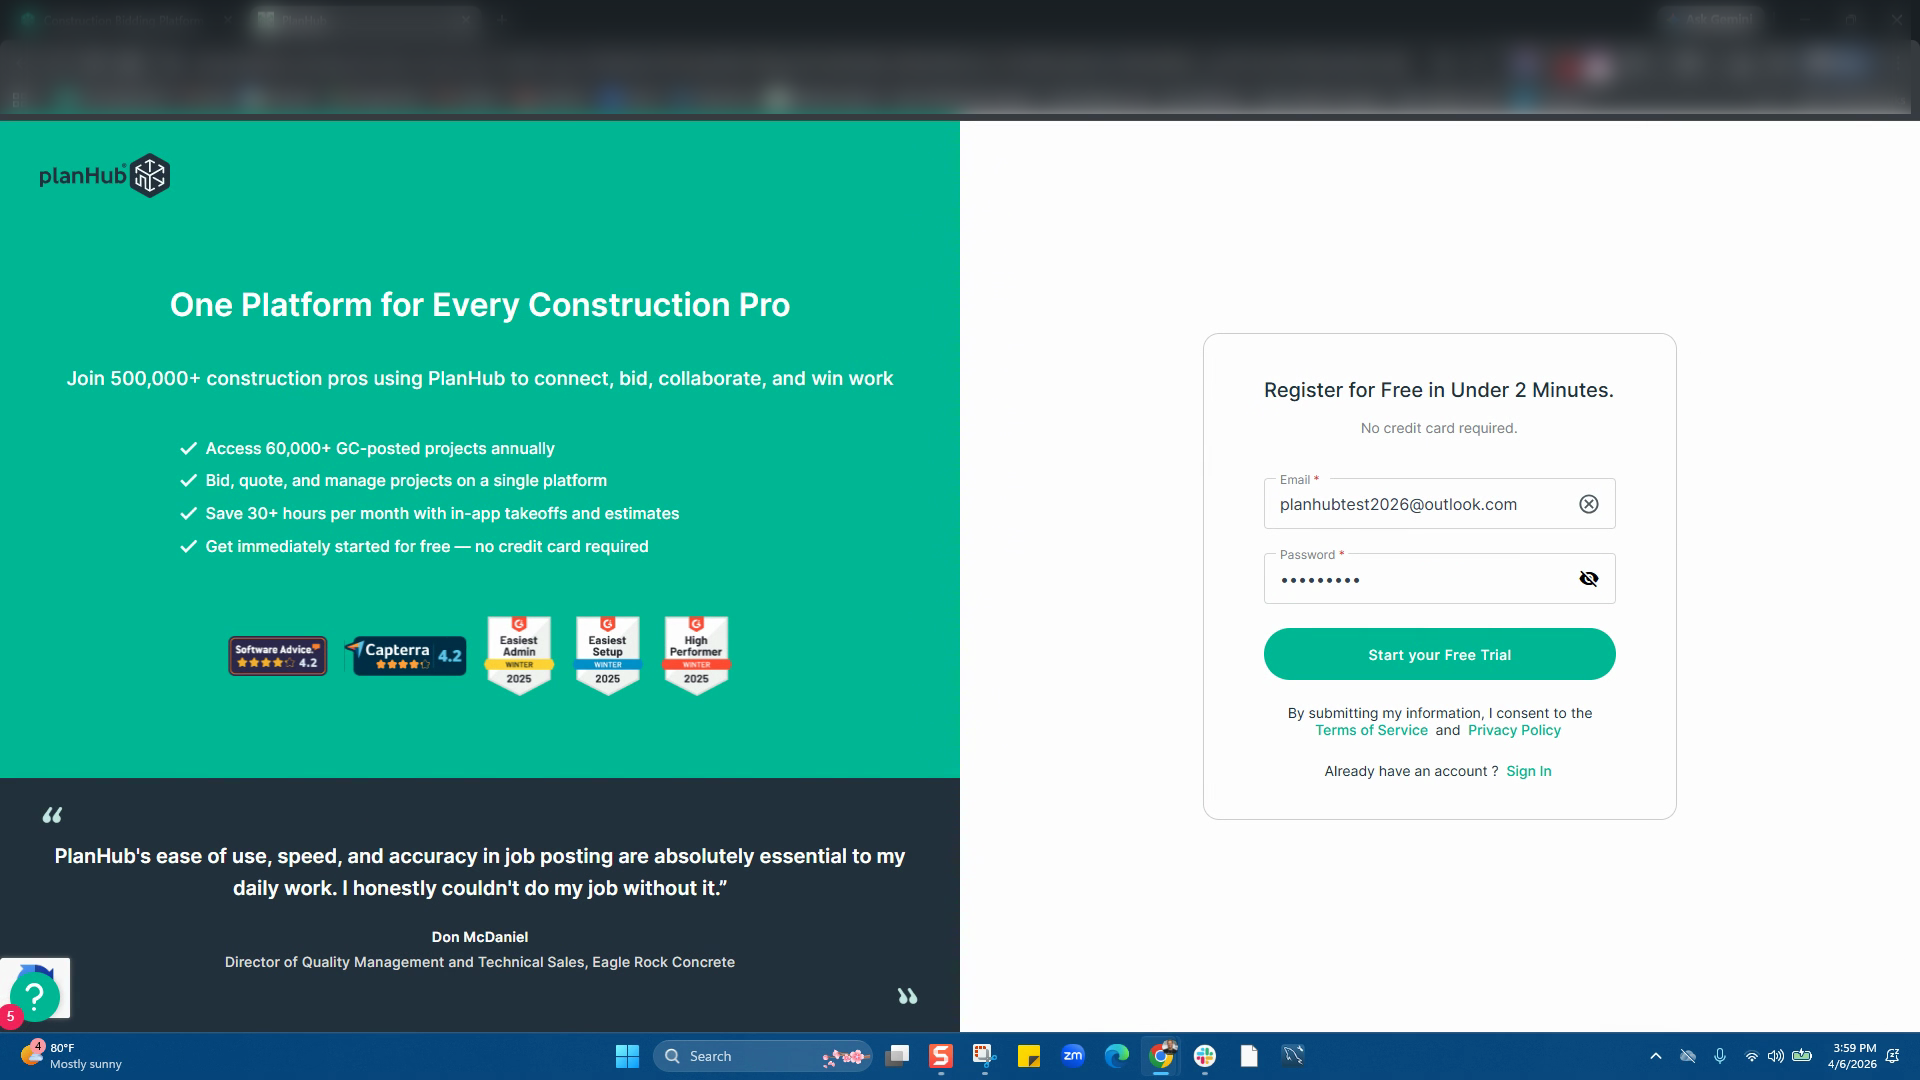
Step 3: Enter your company email address and create a password and review then agree to planHub’s terms and conditions. Next, click Start Your Free Trial.
Step 4: Select your company type — choose General Contractor. (The general contactor will allow you to post your projects in planHub to accept bids/estimates from Subcontractors and Suppliers)
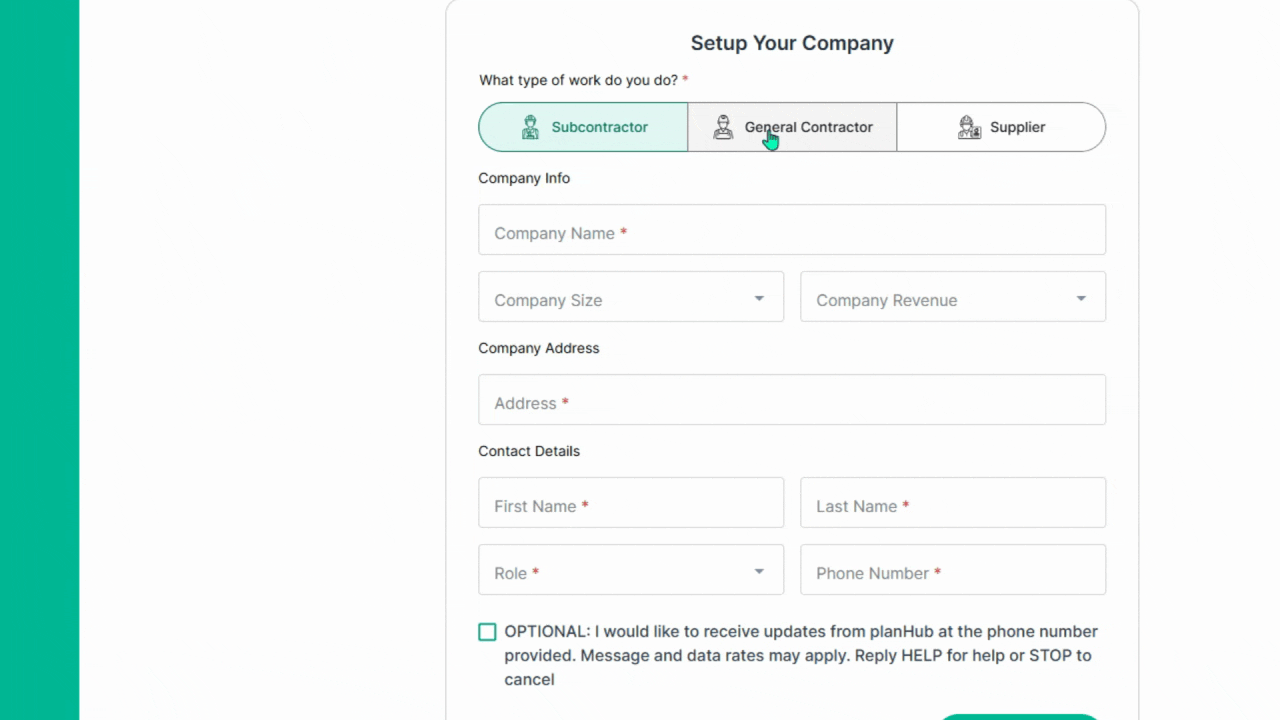
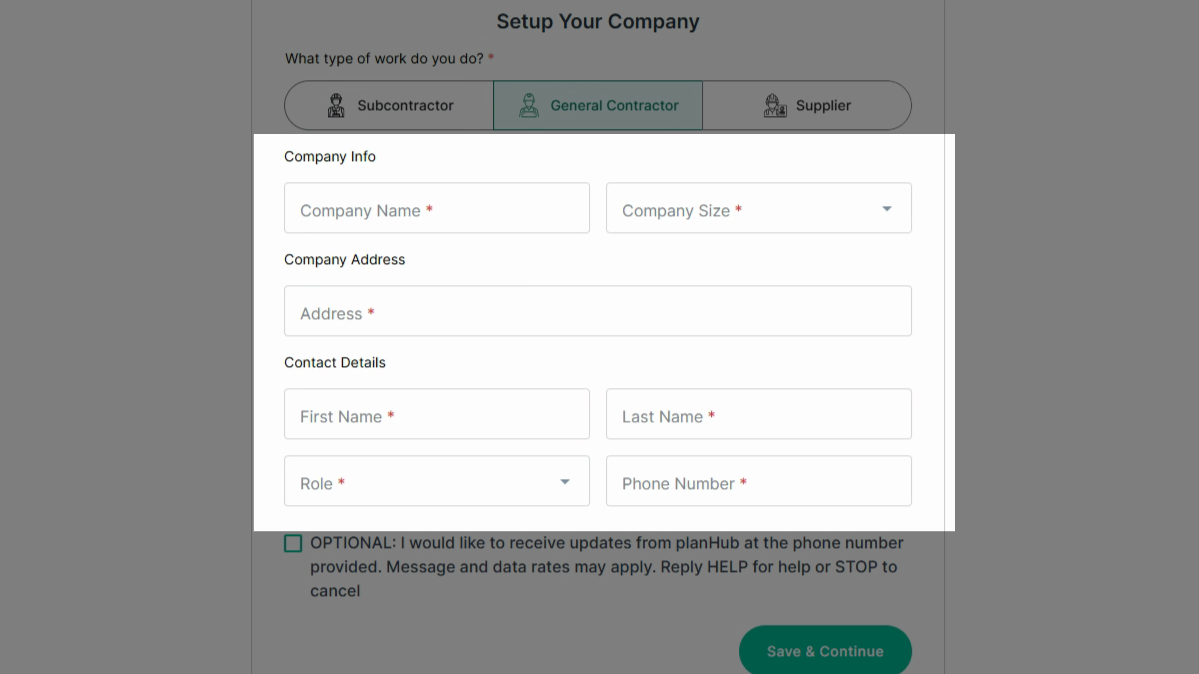
Step 5: Next, enter your company’s basic information. Enter all required details in each box marked with an asterisk (*).
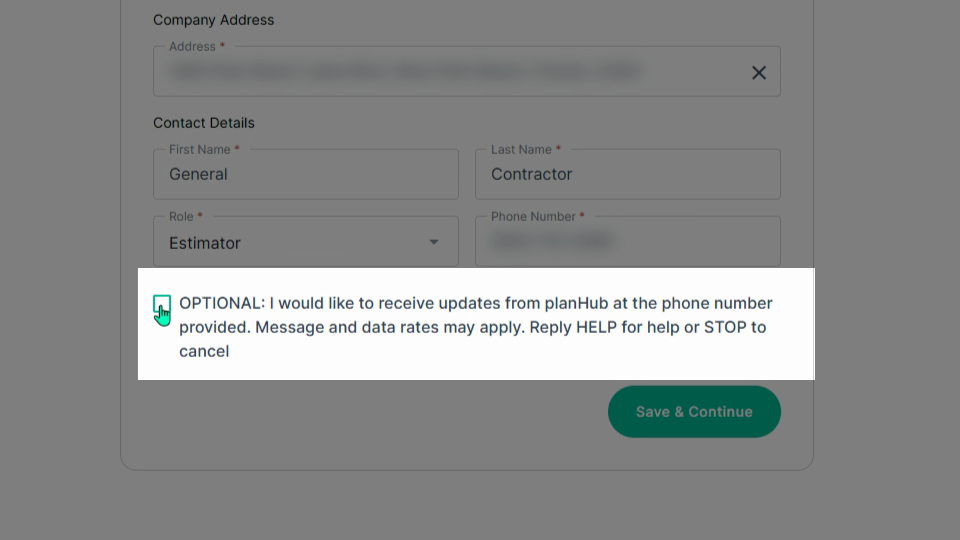
Step 6: Optional: Opt in to receive updates via the phone number provided. Add a check mark to the box or skip the option, then click Save and Continue.
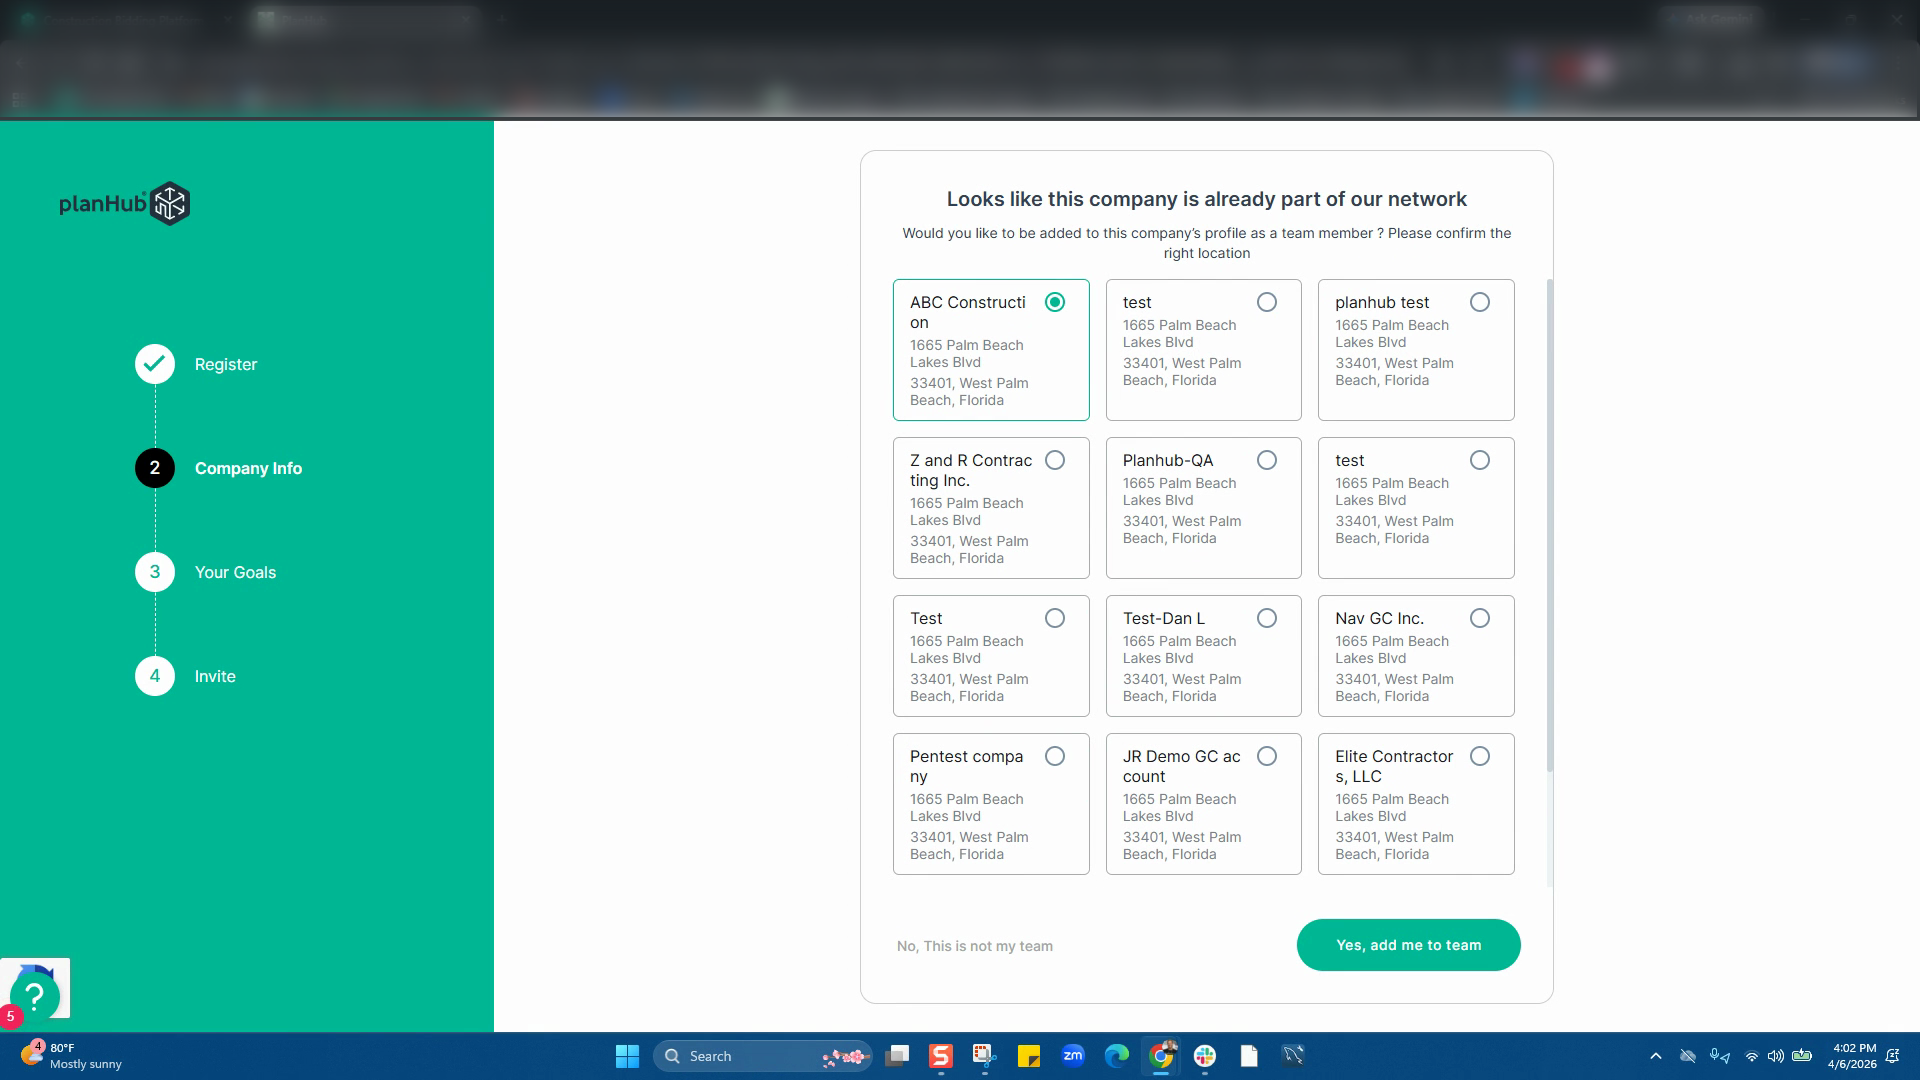
Step 7: If planHub finds an existing company name matching your entry, you can then select the company you want to be added to and click Yes, Add Me to Team to proceed. If you do not see your associated company listed, click No, This is Not My Team to proceed.
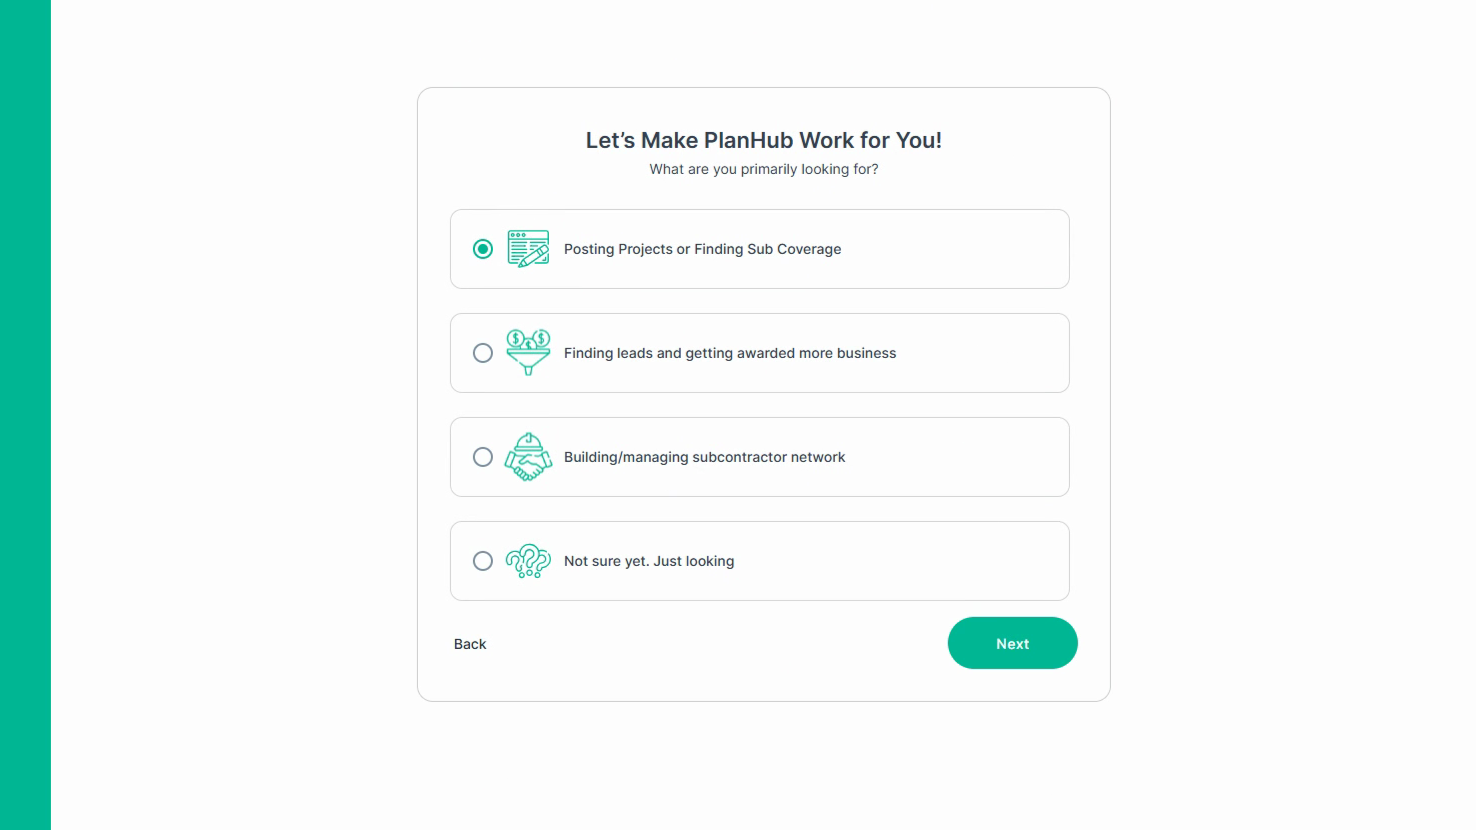
Step 8: Select your goals for joining planHub and click Next.
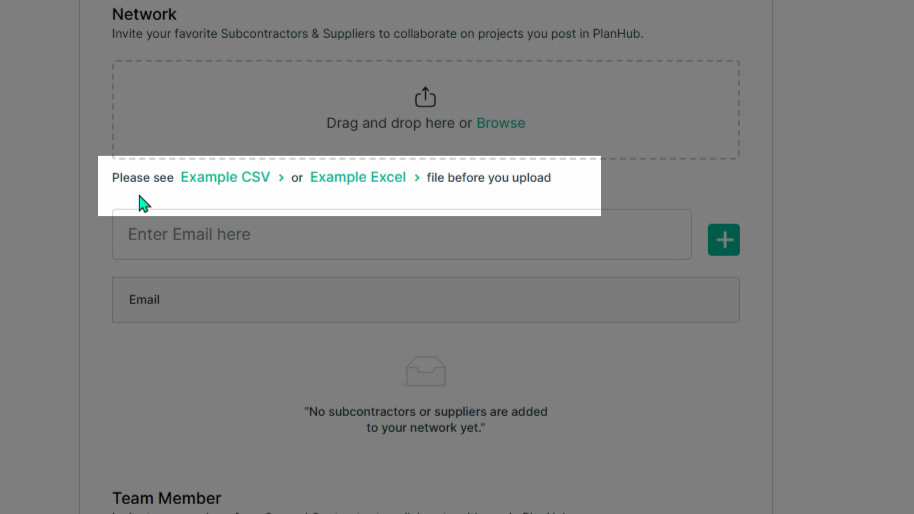
Step 9: Upload a list of your subcontractors and suppliers by clicking Browse, or drop and drag your spreadsheet file. You may also enter their email addresses in the box provided below the browse section.
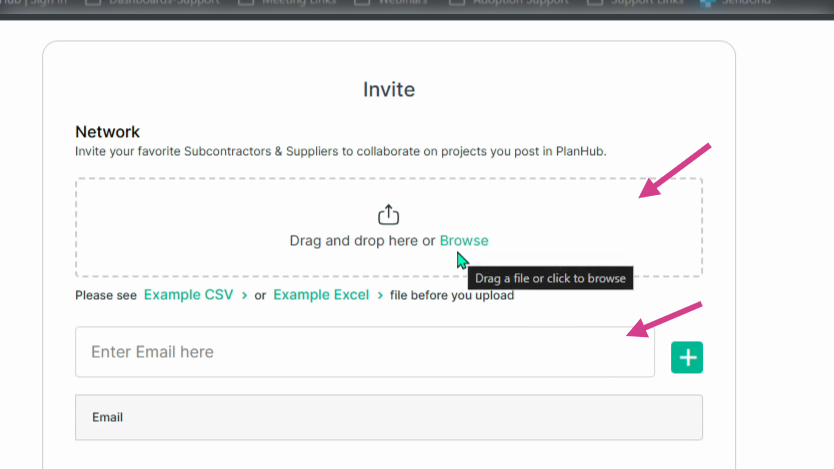
Step 10: Download the example Excel or Google Sheets CSV templates for guidance on formatting when uploading your Sub/Supplier list. For additional assistance with uploading your spreadsheet file, please see our How to upload your subcontractor and supplier network Knowledge Base article.
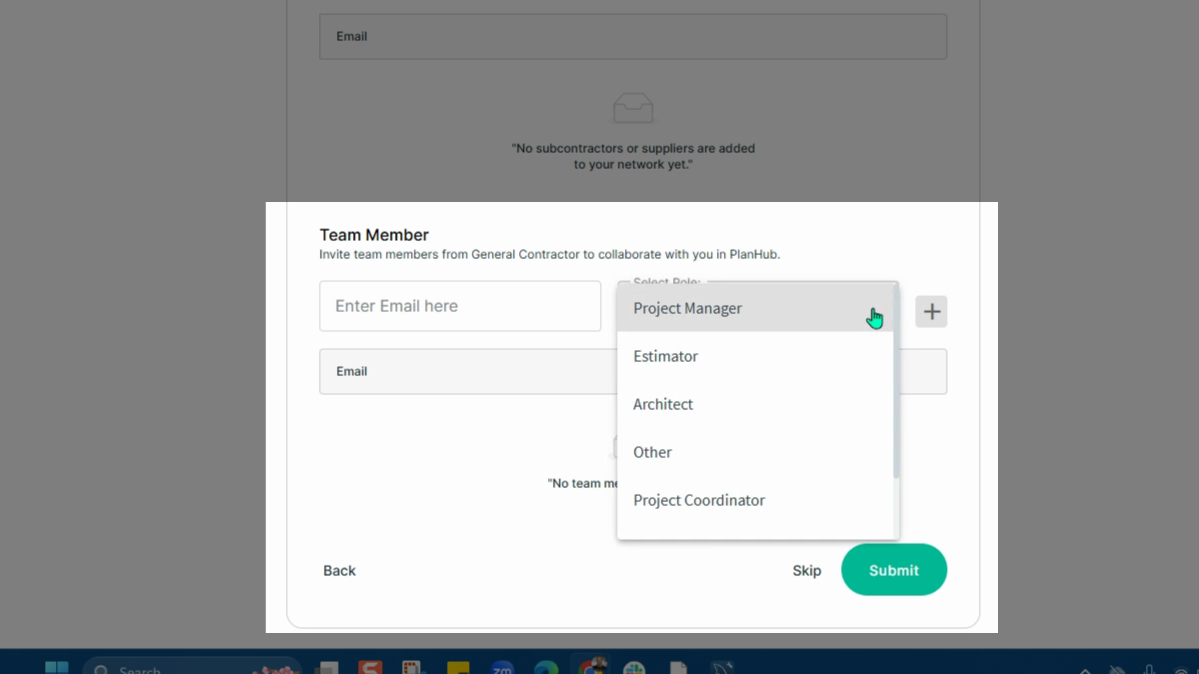
Step 11: Next, invite team members, who have not previously registered their company email address with planHub, by entering their company email addresses, selecting their roles from the drop-down menu, and clicking the plus sign to add them.
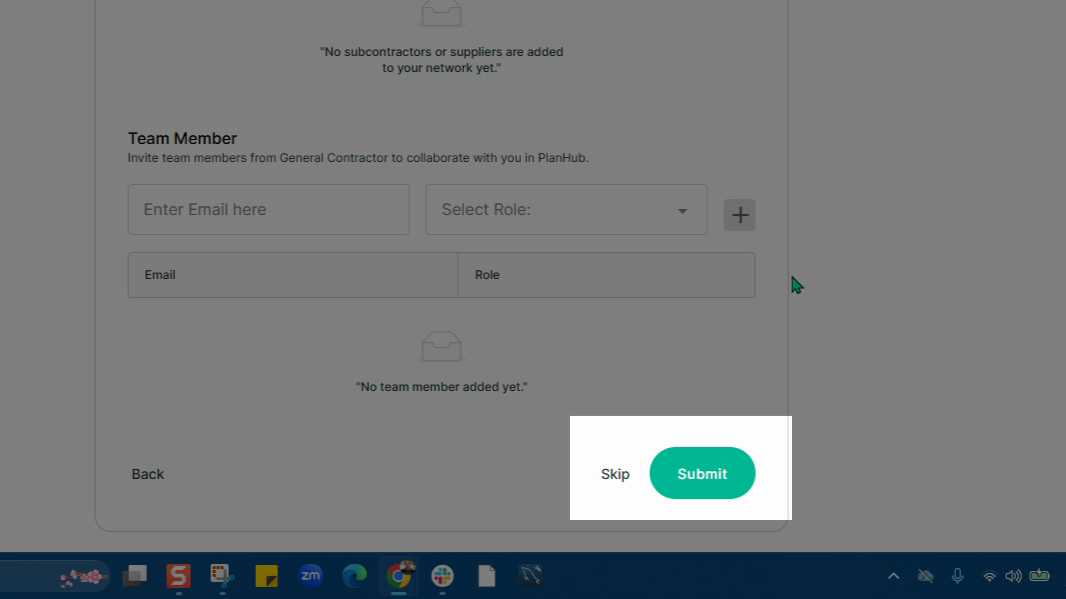
Step 12: Click Submit or Skip to complete the set up of your company planHub account.
Step 13: You’ll then be brought into your new general contractor account.
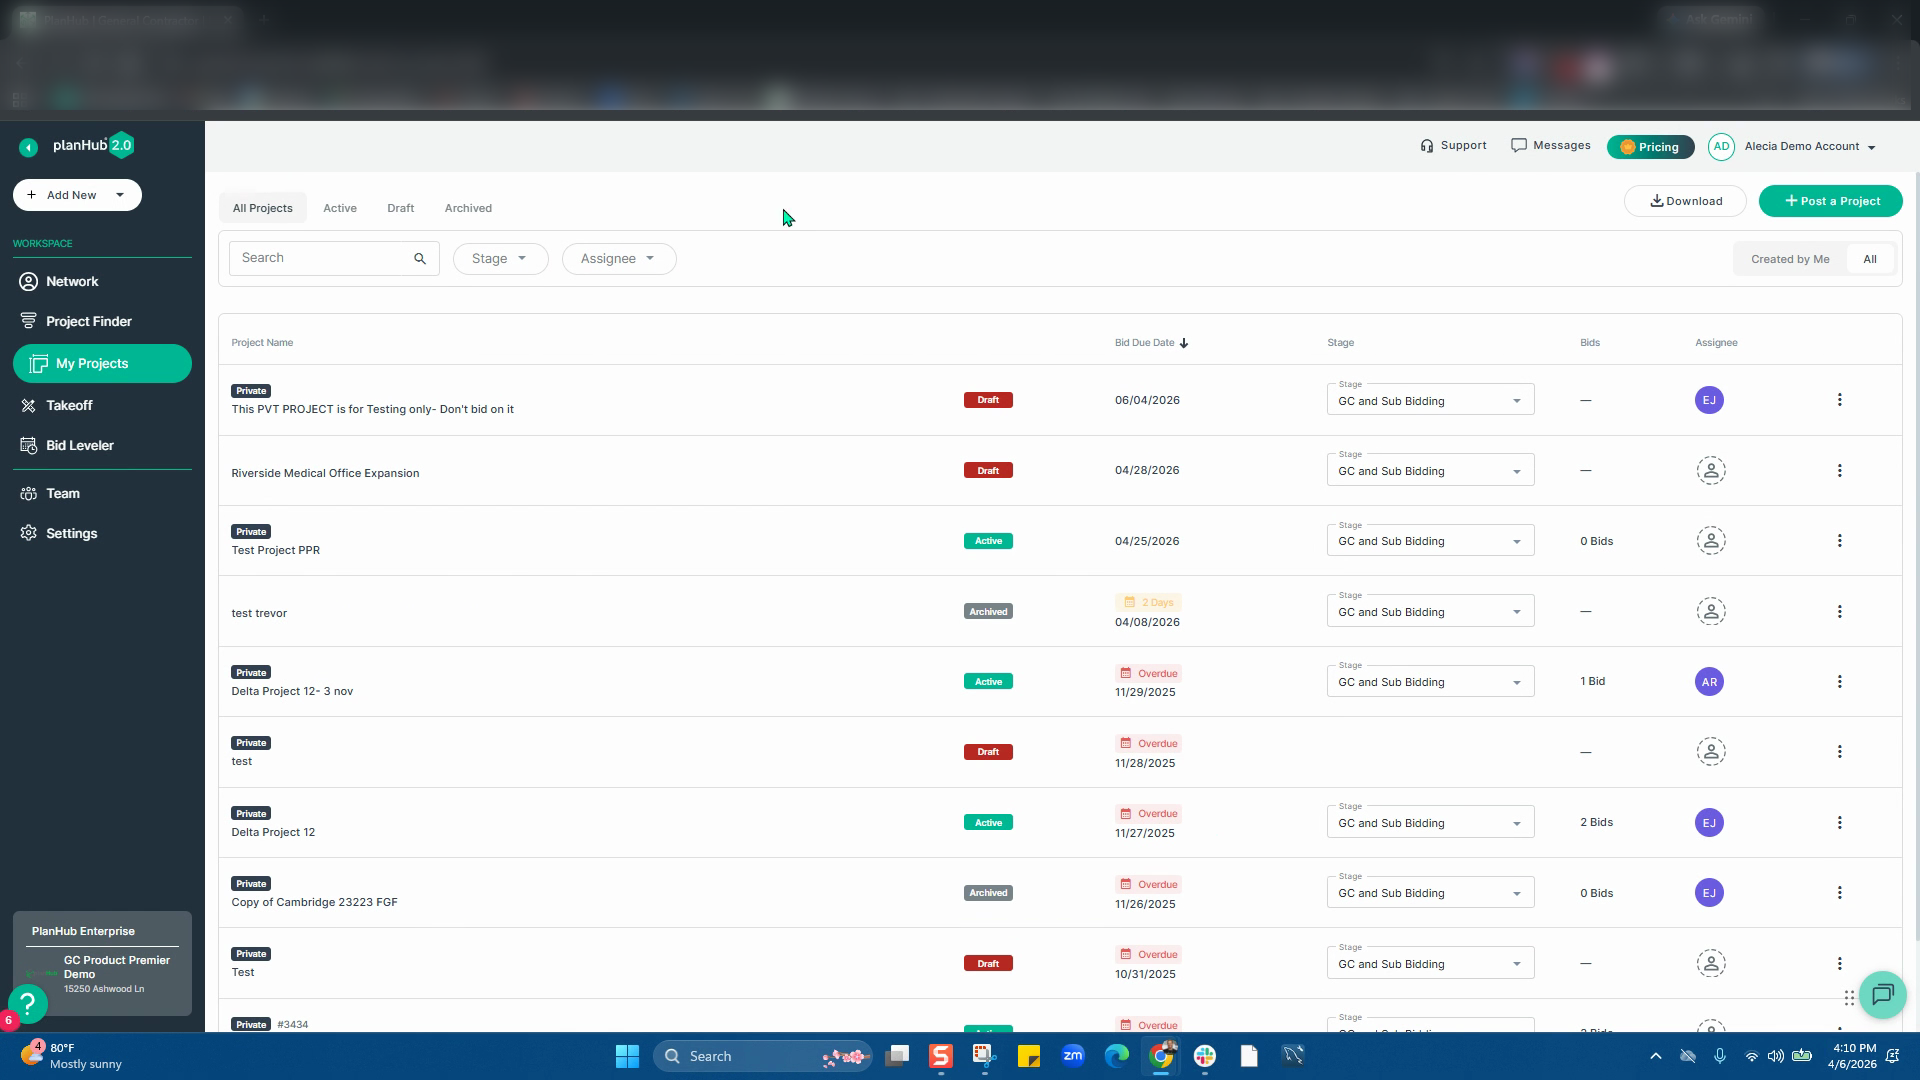
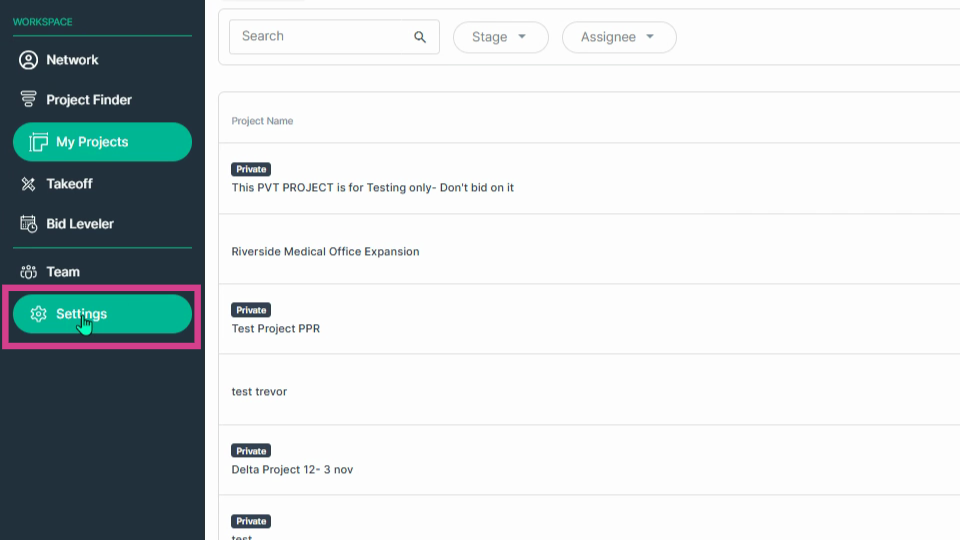
Step 14: You can now review and complete your company information in the Settings from the main panel at the left side.
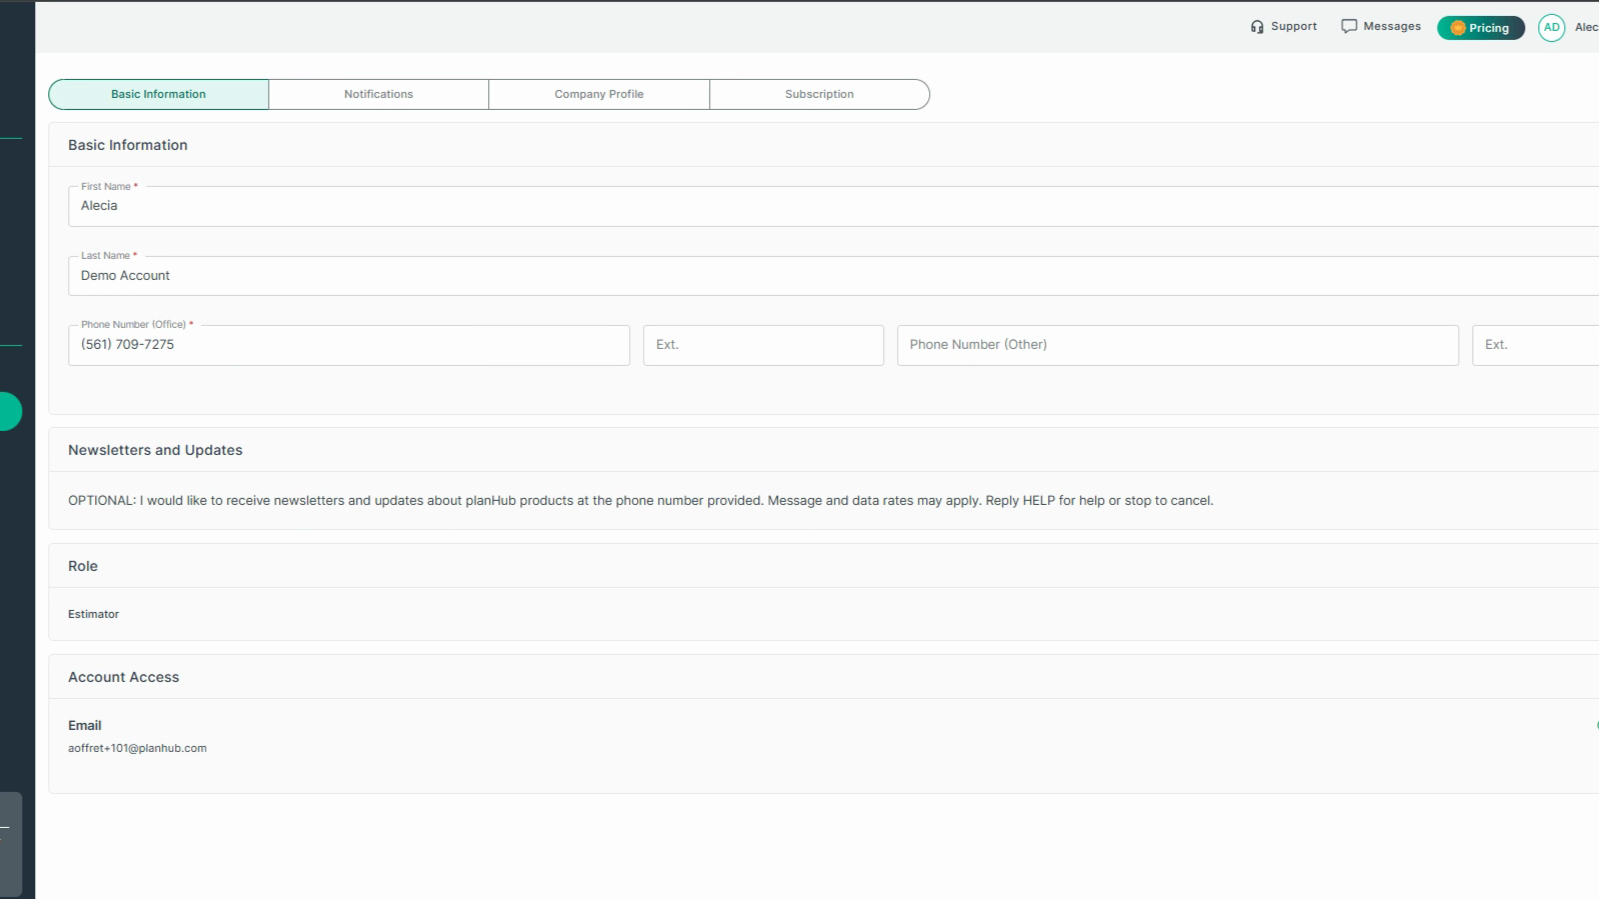
Step 15: Under the Basic Information tab, complete your user profile details, including your name, phone number, then toggle off/on the newsletters and updates notification as desired.
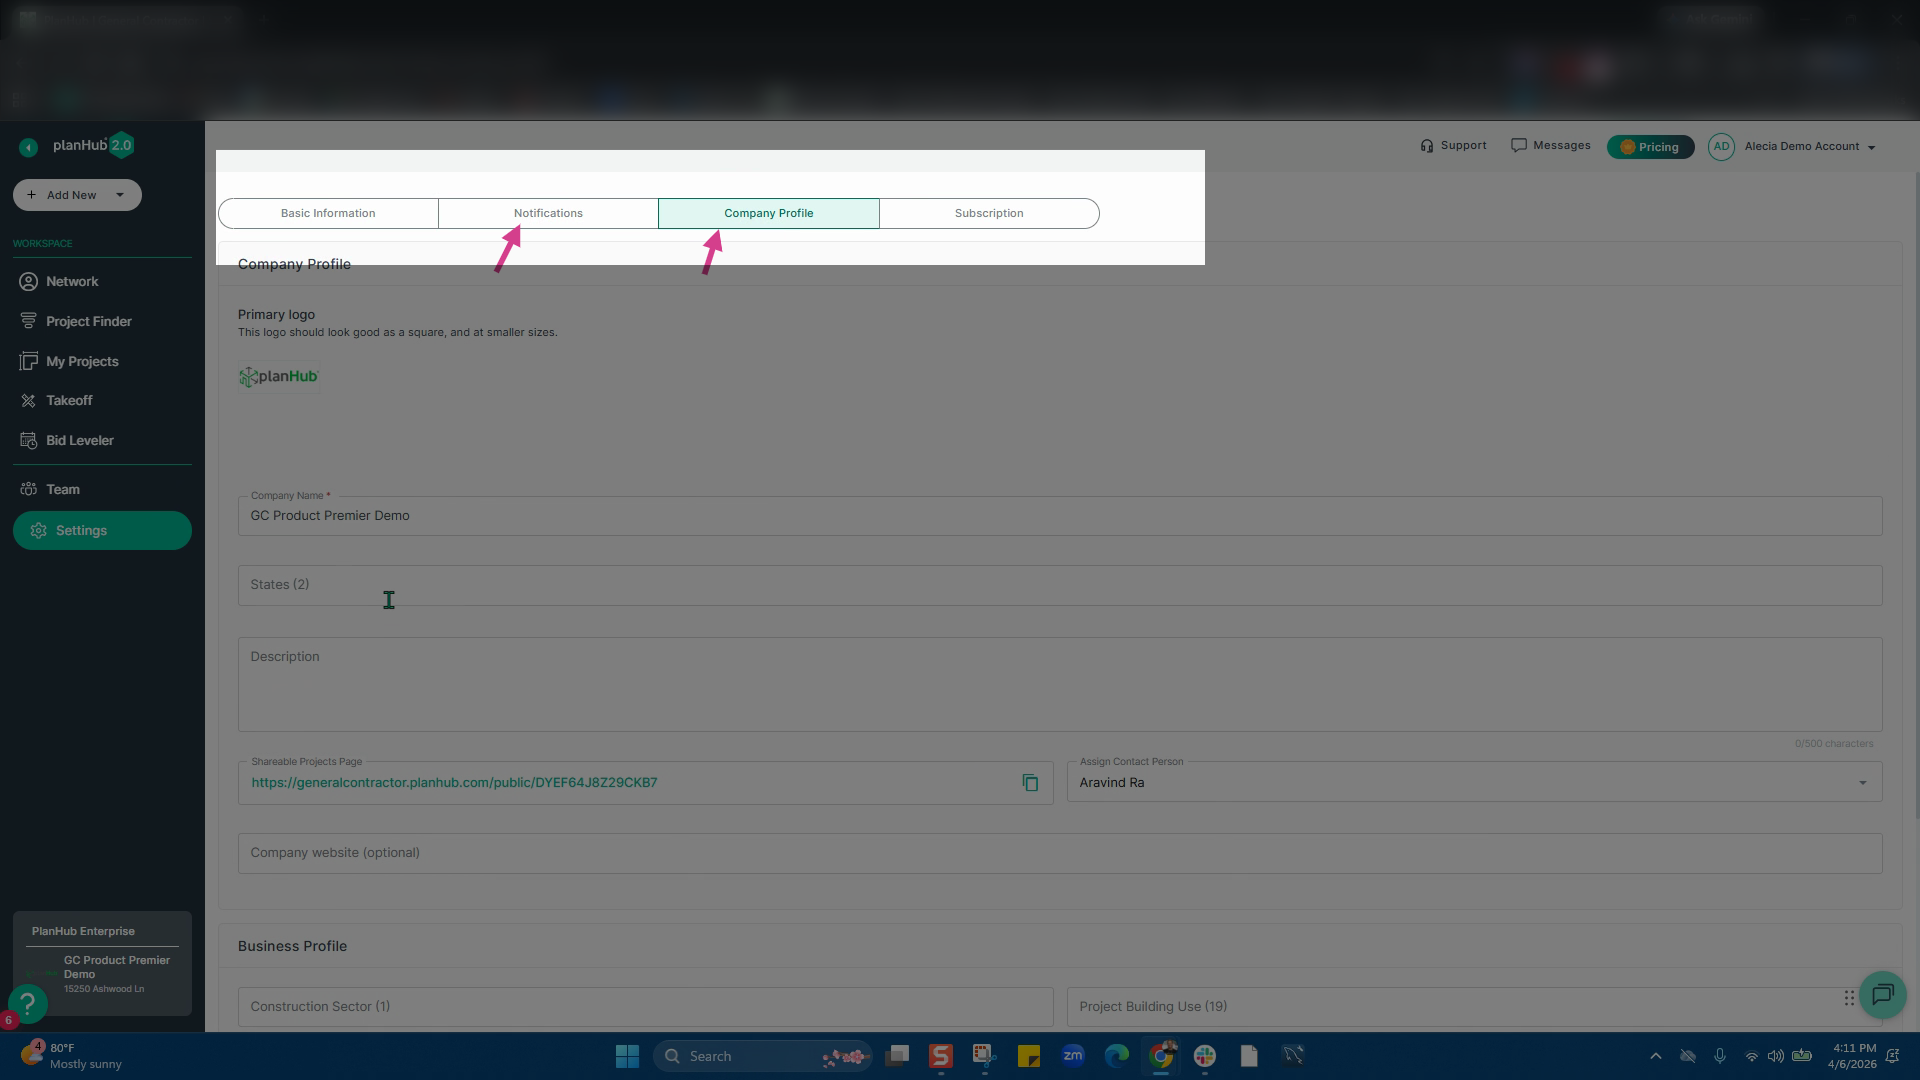
Step 16: Adjust your notification preferences and complete your company profile if previously skipped when signing up for your planHub account.
Step 17: Lastly, you can view and update your subscription under the Subscription tab.

Congratulations—your planHub General Contractor account profile is now set up and ready for immediate use! You can now begin posting projects, at no cost, to connect with our broad network of subcontractors and suppliers, expand your project visibility, and receive competitive bids from qualified local professionals.
Troubleshooting
Contact us if you need assistance or to report an issue:
- PlanHub Contact Page: https://planhub.com/contact/
- Customer Facing Support Ticket Link: https://knowledgebase.planhub.com/knowledge/kb-tickets/new
- Customer Success Team: CustomerSuccess@planhub.com