Easily Update Trades and Send New Invitations for Your Project
Step 1: Edit Your Project
-
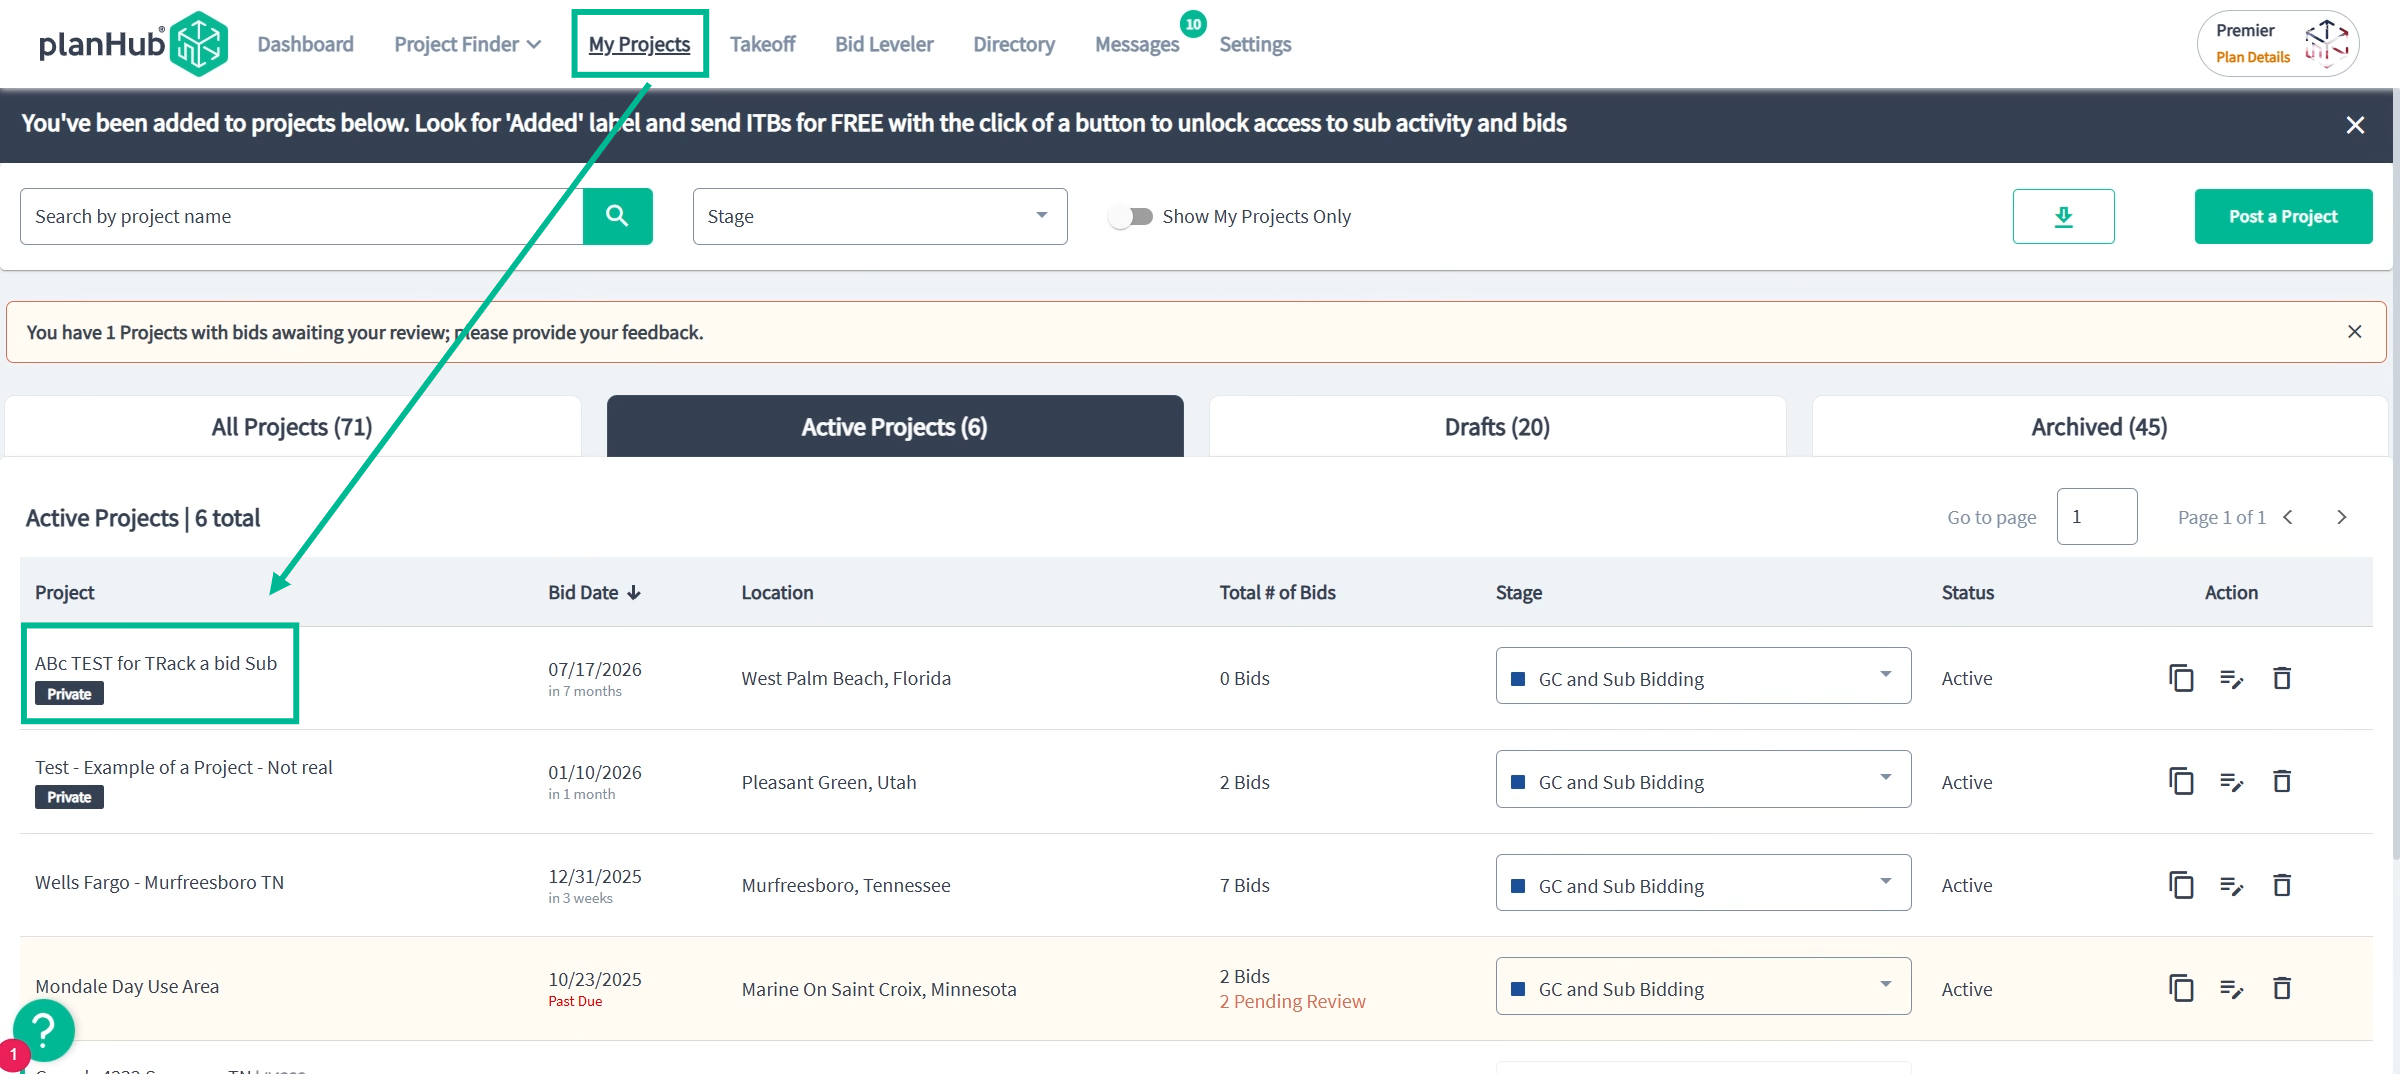
Locate your project on the My Projects page by browsing or searching.
-
You can edit either from the Projects List or from inside the Project Overview page
-
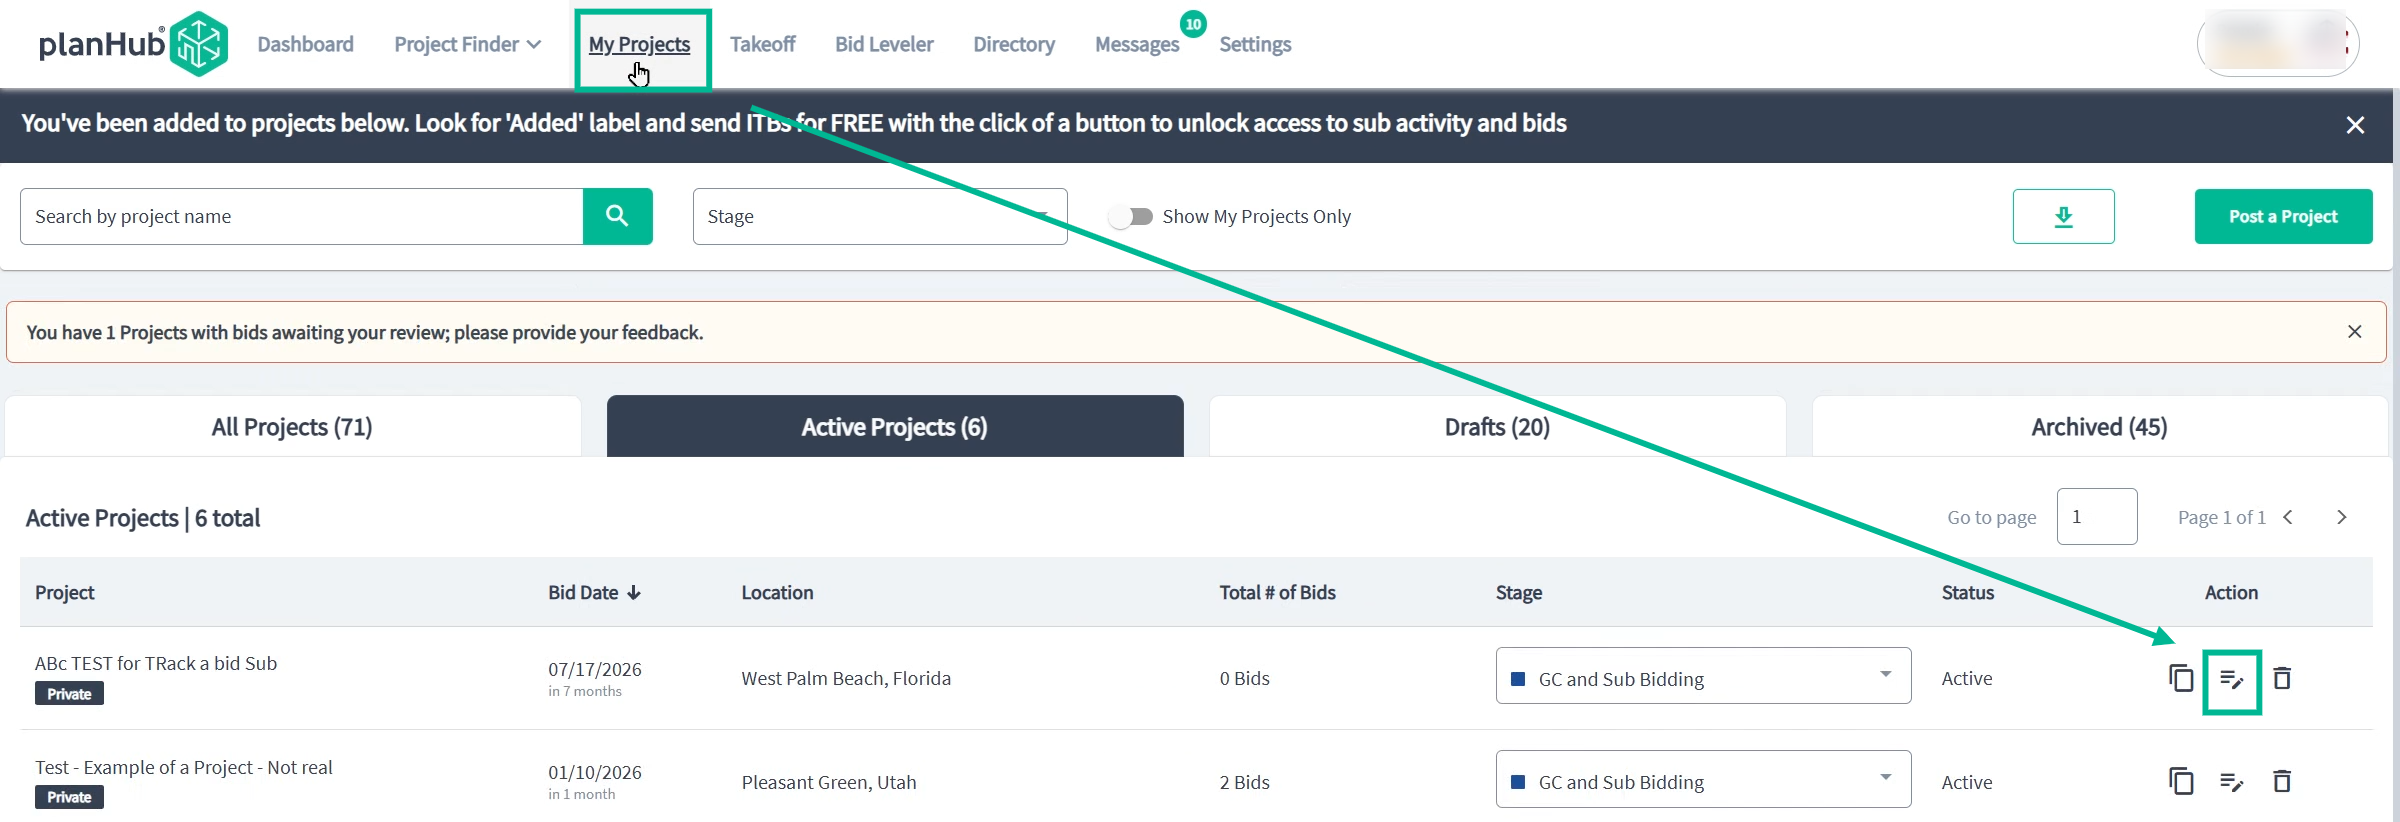
From the Project List:
Click the edit project icon on the projects page
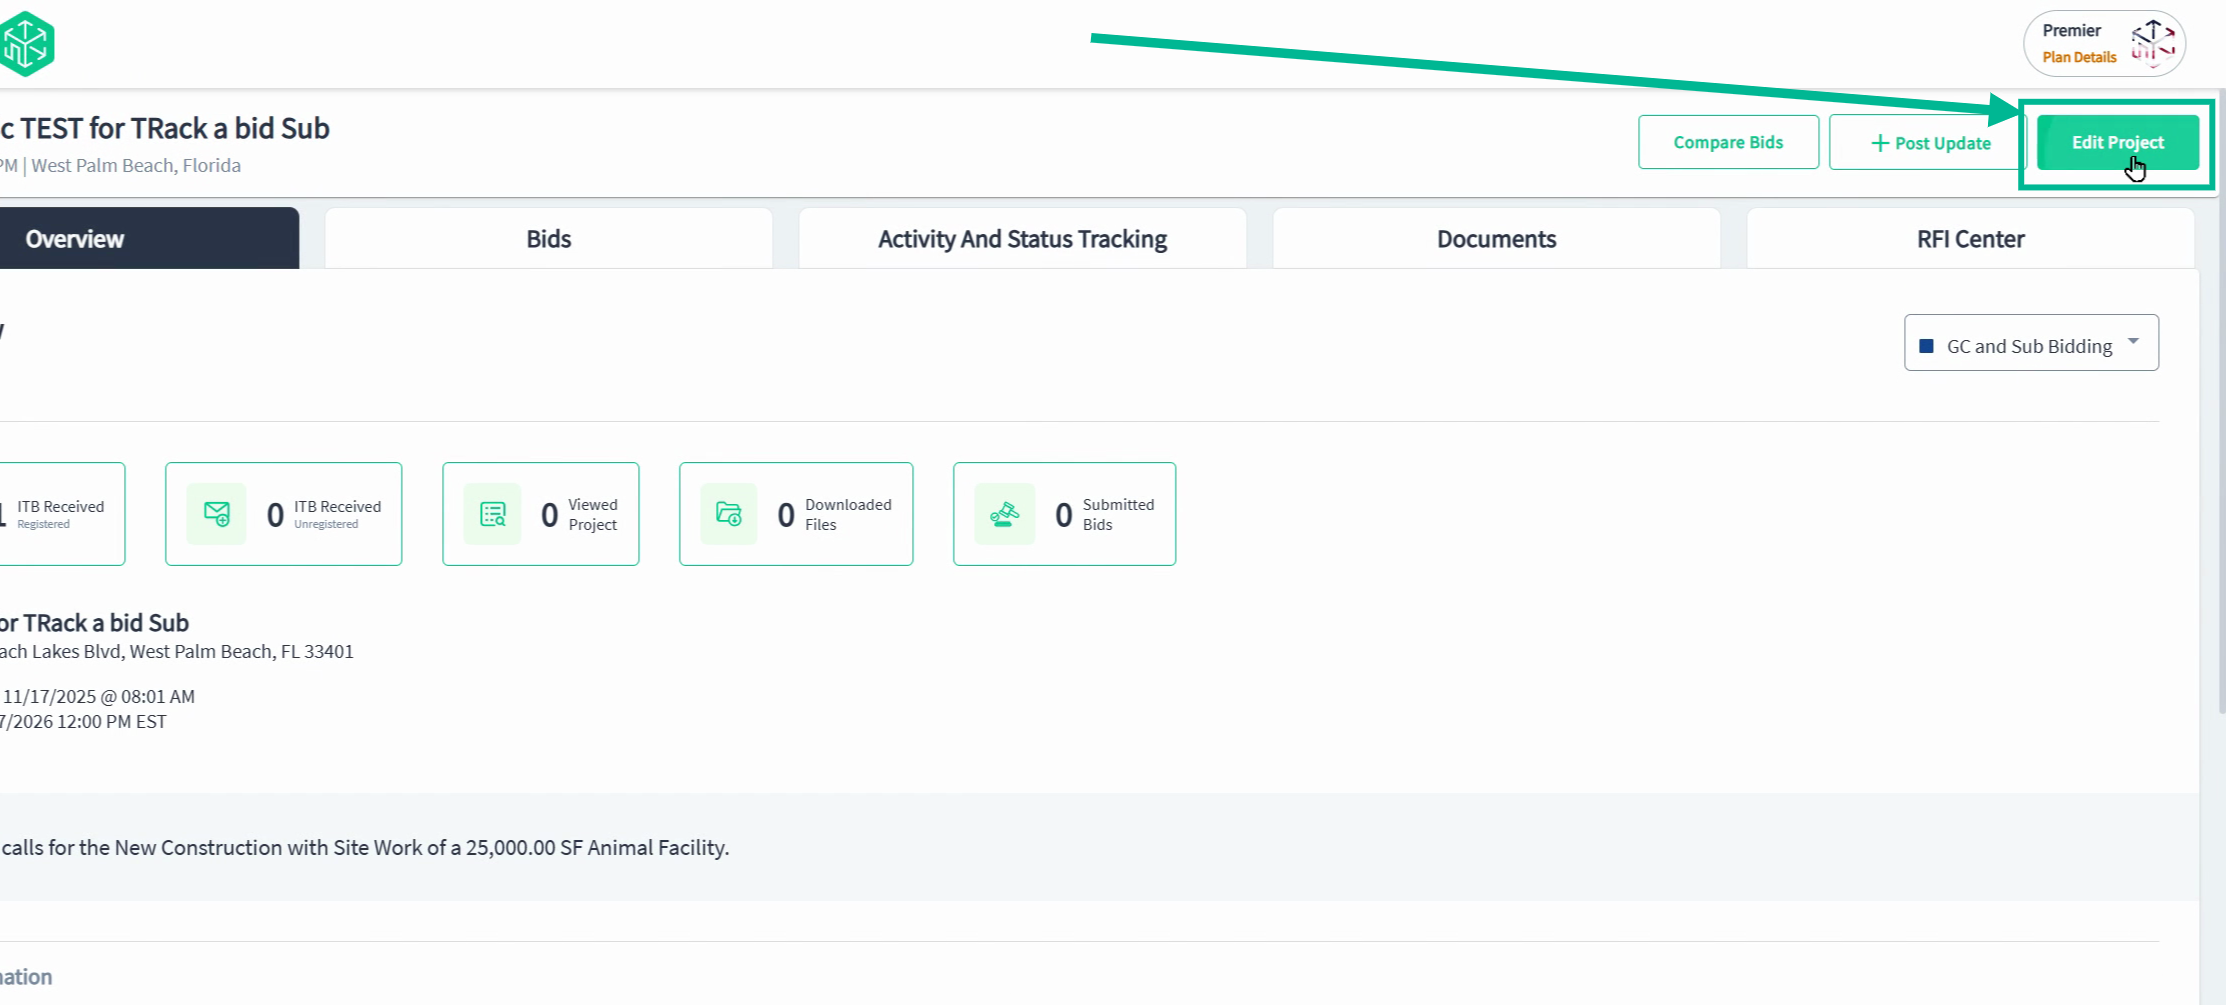
From the Project Overview Page:
To enter the Project Overview Page, click on the project name.
In the Project Overview Page, select Edit Project in the upper right corner
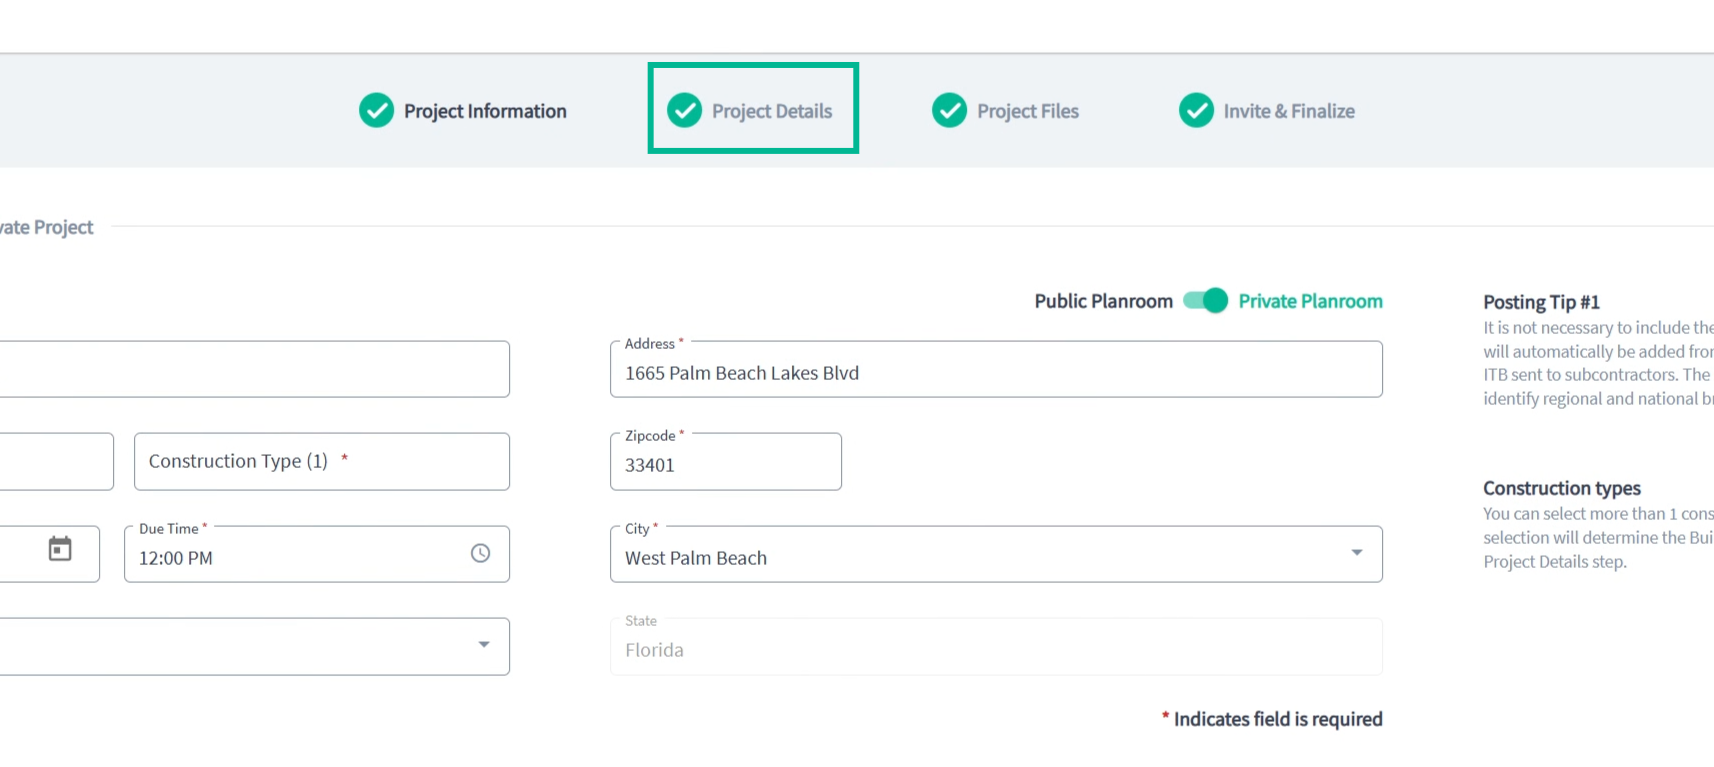
Step 2: Navigate to Project Details.
On the editing page, you will land on the first step, Project Information.
Make any adjustments needed to this step, and click "Save and Continue".
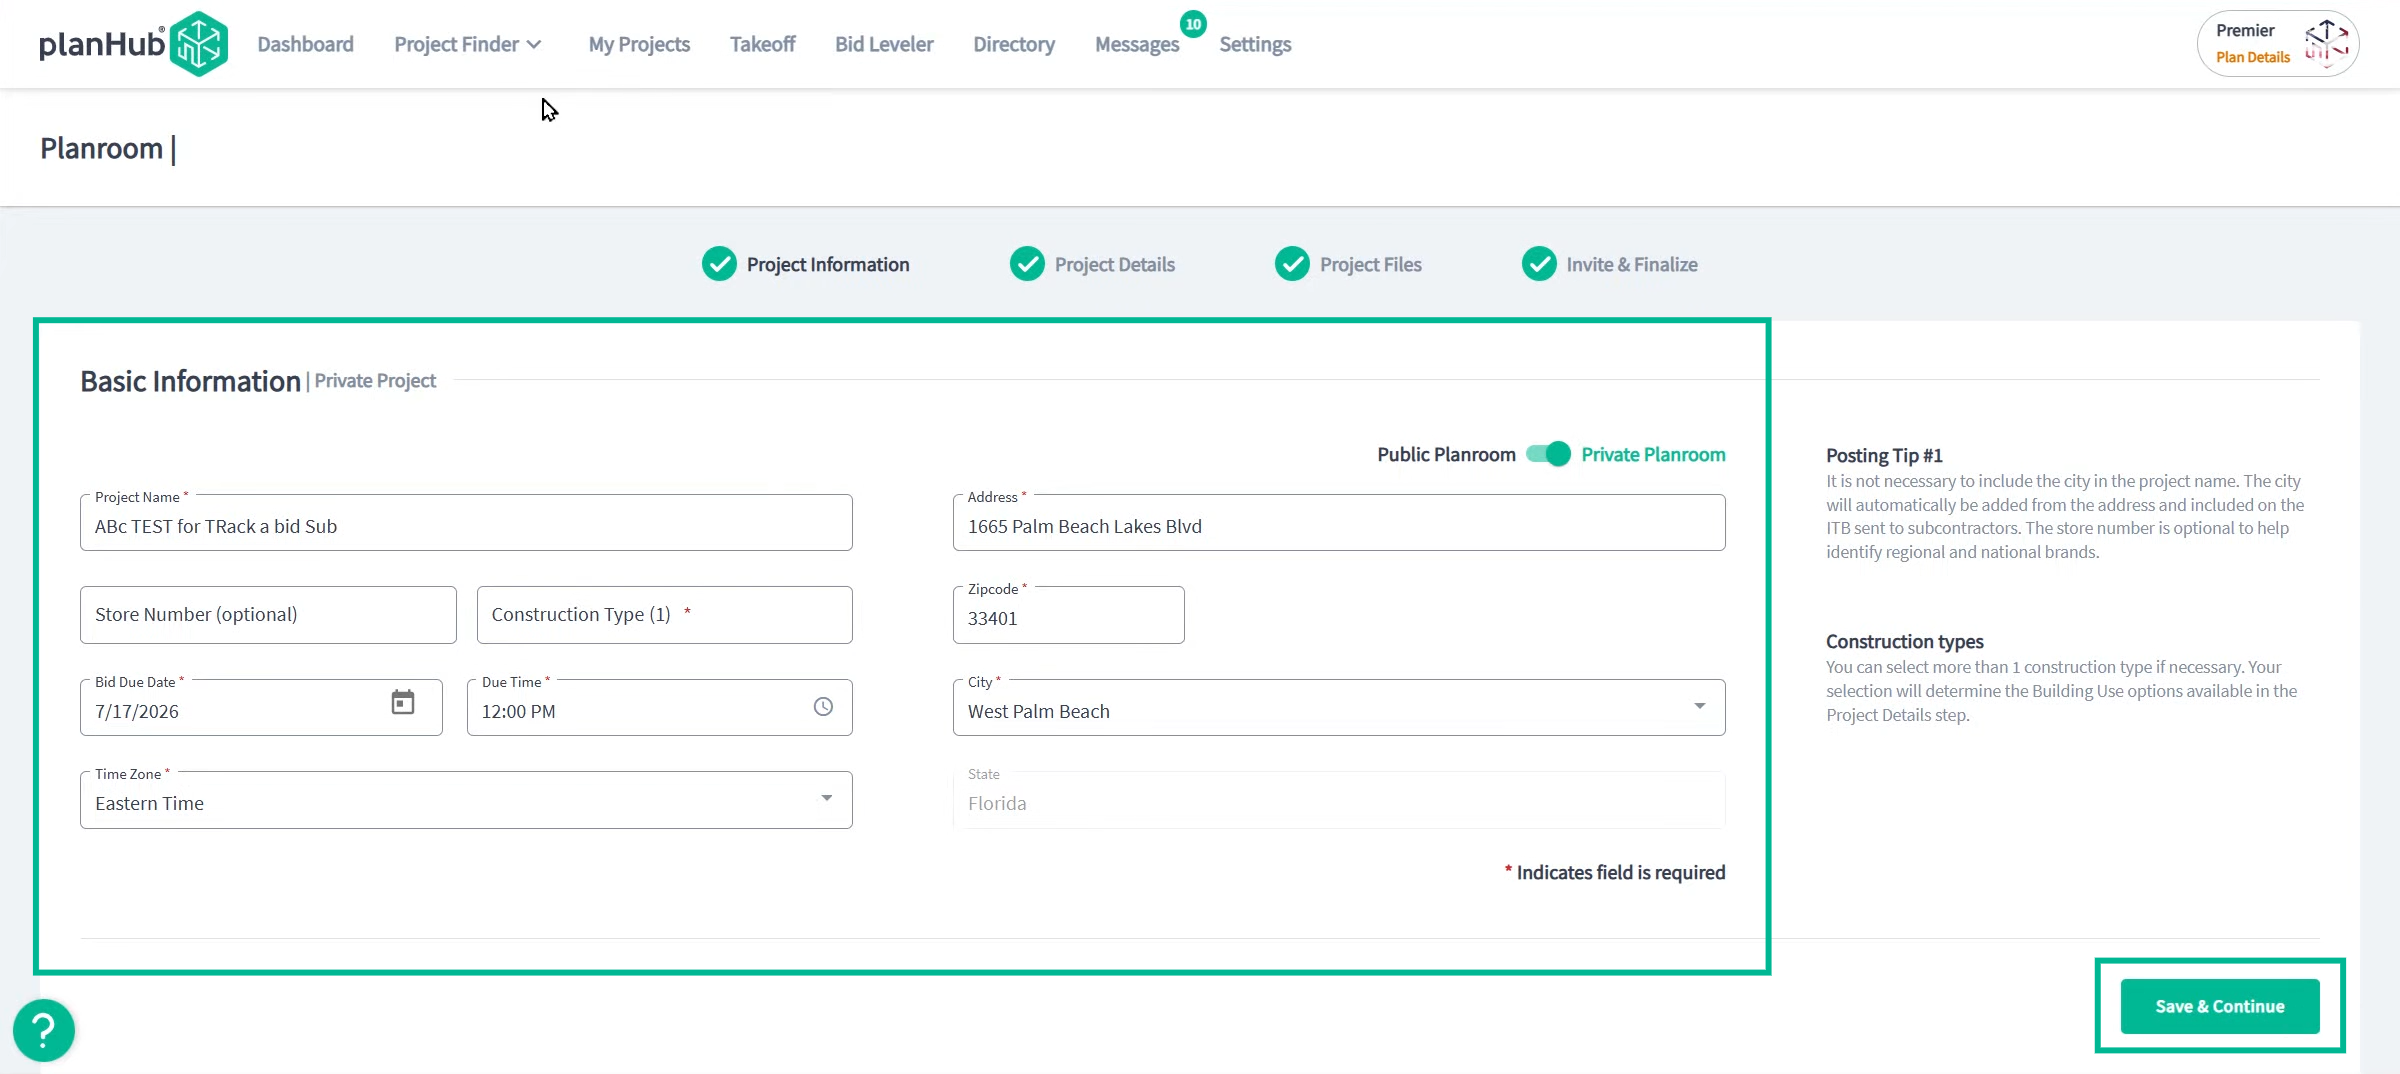
Or navigate straight to the second step, Project Details.
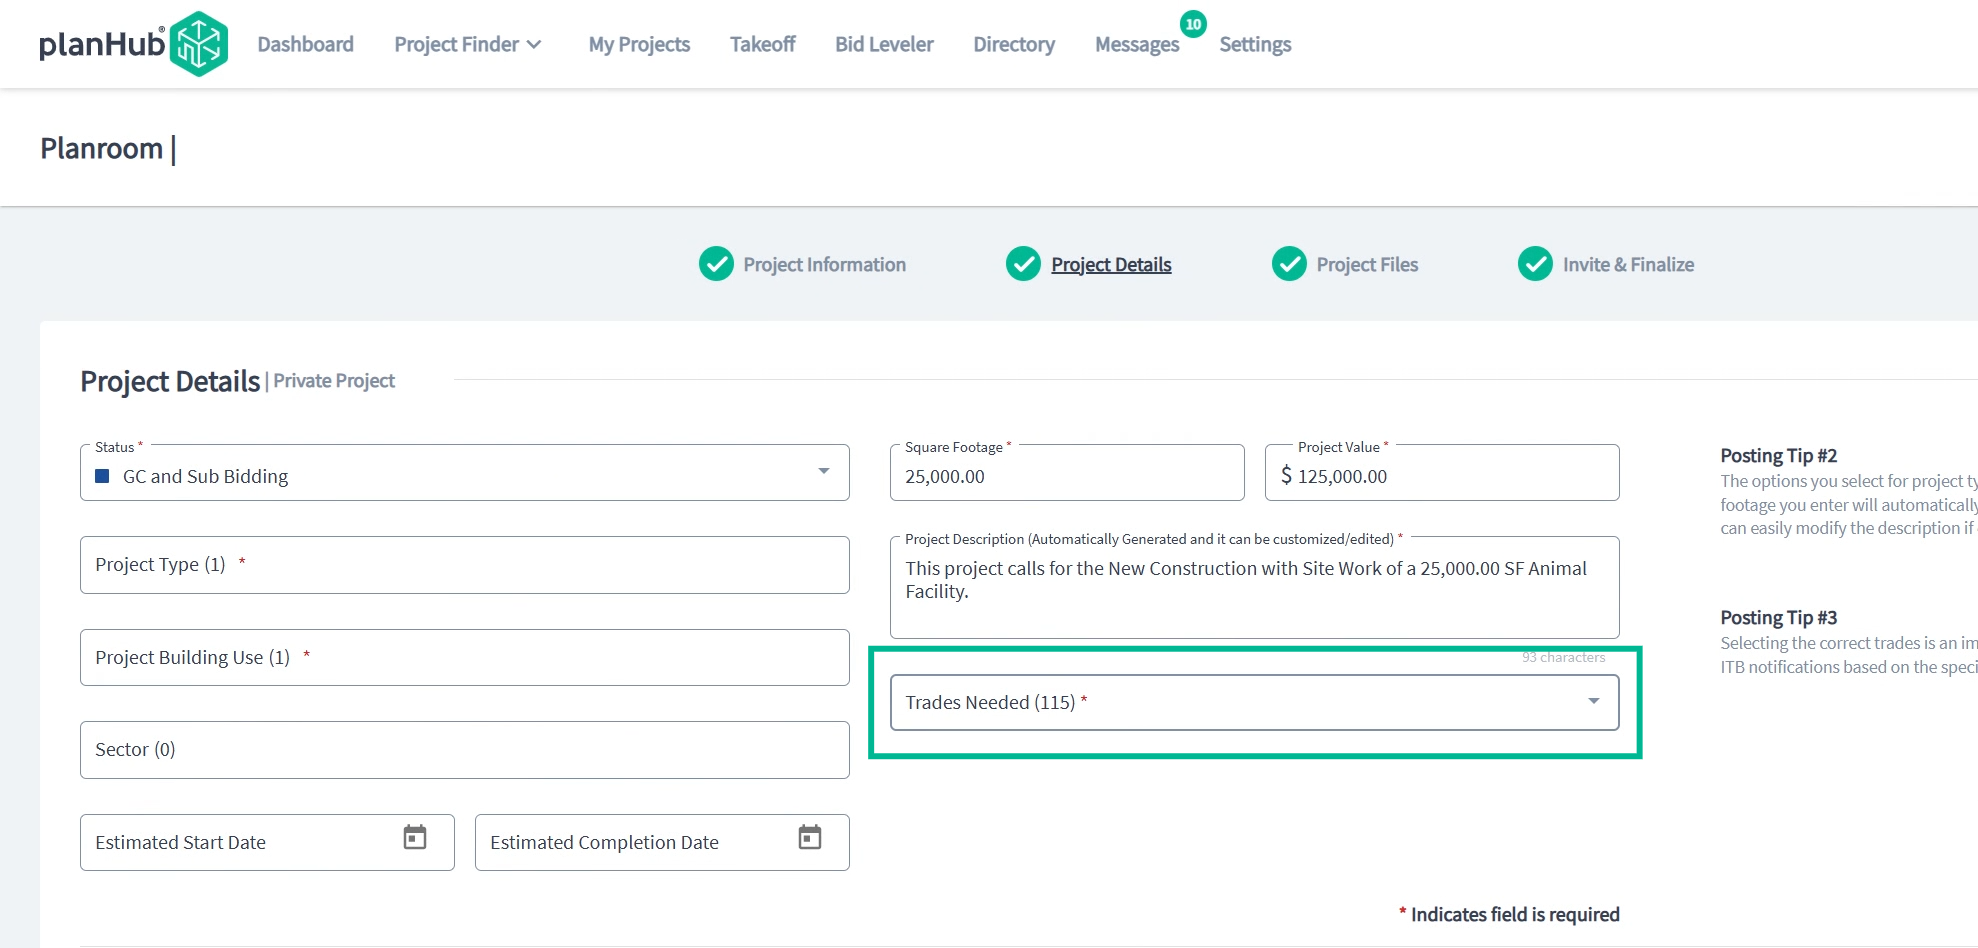
Step 3: Click the "Trades Needed" field and make any updates needed to the selected trades
-
Click on the Trades Needed field to open the list of trades and add trades.
-
Use the Search bar to search for trades by name or scroll through the list.
-
Check off any trades you need to add and click "Apply."
Step 4: Review and update other project details as needed.
Then continue to the final step, Invite and Finish.
Here, you can update instructions, set reminders for bid due dates, or update forms. When ready, click Invite and Finish.
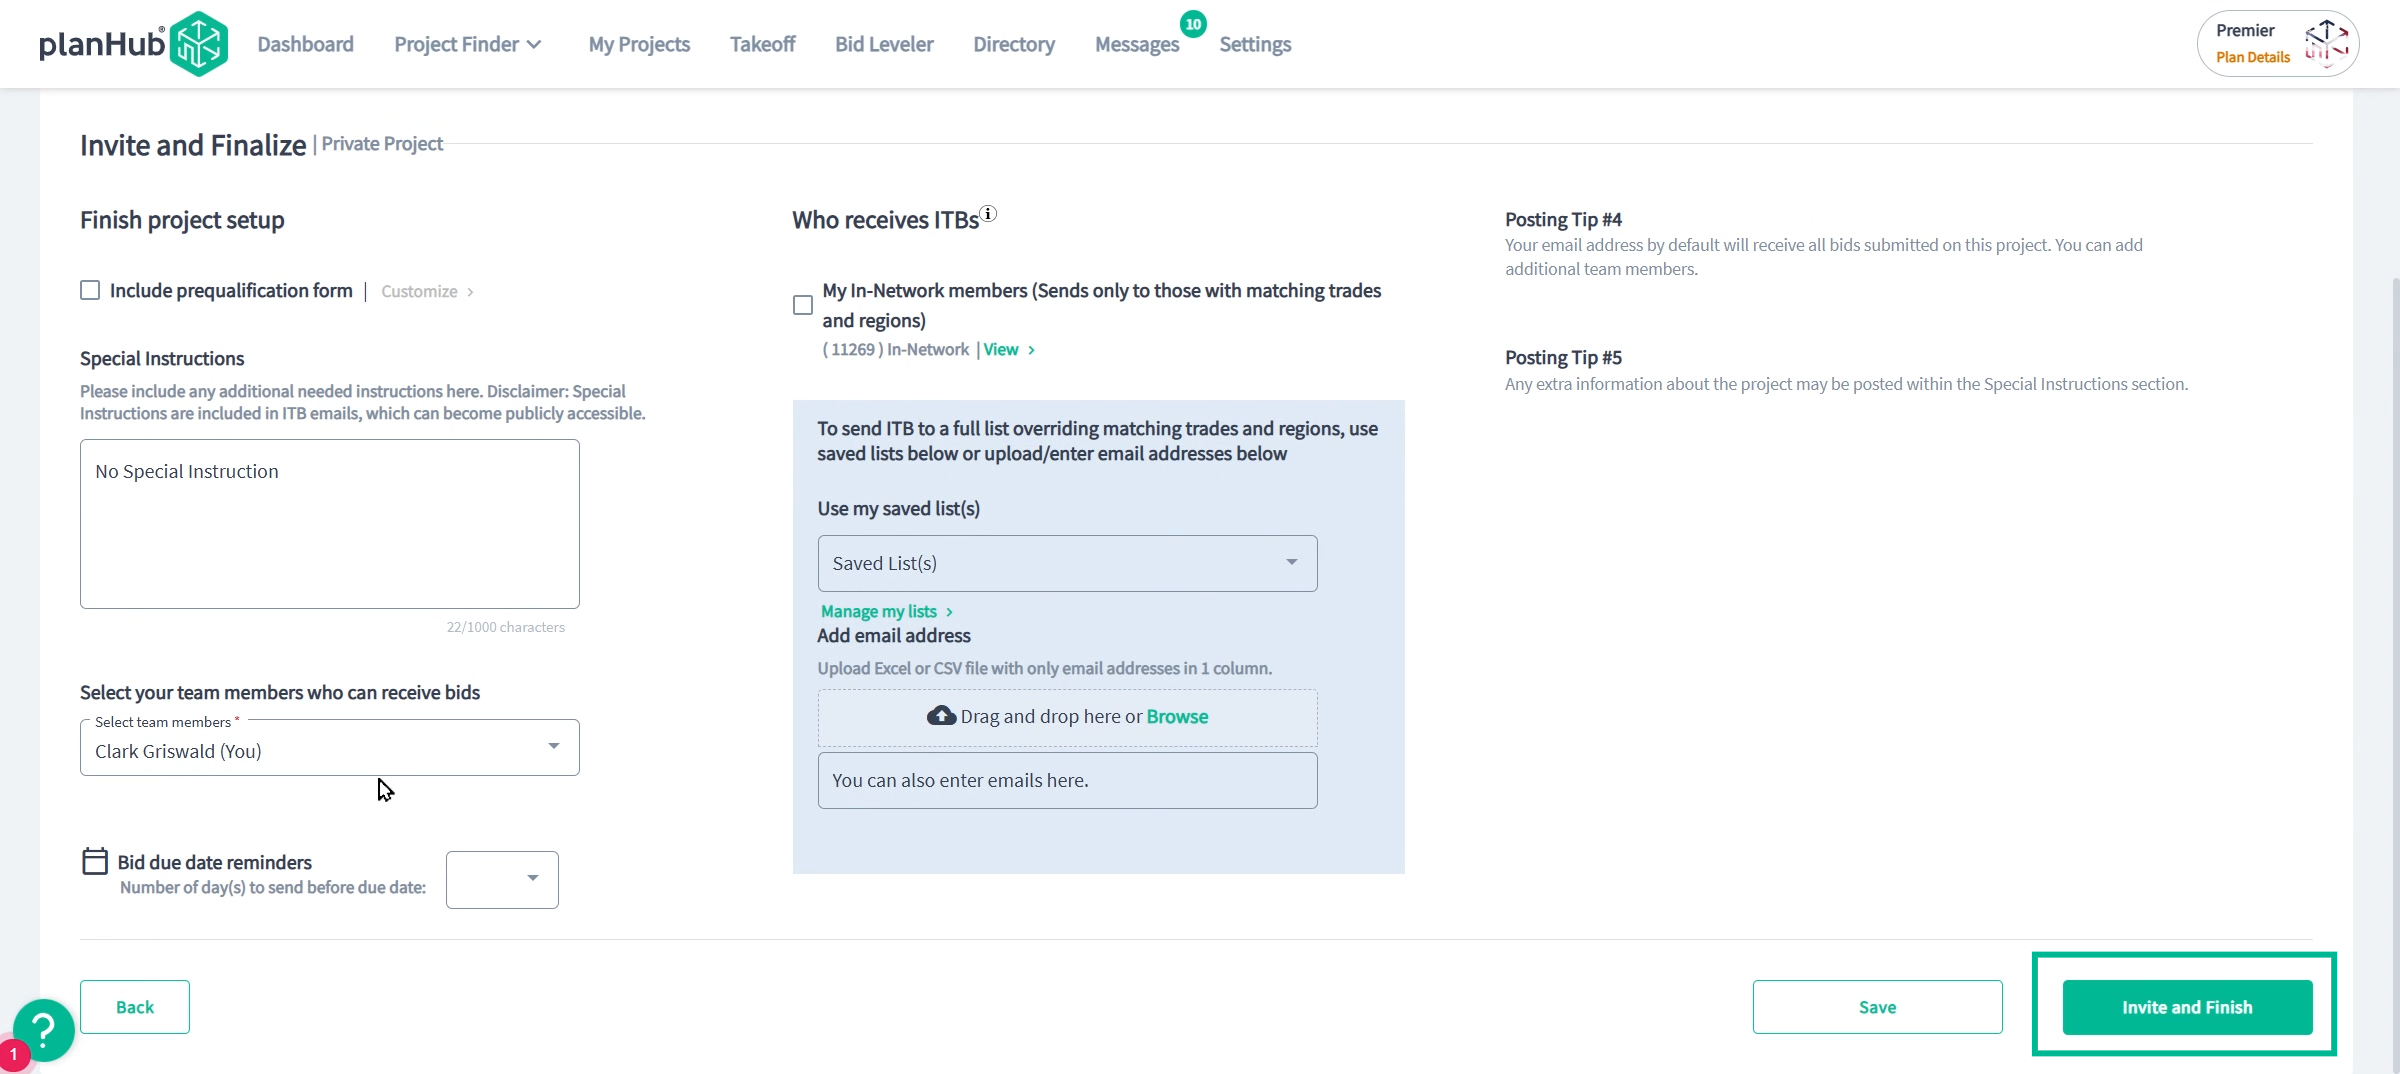
Once complete, new invitations will be sent only to contacts related to the added trades. Existing invitees won’t get duplicate notifications.
Updating trades on your project keeps your bidding process accurate and ensures every relevant subcontractor and supplier has a chance to participate.
You now know how to add trades to your project
Troubleshooting
Contact us if you need assistance or to report an issue:
- PlanHub Contact Page: https://planhub.com/contact/
- Customer Facing Support Ticket Link: https://knowledgebase.planhub.com/knowledge/kb-tickets/new
- Customer Success Team: CustomerSuccess@planhub.com