Step 1: To access the Job Board, you must have a subcontractor account and an active paid subscription to the Job Board add-on feature. For more information about this add-on, please refer to our Knowledge Base article: Job Board Overview | Navigation Guide
-
Job Board allows you to create schedules, tasks, and assign team members to each job in the field.
-
Create job templates for recurring clients.
-
Directly communicate within planHub about field projects that are actively under construction.
-
Report hours worked
-
Upload receipts for materials.
-
Upload punch lists, photos and videos of work in progress and completed work.
-
Track project return on investment. (ROI)
-
Use the planHub FIELD App to log hours and update task completion in real time.
-
Provides management with full visibility into project progress.
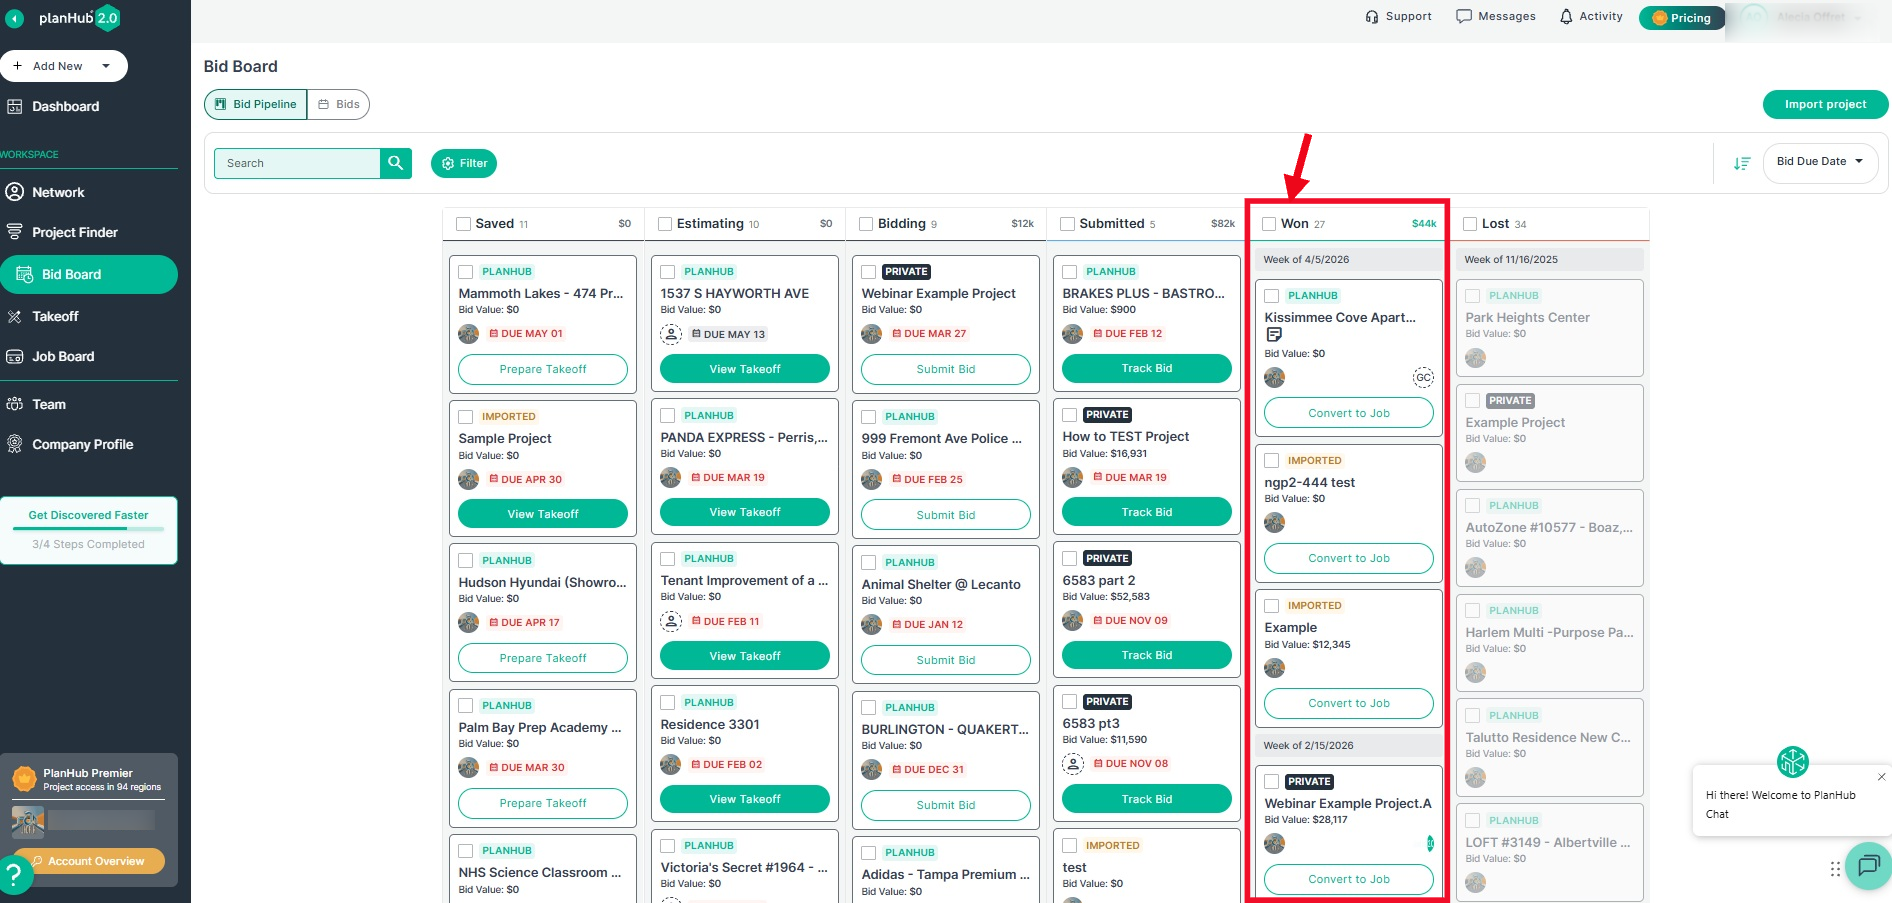
Step 2: Navigate to the Bid Board where your projects are saved.
Step 3: In the Won column, find the list of projects awarded to your company. From there, you can quickly convert the awarded project in planHub into an active field job.
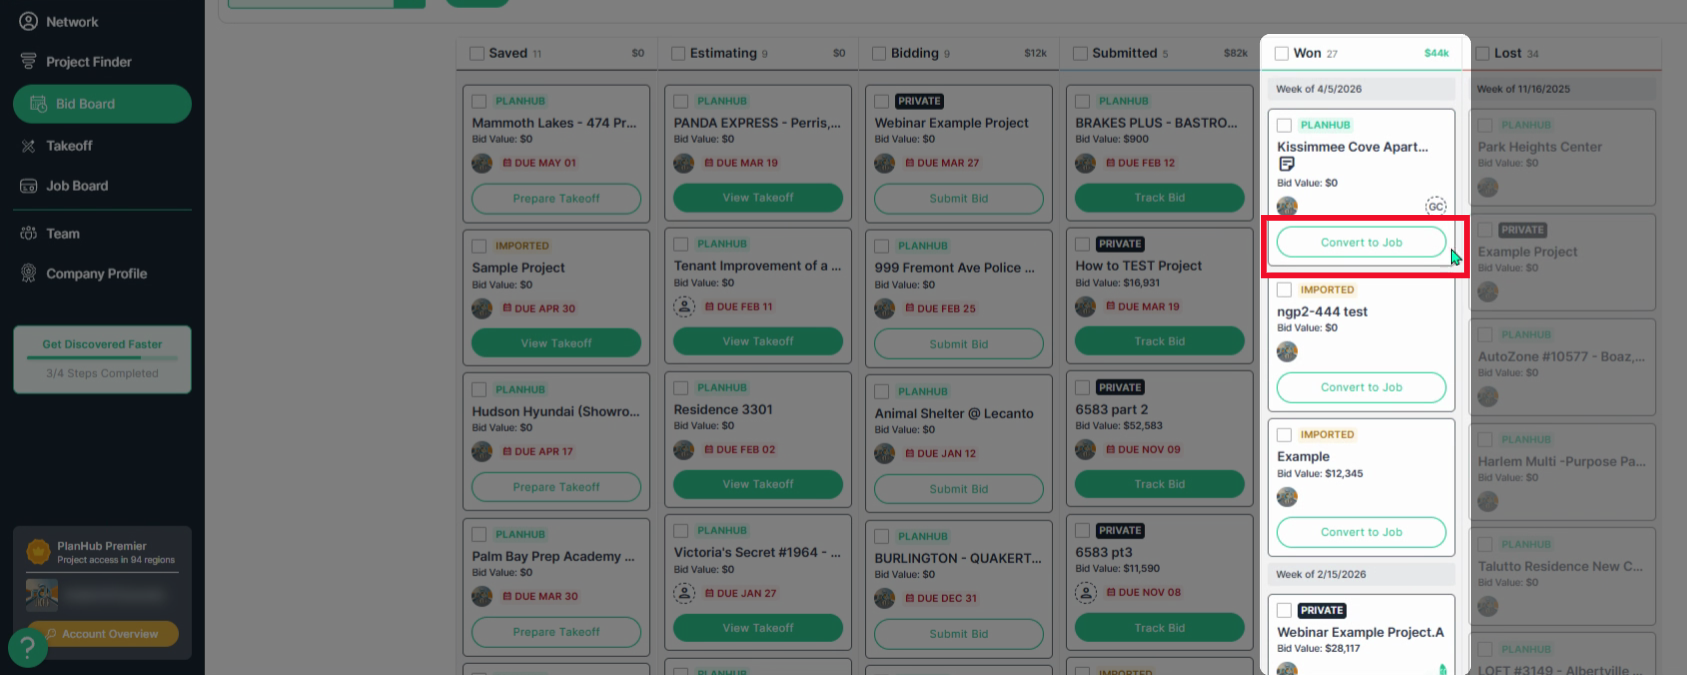
Step 4: Locate the project you want to add to the Job Board. Click on the Convert to Job button.
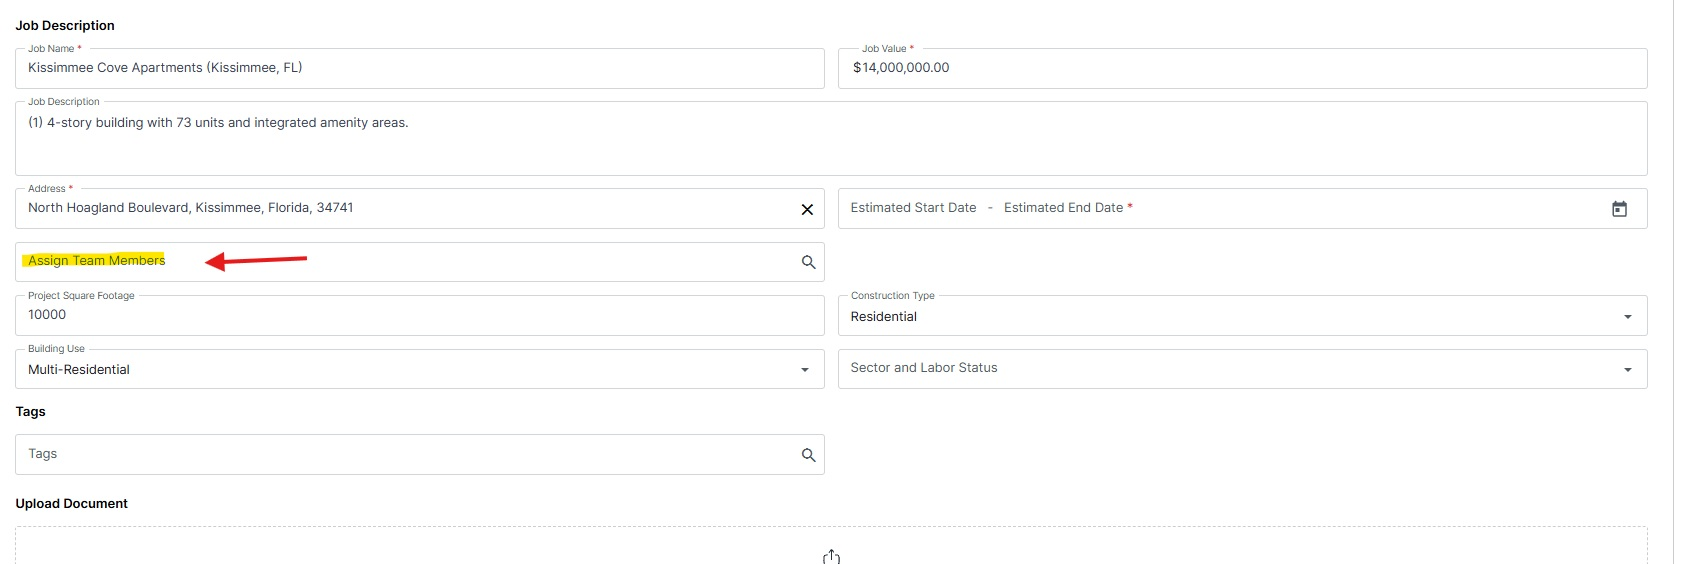
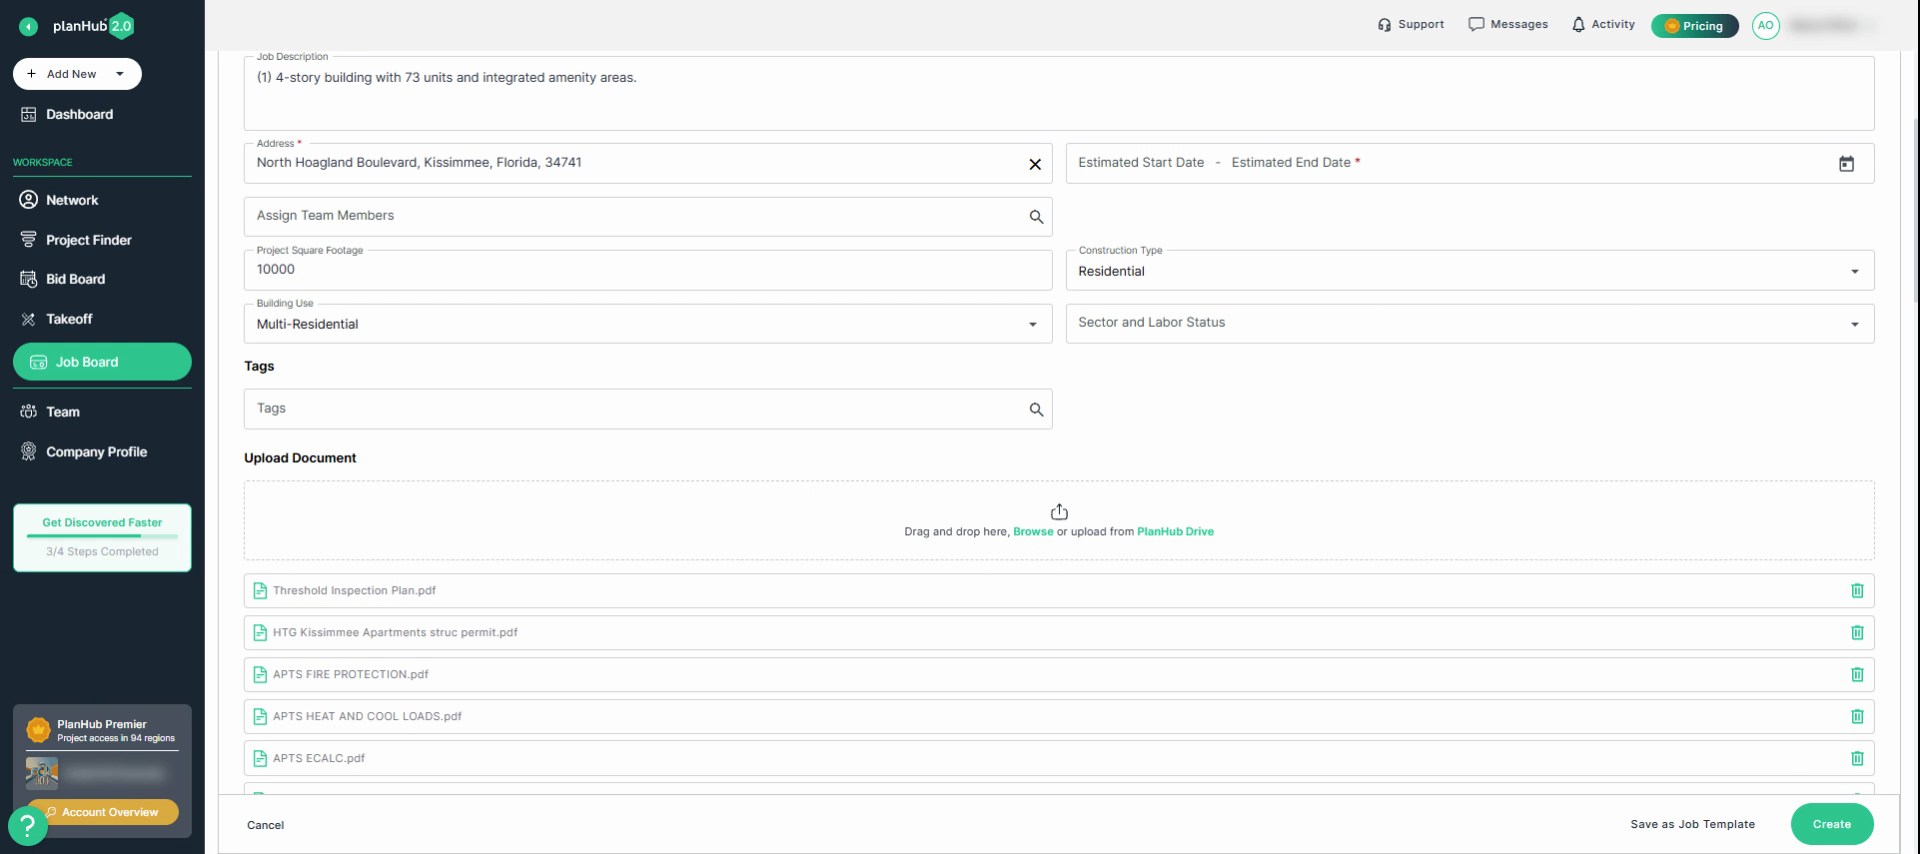
Step 5: Fill out all required fields with a red asterisk.
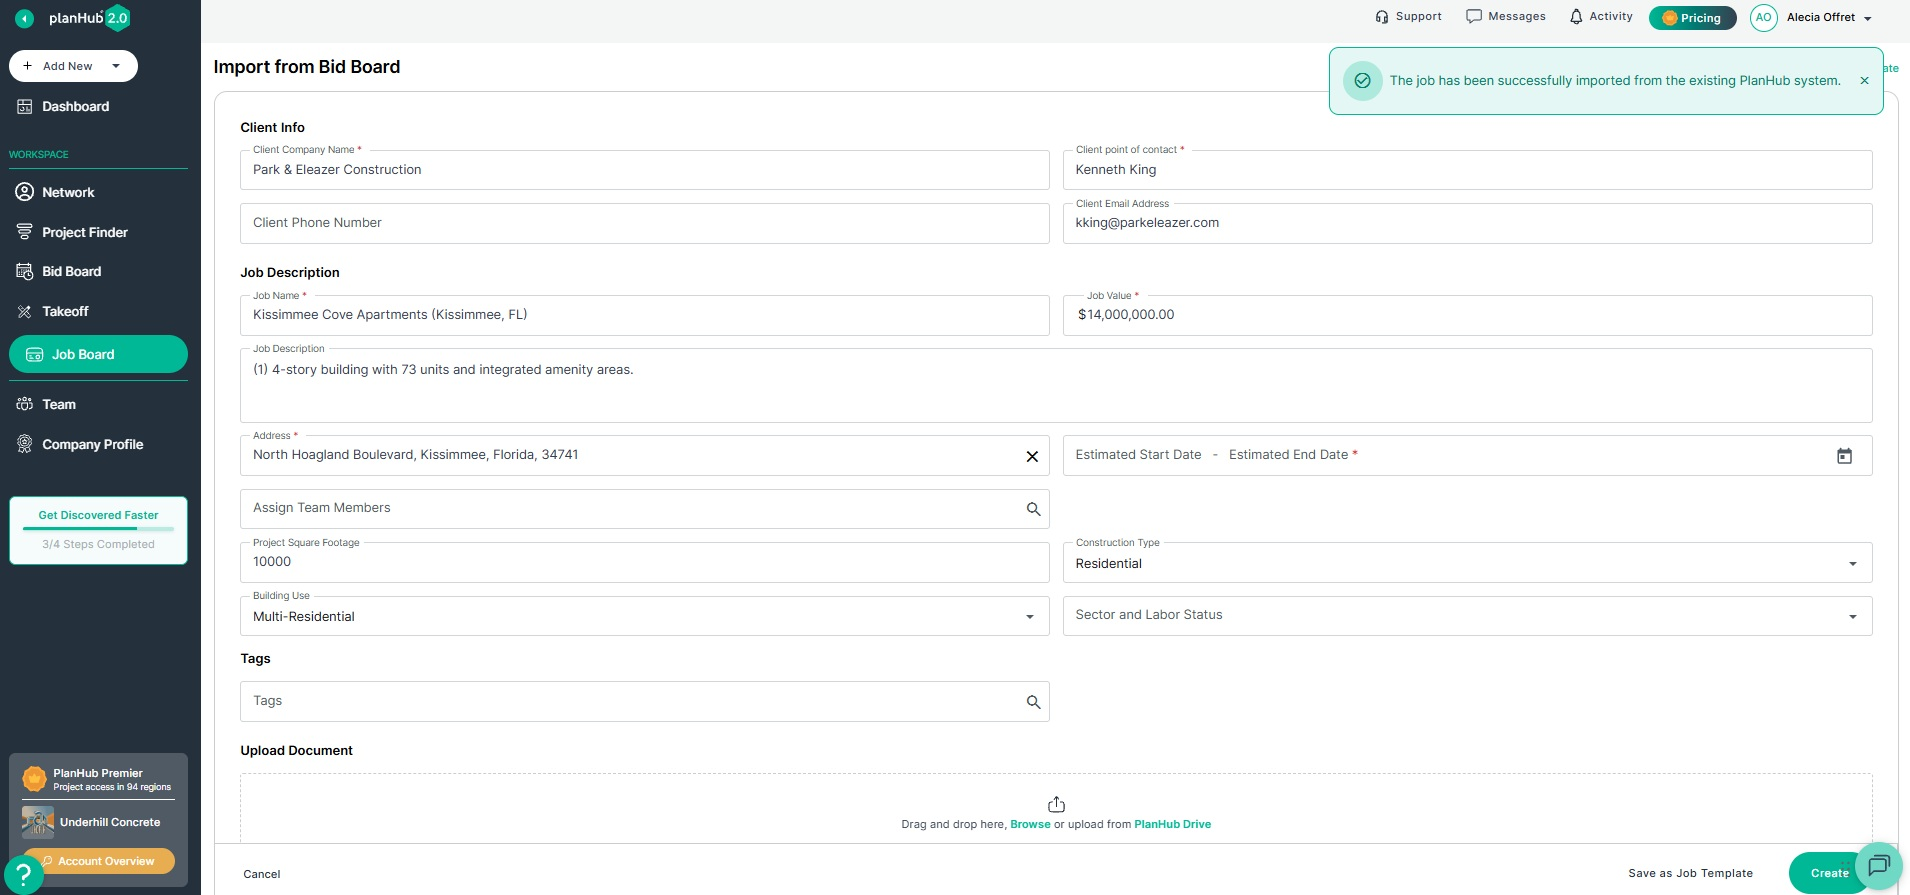
Step 6: Assign team members who will work on the project and track progress.
Step 7: Upload any documents your team needs to access in the field—proposals, plans, receipts, or photos.
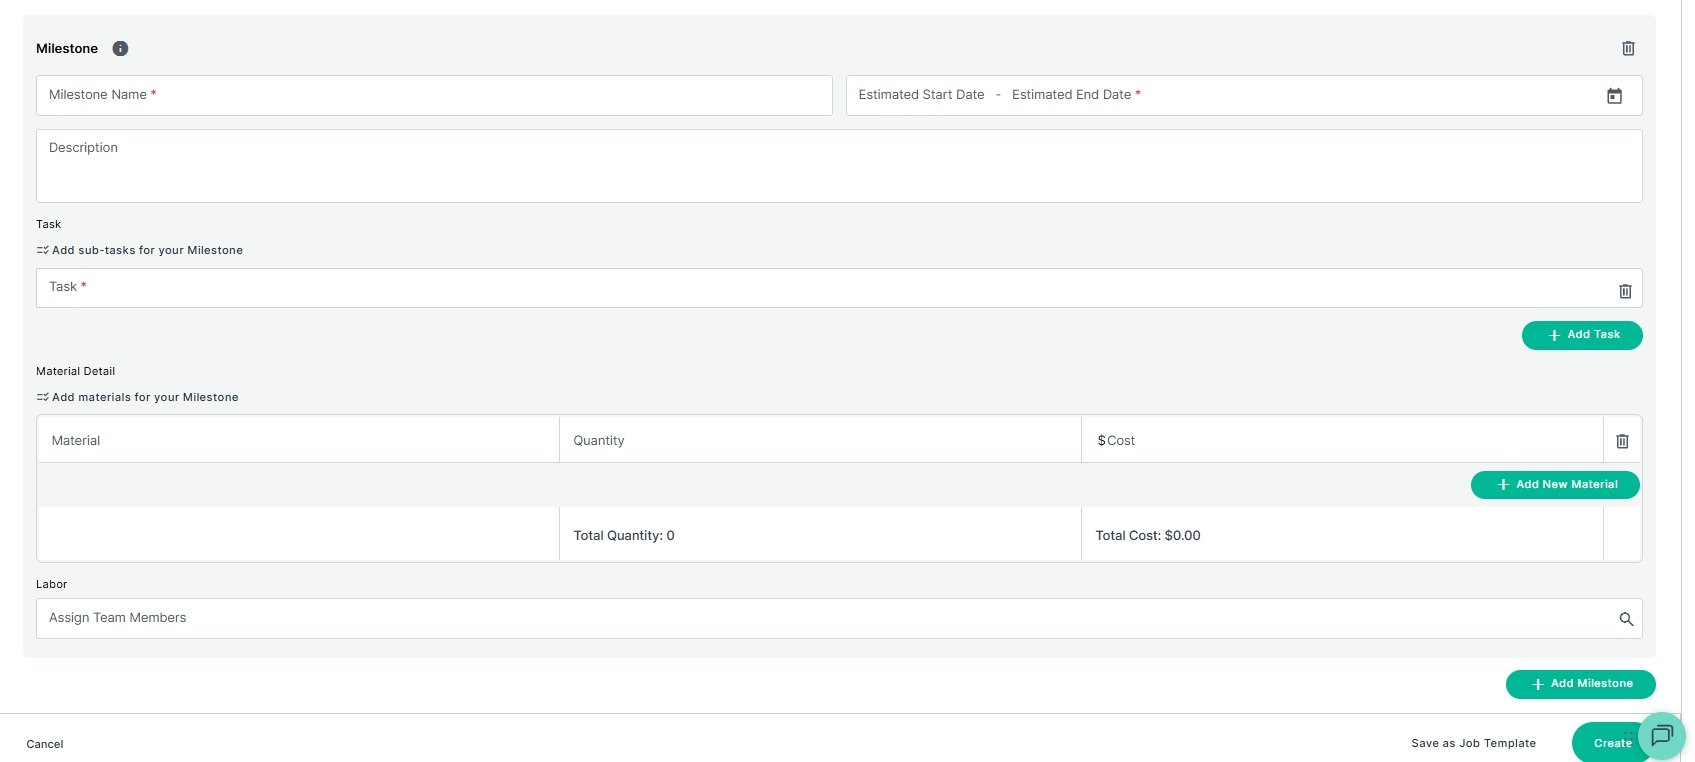
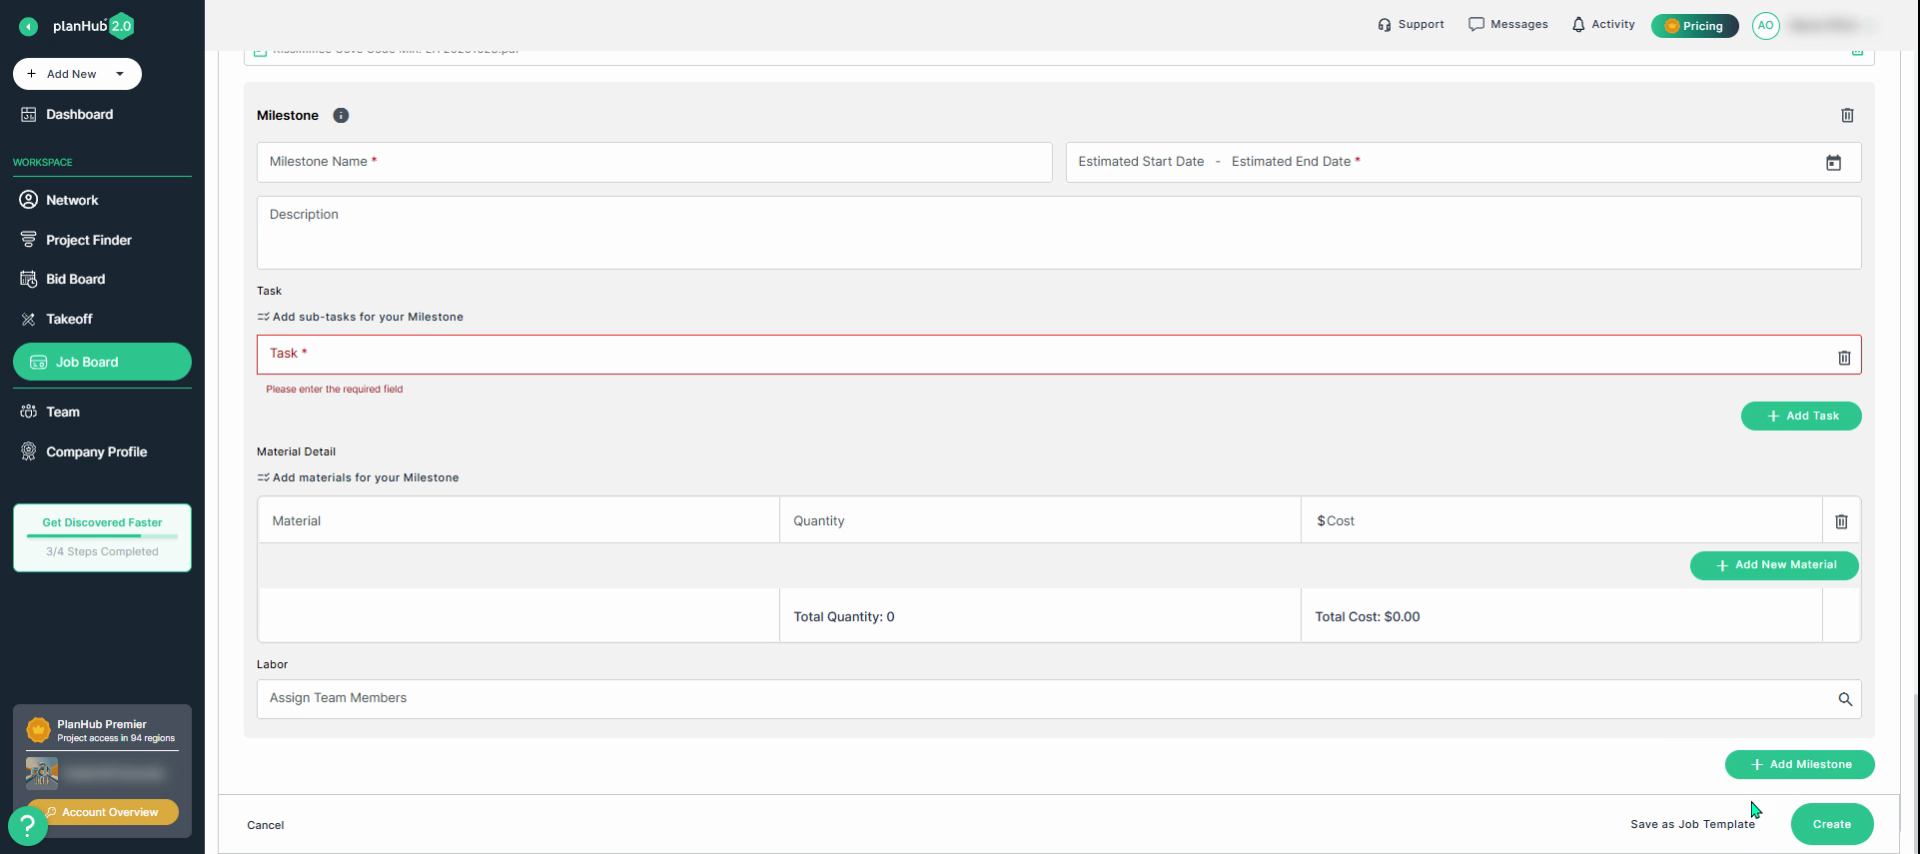
Step 8: Scroll down and select Create Milestone Schedule to break the job into key Milestones for your team.

Step 9: For each milestone, fill in all required fields with an asterisk and create tasks and assign team members to each milestone.
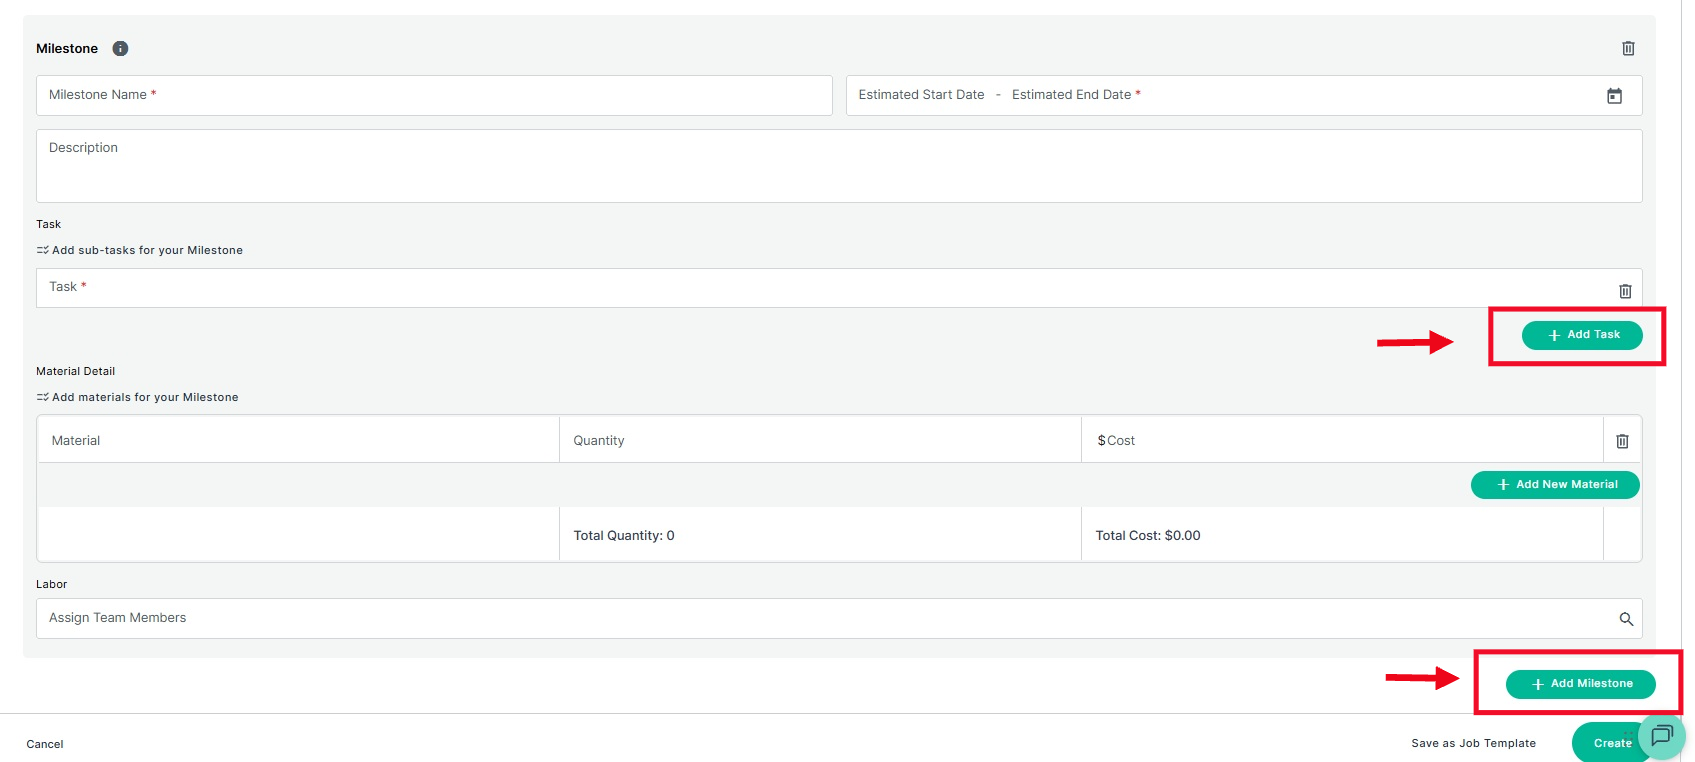
Step 10: Click Add Task to include more tasks within a milestone. Select the Add Milestone button at the bottom right corner to create additional milestones.
Step 11: Once all details are complete, click Create at the bottom right corner to finish adding the job.
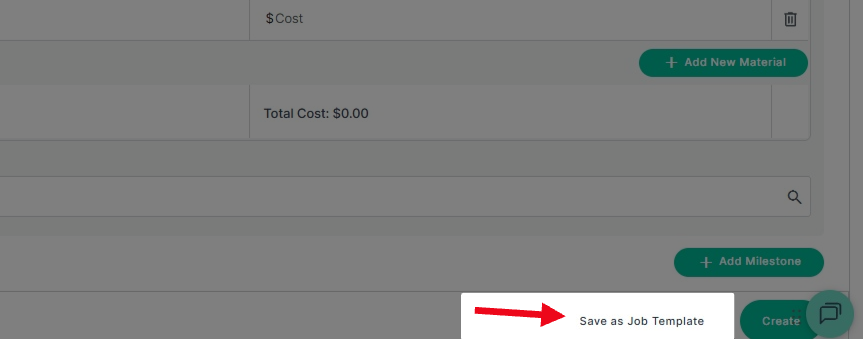
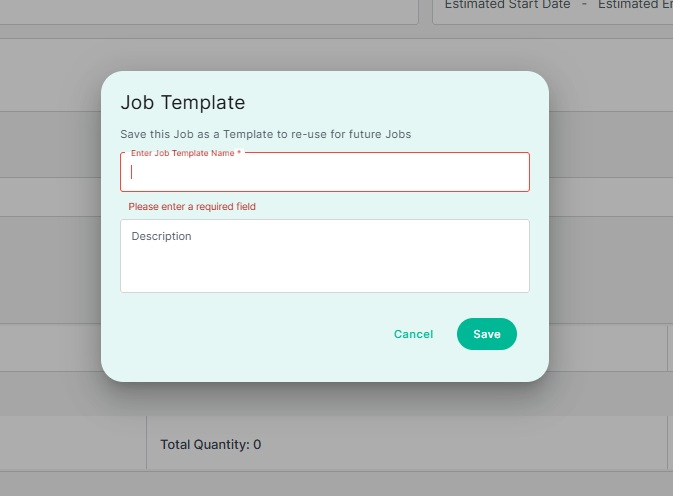
Step 12: You can save your job as a template by clicking Save as Job Template. Enter a name and description, then save.
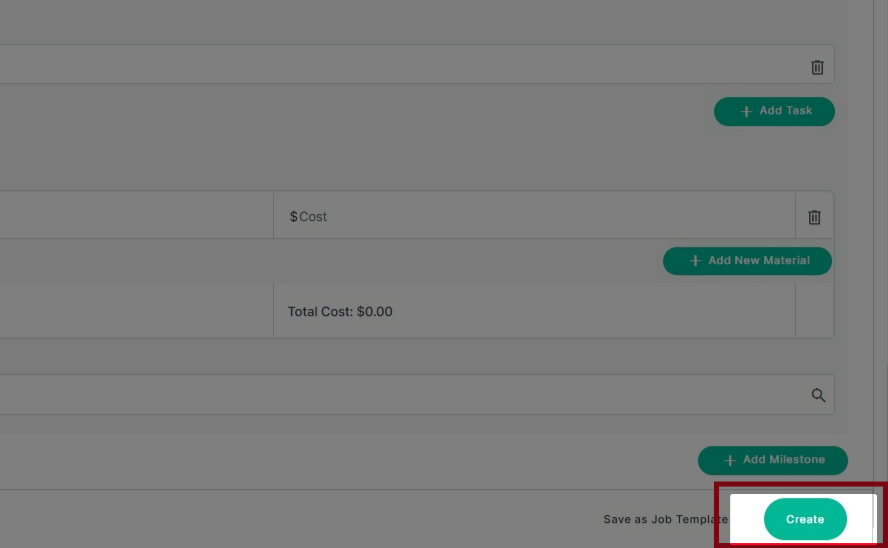
Step 13: After completing all required and applicable fields, click “Create” in the bottom-right corner of the page to finalize and create the job.
Step 14: Navigate to your Job Board. In the To Do column, you will find the job you created.
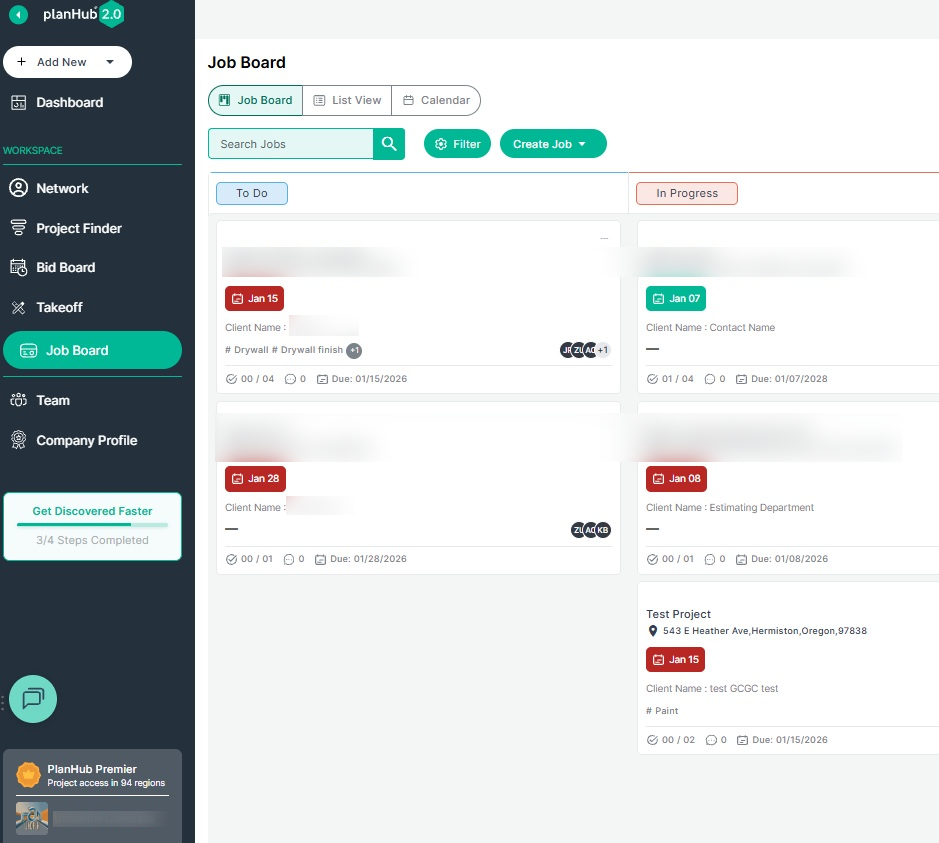
Step 15: From the Job Board, click on the job to begin tracking progress, assign new tasks, and connect with team members. Team members can log hours, upload documents, and mark tasks complete using the Plan Hub Field App.
Step 16: Download the PlanHub Field App from the Google Play Store (Android) or App Store (Apple) so your field team can report, update, and document their work in real time.

Converting your awarded projects into the Job Board allows you to streamline your project progress with scheduling, task assignment, and document sharing. It improves field team coordination and visibility by enabling real-time communication, labor tracking, and progress updates through the planHub Field App.
Troubleshooting
Contact us if you need assistance or to report an issue:
- PlanHub Contact Page: https://planhub.com/contact/
- Customer Facing Support Ticket Link: https://knowledgebase.planhub.com/knowledge/kb-tickets/new
- Customer Success Team: CustomerSuccess@planhub.com