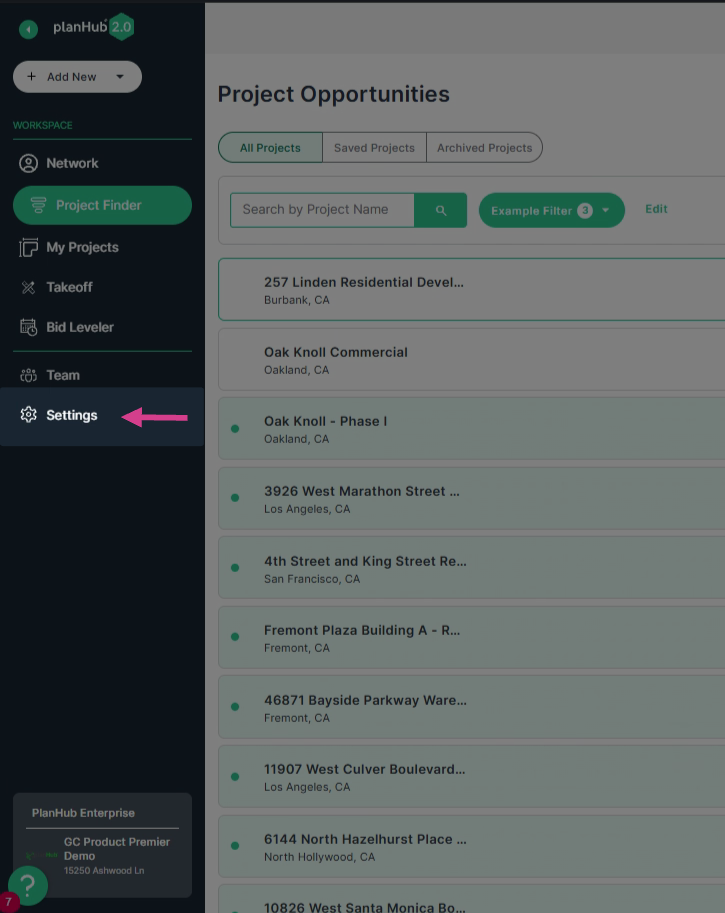
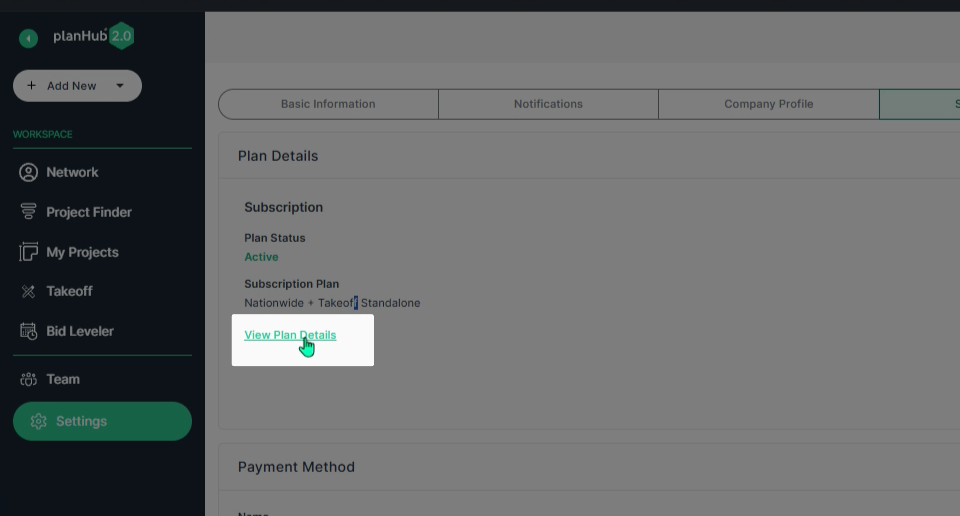
Step 1: Click on the Settings option in the main panel on the left side of the page.
Step 2: Review the Settings page tabs. You’ll find tabs for Basic Information, Notifications, Company Profile, and Subscription.
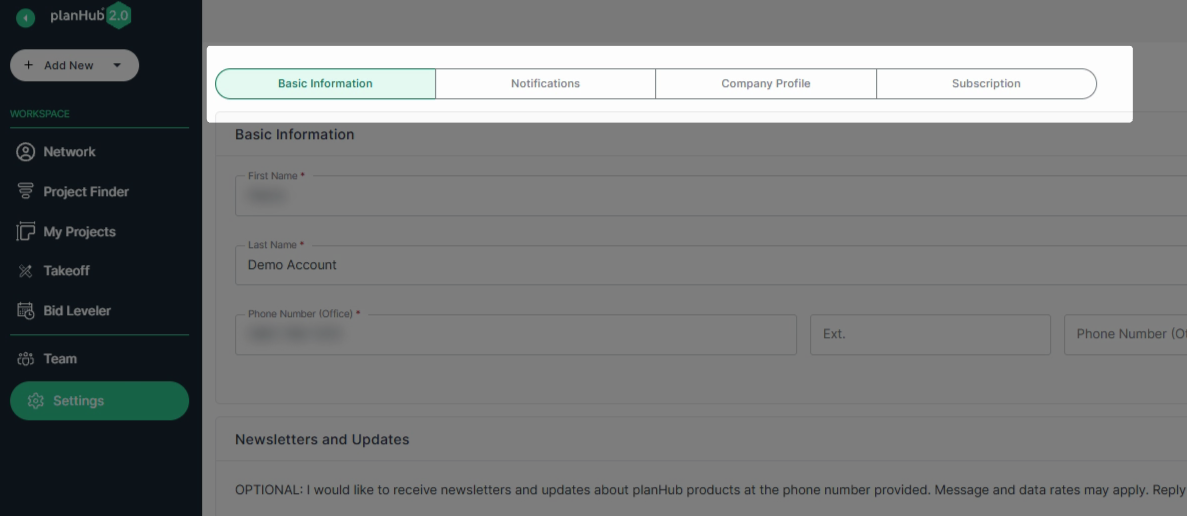
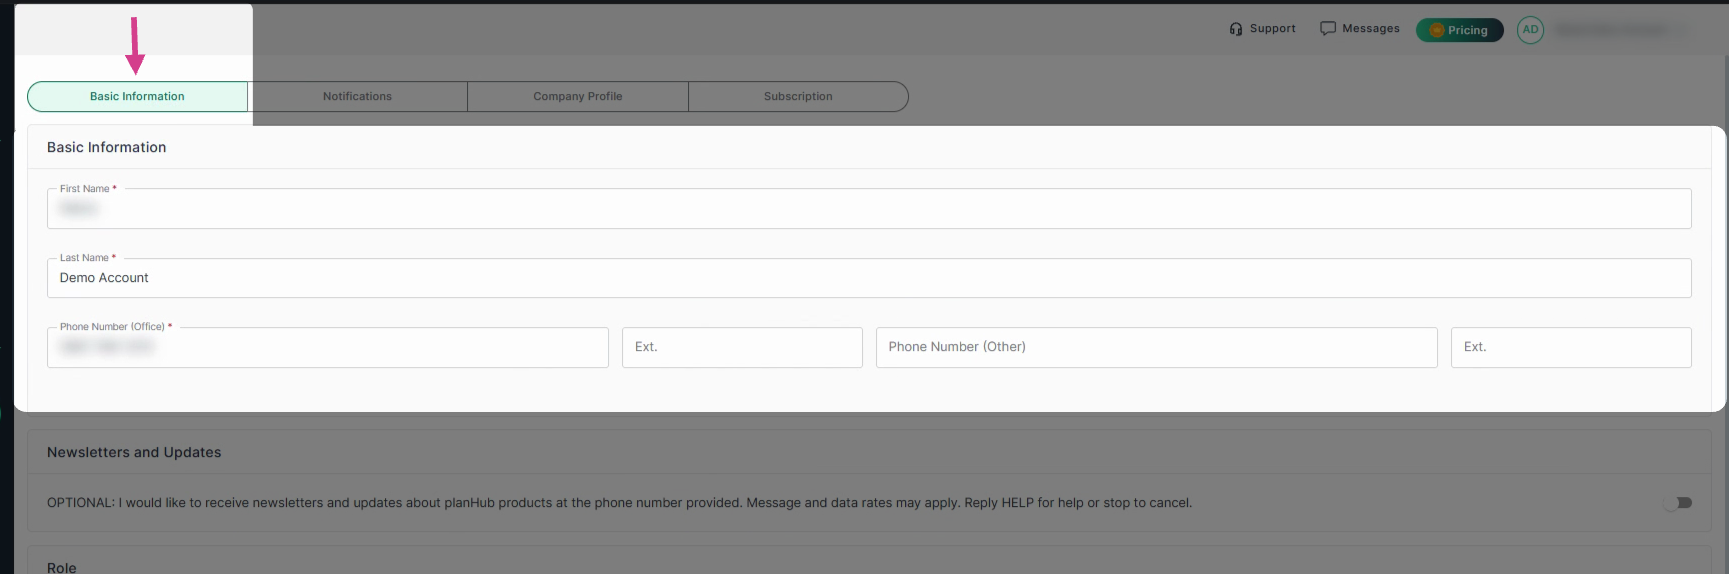
Step 3: Under the Basic Information tab, update your user profile details: first and last name, phone number, extension, and any additional phone number as needed.
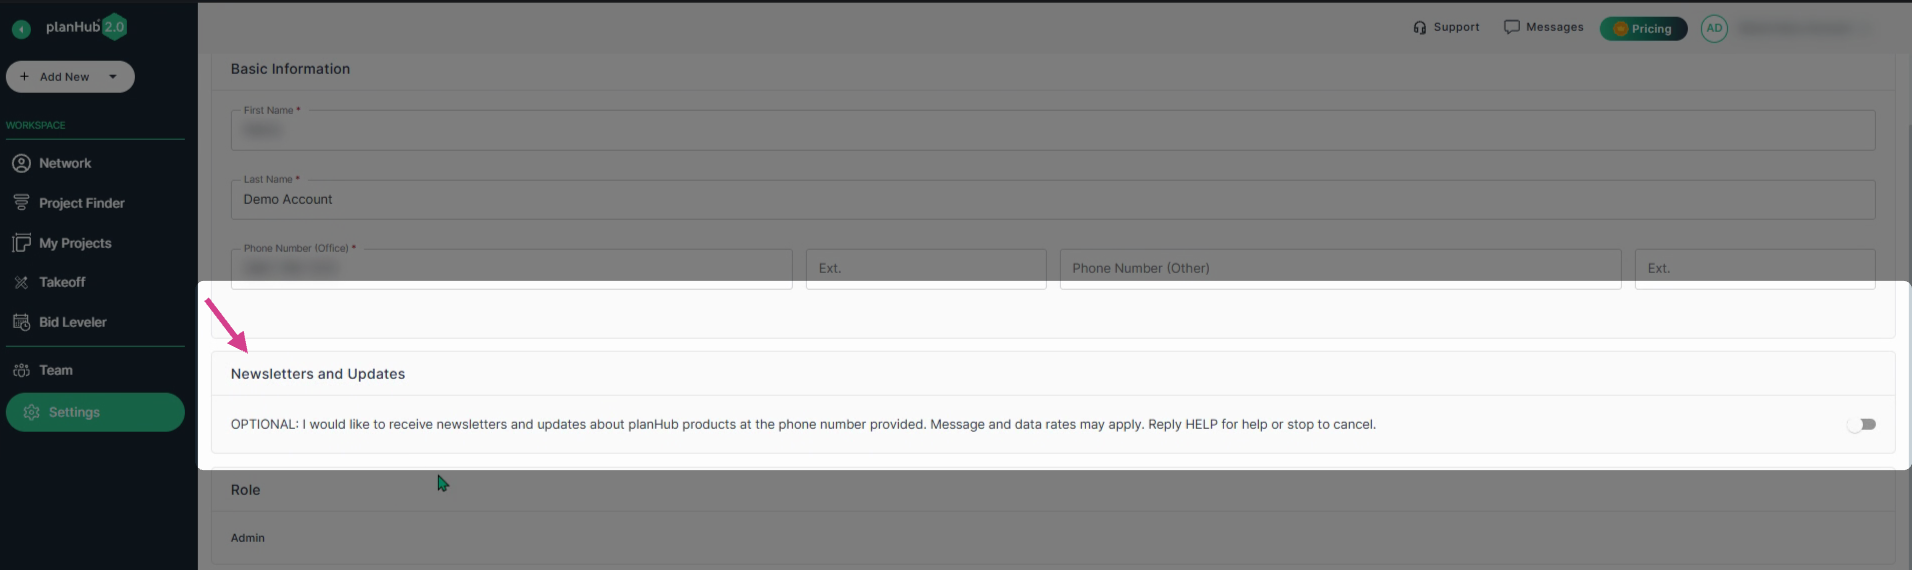
Step 4: Choose to receive newsletters and updates about planHub products by toggling "on" (appears in green) the option at the end of the row.
Step 5: View your role and Account Access details. The account access section includes your login email address and provides the option to change your password.

Step 6: Connect your Gmail or Outlook account to integrate email for direct sends from planHub. To learn more about email integration, review the Knowledge Base article: Email Integration Overview

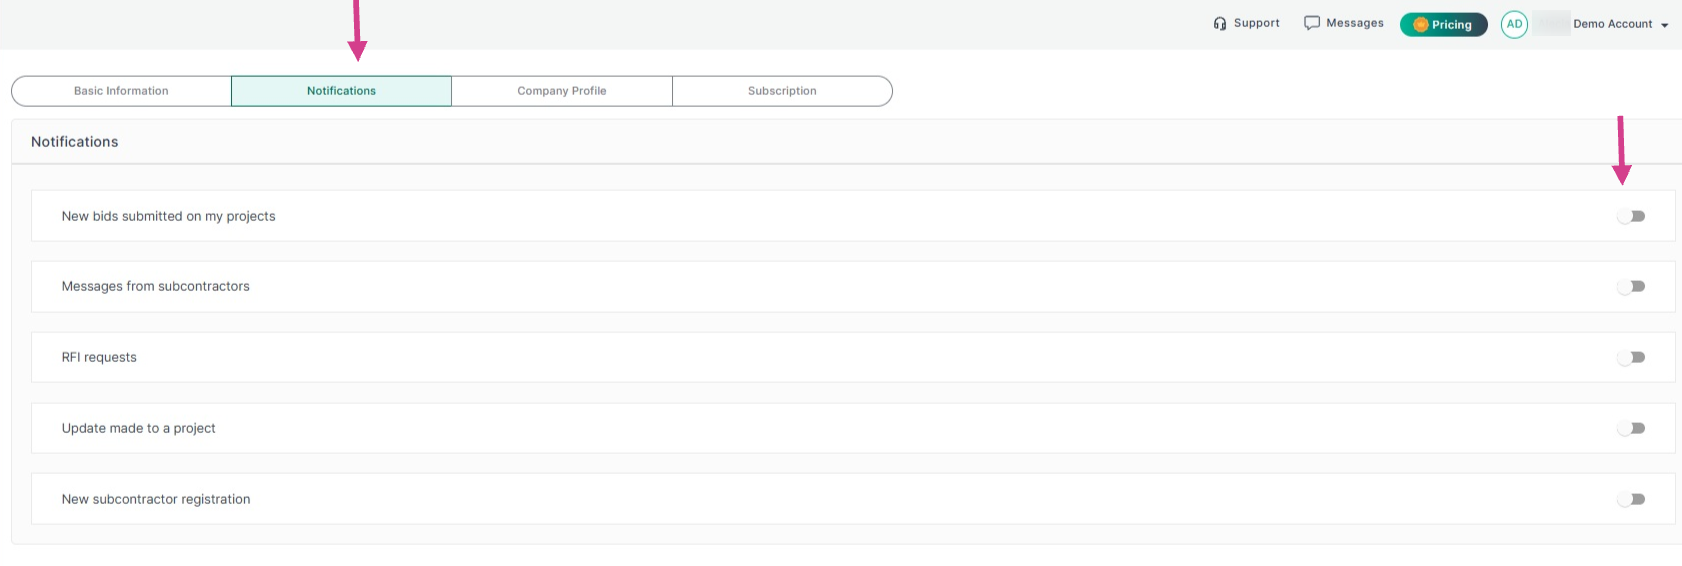
Step 7: Select the Notifications tab to manage which alerts you receive. For example: new bids, subcontractor messages, RFIs, project updates, and new subcontractor registrations. Toggle individual notifications on or off as needed.
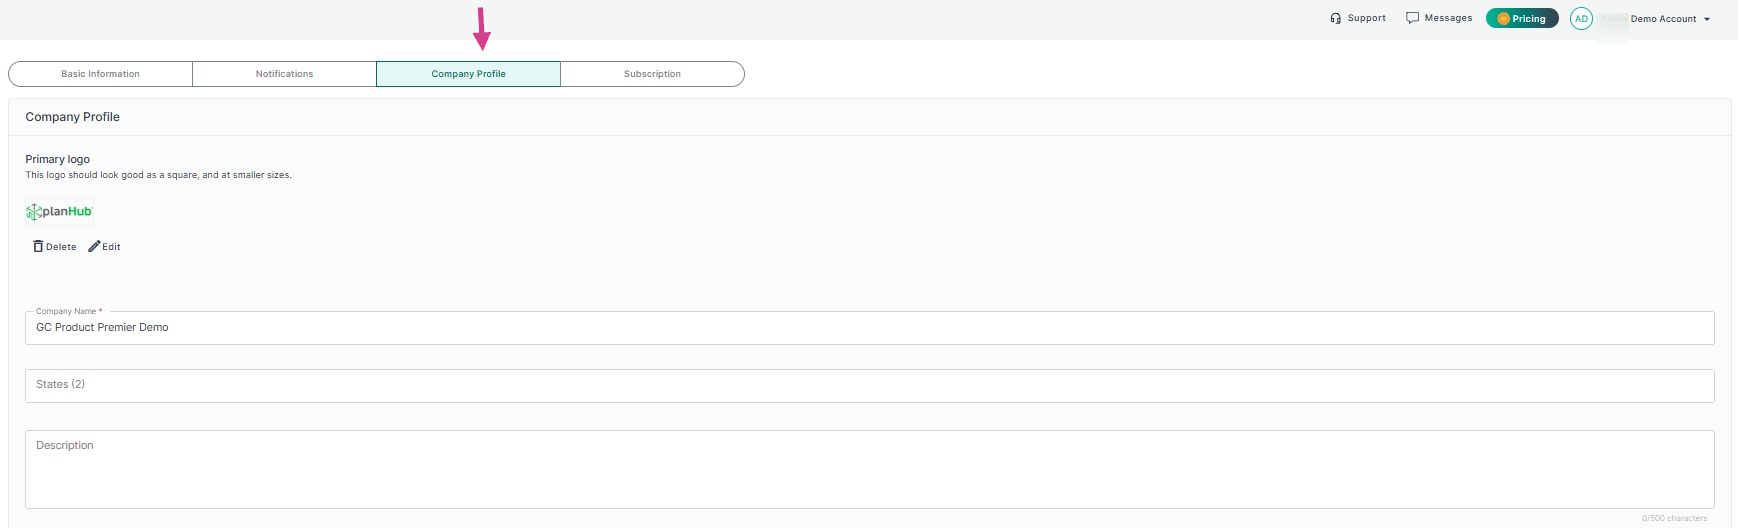
Step 8: In the Company Profile tab, the admin has the ability to update company information. Upload a primary logo that will be viewed on your planHub profile by subcontractors and suppliers, enter your company name, select the states you service, and add a brief company description.
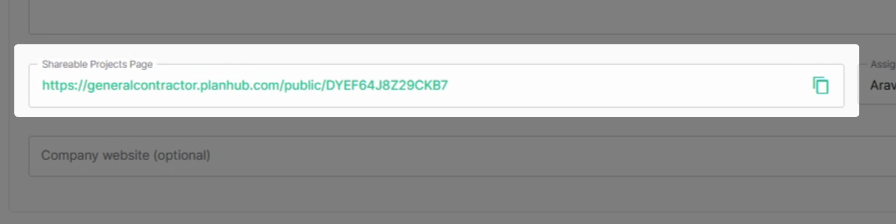
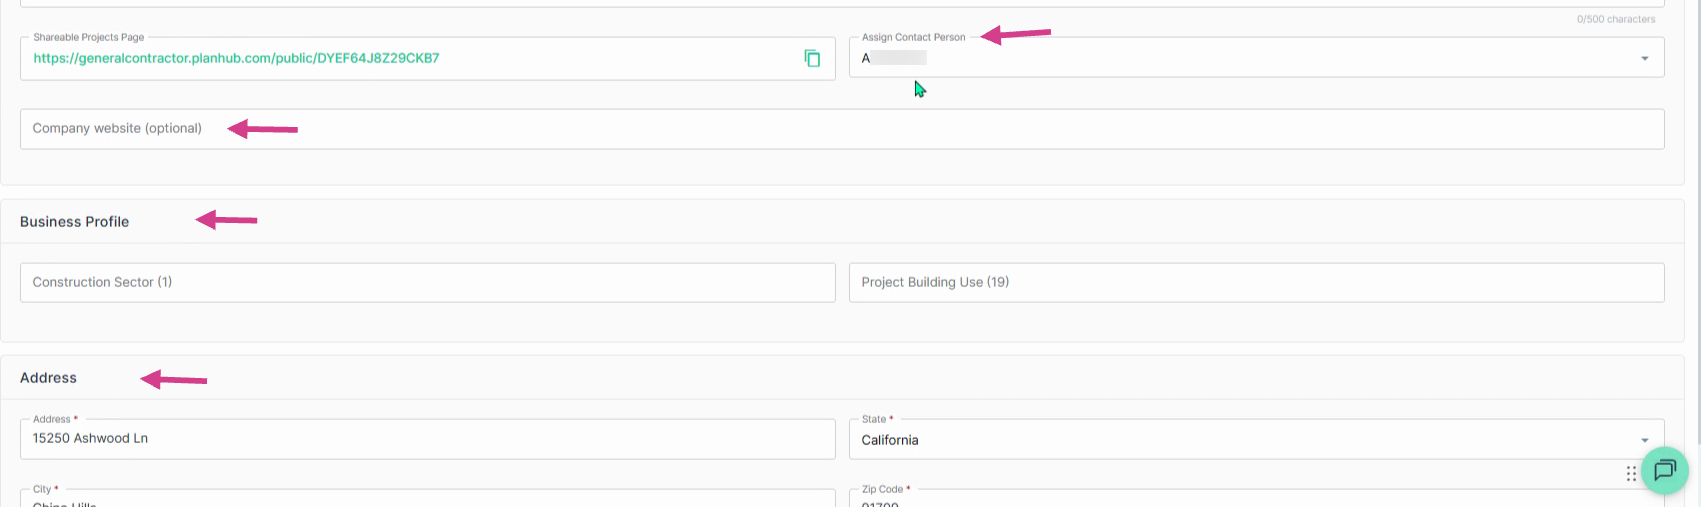
Step 9: Share your projects page by copying the link and sending it to Subcontractors and Suppliers who want to view the list of your publicly posted planHub projects.
Step 10: Assign the main company contact, add your website, and update your business profile, including construction sector, project building use, and company address.
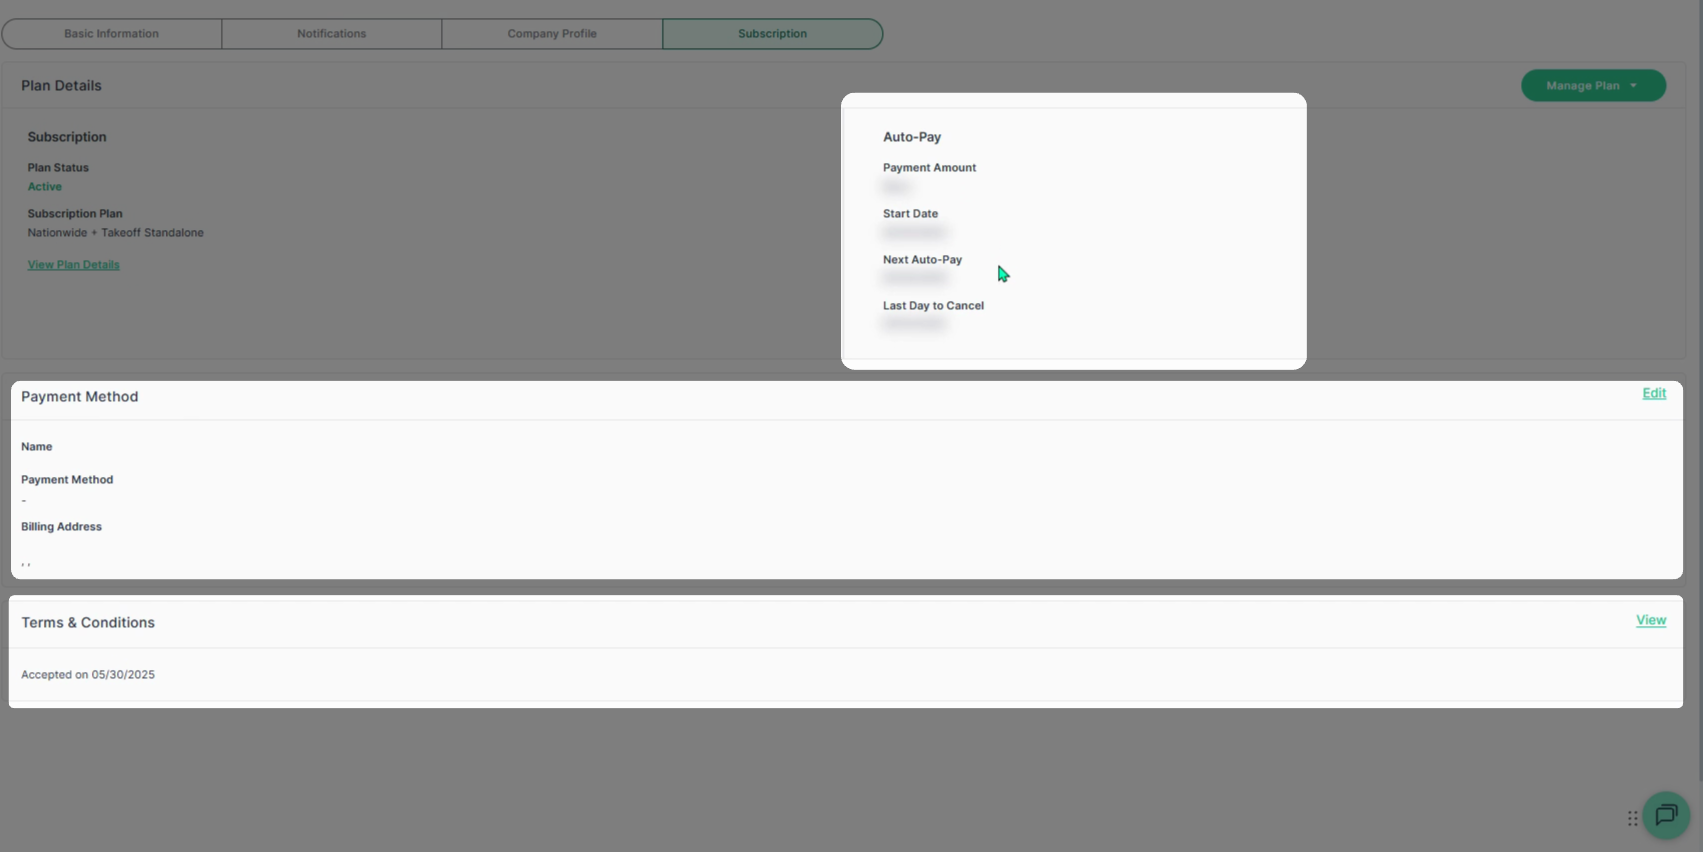
Step 11: Click on the Subscription tab at the top to view details about your current subscription plan. 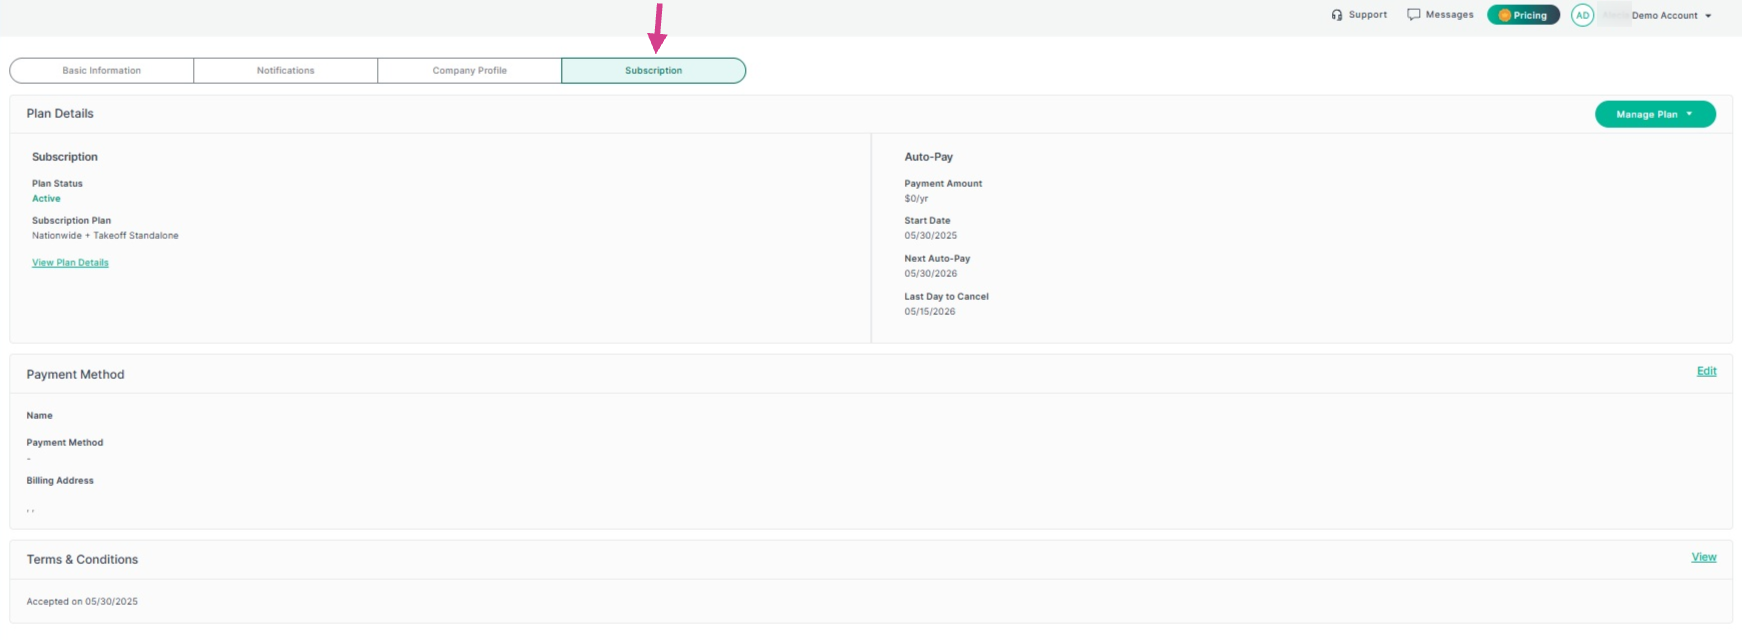
Step 12: Click on the View Plan Details option for additional information about your subscription or to view upgrade options. Contact your Account Manager for questions concerning upgrades.
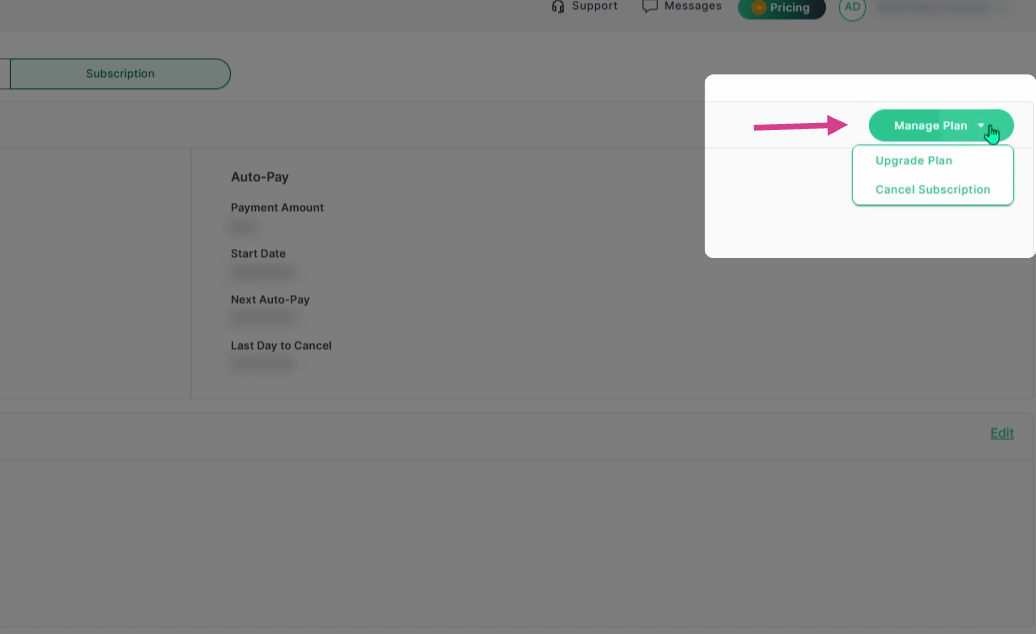
Step 13: Use the Manage Plan dropdown menu to upgrade plan or cancel your paid subscription before the cancellation deadline. To learn how to cancel your paid subscription, refer to the Knowledge Base article: General Contractor | How to Cancel your Paid Subscription
Step 14: In the Auto-Pay section, you can view the payment amount, start date, next auto-pay date, and the last day to cancel listed clearly. Payment method and the terms and conditions appear below. The admin on the account can update all of the payment information as needed when logged into their planHub account by navigating to the Subscription tab in the .
Keeping your Settings information current, ensures that your account works efficiently for you, supporting clear communication, accurate company representation, and timely access to the updates and opportunities that matter most.
Troubleshooting
Contact us if you need assistance or to report an issue:
- PlanHub Contact Page: https://planhub.com/contact/
- Customer Facing Support Ticket Link: https://knowledgebase.planhub.com/knowledge/kb-tickets/new
- Customer Success Team: CustomerSuccess@planhub.com