![NEW_PlanHub_Logo_Navy.png]](https://knowledgebase.planhub.com/hs-fs/hubfs/Design/PH%20Logos/NEW%202024%20PH%20Logos/NEW_PlanHub_Logo_Navy.png?height=40&name=NEW_PlanHub_Logo_Navy.png)
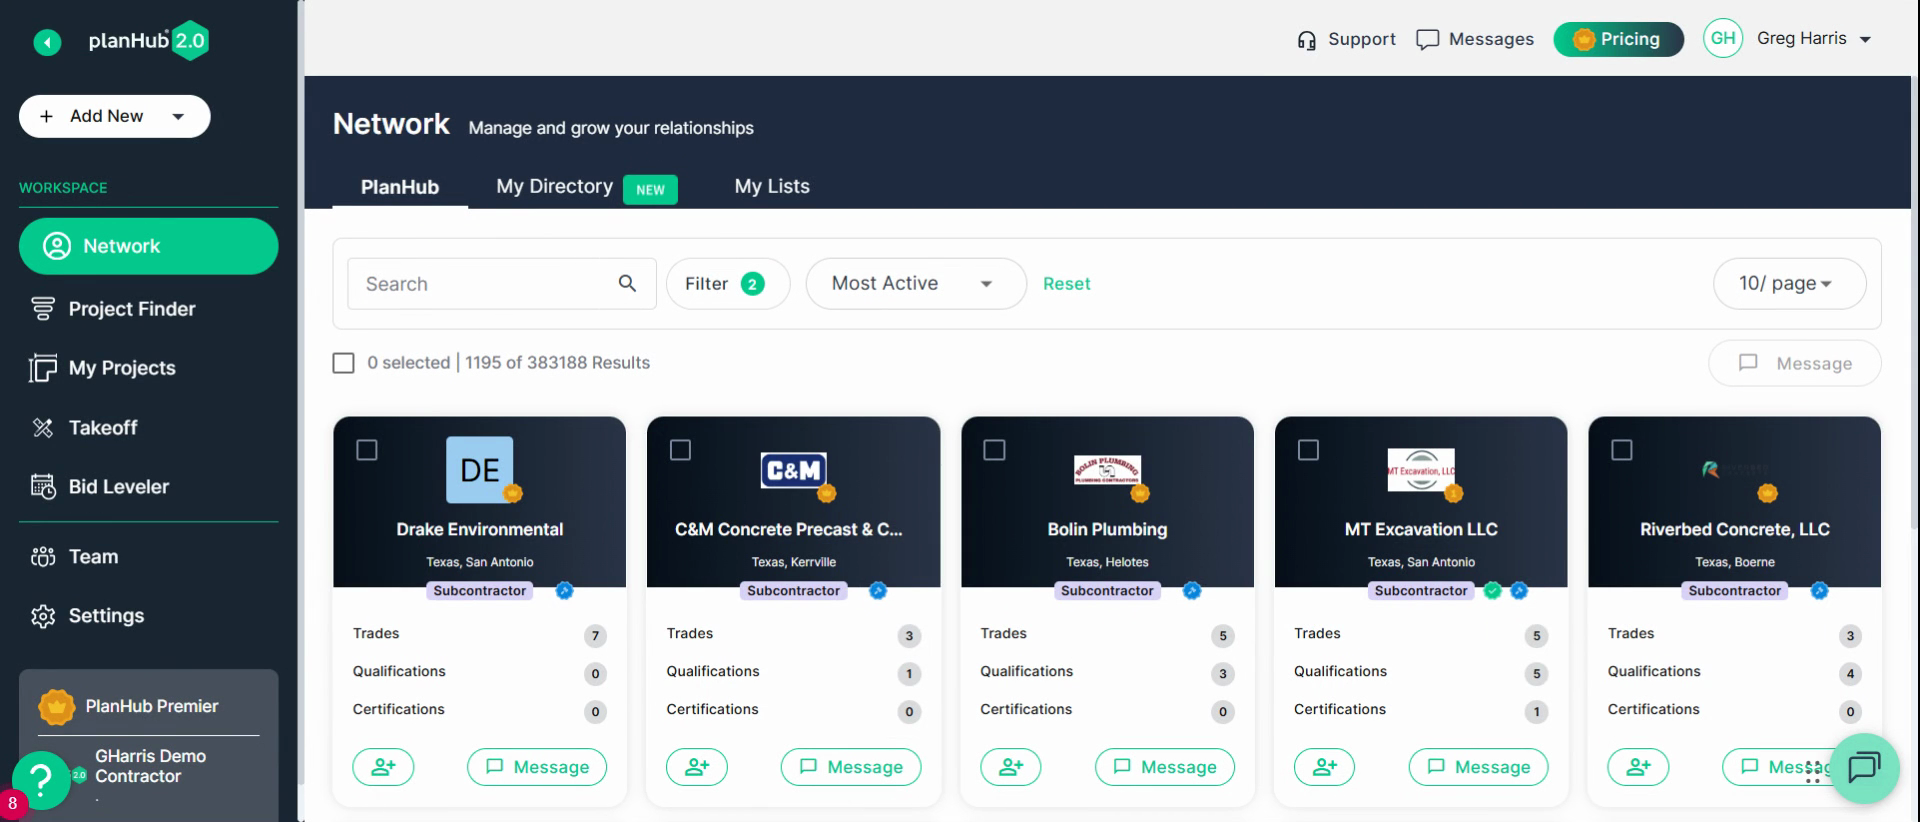
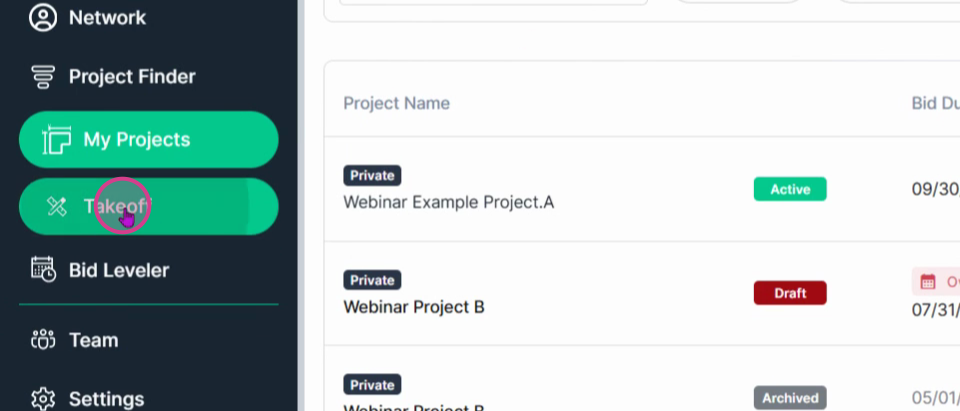
Step 1: Use the links in the left sidebar to move between different task areas in your workspace.
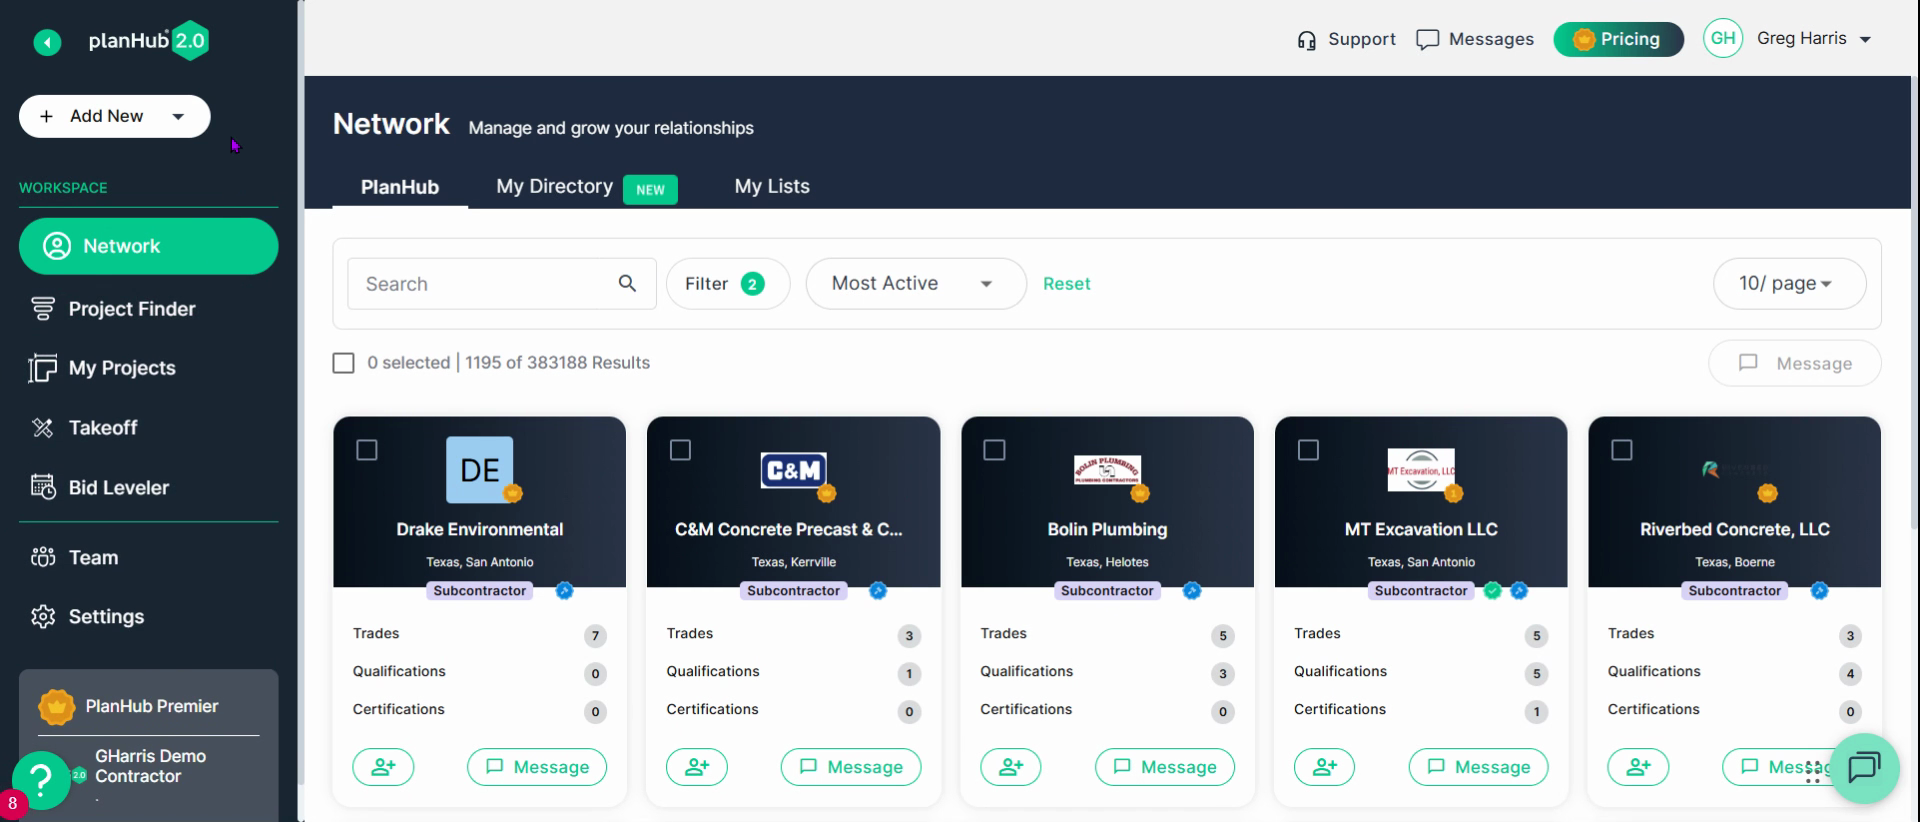
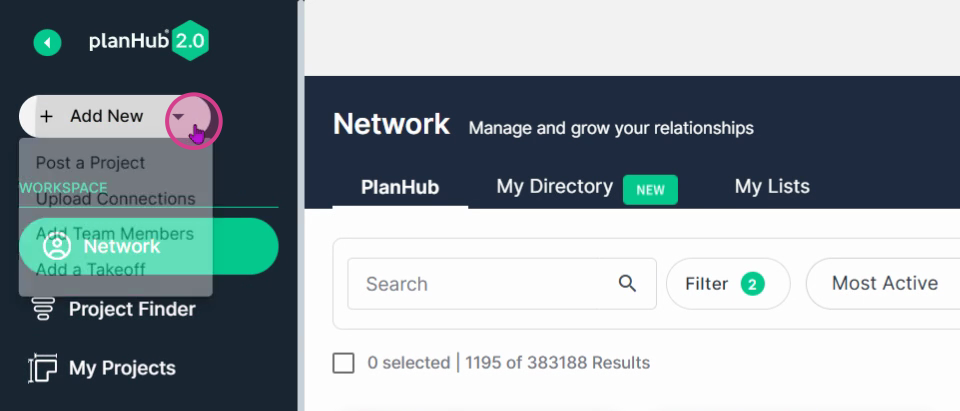
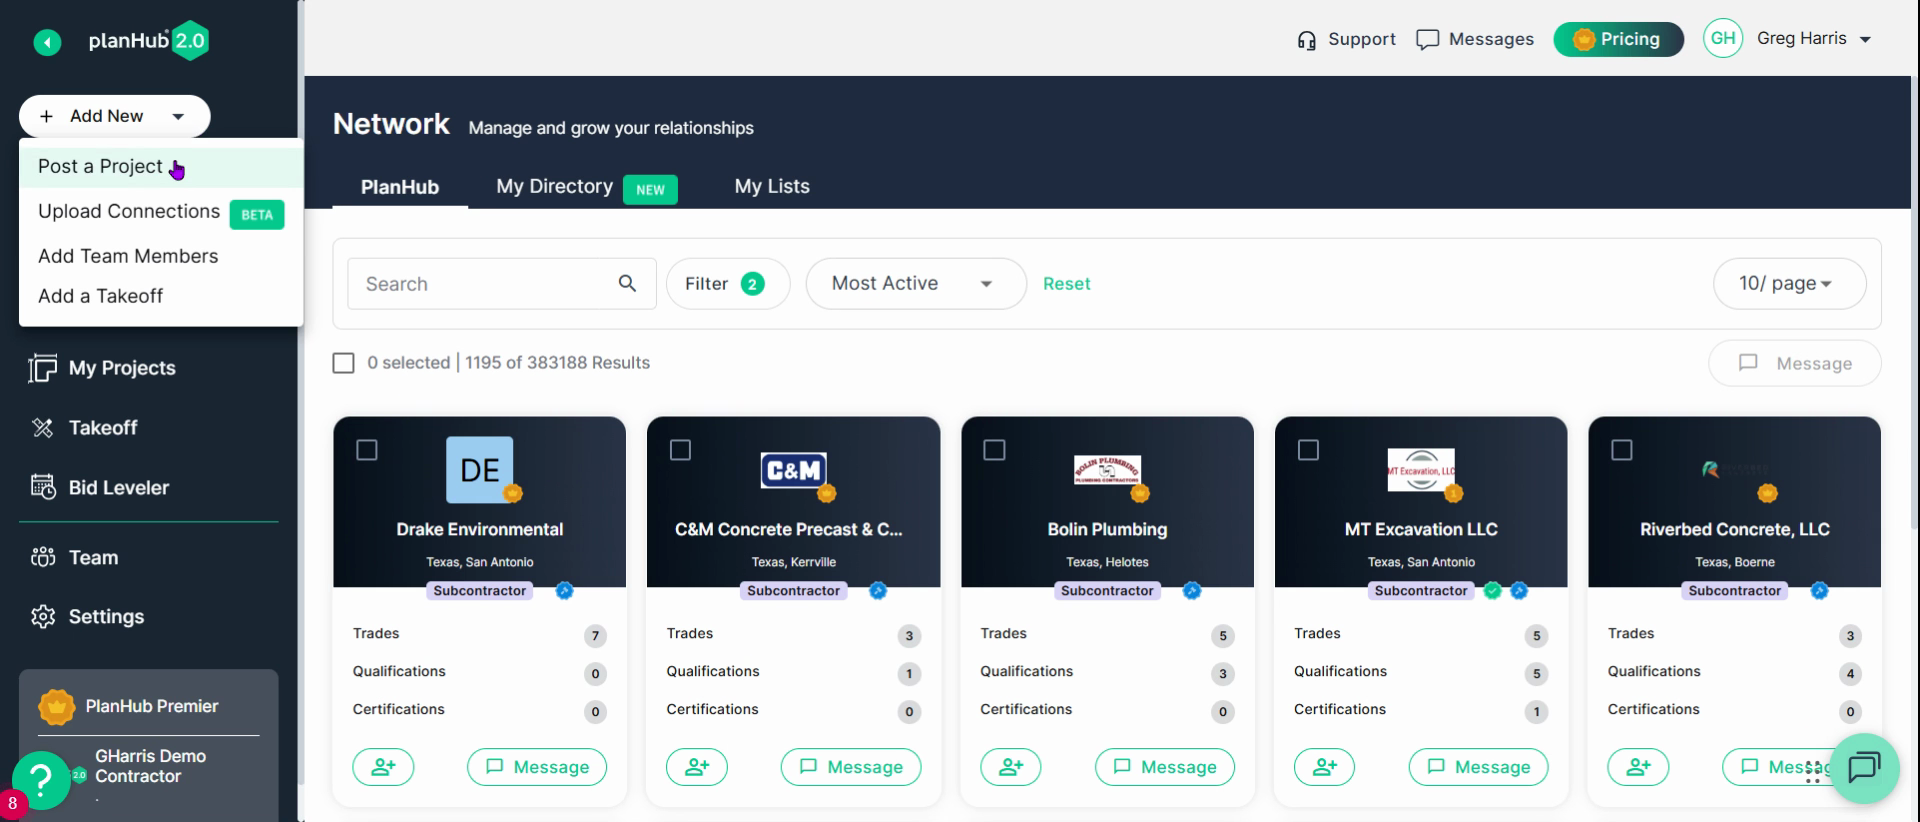
Step 2: At the top of the sidebar, open the dropdown menu for quick access to common actions like posting a project, uploading connections, adding team members, or adding a takeoff.
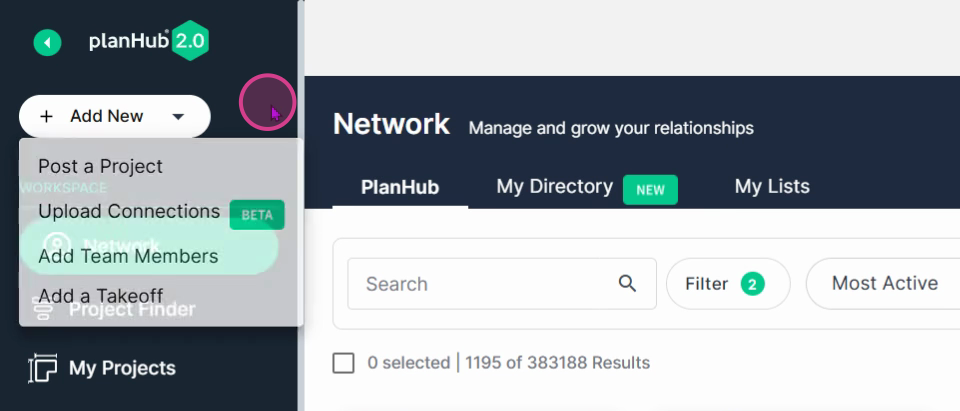
Step 3: Below the dropdown, browse main workspace links for the key areas in your plan hub, starting with Network, if included in your subscription.
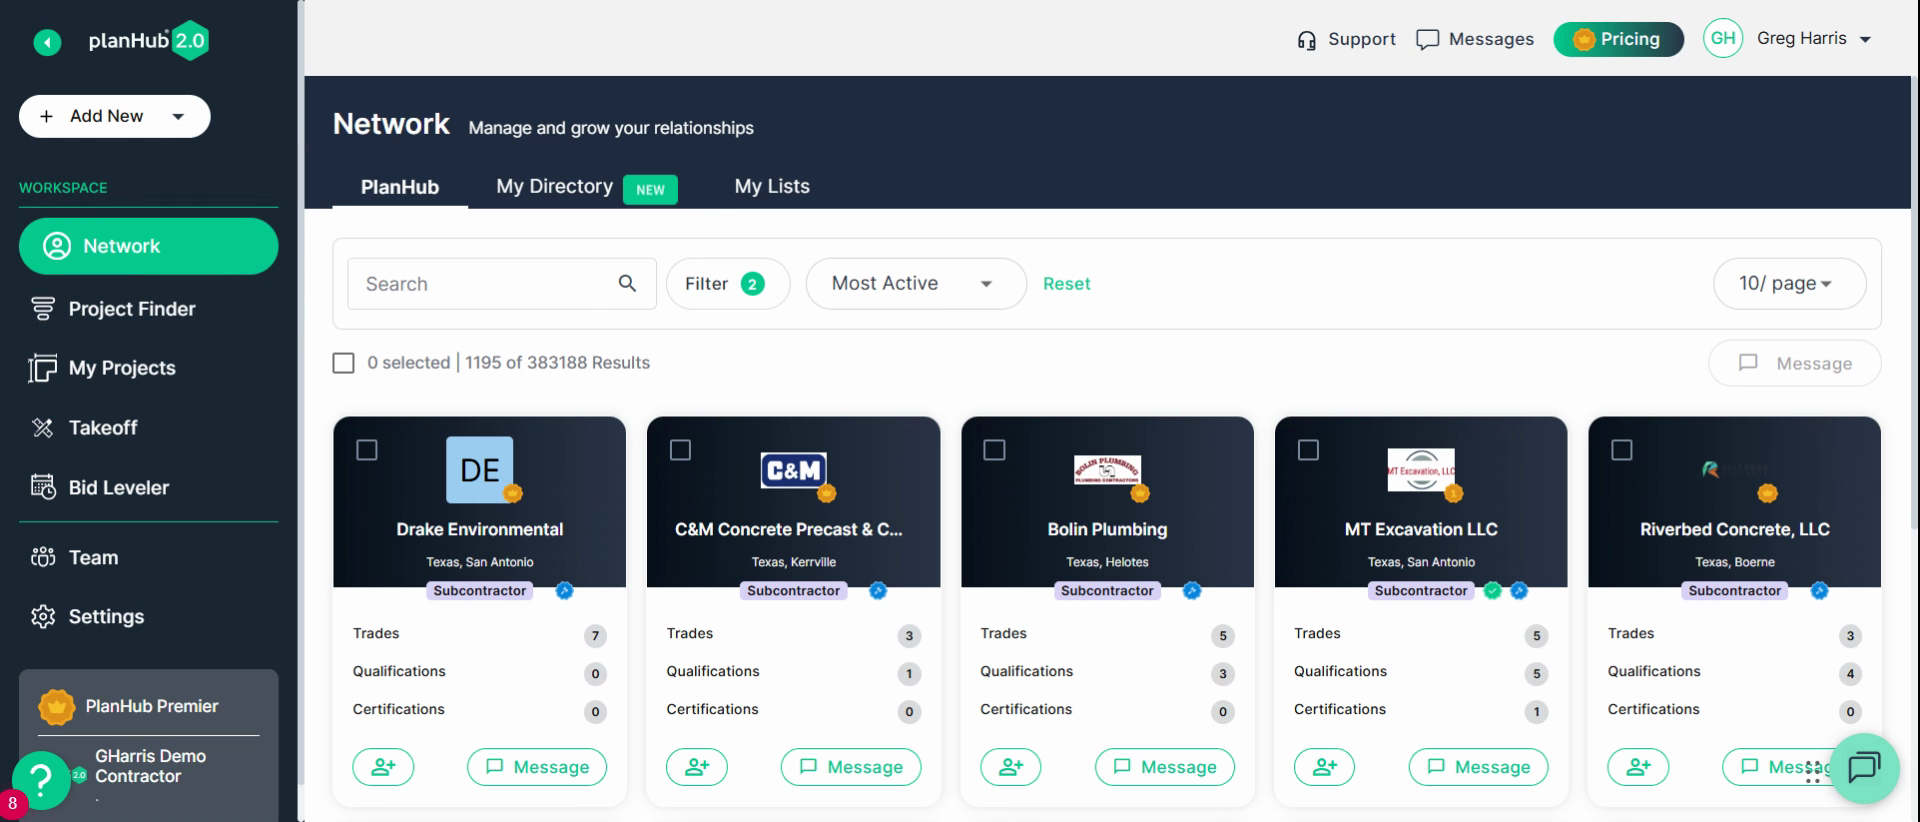
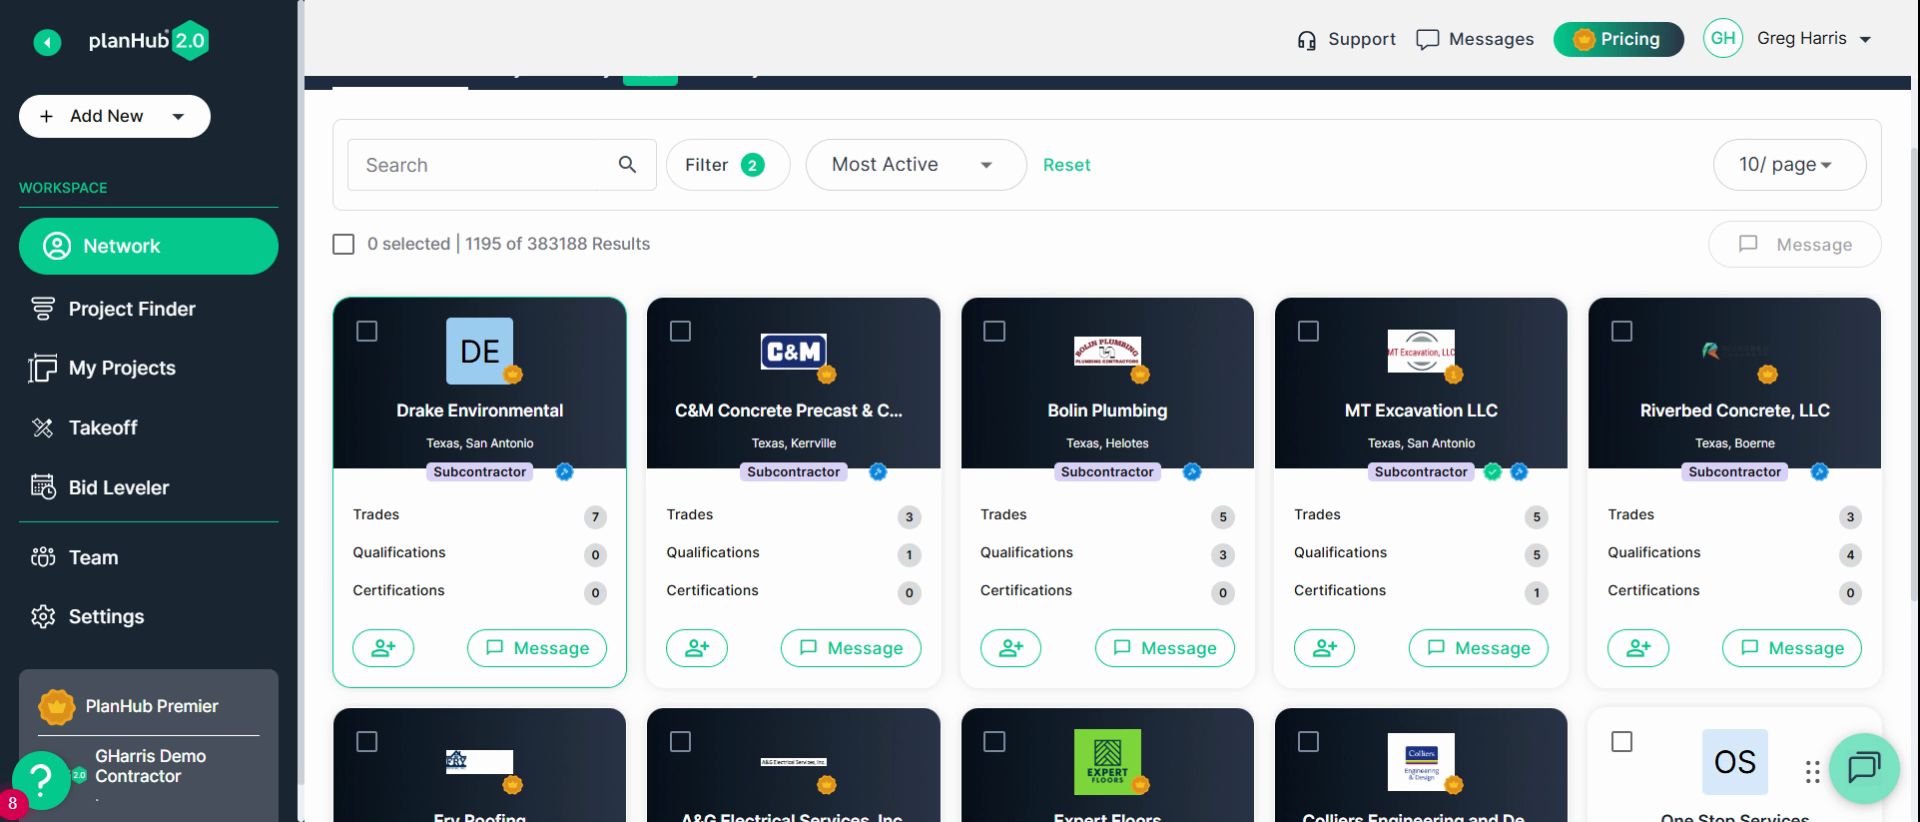
Step 4: On the Network page, access your list of connected subcontractors.
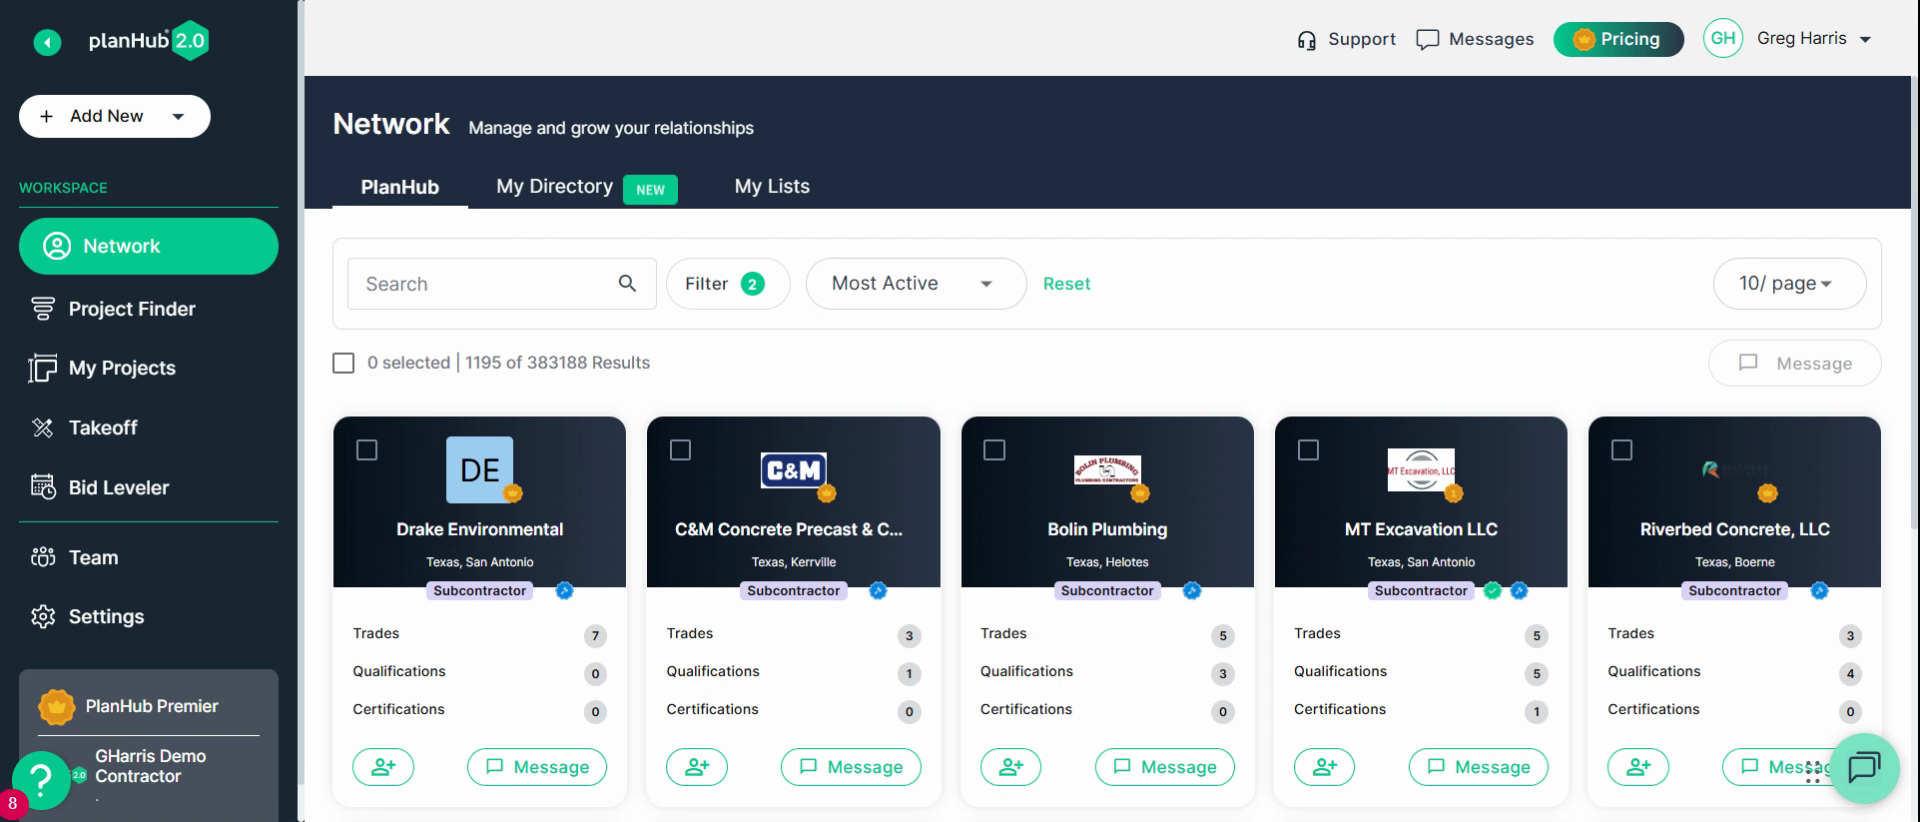
Step 5: Switch to the Plan Hub tab to review subs in your region. Add a sub to your directory by clicking the person with a plus icon on a company card.
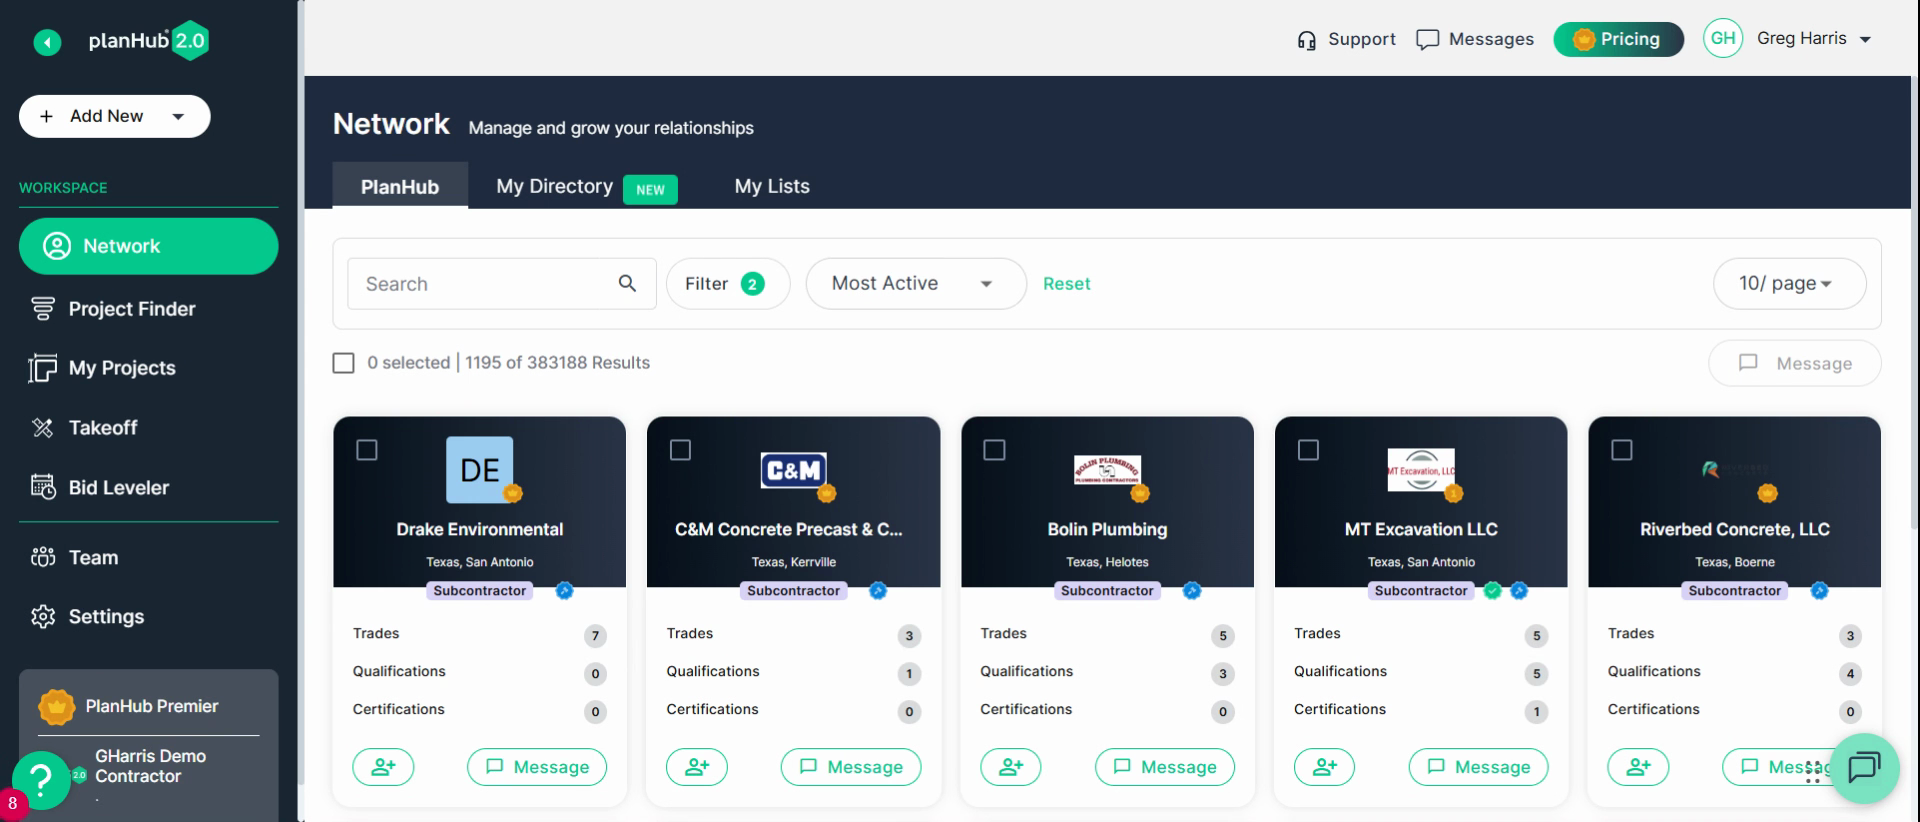
Step 6: Click the company name on any card for more details about that company.
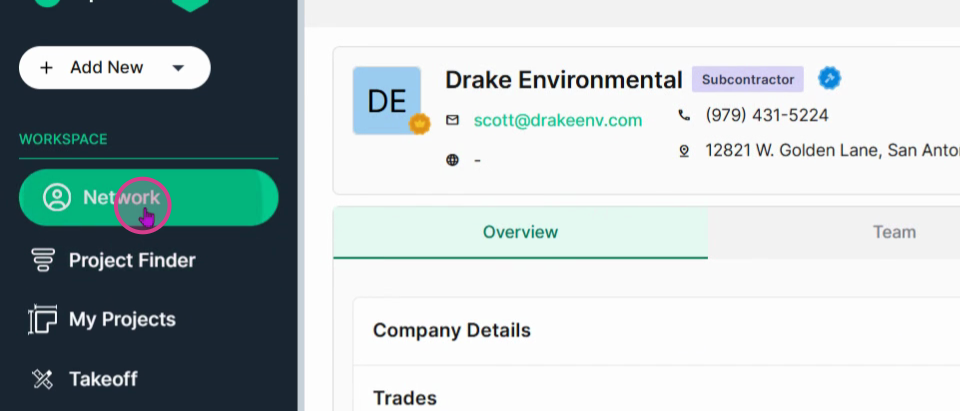
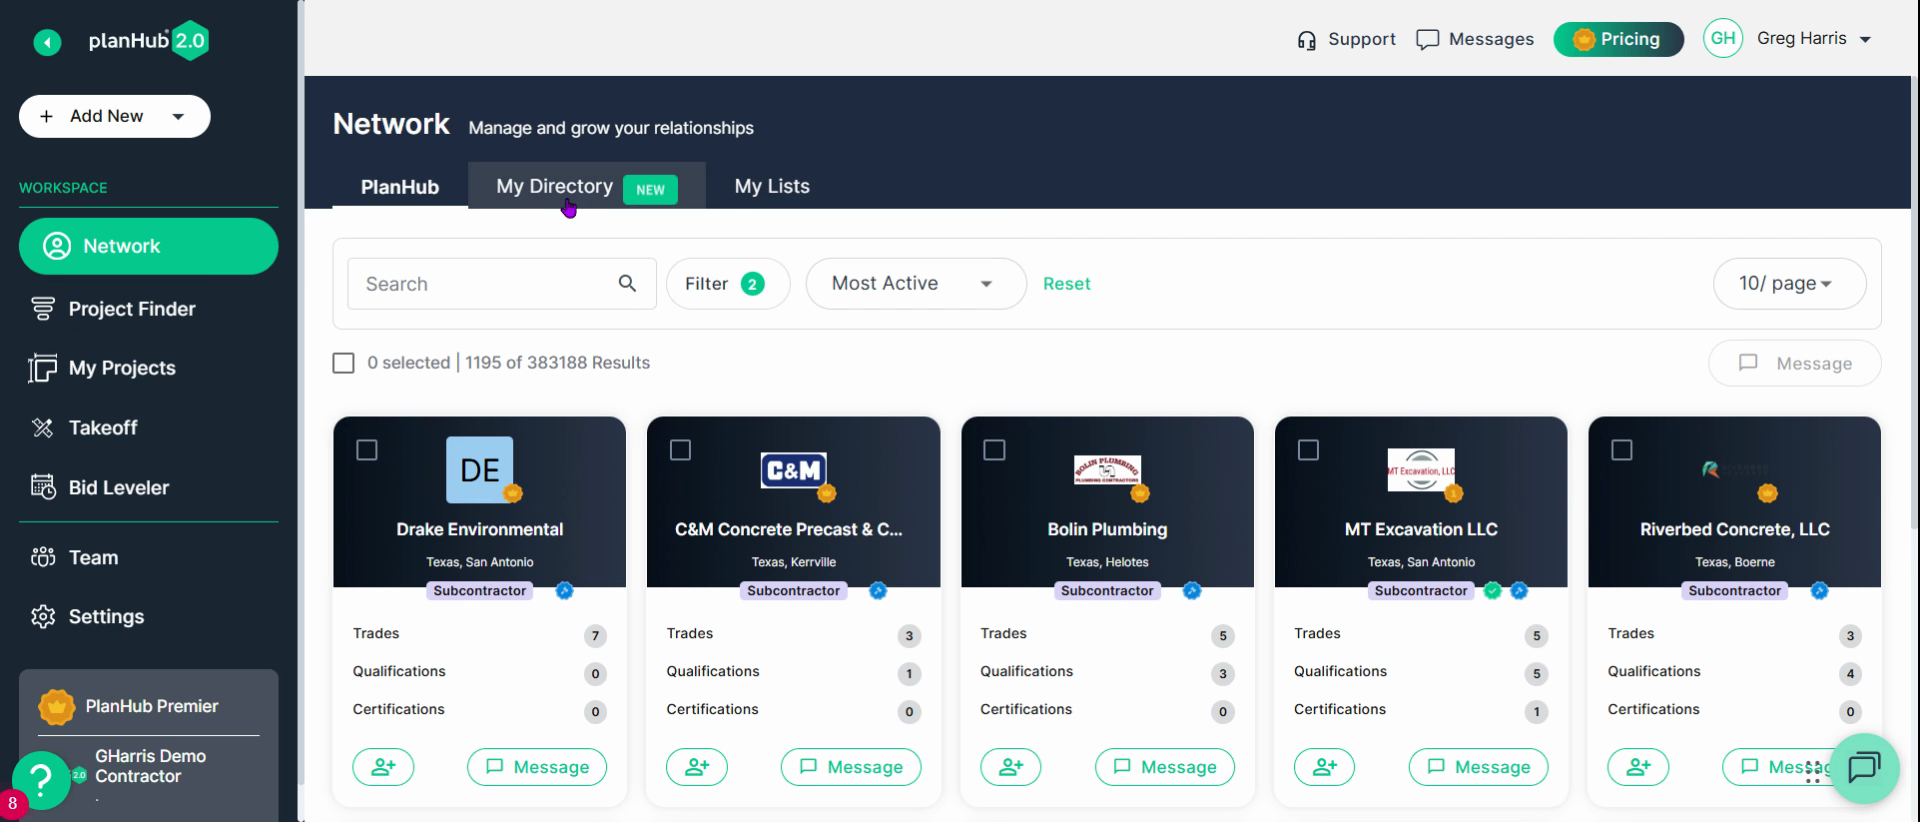
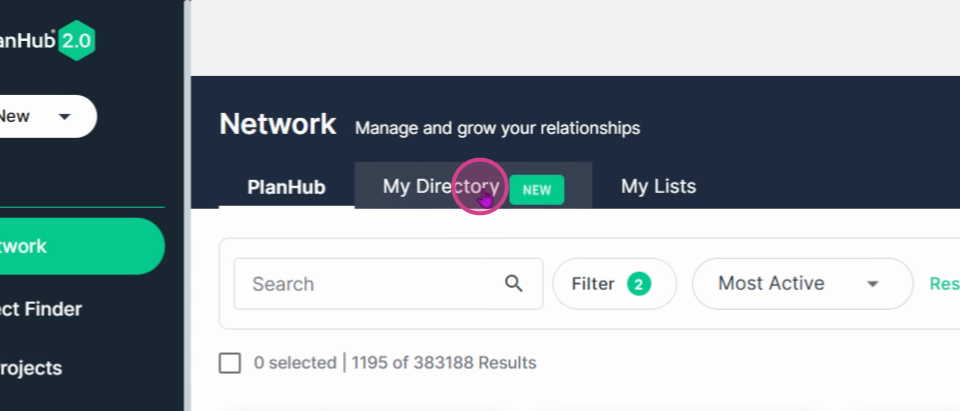
Step 7: Manage all contacts in the My Directory section, where you'll see the list of contacts you've added.
Step 8: To add a new company, click the Add Company button in the upper right.
Step 9: In the My List area, upload a list of contacts or create a new list using the green Create New List button.
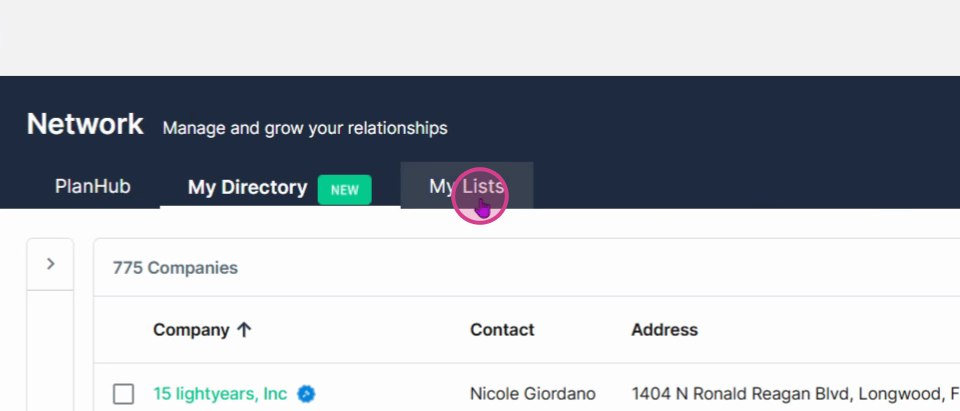
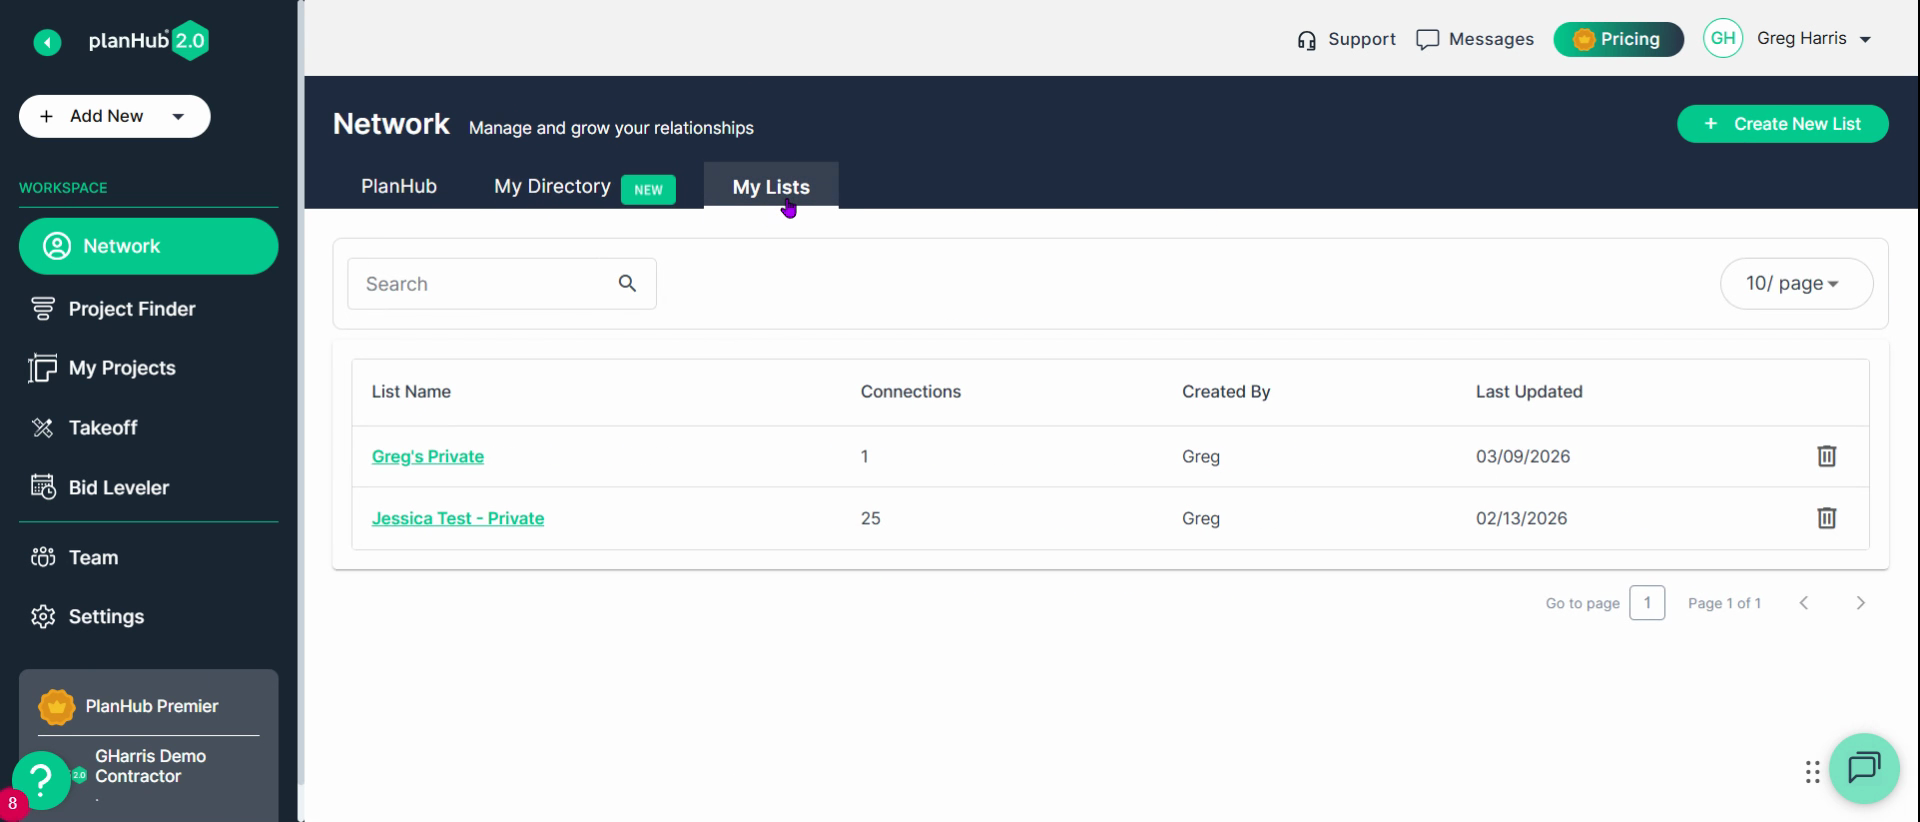
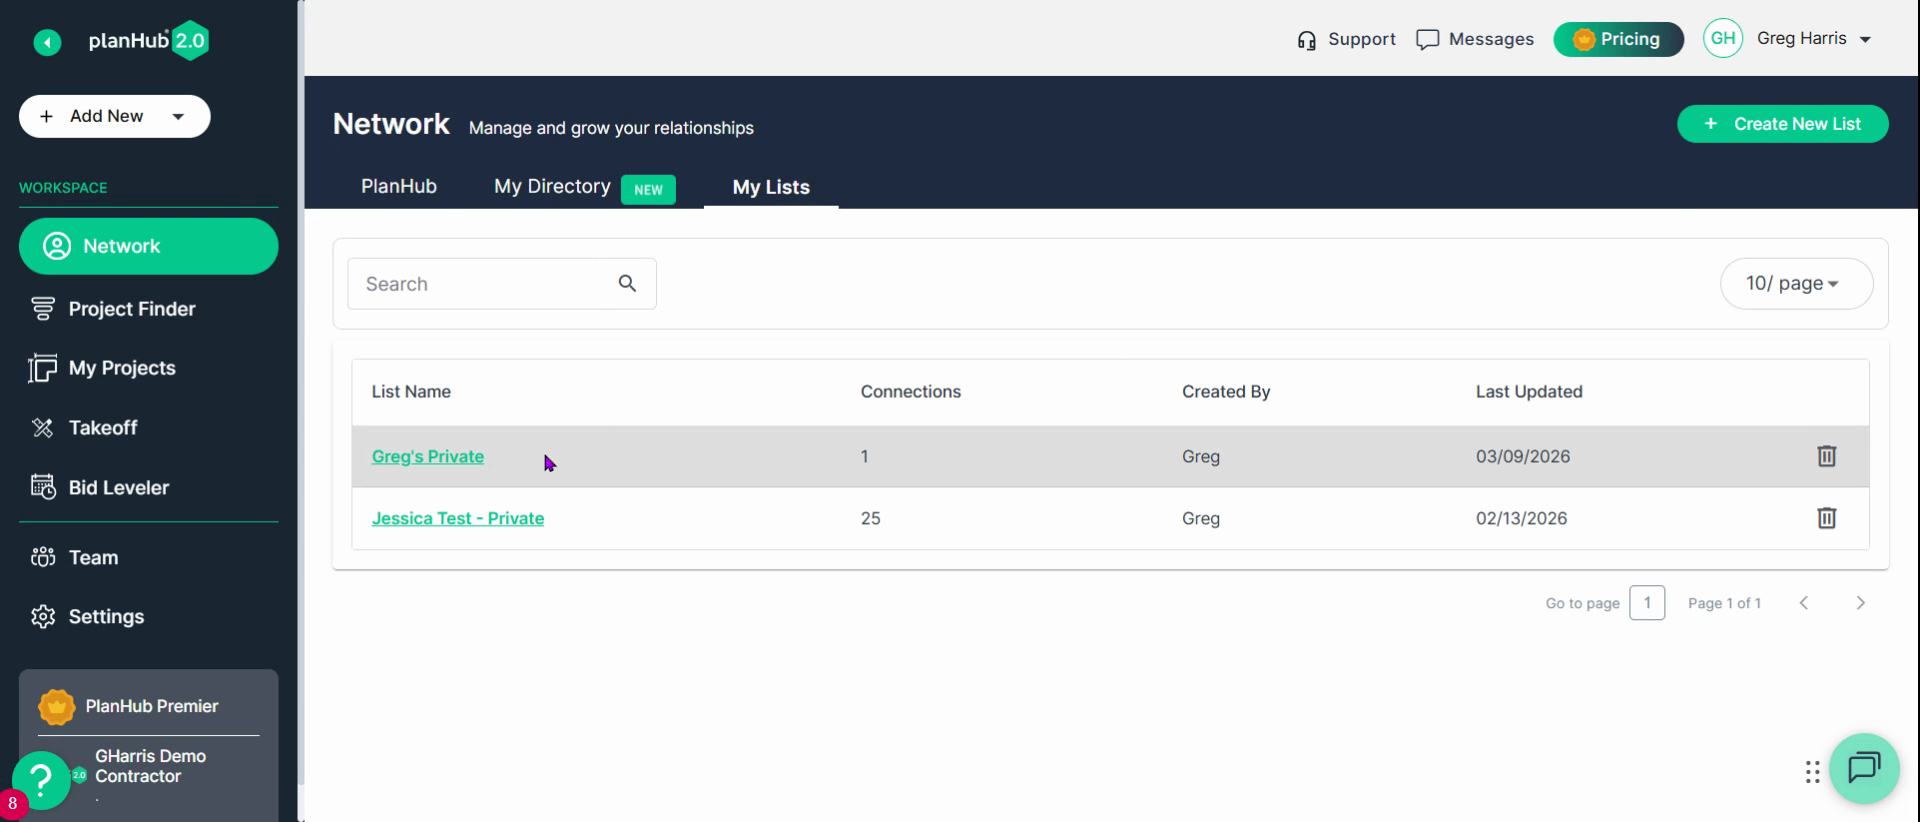
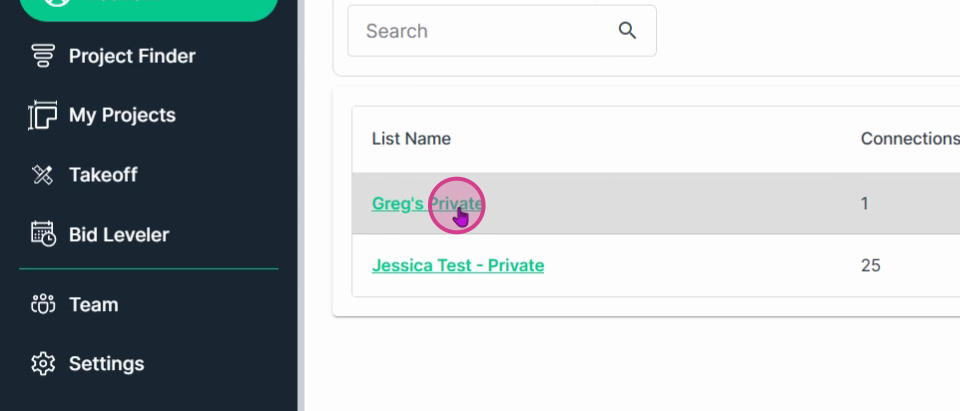
Step 10: View any list by clicking its name, then search within the list if you need to find a specific company.
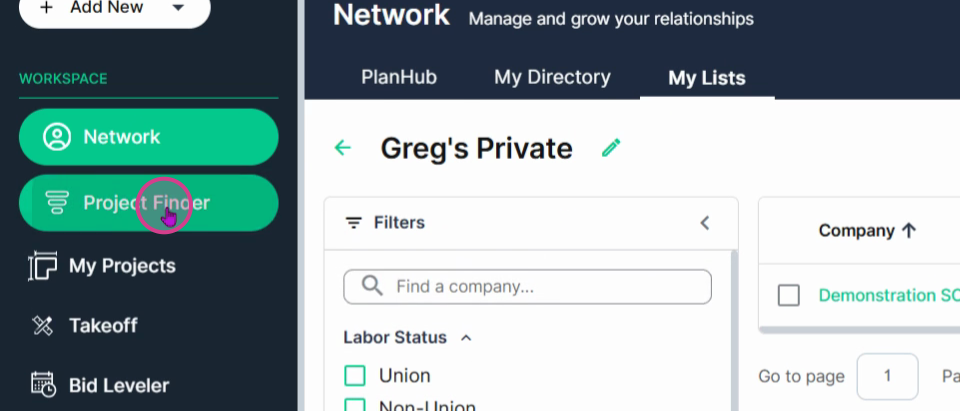
Project Finder: Discover and Track Projects
Step 1: Go to Project Finder to see planning-stage projects in your area.
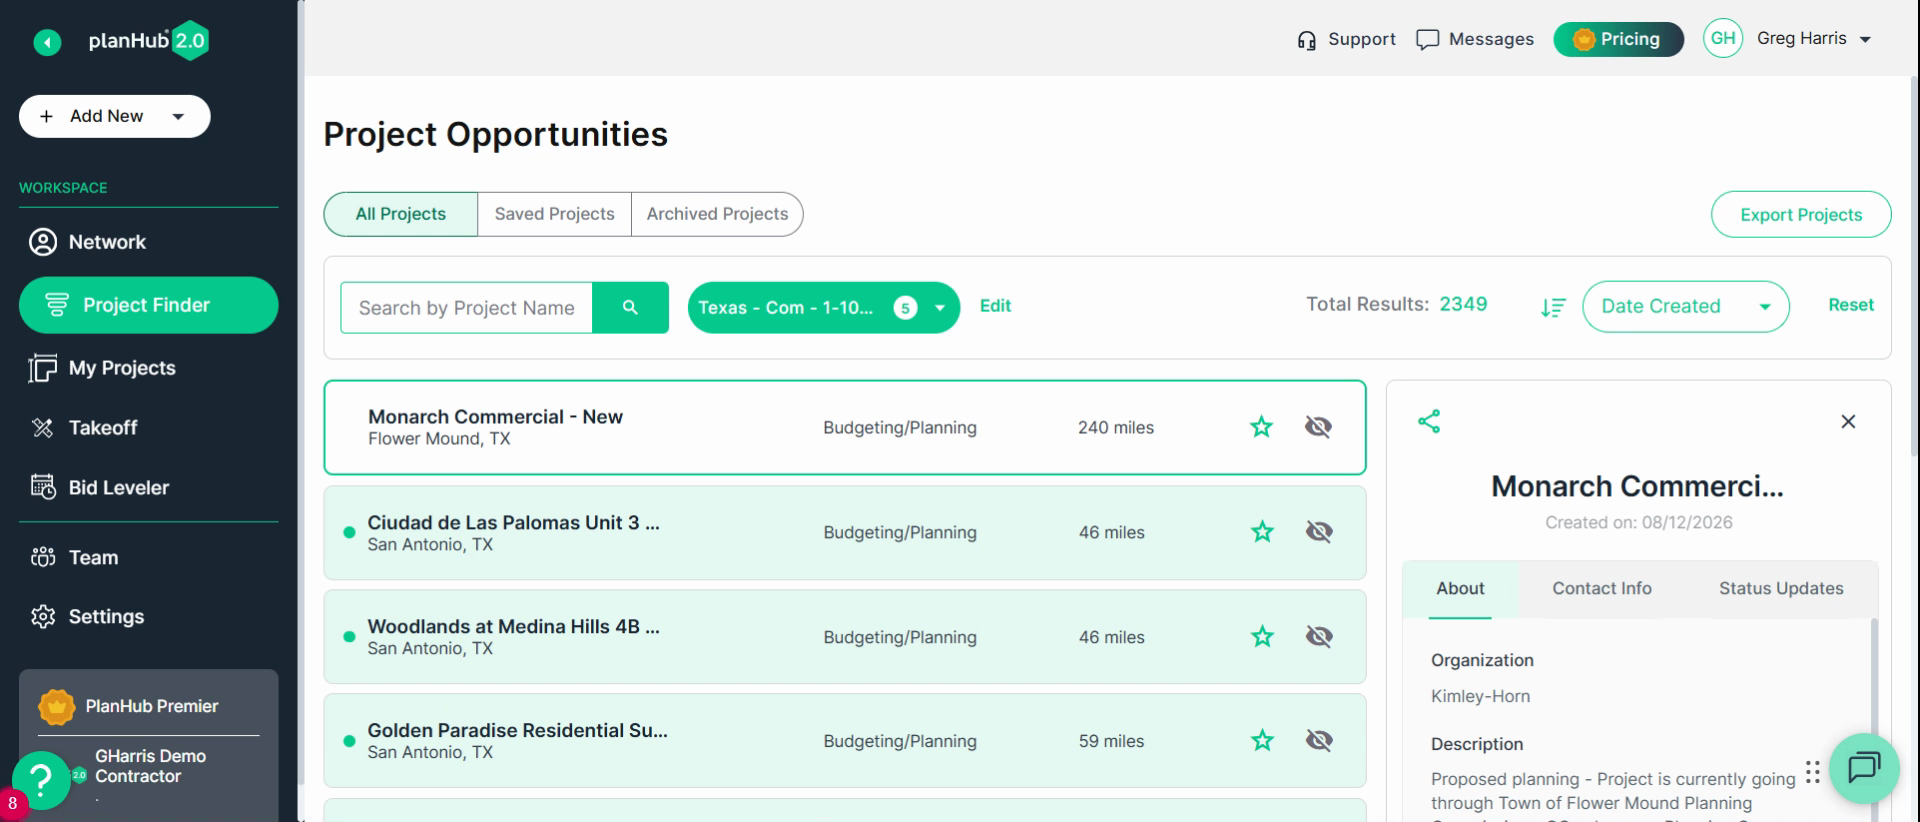
Step 2: Search for a specific project using the search box or use the sort and filter options in the upper right.
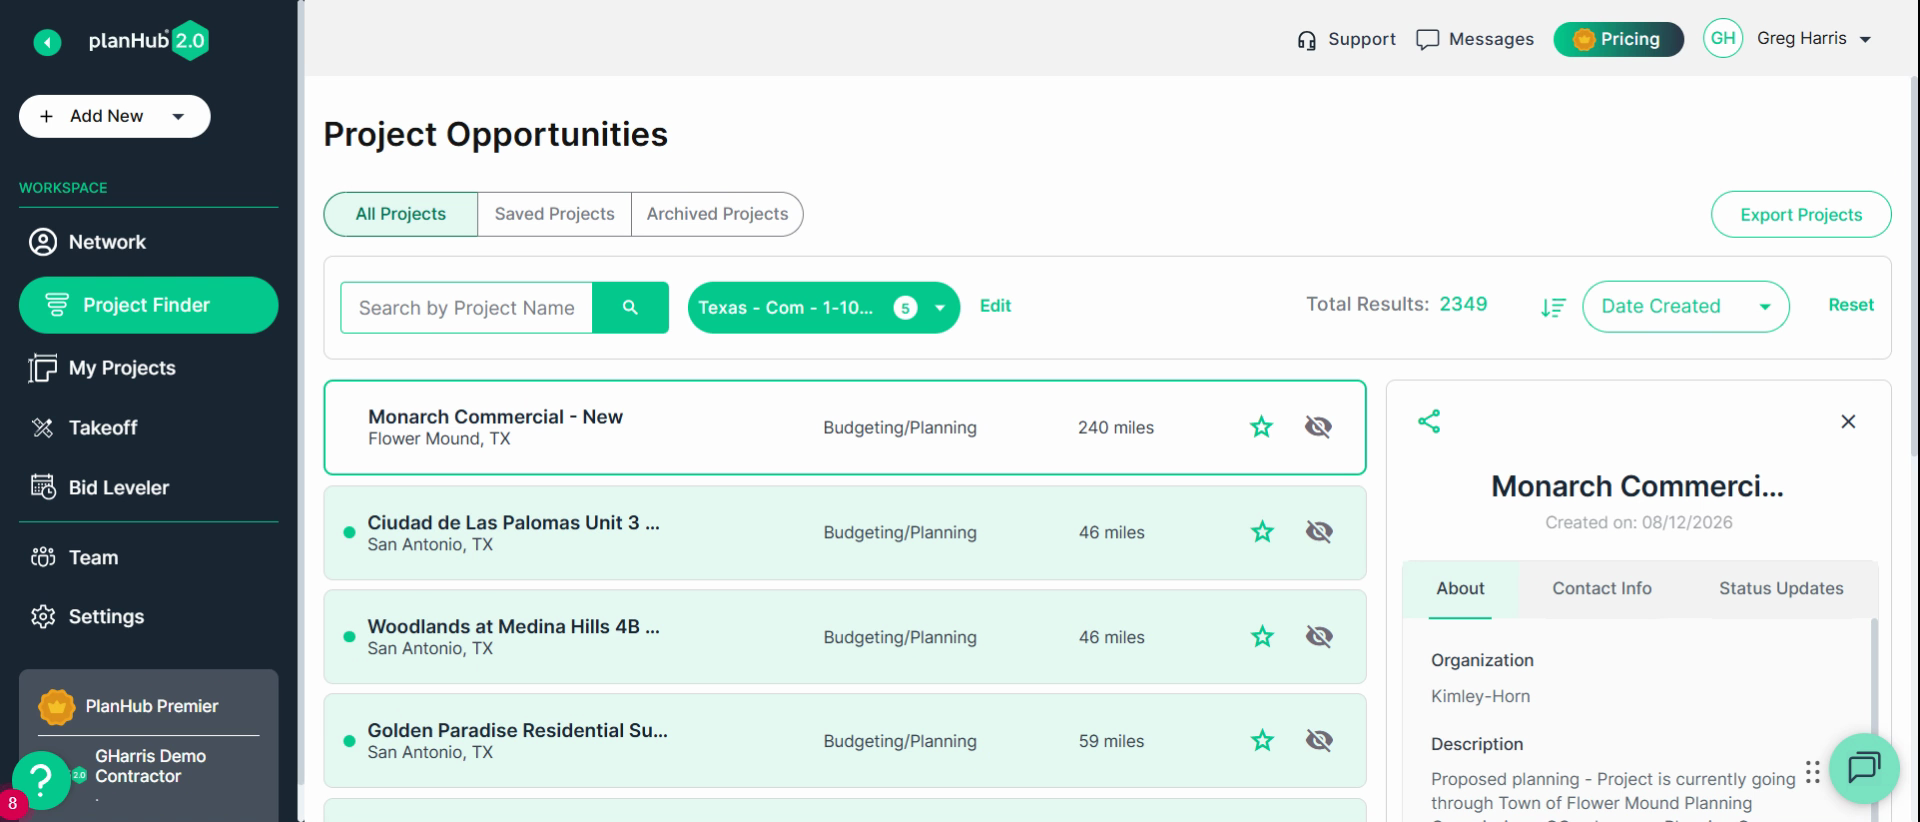
Step 3: Click the star icon to add projects to your Saved Projects for easy access later.
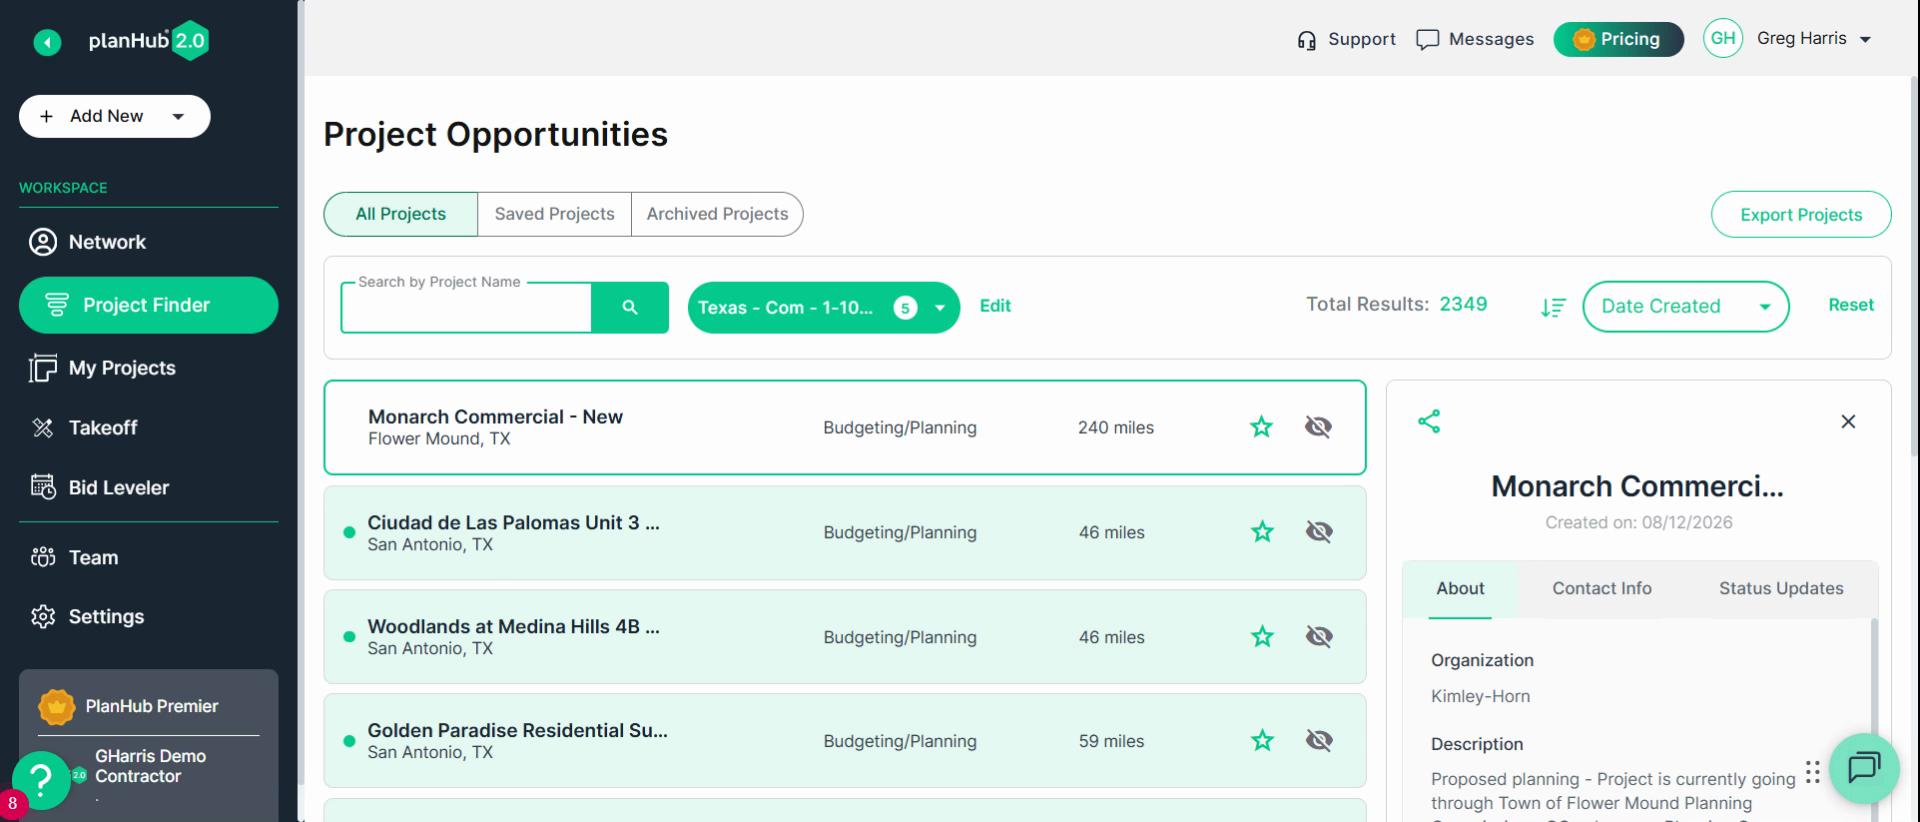
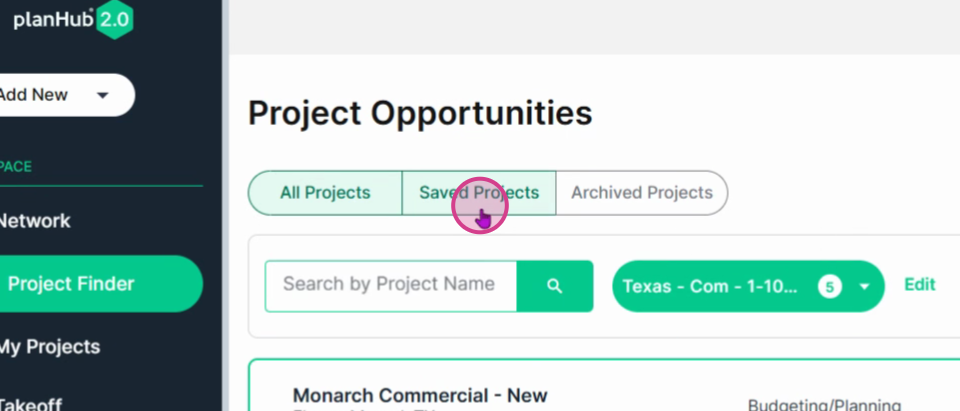
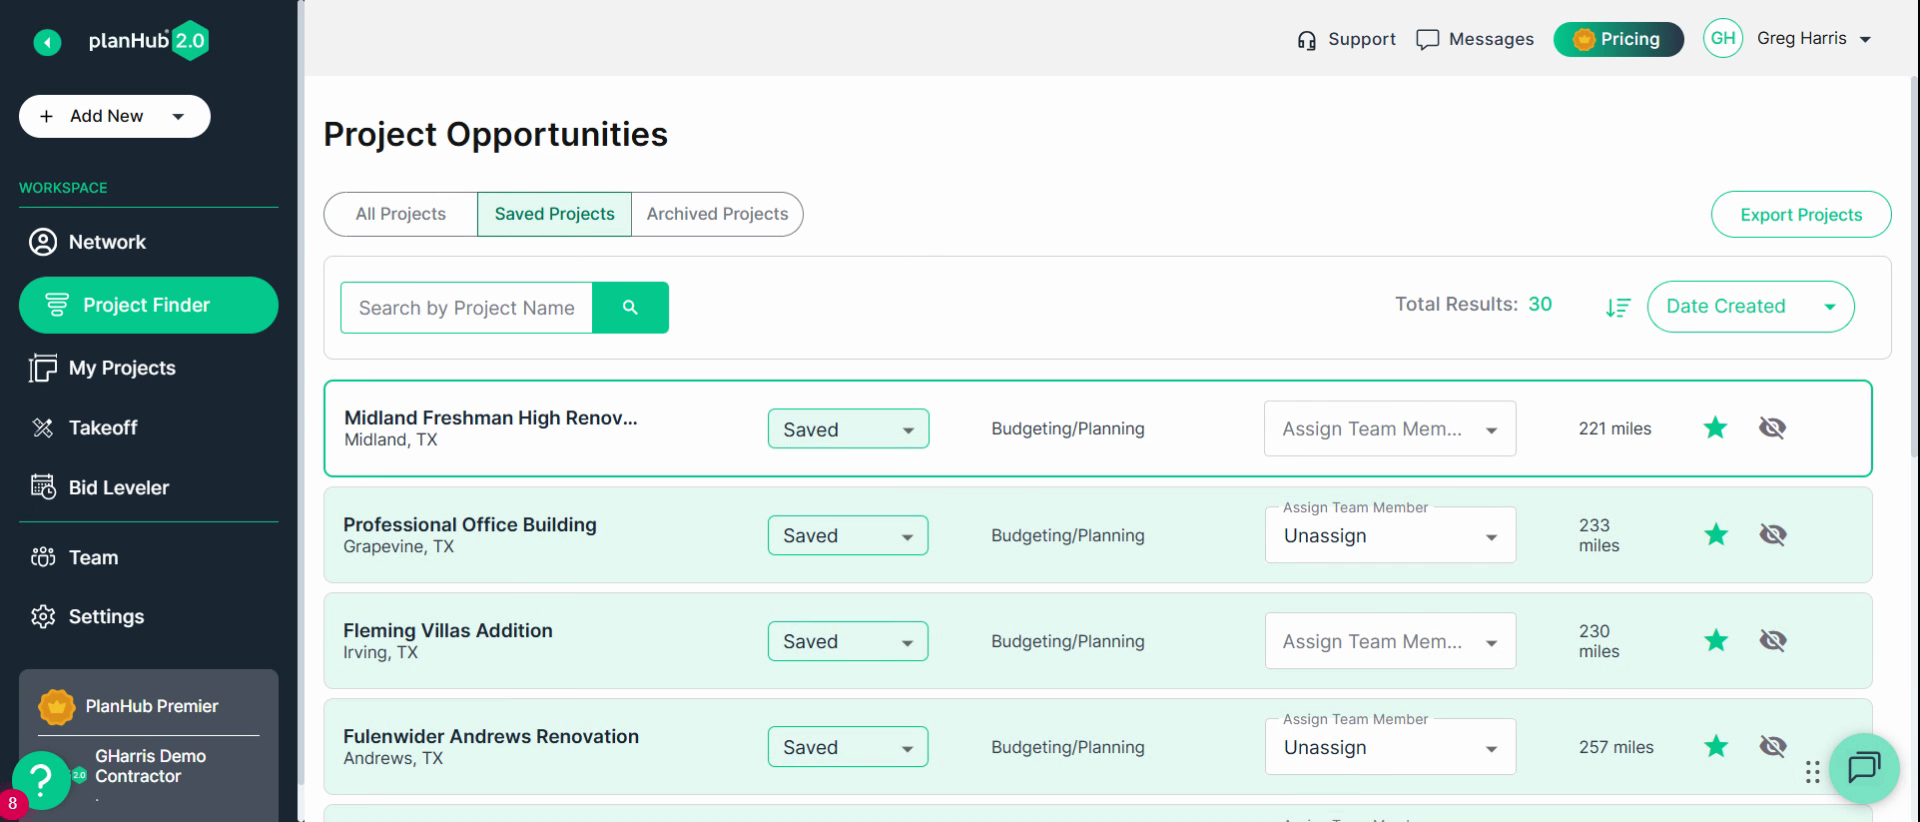
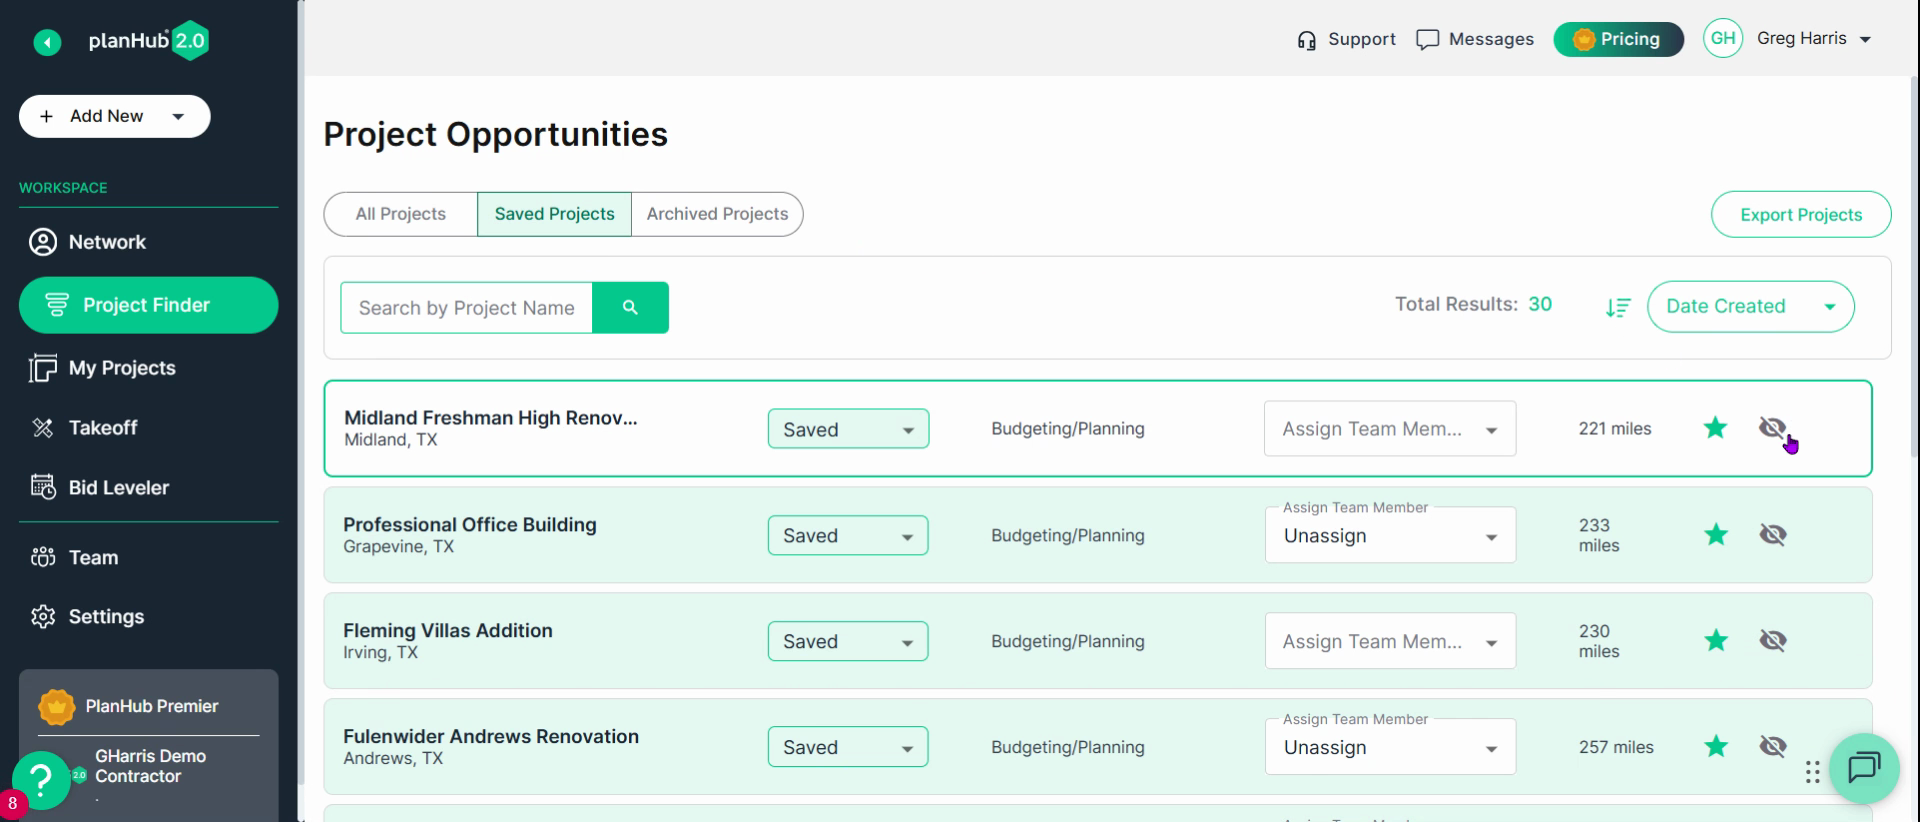
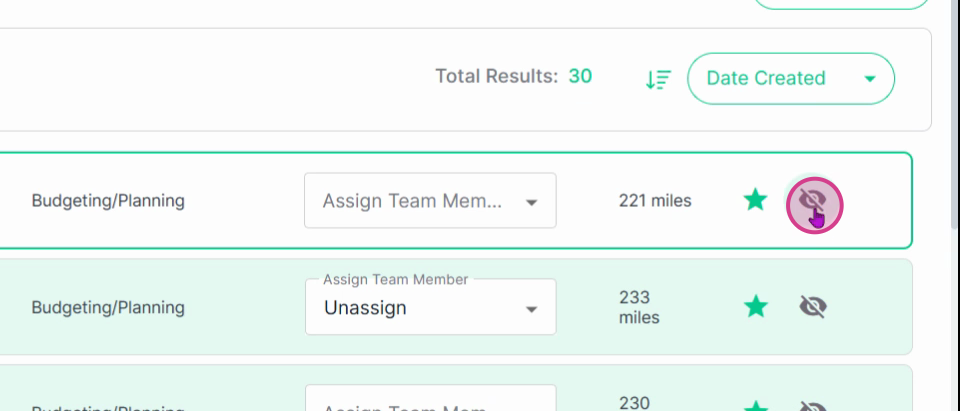
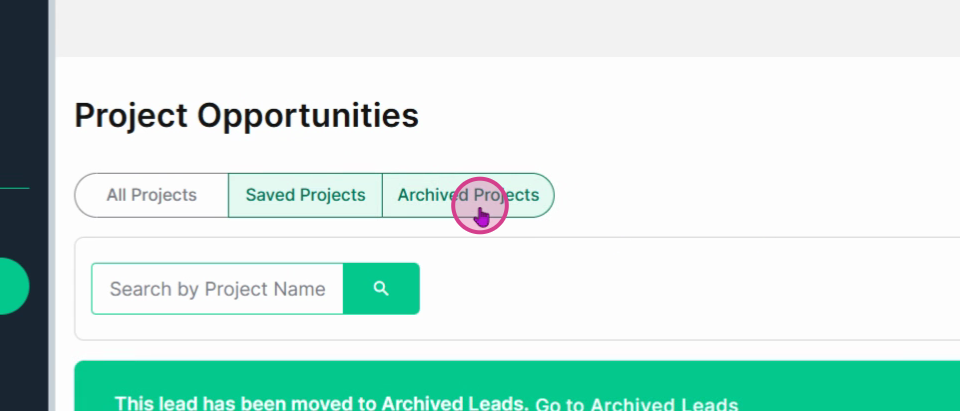
Step 4: To archive a project you’re not interested in, click the eye icon with a slash.
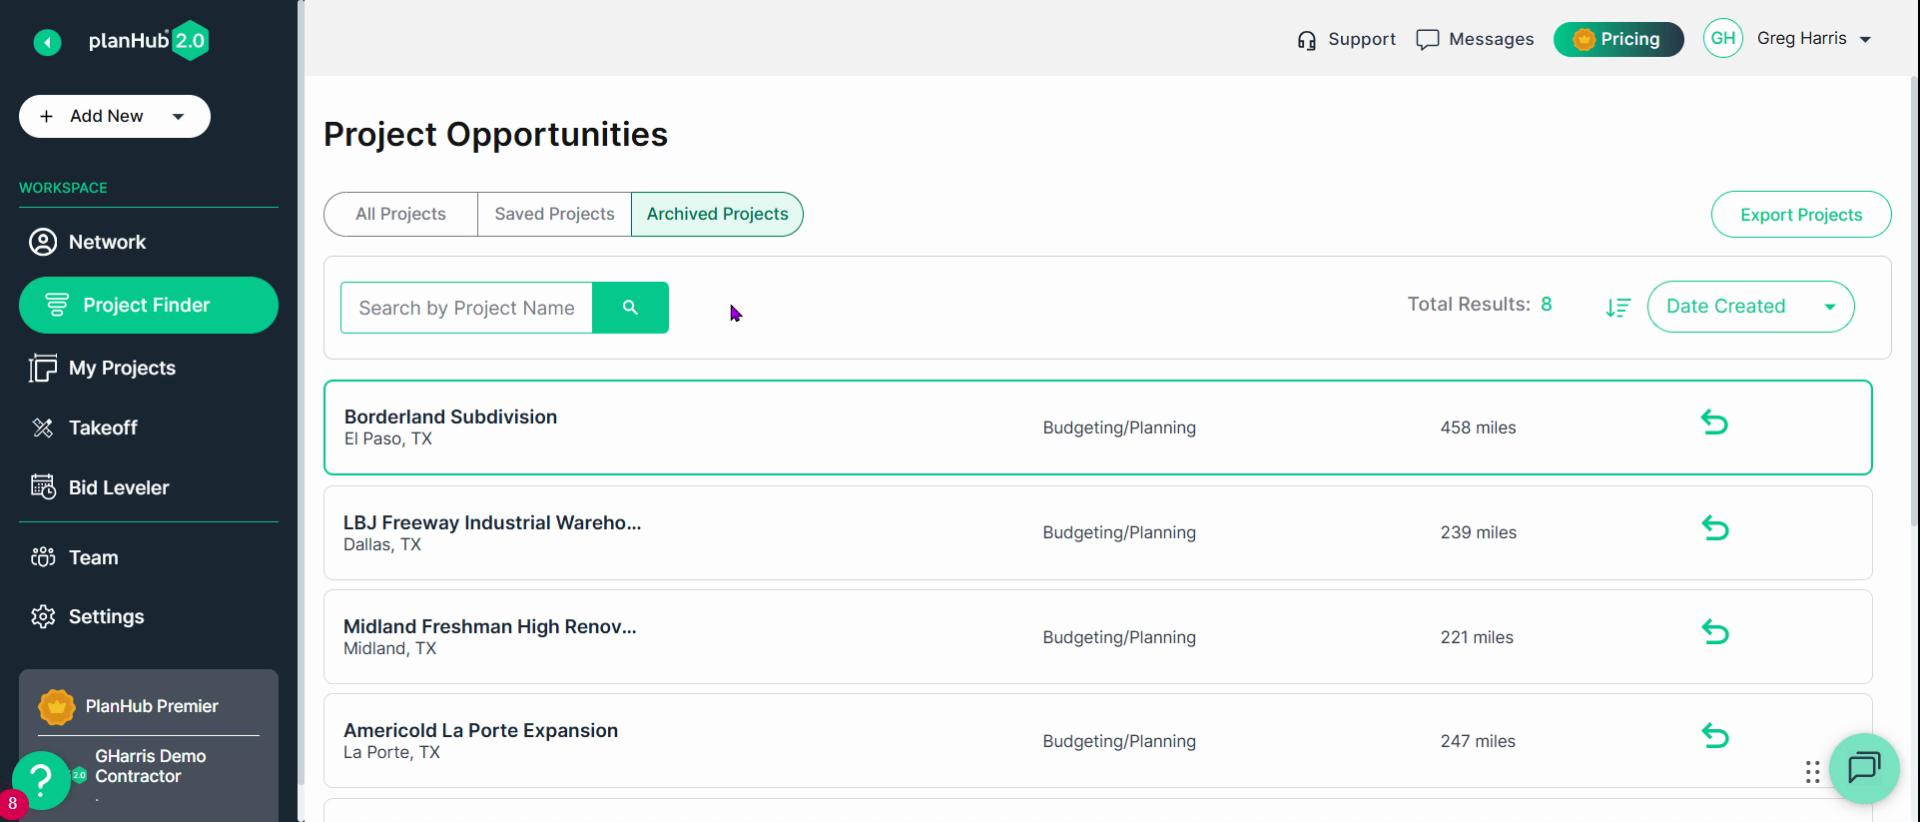
Step 5: All archived projects appear in the Archived Projects list. Use the undo arrow next to an entry to recover it.
Managing Your Projects
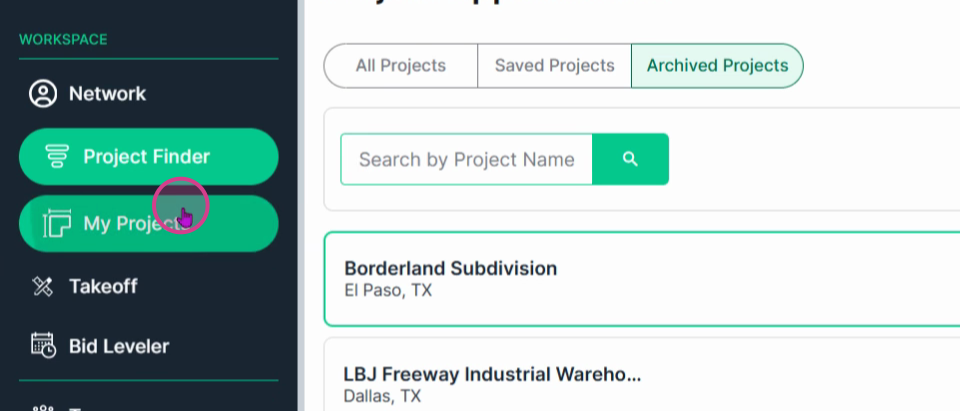
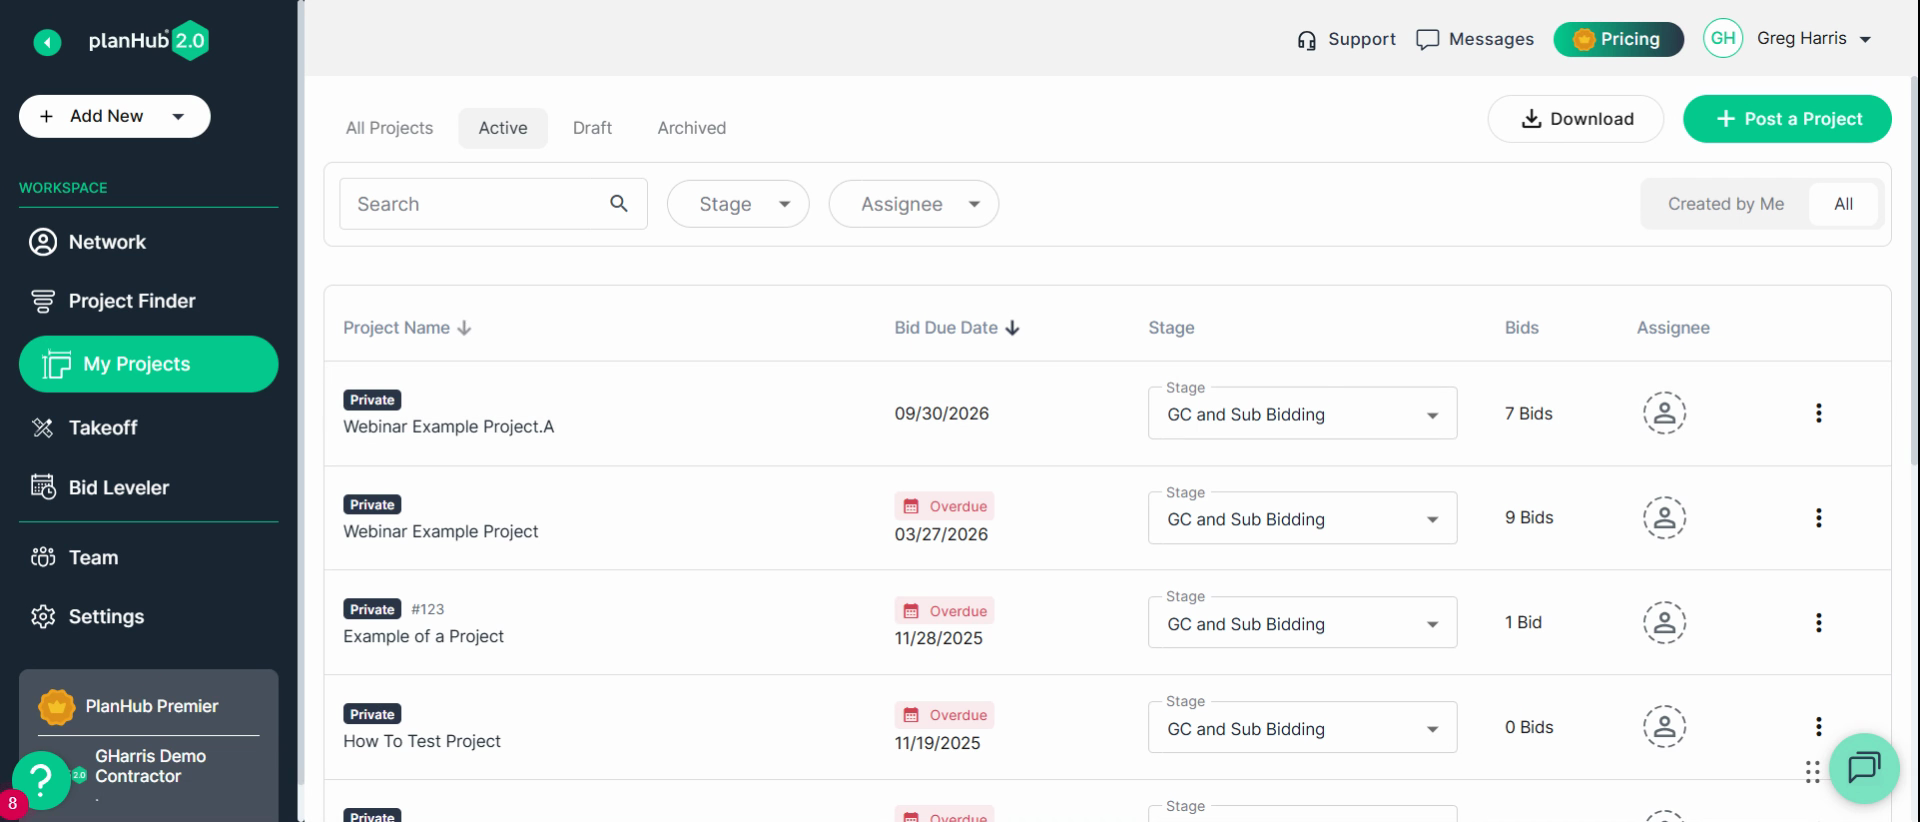
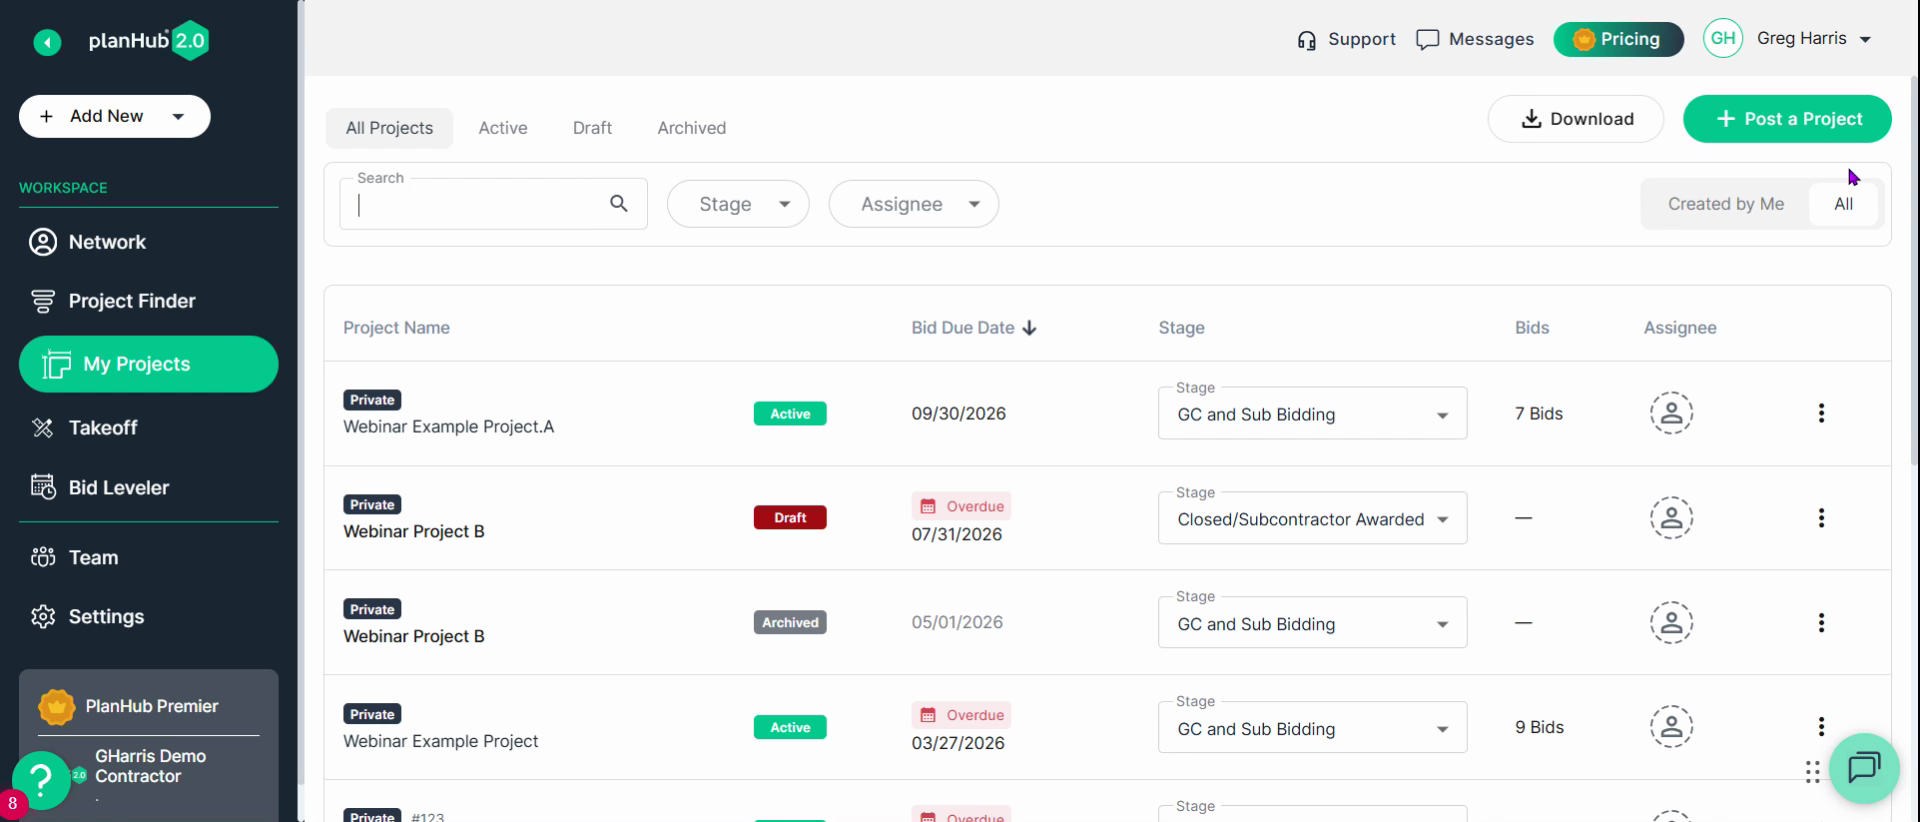
Step 1: The My Projects section shows a list of all projects your company has added.
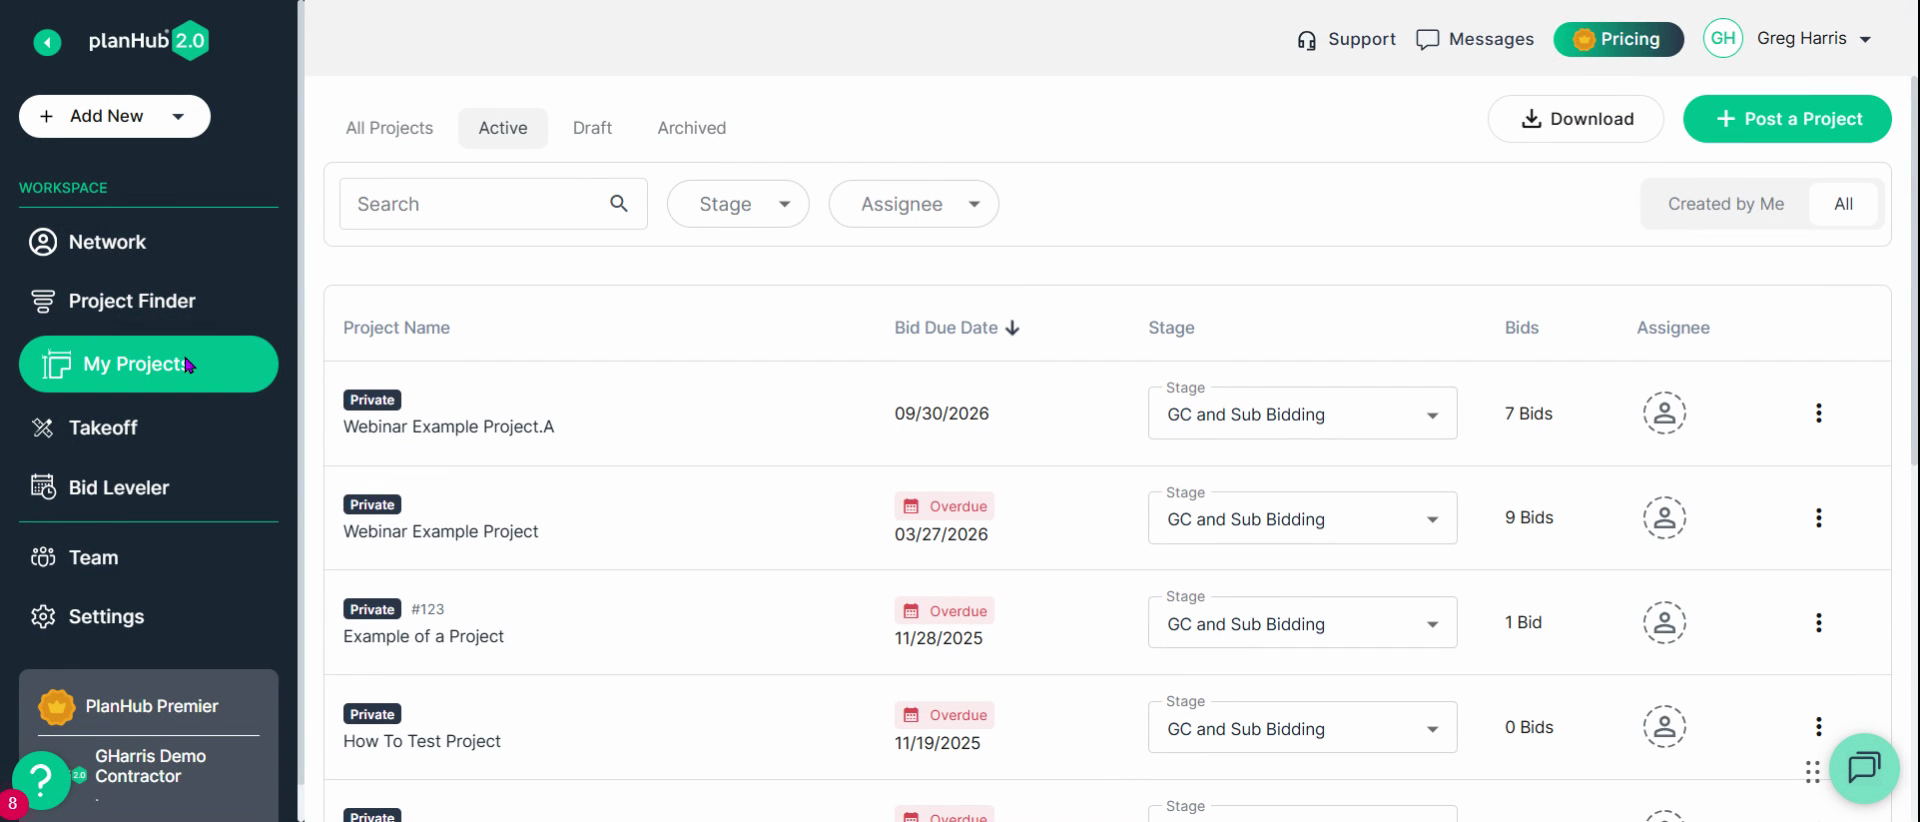
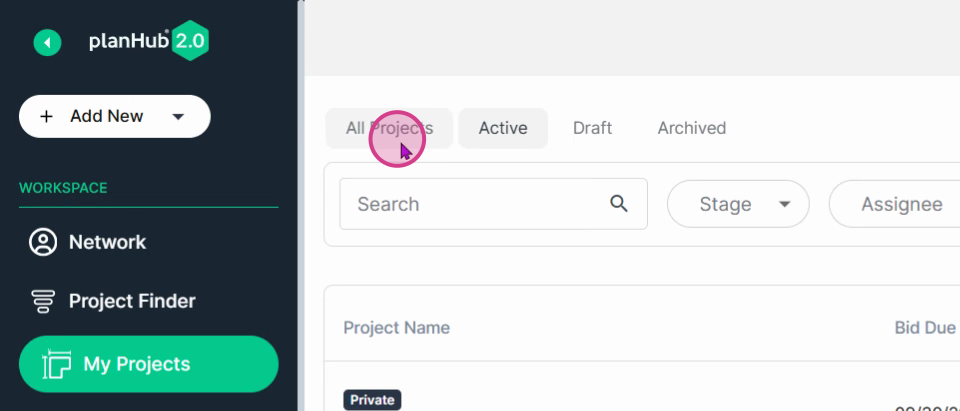
Step 2: Use the tabs at the top to choose between all projects, active, drafts, or archived.
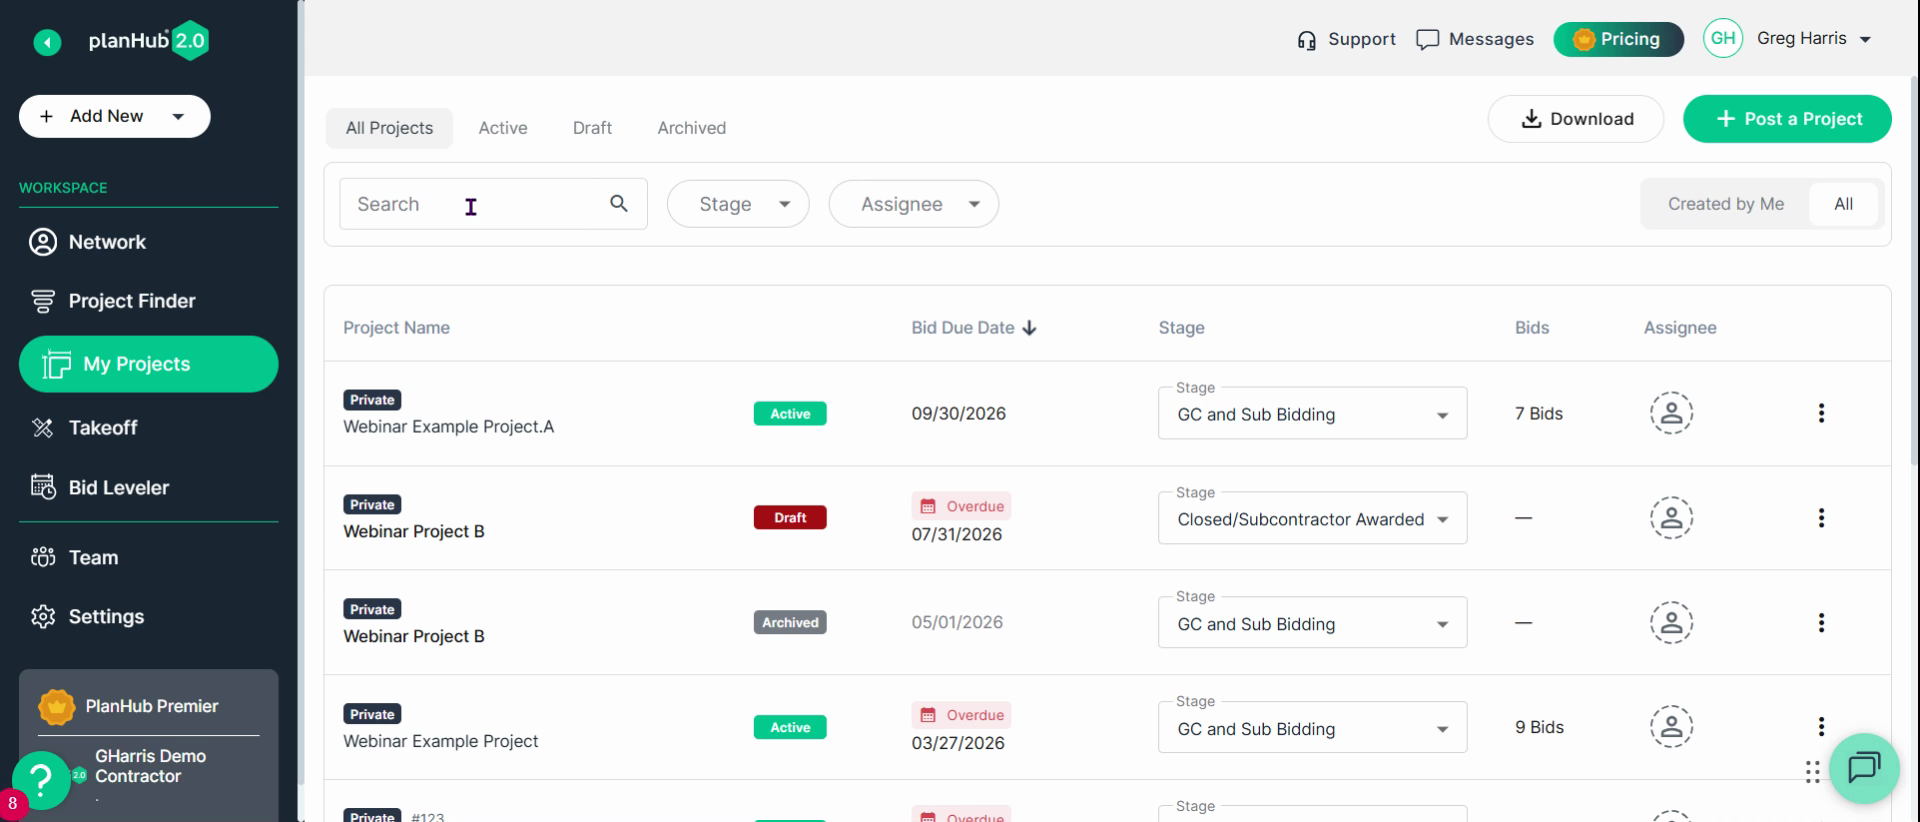
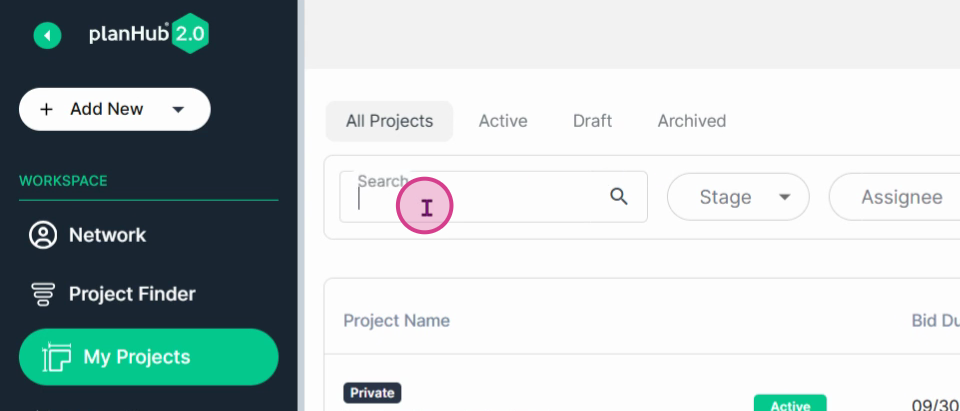
Step 3: Use the search bar to quickly find specific projects in each category.
Step 4: Click the Post a Project button in the upper right to add a new project.
Using Takeoff and Bid Leveler
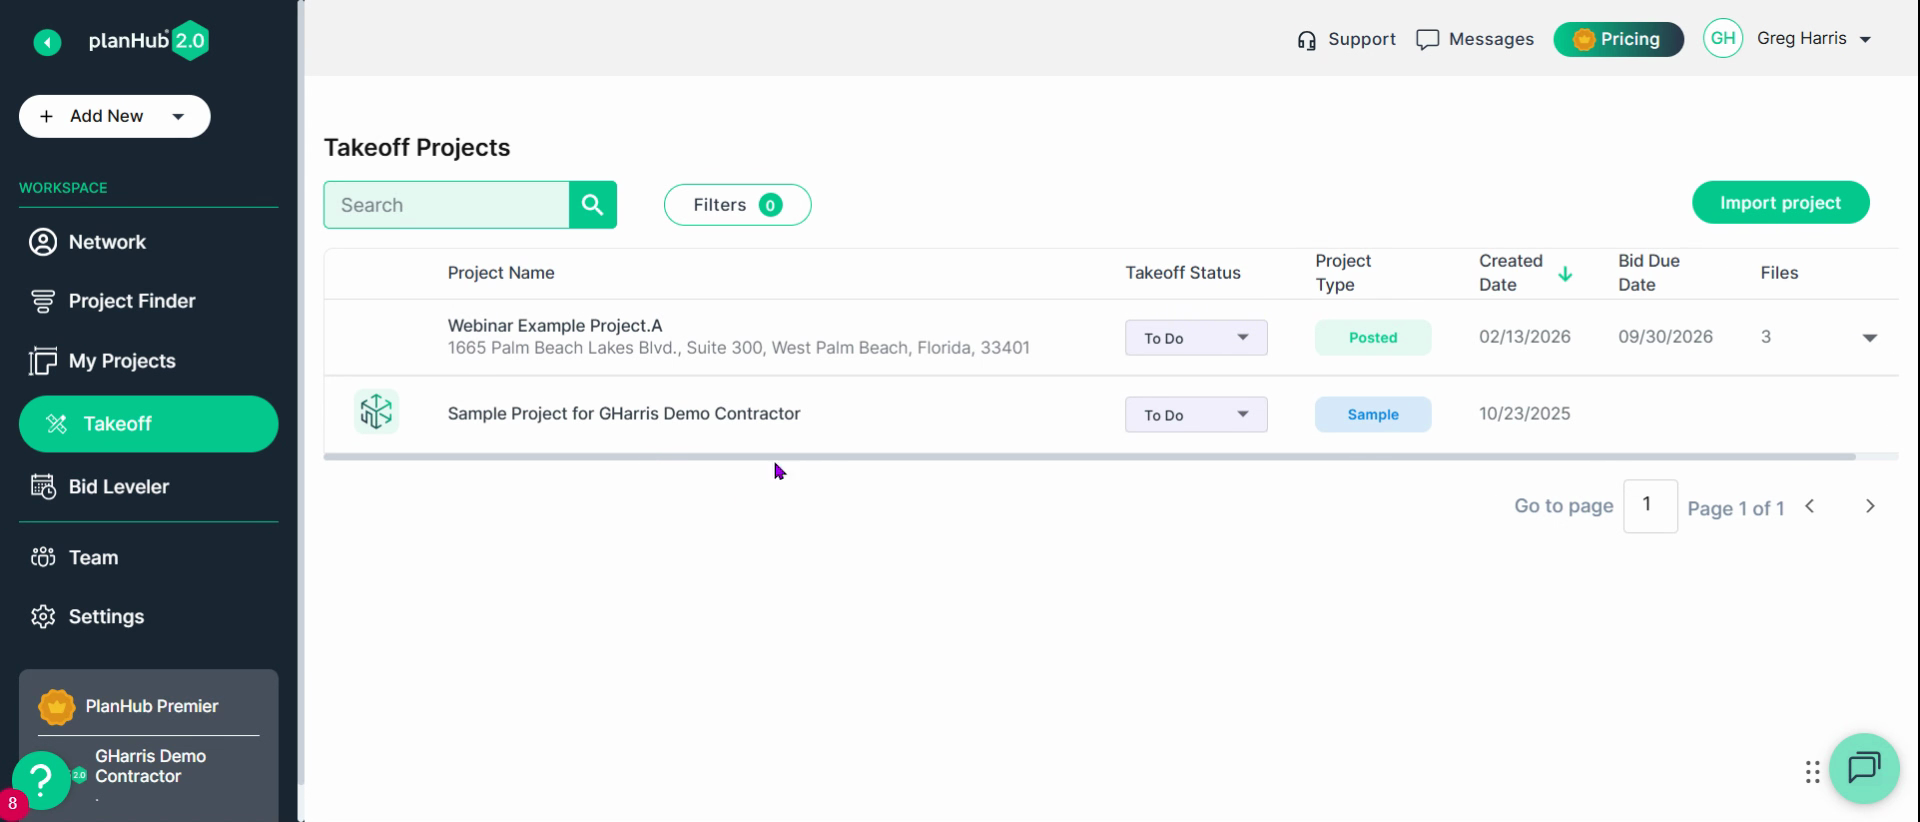
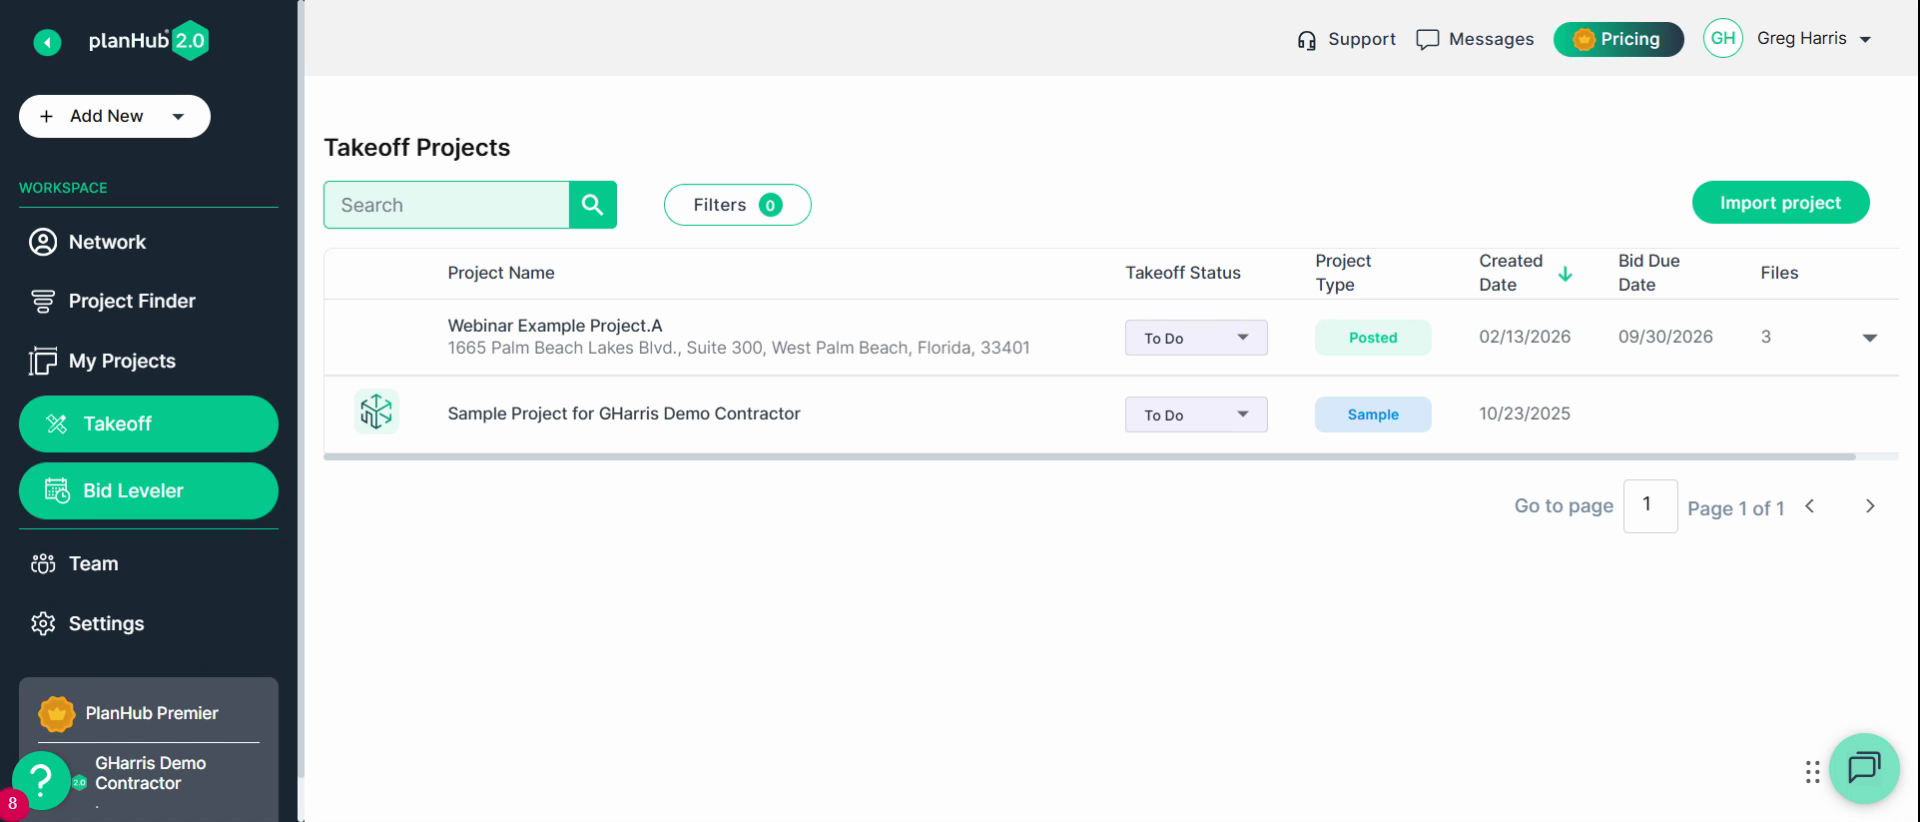
Step 1: Go to Takeoff to access your list of takeoff projects (must have the takeoff add-on).
Step 2: Click a project to enter its takeoff details, or select Import to add a project.
Step 3: Open Bid Leveler to set baselines or add projected project costs. Click the Add Bid button on the right to submit a bid.
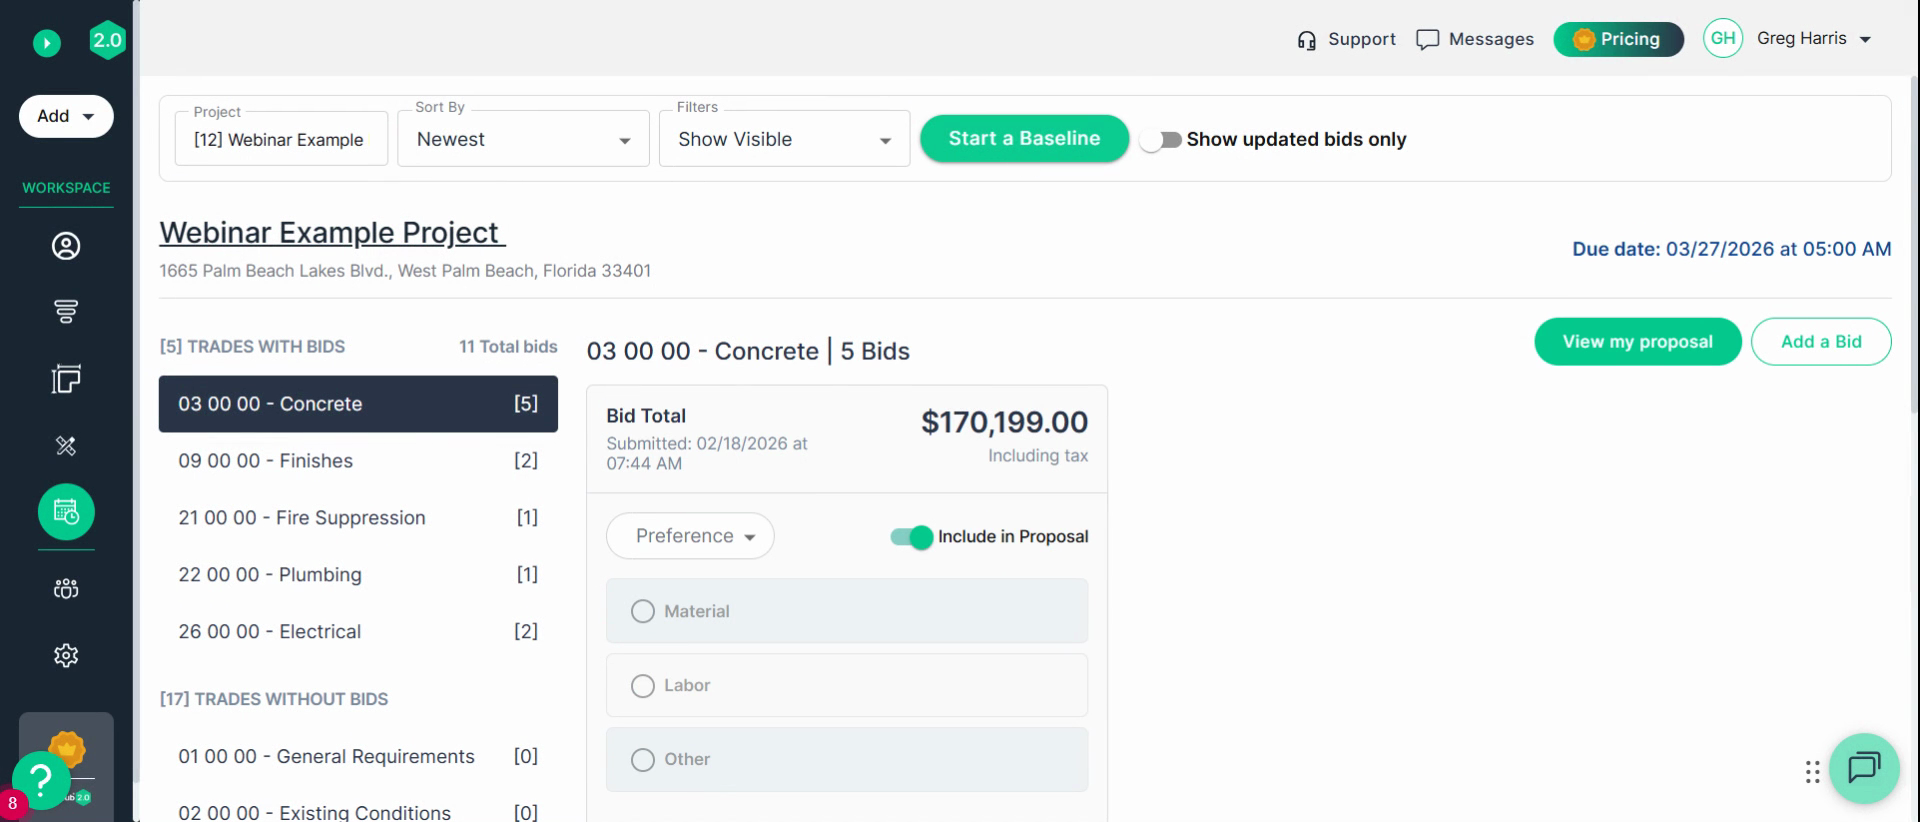
Step 4: After comparing bids and baselines, use View My Proposal to verify your submission.
Team and Account Management
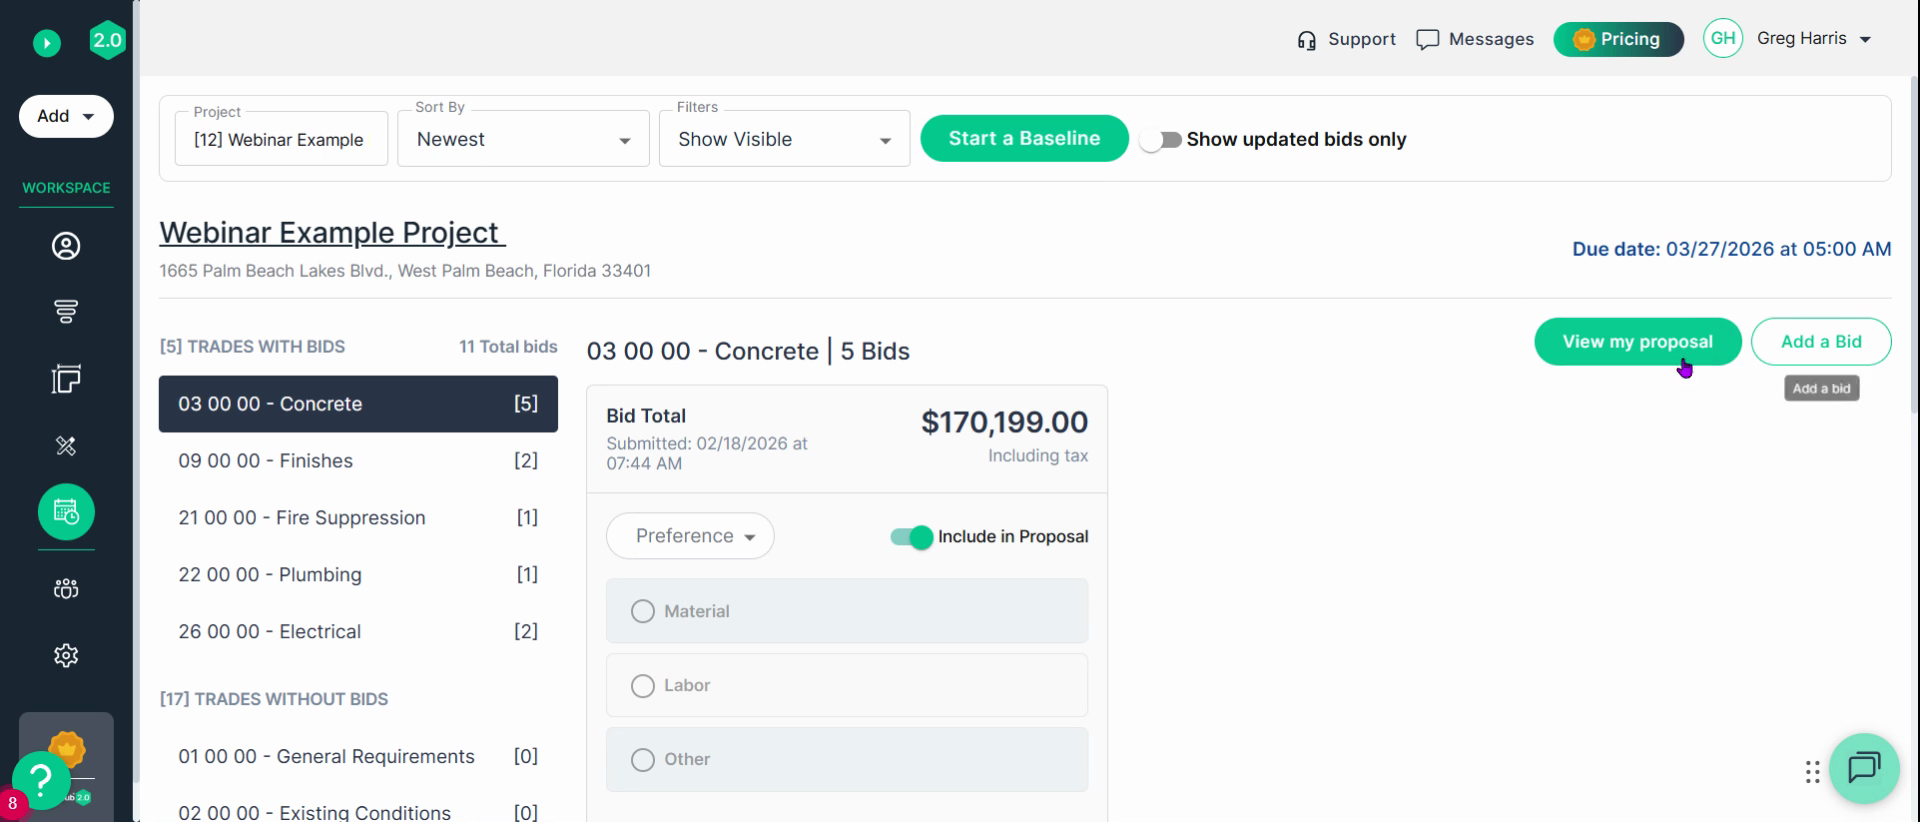
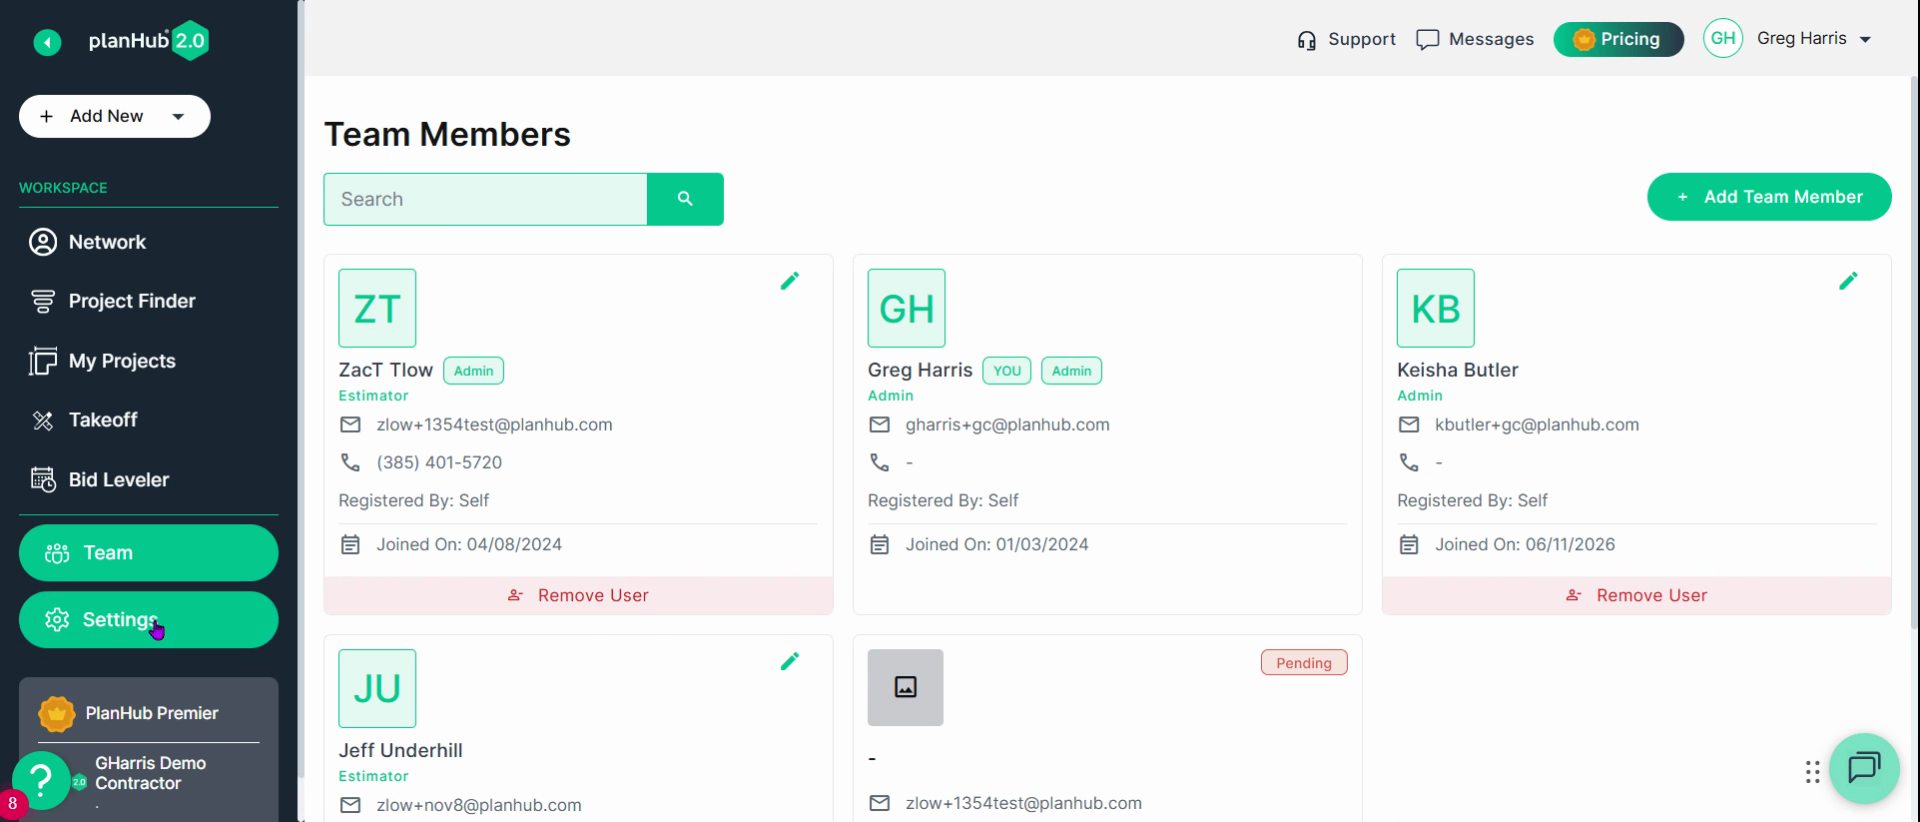
Step 1: Use the Team Navigation button to add or remove team members in one place.
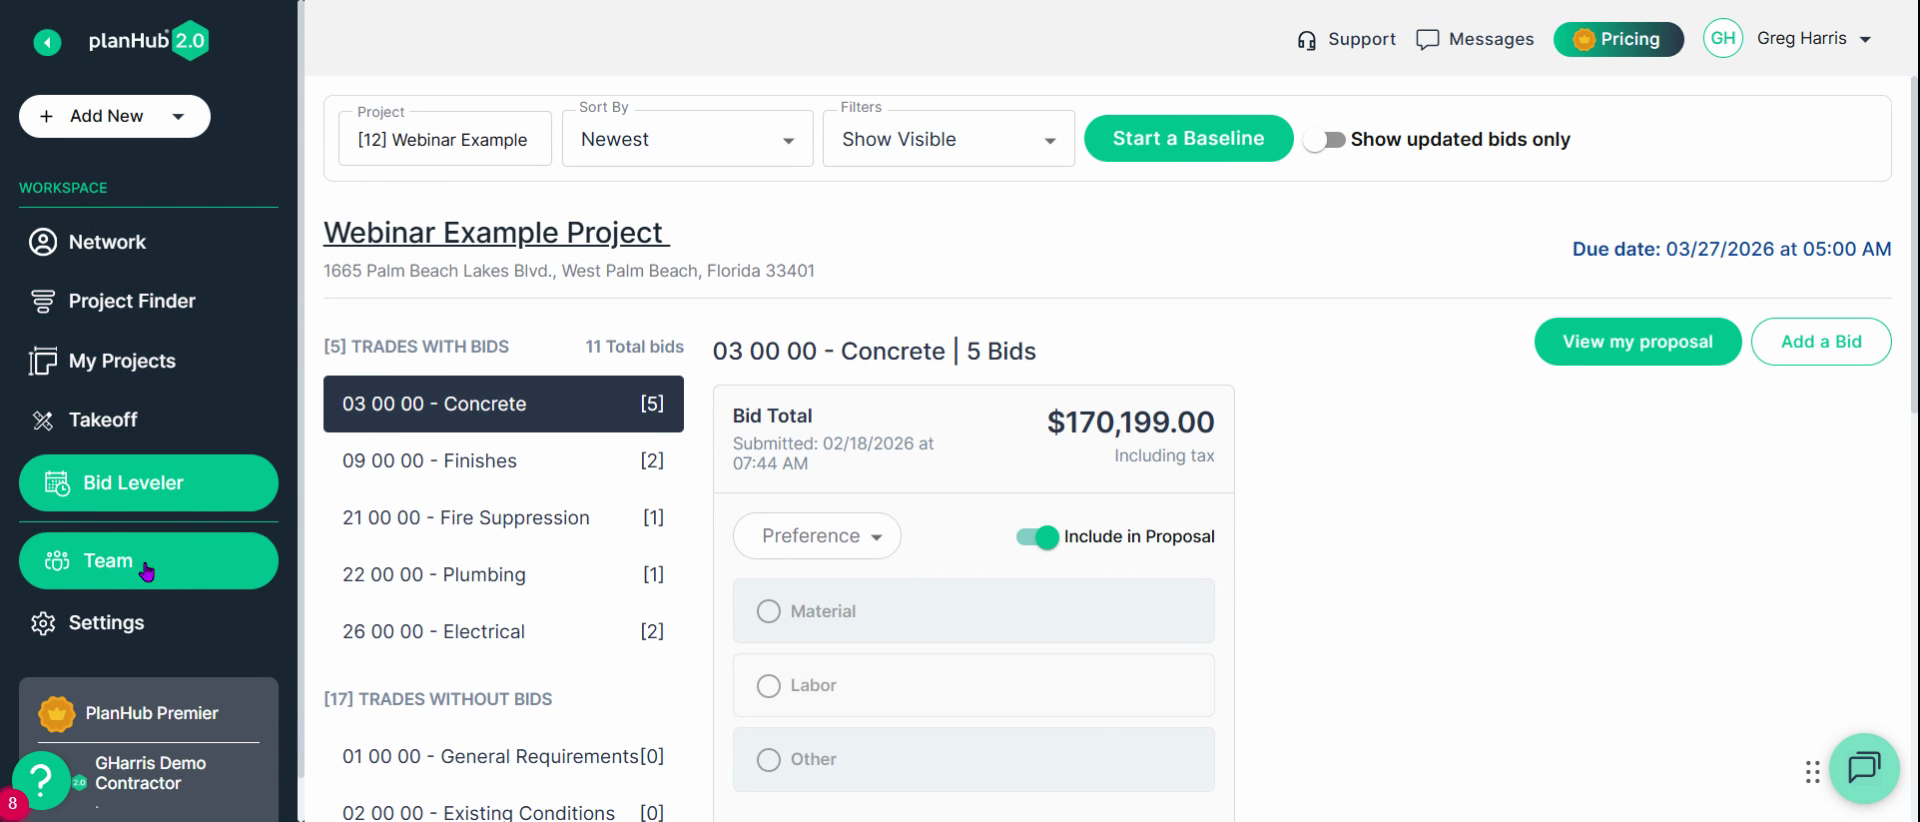
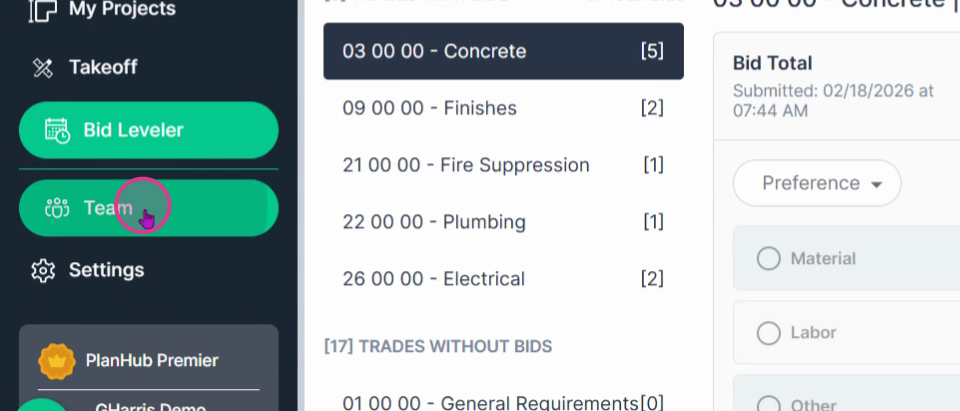
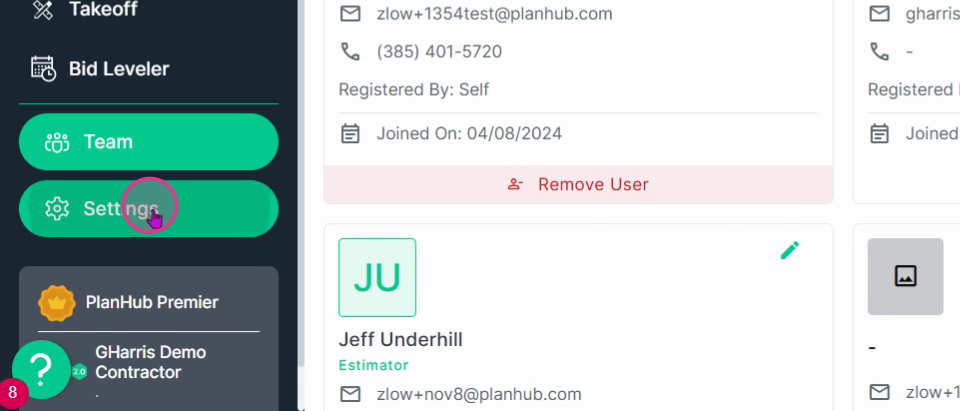
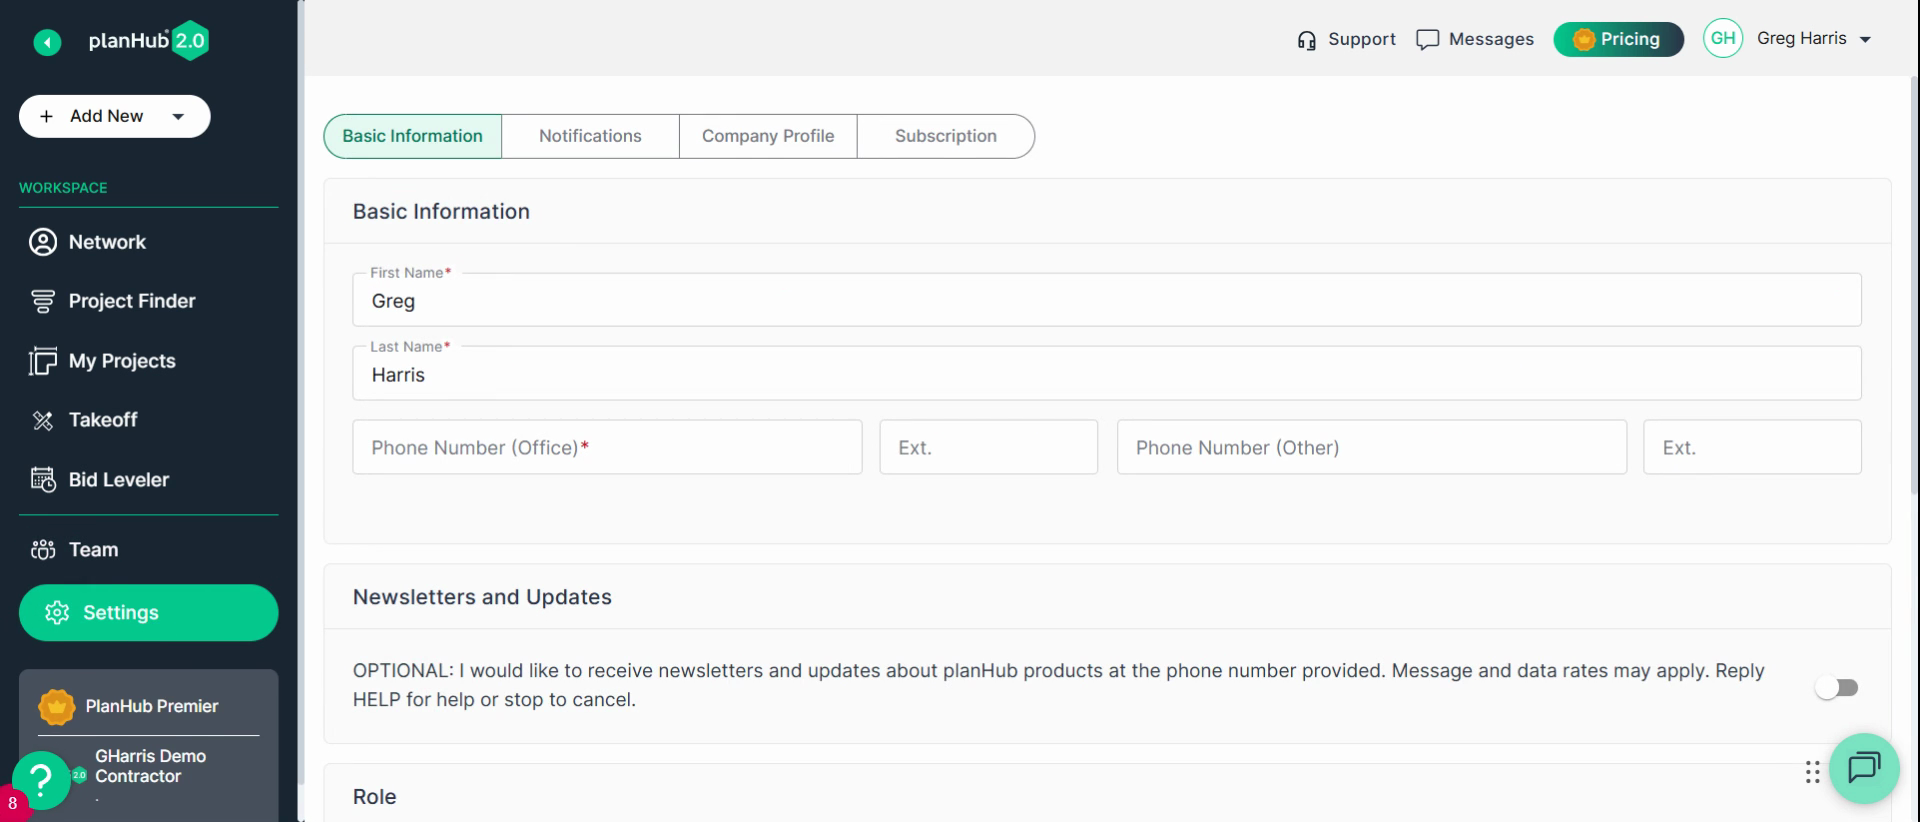
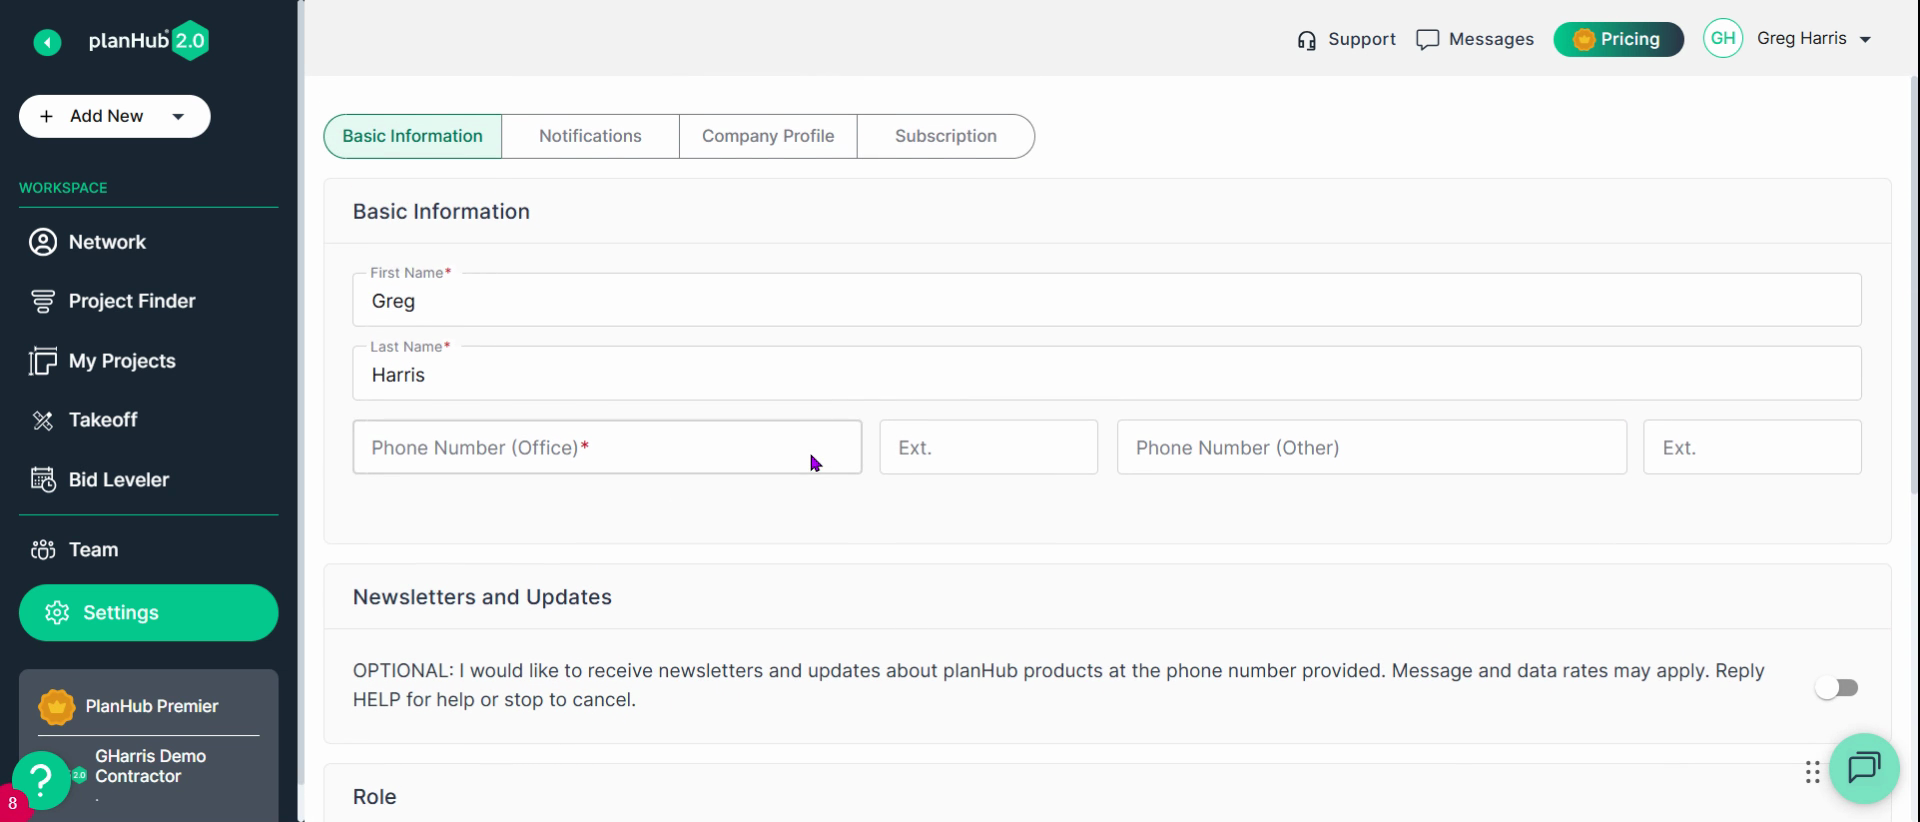
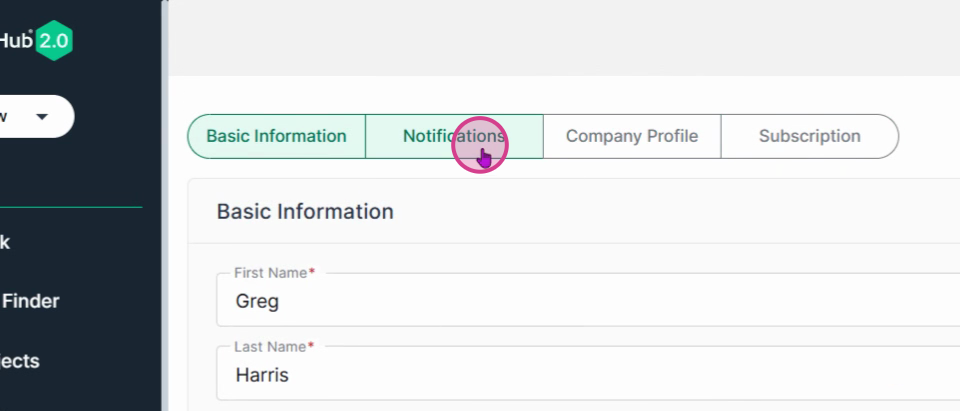
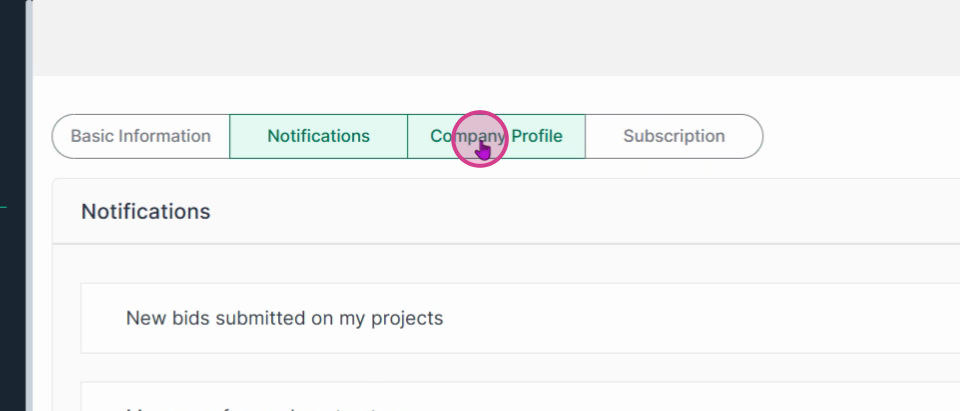
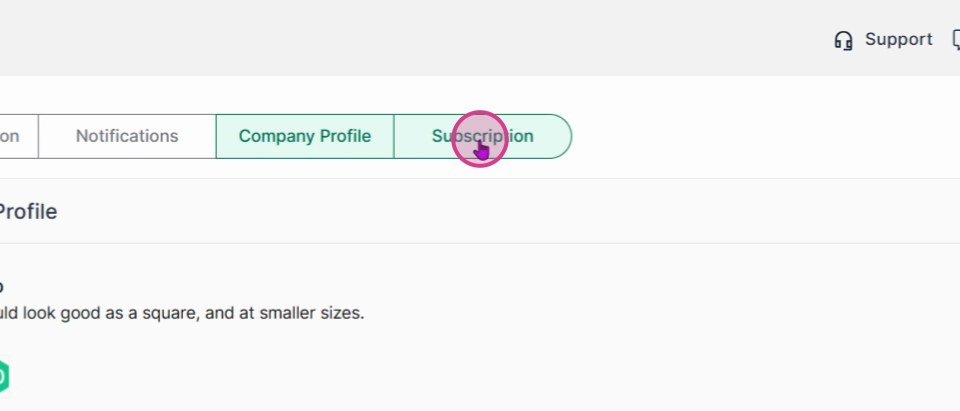
Step 2: In the Settings tab at the bottom, view or edit your user info, notification settings, company profile, and plan subscription.
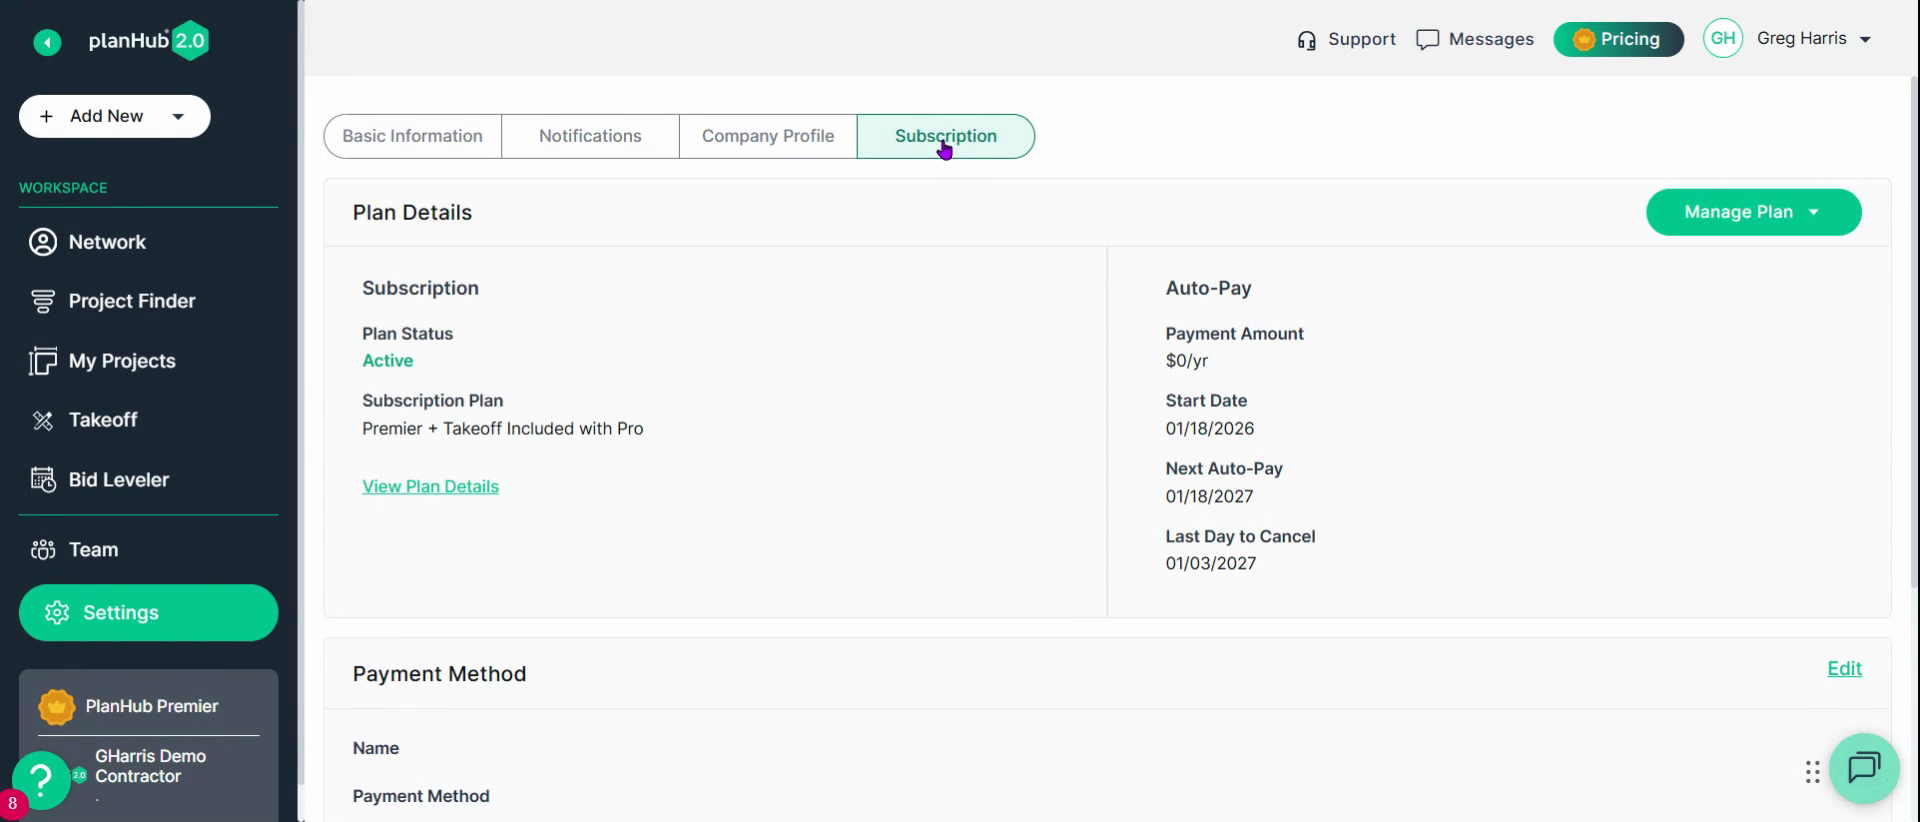
Findhub’s workspace keeps everything organized and at your fingertips, so you’re always ready to connect, collaborate, and manage your construction projects with confidence.
Troubleshooting
Contact us if you need assistance or to report an issue:
- PlanHub Contact Page: https://planhub.com/contact/
- Customer Facing Support Ticket Link: https://knowledgebase.planhub.com/knowledge/kb-tickets/new
- Schedule a Free 1-on-1 Takeoff Training: https://meetings.hubspot.com/zac-low/takeoff-and-estimation