![NEW_PlanHub_Logo_Navy.png]](https://knowledgebase.planhub.com/hs-fs/hubfs/Design/PH%20Logos/NEW%202024%20PH%20Logos/NEW_PlanHub_Logo_Navy.png?height=40&name=NEW_PlanHub_Logo_Navy.png)
Step 1: Start by creating or uploading your list of In-Network contacts. These contacts will have access to your projects on PlanHub for free, provided they receive an invitation to the project.
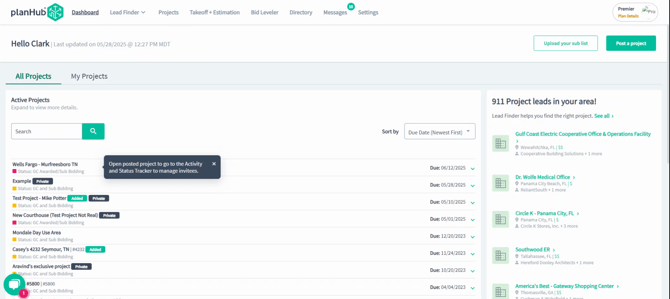
Step 2: There are three places in PlanHub where you can add subcontractors or suppliers to your In-Network list. The first one is in the Dashboard.
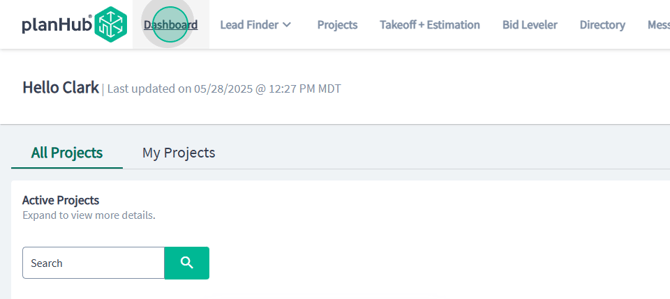
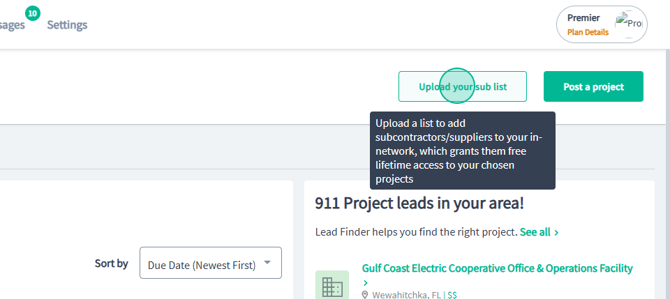
Step 3: Click on Upload your sub list.
Step 4: You'll be prompted to add a list of your connections.
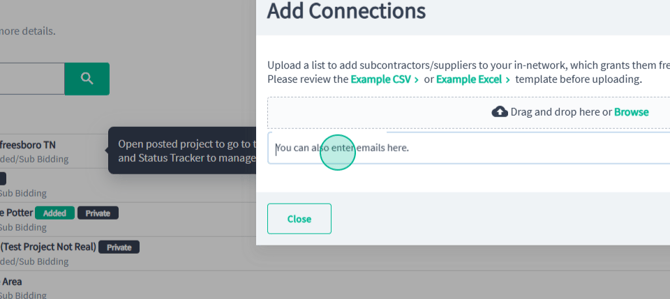
Step 5: Type an email address in, use the space bar to add the next email, and then click Add Connections. Alternatively, upload a list of contacts via an Excel or CSV file.
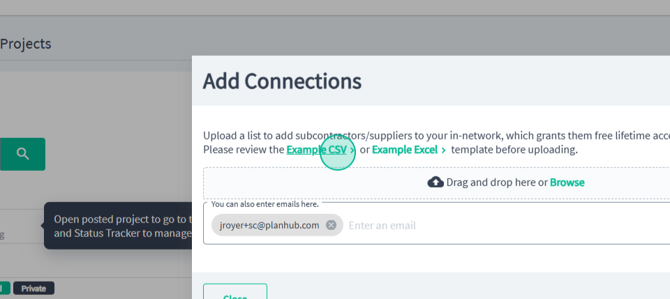
Step 6: When formatting your list of connections in Excel or a CSV file, provide the email addresses in column A in a list form. No other contact details are required. You're allowed to upload up to 10,000 emails per document.
Step 7: After uploading, PlanHub will scan the list and add any emails that are already registered to your network, granting them free access to your postings.
Step 8: When posting the project, any emails that are not already registered will receive an email from you inviting them to register their free Plan Hub account and bid on the projects you invited them to for free.
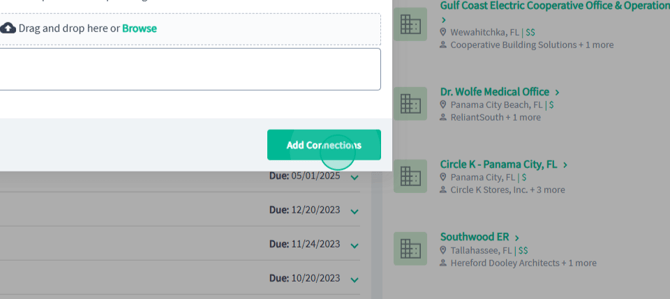
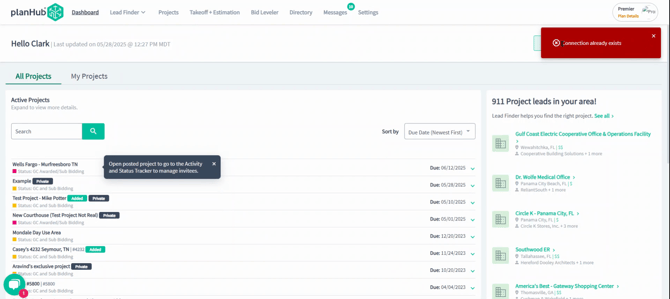
Step 9: Click Add Connections. If a connection listed already exists, you'll receive a notification that the connection is already made within your Plan Hub In-Network Contacts.
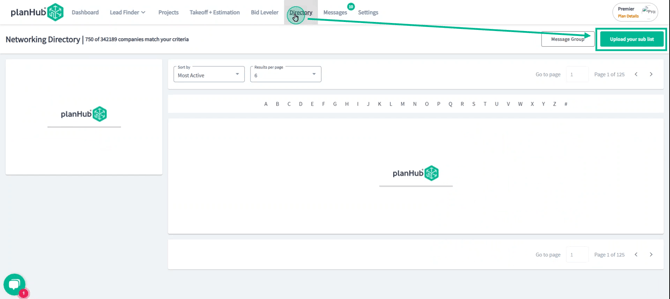
Step 10: The second place you can add to your In-Network list is the directory. Click Upload List to add your own local list.
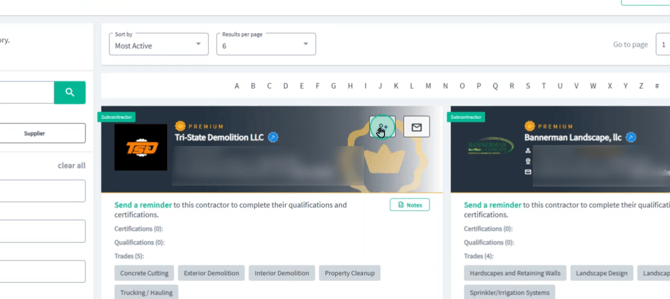
Step 11: If you have access to a contact inside the directory, click Add to Network for Contacts in the directory.
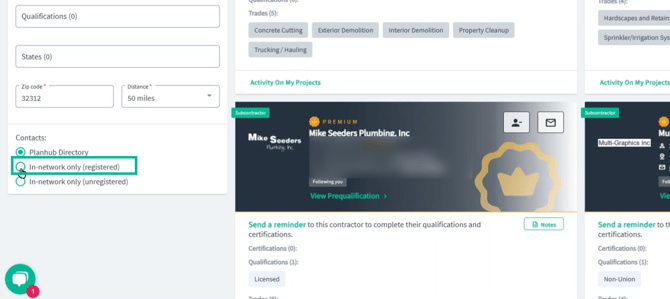
Step 12: To view the contacts in the directory that are in your Network and have registered an account on PlanHub, scroll down and click on In-network only (registered).
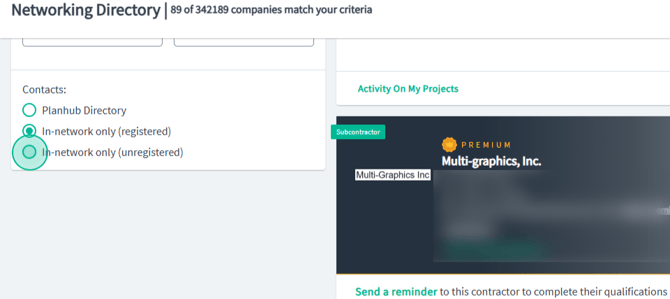
Step 13: If you select In-network only (unregistered), these are the contacts' emails that you have provided by either uploading or listing them, but have not registered a free account under the provided email address listed on this screen.
Step 14: The third place you can upload a list of contacts for In-Network free access to your projects is during the project posting process, in the fourth step called Invite and Finish.
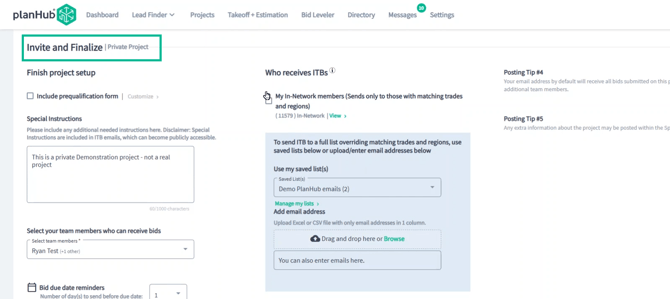
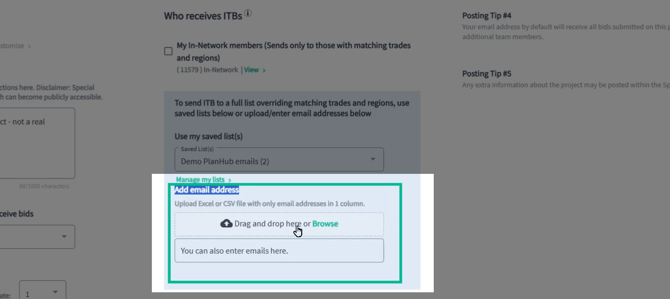
Step 15: In the fourth step, you're provided with an Add email address section. Here, you can also upload a list of your In-Network subcontractors or enter email addresses to continue growing your list of In-Network subcontractors or suppliers.
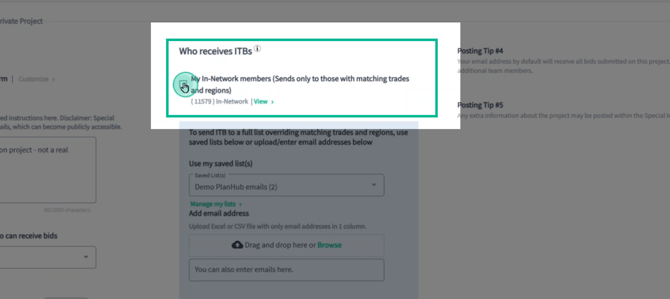
Step 16: If you have already uploaded a list of subcontractors and suppliers that are In-Network, check off My In-Network members as part of the Who's Receiving Invitations to Bid section. All subcontractors with matching trades and aligned with the location of this project will receive an invite and free access to this posting, regardless of their subscription plan.
Once a contact has been added to your In-Network list of subcontractors or suppliers, an email will be sent notifying them that either they have been added to your Plan Hub network if their account already exists, or inviting them to create their free Plan Hub account so they can access your projects on Plan Hub for free.
That's it! You've now learned how to add subcontractors and supplier emails to your in-network list in PlanHub.