![NEW_PlanHub_Logo_Navy.png]](https://knowledgebase.planhub.com/hs-fs/hubfs/Design/PH%20Logos/NEW%202024%20PH%20Logos/NEW_PlanHub_Logo_Navy.png?height=40&name=NEW_PlanHub_Logo_Navy.png)
Step 1: Log into your PlanHub account.
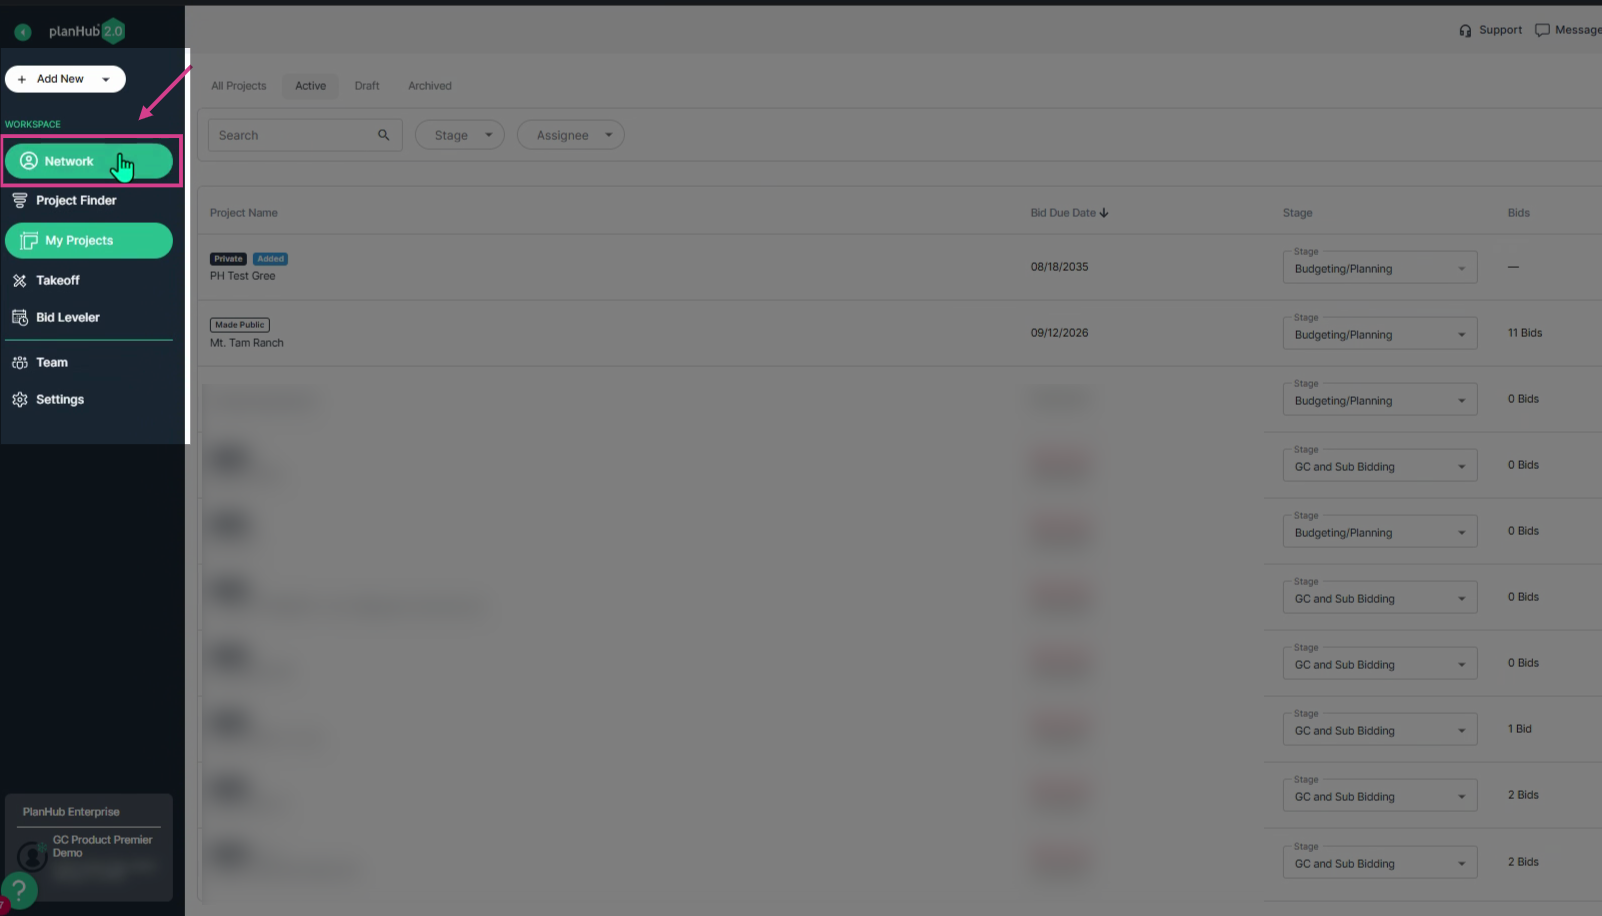
Step 2: Navigate to the Network tab in the main panel on the left side.
Step 3: At the top of the page, view the PlanHub, My Directory, and My Lists tabs.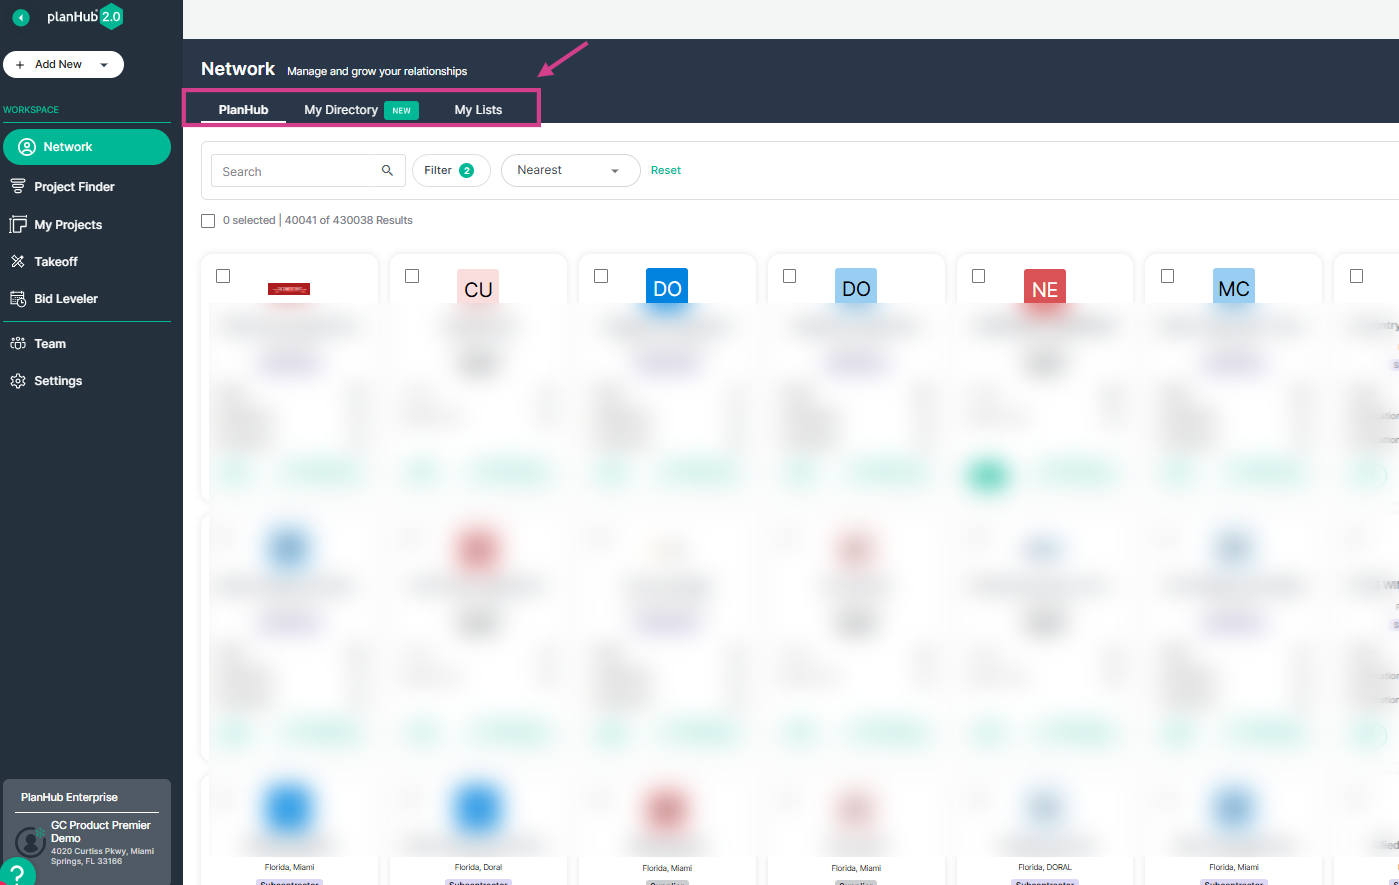
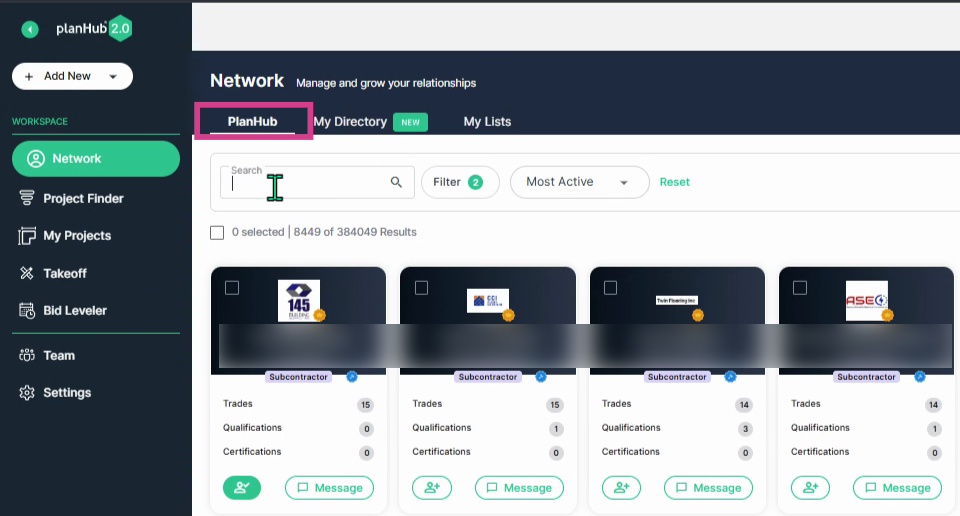
Step 4: Click on the PlanHub tab, then, search for subcontractors and suppliers local to your projects.
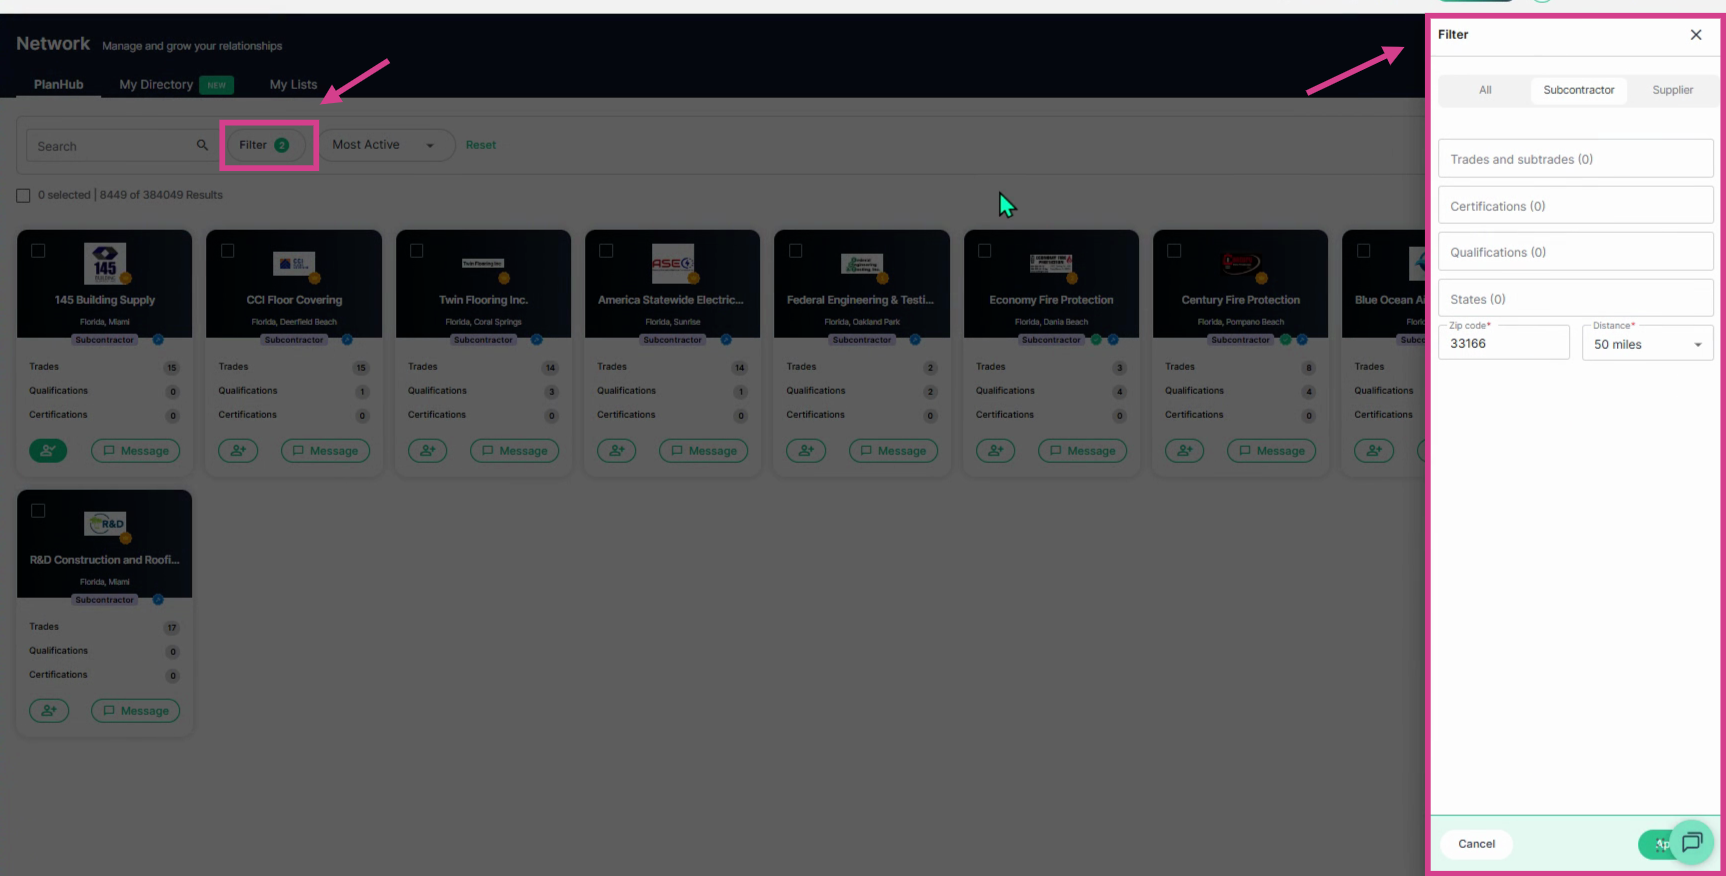
Step 5: Refine your search using the Filter menu—search for Subcontractors or Suppliers by trade, certifications, location, ZIP code, and mile radius.
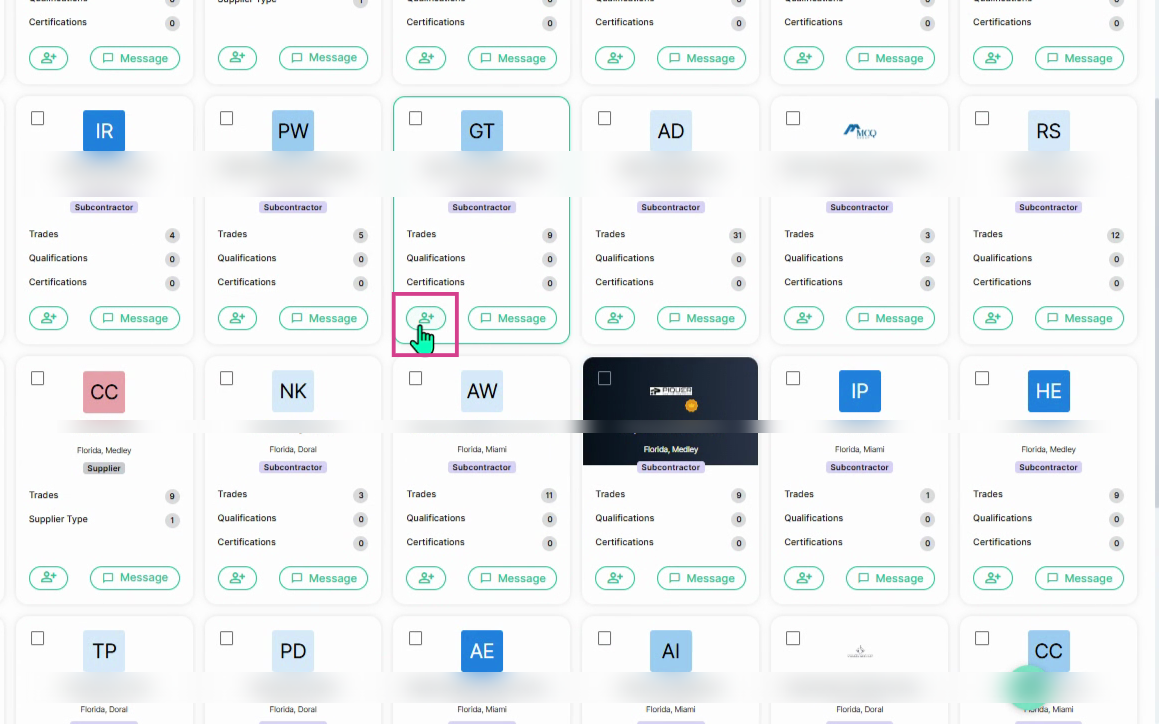
Step 6: To add a subcontractor or supplier to your directory, click the person-with-plus-sign icon in the corner of their company card.
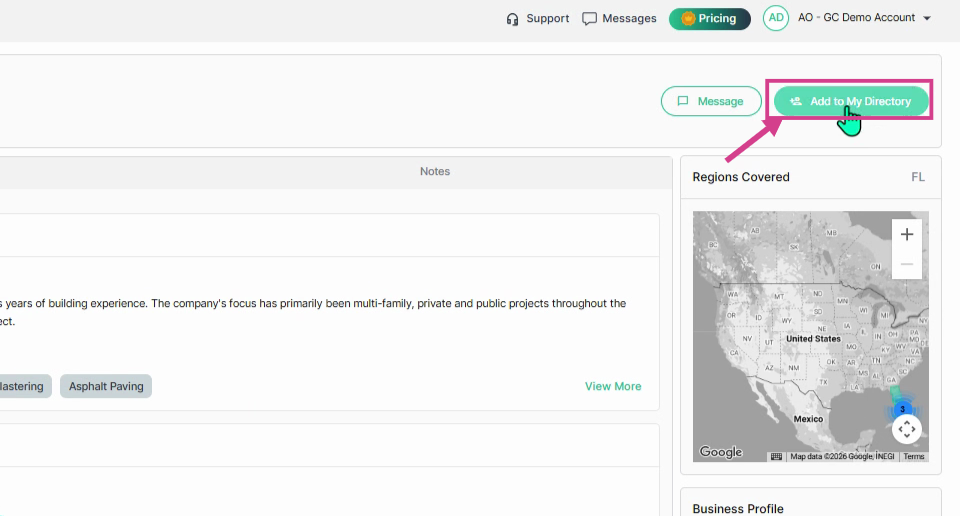
Step 7: Click on the company name on the company cards to view their company profile page. To add them to your My Directory page, click Add to My Directory in the top right corner.
Uploading Contacts in Bulk:
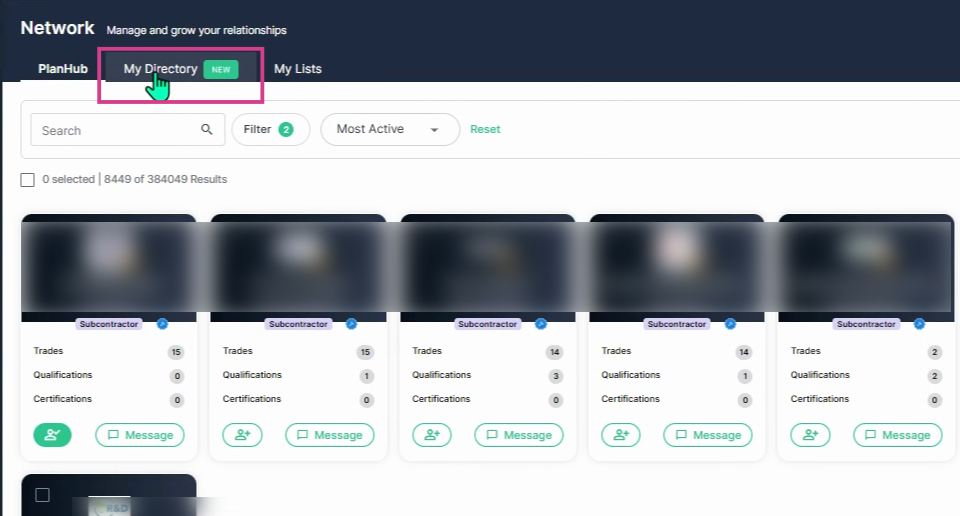
Step 1: Click the My Directory tab at the top.
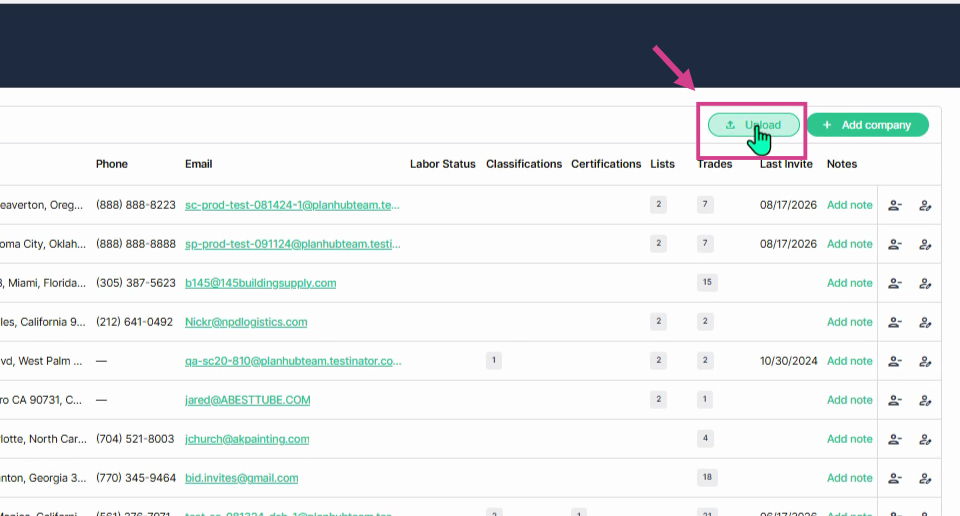
Step 2: To upload your contact list, click Upload in the top right corner.
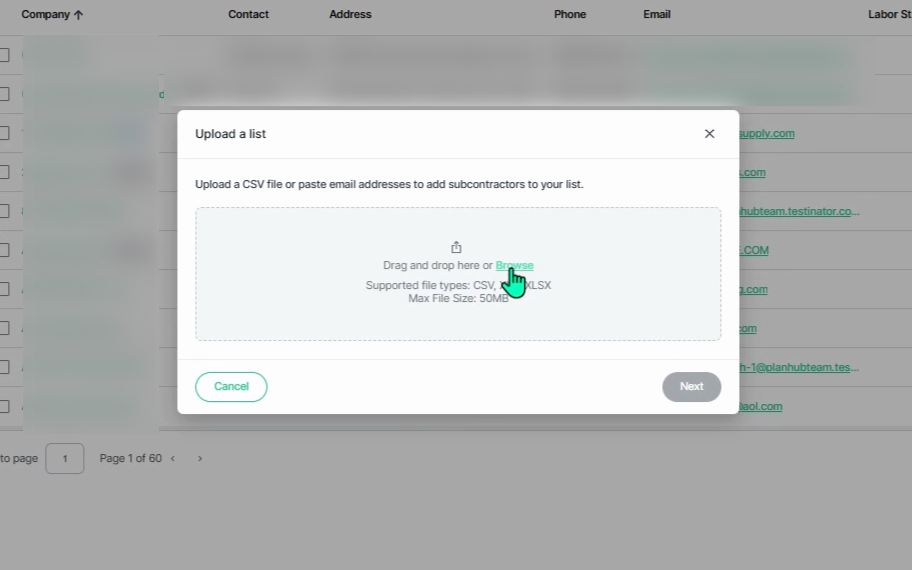
Step 3: Drag and drop your CSV file or Excel spreadsheet into the upload box, or click Browse to upload it from your computer.
Step 4: After uploading, click Next to start processing your list.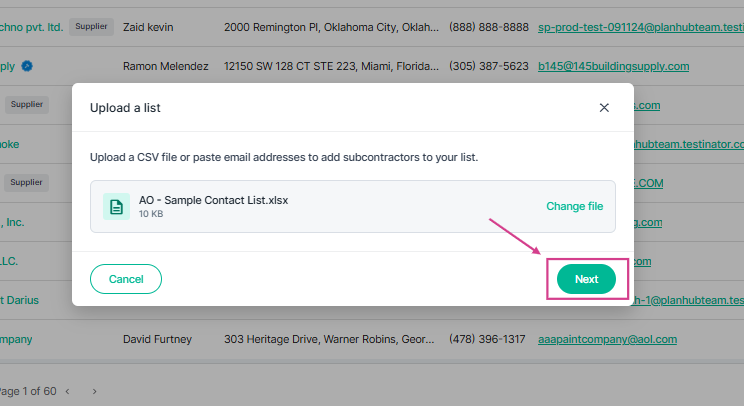
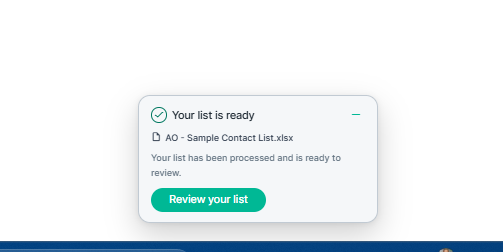
Step 5: Wait for the process to complete. Once ready, click Review Your List.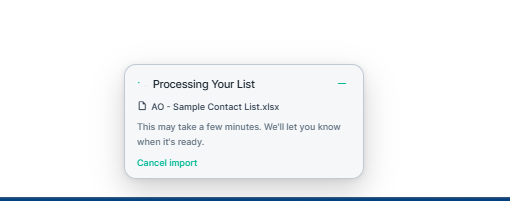
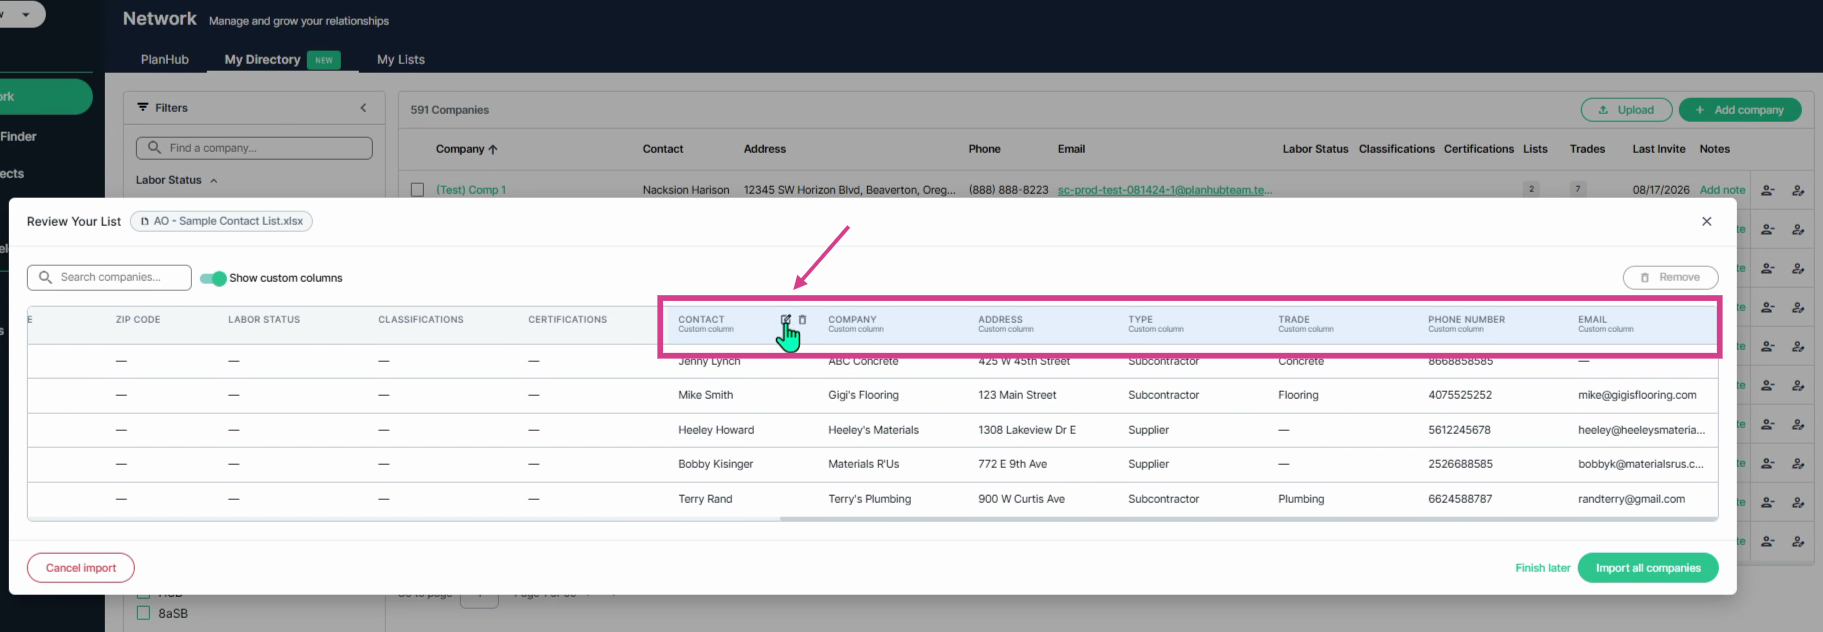
Step 6: Review, edit, or delete columns if needed. Hover over a column header name to view the options.
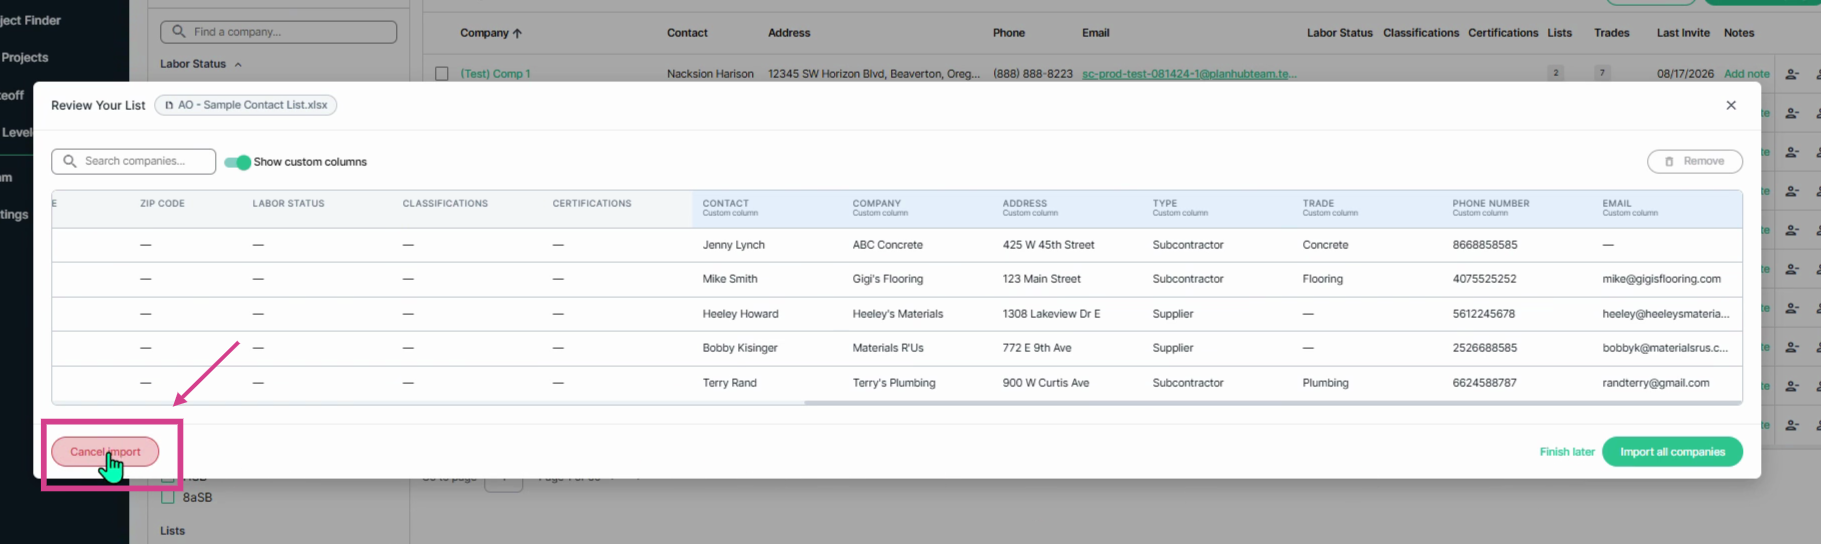
Step 7: If you decide not to upload your list, click Cancel Import in the lower left corner.
Step 8: To remove contacts prior to importing, check the box next to their names, then click Remove in the top right.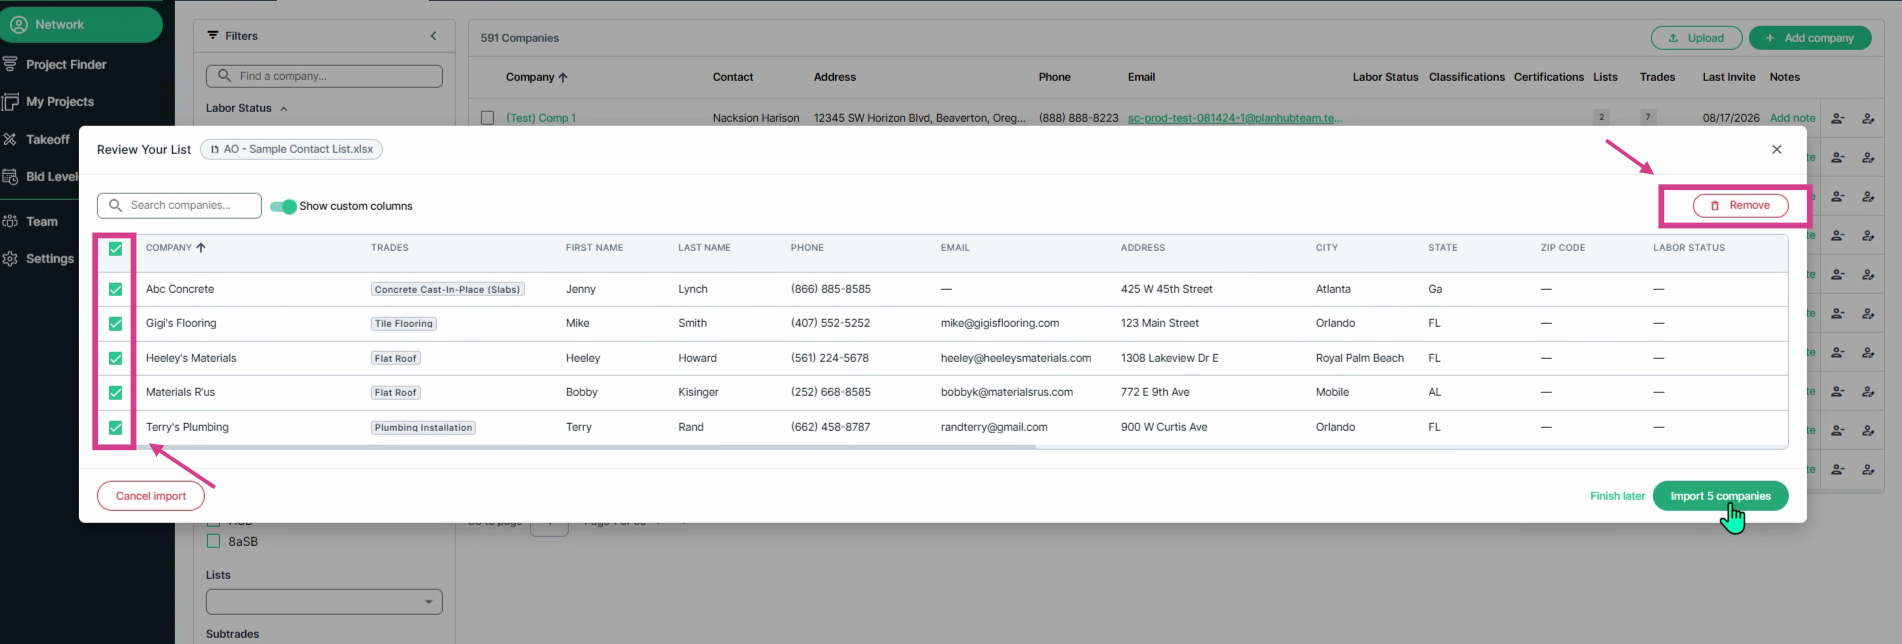
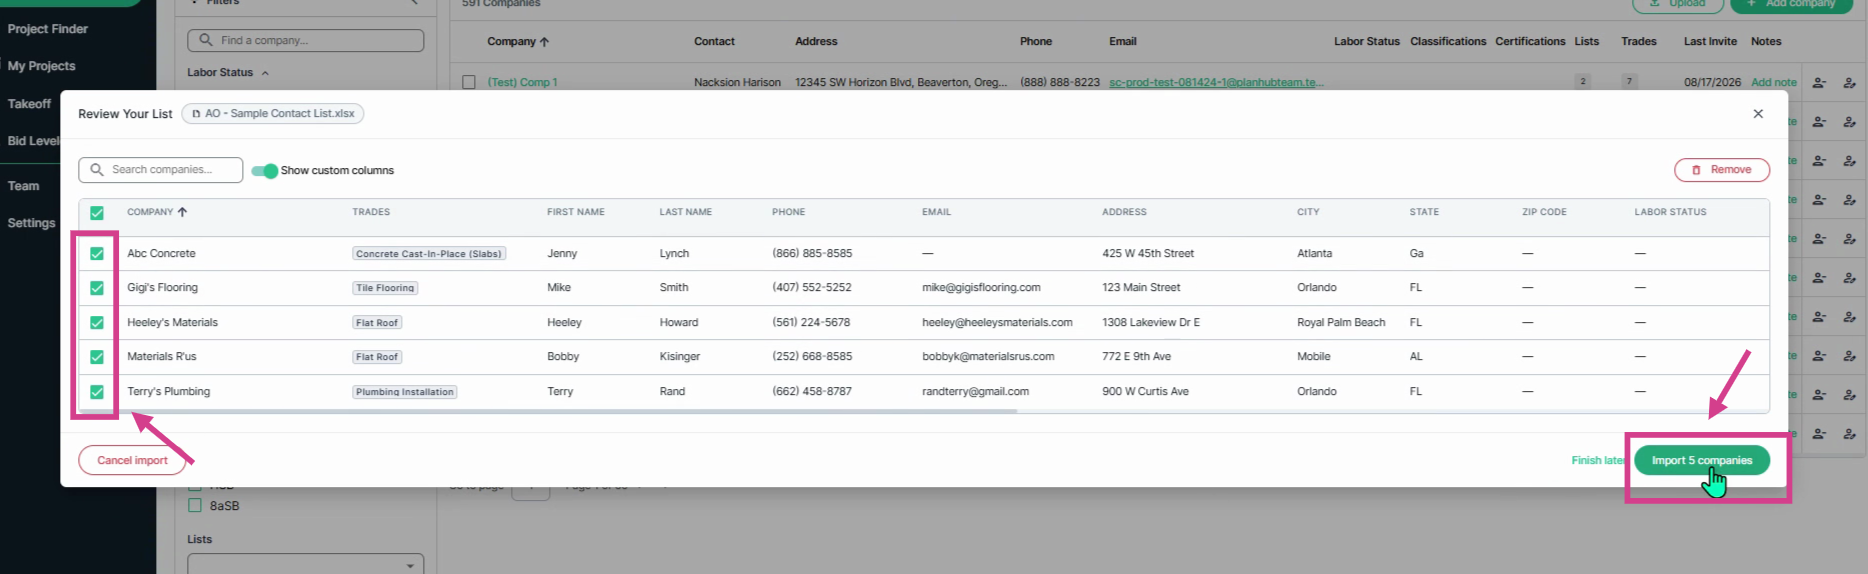
Step 9: Add a checkmark in the box for the contacts you would like to add, then click Import # Companies to add them to your directory.
Adding Companies Individually:
Step 1: On the My Directory page, click Add Company in the top right corner.
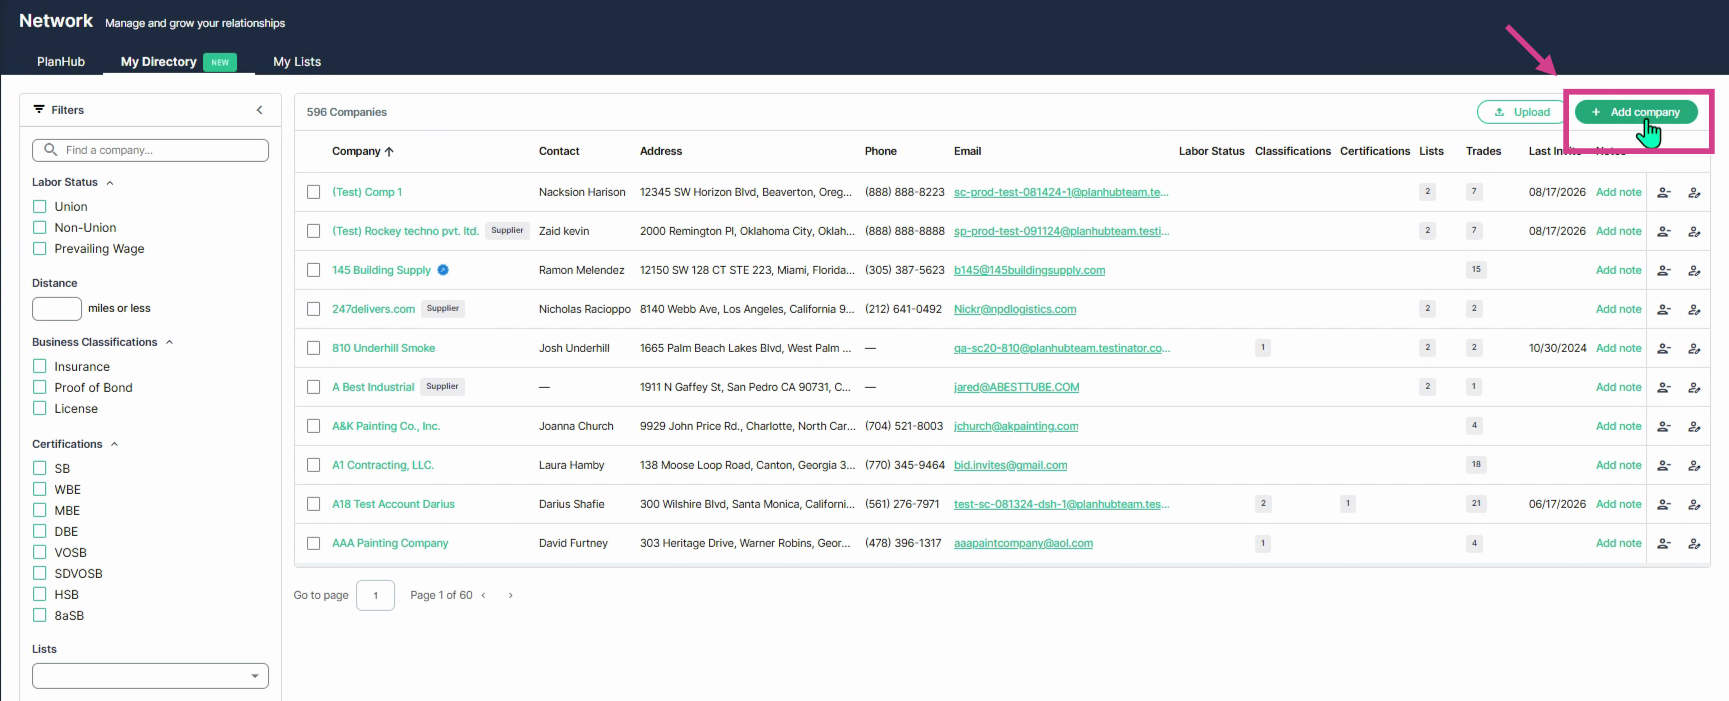
Step 2: Fill in the required company details—name, contact, address, and other info.
Step 3: Click Save to add the company, or the X to delete the entry.
Creating and Managing Lists:
Step 1: In your directory, you can select your new individual contacts to create a custom list.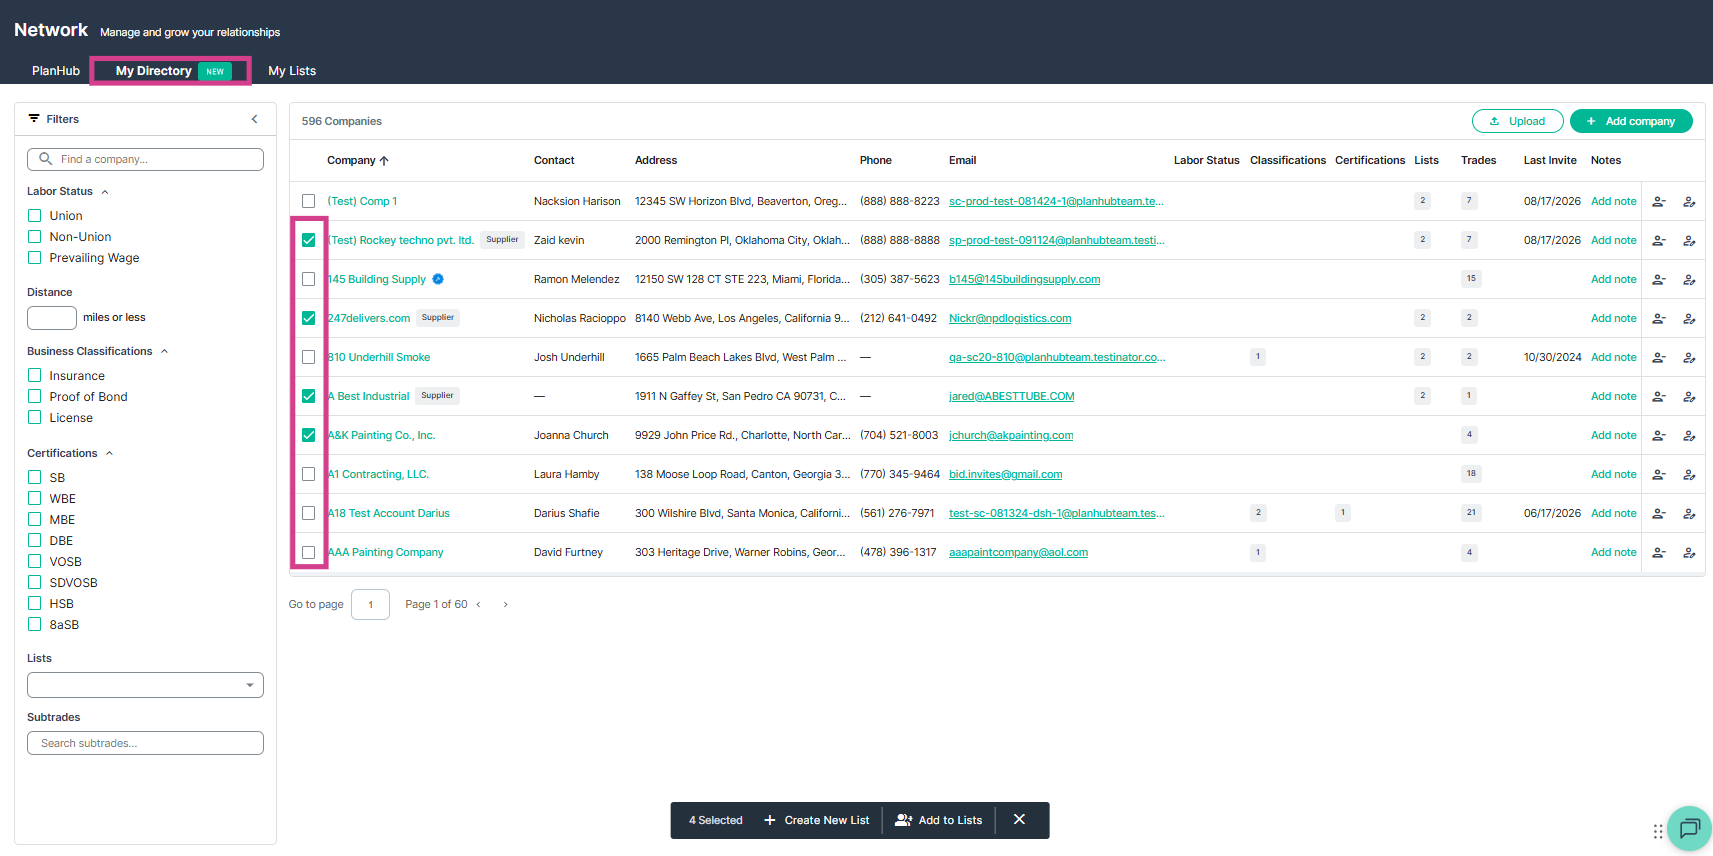
Step 2: When the action bar appears at the bottom, choose your desired action.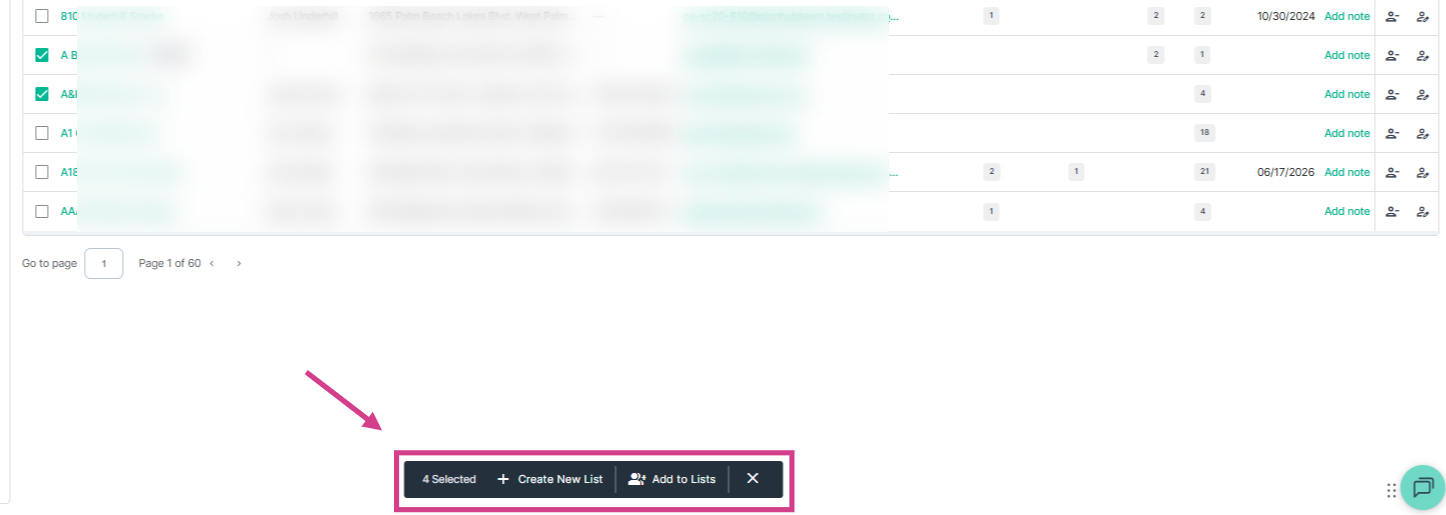
Note: After adding contacts to your network, they will receive an email—confirming they’ve joined your network (if they already have a PlanHub account), or inviting them to create a free PlanHub account to access your projects.
Keeping your directory up to date ensures you always have the right teams and vendors ready for your next project. Use these tools to streamline your workflow, keep your contacts current, and simplify outreach—so you can work more efficiently on every build.
Troubleshooting
Contact us if you need assistance or to report an issue:
- PlanHub Contact Page: https://planhub.com/contact/
- Customer Facing Support Ticket Link: https://knowledgebase.planhub.com/knowledge/kb-tickets/new
- Customer Success Team: CustomerSuccess@planhub.com