In this tutorial, you'll learn how to perform a roofing takeoff using Planthub's takeoff solution. This tool allows you to quickly and accurately measure all the necessary areas for your roofing project.
Before you begin, learn how to set a scale in Planhub's Takeoff: How to set a scale in Takeoff
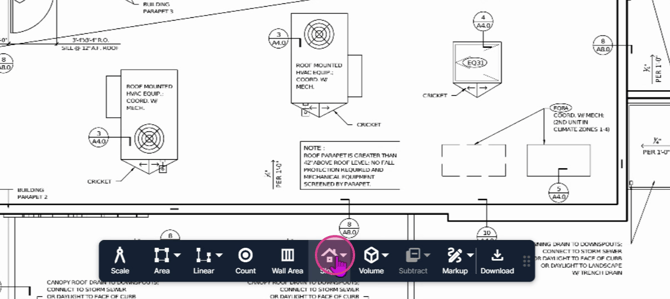
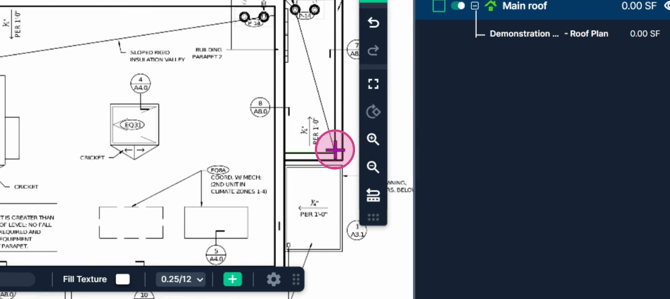
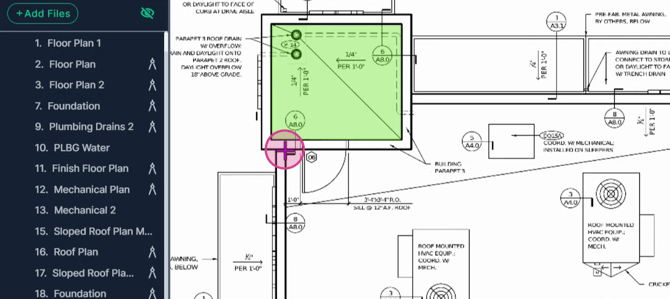
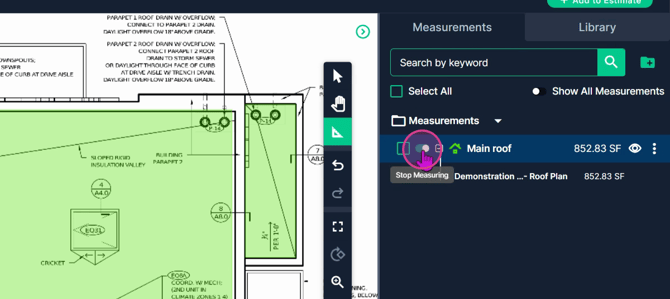
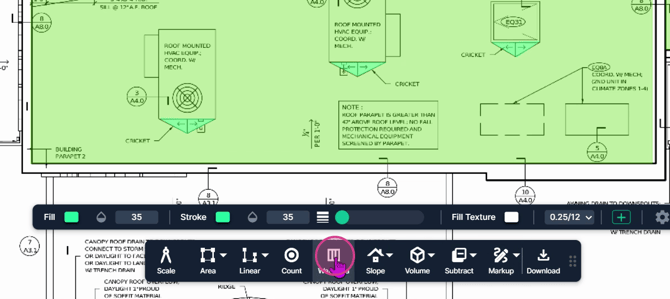
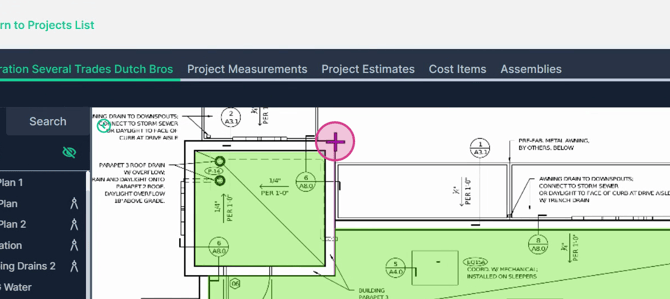
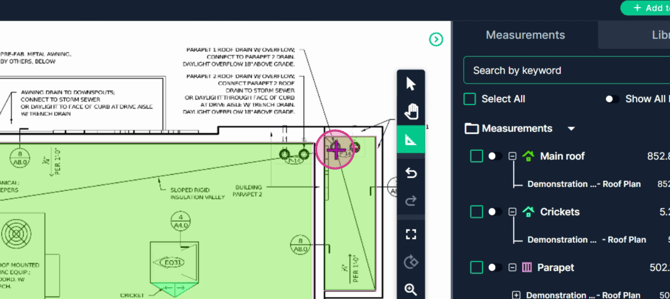
Step 1: Start by measuring the main roof area. Ensure the scale is already set on the page, then click to launch the Slope Tool.
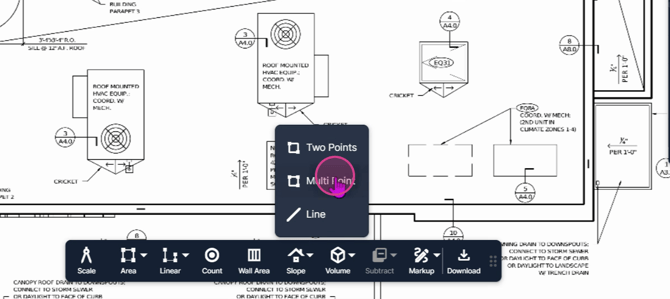
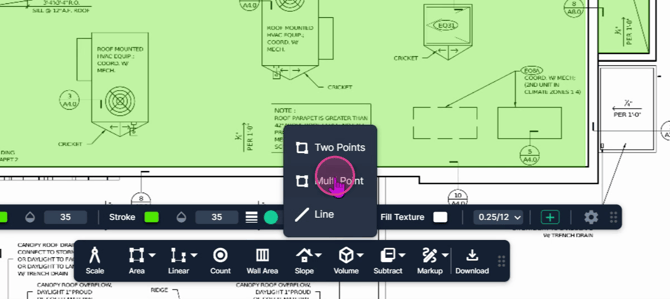
Step 2: Next, select Multipoint. This allows you to outline any shape and measure the space within.
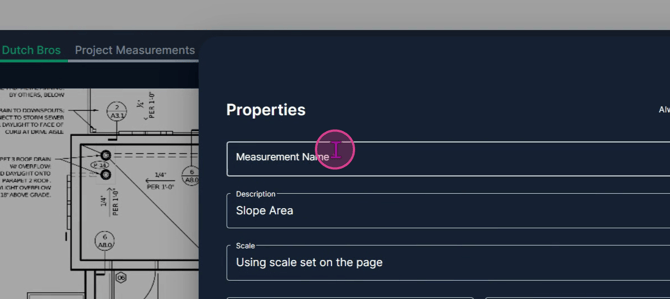
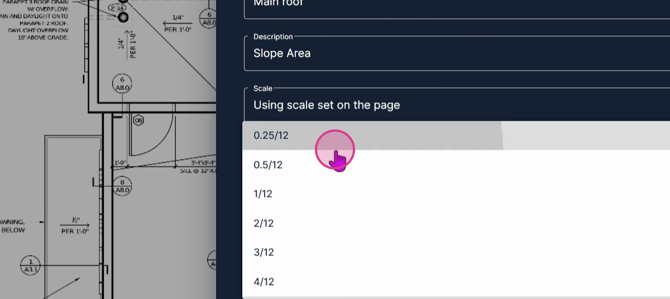
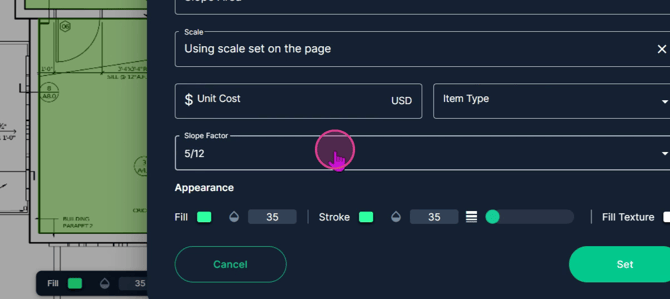
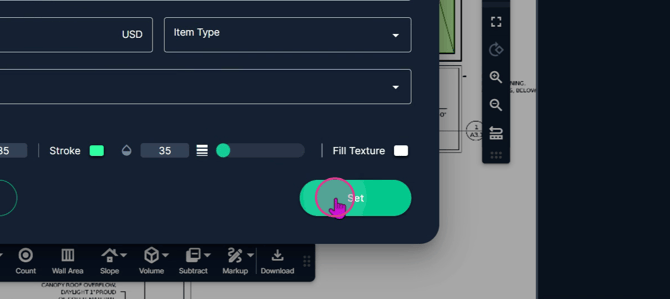
Step 3: Title your measurement and select a slope factor that matches what's printed on the page.

Step 4: Click Set. Now, measure every roof section as indicated on the blueprints.

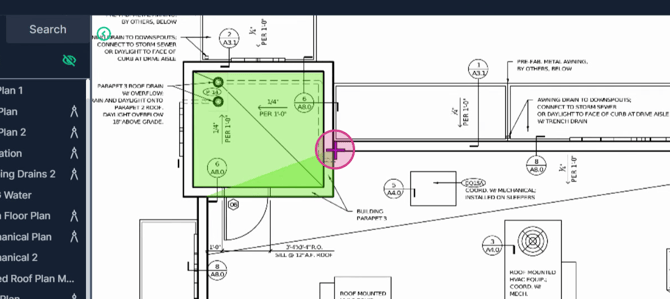
Left click to begin measuring.

Left click at each corner to change direction.
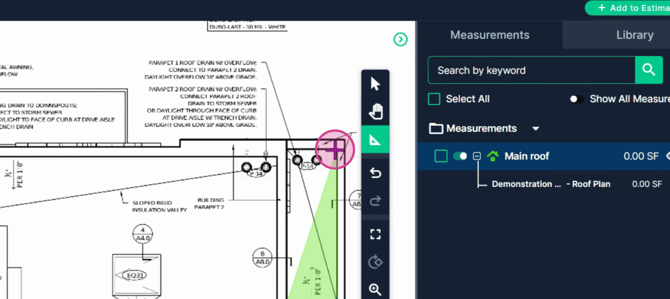
Double left click to end the measurement.

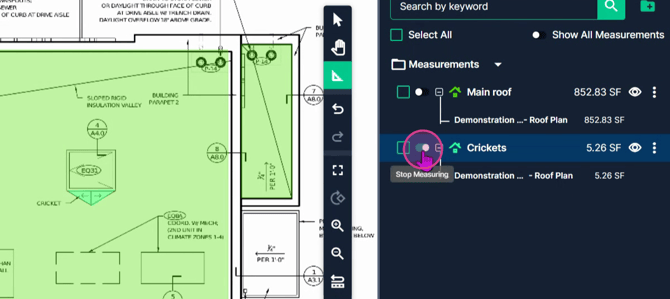
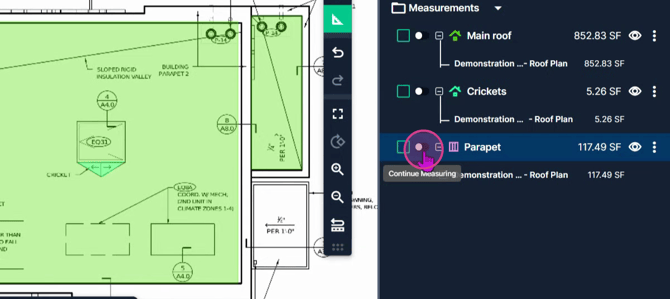
Step 5: After measuring one area, click the Continue switch. This lets you move right into the next space and achieve one total for all the measured areas.
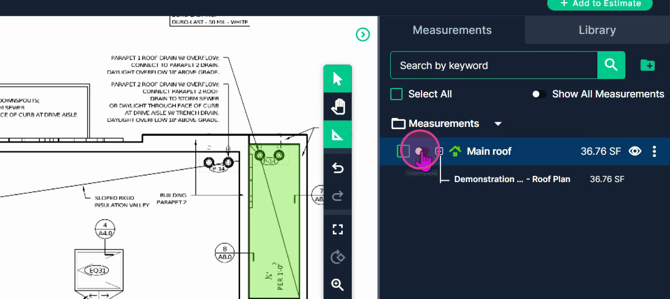
Left click to begin, then left click to change direction.


Double left click to stop measuring.
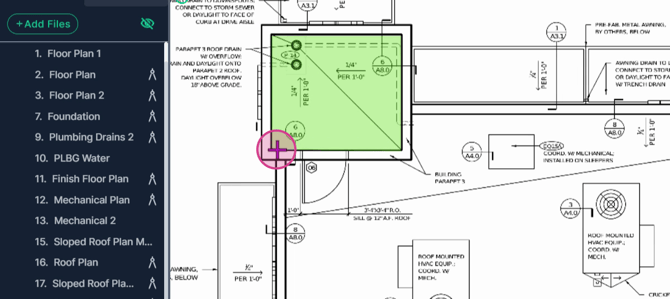
When your in continue, the tool stays active so you can begin measuring a new section.

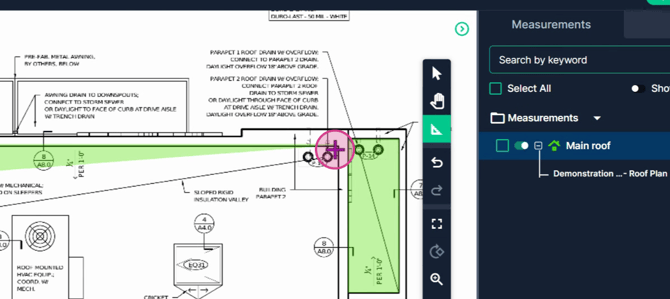
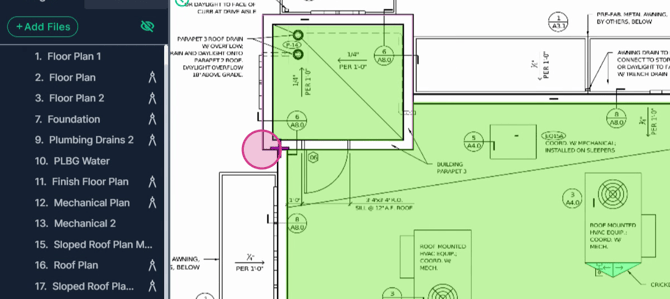
Step 6: If you need to see more of the page while measuring, right click and pan your page.

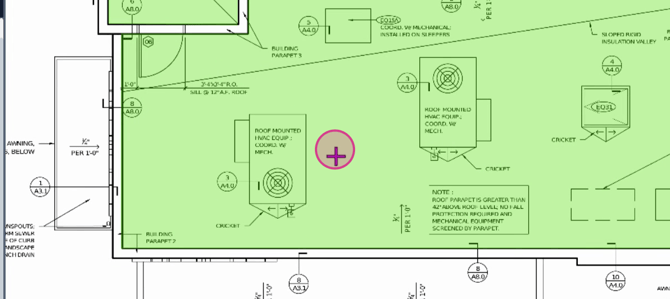
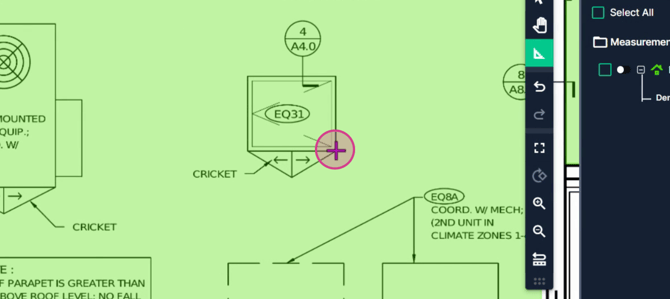
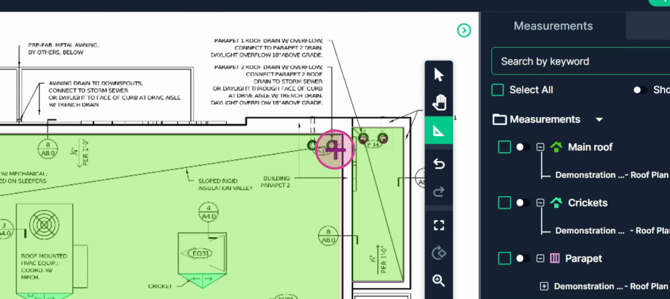
Step 7: Next, measure the cricket area. Turn off the slope tool you're using and start a new slope tool, also multipoint, titled Crickets. Set the slope factor to the one called for by the plans.
Select Slope tool for a new cricket measurement.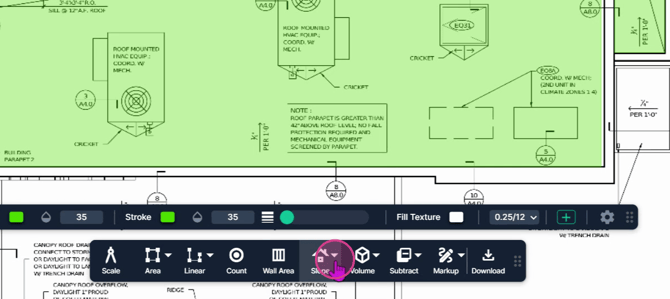
Multipoint can be used to measure any shape.
Name your measurement

Select the required slope factor

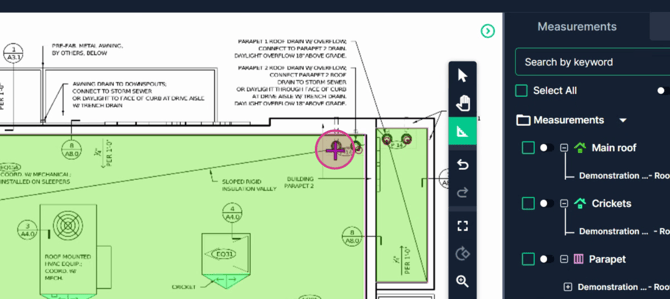
Step 8: All measurements can be achieved with a left click to begin, a left click to turn corners, and a double left click to finish if the measurement changes directions. If it doesn't change directions, then it's a left click to begin and a left click to finish.

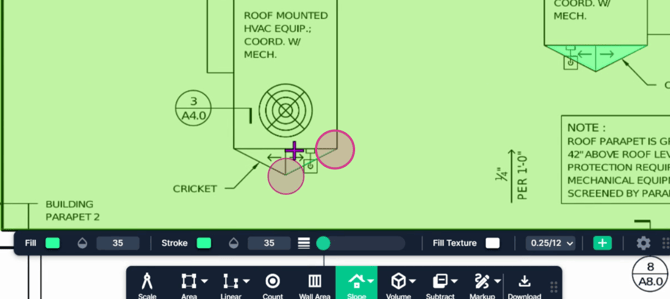
When finished, click the switch on the measurement result to turn the tool off.
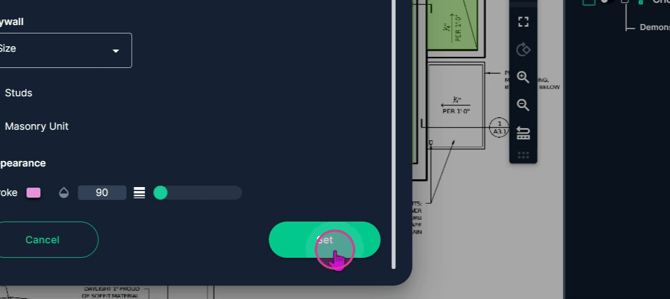
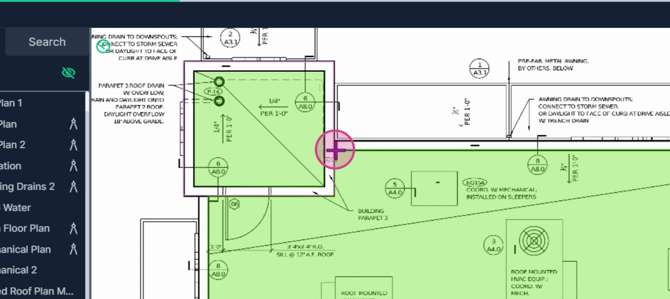
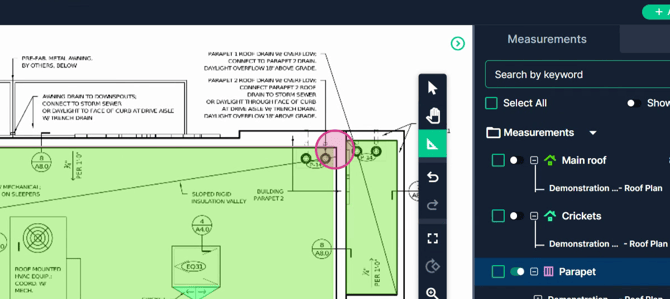
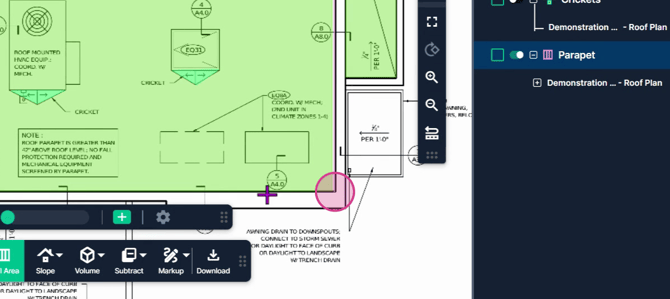
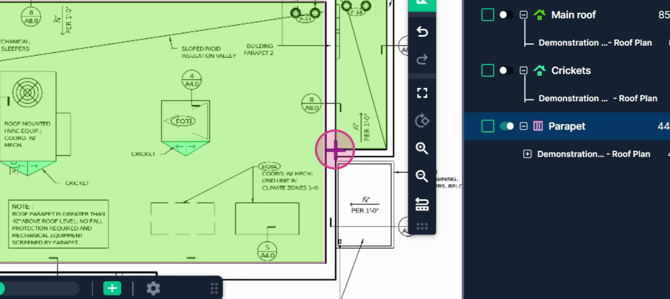
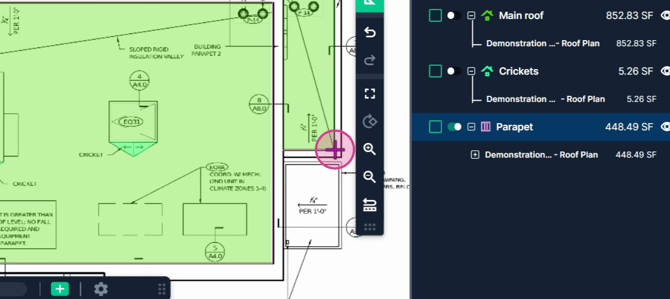
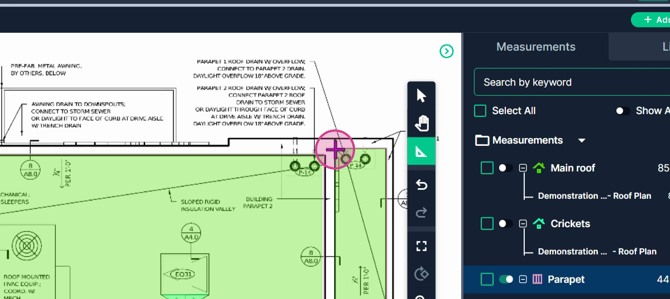
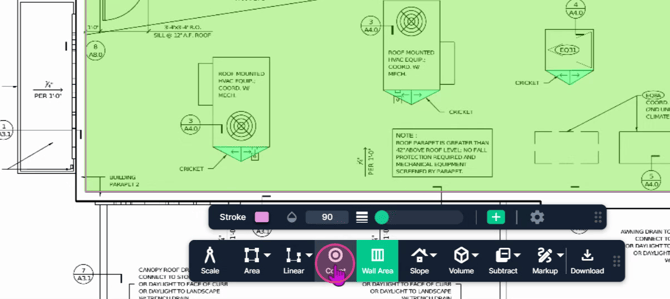
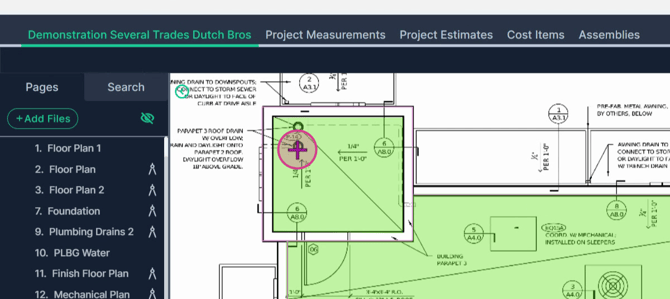
Step 9: Measure the parapet area for the amount of roofing system that will go on the inside of that wall. Click the Wall Area Tool.

Step 10: Use one tool and simply call it Parapet. Set the wall height to 3ft to ensure you have enough material to go over the top of the parapet and down the other side. Click Set in the box.

Step 11: Begin measuring at any point along the parapet with a left click. Left click at every corner to change direction and double click when you finish with this section.
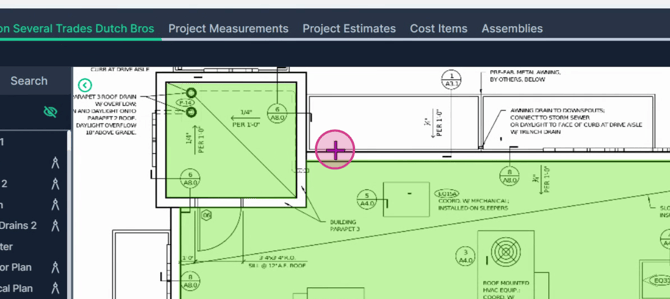
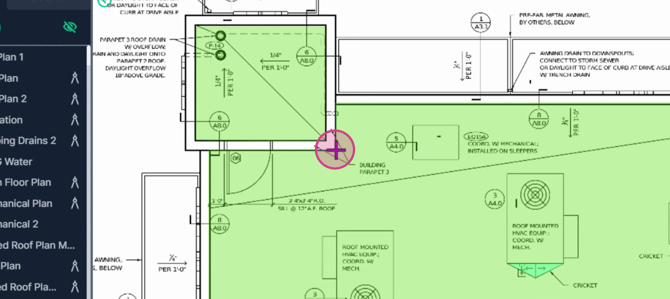

Step 12: Turn the tool back on with the Continue switch and begin measuring the next section. Left click every corner until you're back to the point where you started. Double click to finish there.


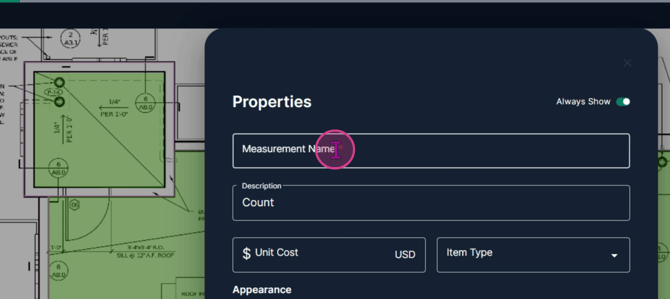
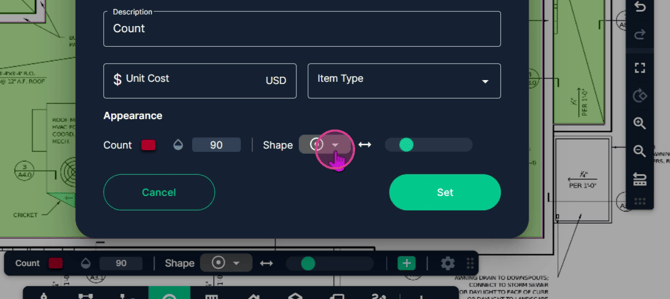
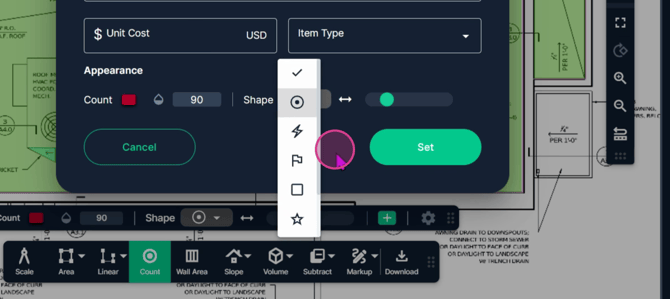
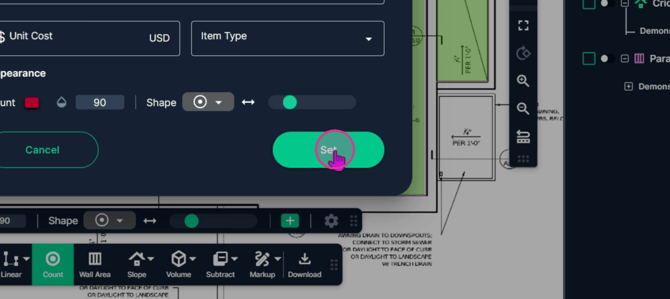
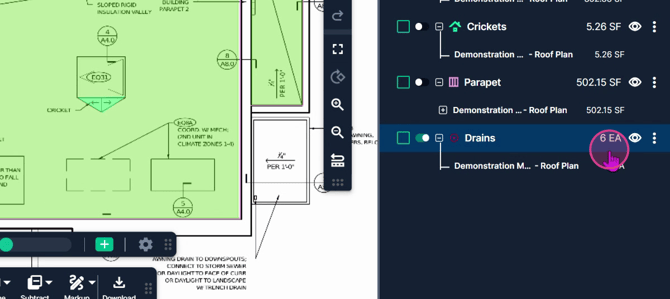
Step 13: Count your roof drains. Start a count tool by clicking Count on the toolbar and title the measurement Drains. You can also select a shape if you want to customize your measurement. Click Set.
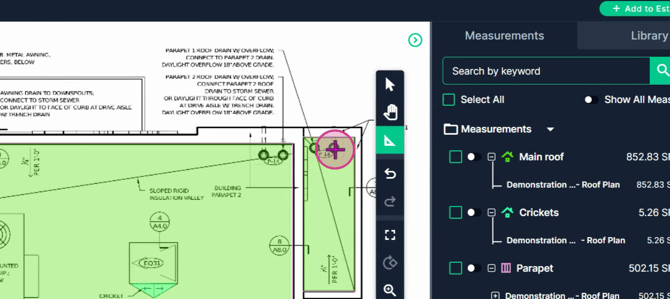
Step 14: Hover above every roof drain, including the overflows, and click one time on each object. The computer keeps a total for you on the right side of the page.
By following these steps, you'll have all the measurements you need for your roofing takeoff.