Measuring Fencing Quickly and Accurately in Planhub
Planhub’s takeoff tools let you measure fencing efficiently, ensuring accurate estimates and streamlined project planning. Follow these steps to set your scale, mark fence lines, and count gates with confidence.
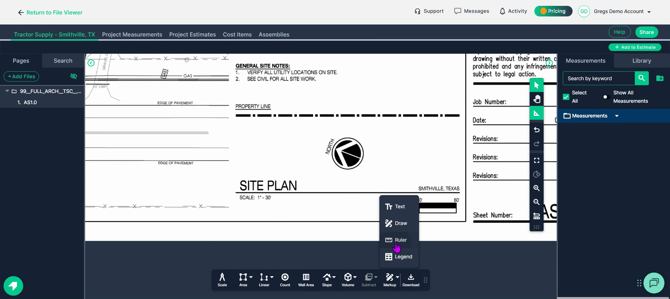
Step 1: Set the drawing scale.
This plan uses a scale of 1 inch equals 30 feet. Go to the scale menu next.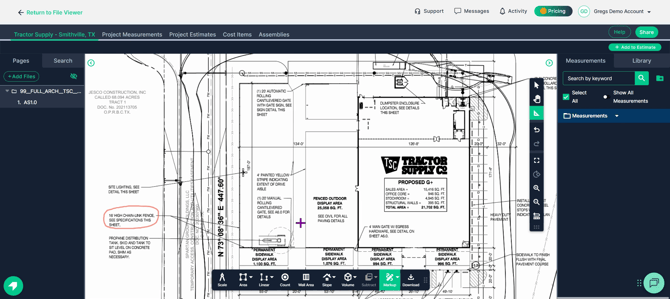
Step 2: Open the scale menu. The scale button in the toolbar.
Step 3: Find and select your scale.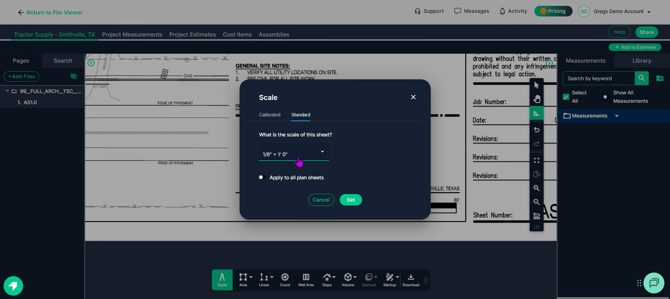
The dropdown list of available scales.
Scroll until you find 1 inch equals 30 feet, then click to select it.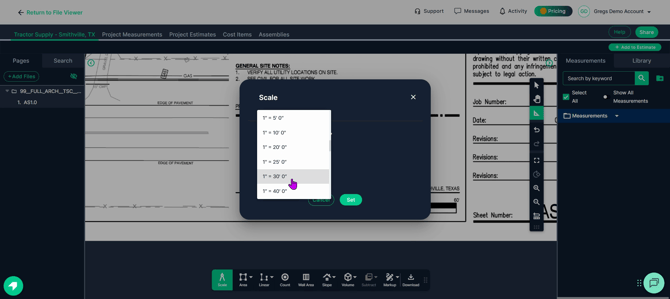
Selecting the 1 inch equals 30 feet scale.
Step 4: Click Set
Clicking Set
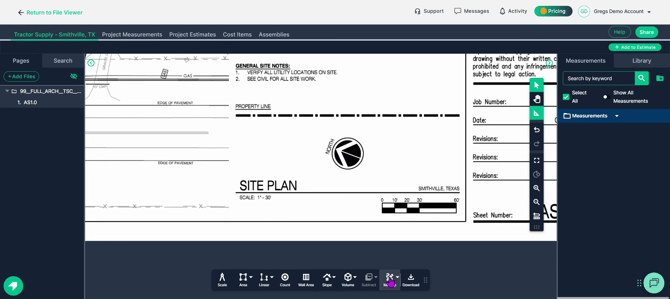
Step 5: Verify scale accuracy with the Ruler tool.
Click Markup
Click Ruler
Measure a known 30-foot distance between graph symbols to ensure accuracy.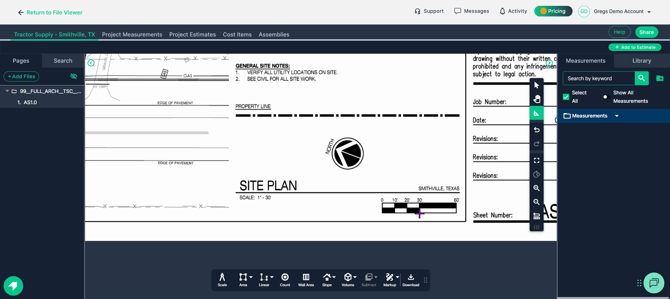
Ruler lined up between graph symbols.

Checking distance reads 30 feet.
Plan ready for takeoff tools after verifying the scale.
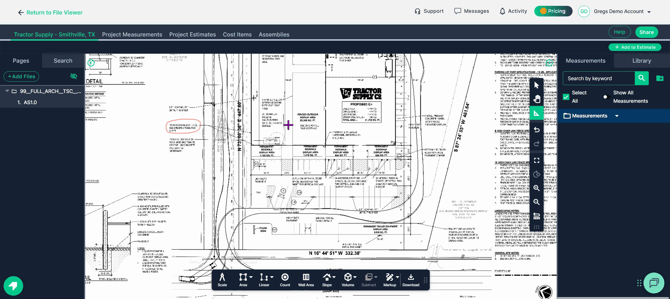
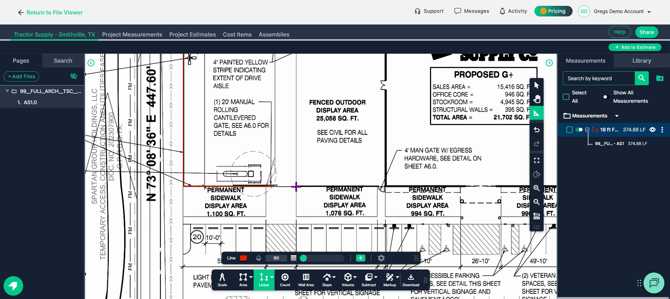
Step 6: Focus the view on the fence area.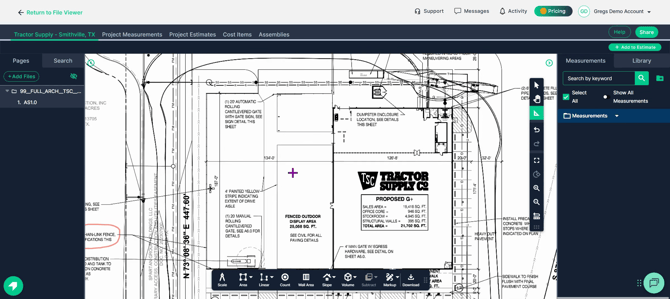
The area on the plan designated for a fence.
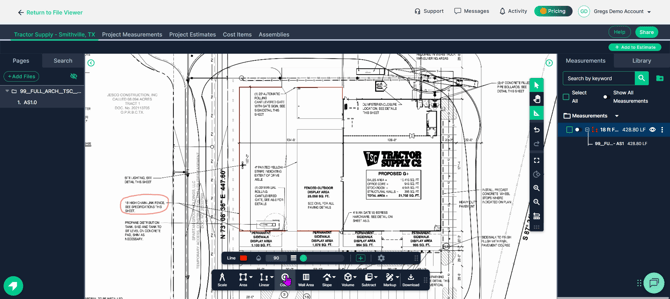
Step 7: Begin measuring with the Linear Line tool. Go to the toolbar, click Linear, then select Line.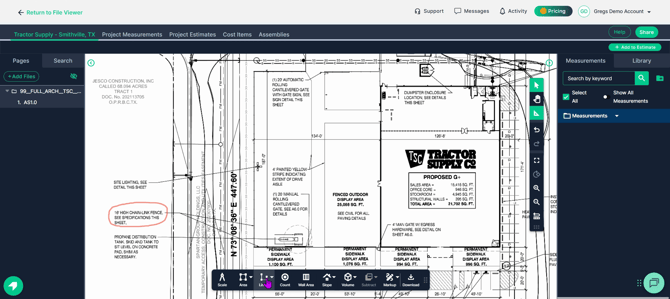
Selecting the Linear Line tool from the toolbar.
Type a name for your measurement. Naming the measurement as ‘18 foot fence.’
Step 8: Set line color for visibility. Color picker for line.
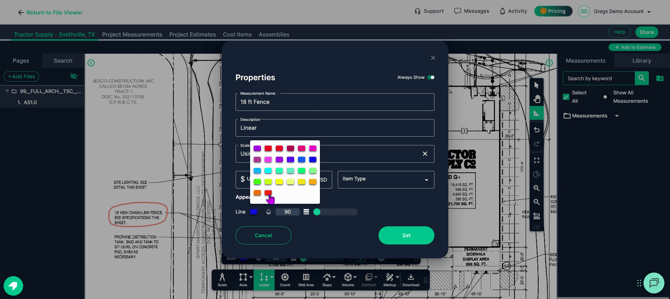
Choosing a color.
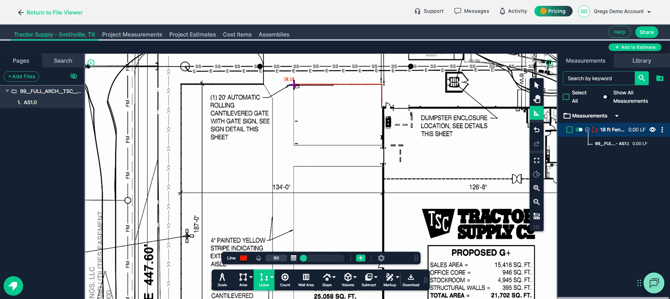
Step 9: Measure fence perimeter, skipping gates. Start at the building and click once to begin measuring.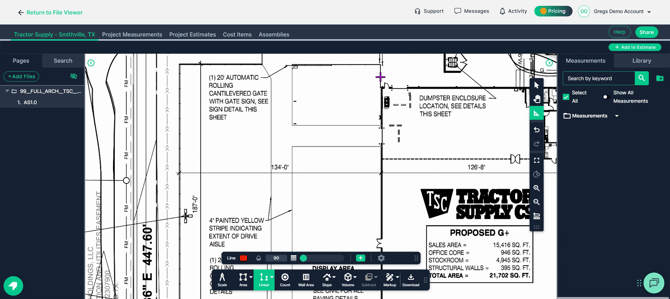
Starting point.
 First click to start measurement.
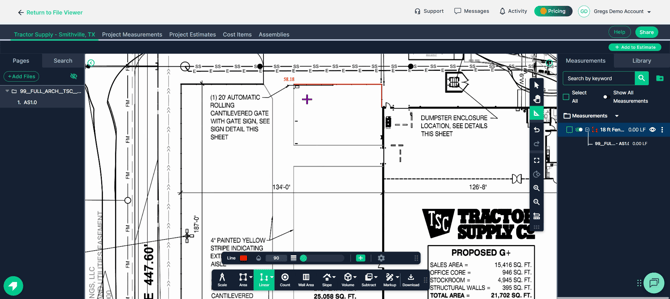
The measurement line follows your cursor. Click at corners or to change direction.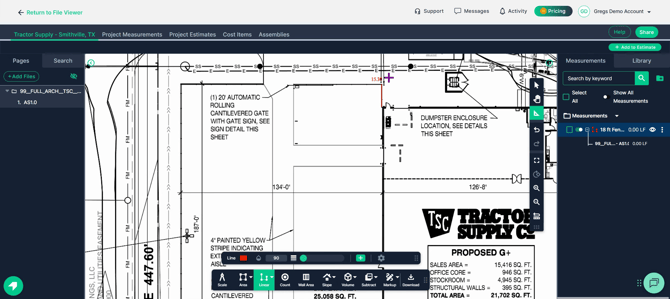
Click to turn corner at first opening.
Double-click to stop measuring at a gate.
Double-clicking at the opening for a gate.
Measurement stopped at the first gate.
Step 10: Continue measuring after each gate. Click the Continue switch to resume after openings.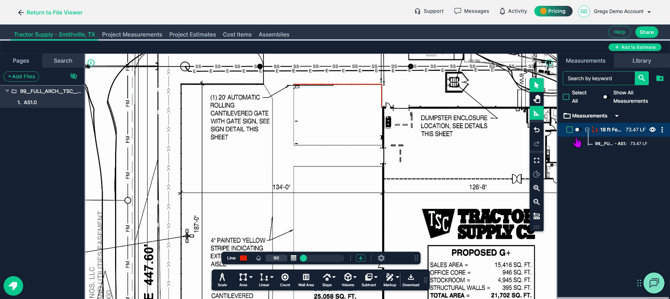
Continue switch on the right side of the page.
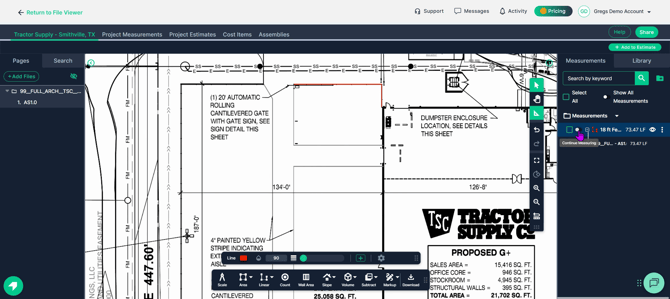
Enabling Continue mode to measure after the gate.
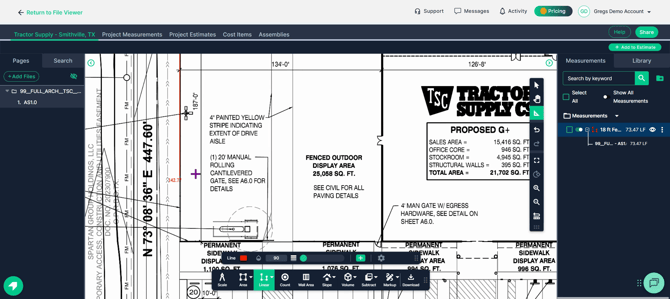
Measure along the next section, clicking at corners and double-clicking at openings.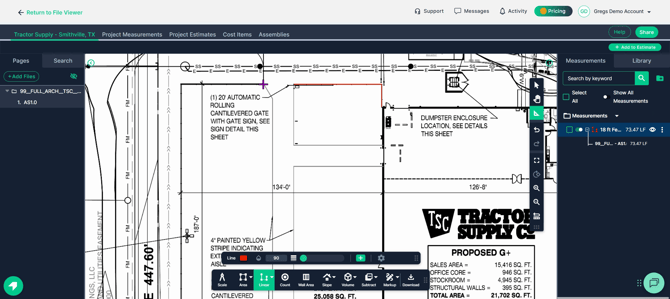
Resuming measurement after the gate.

Continuing around the perimeter.

Turning another corner with a click.
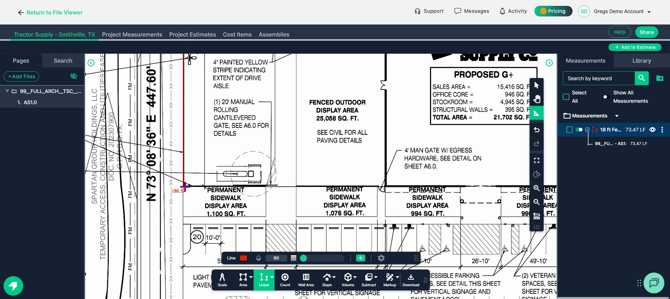
Use right-click and drag to pan as you measure.
Panning the plan with right-click as you measure.
Smoothly navigating during measurement.
At the next corner, click once to turn, double-click at the gate opening.
Clicking at a new corner.

Double-clicking to end at gate opening.
Repeat with Continue mode for the next section, always double-clicking at openings.
Continue mode active for new section.

Final double-click at last gate opening.
Step 11: Review total measured length minus gates.
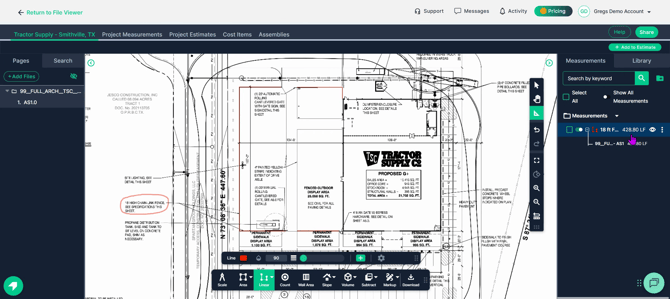
Total perimeter displayed as 428.8 feet.
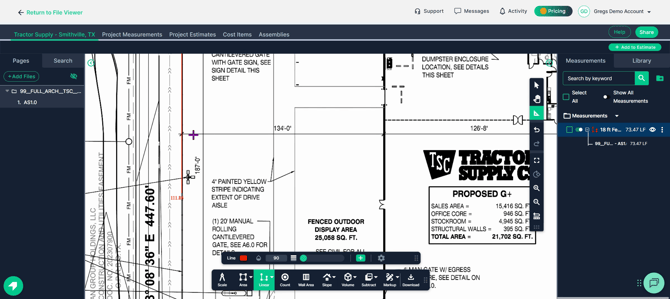
Step 12: Tally the gates using the Count tool. This plan includes two 20-foot rolling cantilever gates.
Details about 20-foot rolling cantilever gate requirements.
Specifying two gates needed for this project.
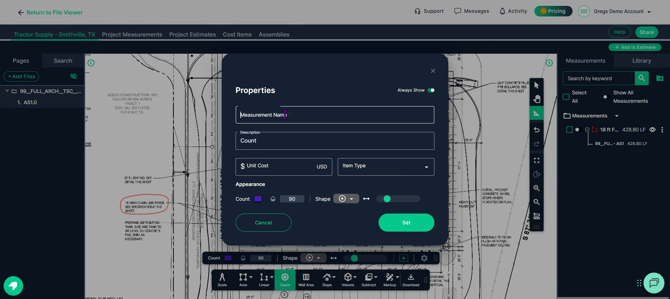
Step 13: Set up a gate count. Title the count as ‘20 foot gate.’
 Naming the count as '20 foot gate.'
Choose a bright color and select a symbol for the gate stamp.
 Picking color for count symbol.
 Choosing stamp symbol for the gate.
 Selected gate symbol shown.
Resize the symbol if needed and set in place. Adjusting symbol size and confirming.
Step 14: Place symbols for each gate on the plan. Move mouse over the gate opening and click once. Placing the symbol at first 20-foot gate location.
Repeat for the second gate.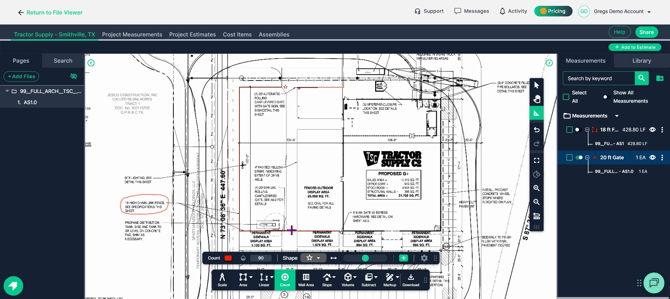
Placing symbol for second gate opening.
Step 15: Add a 4-foot gate count. End the current measurement by selecting the arrow at the top.
 Clicking select arrow to end current measurement.
Start a new count for the four-foot gate. Initializing new count for a different gate size.
 Preparing to label new gate.
Label the count ‘four foot gate.’ Naming the count 'four foot gate.'
Place the new gate symbol in the right spot by hovering and clicking once.
Placing symbol for four-foot gate at designated location.
You now have a complete measurement of both fence length and gate counts.