This tutorial will guide you through the process of creating, managing, and exporting estimates in PlanHub. By the end of this tutorial, you'll know how to add pages to your estimate, rename them, add cost items, and export your estimate.
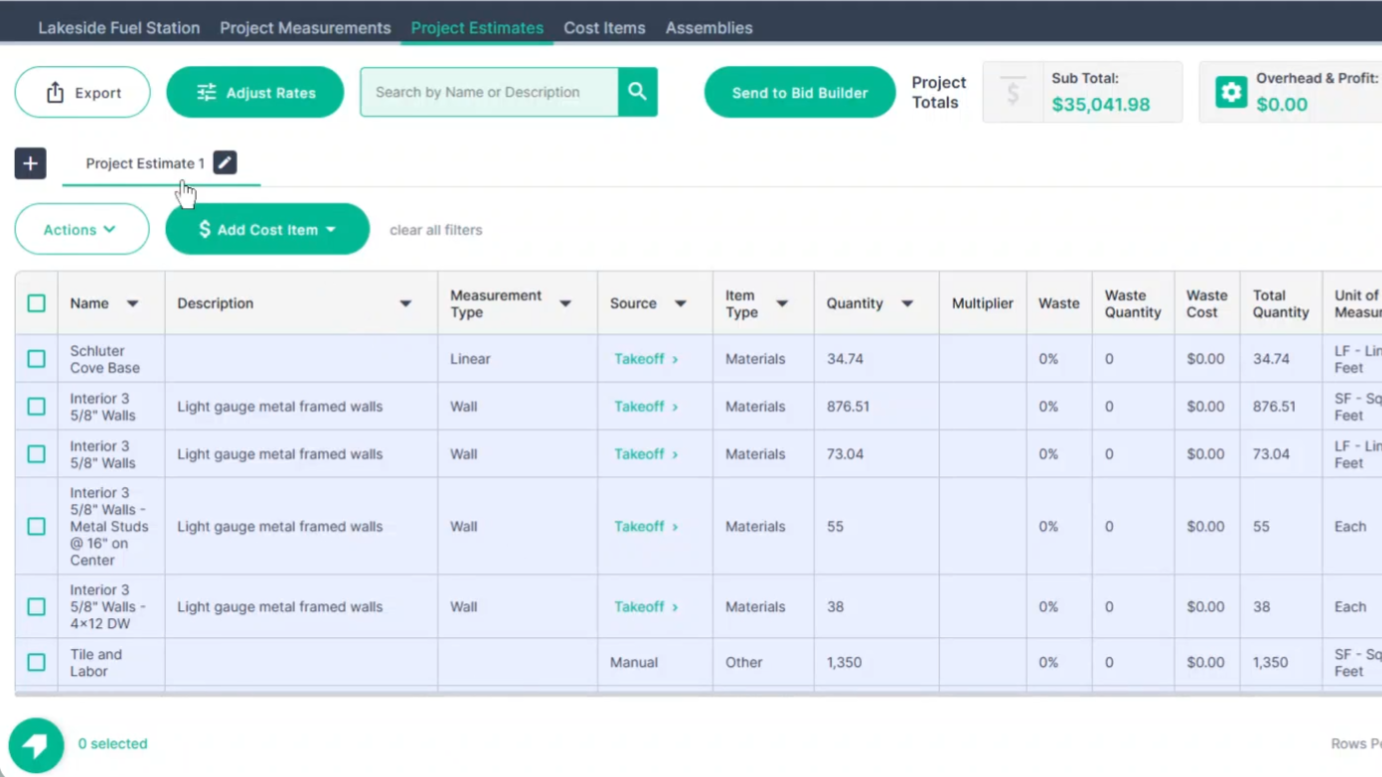
Step 1: Start by navigating to Project Estimates. Your first estimate page Project Estimate 1 will be created.
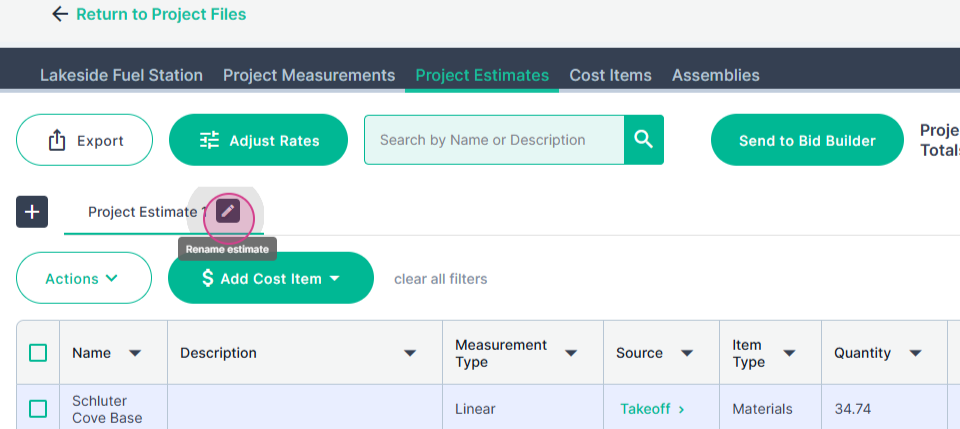
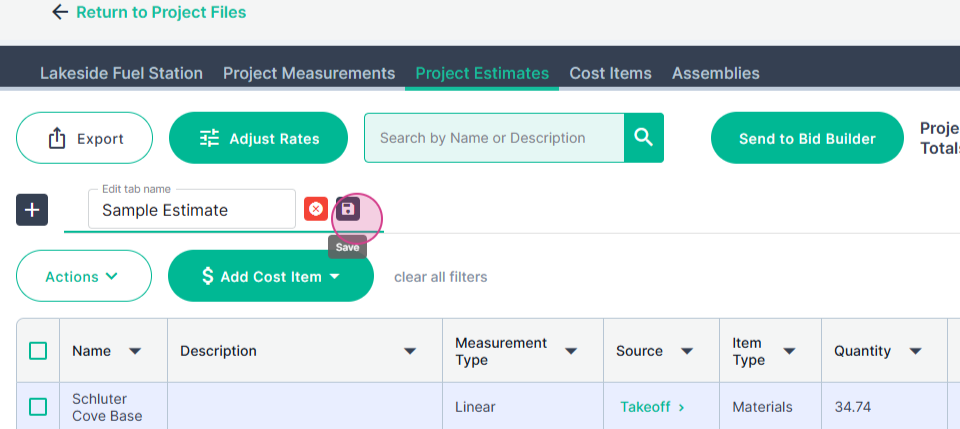
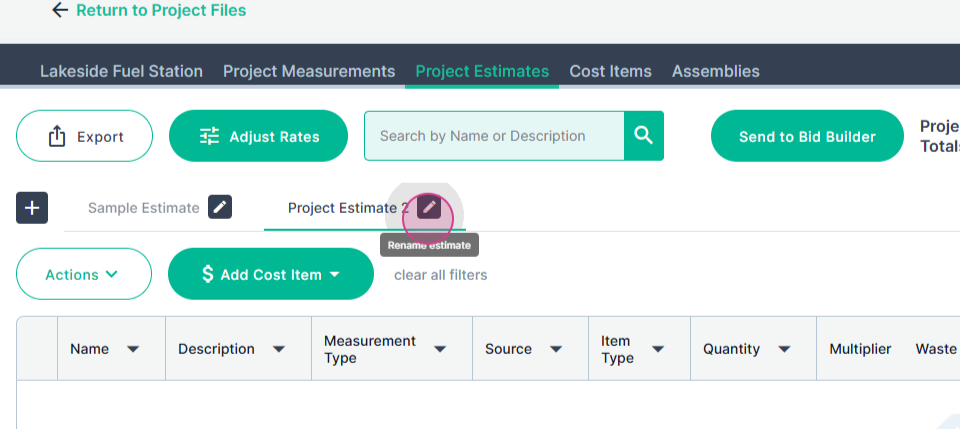
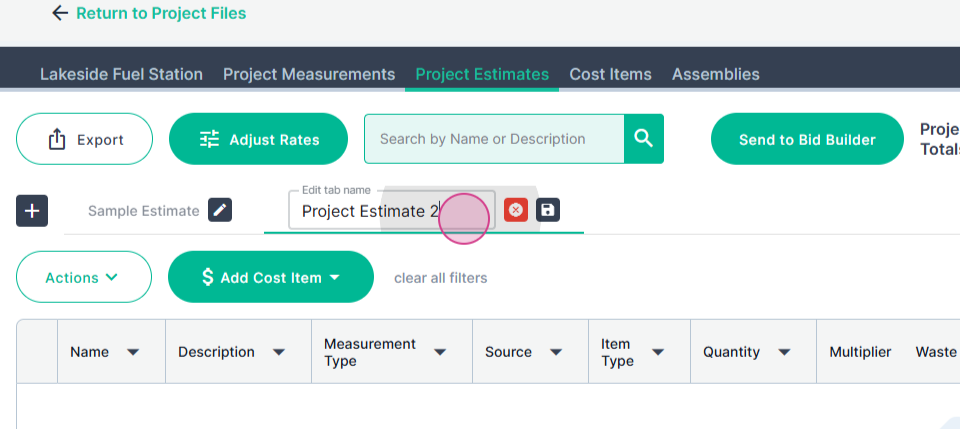
Step 2: Rename your page by clicking on the pencil icon. Replace the existing name with your desired text.
Step 3: Save your changes by pressing Enter or clicking on the disk icon.
Step 4: Add more pages by clicking on the plus button.
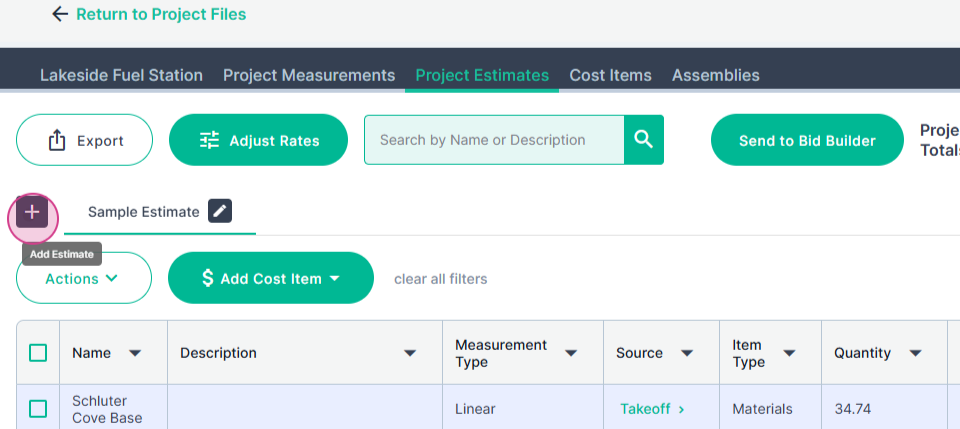
Step 5: Rename the new page same as before.
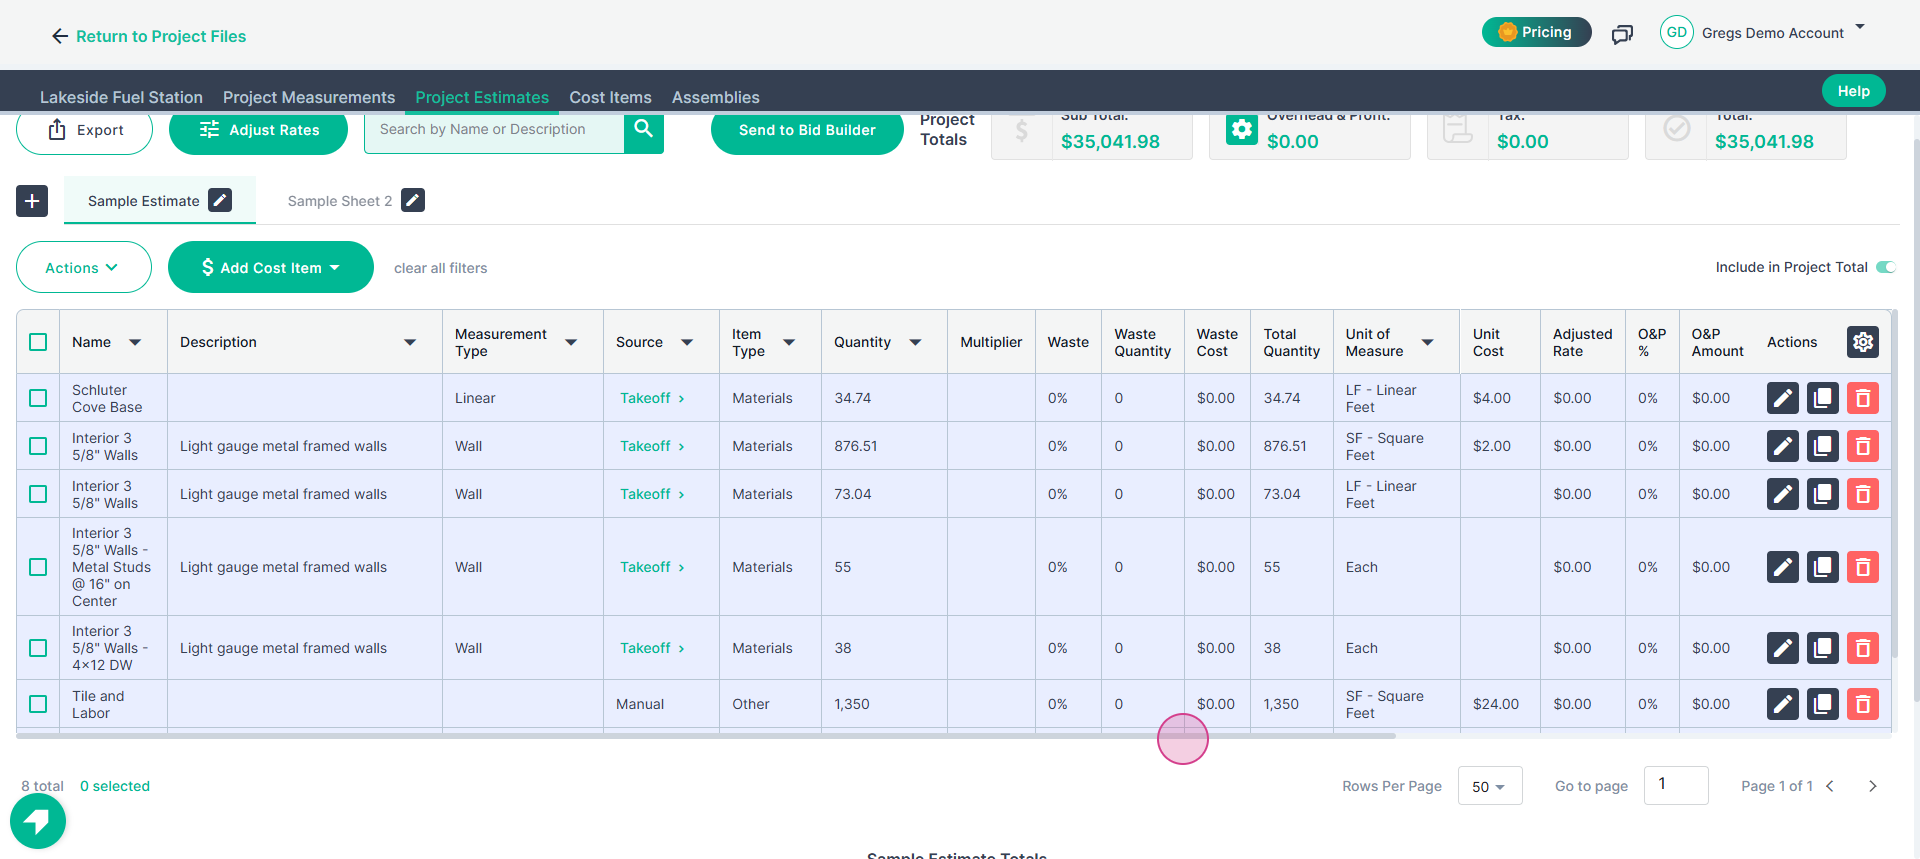
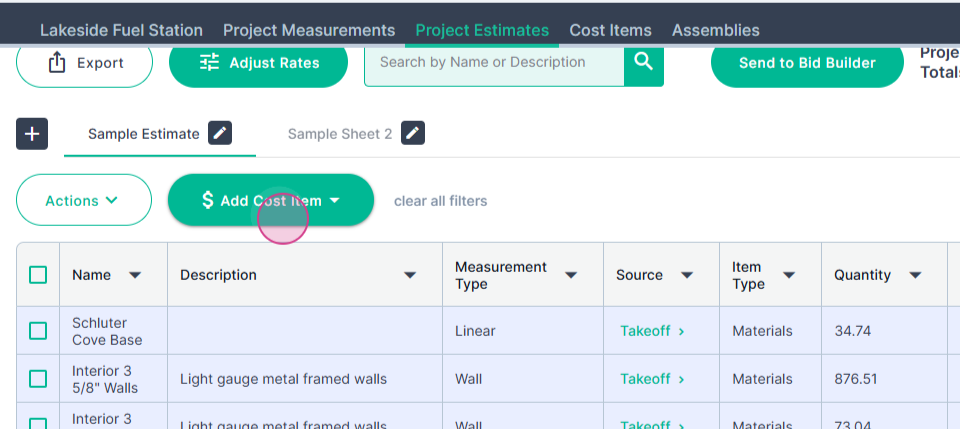
Step 6: You may add cost items to your estimate page. These items, listed down the center of the page, represent individual charges.
Step 7: Populate your estimate with cost items in four ways: sending measurement results via takeoff, adding blank cost items, using the Add a Cost Items library, or using assemblies.
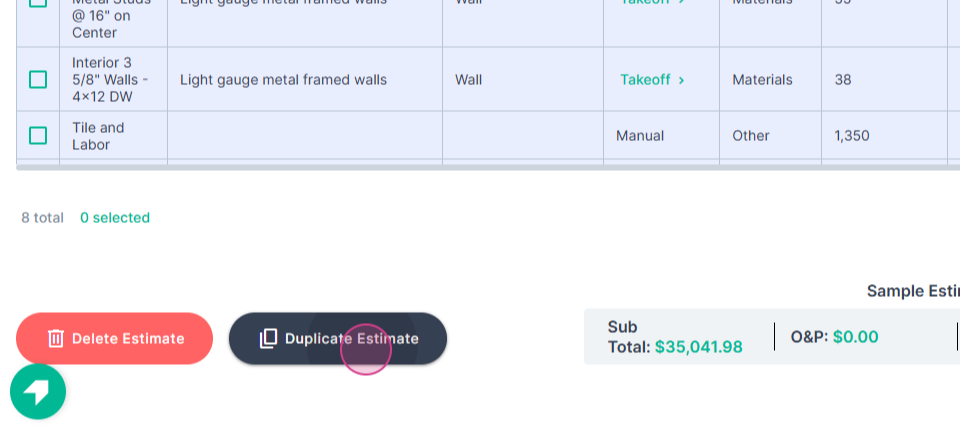
Step 8: If your estimate has multiple pages, each page will have a delete and a duplicate button. To charge double for items, duplicate the page by clicking on Duplicate Estimate.
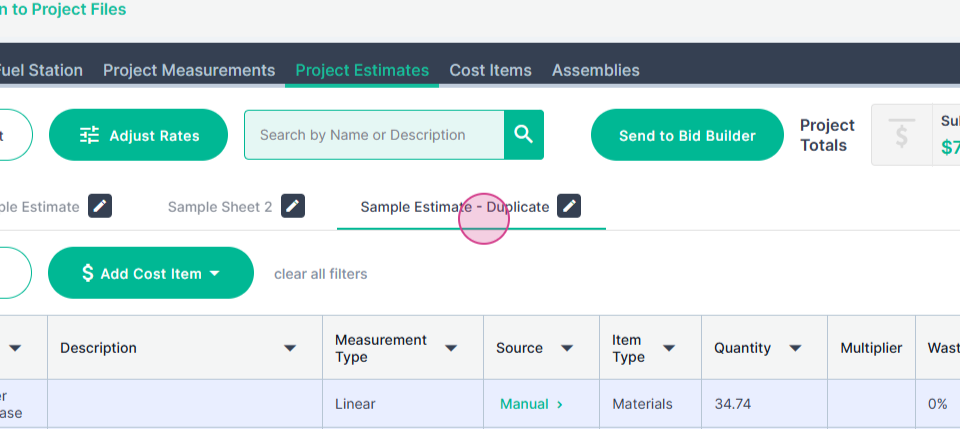
Then you can rename as before.
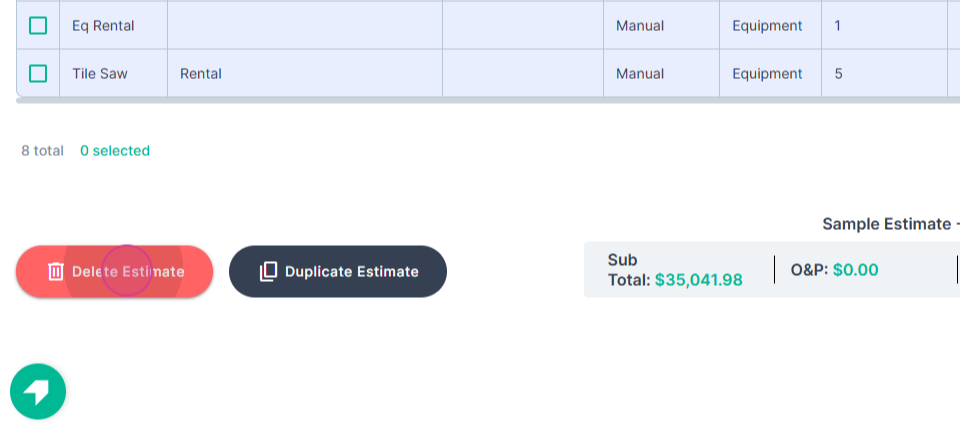
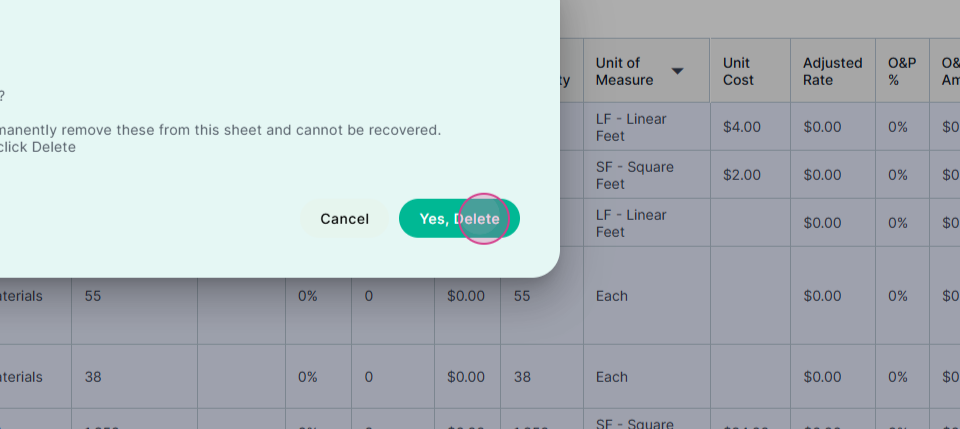
Step 9: If you don't need a page, delete it by clicking on the Delete Estimate button. Remember, you must always have at least one page.
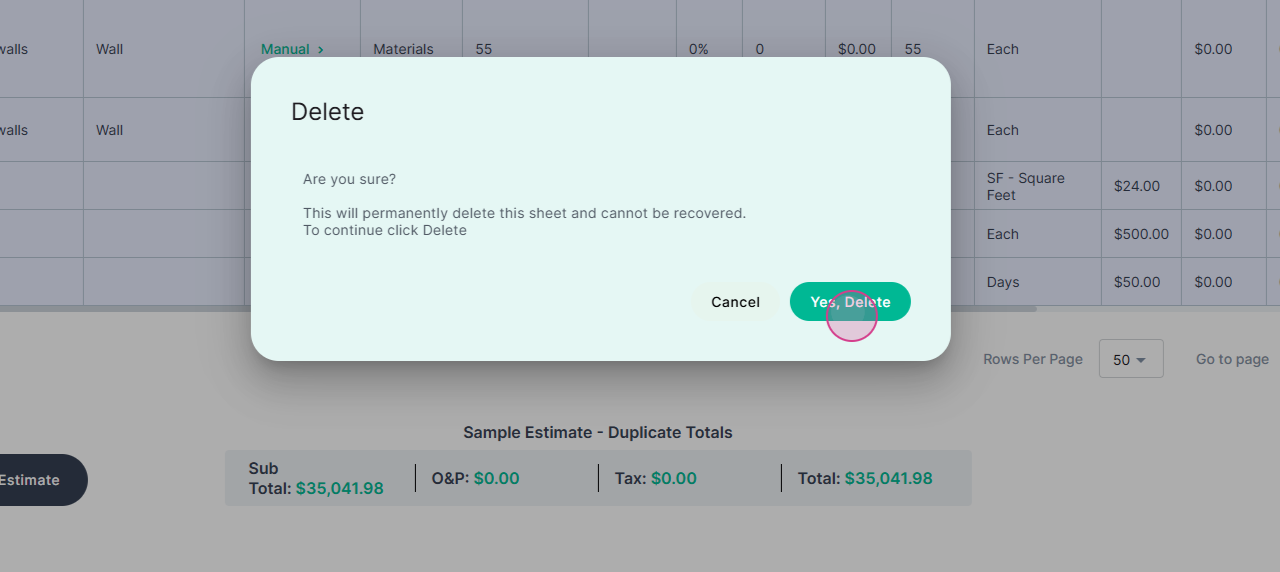
First click Delete, then confirm your choice.
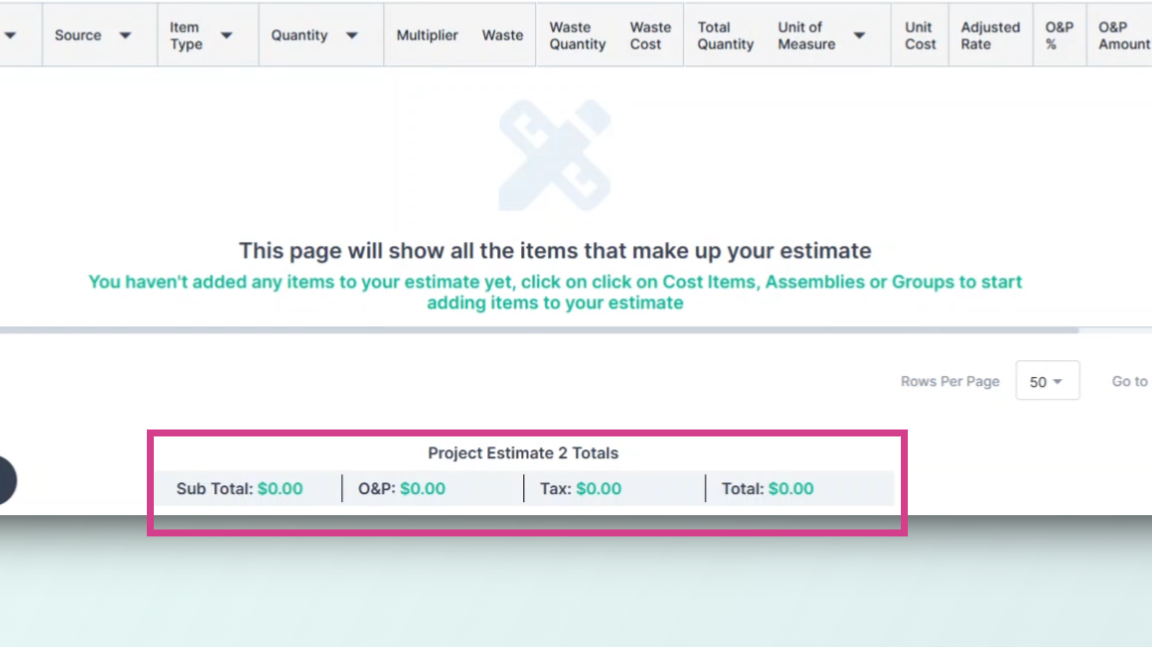
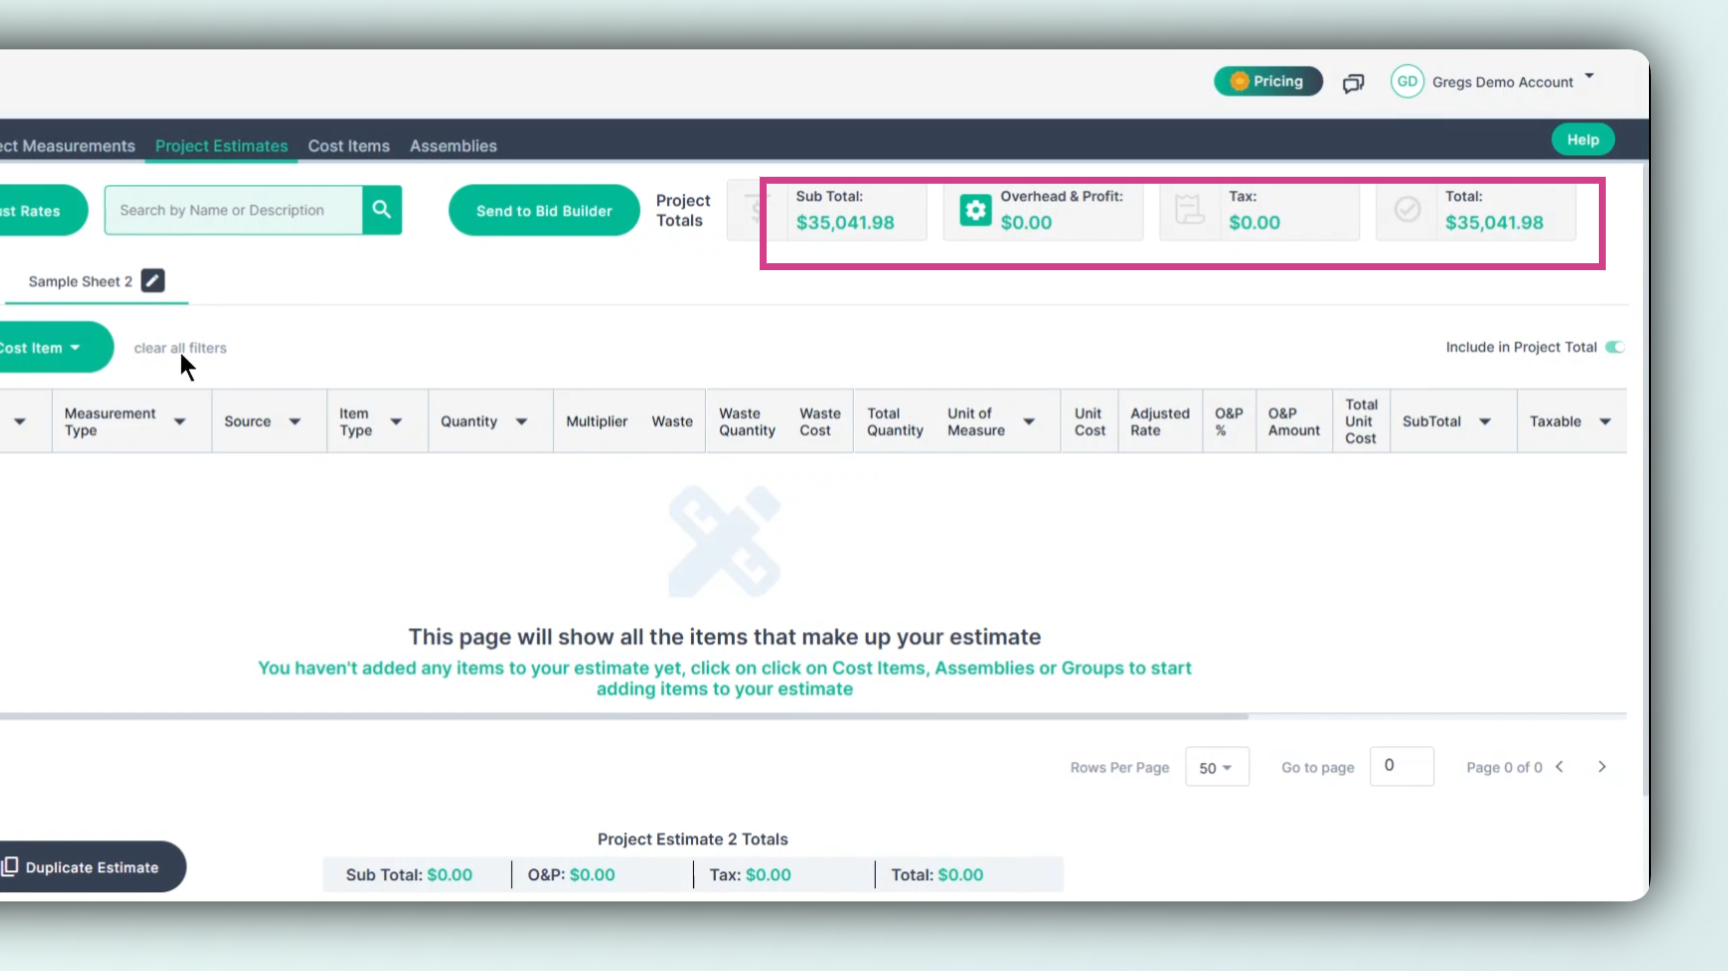
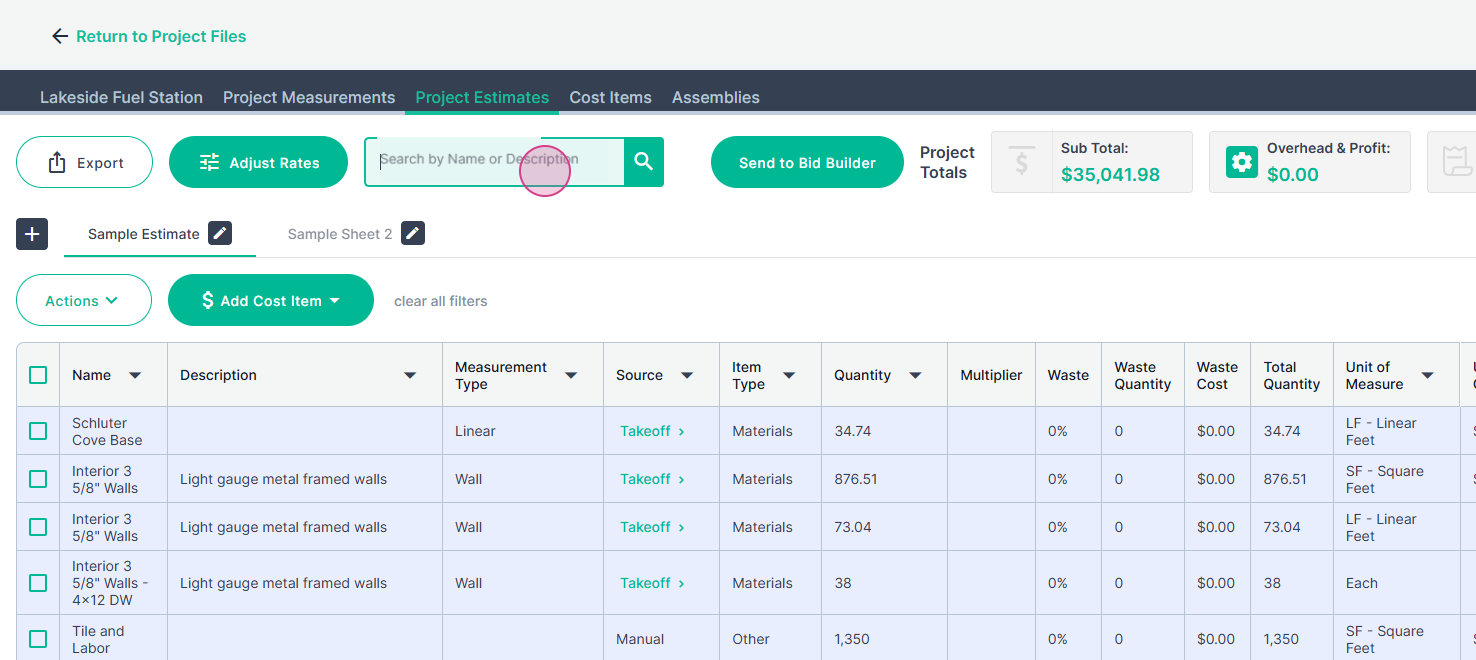
Step 10: Each estimate page has its own total region at the bottom. The project total area in the upper right corner reflects the total of all pages combined.
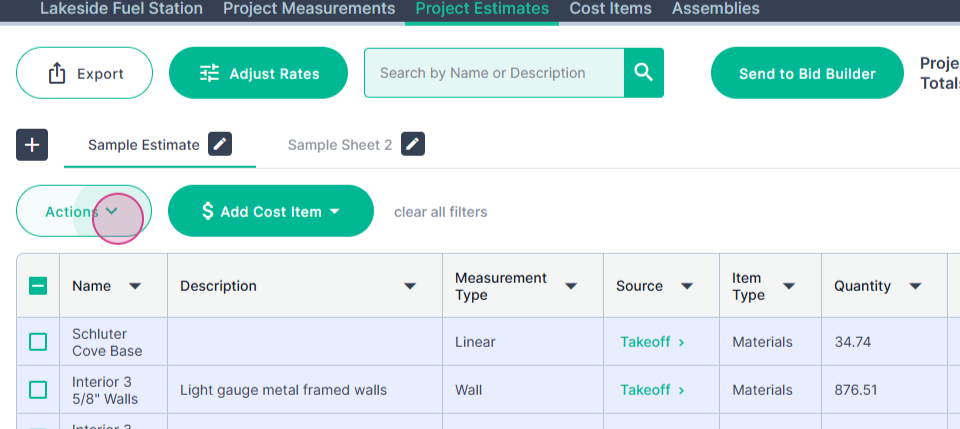
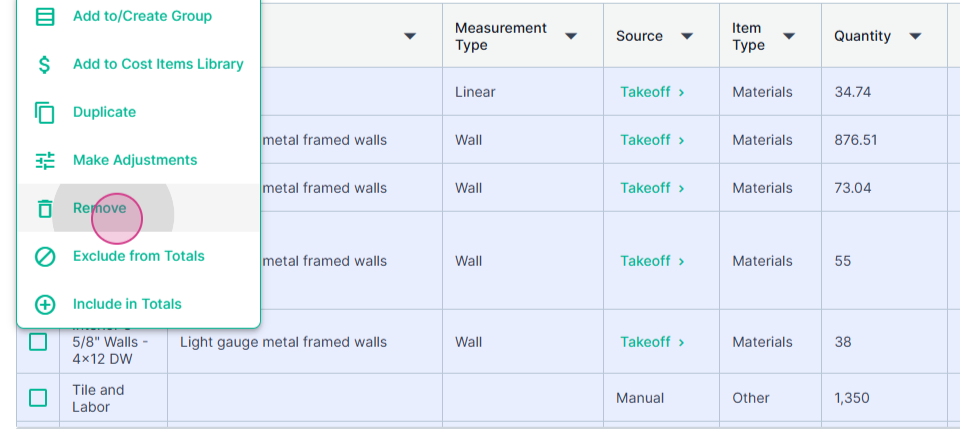
Step 11: Use the Actions menu inside Estimates to manipulate your cost items.

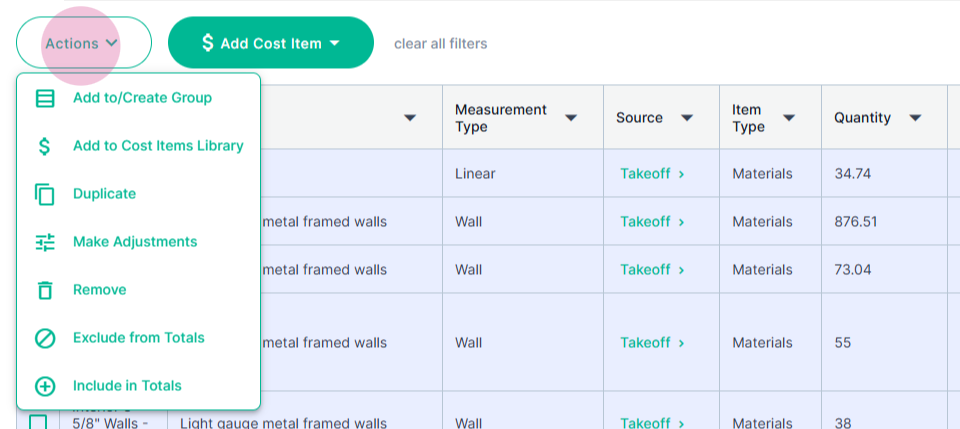
Step 12: To use an action, click the checkbox on the items you want to influence, select the desired action from the drop-down menu, and click the command.

Step 13: By default, cost items are limited to 10 per page. You can increase the number of items per page.

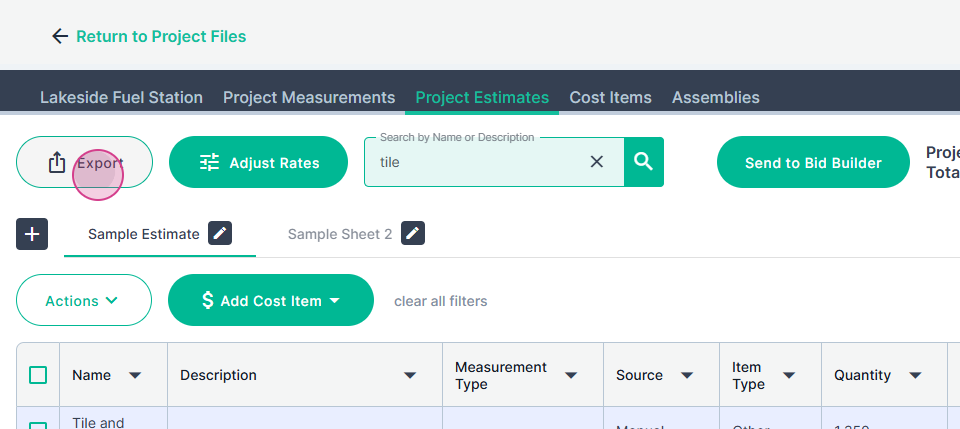
You can search fir specific items using the Search Field.
Step 14: Once you've completed your estimate, export it to Excel by clicking on the Export button in the upper left corner.
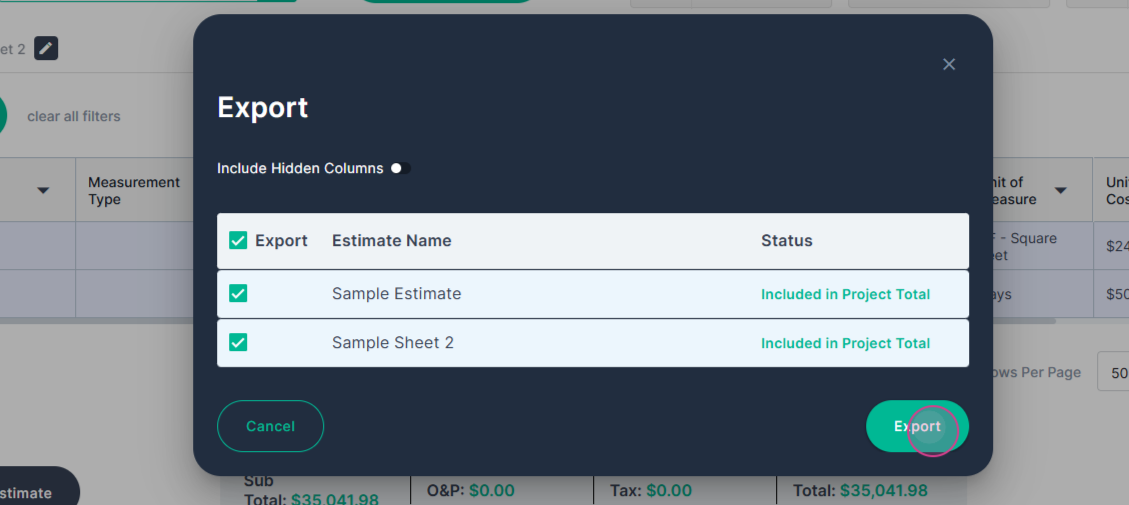
Select the estimate pages you want to include in the export, then click export.
Step 15: Choose which sheets of the estimate to include in the export and click Export.
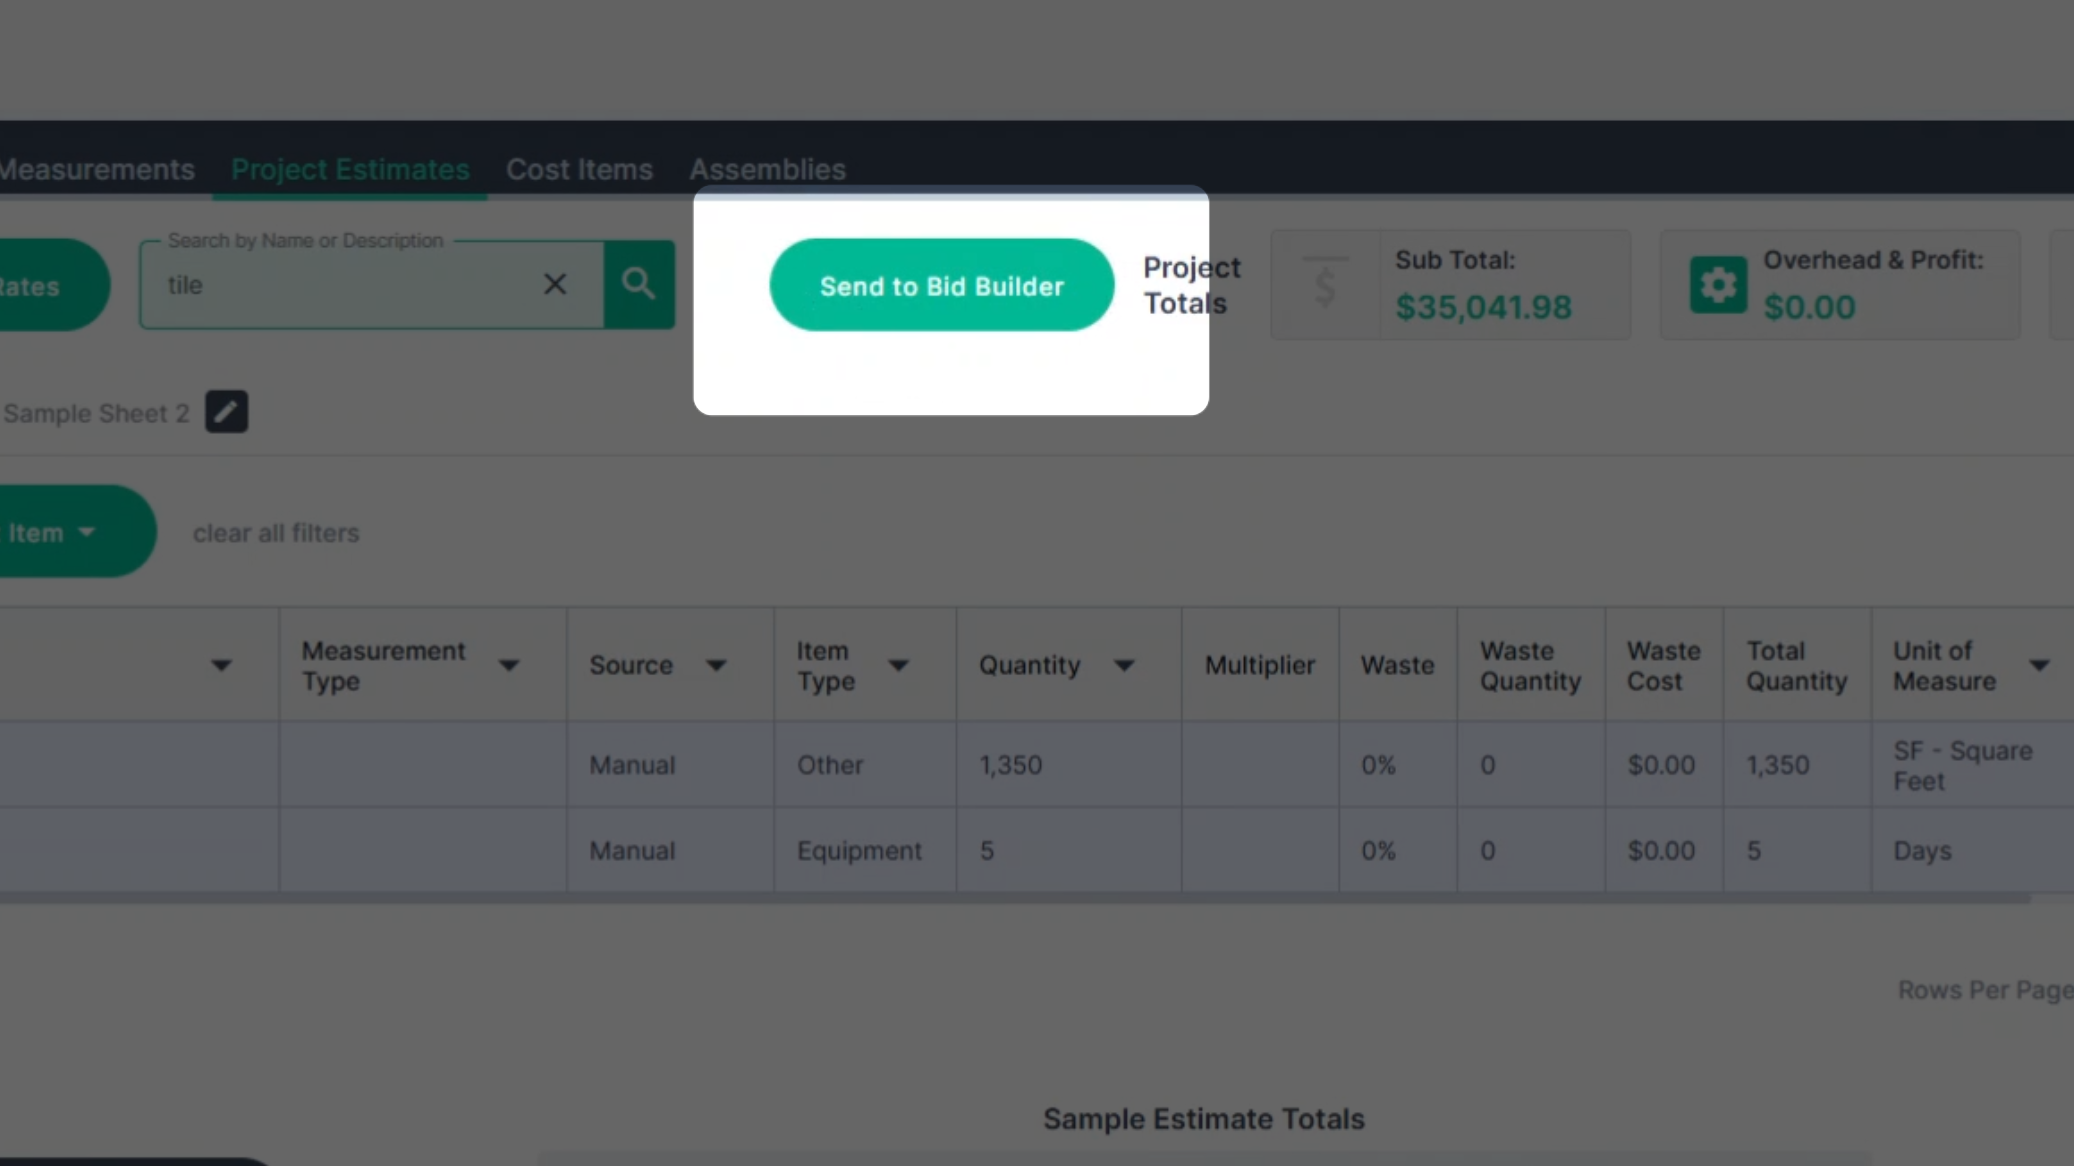
Step 16: If you're working on a PlanHub posted project, you'll see a Send to Bid Builder button. Clicking this button will populate a bid for you in the Bid Builder tool, where you can finalize your bid and submit it to general contractors.
In summary, PlanHub’s Estimation tool streamlines the transition from initial measurements to a finalized bid. By mastering the ability to organize project pages, manage cost items through libraries or assemblies, and utilize the Actions menu for bulk updates, you can significantly reduce the time spent on manual calculations.
Whether you are exporting your data to Excel for external review or using the Send to Bid Builder feature to submit directly to General Contractors, these steps ensure your estimates are both accurate and professional.