Step 1: Navigate to the Project estimates tab. Here, PlanHub automatically creates Project Estimate 1 for you. This is your first page.
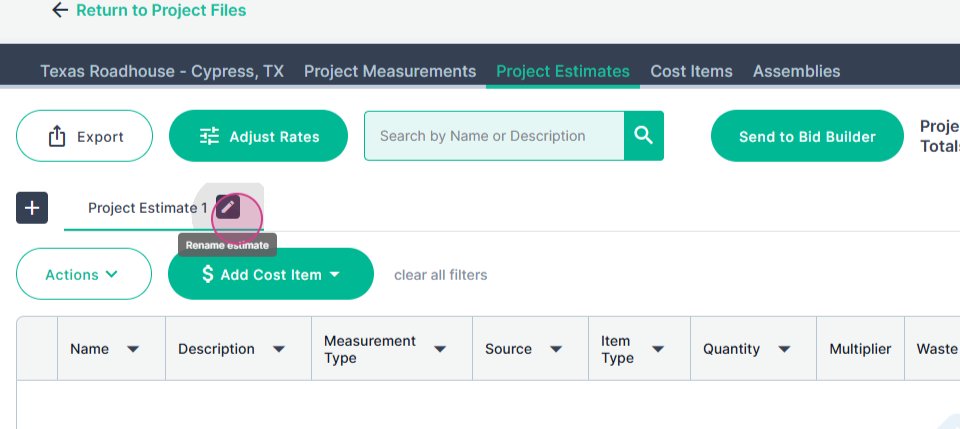
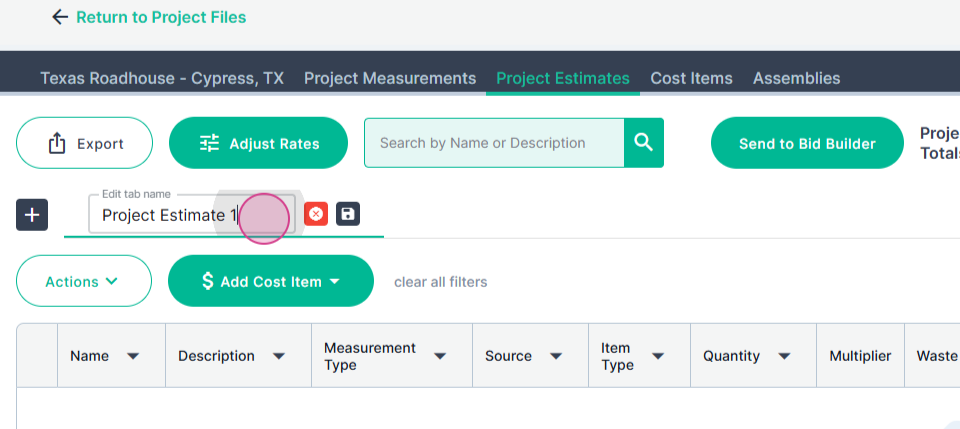
Step 2: Rename the page to make it more relevant to your project. For instance, if you're handling multiple trades, you might want to name this page "Plumbing Estimate".
Step 3: If you're managing multiple trades, add new pages to accommodate each one.
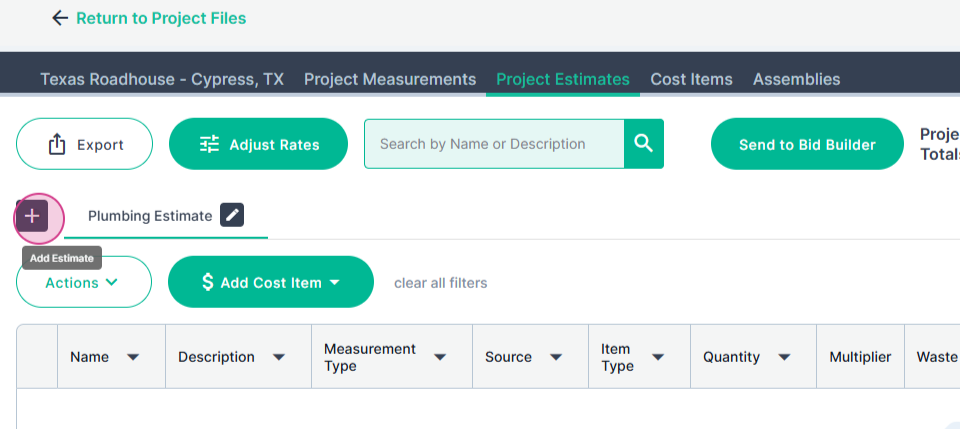
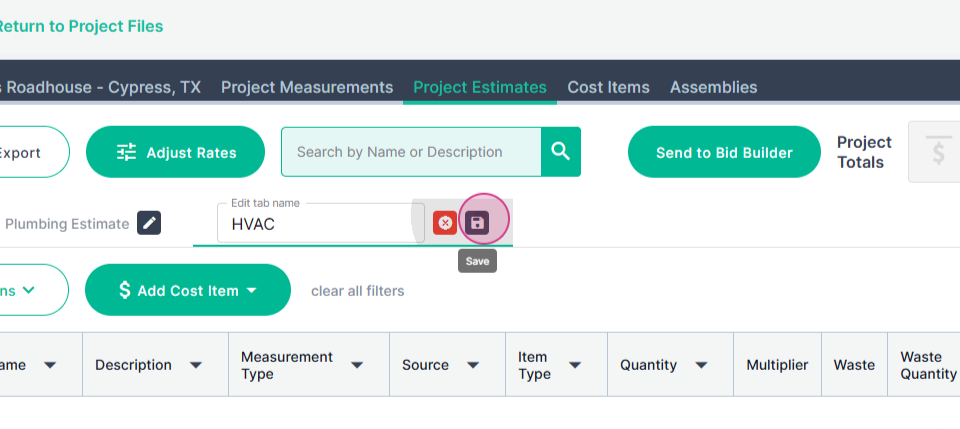
Step 4: Name these new pages according to their respective trades, such as "HVAC".
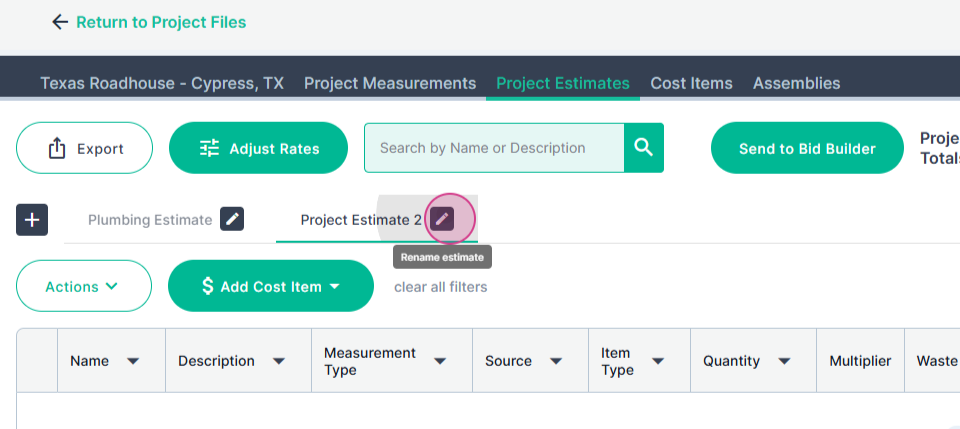
Step 5: Alternatively, you might want to organize your estimates by phases of the job. In this case, you can create and name pages like "Phase One", "Phase Two", and so on. This helps keep your project estimates organized and easy to navigate.