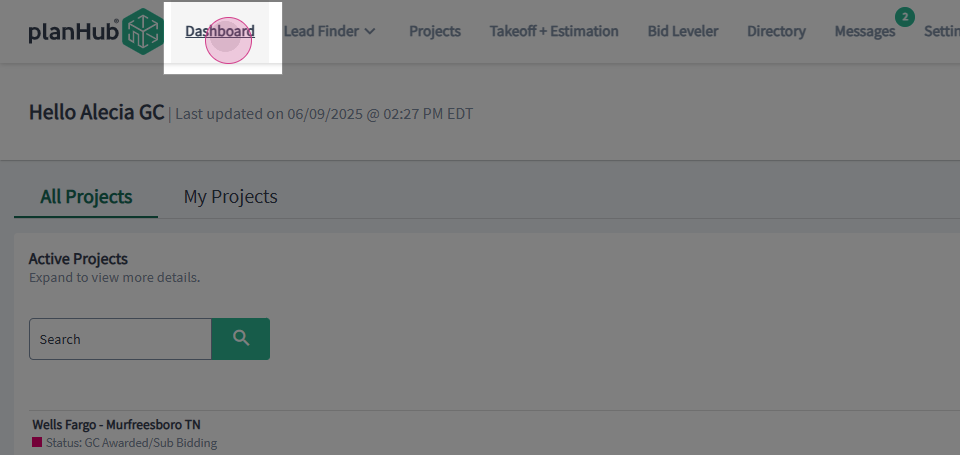
Step 1: Click on Dashboard in the main navigation bar at the top of the page to view your companywide active projects.
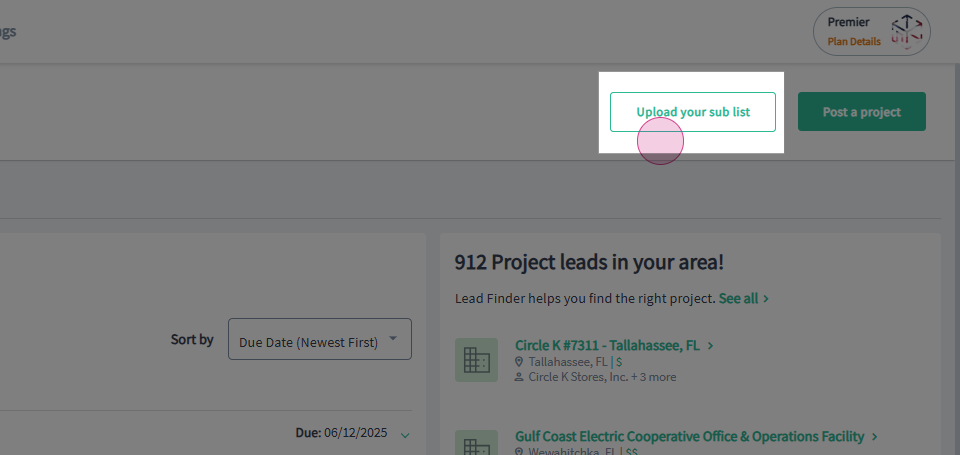
Step 2: View the right side of your screen for the option to Upload your sub list to your in-network list.
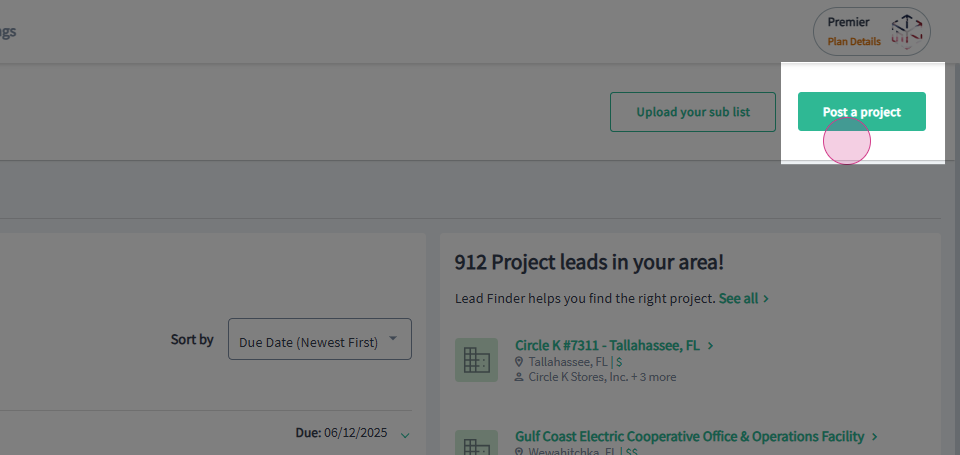
Step 3: To post a project, view the top right side of the screen and select the option to Post a project.
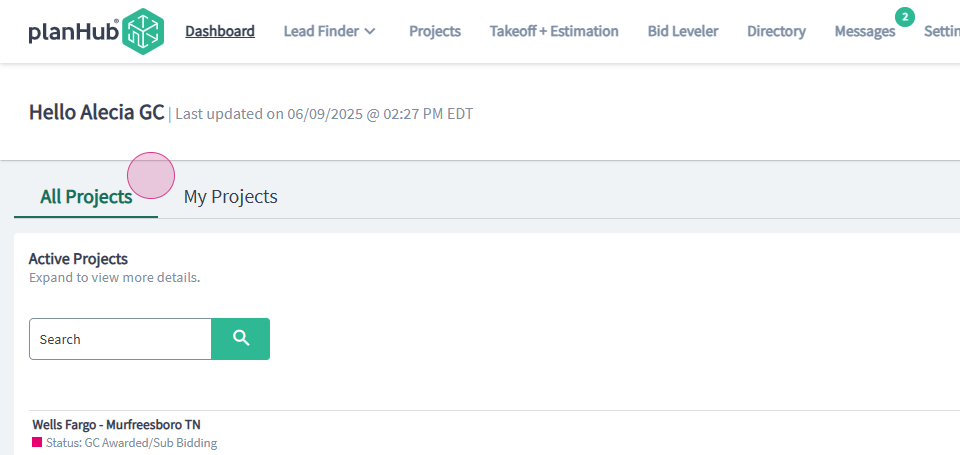
Step 4: Select the All Projects tab to view companywide active projects or the My Projects tab to view projects you have posted on your account. Both sections display the information in the same format.
Step 5: Use the search bar to find a specific project by name.
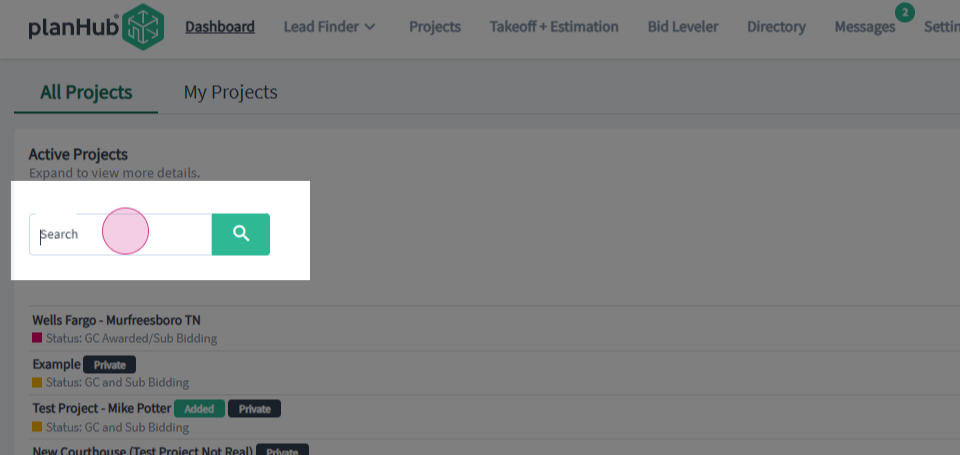
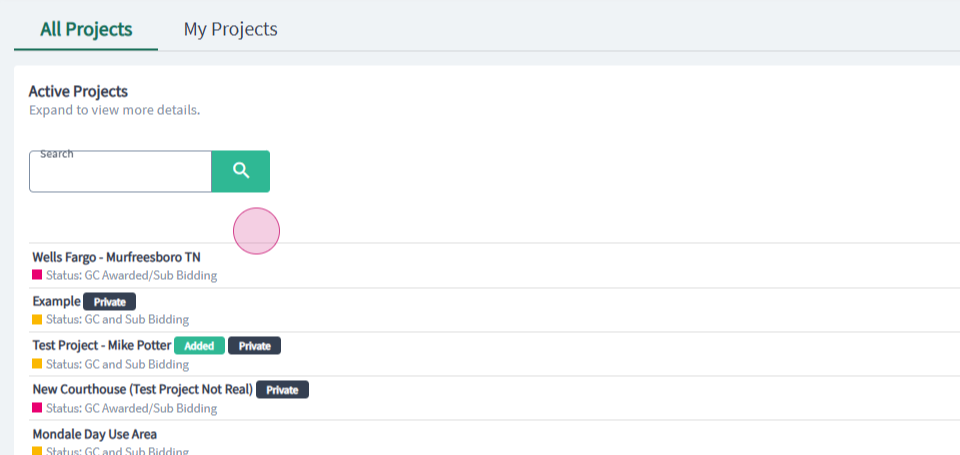
Step 6: View the Active Projects section for a quick overview of active projects and the bid due dates.
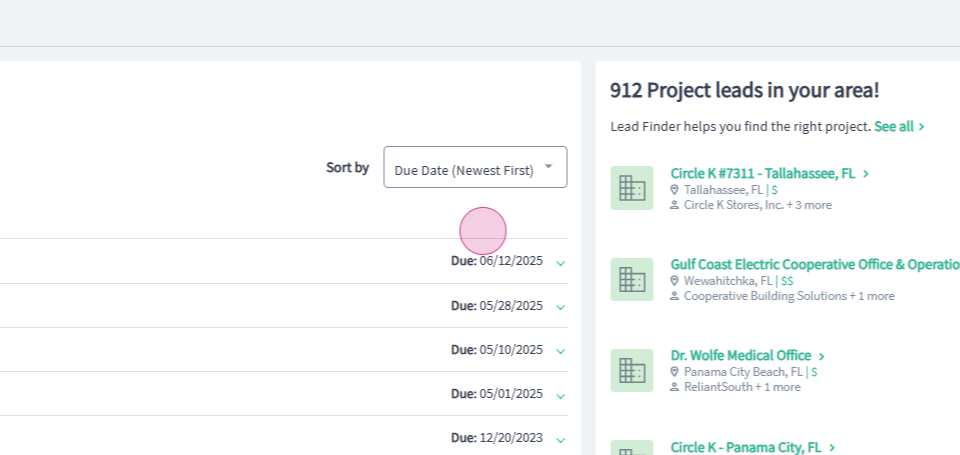
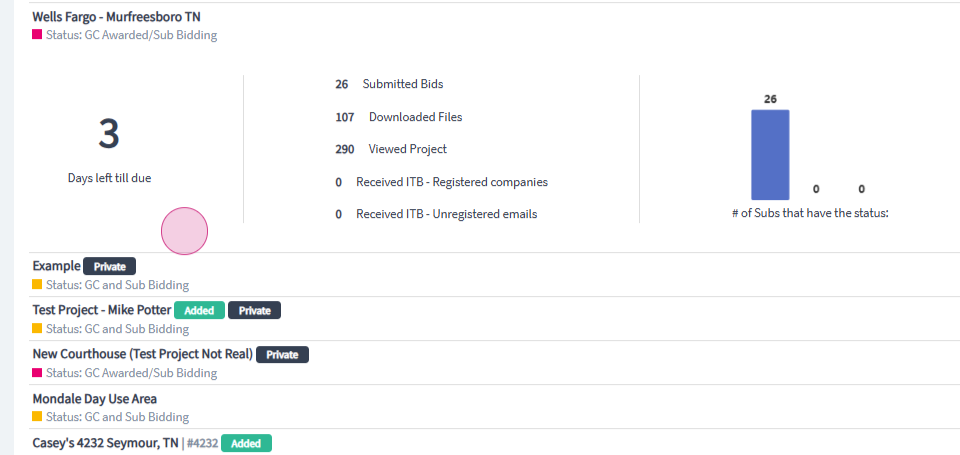
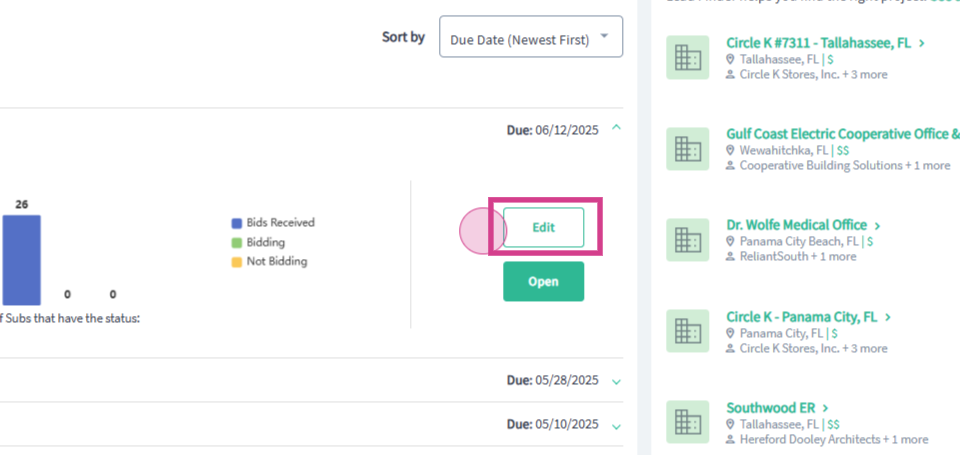
Step 7: Click on a project to expand the window for an overview of the project details.
Step 8: When the project window is expanded, click on Edit to update the project with additional information or documents.
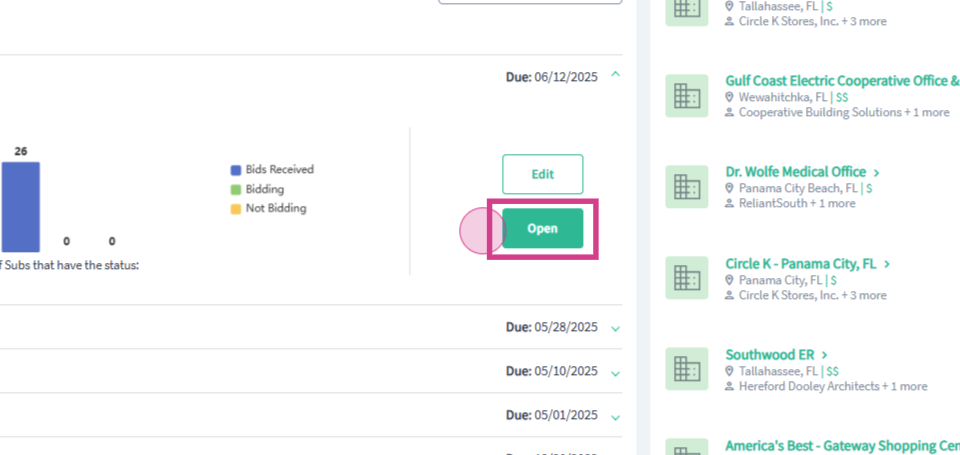
Step 9: When the project window is expanded, click on Open to navigate to the project details page for the project.
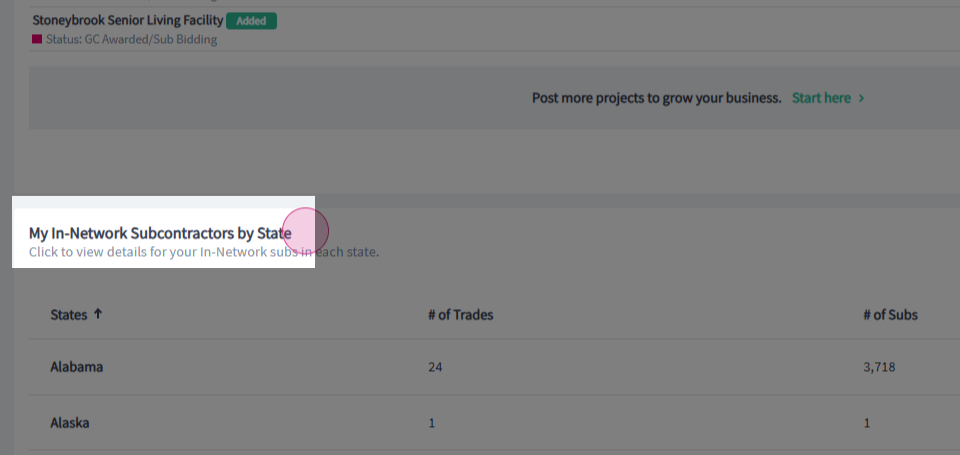
Step 10: To view your My In-Network Subcontractors by State, scroll down to the bottom of the Dashboard page.
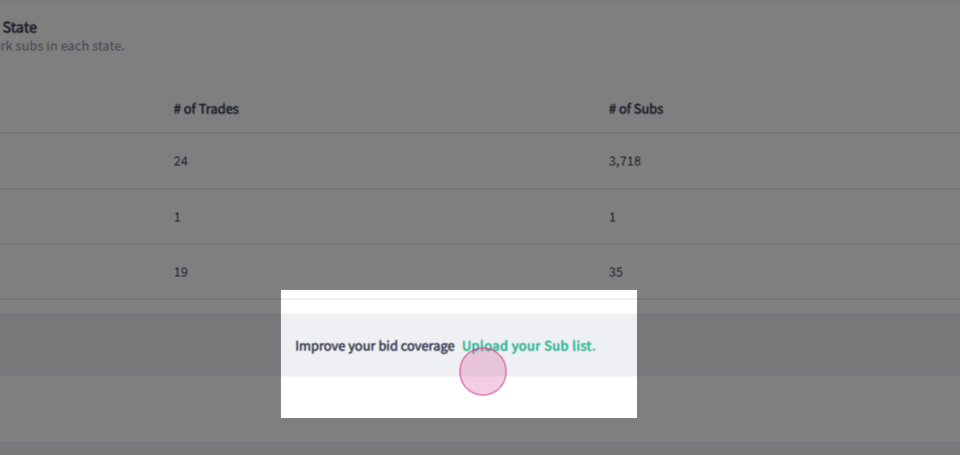
Step 11: View the # of trades within each state in the center column of the My In-Network Subcontractors by State section.
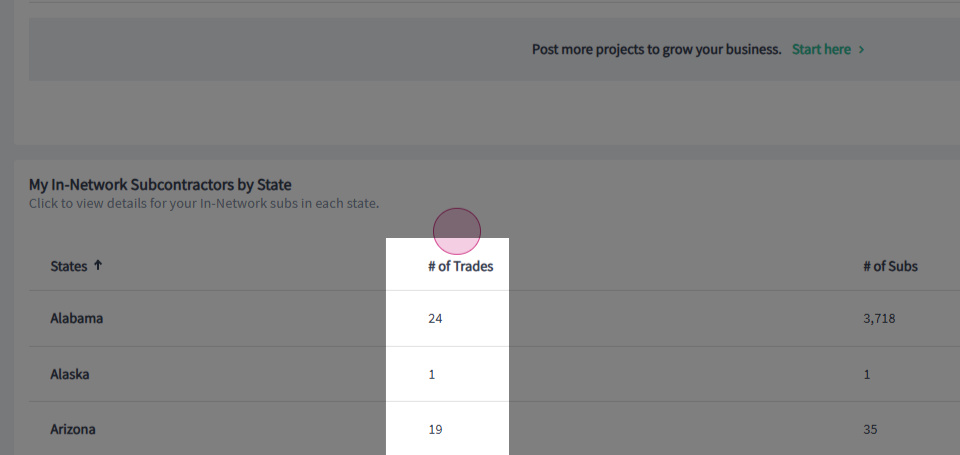
Step 12: View the # of Subs within each state in the next column of the My In-Network Subcontractors by State section.

Step 13: To view a further breakdown of the Subcontractors and Suppliers list by trades, click on View Breakdown in the last column.
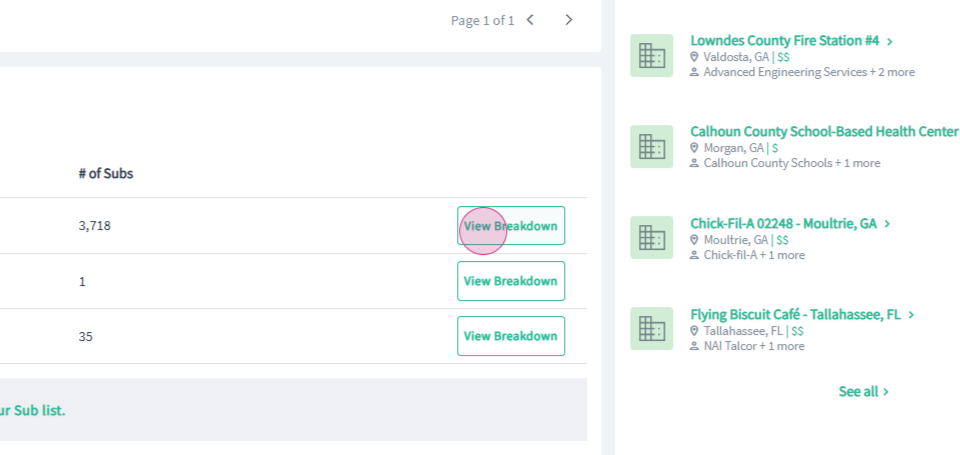
Step 14: Then, in the pop-up window, you can view the number of subcontractors and suppliers based on their trade type.
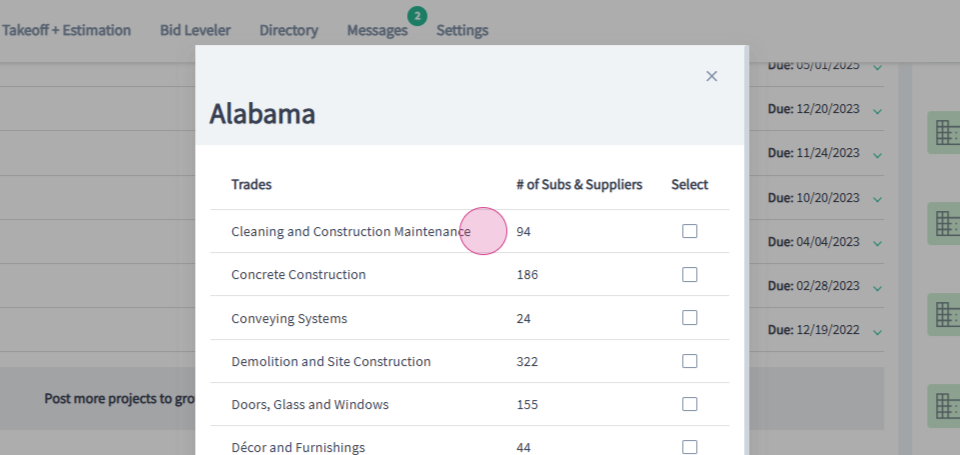
Step 15: Use the additional option to upload your subcontractors and suppliers list by clicking on Upload your Sub list located on the bottom of the Dashboard page.
Troubleshooting
Contact us if you need assistance or to report an issue:
- PlanHub Contact Page: https://planhub.com/contact/
- Customer Facing Support Ticket Link: https://knowledgebase.planhub.com/knowledge/kb-tickets/new
- Customer Success Team: CustomerSuccess@planhub.com