![NEW_PlanHub_Logo_Navy.png]](https://knowledgebase.planhub.com/hs-fs/hubfs/Design/PH%20Logos/NEW%202024%20PH%20Logos/NEW_PlanHub_Logo_Navy.png?height=40&name=NEW_PlanHub_Logo_Navy.png)
Prerequisite: Create a General Contractor planHub account. To access the advanced Bid Leveler tools, you will need to have a Premier Subscription. For more information about subscribing for a Premier General Contractor account, reach out to our team directly at: +1 (561) 916-3490 X 120 or send an email directly to sales@planhub.com.
Step 1: Log into your planHub General Contractor account.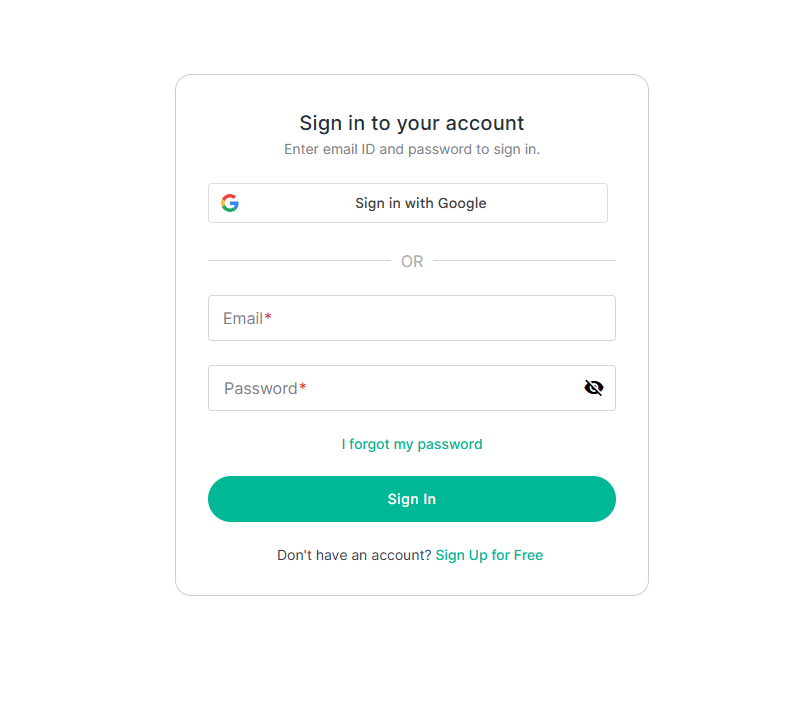
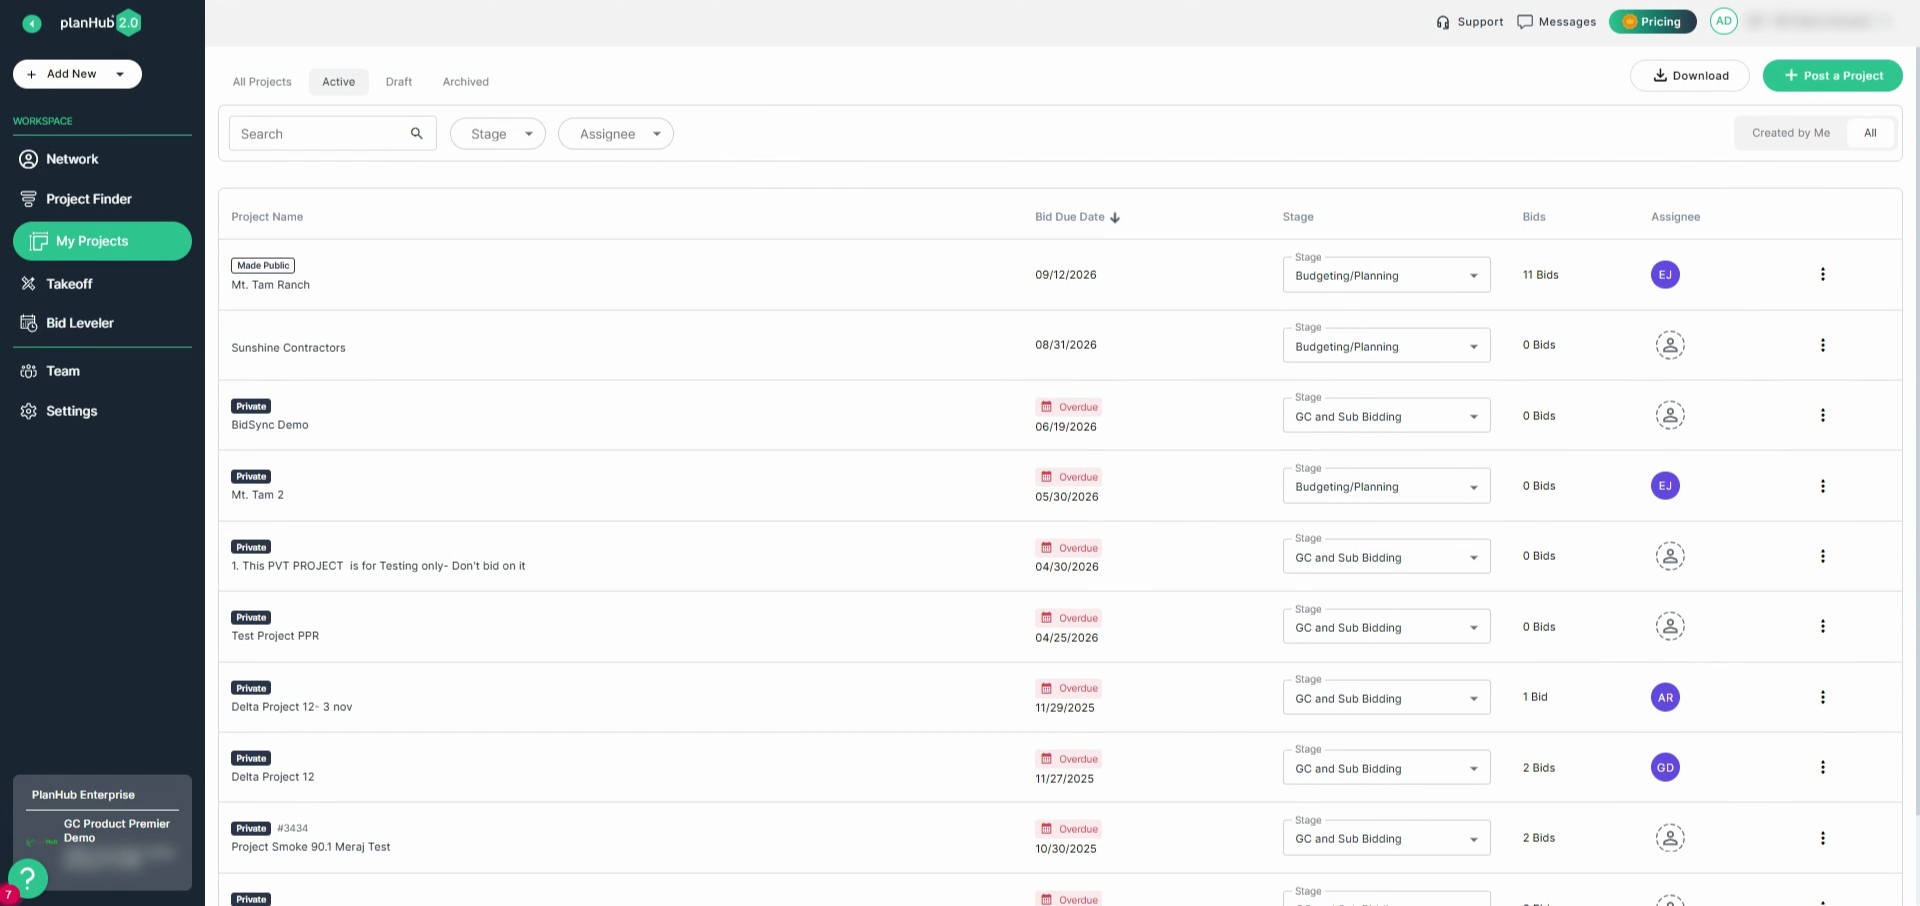
Step 2: In the left panel, select Bid Leveler.
Step 3: From the Project dropdown, choose the project you want to review.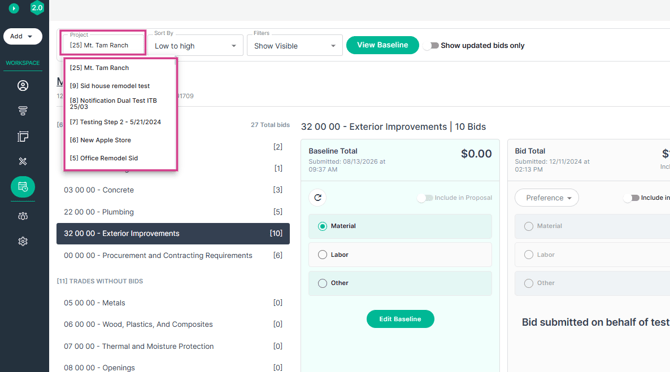
Step 4: Sort bids using options like newest, oldest, highest amount, or lowest. You can also sort by preference.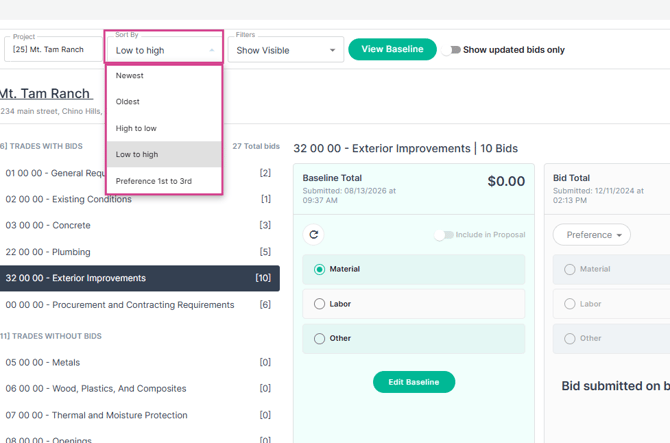
Step 5: Open the Filters dropdown to show or hide bids, view bids based on order you selected, or liked bids. If you have a Premier Subscription, you can also sort by bids you included in your proposal.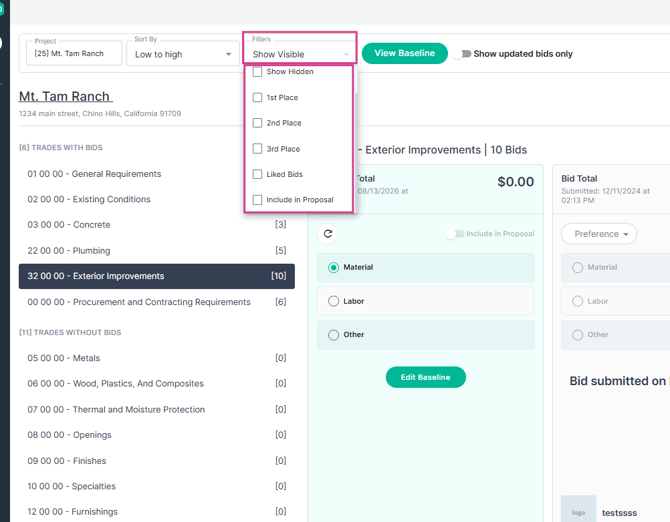
Important Note: If you have a Premier Subscription, you will have access to the advanced tools in Bid Leveler. Your subscription will include access to select and view a breakdown of each bid and the Baseline option which provides you with the ability to enter a budget for each specific trade. You will also gain access to the View my proposal option which provides you with an overall view of selected bids you include in your proposal that can be exported into an Excel spreadsheet or as a PDF file.
Step 6: Click on the View Baseline button to enter expected cost items by trade or use it as a budgeting reference and guide for subcontractors.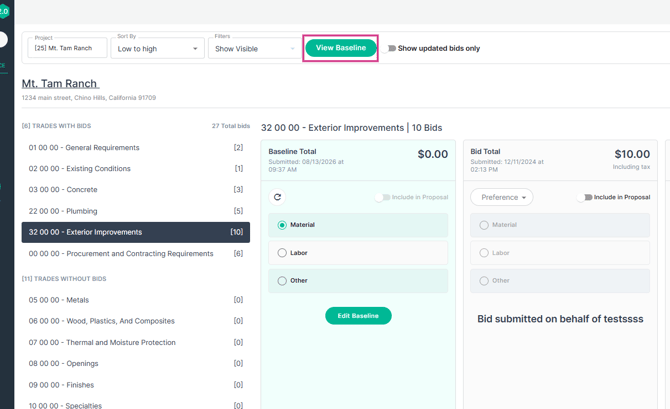
Step 7: On the baseline page, click the select trades drop down menu then click Add to add trades.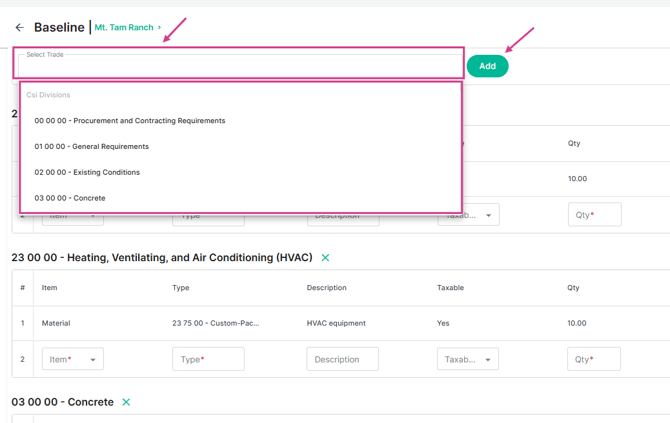
Step 8: Enter items in each row for each trade required for the project. Click the plus sign to save each item, or use the roundabout arrow to clear the line item.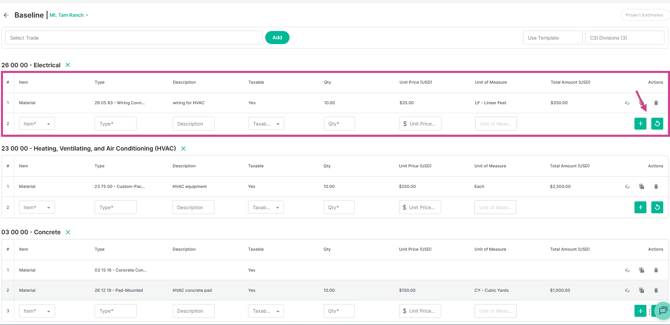
Step 9: Manage each baseline item within the actions column. You can edit, copy, or delete line items.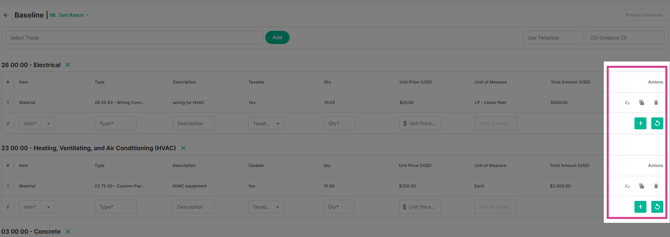
Step 10: Save your entries as a template using the Save to Template option.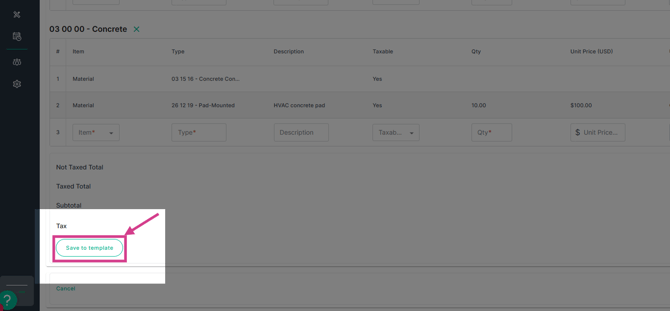
Step 11: Access your saved templates from the Use Template dropdown at the top right. Select a template to quickly apply it.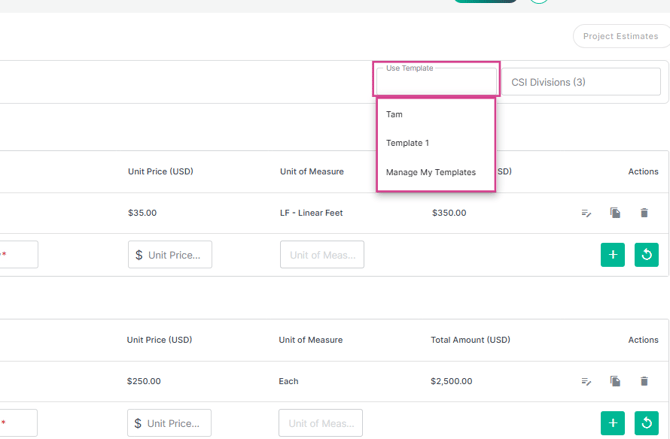
Step 12: In the bottom right corner, share the template with subcontractors or click Save.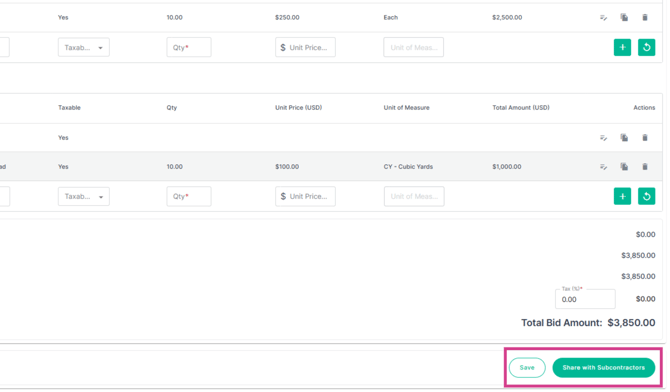
Step 13: Return to the main page by clicking the Back button in the top left corner. 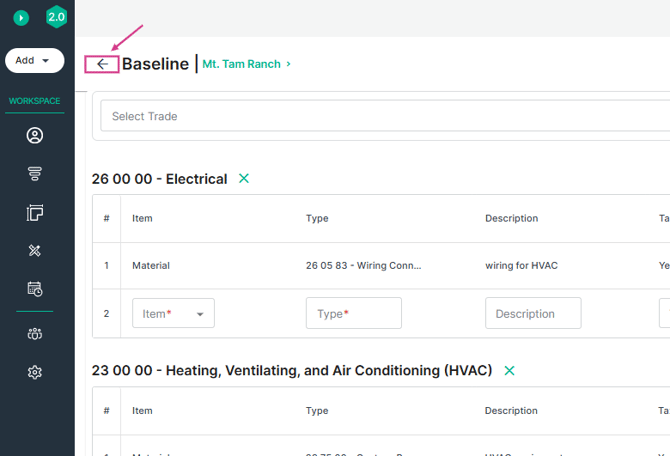
Step 14: The first entry is your baseline total. Bids from subcontractors are listed subsequently.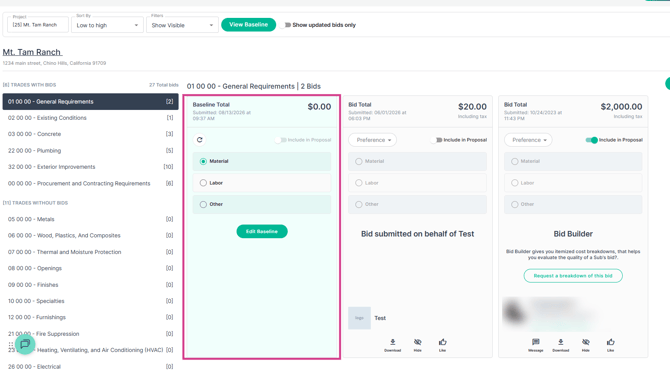
Step 15: At the bottom of each bid card, download, hide, or like a bid. You may also see the option to message a subcontractor.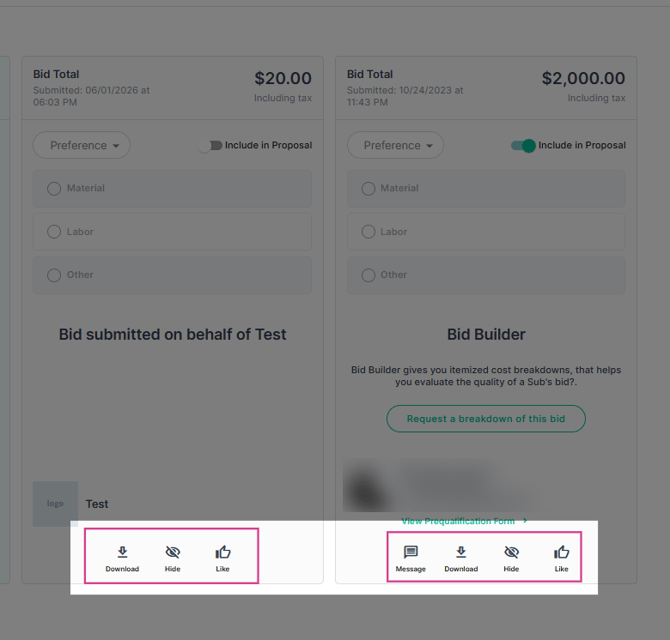
Step 16: At the top of each bid card, set your order of preference using the dropdown.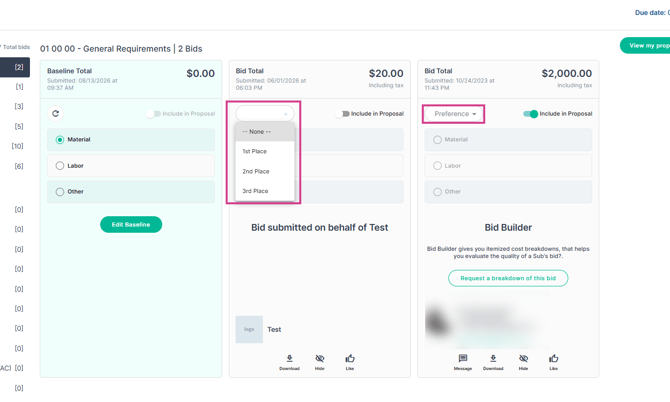
Step 17: Toggle on the option to include in proposal. 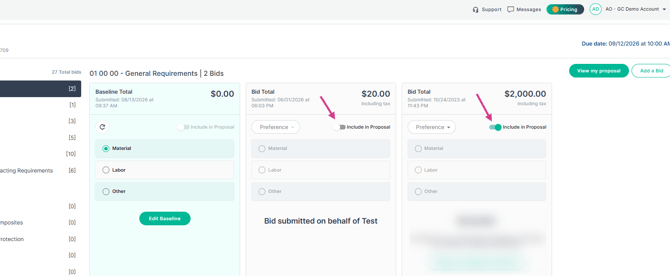
Step 18: Click on each trade to review all bids received. 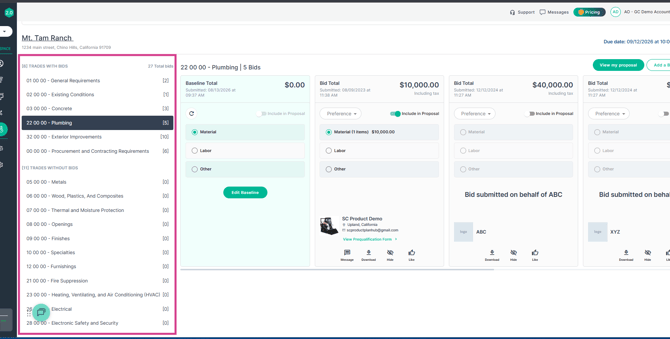
Step 19: Review each trade and its bids to decide which to include in your proposal. Then, toggle on the option for each bid you want to include in your proposal pertaining to each trade listed in the left column.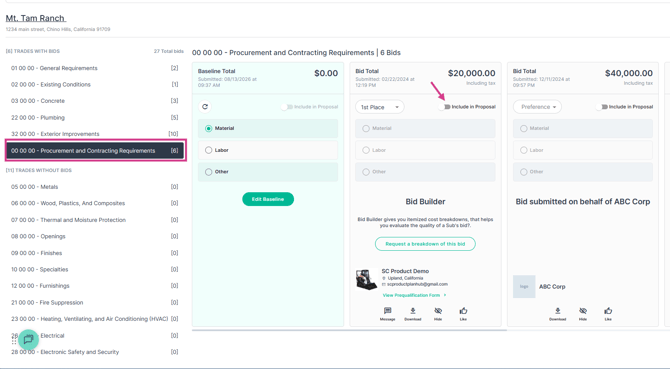
Step 20: You can upload bids that you have received outside of planHub. To add a bid received outside of your planHub account, select Add a Bid.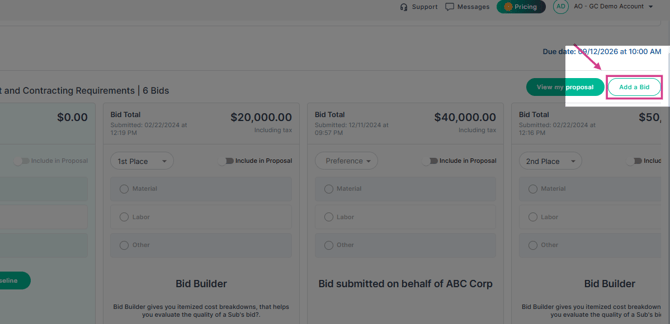
Step 21: In the pop up window, choose the trade, enter the base bid amount, their company name, and upload supporting documents. Click Save when finished.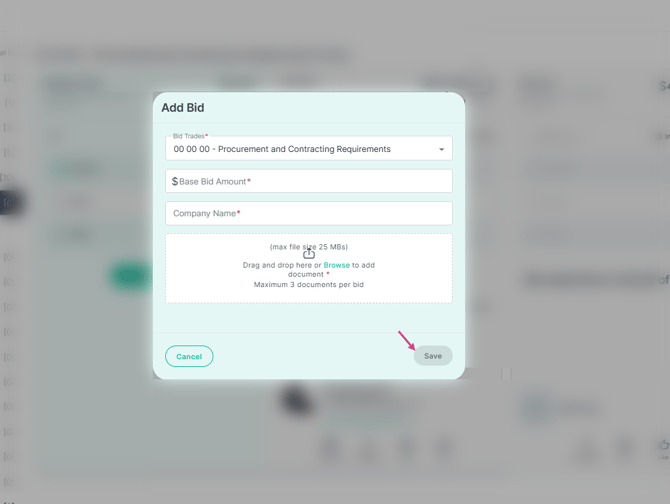
Working With Proposals
Step 1: To view your complete proposal, click View My Proposal in the top right corner.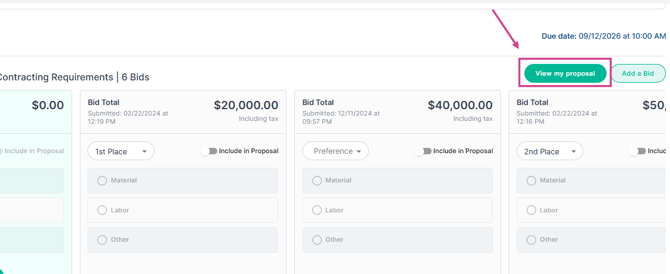
Step 2: See all selected bids with a running total at the bottom.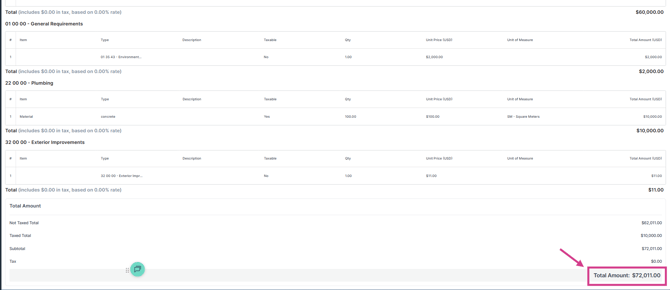
By utilizing the Bid Leveler to compare bids side by side, you can effectively evaluate, manage, and submit competitive bids for each of your projects.
Troubleshooting
Contact us if you need assistance or to report an issue:
- PlanHub Contact Page: https://planhub.com/contact/
- Customer Facing Support Ticket Link: https://knowledgebase.planhub.com/knowledge/kb-tickets/new
- Customer Success Team: CustomerSuccess@planhub.com