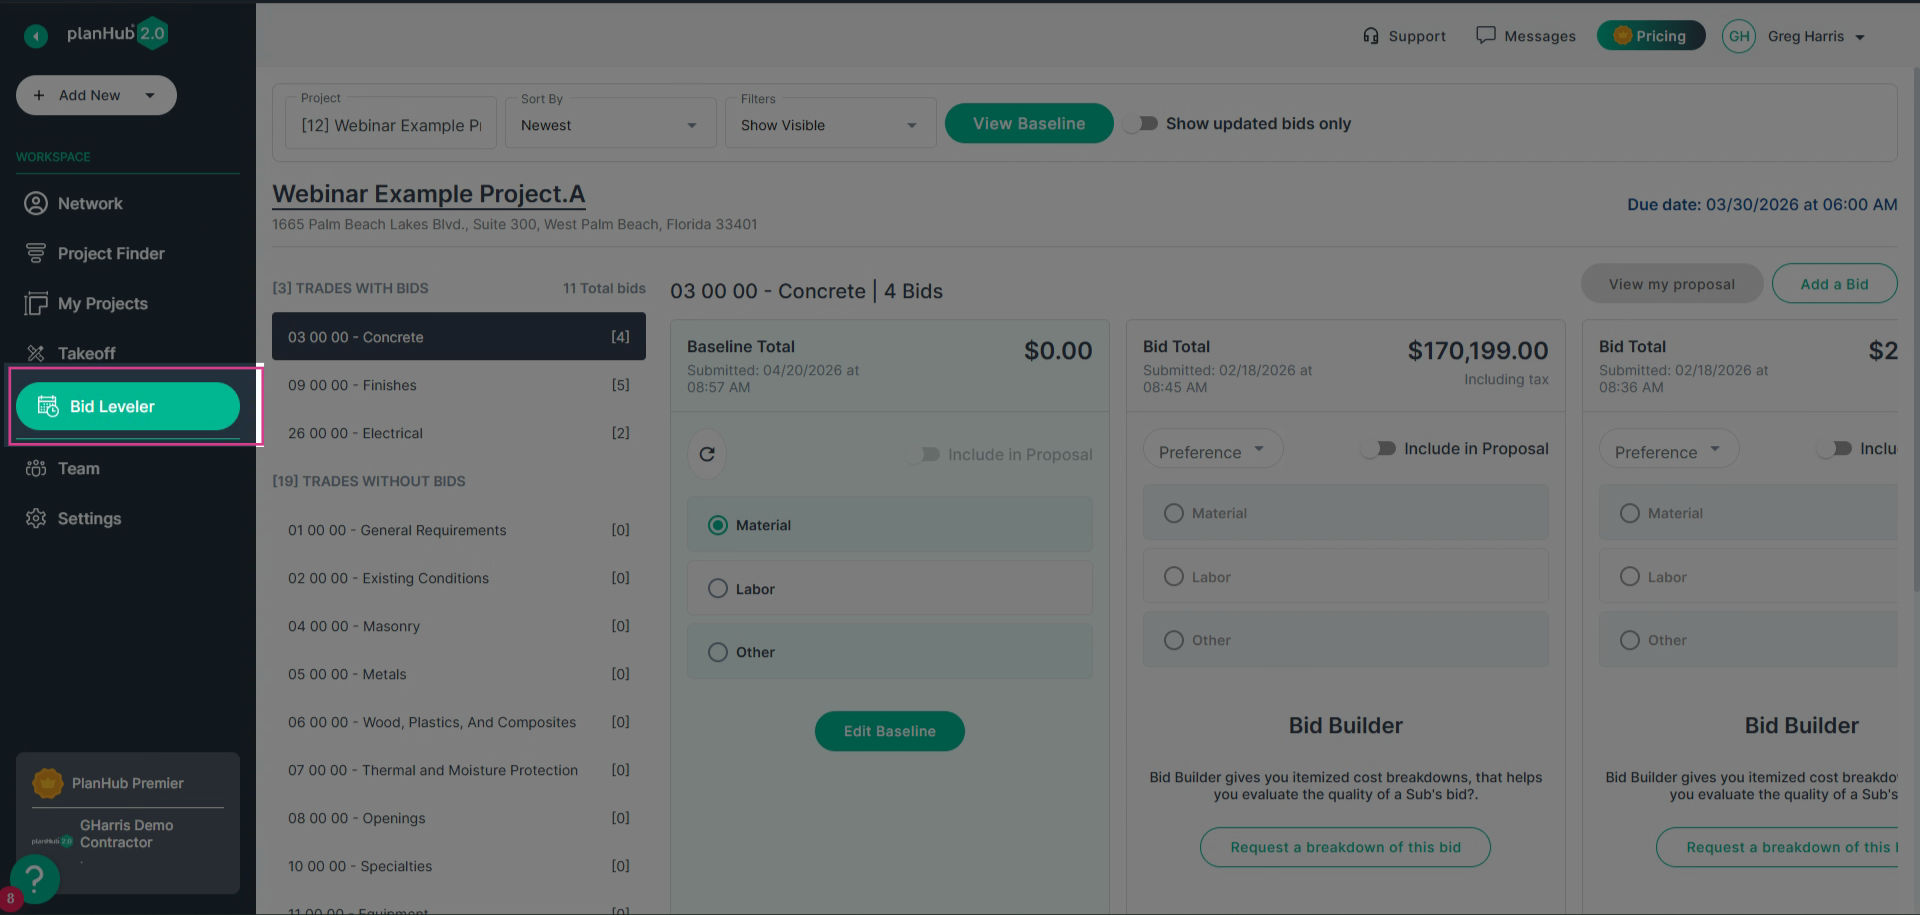
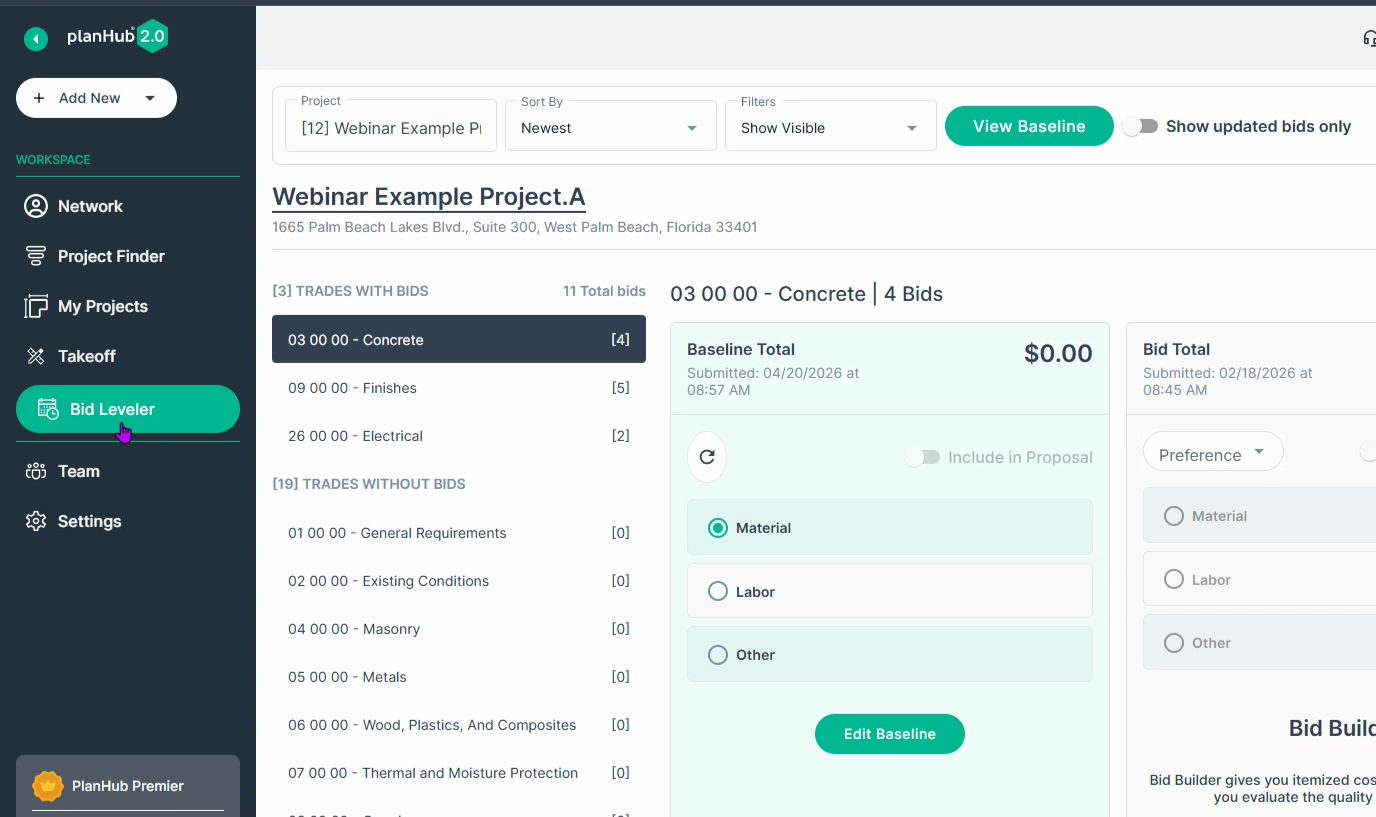
Step 1: Click the Bid Level option in the main navigation panel on the left side of your screen.
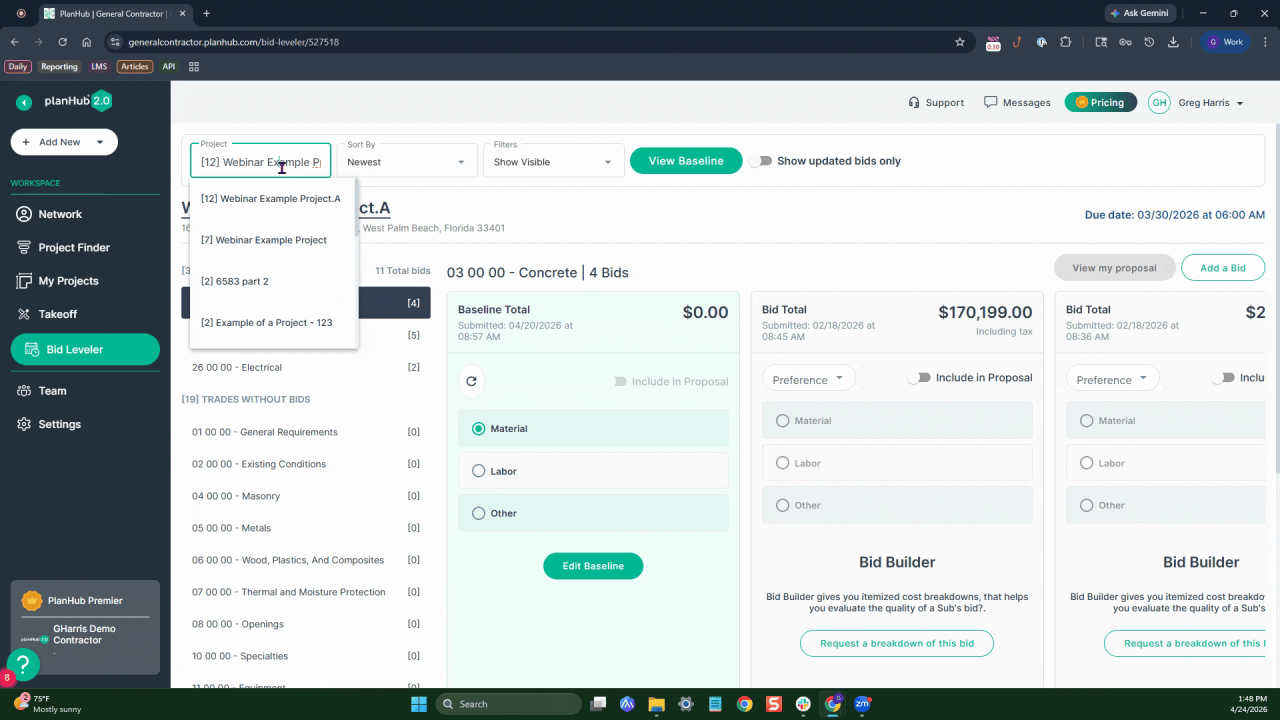
Step 2: On the Bid Level page, confirm you're viewing the correct project.
Step 3: Use the project dropdown menu to select the project you want to review.
Step 4: In the main Bid Leveler view, browse the list of bids submitted by subcontractors.
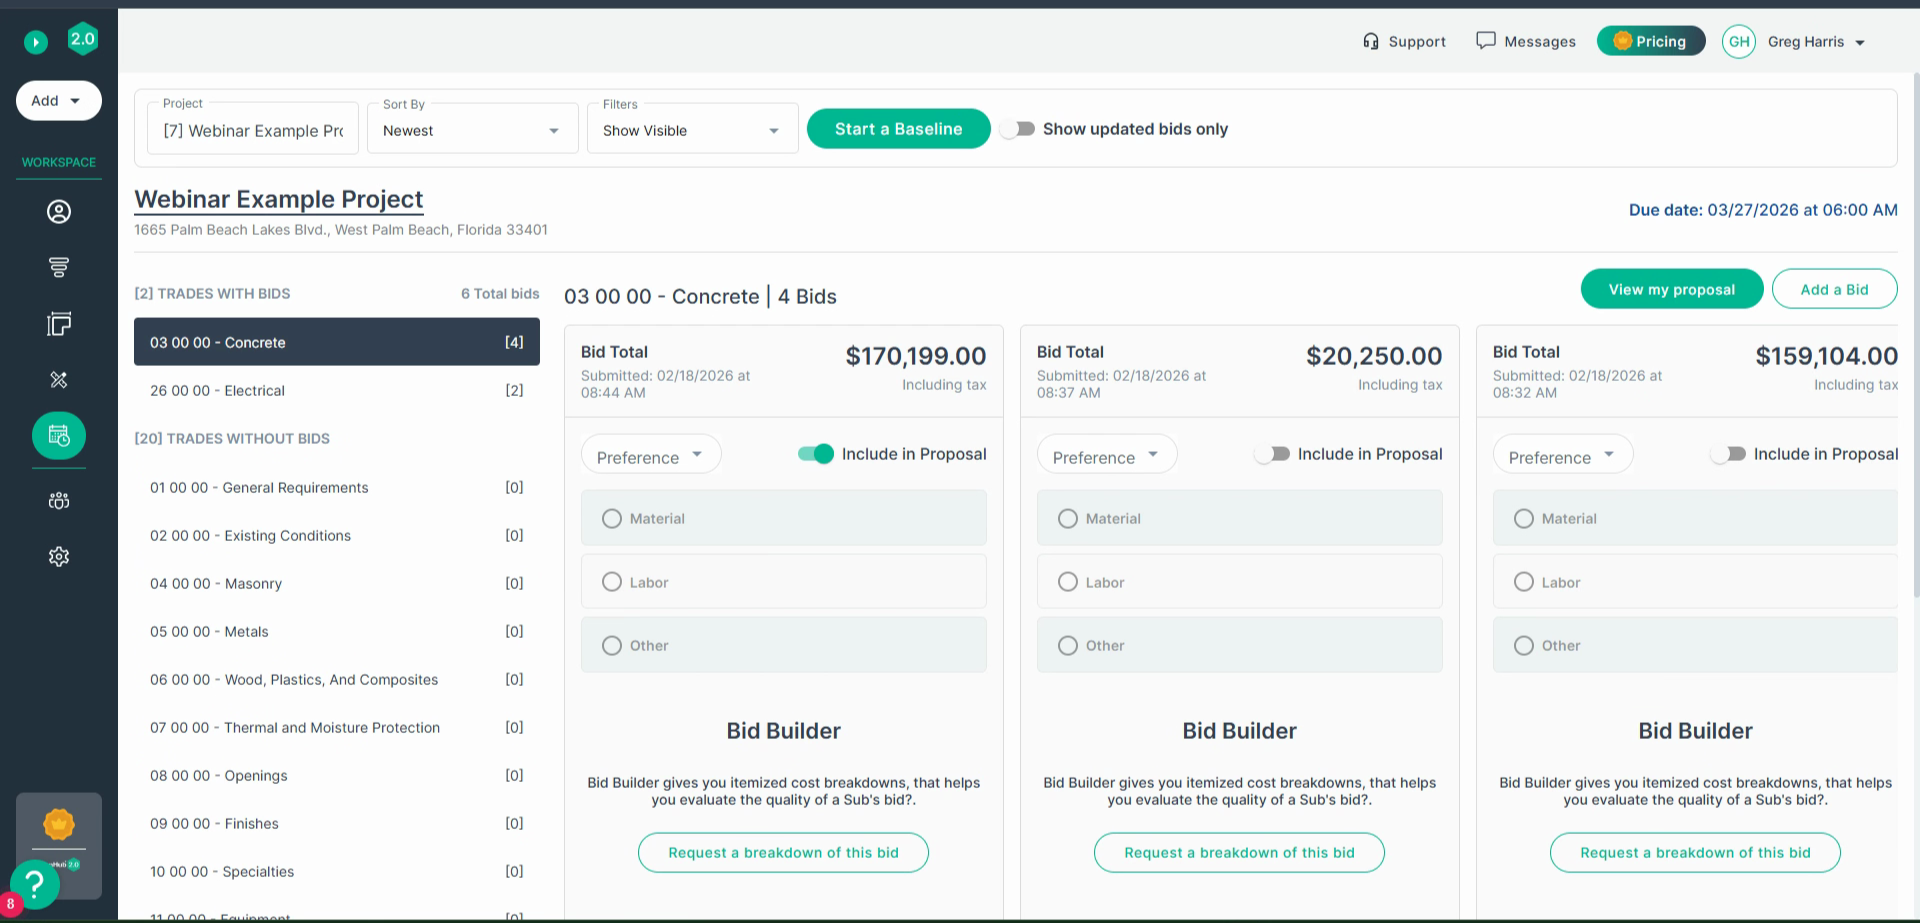
Step 5: Each bid card includes several action buttons at the bottom.

-
Message the subcontractor
-
Download the bid
-
Hide the bid from your view
-
Like the bid to indicate it's under consideration (your team will see this, but the subcontractor won't)
Step 6: Set preferences for individual bids using the drop-down menu on the bid card.
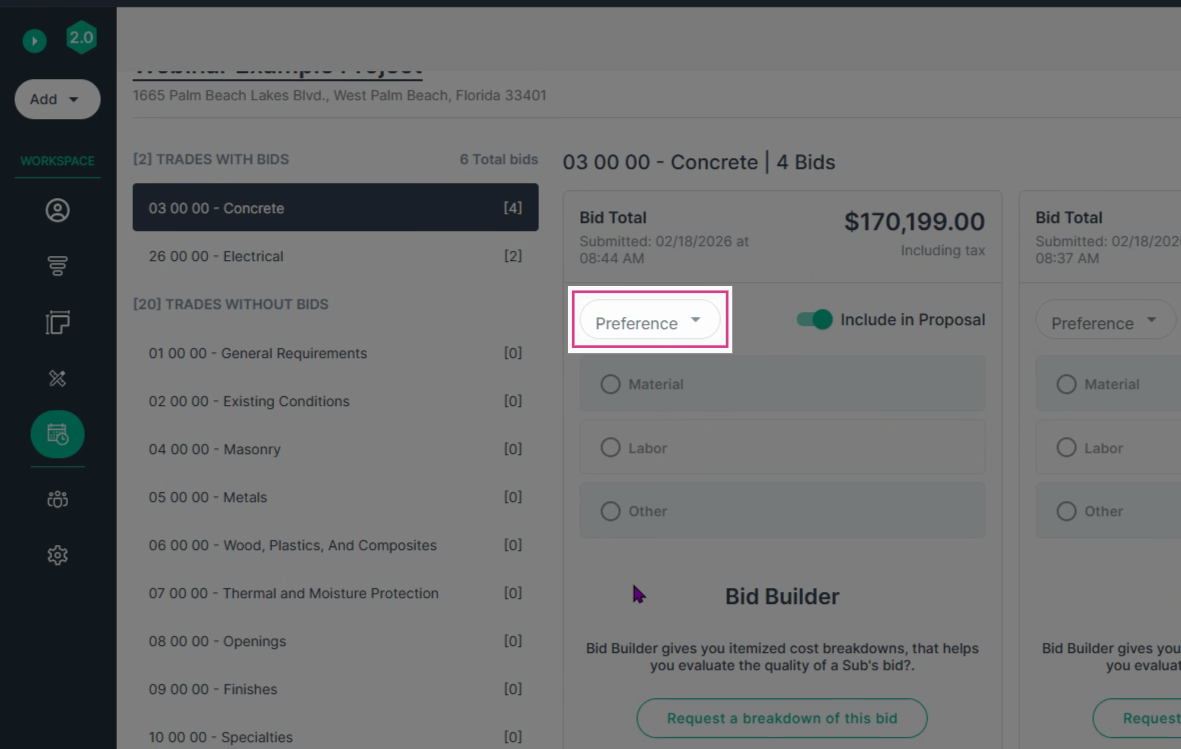
Step 7: Assign a rank to the bid directly from this menu.

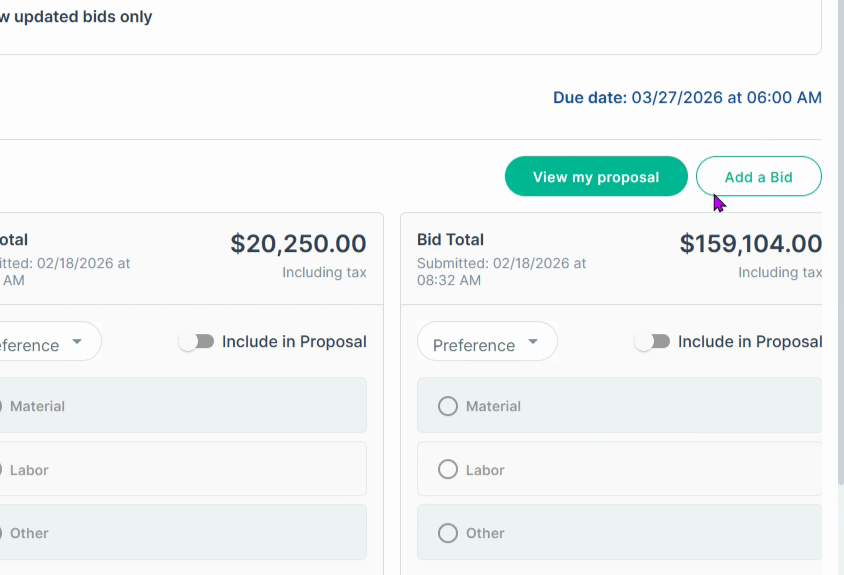
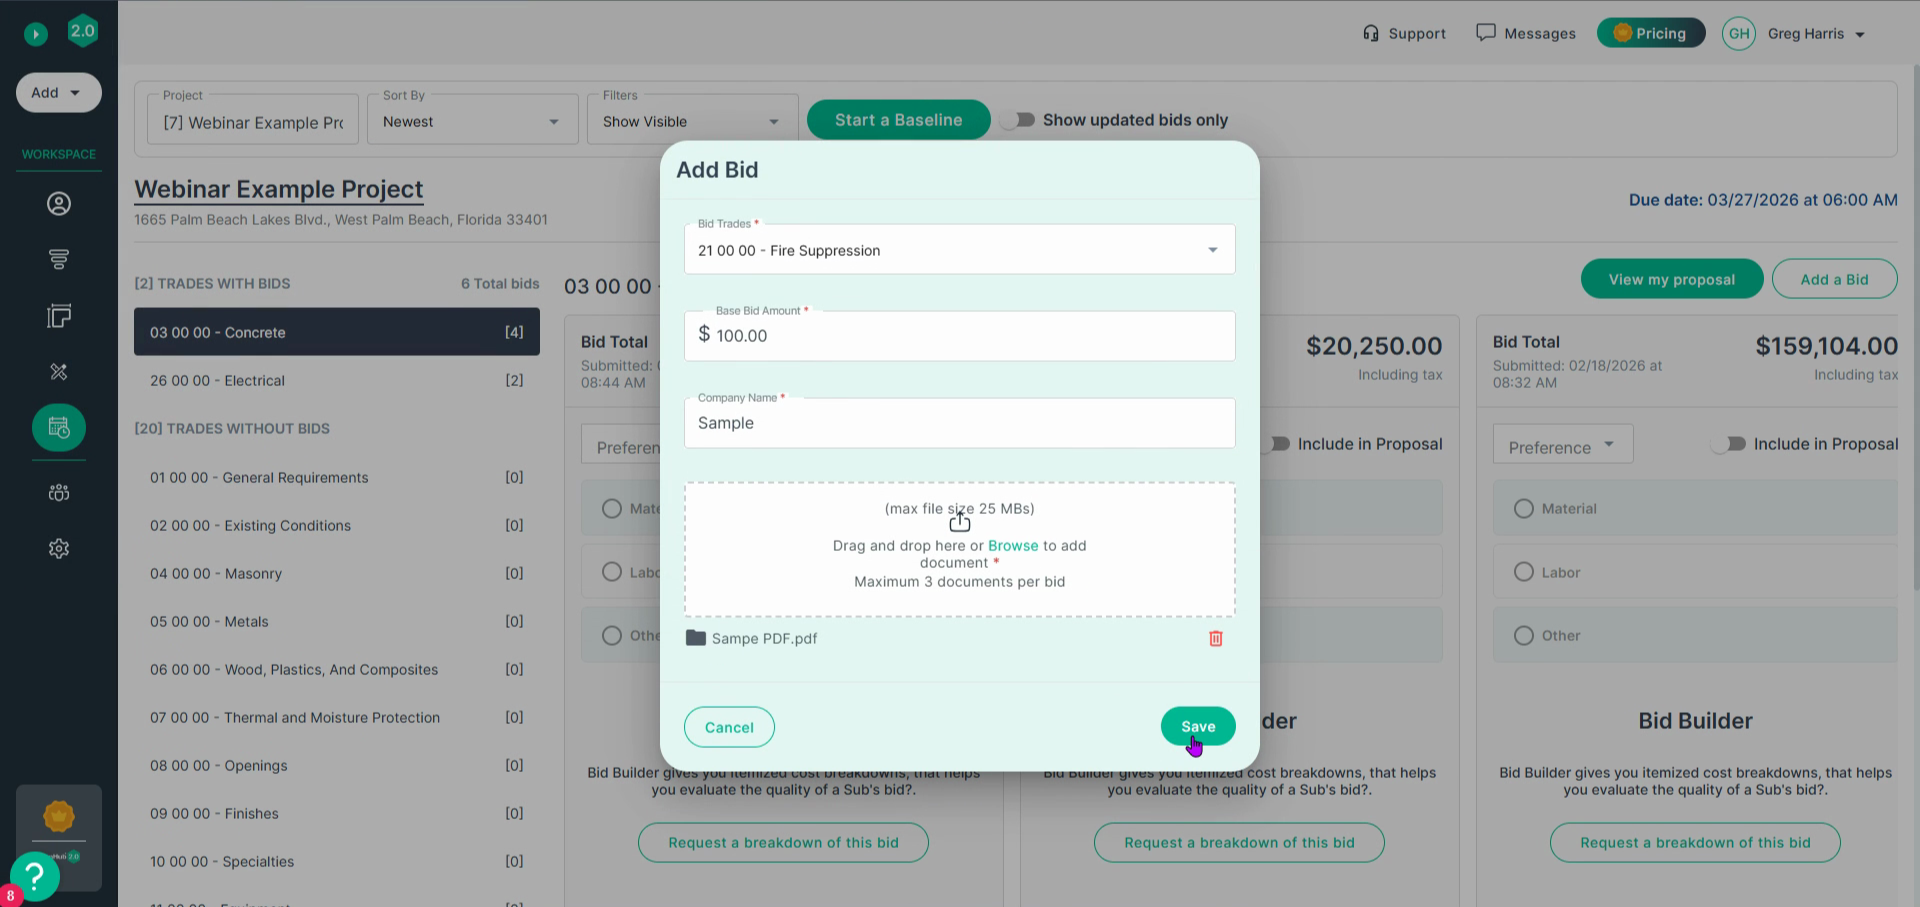
Step 8: To include bids from outside PlanHub, select the Add a Bid button in the upper right corner.
Step 9: Choose the relevant Trade for the bid.
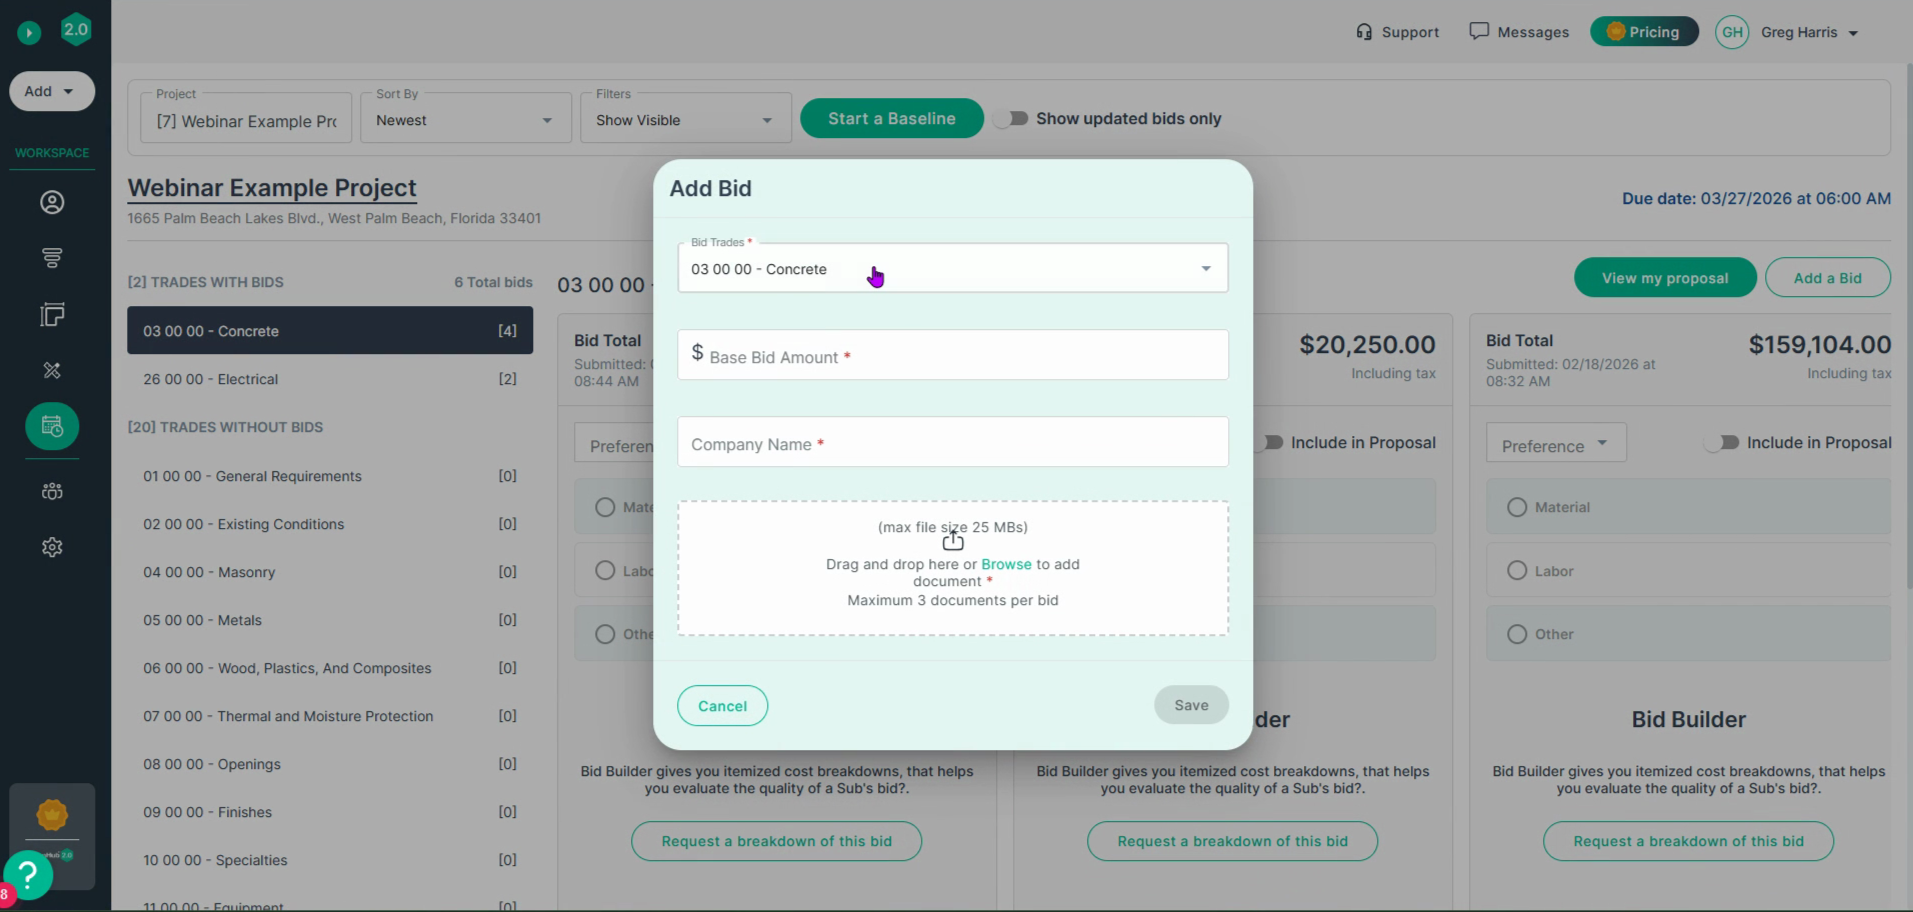

Step 10: Enter the Base Bid Amount in the input field.

Step 11: Add the Company Name, then drag and drop or browse to upload the bid file.
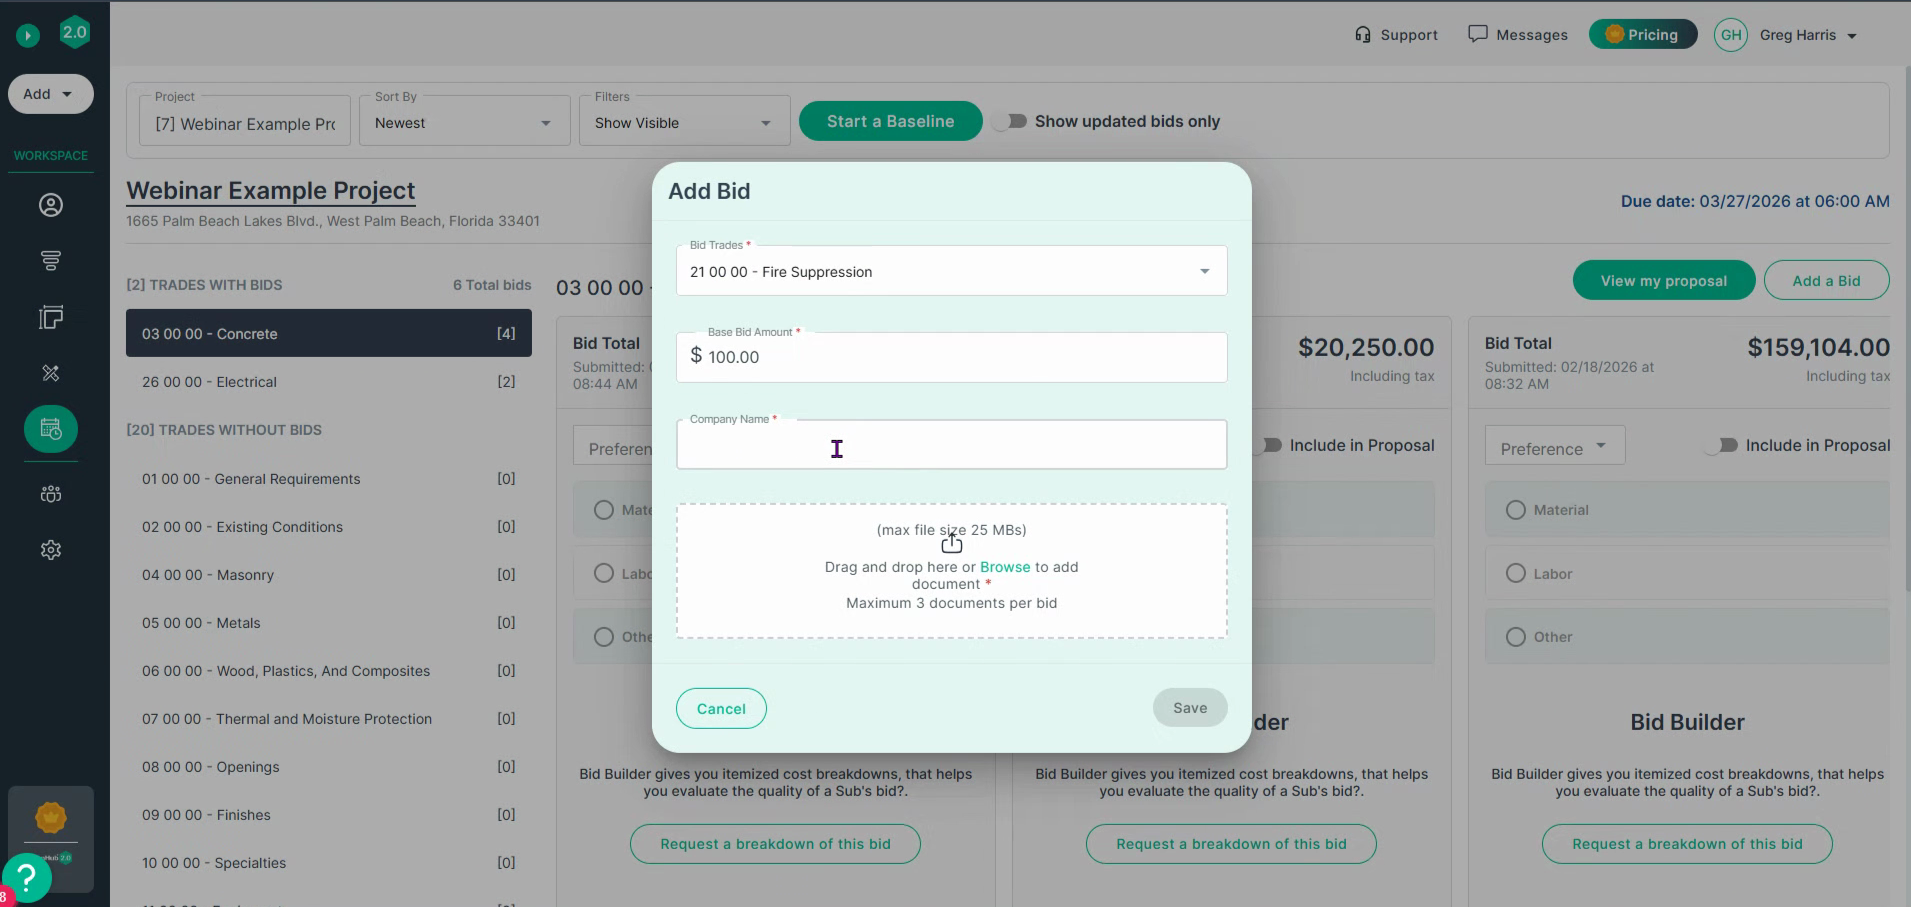
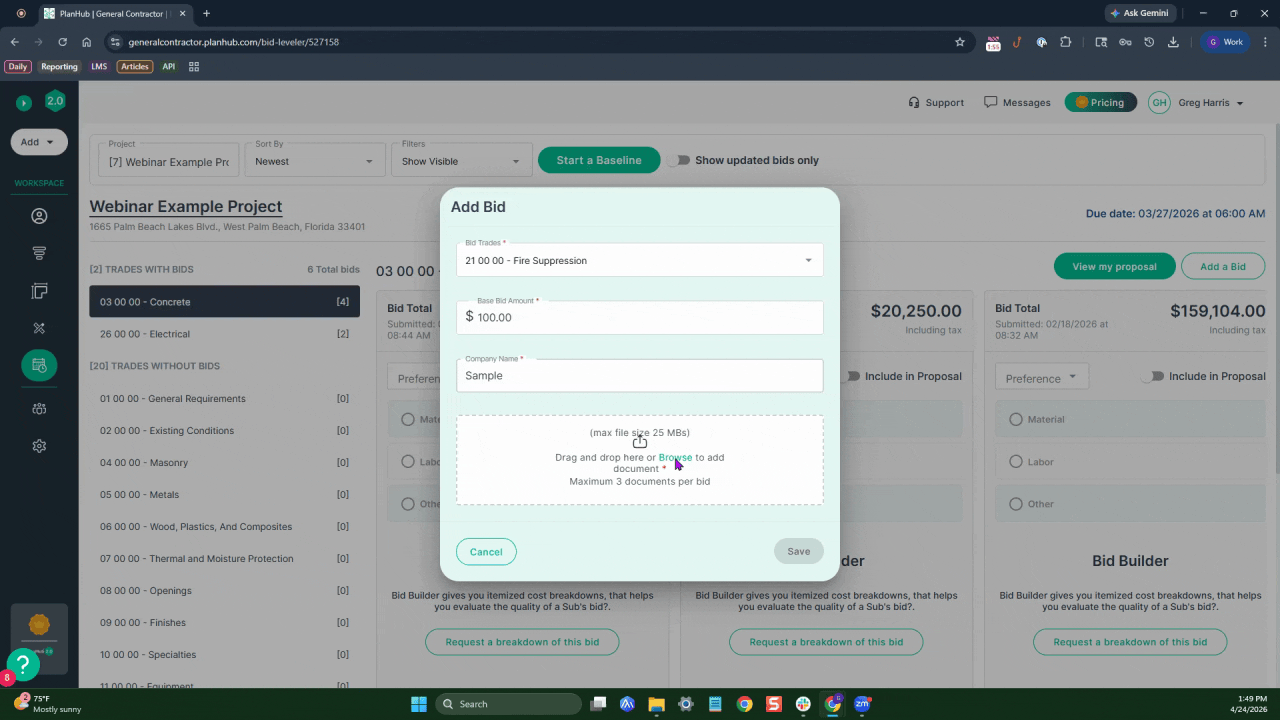
Step 12: Once the file is uploaded, click Save to add the new bid to your project.
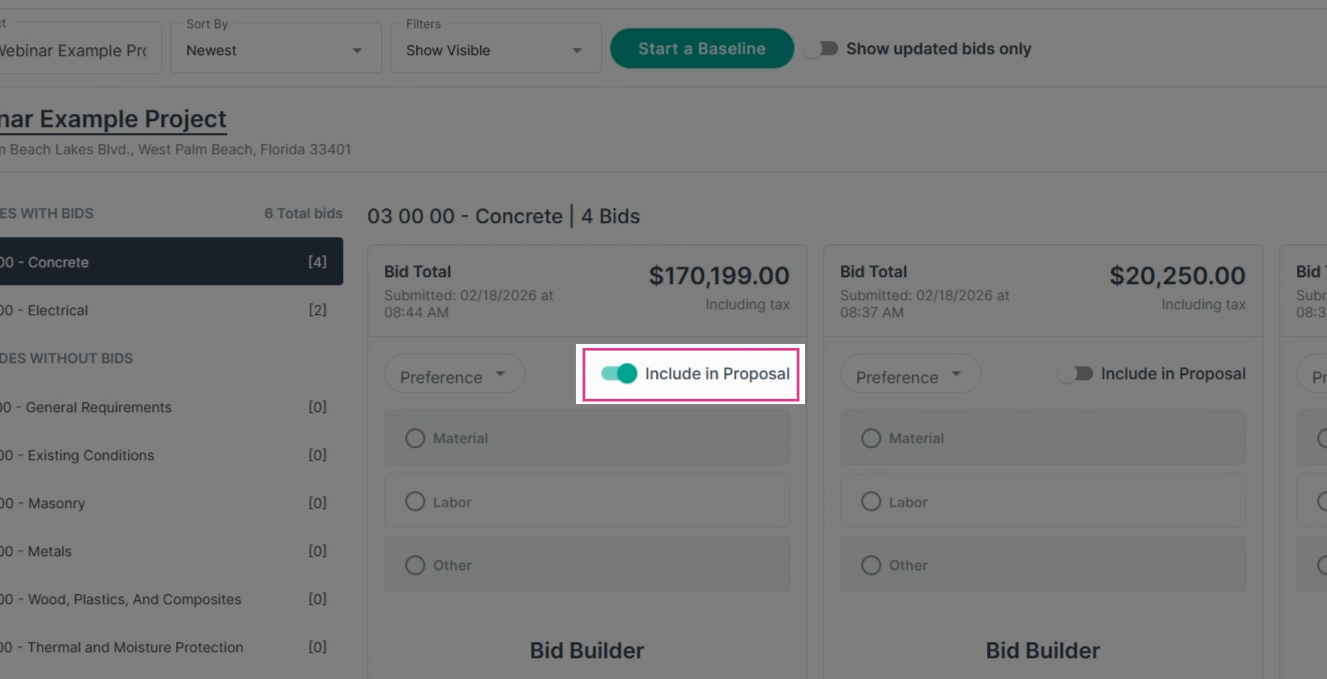
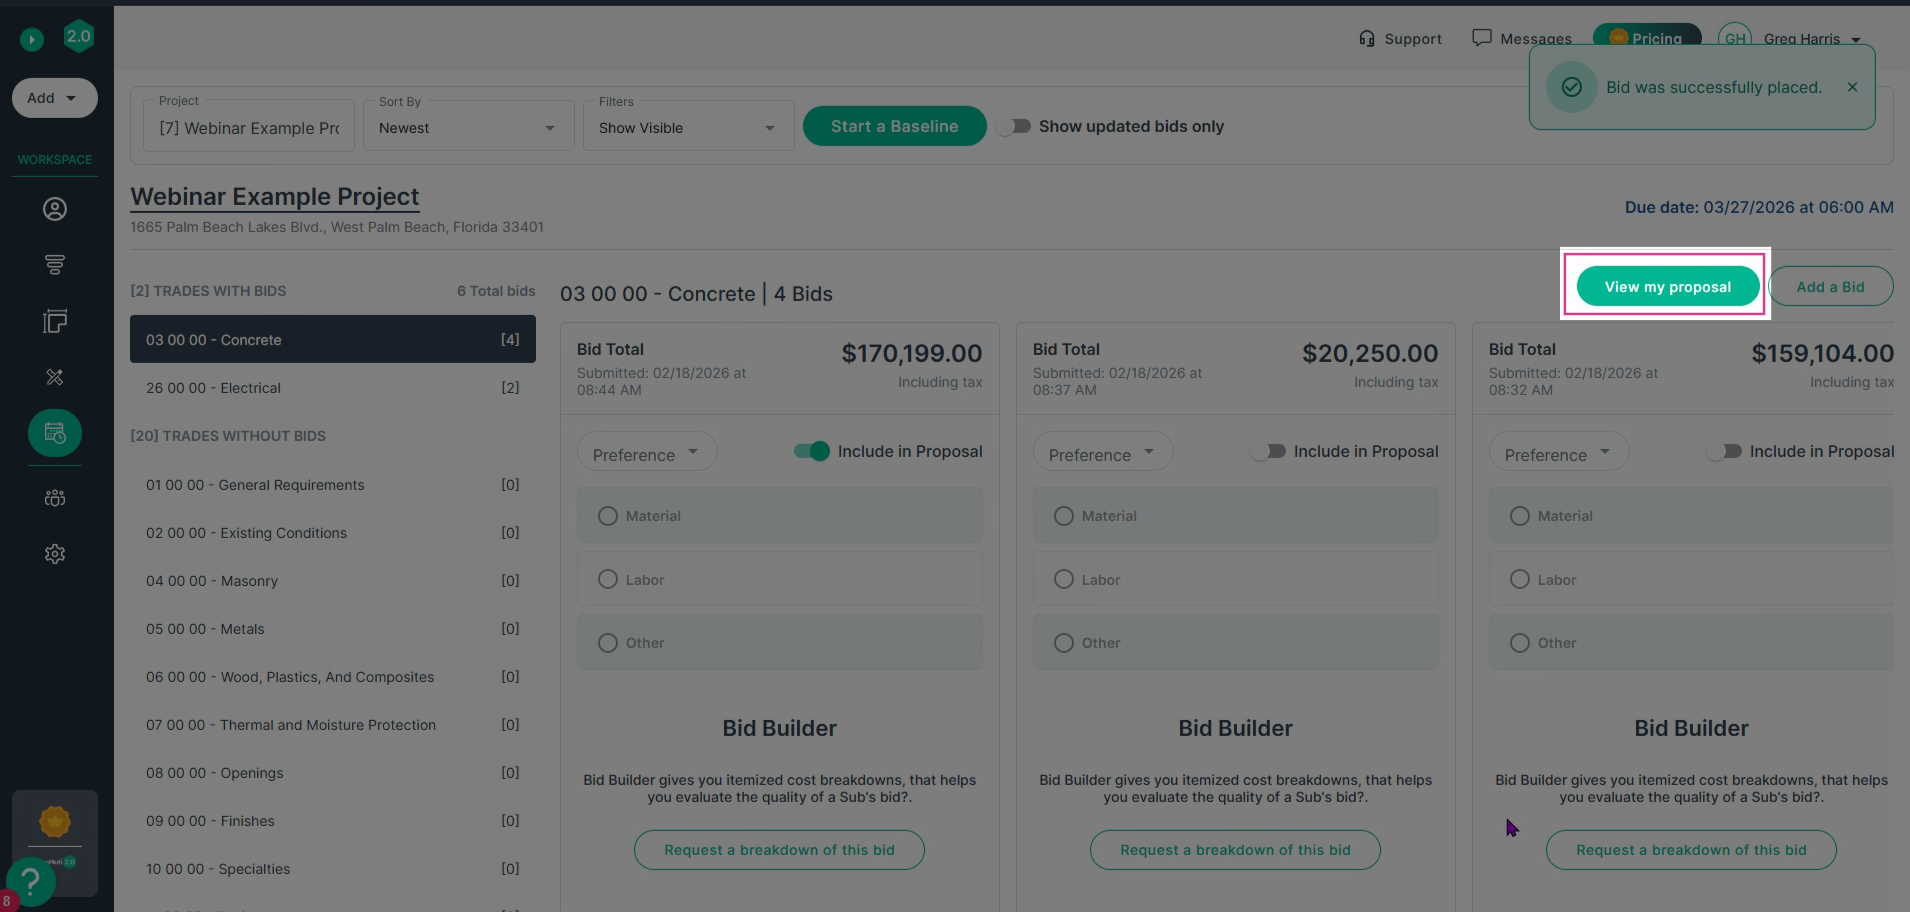
Step 13: Click Include in Proposal on any bid card to add it to your project proposal.
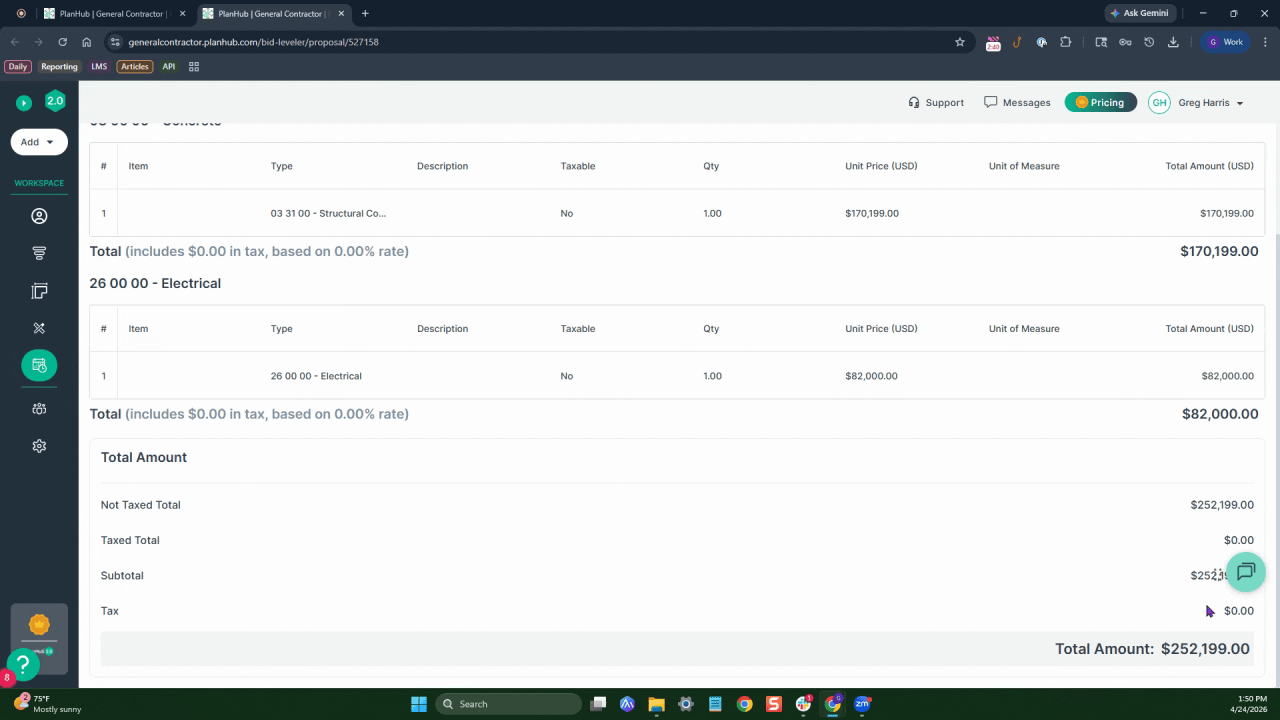
Step 14: To review your selections, click the green View My Proposal box in the upper right. This will show all included bids and a running total for your proposal.
Step 15: The proposal total amount is in the lower right hand corner.
Reviewing and comparing bids with the Bid Leveler helps you make faster, more informed decisions and keeps your team organized throughout the bidding process. Happy leveling!