![NEW_PlanHub_Logo_Navy.png]](https://knowledgebase.planhub.com/hs-fs/hubfs/Design/PH%20Logos/NEW%202024%20PH%20Logos/NEW_PlanHub_Logo_Navy.png?height=40&name=NEW_PlanHub_Logo_Navy.png)
Project Overview and Header Tools
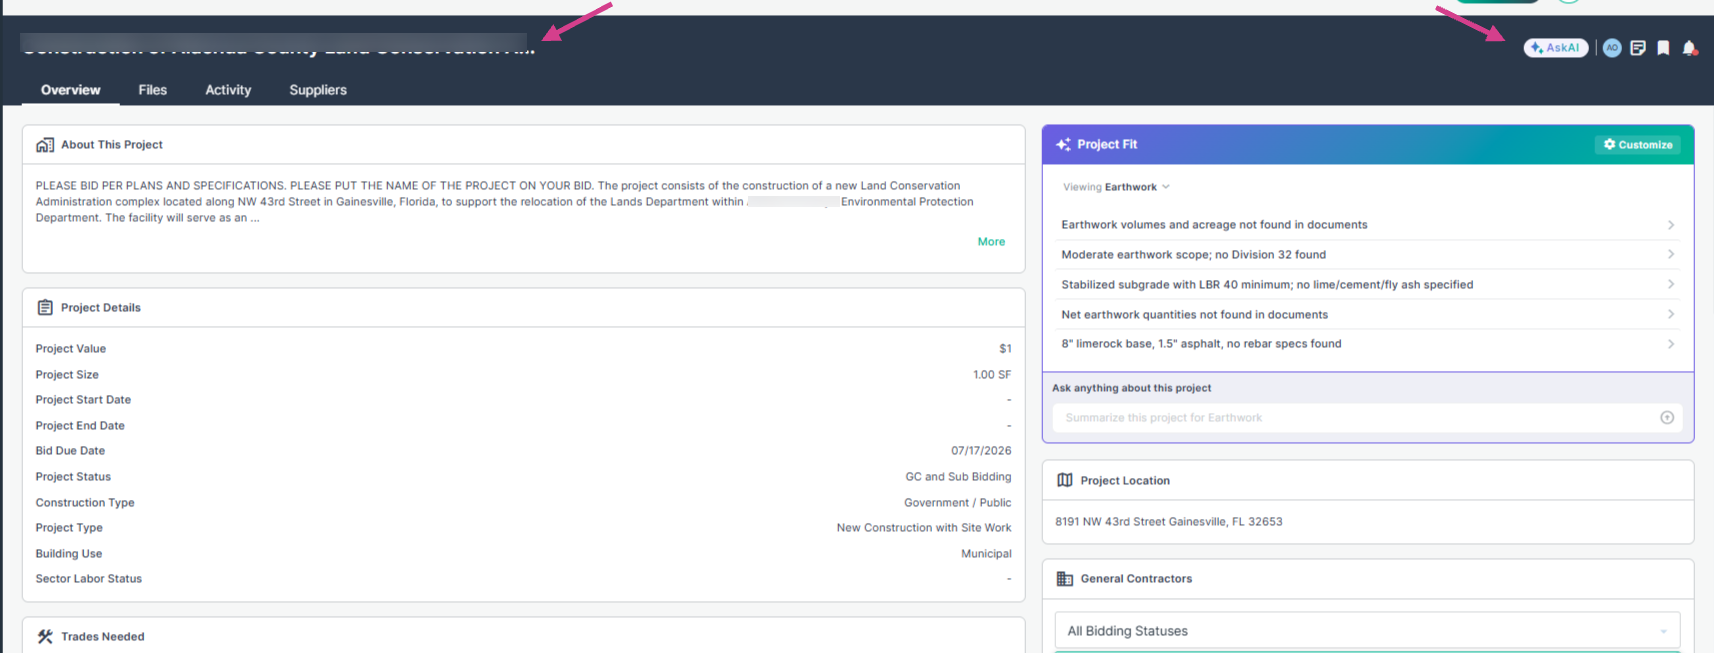
Step 1: View the project header at the top. You’ll see the project name on the left, and essential tools on the right—like Ask AI, Assign to Team Member, sharing Notes, Save to Bid Board, and project updates for this specific project.
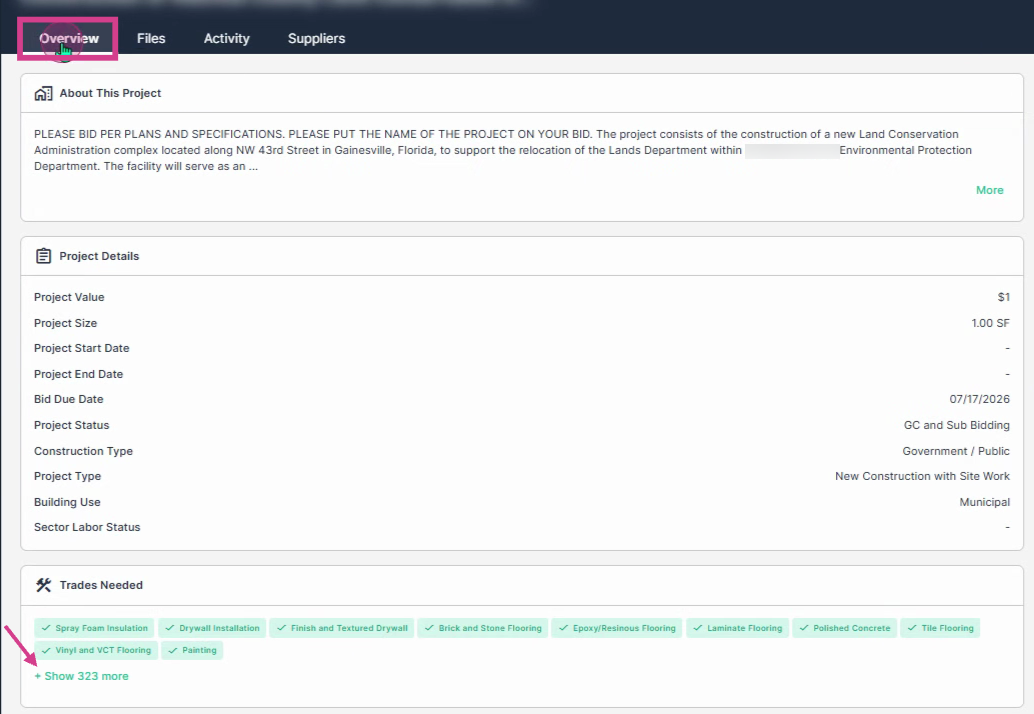
Step 2: Use the Overview tab on the upper left side. Below, you’ll see project information, details about the project and trades needed. If you see "show more," click to expand the list.
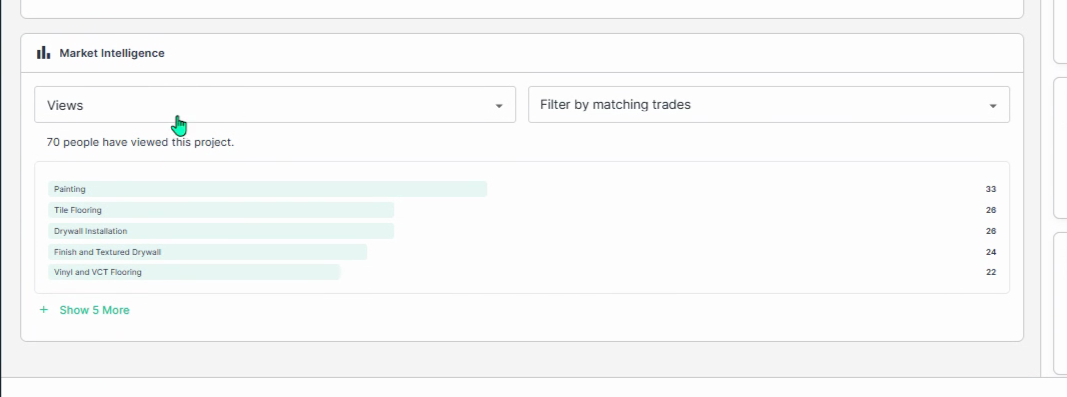
Step 3: Review market intelligence below. This shows how many subcontractors and suppliers have viewed the project, downloaded plans, saved the project and submitted bids. Use the right drop down menu to filter by matching trades.
Project Bid and AI Assistance
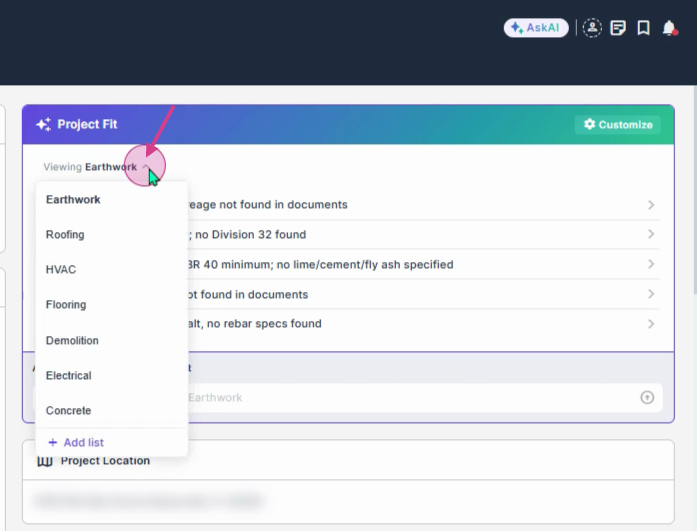
Step 1: On the right side, use the Project Fit AI drop-down menu to select your trade.
Step 2: Choose one of the preset questions or type your own in the input field to ask about the project.
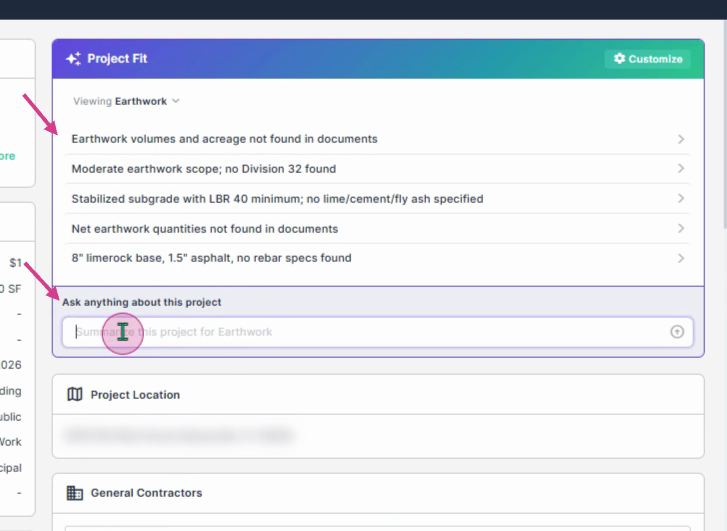
Location and General Contractors
Step 1: View the project location displayed.
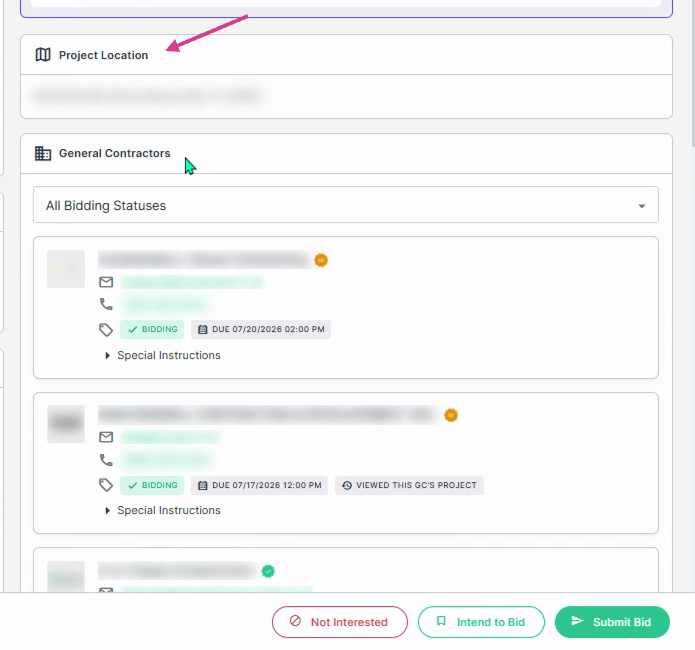
Step 2: See the list of general contractors involved.
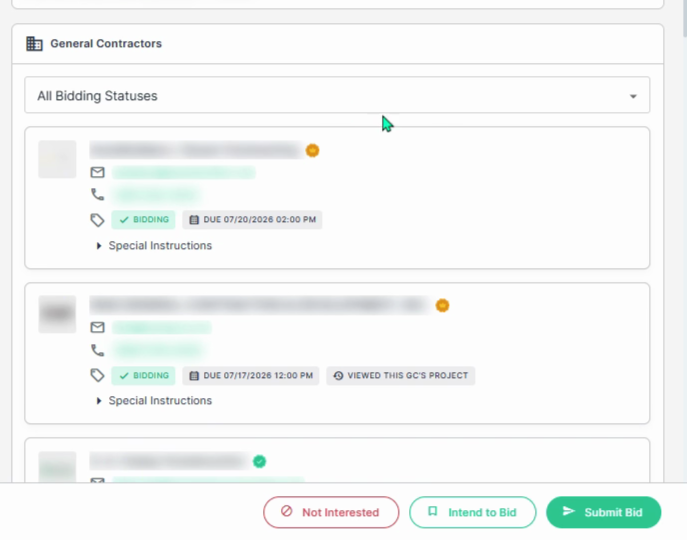
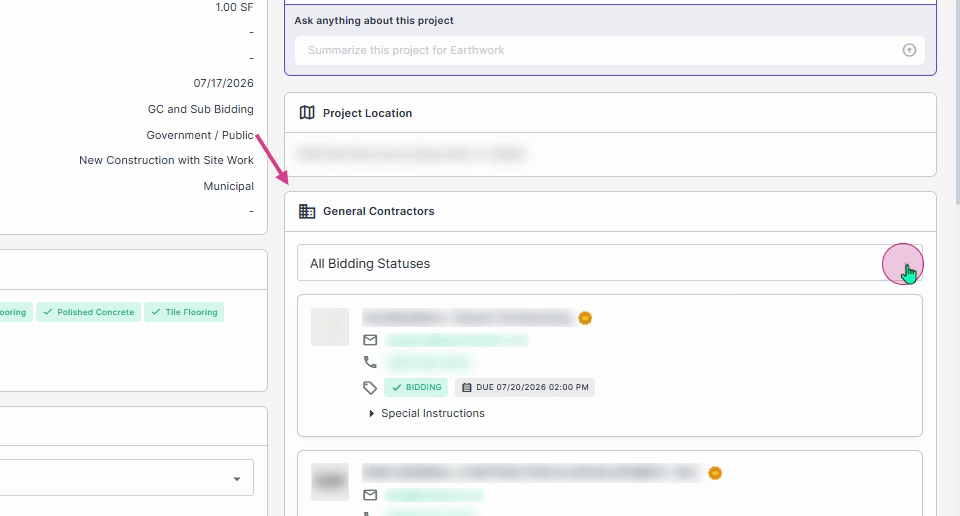
Step 3: Use the drop-down menu to select the current bidding status for the general contractors you want to review or interact with.
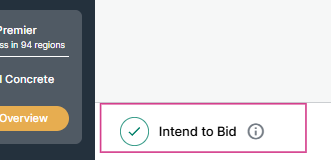
Step 4: Choose if you’re not interested, intend to bid, or submit your bid. Your bid and status selections will appear on the side; click Edit to update them if needed.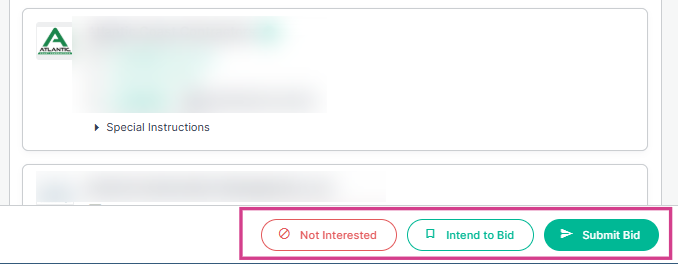
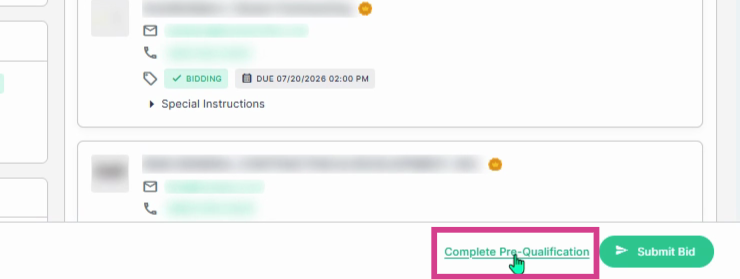
Step 5: If you need to complete your prequalification form, click where prompted and you'll be taken to the form page.
Managing Project Files
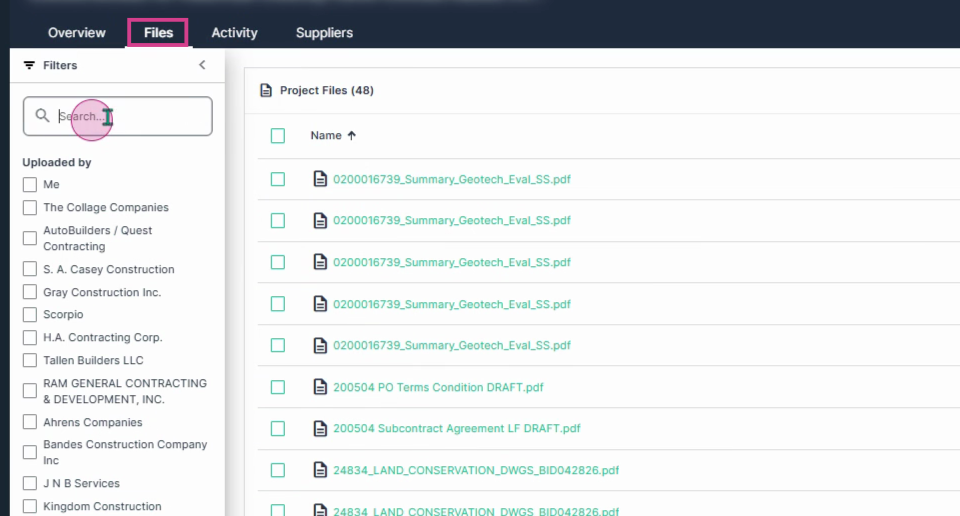
Step 1: Navigate to the Files tab on the upper left side. Use the search bar to filter and search for specific documents using keywords.
Step 2: The file opens in a tab that you can refer back to when needed.
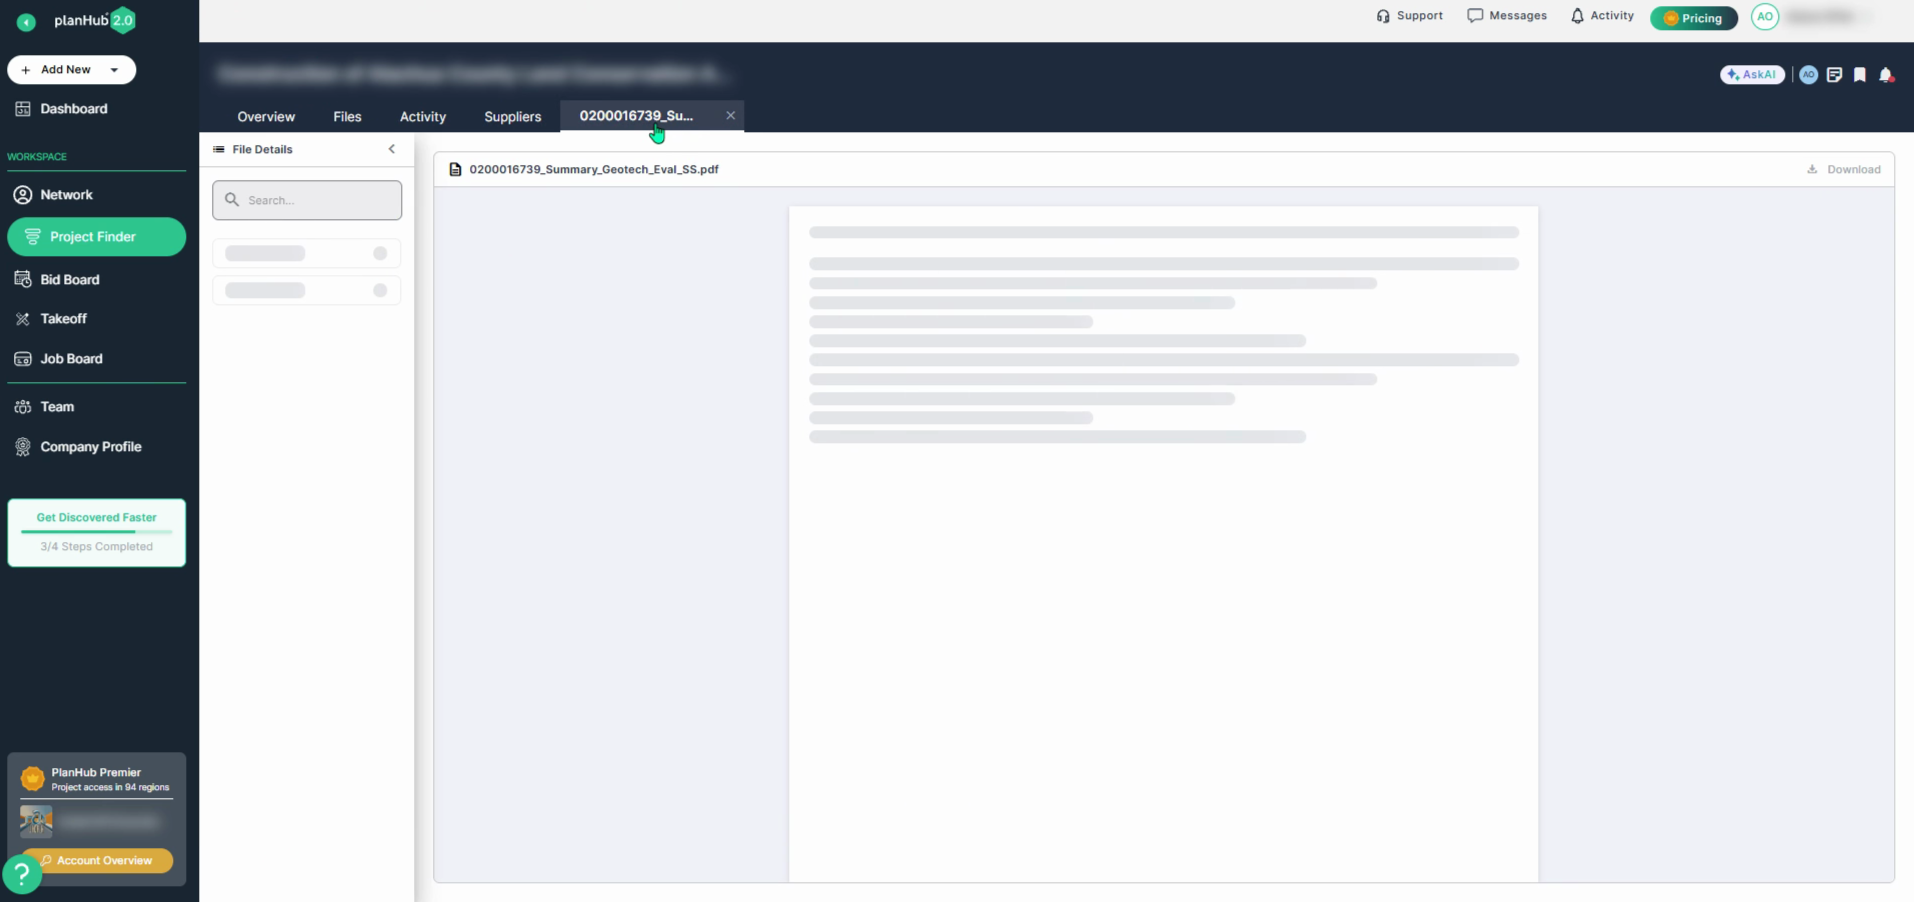
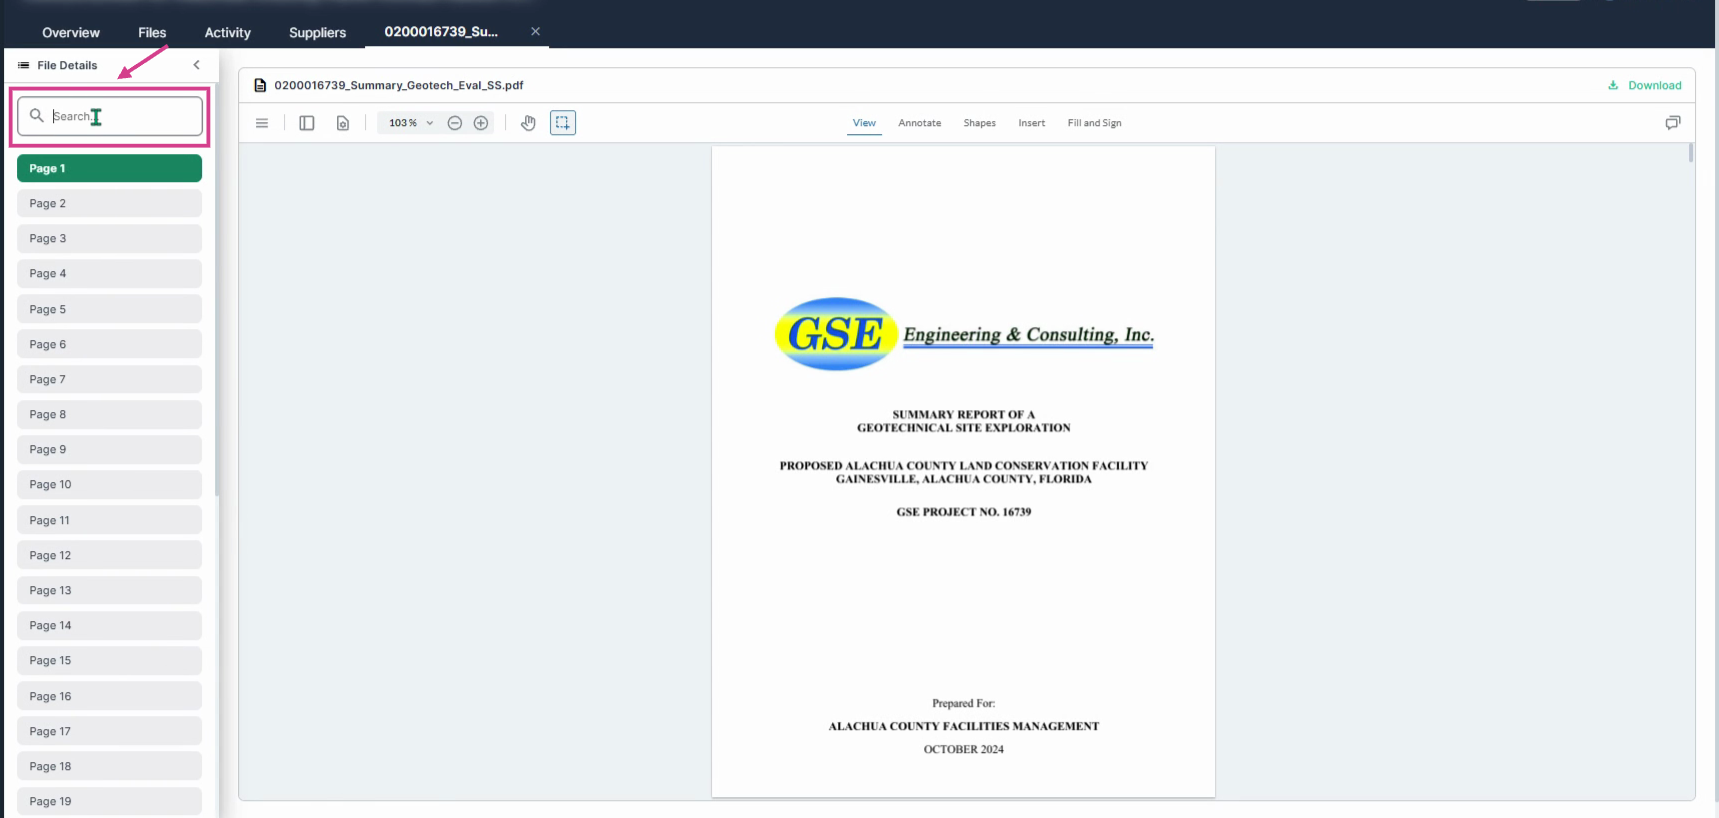
Step 3: Use the keyword search bar within the file viewer to narrow your results faster.
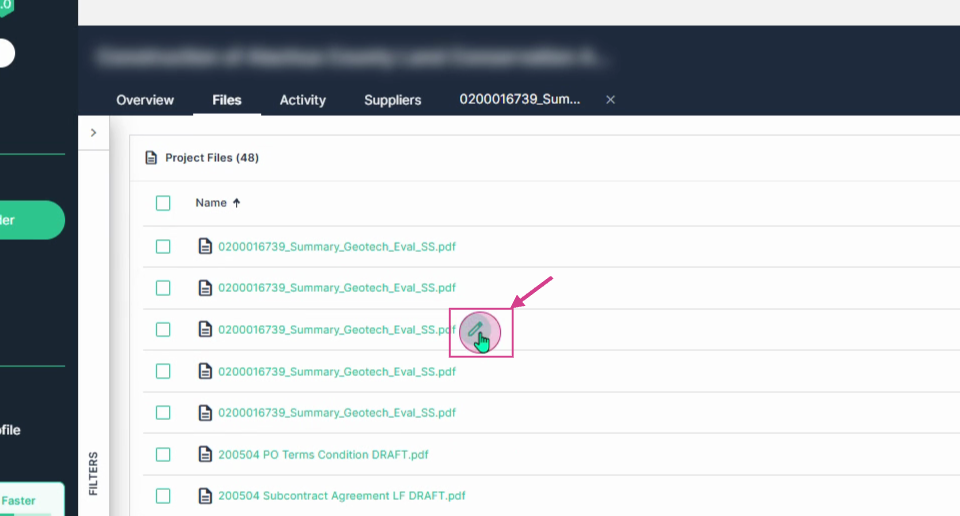
Step 4: To rename a file, scroll over the file and click the pencil icon. Enter the new name, then click Confirm.
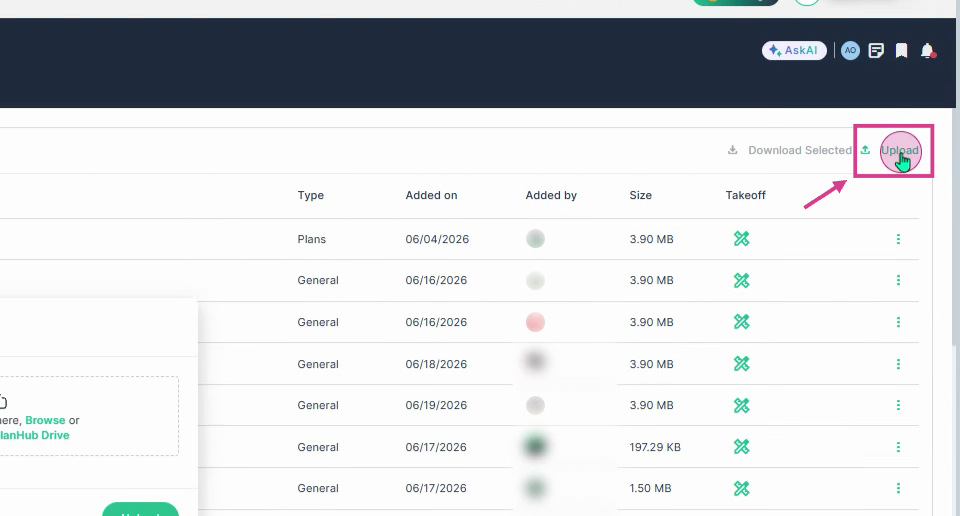
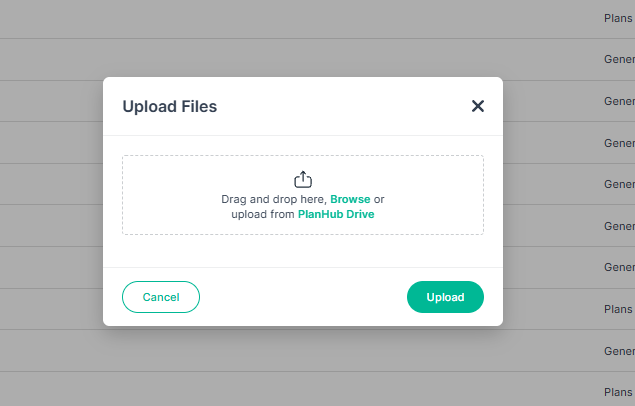
Step 5: In the top right corner, upload additional files by browsing your computer or your planHub Drive.
Tracking Project Message Activity
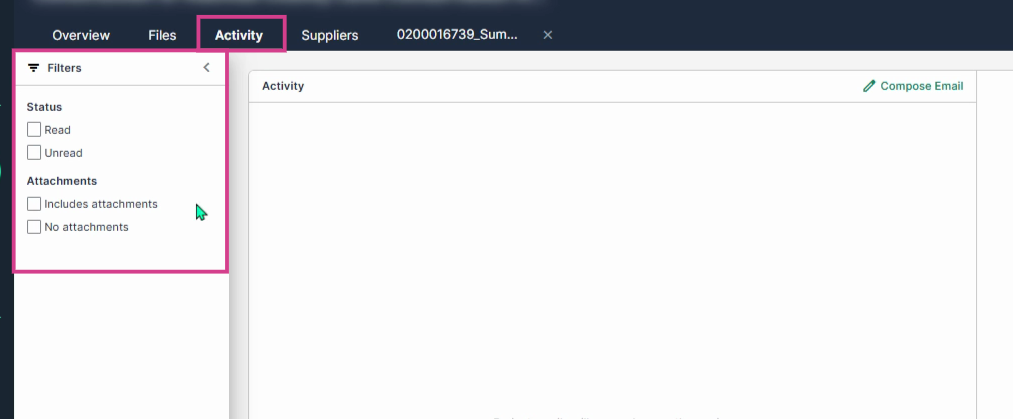
Step 1: Click the Activity tab to monitor all project communications. Filter activity by status or whether emails include attachments. Once you enable the email integration option from your My Account page, you can compose emails that will be sent directly from your email inbox instead of using a planHub alias email address.
Engaging Suppliers
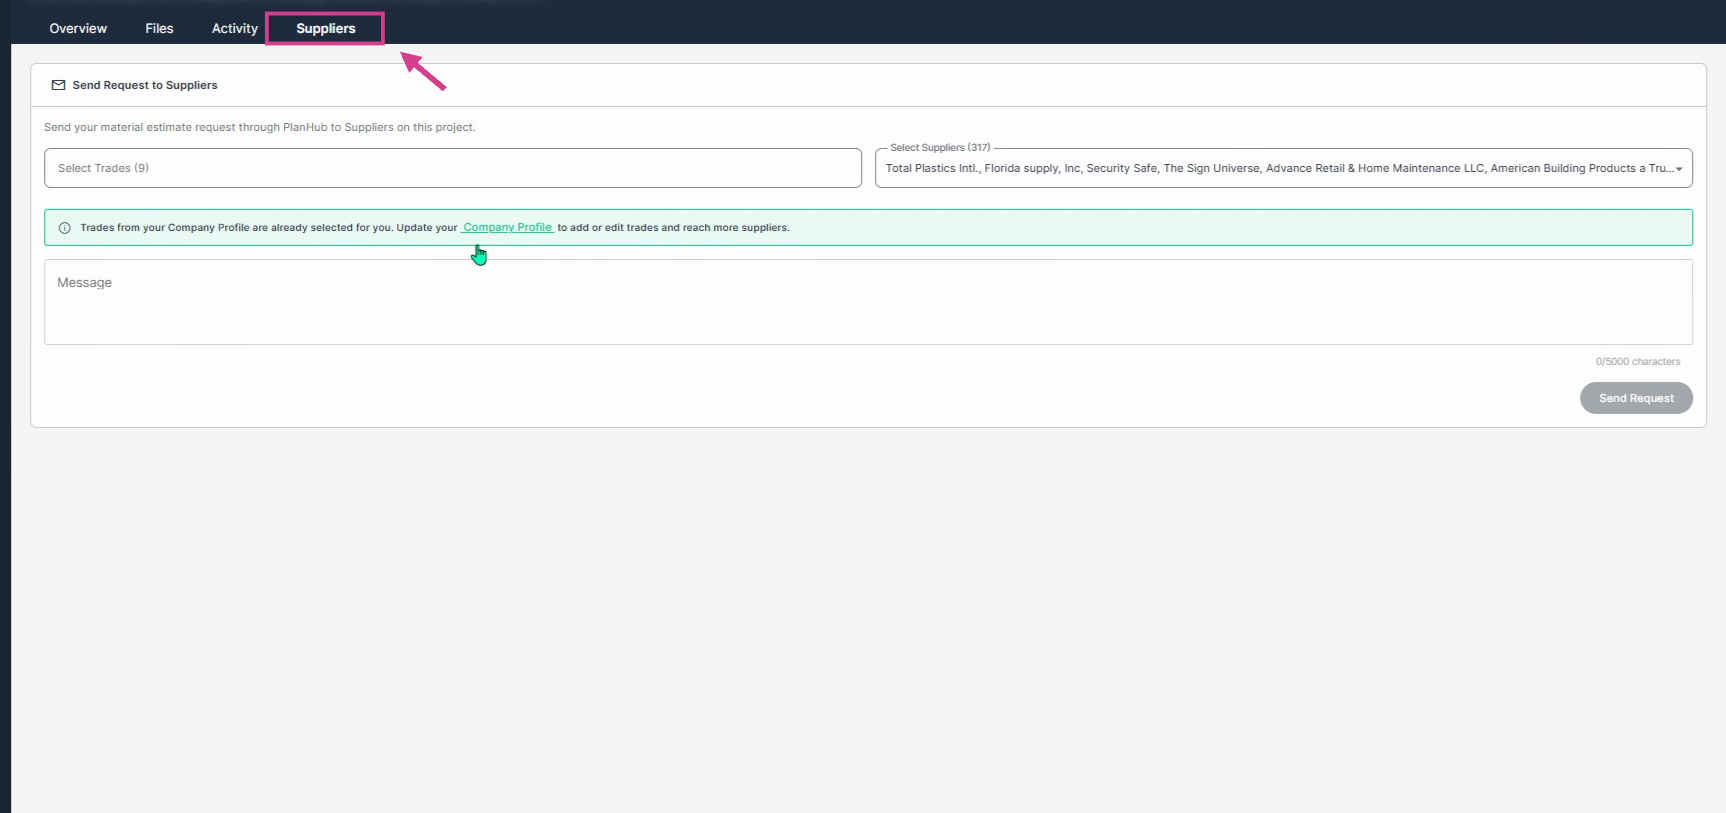
Step 1: Open the Suppliers tab to request material estimates. Choose your trade, select suppliers from the list, enter your message, and send the requests. Trades from your company profile show up by default, but the admin can update your company profile any time.
Step 2: After entering your message, click Send Request.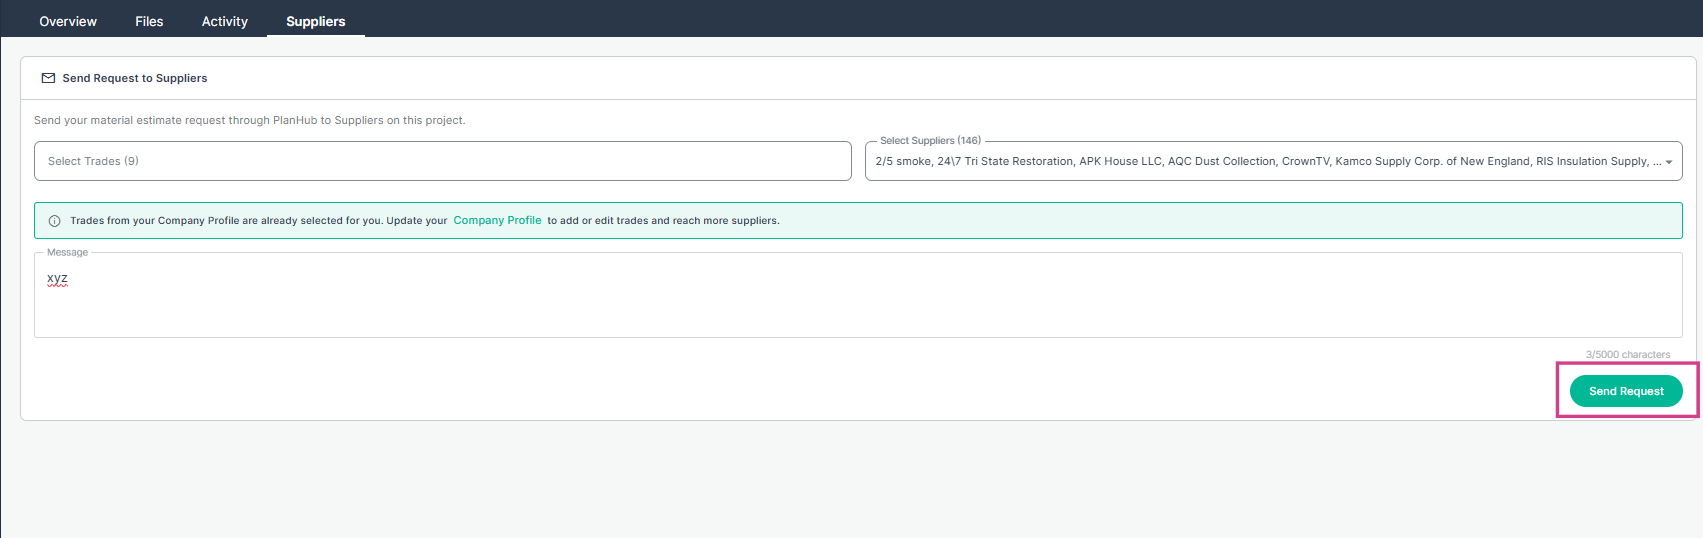
You’re now ready to use the Project Page to streamline your bidding workflow, improve team collaboration, stay organized, and quickly access the information and contacts you need to pursue more opportunities.